
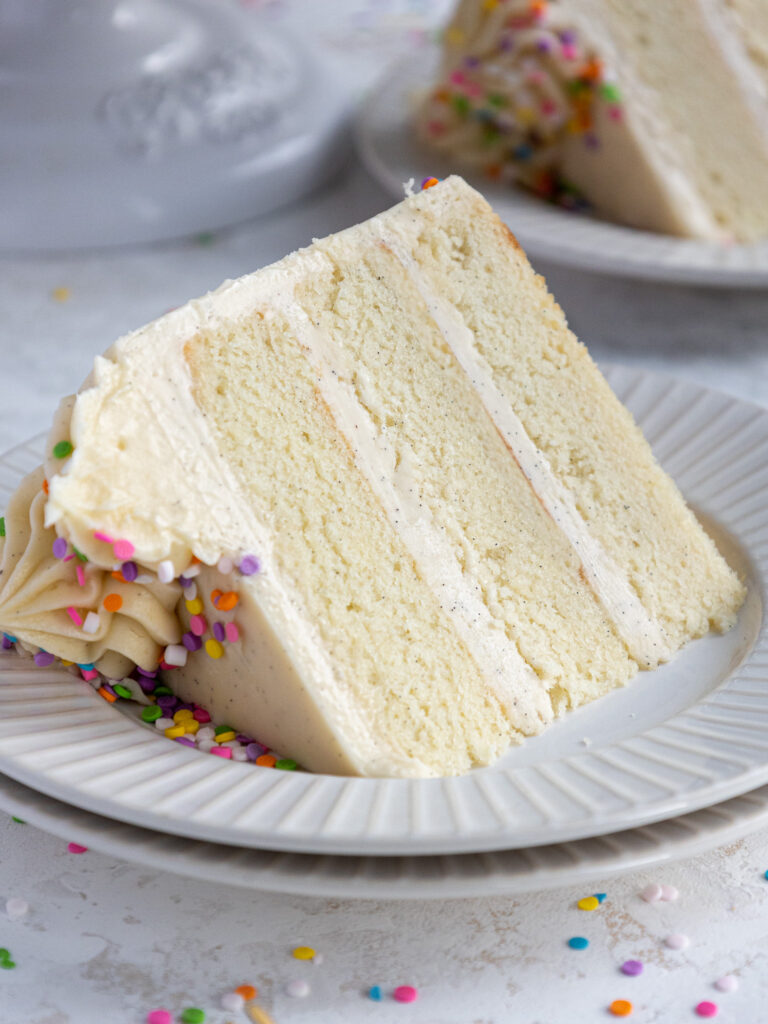
I’ve tried several vanilla cake recipes over the years, and this will always be my favorite. It’s delicious, moist, and best of all, it keeps its shape!
This recipe is a butter cake recipe which means it has a denser texture than a sponge cake, but is also more tender.
It also means that you don’t have to worry about whipping up egg whites, or carefully folding in dry ingredients.
In fact, this recipe is so easy to make, I call it a fool-proof recipe! My vanilla cake recipe comes together in one bowl!
The butter and buttermilk in the recipe give it an amazing taste. I now use this as my go-to white cake base recipe, and color or flavor it as needed.
The Secret Ingredient in This Vanilla Layer Cake Recipe: Buttermilk
What is the secret ingredient to this vanilla layer cake recipe?? BUTTERMILK! I don’t know what it is, but I’m absolutely crazy about buttermilk.
I love baking with it and use it in a lot of my cake recipes! It makes such tender cake layers and adds so much moisture! It also gives this recipe a delicious tang.

Buttermilk can be found in most large grocery stores in the US, but I know that it can be difficult to find in some countries. If you’re having a hard time getting your hands on buttermilk, don’t worry.
You can make your own buttermilk! For each cup of buttermilk that the recipe calls for, use 1 tablespoon of white vinegar or lemon juice plus enough milk to fill 1 cup.
You also can use plain, low-fat yogurt or sour cream as an equal substitute, cup for cup.
Making Cake Layers Ahead of Time
One of the best things about this vanilla cake recipe is how easy it is to make. This entire recipe can be made in one bowl.
I’m a big fan of one-bowl recipes or anything that helps reduce the amount of dishes I have to do! Another great part about this recipe is that the layers keep insanely well!
These layers can be made in advance, and can be stored in the freezer for several weeks if properly wrapped!
If you do plan to freeze them, be sure to either place them in an airtight container or wrap them tightly in saran wrap.


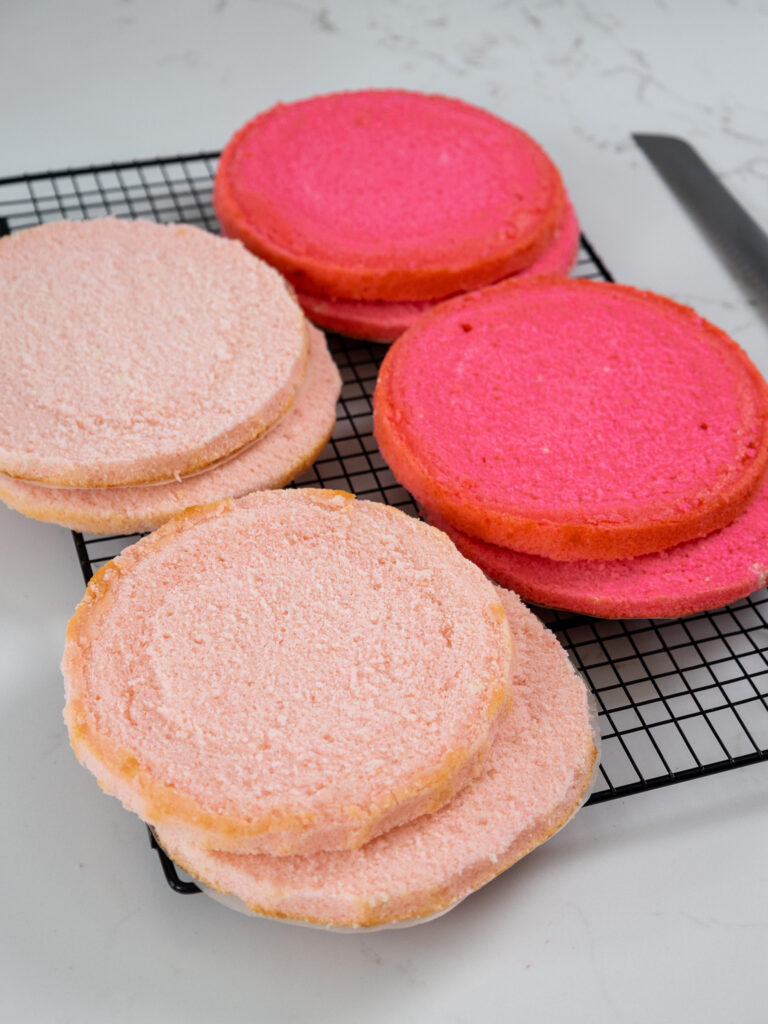
Coloring These Vanilla Cake Layers
If you want your vanilla cake layers to be a super vibrant color, I highly recommend using gel food coloring. Liquid food coloring can work too, but you won’t be able to get as strong of a color.
You also can throw off the consistency of the vanilla cake batter if you add too much liquid food coloring.
Gel food coloring is incredibly concentrated, so it allows you to use less. A small amount will create beautiful, bright colors like the ones in my Peeps cake or my octopus cake layers shown below!
Gel coloring is also thicker and won’t change the consistency of the cake batter. My favorite brand of gel food coloring is Americolor, but any brand will work.


How To Bake Flat Cake Layers
Another fantastic aspect of this vanilla layer cake recipe? It bakes super flat!
This is mainly due to the way the recipe is formulated. I also like to rotate my cake layers halfway through baking.
This helps ensure that the hot spots in my oven don’t cause any sides of my cake layers to bake higher than the others.
Another trick to bake flat cake layers is to wrap wet baking strips around your cake pans.
Believe it or not, I have a mini oven and can barely fit 4 cake pans in my oven! I’ve found that baking strips don’t really work for me since my pans are so close to the edges of my oven.
However, you all have let me know that in a standard oven, baking strips work great with this recipe!
Baking strips reduce the amount of caramelization around the sides of the cake layers and also help them bake flat.
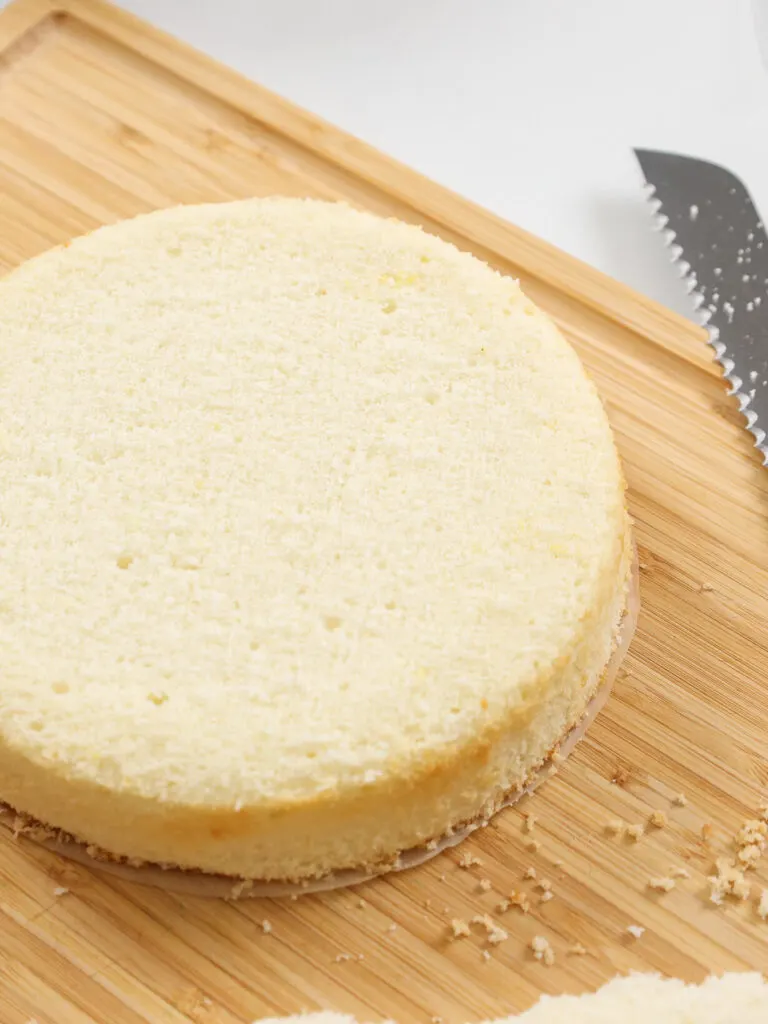
Trimming and Torting Your Cake Layers
If you want to completely remove any caramelization from your cake layers, you can use a serrated knife to clean them up!
I like to level and trim my cake layers for my cake videos and to help the vibrant colors of my cake layers shine through.
I’ve shared a video showing exactly how I trim and level my cake layers here.

This makes it easier to build a straight, level cake! While this is by no means necessary, it can be an important step if you’re building a tiered cake.
If you do decide to trim your cake layers once they’re baked, be sure the layers are completely cooled or chilled before trimming. The layers will fall apart if you try to cut them while they’re still warm.
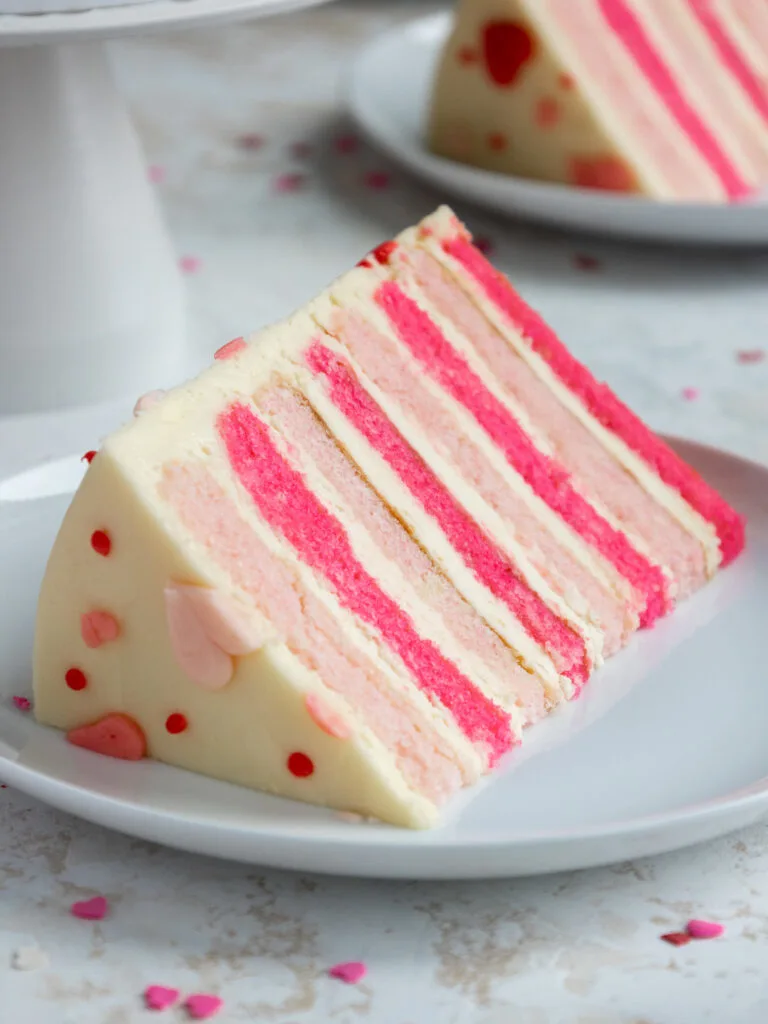
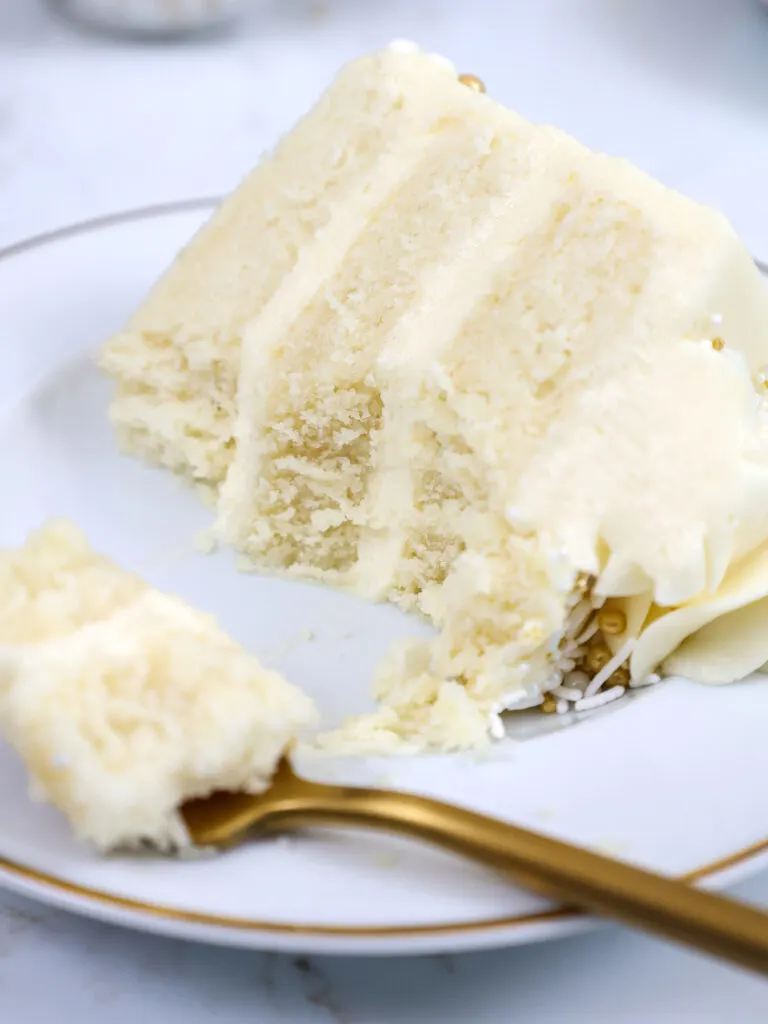
Another option with this recipe is to torte your cake layers! Torting cake layers means you cut them horizontally, to create more layers.

I like doing this because it creates an amazing cake-to-frosting ratio. A great example of torted cake is my marbled hearts cake.

Tips for Making the Best Vanilla Cake
- Properly measure your flour!! Spoon into the cup measure then level or use a kitchen scale to measure your dry ingredients.
- Use a serrated knife to level your cake layers once they’re fully cooled, to make it easier to assemble and frost your cake.
- Chill your cake layers in the freezer for about 20 minutes before assembling the cake. It makes it so much easier to stack and frost.
- Use my small batch vanilla cake recipe to make a 6-inch layer cake.
- If your cake layers turn out less than perfect, please check out my cake troubleshooting guide.
Making These Cake Layers in Advance and Storage Tips
Make your cake layers in advance and freeze them. It breaks the process up and makes it more approachable. They can be frozen for up to 3 months, and as long as they’re wrapped right I promise they’ll taste just like they did the day you baked them.
Make your frosting ahead of time too or save any leftover frosting! It can be stored in an airtight container in the fridge for up to a month, or in the freezer for up to 3 months.
Be sure to give it a good stir once it thaws to get the consistency nice and smooth again.
A frosted cake can last in the fridge for up to a week, or in the freezer for up to a month. The buttercream locks in all the moisture, keeping the cake fresh and delicious!


If you cut into the cake and have leftovers, use any remaining frosting to cover the cut section to keep it moist and store it in the fridge for up to a week.
Let Me Know What You Think!
If you try my vanilla layer cake recipe, I’d love to hear what you think of it! Please leave a rating and comment below.
Tag me @chelsweets and use the #chelsweets on social media so that I can see your amazing creations!
Other Recipes You Might Like:


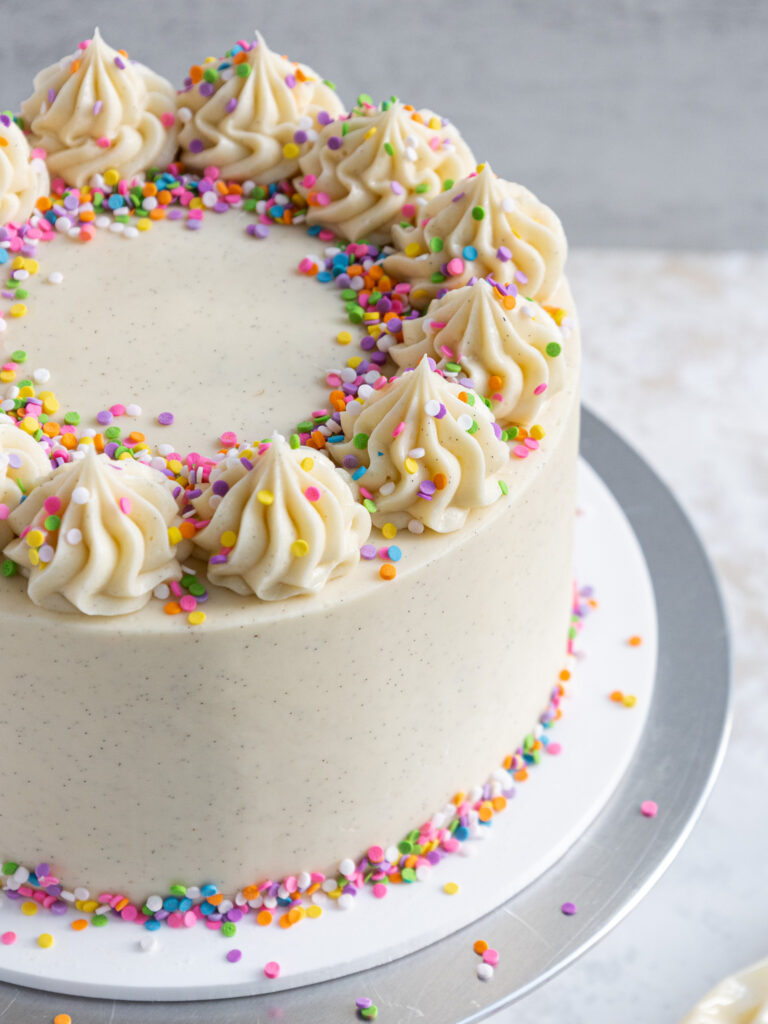
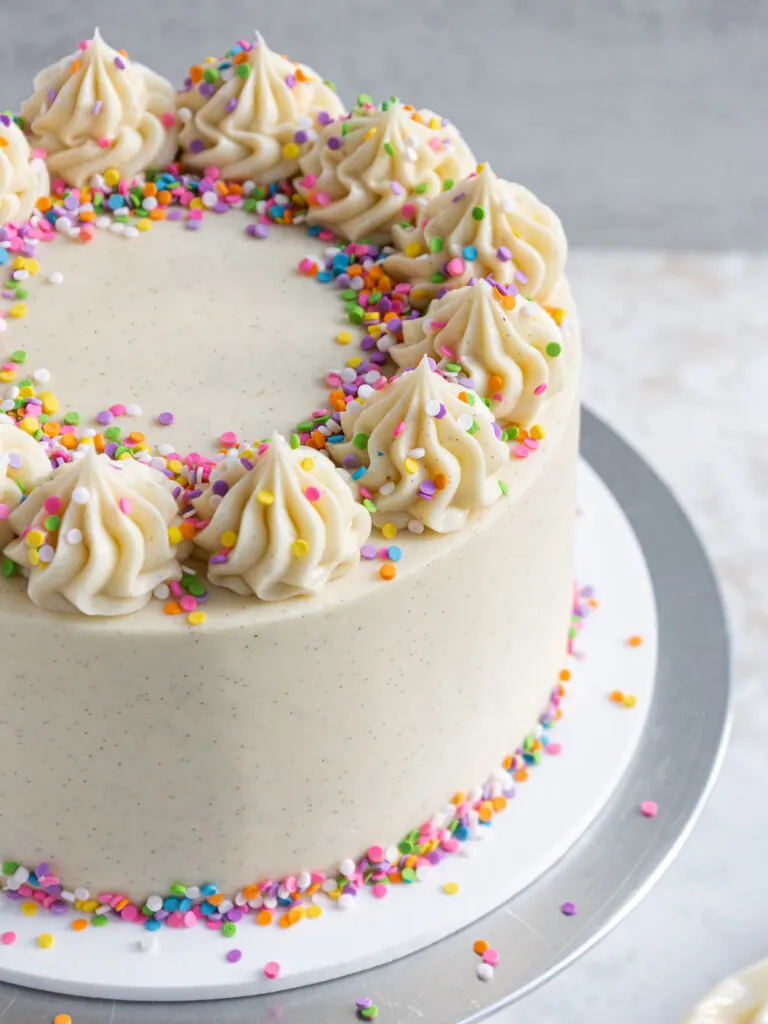
Vanilla Layer Cake Recipe
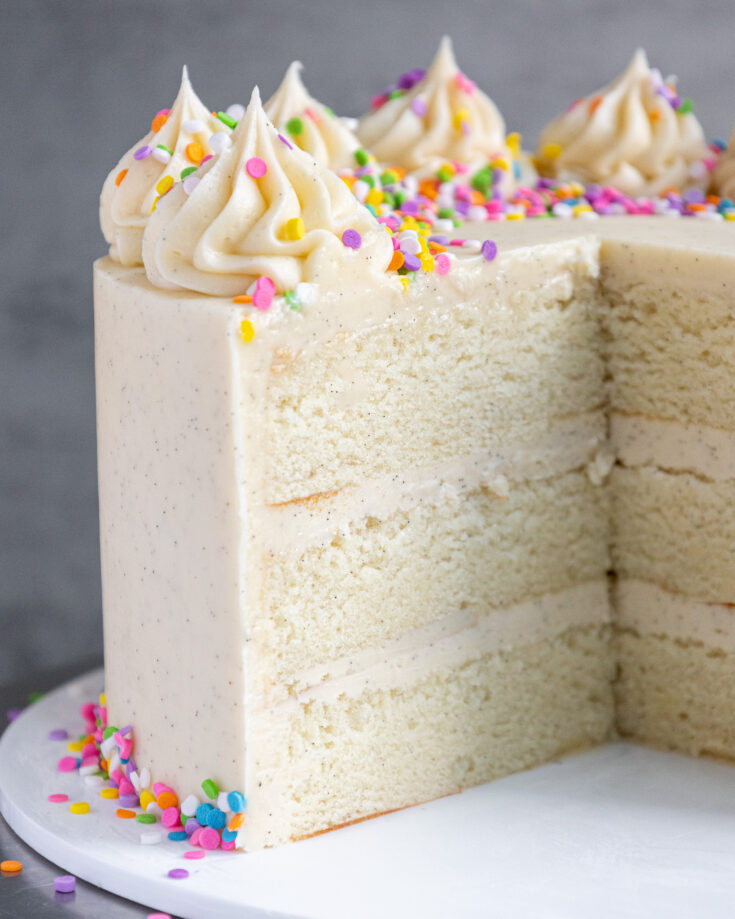
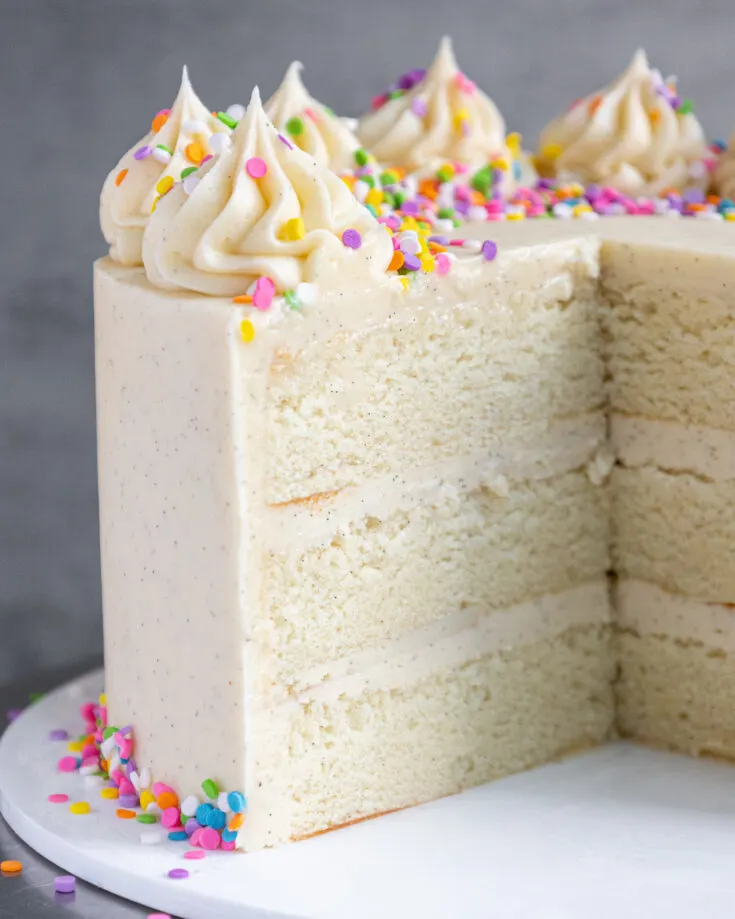
This vanilla cake recipe is made in one bowl, and is super moist! One batch makes 3, 8-inch cake layers, and is frosted with vanilla buttercream frosting.
Ingredients
Vanilla Cake Recipe
- 3 cups all-purpose flour (375g)
- 3 cups granulated sugar (600g)
- 2 1/2 tsp baking powder (10g)
- 1 tsp fine salt (6g)
- 1 cup unsalted butter, room temp (226g)
- 1 cup egg whites from a carton or about 7 egg whites, room temp (240g)
- 1 1/2 cups buttermilk, room temp (360g)
- 2 Tbsp vegetable oil (30g)
- 2 tsp vanilla extract (8g)
- gel food coloring - if desired
Vanilla Buttercream Frosting
- 2 cups unsalted butter, room temp (452g)
- 1 Tbsp vanilla extract or vanilla bean paste (12g)
- 1/2 tsp fine salt (3g)
- 7 cups powdered sugar (875g)
- 1/4 cup heavy cream or whipping cream (60g)
Instructions
Vanilla Cake Layers:
- Preheat oven to 350°F / 175°C. Line four 7" or three 8" pans with parchment rounds and grease with non-stick baking spray or homemade cake pan release.
- Mix 3 cups all-purpose flour, 3 cups sugar, 2 1/2 tsp baking powder, and 1 tsp salt together in a stand mixer with a paddle attachment or hand mixer until fully combined.
- Mix in 1 cup of room temperature, unsalted butter slowly into the dry ingredients on a low speed. Continue to mix until no large chunks of butter remain, and the mixture looks like moist sand.
- Pour in 1 cup of egg whites and mix on low until just incorporated. Mix in 1 1/2 cups of buttermilk in two installments, at a low speed.
- Add in 2 Tbsp of vegetable oil and 2 tsp of vanilla extract and mix at a low speed until fully incorporated. If you plan to color your cake layers, add in the gel food coloring with the oil and vanilla.
- Scrape down the sides of the bowl with a rubber spatula, then beat on a medium speed for about a minute to make sure everything is properly mixed together. This also helps lighten the texture of the cake layers a bit.
- Divide the batter evenly between your prepared pans. I like to use a scale to make sure each pan has the same amount of batter and will bake up to the same height.
- Bake for 33-35 minutes or until a toothpick comes out with a few moist crumbs.
- Let the pans cool for 10 minutes, then run a small offset spatula around the perimeter of the pan to separate the cake from the pan.
- Place the cake layers into the freezer for 30 minutes to accelerate the cooling process. Once the layers are fully cooled, carefully flip the pans and remove the layers.
- Use a serrated knife to level the tops of the layers right before you plan to assemble your cake, or you can wrap and freeze them if you're making them in advance.
- If you make these cake layers in advance and freeze them, let them thaw for about 20 minutes before making your cake. The cake layers should still be slightly cold to the touch, which will make it easier to assemble your cake.
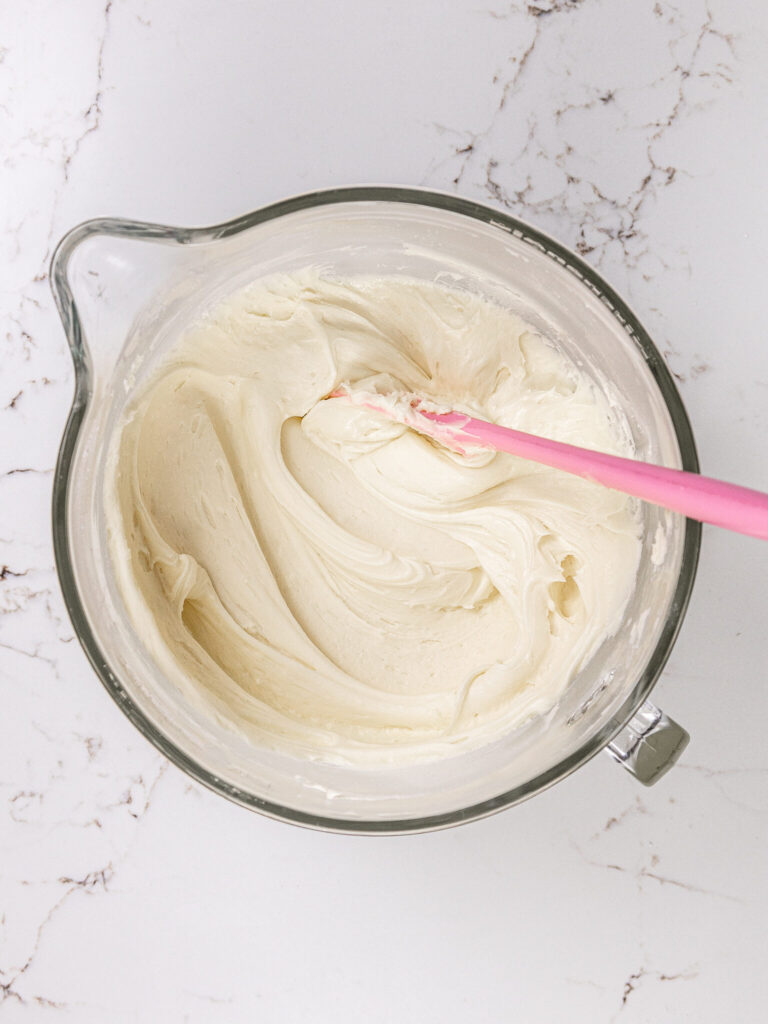
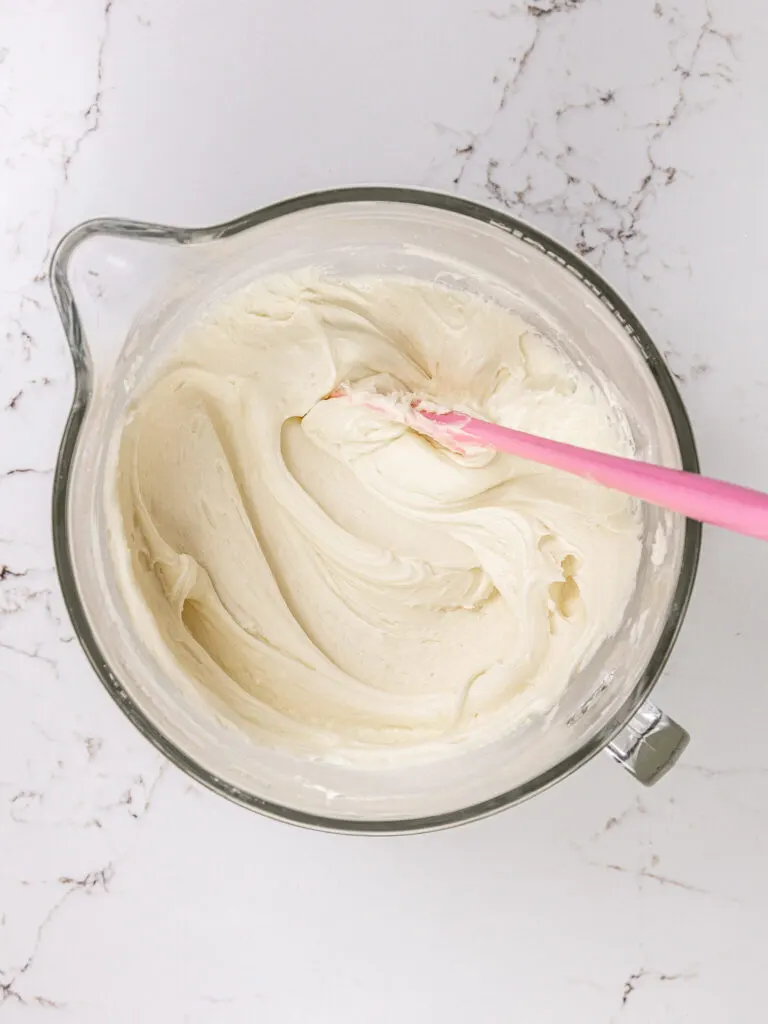
Vanilla Buttercream Frosting:
- While the cake layers bake and cool, make the vanilla buttercream frosting.
- Beat 2 cups of unsalted butter on a medium speed for 30 seconds with a paddle attachment until smooth.
- Mix in 1 Tbsp of vanilla extract and 1/2 tsp salt on a low speed.
- Slowly mix in 7 cups of powdered sugar on a low speed. Add 1/4 cup of heavy cream halfway through to make the frosting easier to mix.
- Continue to mix on a low speed for a few minutes until the desired consistency is reached.
- If the frosting is too thick, add in additional cream (1 Tbsp at a time). If the frosting is too thin, add in more powdered sugar (a quarter of a cup at a time).
- If you plan to color the buttercream, add in the gel food coloring once the frosting is fully made, and beat on low until it reaches the desired color.
Assembling This Vanilla Layer Cake:
- Stack and frost cake layers on a greaseproof cake board using a dab of frosting to help stick the first cake layer to the board.
- Add an even layer of buttercream between each cake layer with a large offset spatula.
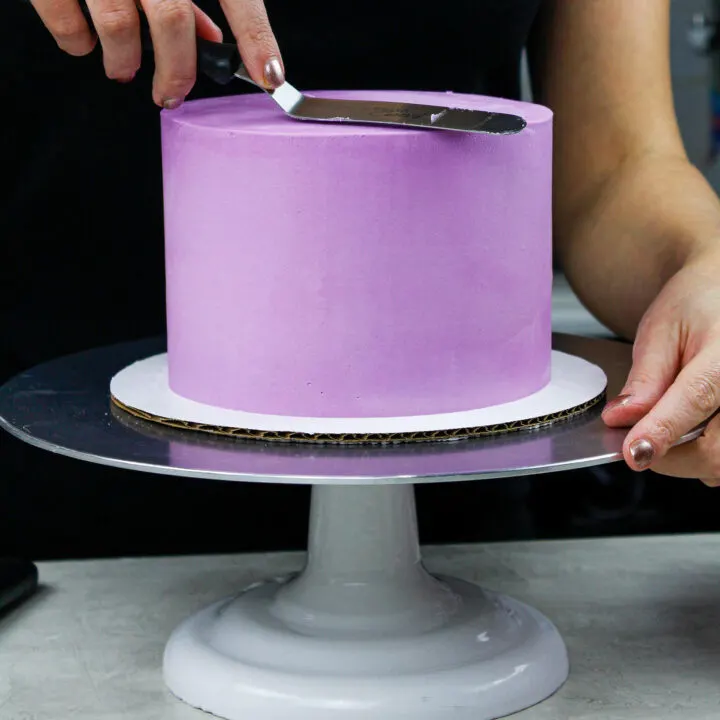
- Once the cake layers are stacked, add a thin coat of frosting around the cake that fully covers the layers. Smooth using a bench scraper, then chill the cake in the fridge (30 minutes) or freezer (10 minutes) until the frosting is firm to the touch.
- Next, add a second, thicker layer of frosting to the cake and smooth using a bench scraper. If you're struggling to get smooth sides on your cake, I share all my tips and tricks in this smooth cake tutorial. Then decorate as desired and enjoy!
Notes
How Many People Does This Cake Feed?
If you make this cake with 4, 7-inch cake layers or 3, 8-inch cake layers, it will feed about 24 people. For more information on cake sizes and servings, check out my cake portion guide.
Recipe Variations - Making This Cake in Different Sizes
One batch of this recipe makes about 10 cups of batter or about 1800 grams. If you plan to use four circular cake pans, add 450 grams of batter into each pan.
If you want to make a tiered cake or different-sized with this recipe, check out my cake batter calculator to see how many batches of batter you'll need.
This recipe can also be used to make a sheet cake! One batch will make a 1, 9 x13-inch cake layer that's about 1.5 inches tall once leveled.
Bake for 45-55 mins at 350 F / 175 C, or until a toothpick inserted in the center comes out with a few moist crumbs. Bake time can vary a lot based on the type of pan you use, if you use heating cores, and your oven. I recommend using heating cores if you have them, they help sheet cake layers bake more evenly and quickly.
For more details on how to convert this cake recipe and others into sheet cakes, check out my sheet cake guide.
Last but not least, you can also make cupcakes using this recipe. Fill the liners 3/4 full and bake them at 350 F / 175 C for 19-21 minutes, or until a toothpick inserted in the center comes out with a few moist crumbs. Or if you want to just make one batch of cupcakes, I highly recommend trying my vanilla cupcake recipe.
Tips for Making the Best Vanilla Layer Cake
- Ingredients at room temp mix together better! Set out any cold ingredients ahead of time.
- Properly measure the flour (spoon into the cup measure, then level). Or better yet, use a kitchen scale to measure your dry ingredients.
- Use a scale to weigh your cake pans as you fill them. It will make your cake layers bake to the same height and bake more evenly.
- Make sure the buttercream is the right consistency. This will help give the cake proper structure and make it easier to decorate.
- Level the room temperature or thawed cake layers with a serrated knife to make them easier to stack.
- Chill your cake layers in the freezer for about 20 minutes before assembling the cake. It makes it so much easier to stack and frost them!
- If your cake layers turn out less than perfect, read my cake troubleshooting guide to see where things might've gone awry.
Making This Vanilla Layer Cake in Advance & Storage Tips
I highly recommend making the cake layers in advance and freezing them. It breaks the process up and makes it more approachable and enjoyable, and I promise they taste just as delicious!
You can also make the frosting ahead of time or save any leftover frosting! It can be stored in an airtight container in the fridge for up to a month, or in the freezer for up to 3 months. Be sure to give it a good stir once it thaws to get the consistency nice and smooth again.
A frosted cake can last in the fridge for up to a week (as long as it doesn't have a perishable fruit filling), or in the freezer for up to a month. The buttercream locks in all the moisture, keeping the cake fresh and delicious!
If you cut into the cake and have leftovers, use any remaining frosting to cover the cut section to keep it moist and store it in the fridge for up to a week.
Nutrition Information
Yield
24Serving Size
1Amount Per Serving Calories 524Total Fat 26gSaturated Fat 15gTrans Fat 0gUnsaturated Fat 9gCholesterol 66mgSodium 263mgCarbohydrates 70gFiber 0gSugar 57gProtein 5g
Emily
Sunday 28th of April 2024
I have struggled in the past to find a good recipe for vanilla cake, but when my husband requested it for his birthday I decided to try this one. I used two 9” round pans and there was a perfect amount of batter for them. The cake turned out beautifully! Even though vanilla cake is not my favorite, this one was very good. I think I have finally found a recipe to hold on to!
Sheet Cake Guide: How Much Batter & Number of Servings
Saturday 27th of April 2024
[…] one caveat (that I mentioned above) is that certain recipes rise more than others. For example, my vanilla layer cake recipe (a butter cake that uses the reverse crumb method) rises less than sponge cake recipes, so […]
Paula
Wednesday 24th of April 2024
Hi Chelsey! Have you used sour cream in place of buttermilk? Needing to make a cake today and I have sour cream but no buttermilk. Trying out this recipe for a wedding cake in July so I will need to make it again with buttermilk.
Thanks, Paula
Chelsweets
Sunday 28th of April 2024
Hi Paula,
Great question, and apologies for the delayed response! You can totally use sour cream in place of the buttermilk in this recipe. I do that all the time! The layers will taste slightly different but will still bake up great. Hope that helps for the future, happy baking!
Terry
Tuesday 2nd of April 2024
Was wondering if you ever made this recipe as a red velvet gluten free cake? Also if I was making an 11 x 15 x 3 rectangular cake or a 14 x 3 round cake how much batter would I need
Terry
Tuesday 26th of March 2024
Have you ever made your recipe as a red velvet cake and how do you adjust your recipe to a 14 x 3 in round pan also for an 11 x 15 x 3 in rectangle pan
Chelsweets
Sunday 31st of March 2024
Hi Terry,
I have different recipes to make red velvet cake, here's the link to my red velvet layer cake: https://chelsweets.com/red-velvet-layer-cake/
One batch of batter is about 1300g or 6 cups, so I add about 440g to each of my cake pans when using 3, 6-inch cake pans.
If you want to make a tiered cake with this recipe or larger cake layers (like 14"), check out my cake batter calculator to see how many batches of batter you’ll need: https://chelsweets.com/how-much-cake-batter-per-pan/
Hope that helps, happy baking!