
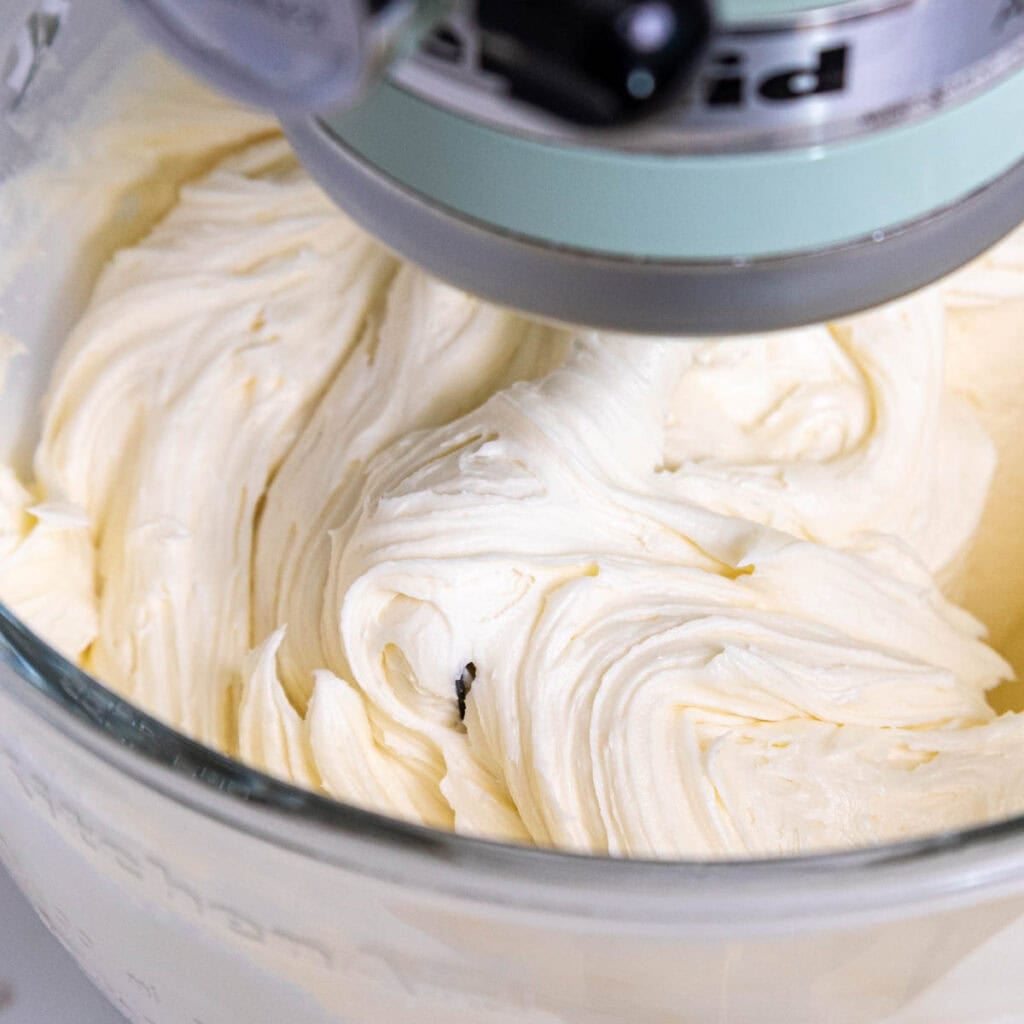
Buttercream Consistency
As I was writing my post on how I make smooth buttercream, I began to touch on the subject of buttercream consistency.
So many factors influence frosting consistency. It’s one of the hardest things to get right when making frosting.
There is a delicate balance between the temperature of your kitchen, the brand of butter you use, the temperature of your butter, and the amount of heavy cream you use.
It seems like it shouldn’t be that complicated, but each of those variables can have a big impact on how your frosting turns out.
Factor 1: The Brand and Quality of Your Butter
The brand of butter you use and the temperature of your butter play a big part in your buttercream consistency.
The percentage of fat and water in butter can vary based on the quality, brand, and how it’s made.
Traditionally churned butter can have as little as 65% fat, but most commercially made butter has 80-82% fat.
The rest is mostly water (16-17%)! Usually, the higher the quality of butter, the higher the fat percentage.
While this is great in terms of taste and texture, it means you may have to use more heavy cream.
When I use really high-quality butter like Plugra (a European-style butter), I find I have to use almost twice the amount of heavy cream to get the consistency right.
On the other hand, I use less heavy cream when making frosting with my go-to unsalted butter from Whole Foods (the 365 brand).
I love it because it’s super white in color, which makes it a naturally white frosting.
However, my Whole Foods butter definitely seems like it has less fat in it. It becomes softer much more quickly, and it’s a lot easier to incorporate powdered sugar into it.
For this reason, I actually prefer making American buttercream with slightly lower quality, store-brand butter!!
Shocking, I know. Usually, you hear the whole finest quality ingredients spiel. And while there is totally a time and place for that, this isn’t it in my opinion.
Just to be clear, you should still use a respectable brand of unsalted butter. Margarine or butter spreads don’t cut it.
You just don’t need the fancy $6 European butter when making American buttercream.
Factor 2: The Temperature of Your Butter
In addition to the quality of your butter, the temperature of your butter can also have a big impact on the consistency of your frosting.
Most people think that room temperature butter means butter that’s been sitting out for hours and is soft to the touch.
However, it only takes an hour or two for butter from the fridge to warm to room temperature.
The butter should be soft enough to indent with your finger using a bit of pressure, but not soft enough to totally squish in the packaging.
This is super important when making more temperamental frostings like Swiss meringue buttercream or Russian buttercream.
American buttercream is quite a bit more forgiving, though. In fact, a lot of the time, I leave my butter out overnight.
It’s quite soft in the morning, but this actually makes it easier to incorporate the powdered sugar.
With that in mind, if your butter is warmer, you won’t need to add as much heavy cream.
On the other hand, if your butter isn’t this warm, you might need to add an extra bit of cream.
Factor 3: The Temperature of Your Kitchen and Your Climate
Another factor that plays a huge role in your frosting consistency is the temperature of your kitchen and your overall climate.
If you live somewhere with a warm and/or humid climate, it can have a big impact on the consistency of your buttercream.
Even if the consistency seems great when you first make it, it may get too thin as the frosting sits or lose its structure as a frosted cake sits at room temperature (hello bulging sides!)
If that’s you, you should definitely use less heavy cream. You may even want to swap out some of the butter for shortening.
A lot of people who live in super warm climates like Florida, the Philippines, or Australia like to swap half the butter for high-ratio shortening.
Hi-ratio shortening is designed specifically for bakers. It is 100% fat with added emulsifiers and no added salt or water.
This allows your frosting to hold more sugar and liquid, which makes it super temperature-stable.
This is also a great idea if you’re making a cake during a hot summer, especially if it’s a wedding cake!! The only downside is that it does affect the taste of the frosting.
Sadly, shortening doesn’t taste as good as butter. But if you do a 1:1 ratio of shortening to butter in your frosting, it should still end up tasting pretty good.
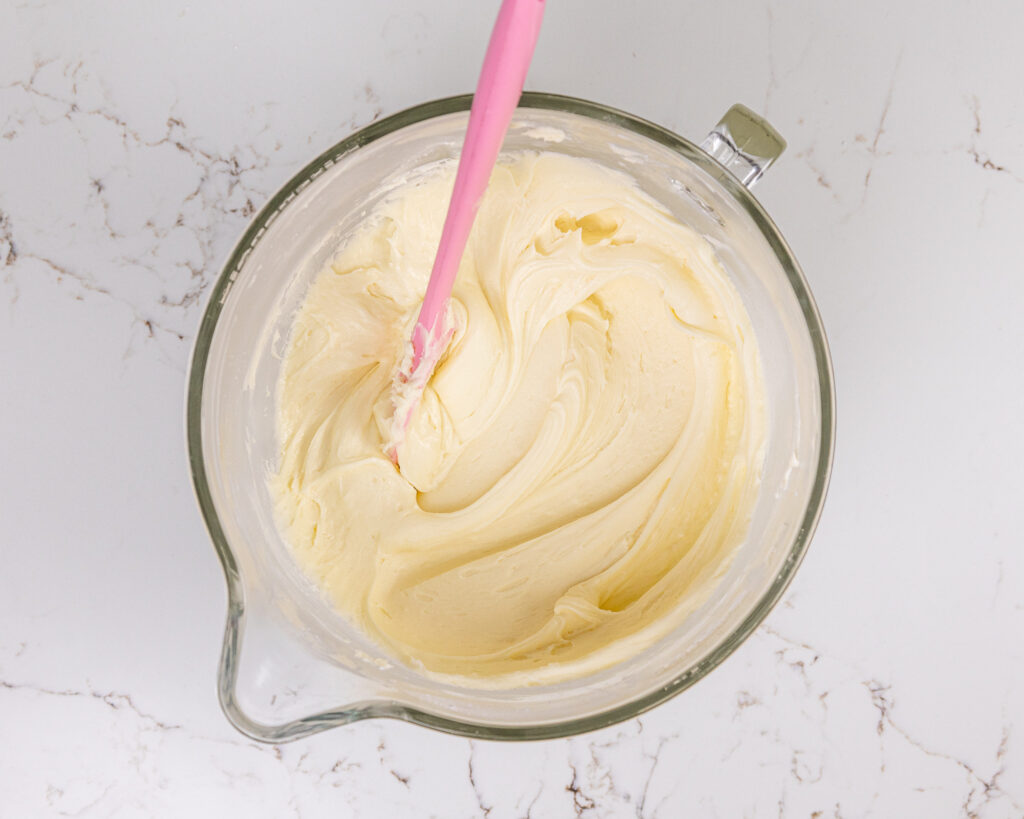
Factor 4: Adding the Right Amount of Heavy Cream
The final factor for getting your (American) buttercream frosting just right is the amount of heavy cream you add.
Based on the factors discussed above (butter quality, butter temp, climate temp, etc.), the amount of heavy cream you need to add can vary a lot.
Or if you try adding milk instead, it will thin the frosting out way more than heavy cream.
If you go this route, I suggest adding half the quantity of cream a recipe calls for.
I know that it’s hard to know what the “right” consistency is when you’re relatively new to baking or if you’re making a type of frosting you’re not used to.
To make it easier to know when your frosting is just right, I’ve come up with the test below.
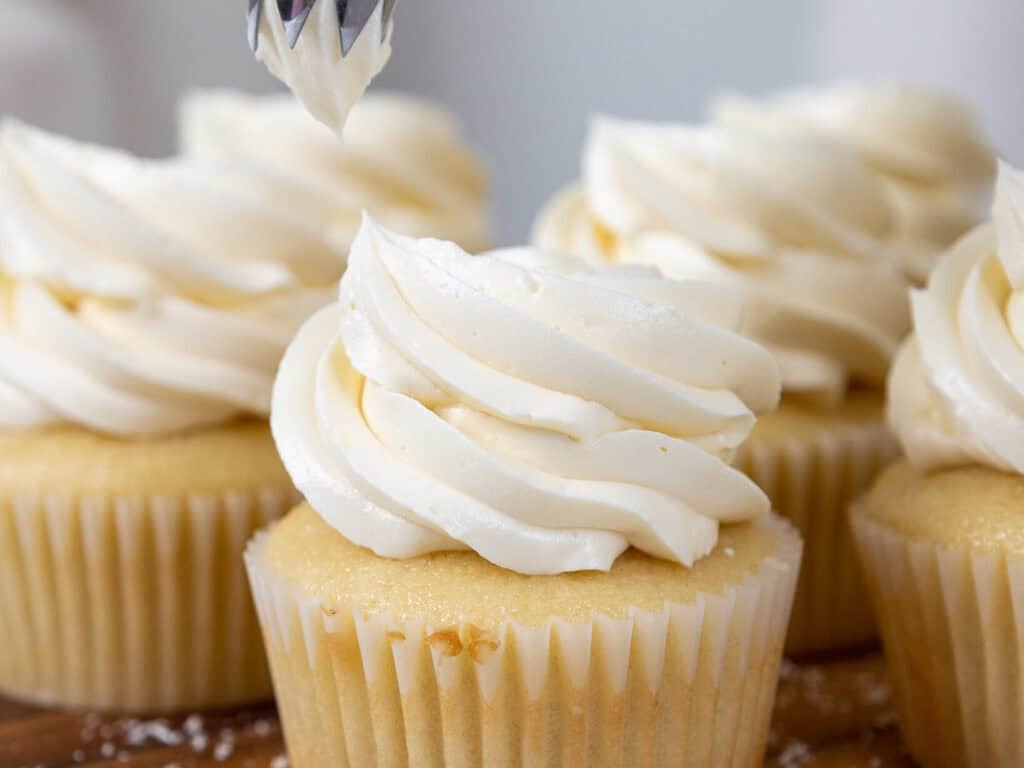
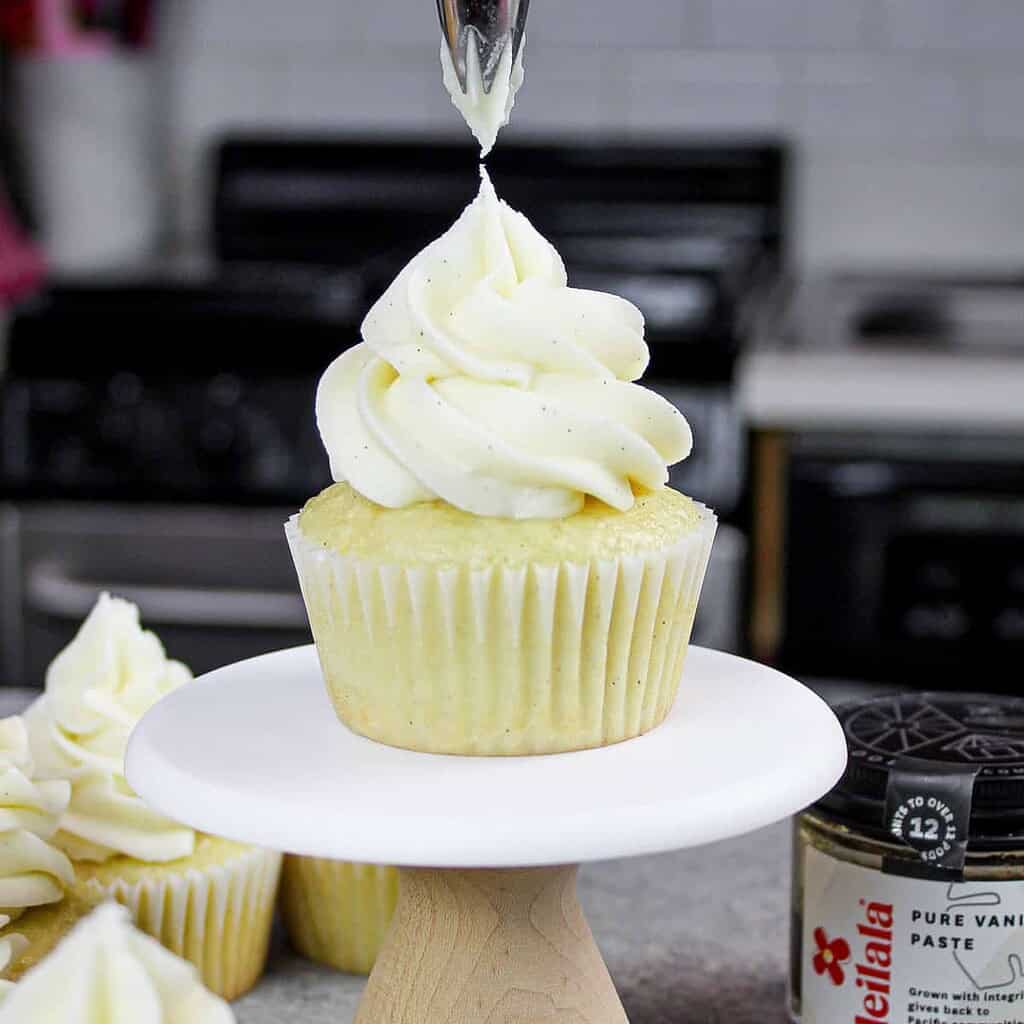
The Spatula Test – Know What Visual Cues to Look For
The easiest way to see if your frosting is the right consistency is the spatula test! I check the consistency of every batch of frosting I make using this test.
It confirms that your frosting is stiff enough to hold its shape, but spreadable enough for you to easily frost your cake or pipe onto cupcakes.
The spatula test works best with variations of American and Russian buttercream.
Firmly press a rubber spatula into your frosting and pull directly up. Turn the spatula right side up and look at the frosting on the tip.
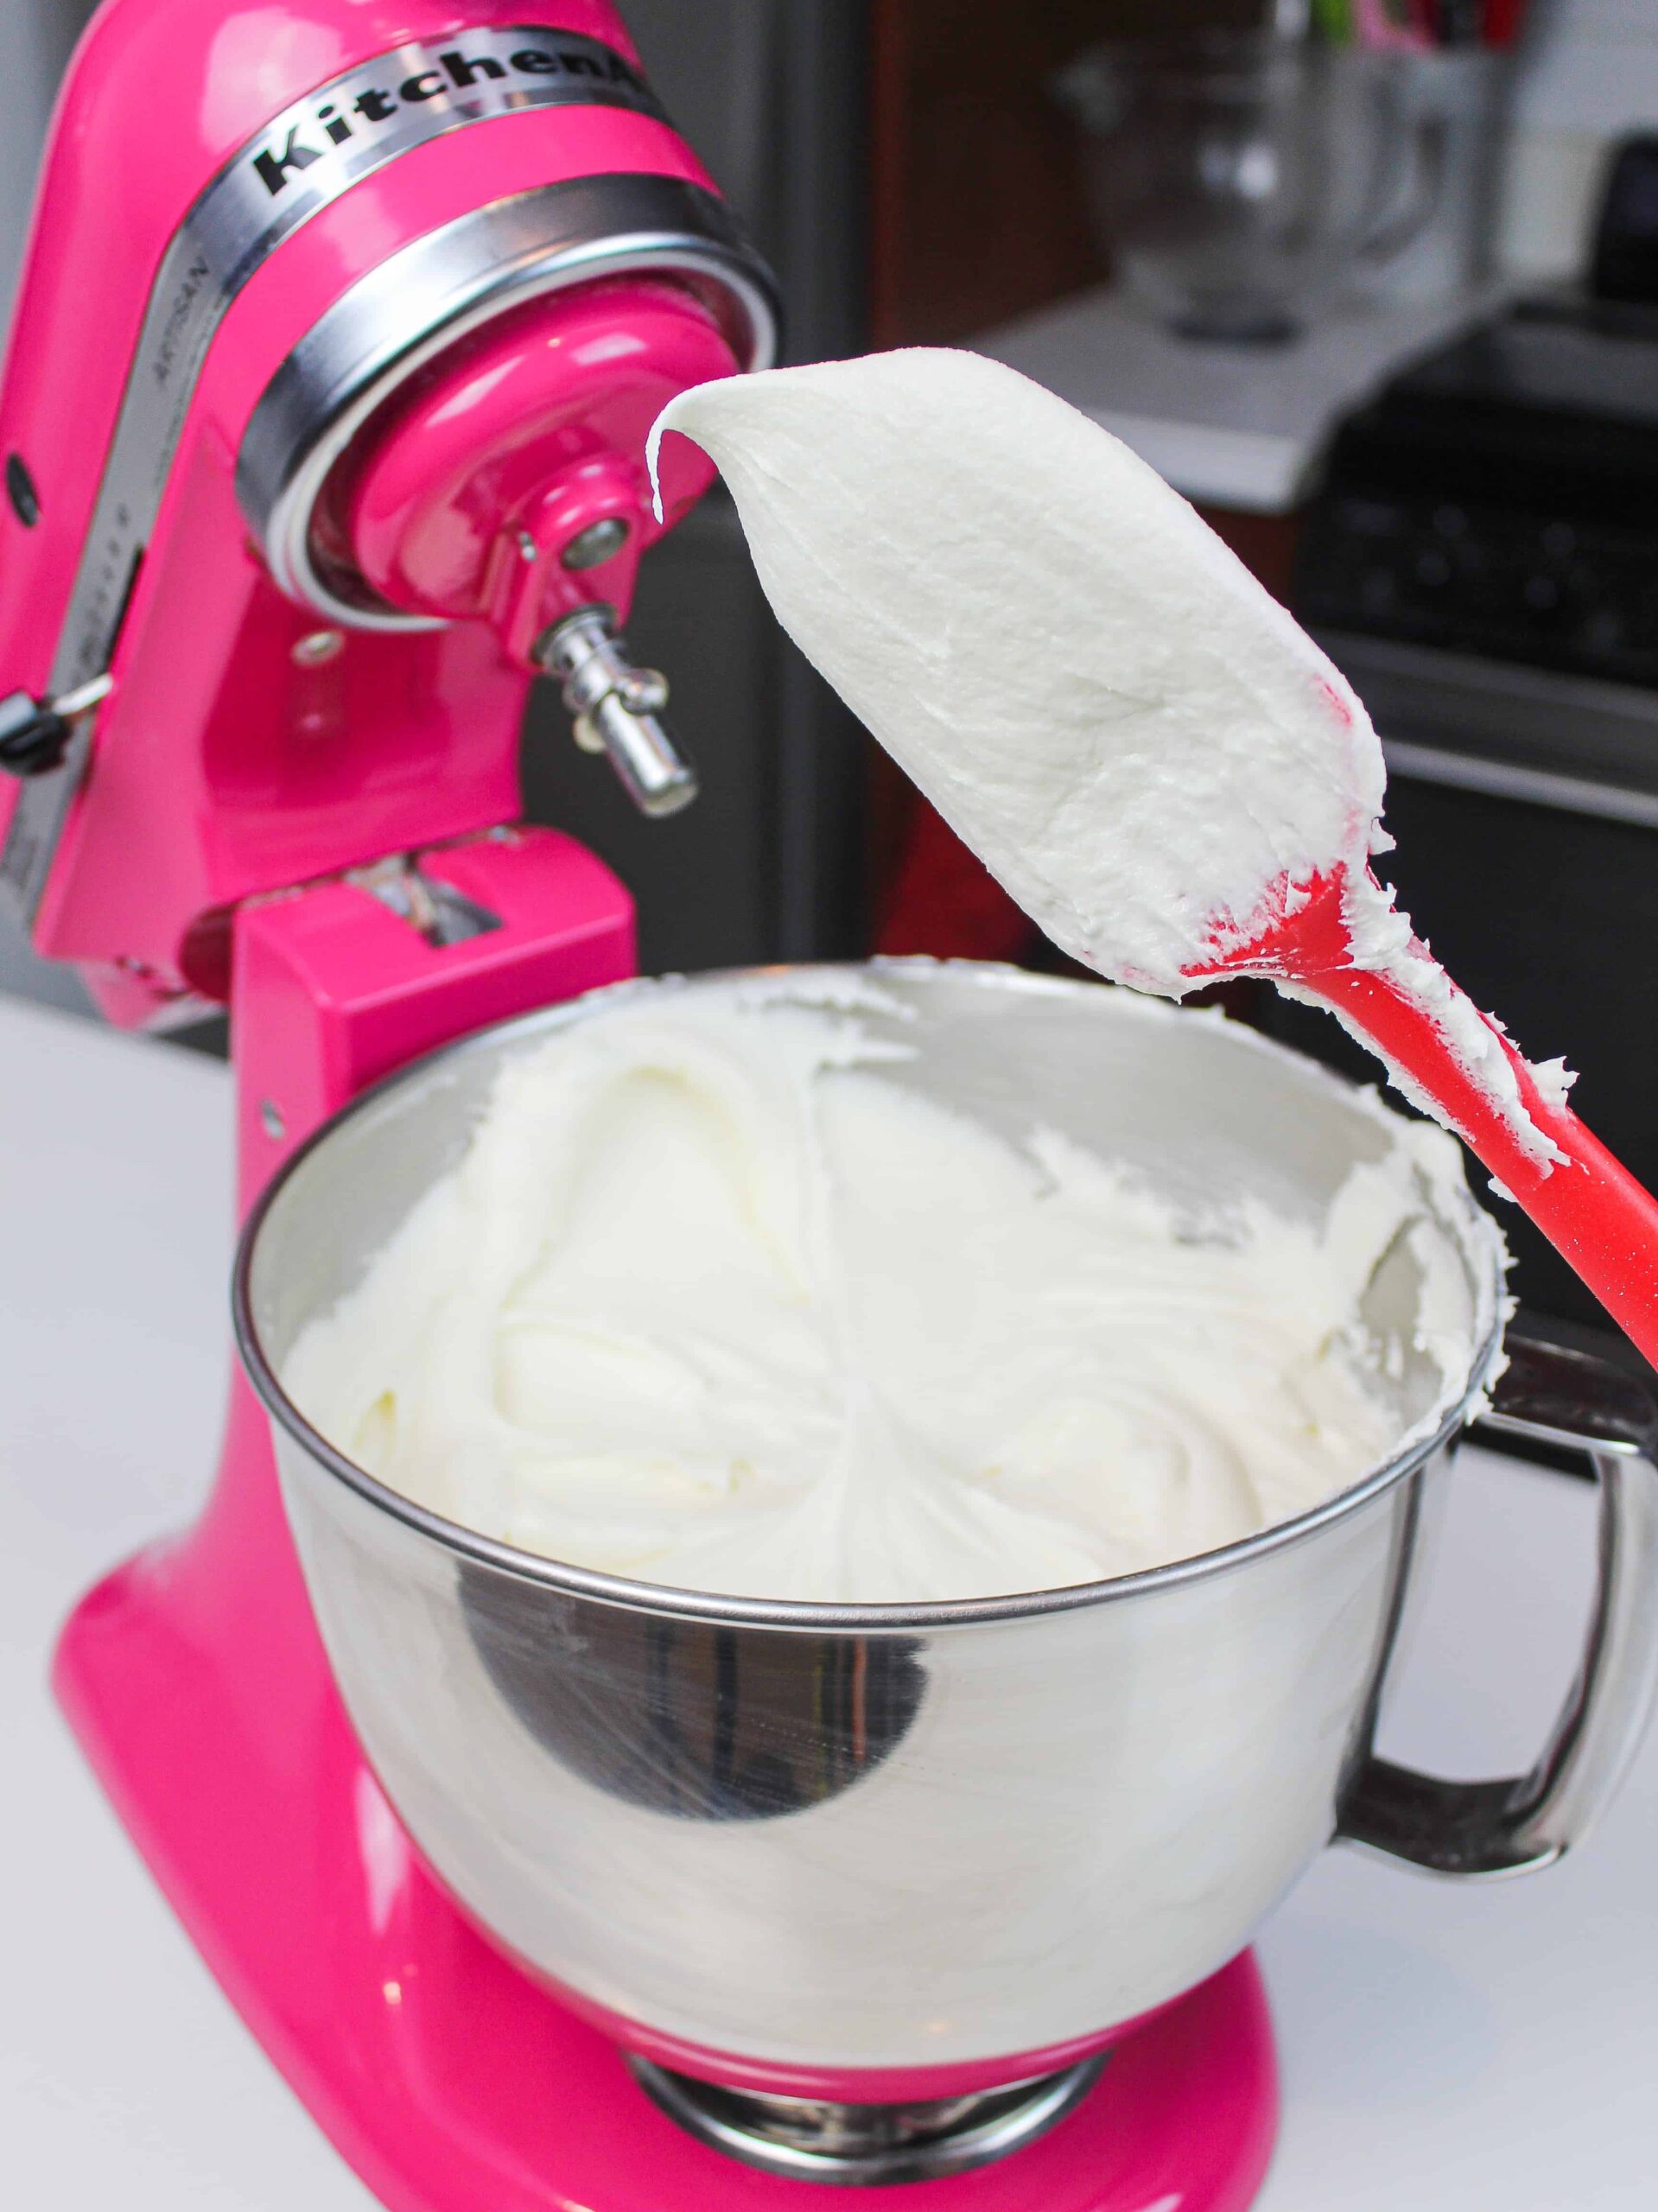
The frosting should form a somewhat stiff peak that has a little curl on the end. It’s stiff enough to hold up that curl, but soft enough to create that little curl.
That little curl is a great visual cue to know that your frosting is just the right consistency.
If it’s too stiff and sticks straight up, I suggest adding in more heavy cream (1 Tbsp at a time).
If it’s too thin and doesn’t form a little peak at all, try adding a bit more powdered sugar (1/4 cup at a time). You can also chill it in the fridge for 10-minute intervals.
After each adjustment, be sure to retest the frosting with your spatula before making any additional changes.
The End
So, there you have it. Everything you’ve ever wanted to know about buttercream consistency, and probably more!
If you have any other questions or tips, please share them in the comments section below.
Other Posts You Might Like:


Chelsey: I’ve found all of your “tutorials” to be 100% but this “Buttercream Consistency” article surpasses all … you have not only reminded how important it is to consider the nature of your actual ingredients as you make up the frosting (and to consider the weather) … you taught us one of your “special tricks” so we, too, can make sure our Chelsweets Frosting is in the PERFECT “shape” to start decorating our cakes. I’m forever grateful!
Aw thank you Nikki!! I’m so happy you found it helpful 🙂
Hi! I am wondering what is the best way to smoothen buttercream? I have a hard time with all the air bubbles
Hi Mae,
I’d suggest stirring your frosting on low with a paddle attachment at the end for a few minutes, and then stir by hand with a rubber spatula. That’s what I do with mine!
Hi Chelsea! This is an amazing write up. Do you recommend the same recipe and consistency for piping things like flowers? I have an issue with my flowers lacking definition. Would adding shortening be a good solution to this? Thank you!
Hi Claire,
I do! My frosting is pretty thick when I pipe flowers. I’d suggest thickening up your frosting if your flowers are lacking definition. That also can be caused by the heat from your hand warming up the frosting in the piping bag! If you think that might be the case, try taking breaks between flowers to help the frosting cool down, or wrap a paper towel around the bag. Hope that helps <3
Mine is a very humid place. So whenever i piped flowers after few minutes i get scared seeing if the petals r gonna fall apart and melt down. Hope ur tips will help
Humidity is hard! The best thing you can do to battle it is use hi-ratio shortening in your frosting <3
Heyy, i found your all tutorials helpful nd really amazing.
I just moved in Washington dc from india and I don’t know about which american brands are good for butter, chocolate and other ingredients. Can you please help me with this.
Thank you ?
Hi Aanal,
You’re too sweet! And that’s great. Brands of butter and chocolate can vary a lot between different grocery stores and even different states! I like using chocolate and butter from whole foods (their 365 brand), but most types should work! I’d try out a few different types that are at the stores you shop at and see which ones you like best. Sorry I can’t be of more help <3
Hey! First of all thank you so much for this post, it helped a lot! My problem is that I’m from Germany so I can only get European butter in our grocery stores. I tried your recipe anyways but now, as you said, my buttercream isn’t as white.. Is there anything you suggest doing in my case? Or is there no way around the yellowness when I’m using European butter?
Hi Theresa,
I suggest adding in a tiny (TINY) bit of purple gel food coloring! yellow and purple or opposites on the color wheel, and it helps cancel out some of the yellowish tint. It works like a charm!
Thank you so much for the advice! I’ll try these tactics.
Np! Hope they help 🙂
What if you don’t have heavy cream? Can milk be a substitute?
HI Chelsea, I tried making a layered cake for the first time yesterday using your recipe for lemon raspberry cake with lemon cream cheese frosting. It was delicious but I found that the frosting got hard and crusty when I left the cake out for a couple of hours at room temperature, and even more when I put the leftovers in the fridge overnight. It was still tasty so I wasn’t too concerned, but I want to make the cake for a wedding, probably a day in advance, so it’s going to be in the fridge and sitting out for long periods of time. Is there a way to prevent the frosting from drying out/ hardening? Thank you!
This happened to mine also and was hoping for advice.
American buttercream always crusts, any meringue based buttercream will remain soft.
Should the consistency be different for cupcakes? Do you make it differently?
Add some cornstarch instead of more powdered sugar… that will help!! And use shortening instead of butter. Butter melts too fast
@Erin Volcsko, Sorry, my opinion: eating shortening is disgusting and tastes worse. Real butter for buttercream frosting, please.
I do agree that butter in buttercream tastes better than frosting, but sometimes people need to add in some shortening to make the frosting more stable in hot or humid weather, or if there are any food allergies. I get why people use it sometimes 🙂
And add some cornstarch… that helps stabilize without adding more sugary sugar. I live in humid weather too.
I always use your buttercream recipe and everyone always LOVES IT. (My husband especially). My biggest struggle is when I try to add food coloring. I just ordered the brand that you suggested in another blog, so maybe that will help when I make my next cake this week. But usually when I add food coloring, the consistency gets less firm and therefore does not pipe well. Do you have tips on coloring your frosting and keeping it pipeable? Thank you!
Hi
Thank you for all the tricks and advice really it’s so helpful , I just want to know when you taste the american buttercream do you feel the sugar granule?? Or the sugar should dissolve on the butter and you should not feel it?? Thank you again?
Hi I noticed that you do not sift the powdered sugar.. why?
Thanks and I just love all your tutorials!!
Hi, I have made this twice. Once with a kitchen mixer, with a flat attachment, and once with a hand mixer. both came out looking rough, and lots of bubbles. first batch seemed to do better after sitting all night in fridge, then stirring before using. Second batch we didn’t have time to let it set overnight…maybe that helps.. Stirred this second batch quite a while with a spatula and still many bubbles. Second batch was for cupcakes and the edges came out “broken” looking vs a smooth edge. Not giving up! : )
I think your spatula test is a brilliant tip and one I am so grateful for. There are so many bakers and cake decorators on the internet and as someone new to both, I find you are very practical in your approach, super clear in your tutorials, especially insightful to give even the smallest detail – sometimes when you do something so well and it becomes familiar, the smallest foundational practices are considered known by all and not mentioned or given much mention – this is not the case with you and no matter what I see or where I see it, I find myself coming back to you to be sure nothing has been missed. You are a treasure and one I am grateful for. Thank you Chelsweets. ?
Chelsea this is amazing tutorial thank you! I am a beginner baker & and my ABC frosting consistency was off- it never seemed to have a fluffy texture as compared to yours in your videos; is it possible to over beat the room temp butter? Even the butter stage was not as fluffy.
I’ve just discovered your blog after searching for guides on how to prepare cakes layers and frosting in advance and wow – I’m already amazed! I’m making a layered cake for my birthday next week and I feel so much more confident about the whole process now. Thank you!!
Hi is this crusting butter cream
Hi Chelsea
I am looking to make my daughter’s wedding cake….I bake but never to this size and level of importance! I am sponging up all of your advice, recipes, tips and tricks and am hoping that you will continue answering the questions at the bottoms of your posts as many are my questions too! Thank you so much for sharing your knowledge so succinctly and clearly.
Thank you for your input, pls if I may ask, how can I make my buttercream less sweet still maintaining the right consistency.
Hi there, hope you are well..
I used your buttercream recipe for the first time last week. I halved the recipe but it was the silkiest, smoothest buttercream I’ve ever made…
Now for some reason I can’t get it like the first time any more..
So many people were commenting on how silky it looked!!!
Please help me get this right again.. ?..
Hi Chelsea! Came across your buttercream recipes and can’t wait to try it on some cupcakes in the next couple weeks
Curious if you can help me. I’m making a banana cake for my daughters first birthday and was looking for a frosting that’s a bit less sugary. I found one with cream cheese, honey, and powdered sugar but curious how to know if it’ll hold up with piping ombré rosettes. Is there a way to know if a frosting recipe will hold up to piping? Do you have any recommendations for a recipe?
I followed the recipe exactly as is. Did not get “the curl”. I ended up adding around 10 additional tablespoons of heavy cream. Still no curl. Ended up with so many air bubbles. It’s certainly spreadable and tasty but not at all silky smooth. Did it on low paddle the entire time and then by hand. What did I do wrong?
@Rosy, I’m making this right now and am currently at 15 total tbsp of cream! Glad I’m not the only one
Lovely recipe for frosting but how do you pipe the roses on the cake. I would love to know please
I’ve found that when I make my frosting to the right consistency, it’s also really shiny and a little sticky. Is there something that I’m doing wrong?
Hi Chelsea, you are a wealth of information and inspiration!! I am making a rosette covered cake and wondering if I should use Swiss or American. I prefer the taste of Swiss but am wondering how it will hold up on side of cake. Any advice is welcome! Thank you for all the great videos and your advice
You mentioned cream cheese in your icing in the Coco melon cake but I don’t see it listed in your ingredients. Please explain? I love your cakes ??
Hi Karen,
Apologies about that reference to cream cheese frosting! Originally I was planning to frost this in cream cheese frosting because it’s a red velvet cake, but I found it was really hard to pipe on all the buttercream details with cream cheese frosting, and decided to make this cake with vanilla buttercream instead. I’ve updated the recipe card to remove that sentence. Thank you for letting me know!
How to make the DRIP. For cakes
Hi Dot,
I have a post with all my tips and my recipe on making a drip for cakes here: https://chelsweets.com/drip-cake-recipe/
Hope that helps, happy baking!
I’ve always used a 1:1 ratio of butter and shortening because of humidity. When I use heavy cream the buttercream has a grainy texture. So because of that I’ve been using near boiling hot water. Which leaves the buttercream less grainy. When you eat bakery buttercream it’s never grainy. Is this a good method to use or is there a better easy to make less grainy bcream? Thanks!!
Hi Jenni,
I’ve only ever lived in pretty cool places so I haven’t done much testing with shortening in my frosting recipes. I’d say if the hot water method seems to be working for you keep doing it!! You do want the buttercream to be nice and smooth!
I’ve tried a ton of recipes for buttercream dreaming of the one that I’d find that was perfect and this one is it. Thanks so much!!
Aw I’m so happy to hear that Nichole!!! Thank you so much for sharing 🙂
Thanks so much for use. I am using European butter from Switzerland and the sugar grains a still visible. How do I get the right consistency and stiffness?
It depends on the type of frosting you’re trying to make. Are you making American buttercream? If so, it sounds like you need to try using a different brand of powdered sugar that is more refined.
Or if you’re trying to make Swiss Meringue buttercream and you you can see the sugar granules, you may need to heat the eggs and sugar more before making the meringue. If you don’t think it’s either of those issues or you’re trying to make a different type of buttercream, let me know and we’ll try to figure it out together!
What speed do you use to mix the buttercream
I usually mix on like the lowest setting possible, so on my kitchen aid it’s the stir setting! If you’re using a hand mixer though you might need to do the second lowest setting to properly mix everything. Hope that helps, happy baking!