
Homemade Cake Release
Forget buying baking spray, this homemade cake release will help your cake layers pop right out of your pans! By combining 3 ingredients in equal portions, we get all the benefits of using a baking spray for a fraction of the price.
I used parchment rounds and baking spray for years, until I ran out one day. I had heard of homemade pan release and had seen other bakers use it, but had never tried it myself.
That was when I decided it was high time to see what it was all about, and I was shocked by how easy it is to make and use.
As an added bonus, you can prep any size or shape of cake pan using this pan release! That includes sheet cake pans, bundt pans, and even domed cake pans!
What is Homemade Cake Release?
Homemade cake release (also known as pan release or cake goop) is a mixture made with equal parts flour, vegetable oil, and shortening.
It’s been around for decades and used to be a staple recipe shared in home ec classes!
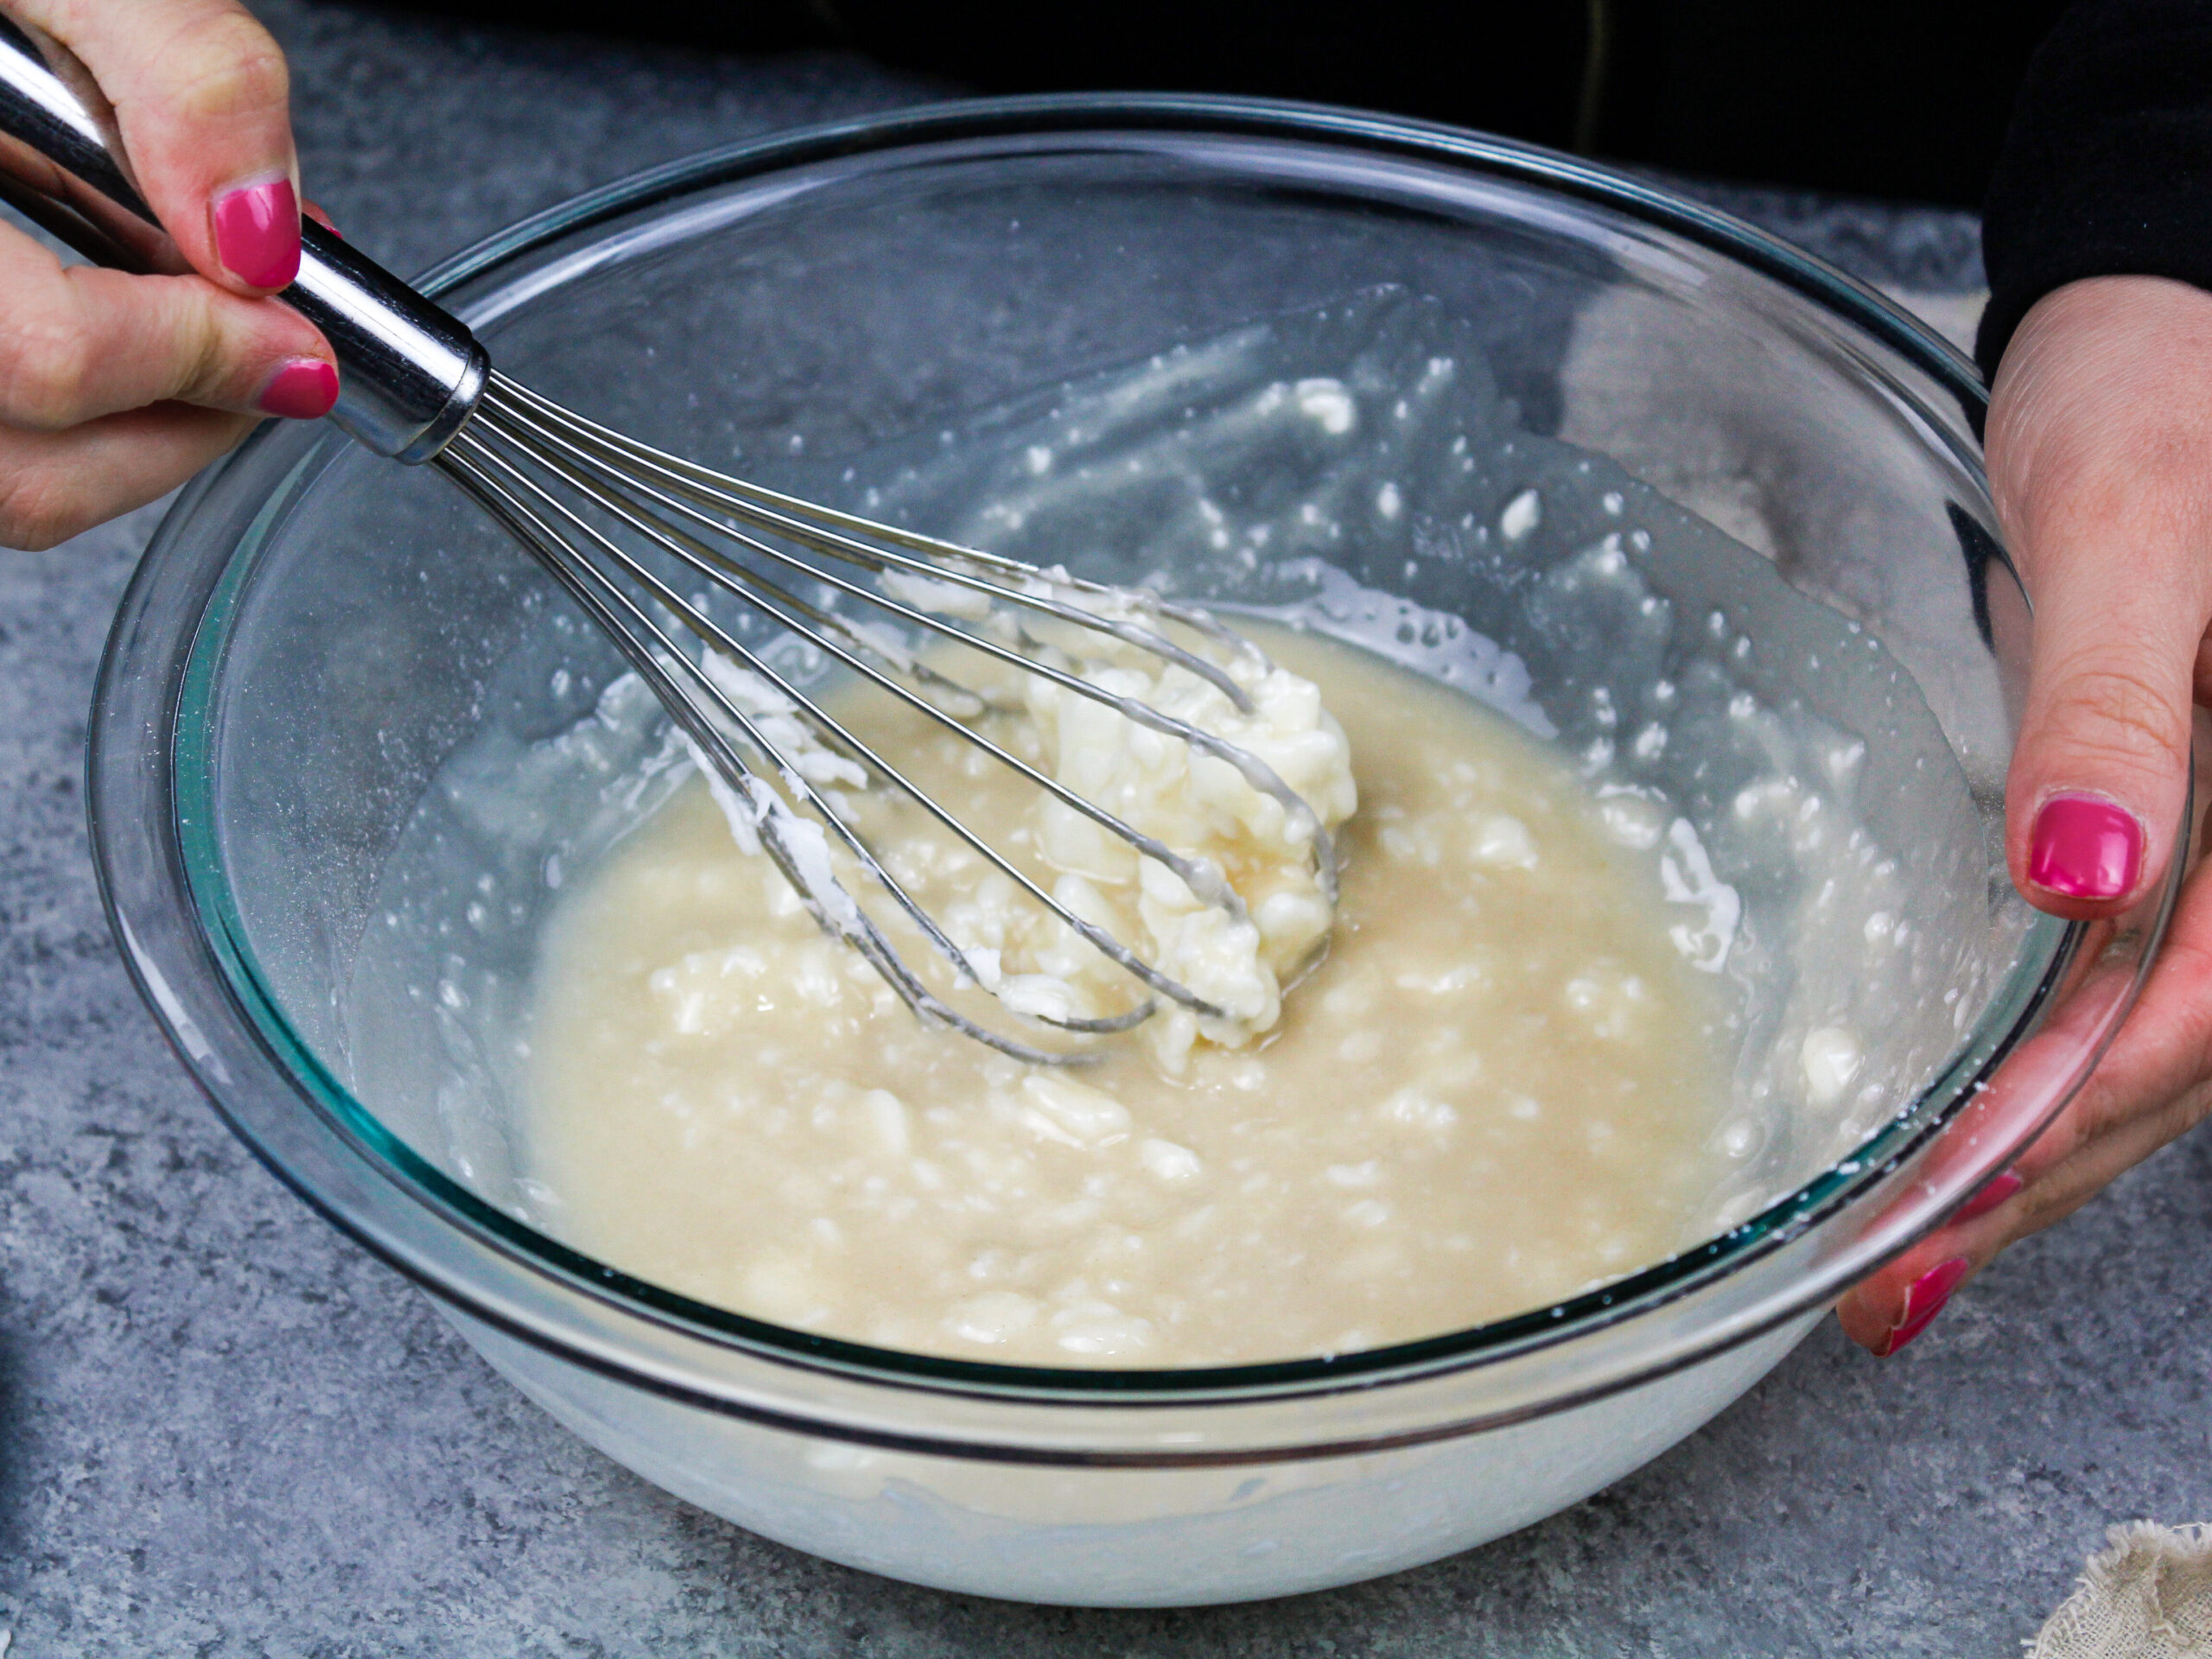
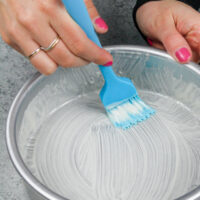
These three ingredients are mixed together until smooth. This can be done with a hand mixer and whisk attachment, an electric hand mixer, or by hand with a whisk.
This usually takes me 2-3 minutes. The mixture will look clumpy at first, but trust the process! It will lighten in color and get smoother the more you stir.
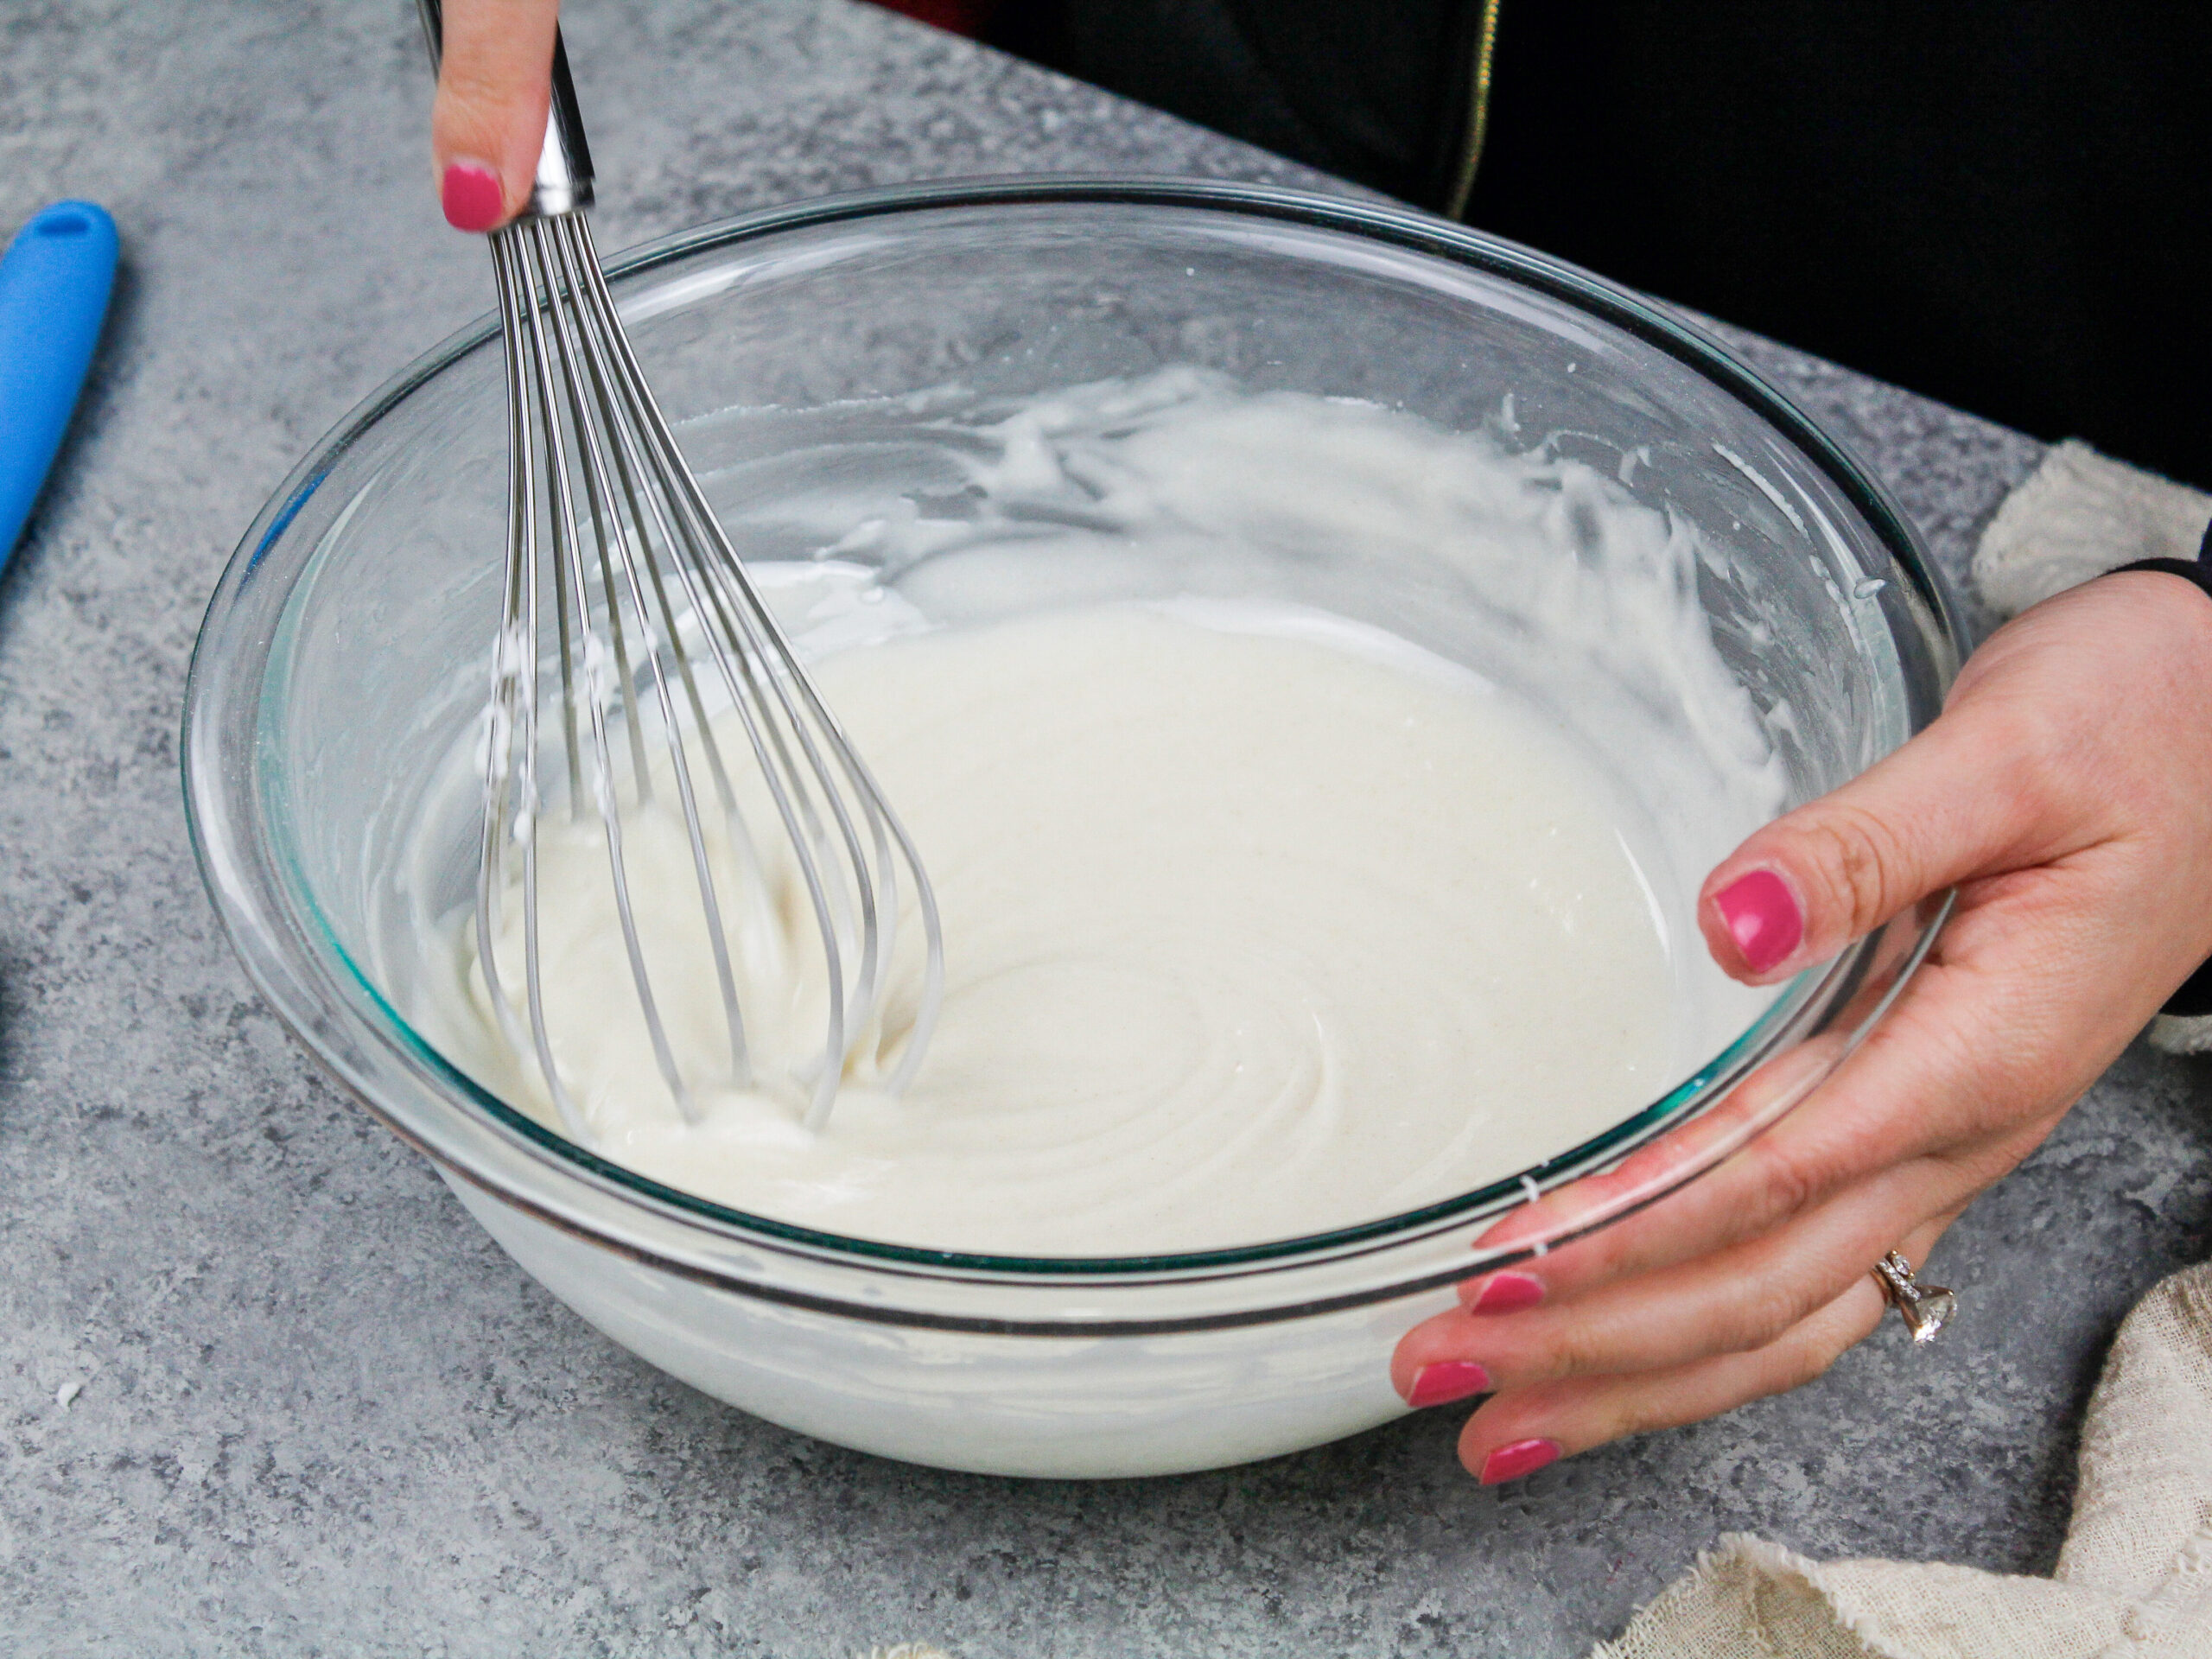
I usually just use a whisk to make the clean-up easier. While it does take a few minutes to get it smooth, I don’t mind the little arm workout!
Then voilá! You have a perfect mixture that greases and flours any pan simultaneously.
How Do I Use Homemade Pan Release?
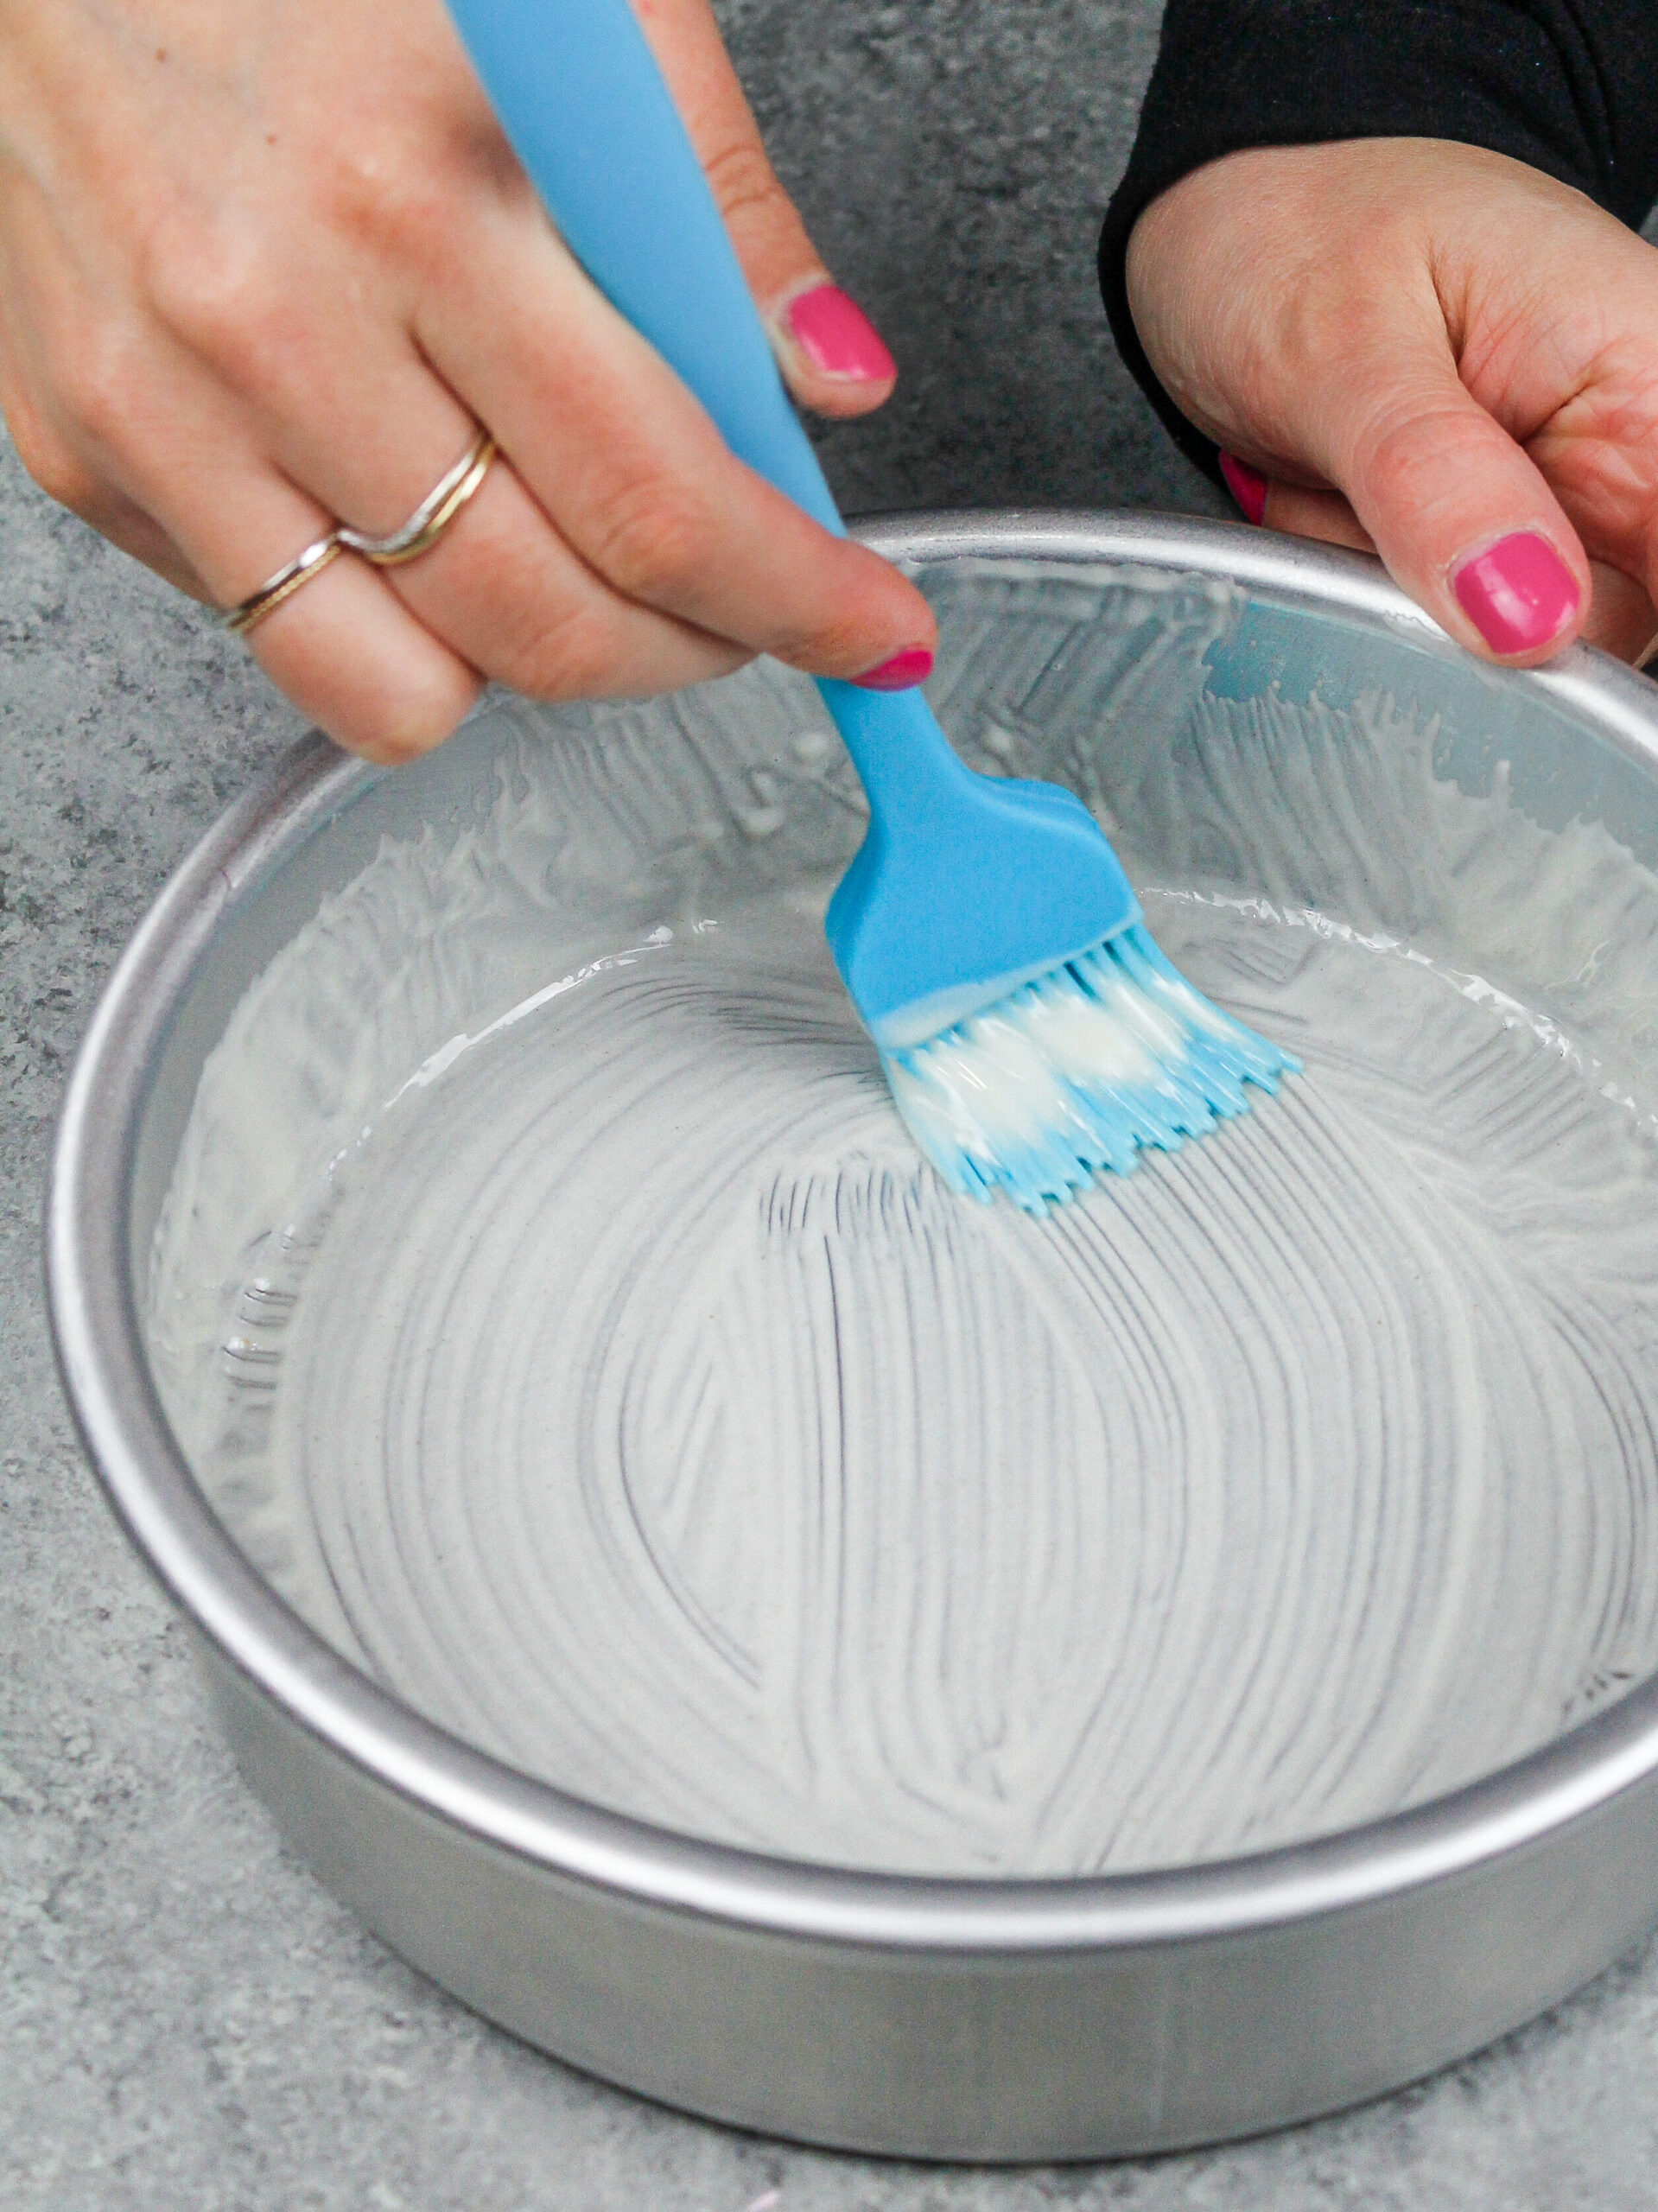
To use homemade pan release, brush an even layer of the mixture around the bottom and sides of your pan.
You want a generous, even layer that fully covers the inside of your pan. I love to use a silicone brush to coat my pans because it’s easy to use and clean.
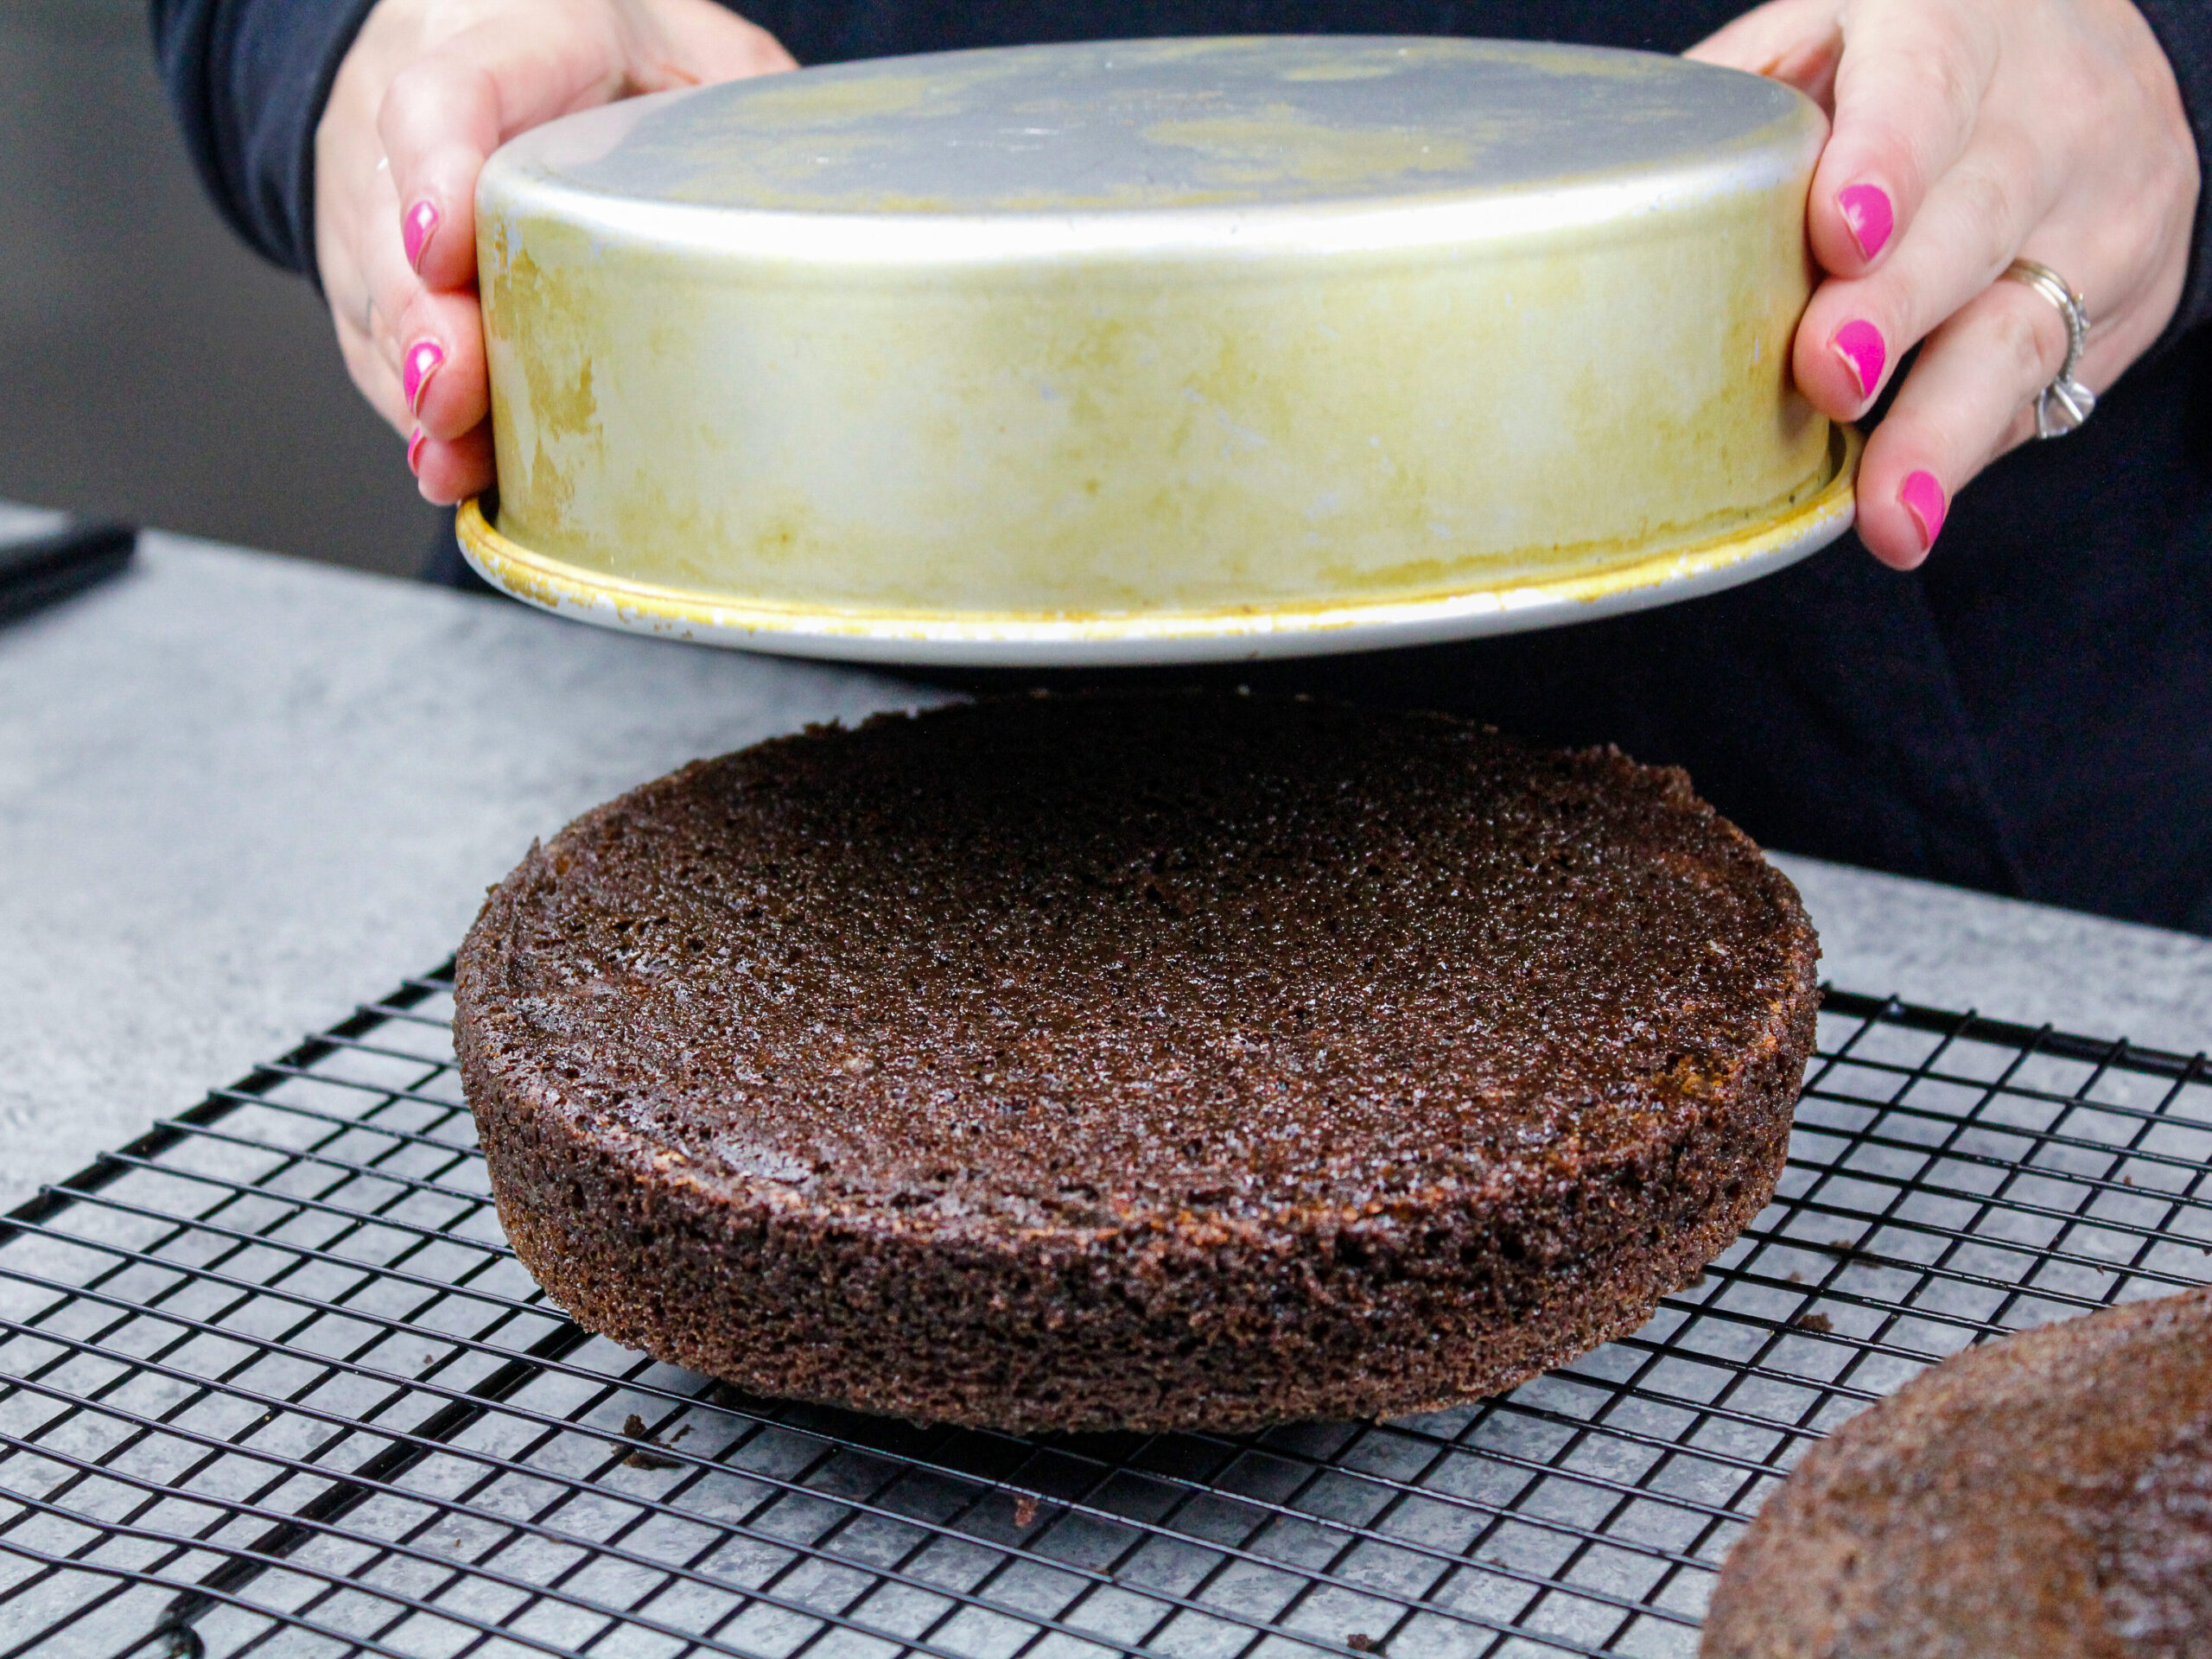
When the pan is fully covered, pour in your batter, and you’re good to go! Once the cake layers are baked, let them cool completely to room temperature before running an offset spatula around the edge of the pan and flipping the pan over to release each cake layer.
How Long Does This Pan Release Stay Good?
This pan release can be stored at room temperature for 3 months, or in the fridge for 6 months. I go through mine relatively quickly, so I like to leave it out at room temperature.
Overtime some of the ingredients can gradually begin to separate. If you run into this, just give the mixture a quick stir with a spoon or small whisk before you use it.
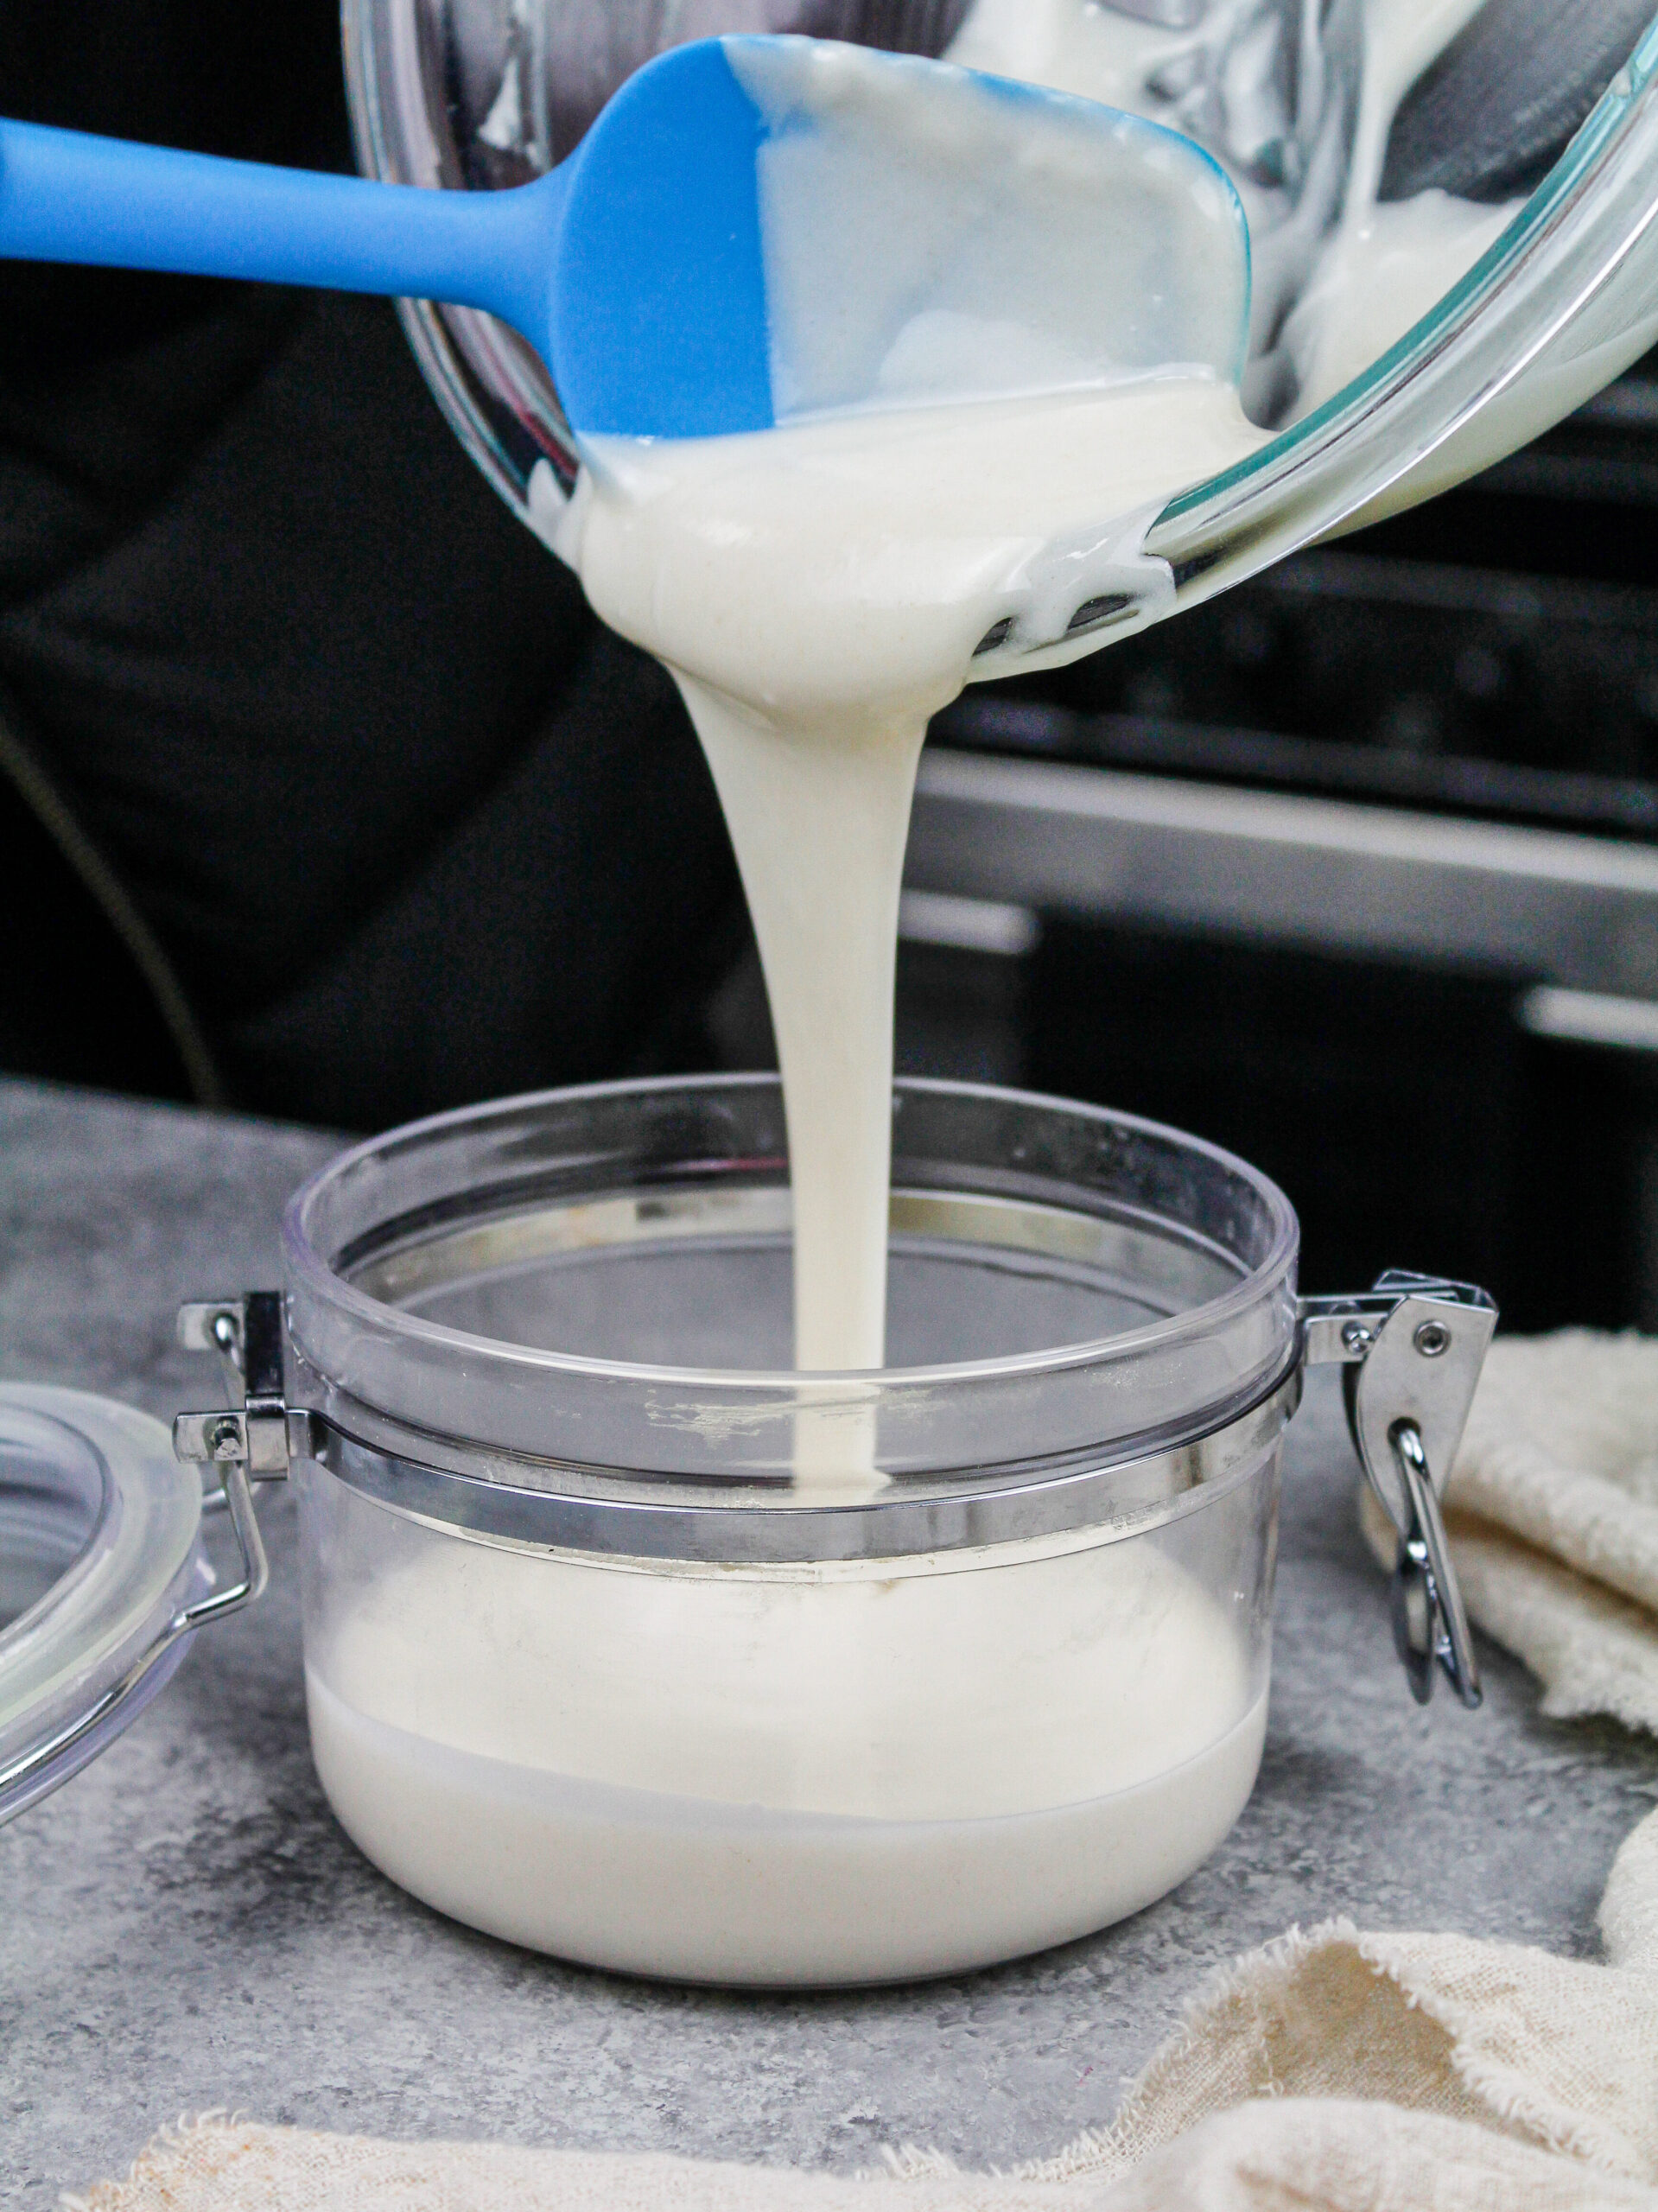
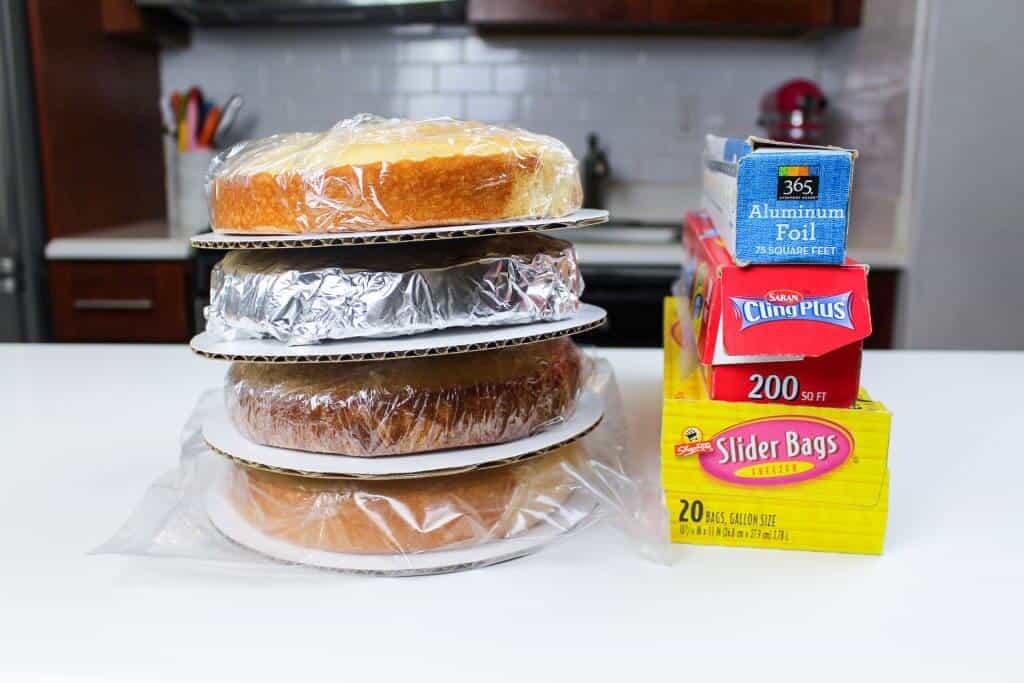
How to Store Homemade Cake Release
You can store this cake release in any airtight container! I’m a fan of using plastic jars with a latch, but mason jars also work great.
Let Me Know What You Think!
If you try this homemade pan release, I’d love to hear what you think of it. Please let me know by sharing a rating on the recipe card below.
Homemade Cake Release
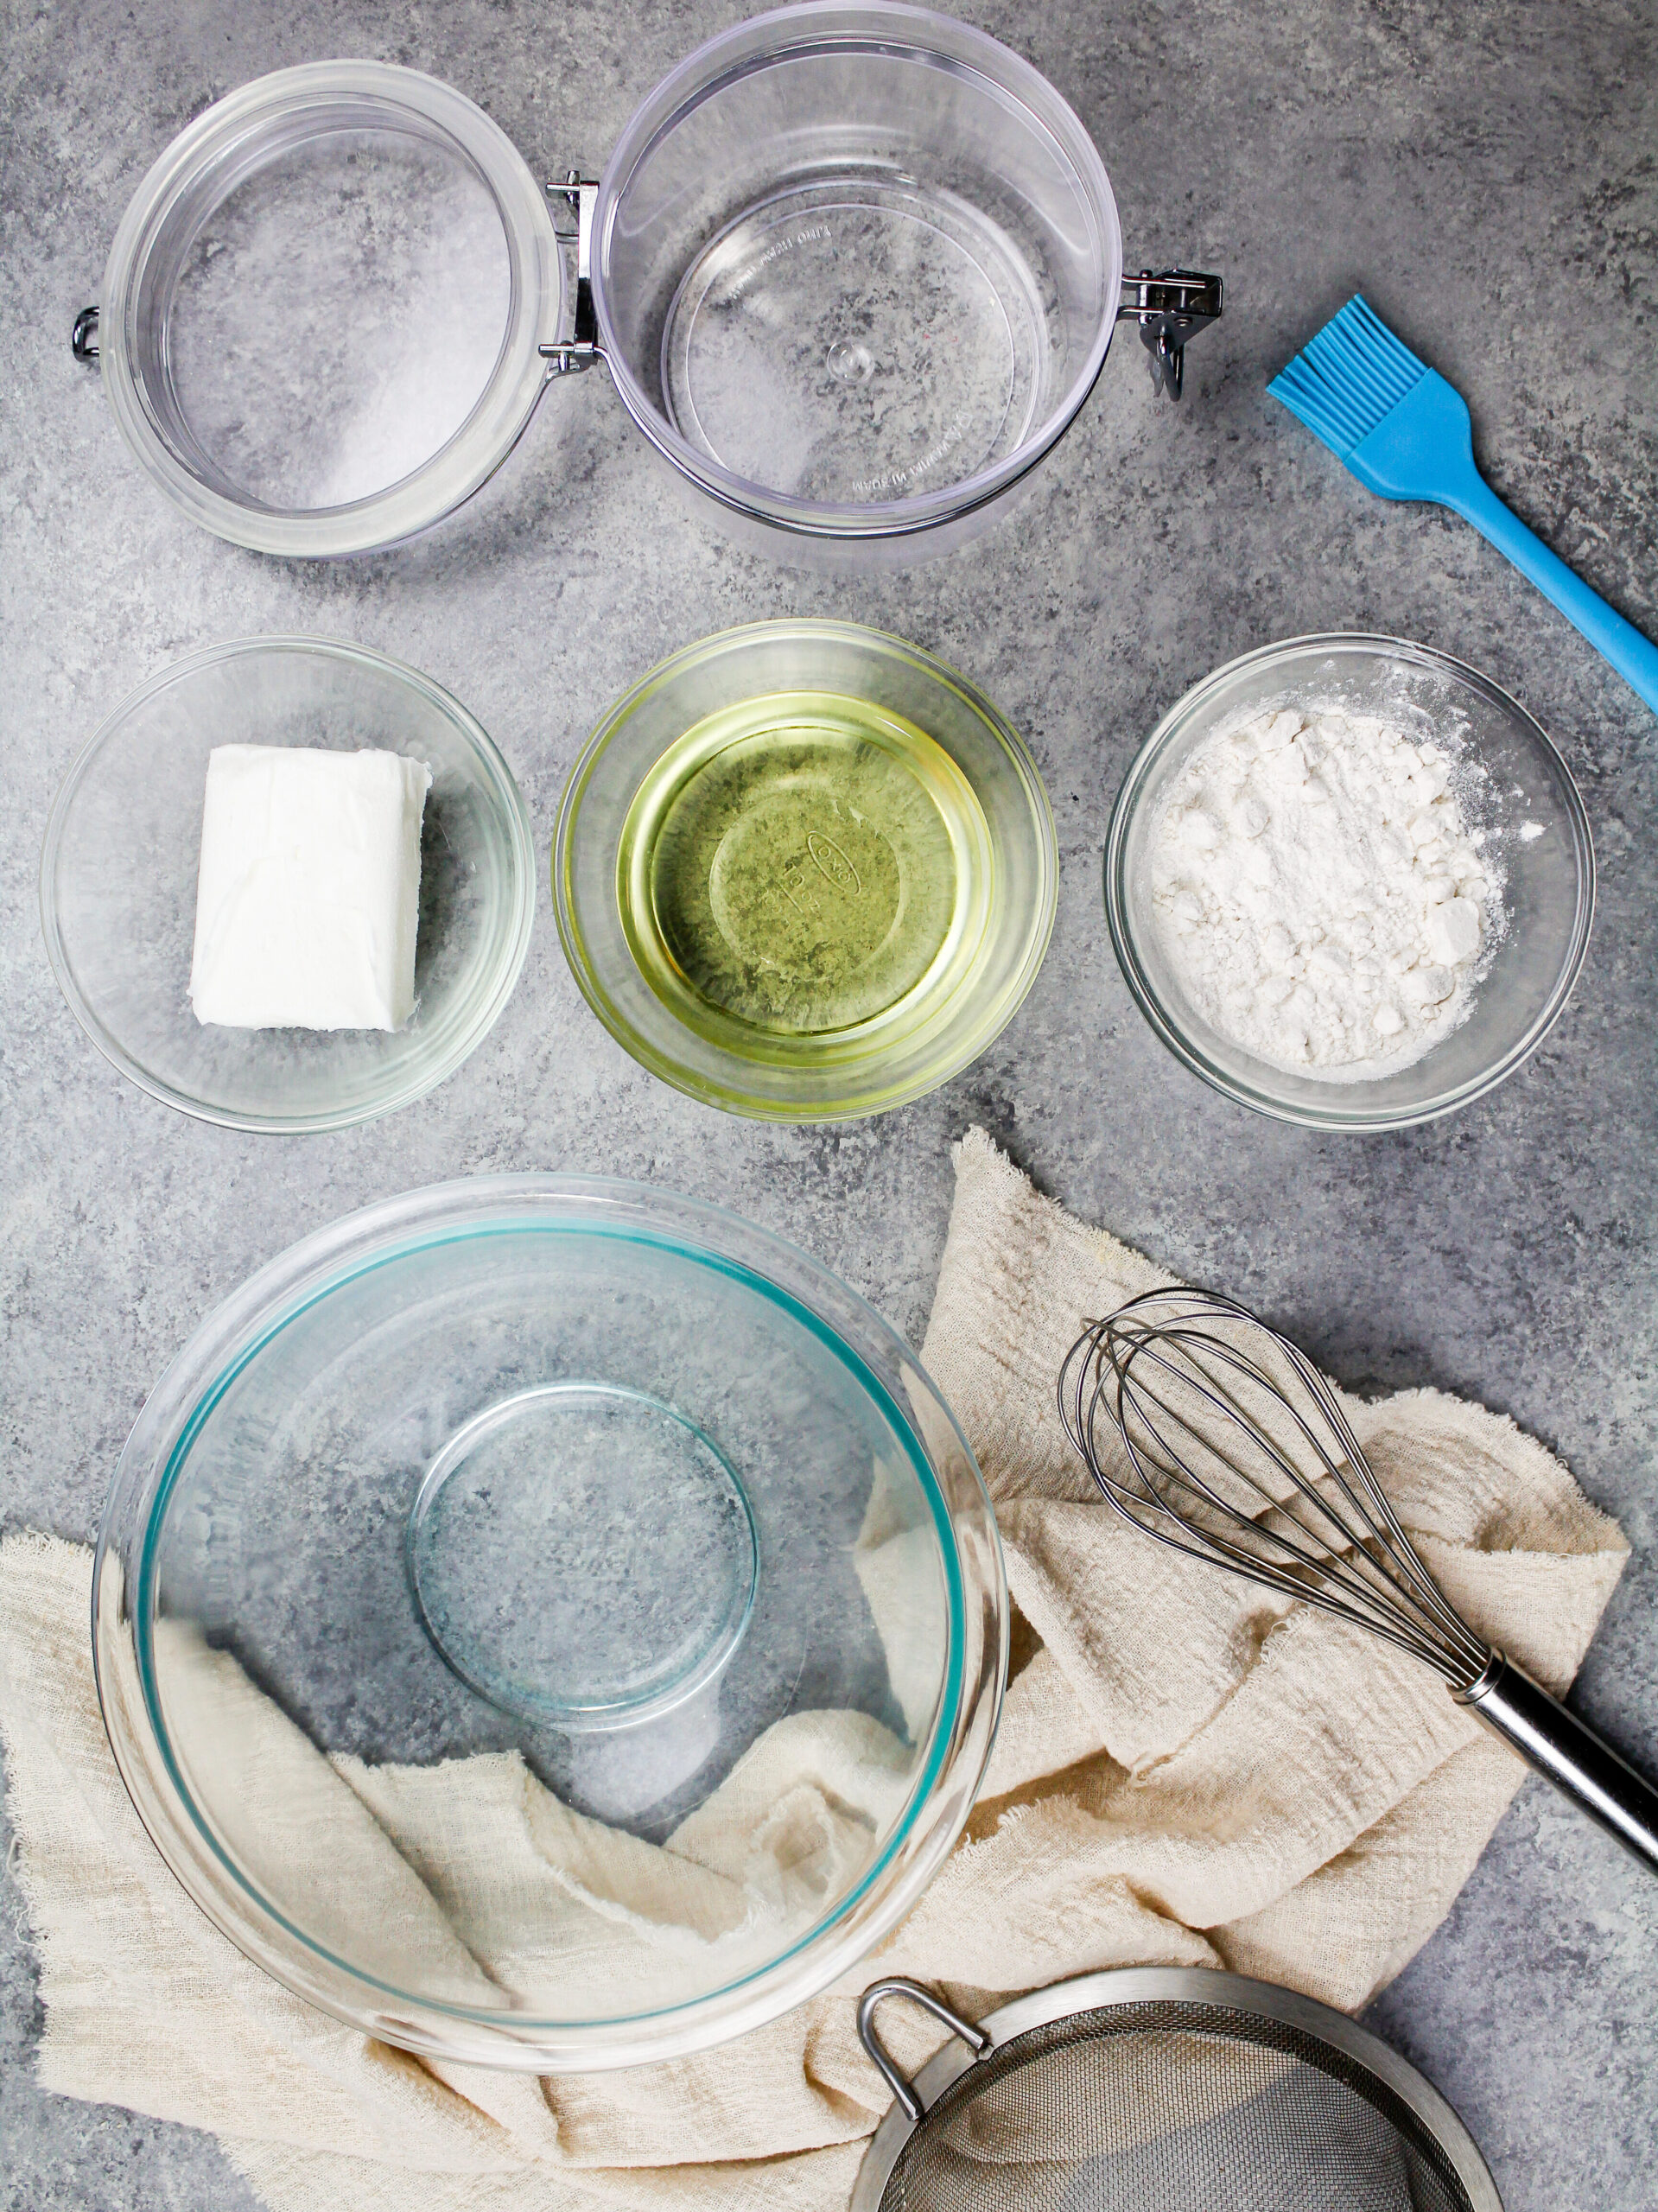
Ingredients
Homemade Cake Release
- 1/2 cup vegetable or canola oil 112 grams
- 1/2 cup shortening 95 grams
- 1/2 cup flour 65 grams
Additional Tools
Instructions
- Place 1/2 cup of oil, 1/2 cup of shortening, and 1/2 cup of flour in a large bowl.
- Whisk by hand until smooth and no clumps remain. This usually takes me 2-3 minutes. The mixture will look clumpy at first, but trust the process! It will lighten in color and get smoother the more you stir.
- Store in an airtight container at room temperature for 3 months, or in the refrigerator for up to 6 months.
- When you want to use the cake release, dip a silicone brush into the mixture and spread a generous, even layer over the bottom and sides of the cake pan before pouring in your cake batter.
- Once your cake layers are baked, let them cool completely to room temperature before running an offset spatula around the edge of the pan and flipping the pan over to release each cake layer.
Video
Notes
Storage
Store this homemade cake release in an airtight container in the fridge for up to 6 months.Can I Make This Homemade Pan Release By Hand?
This homemade cake release can be made with a hand mixer and whisk attachment, an electric hand mixer, or by hand with a whisk. I usually just use a whisk to make the clean-up easier. It takes a few minutes to get it smooth, but I don’t mind the little arm workout!Nutrition
Other Tutorials You Might Like:
Quick question, do you recommend vegetable or canola oil in this recipe?
Thanks for sharing, huge fan!
@Jillian, what type flour? Plain or self rising.
@Inez,
Works like a charm. I just made my second batch for this weekend baking. Highly recommend this.
This stuff is amazing! I used 1/4 cup of each, and I still have enough for at least a couple more cakes. I made a chocolate bundt cake (with a rather intricate pattern) and it released without so much as a crumb left behind in the pan! Thank You!
I dont have a silicon brush all i hsve is a wooden brush with bristles will that work
Hi Courtney,
A wooden brush should work fine! Just be sure that none of the bristles come out or get stuck in the cake release. Hope that helps, happy baking!
WOW!! Seriously not a crumb left! My cakes just about slipped out of the pan. Lol I’ve used butter/flour, non-stick spray, parchment paper and more. This is by far THE BEST! Thank you!
Yay!! I’m so happy to hear that Jennifer! It really does work like a charm 🙂 Thanks for sharing!
Can you use a gluten free flour?
Hi Denise,
I haven’t tested it out, but I would assume that the release should still work with gluten free flour! Let me know if you try it, I’d love to hear how it works!
Could butter be used instead of shortening? Or partially hydrogenated lard? Thank you.
Can I use tallow over shortening?
I use this mixture all the time when I bake cakes. It has never failed! And I’ve never had a cake stick when I’ve used it! I’m so glad you shared it! I hope everyone gives it a try it’s well worth the little bit of time it takes to mix up.
Hi Llisa,
I’m so glad to hear that! It really is such a game-changer once you start using it, no more stressing about cakes sticking. Thanks so much for sharing your experience, I hope it encourages more people to give it a try too! 🙂
Hello, I’m making a strawberry cake for my first time and I’ll also incorporate the poke style with the hot strawberry Jell-O kind of a combination little bit of both. How’s that?
I don’t know how to prepare the glass pan for a sheet cake. I don’t really want to use flour cause my pretty strawberries goes in the bottom. Can you give me some direction please?
This is my birthday cake, today
Hi Pepper,
A lot of it depends on what cake recipe you’re using! I’d recommend greasing the pan the way the cake recipe calls for. Adding the jello mixture over the cake once it’s baked shouldn’t really have an impact on how the cake sticks to the pan. Greasing the pan with this should work too though!
I’m a little confused by adding the strawberries on the bottom though? It’s hard for me to advise on recipes that aren’t my own that I haven’t tested or made before, so sorry! Hope your cake turned out great though and that you had a wonderful birthday!