
Peanut Butter Fudge Cake
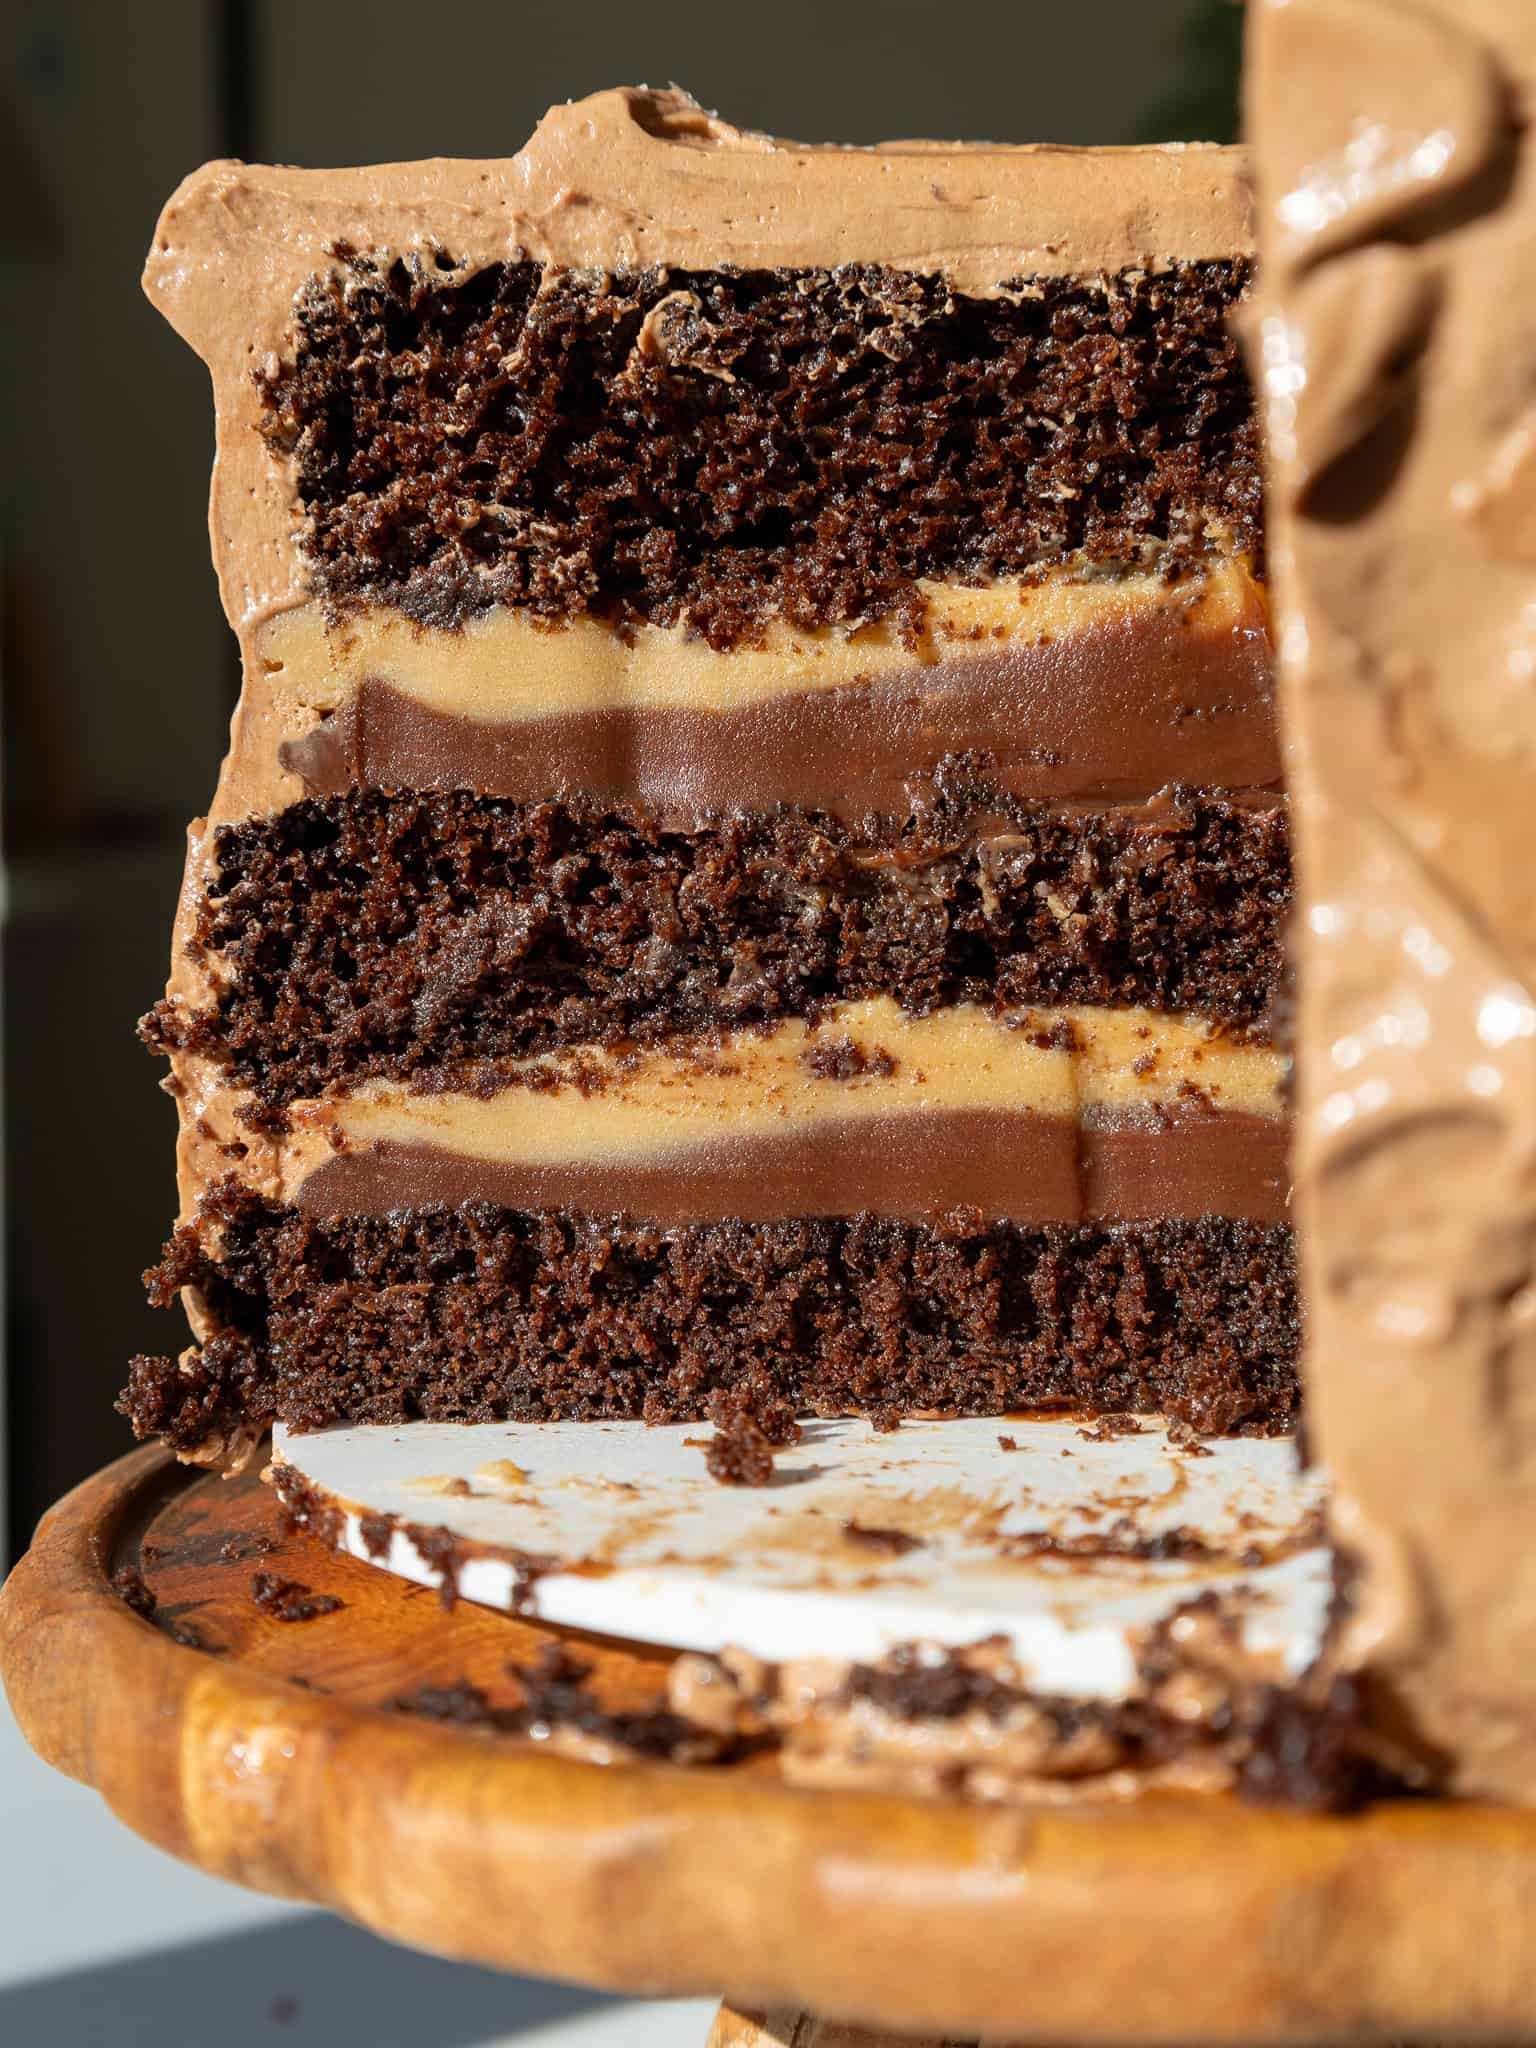
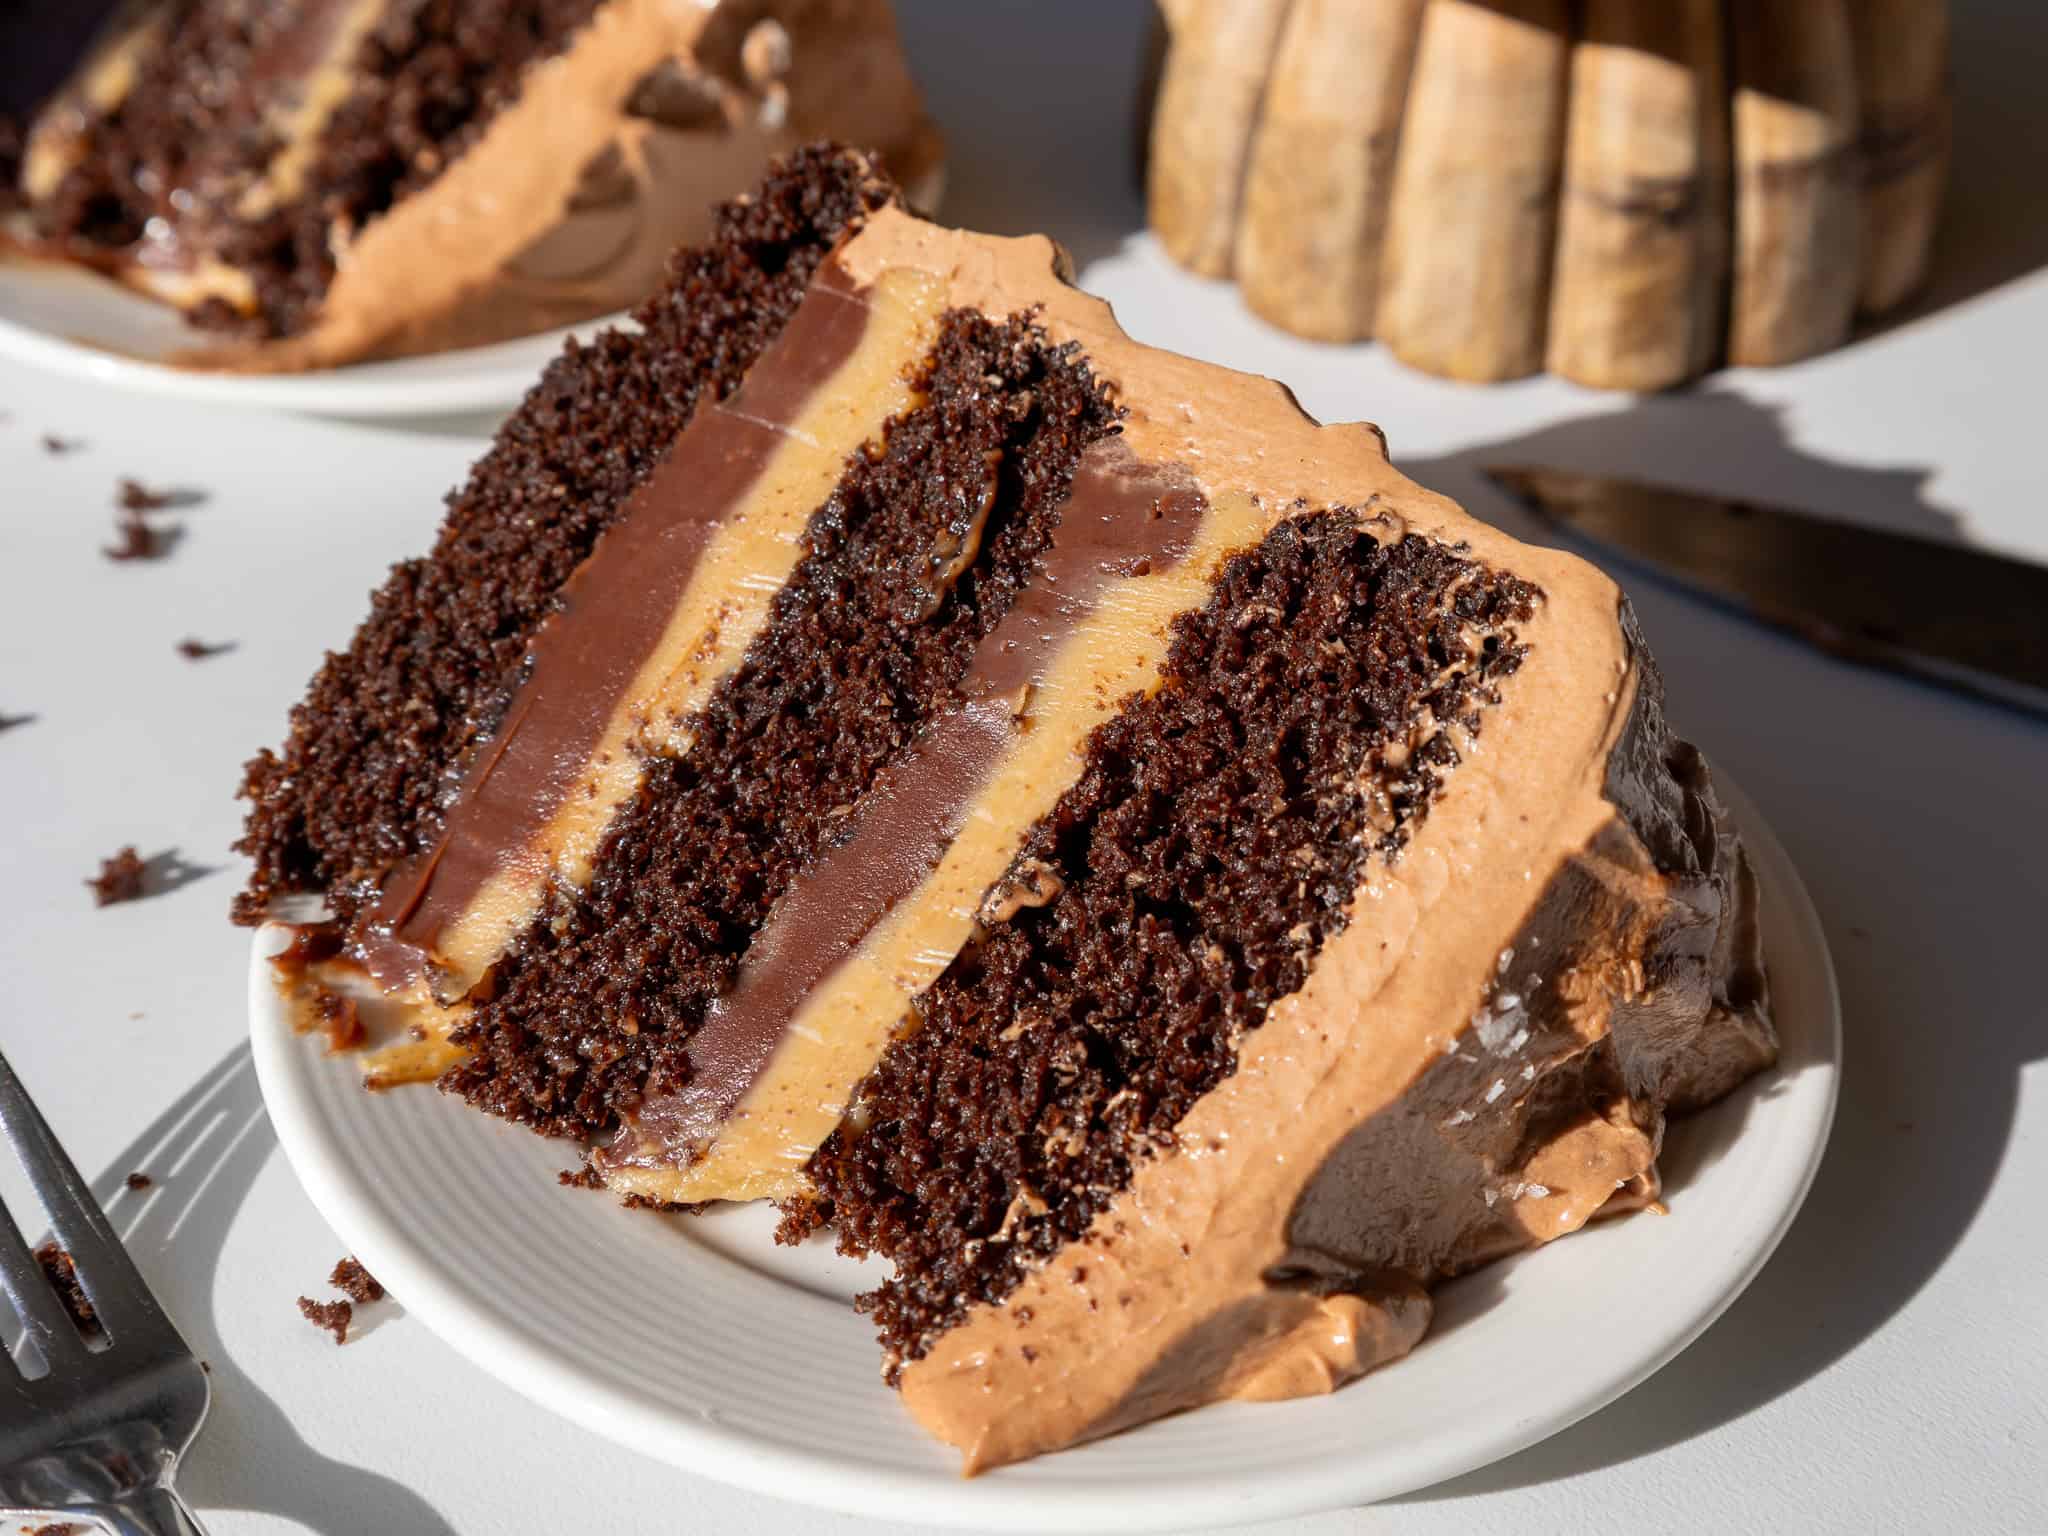
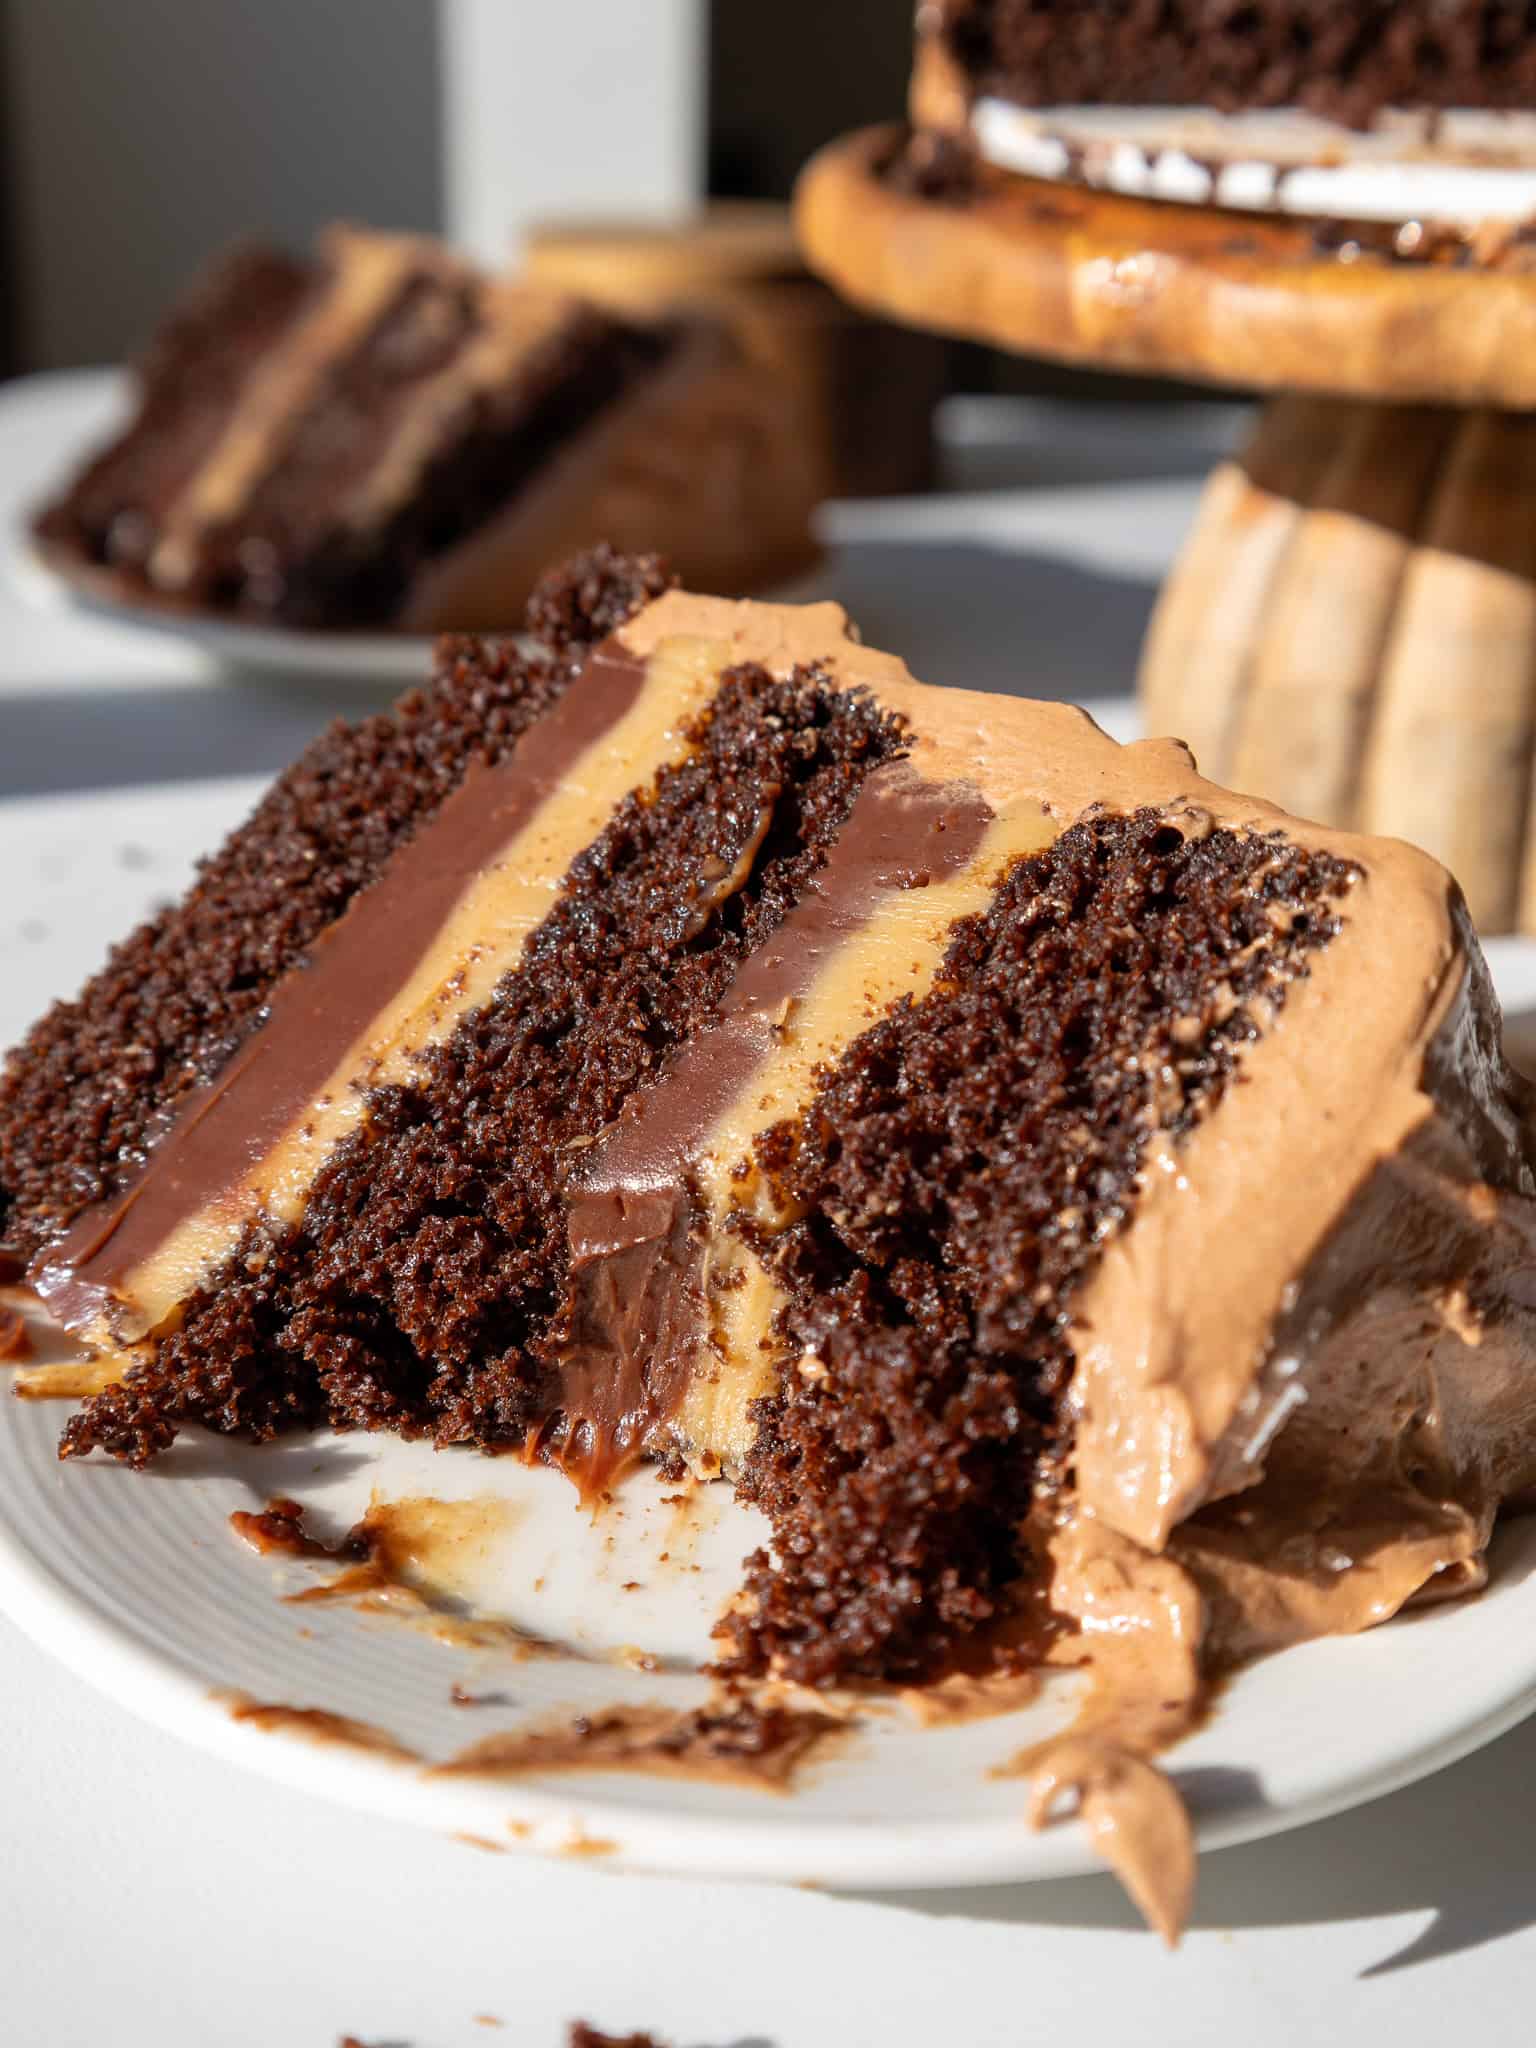
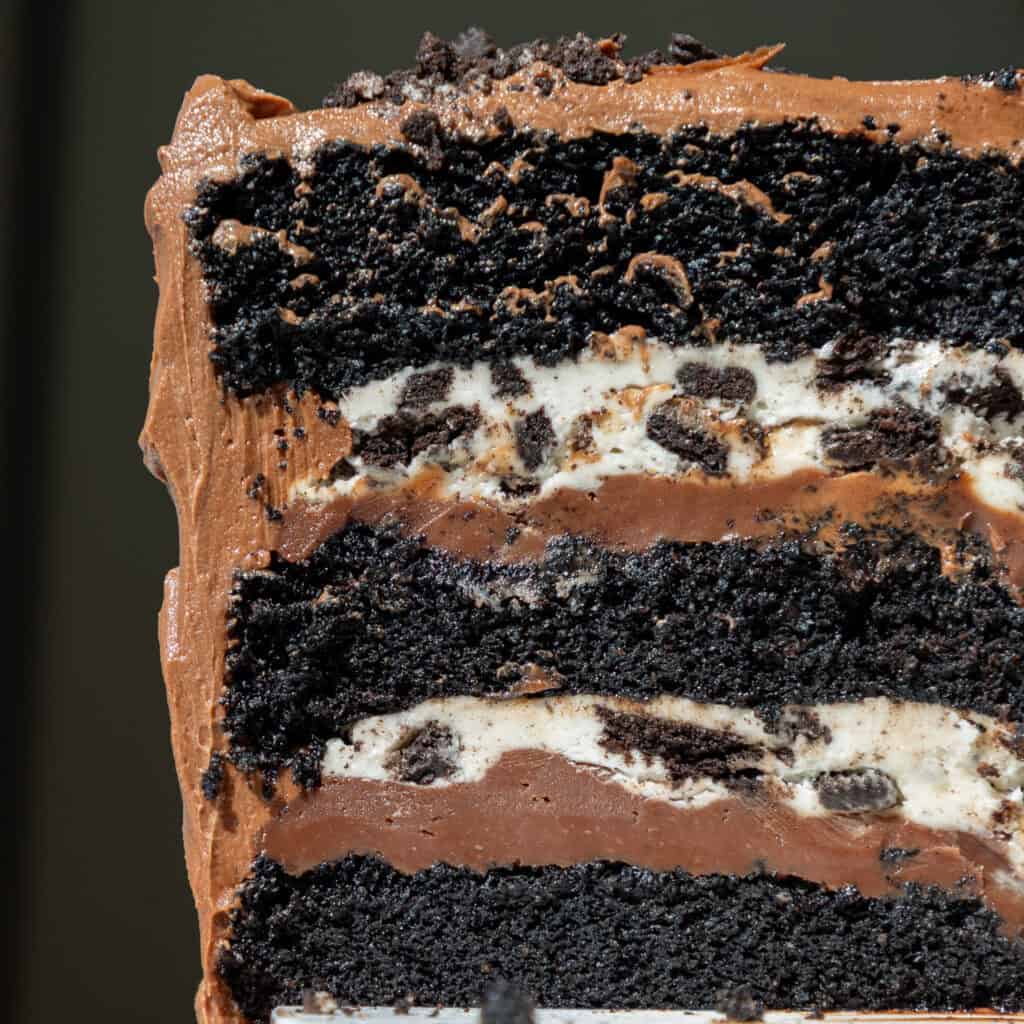
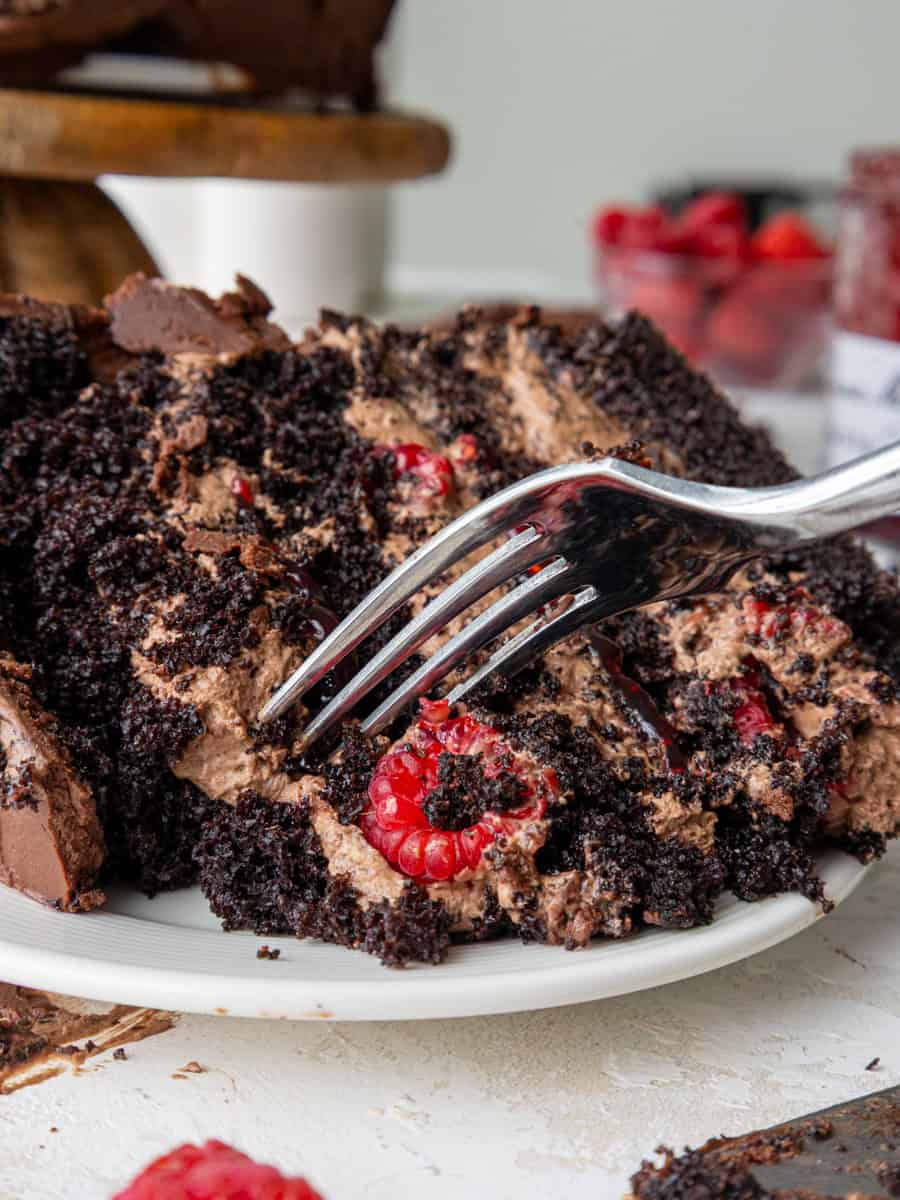
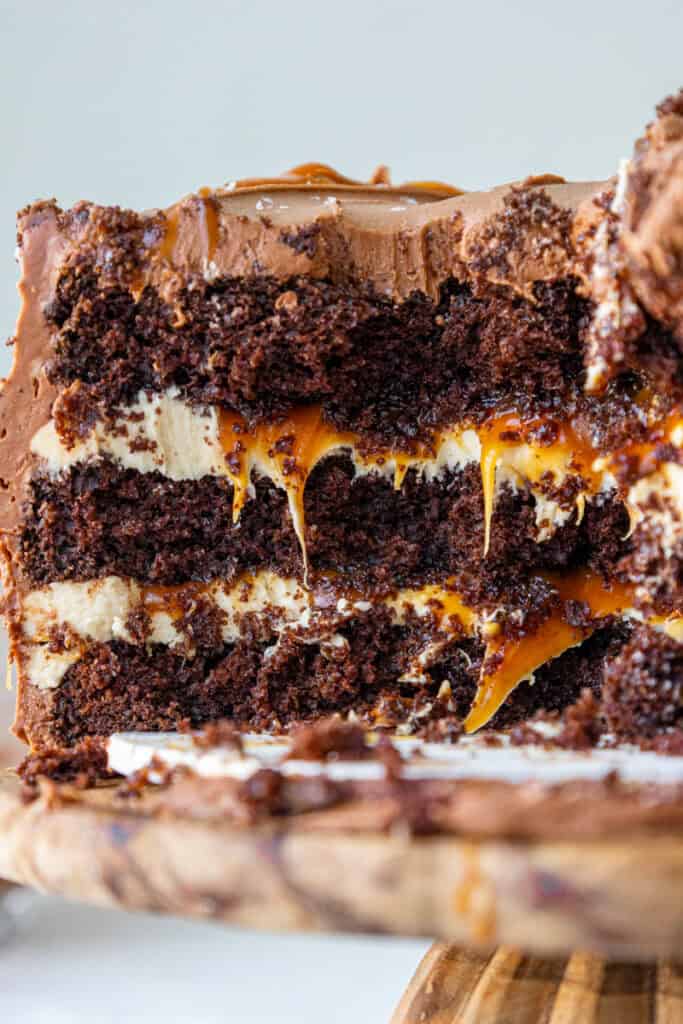
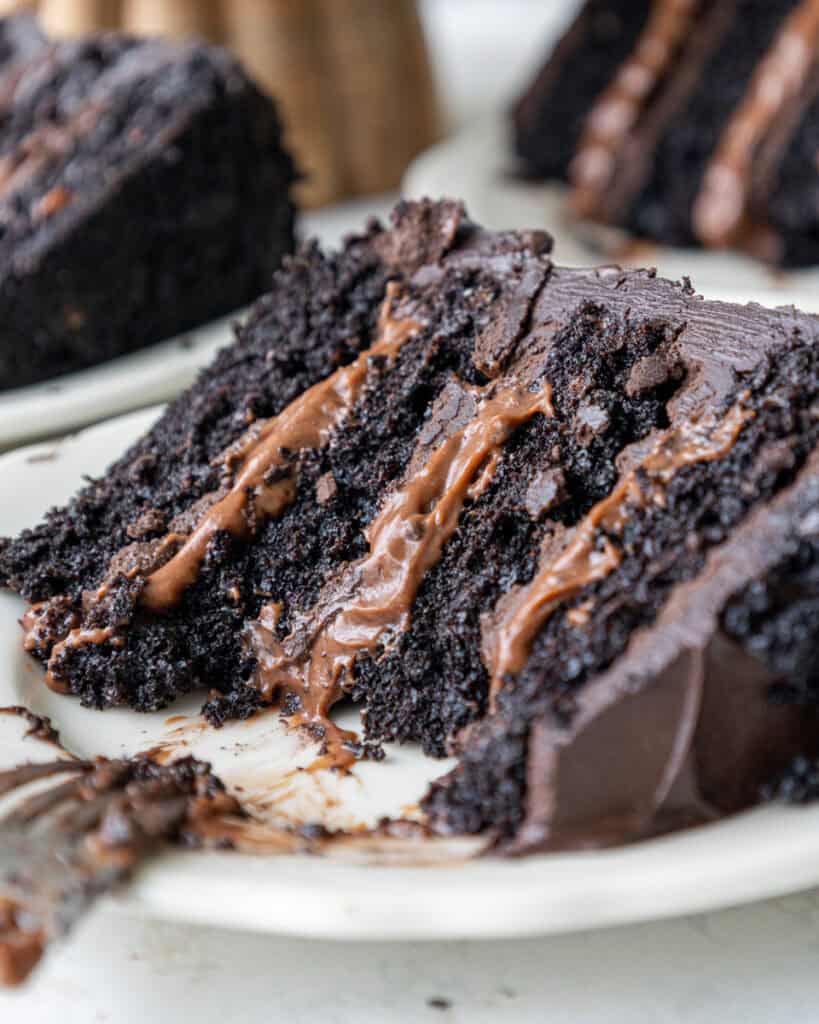
If you love chocolate and peanut butter together, you are going to LOVE this peanut butter fudge cake! It’s made with tender, moist chocolate cake layers filled with thick layers of milk chocolate ganache and creamy peanut butter ganache.
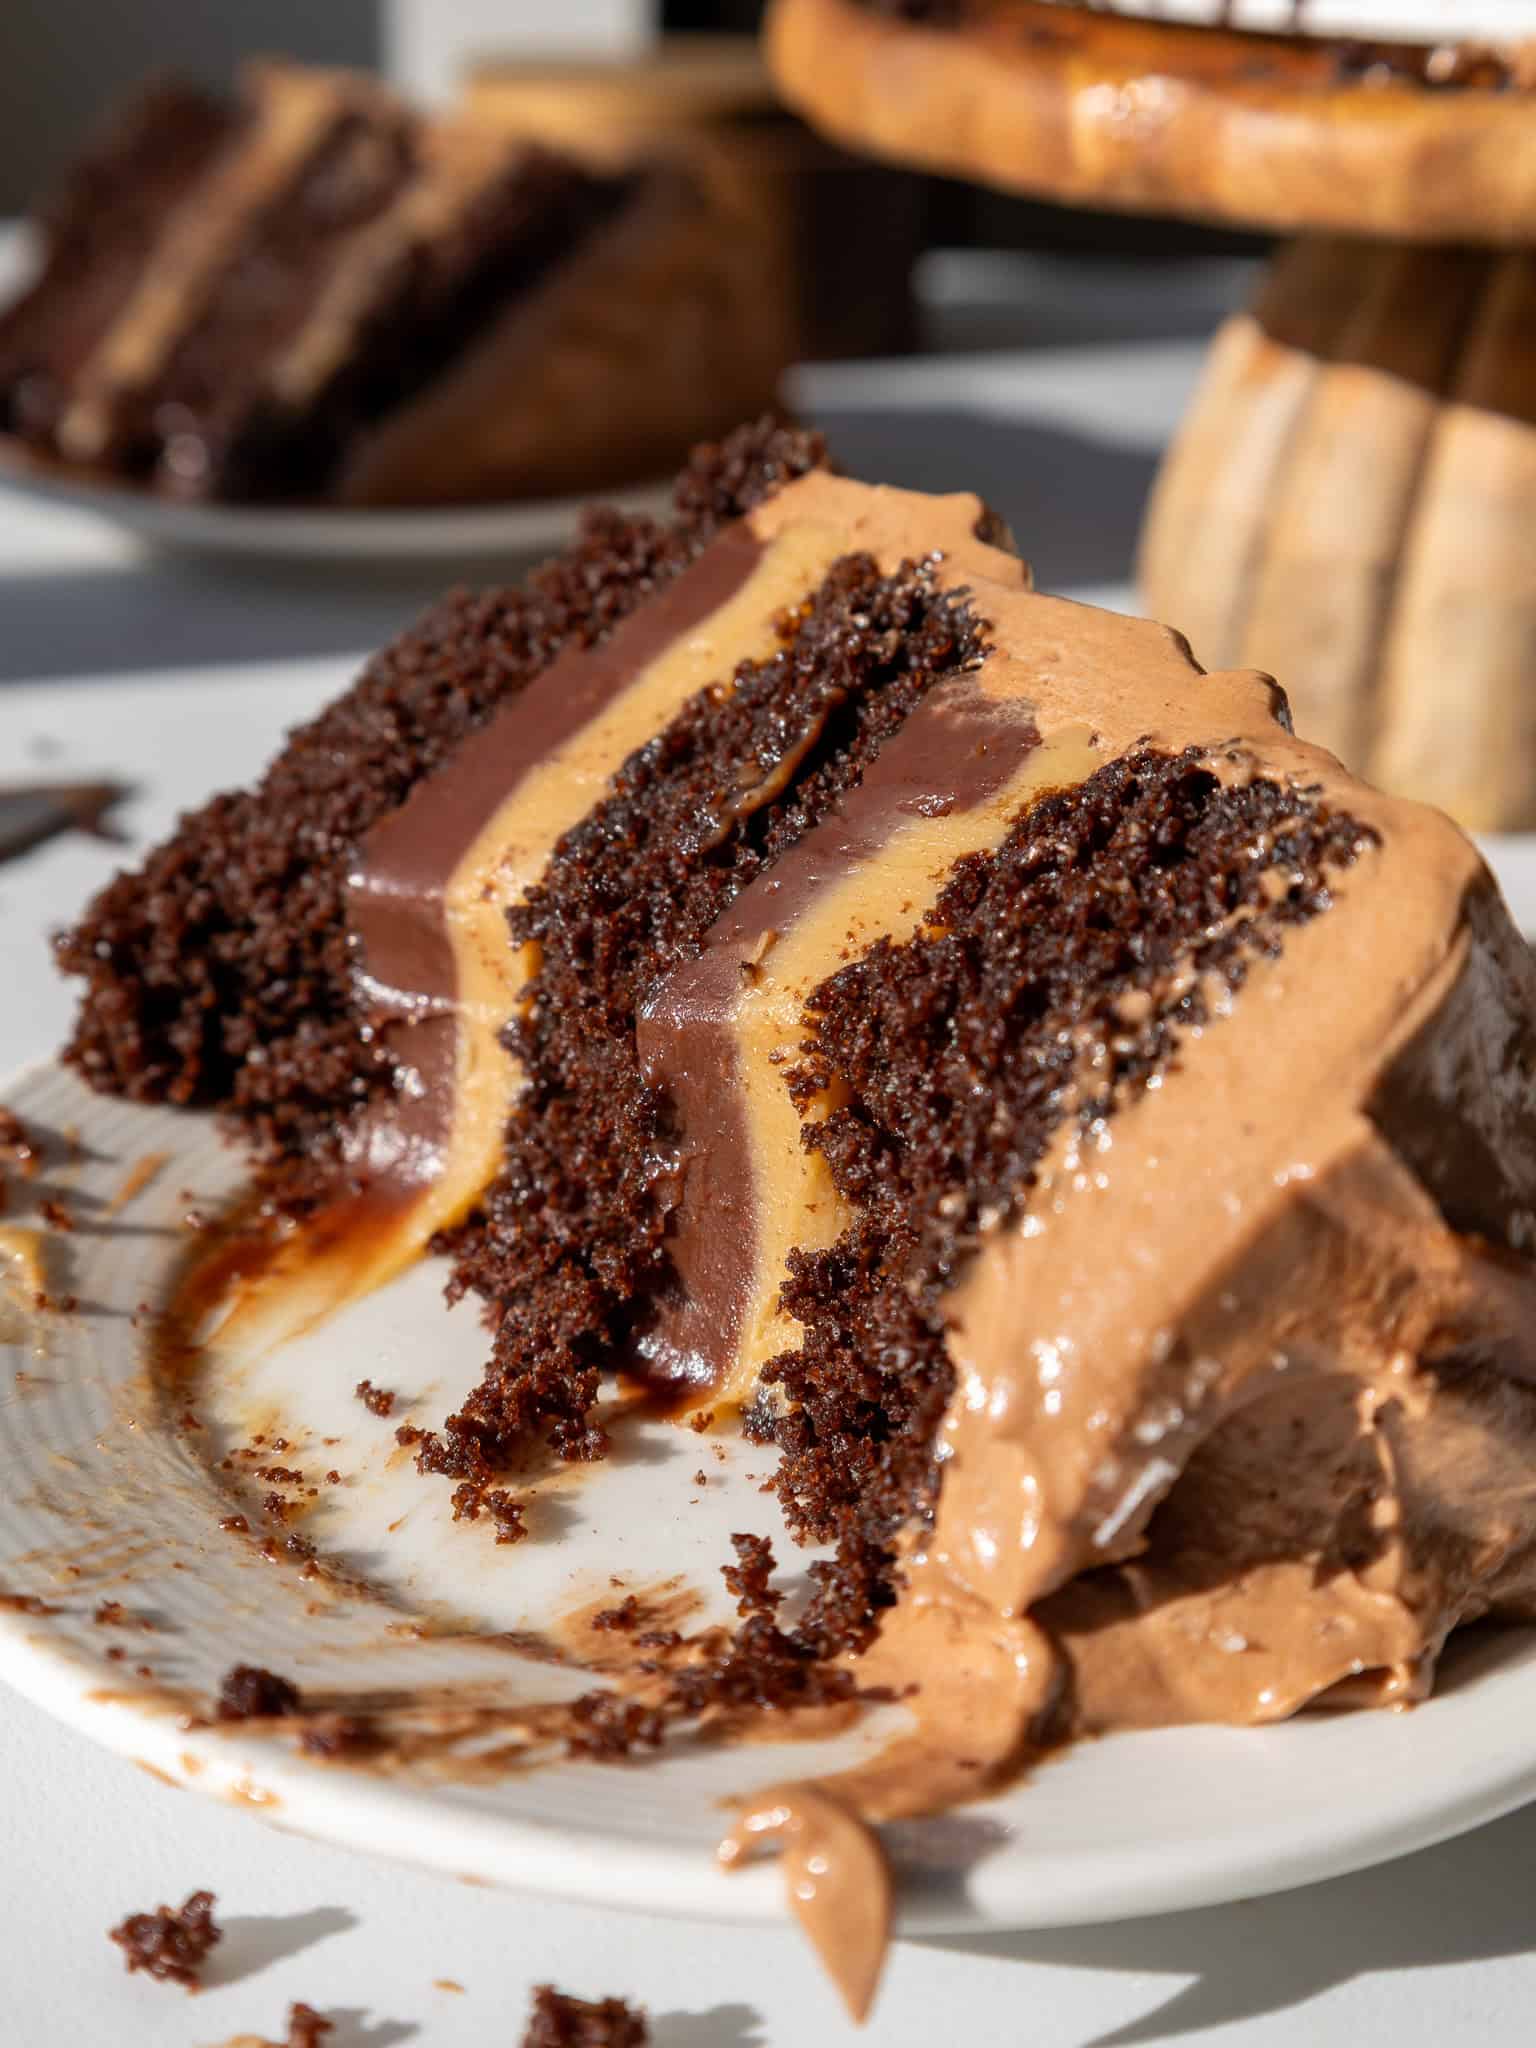
The outside is covered in whipped chocolate peanut butter ganache, which makes this cake rich and fudgy without needing a traditional buttercream.
This Peanut Butter Fudge Cake at a Glance
- Yield: One 3-layer, 8-inch cake
- Serves: About 24
- Cake layers: Moist chocolate cake
- Filling: Milk chocolate ganache and peanut butter ganache
- Frosting: Whipped chocolate peanut butter ganache
- Skill level: Intermediate
- Make ahead: Yes! Every part of this cake can be made in advance.
How to Make This Peanut Butter Fudge Cake
To make sure this cake turns out as amazing as possible, let’s walk through each step together!
I highly recommend reading through the entire recipe before you start. Both ganaches need time to cool and thicken, so making them in advance makes this cake so much easier to assemble.
Step 1: Make the Milk Chocolate Ganache
I recommend starting with the milk chocolate ganache because it needs time to cool to room temperature and thicken.
Heat the heavy cream until it just begins to bubble and steam, then pour in the milk chocolate chips. Make sure all the chocolate is covered by the cream and let the mixture sit for about a minute.
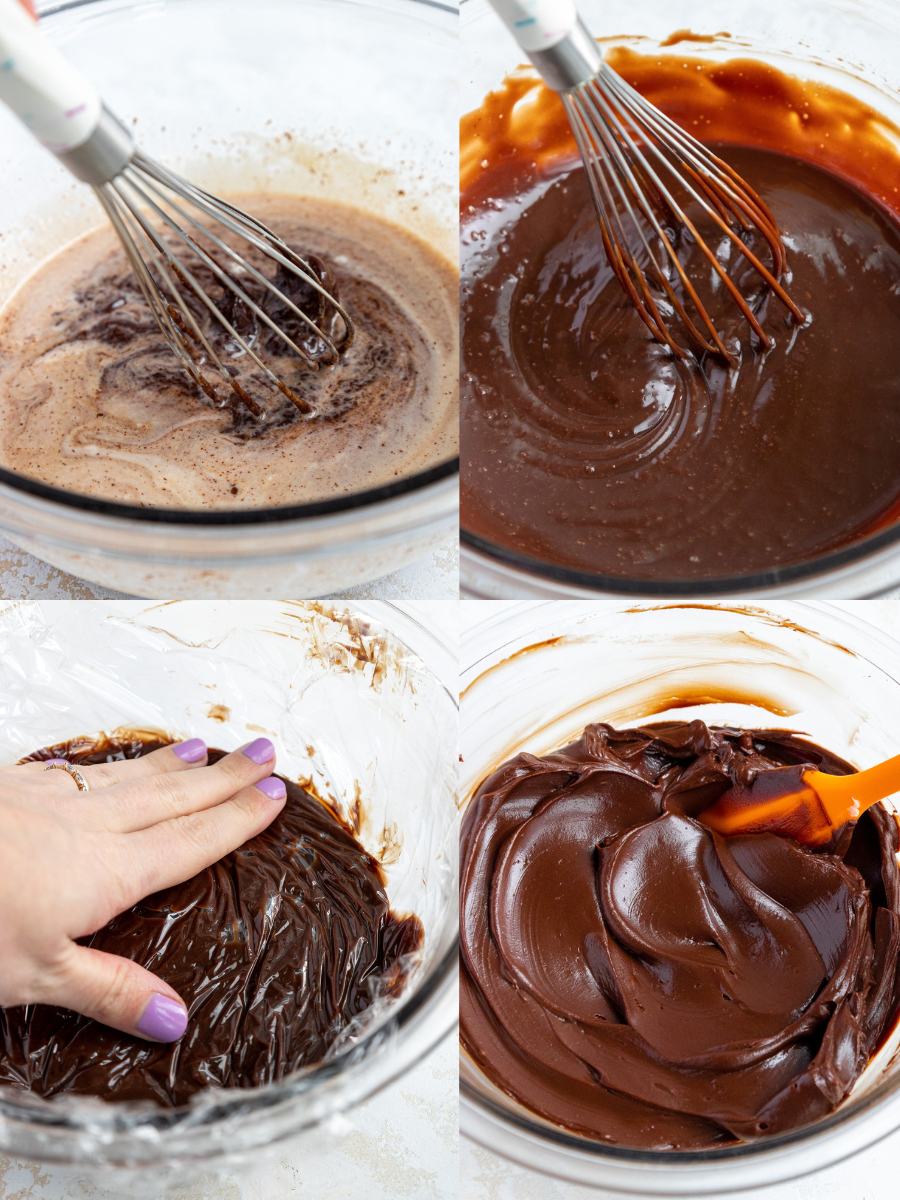
Slowly stir until the chocolate and cream come together into a smooth mixture. Then, mix in the room-temperature butter, optional corn syrup, and salt. The corn syrup helps make the ganache extra smooth and glossy, but the recipe will still work without it.
Pour the mixture into a shallow, wide tray to help it cool faster, then cover it with plastic wrap to prevent the ganache from forming a skin. Set aside to let it cool to room temperature.
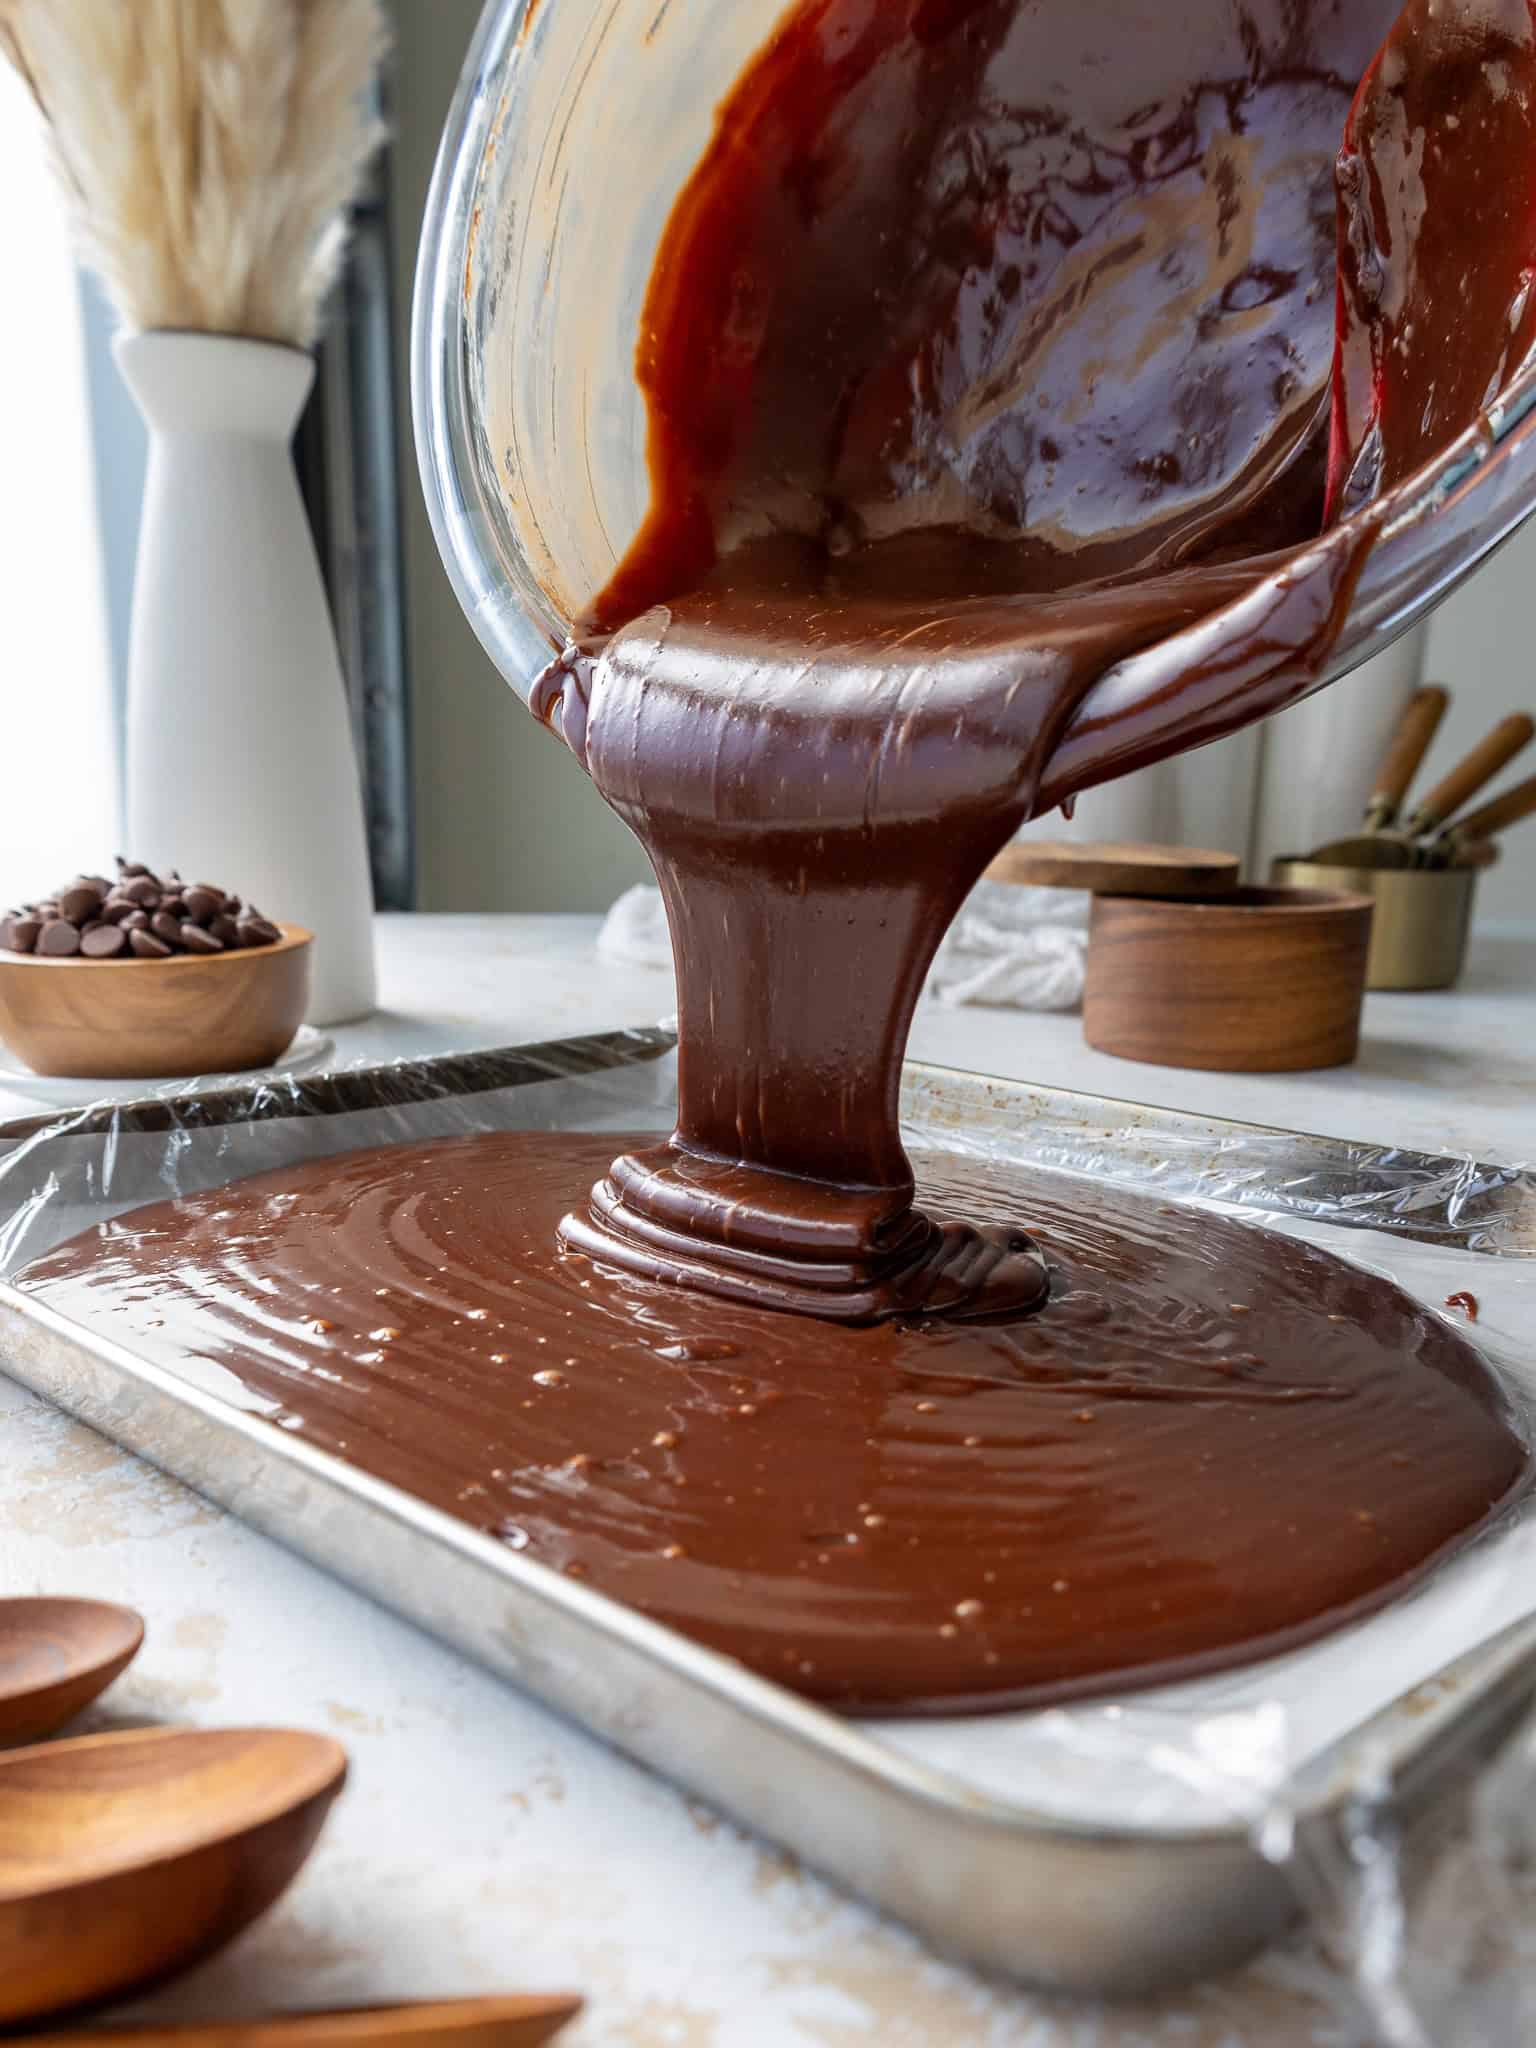
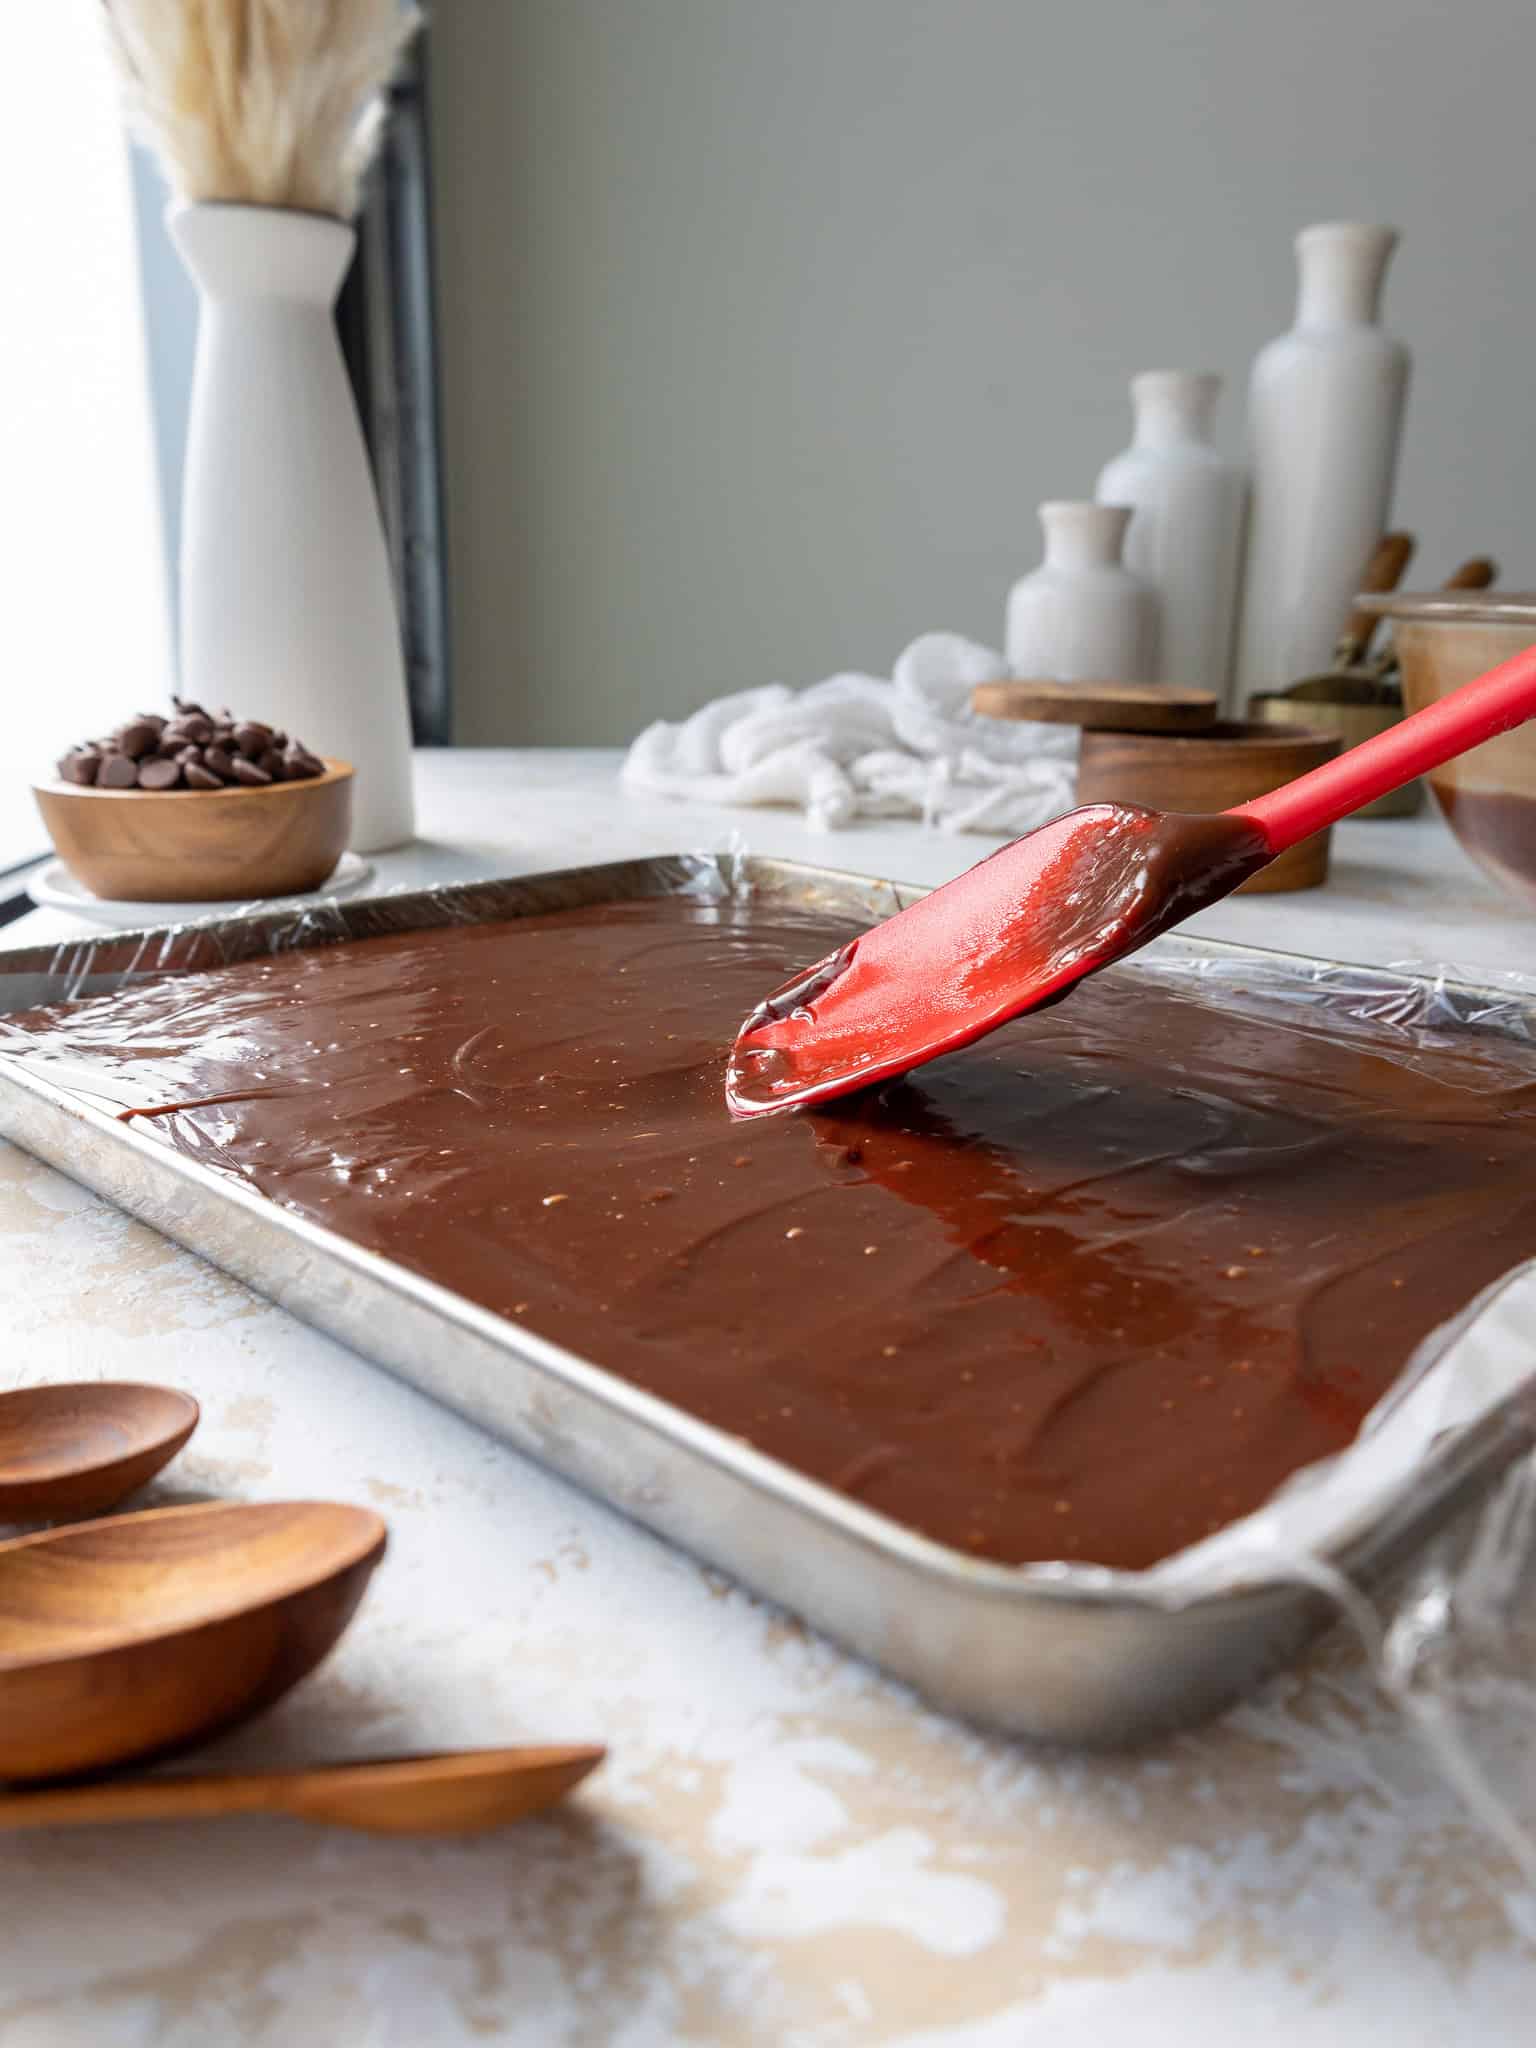
My biggest tip here is not to rush the cooling process. Warm ganache will be too soft to use between the cake layers and can make the cake difficult to stack.
Step 2: Make the Peanut Butter Ganache
Next, make the peanut butter ganache. Place the white chocolate and creamy peanut butter in a large, heatproof bowl.
Heat the heavy cream until it just begins to bubble, then pour it over the white chocolate and peanut butter. Make sure all the white chocolate is submerged beneath the cream and let everything sit for a couple of minutes.
Use an immersion blender or spoon to mix everything together until the ganache is completely smooth. The peanut butter ganache will thicken quite a bit as it cools.
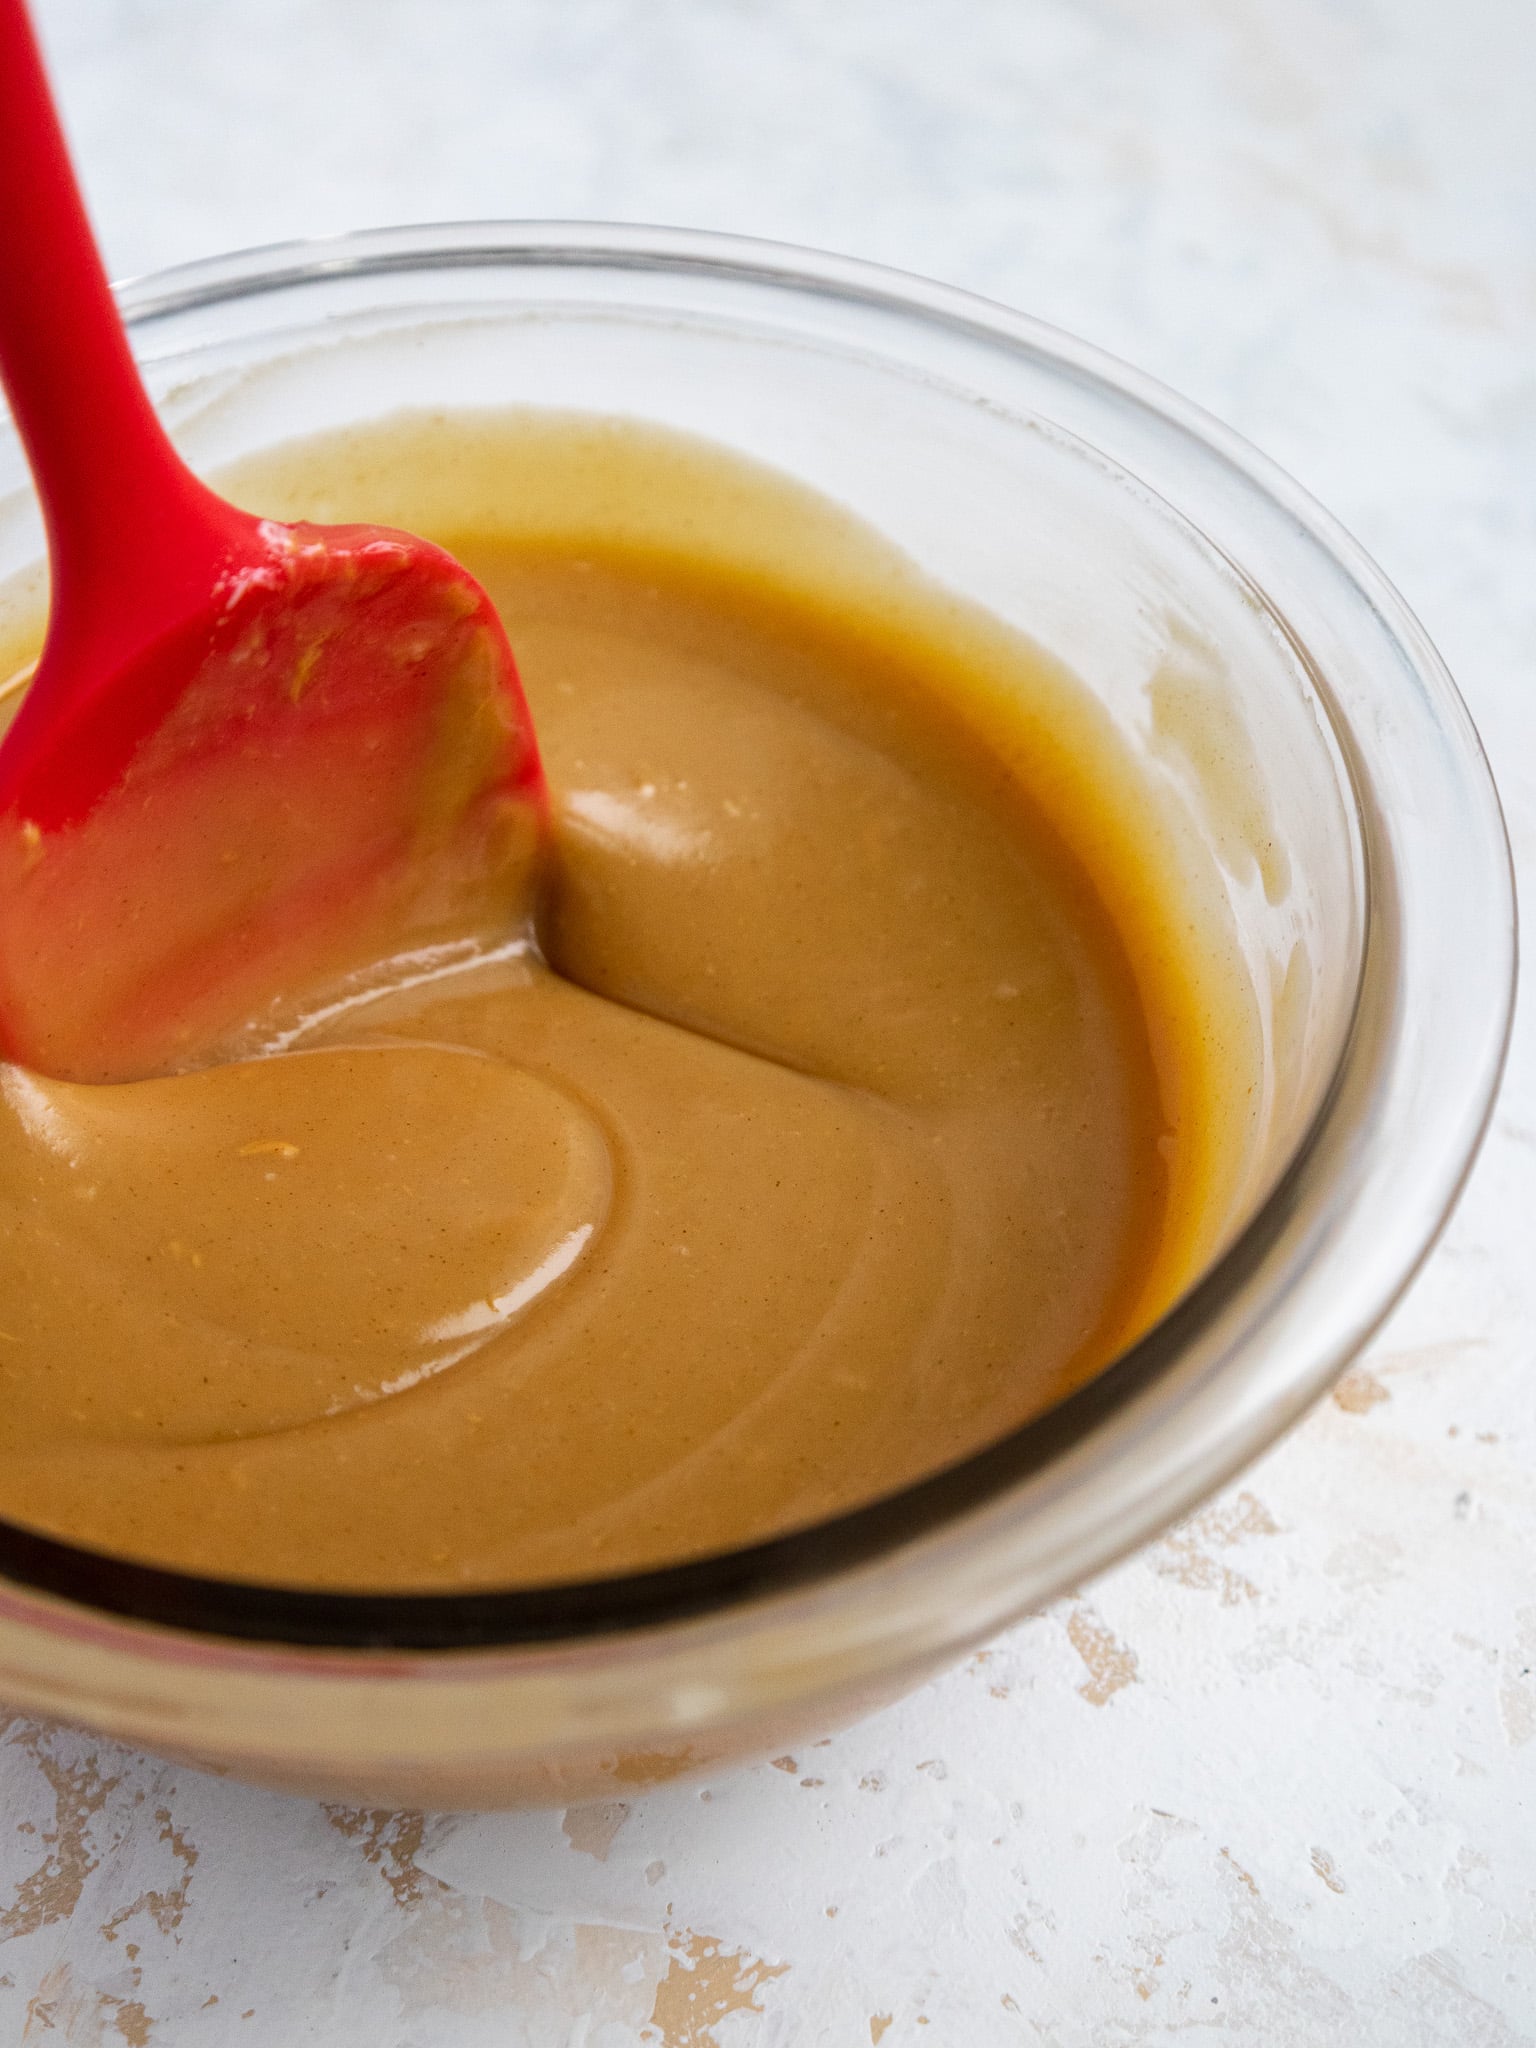
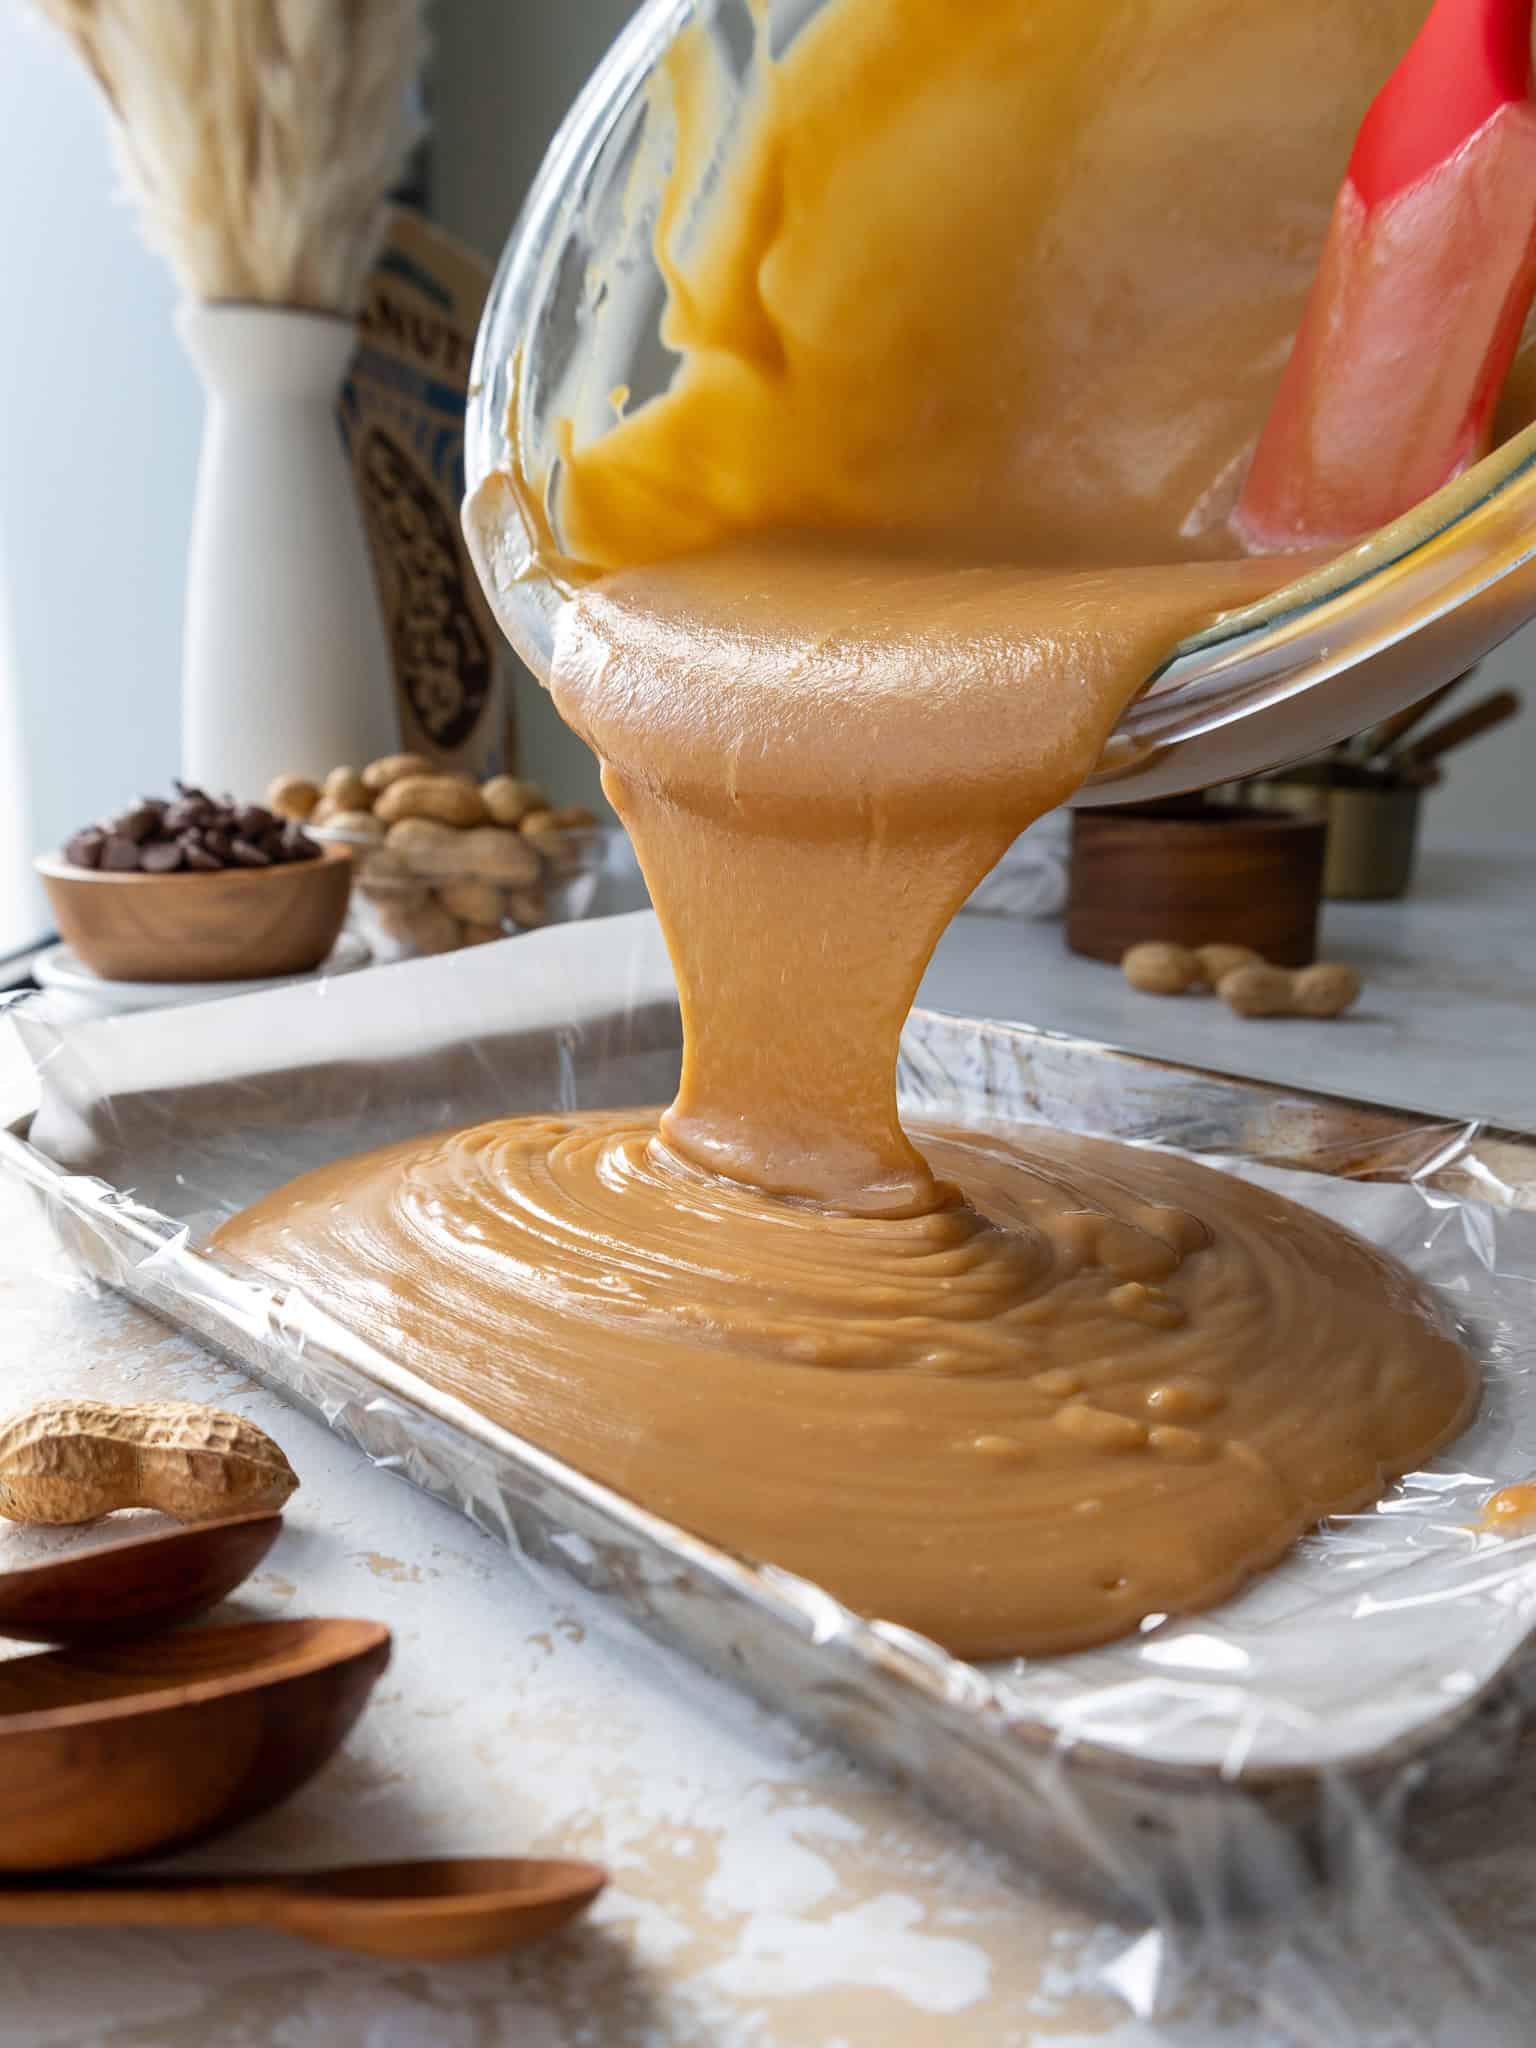
Pour the mixture into a shallow, wide tray to help it cool faster, then cover it with plastic wrap to prevent the ganache from forming a skin. Set aside to let it cool to room temperature.
Step 3: Bake the Chocolate Cake Layers
Next, make the chocolate cake batter following the recipe card at the bottom of this post.
Whisk the dry ingredients together in one bowl and the wet ingredients together in another. Add the dry ingredients to the wet ingredients and whisk just until the batter is smooth and combined.
Divide the batter evenly between three prepared 8-inch cake pans. I recommend using a kitchen scale and adding about 475g of batter to each pan. This helps the cake layers bake to the same height and makes the finished cake easier to stack.
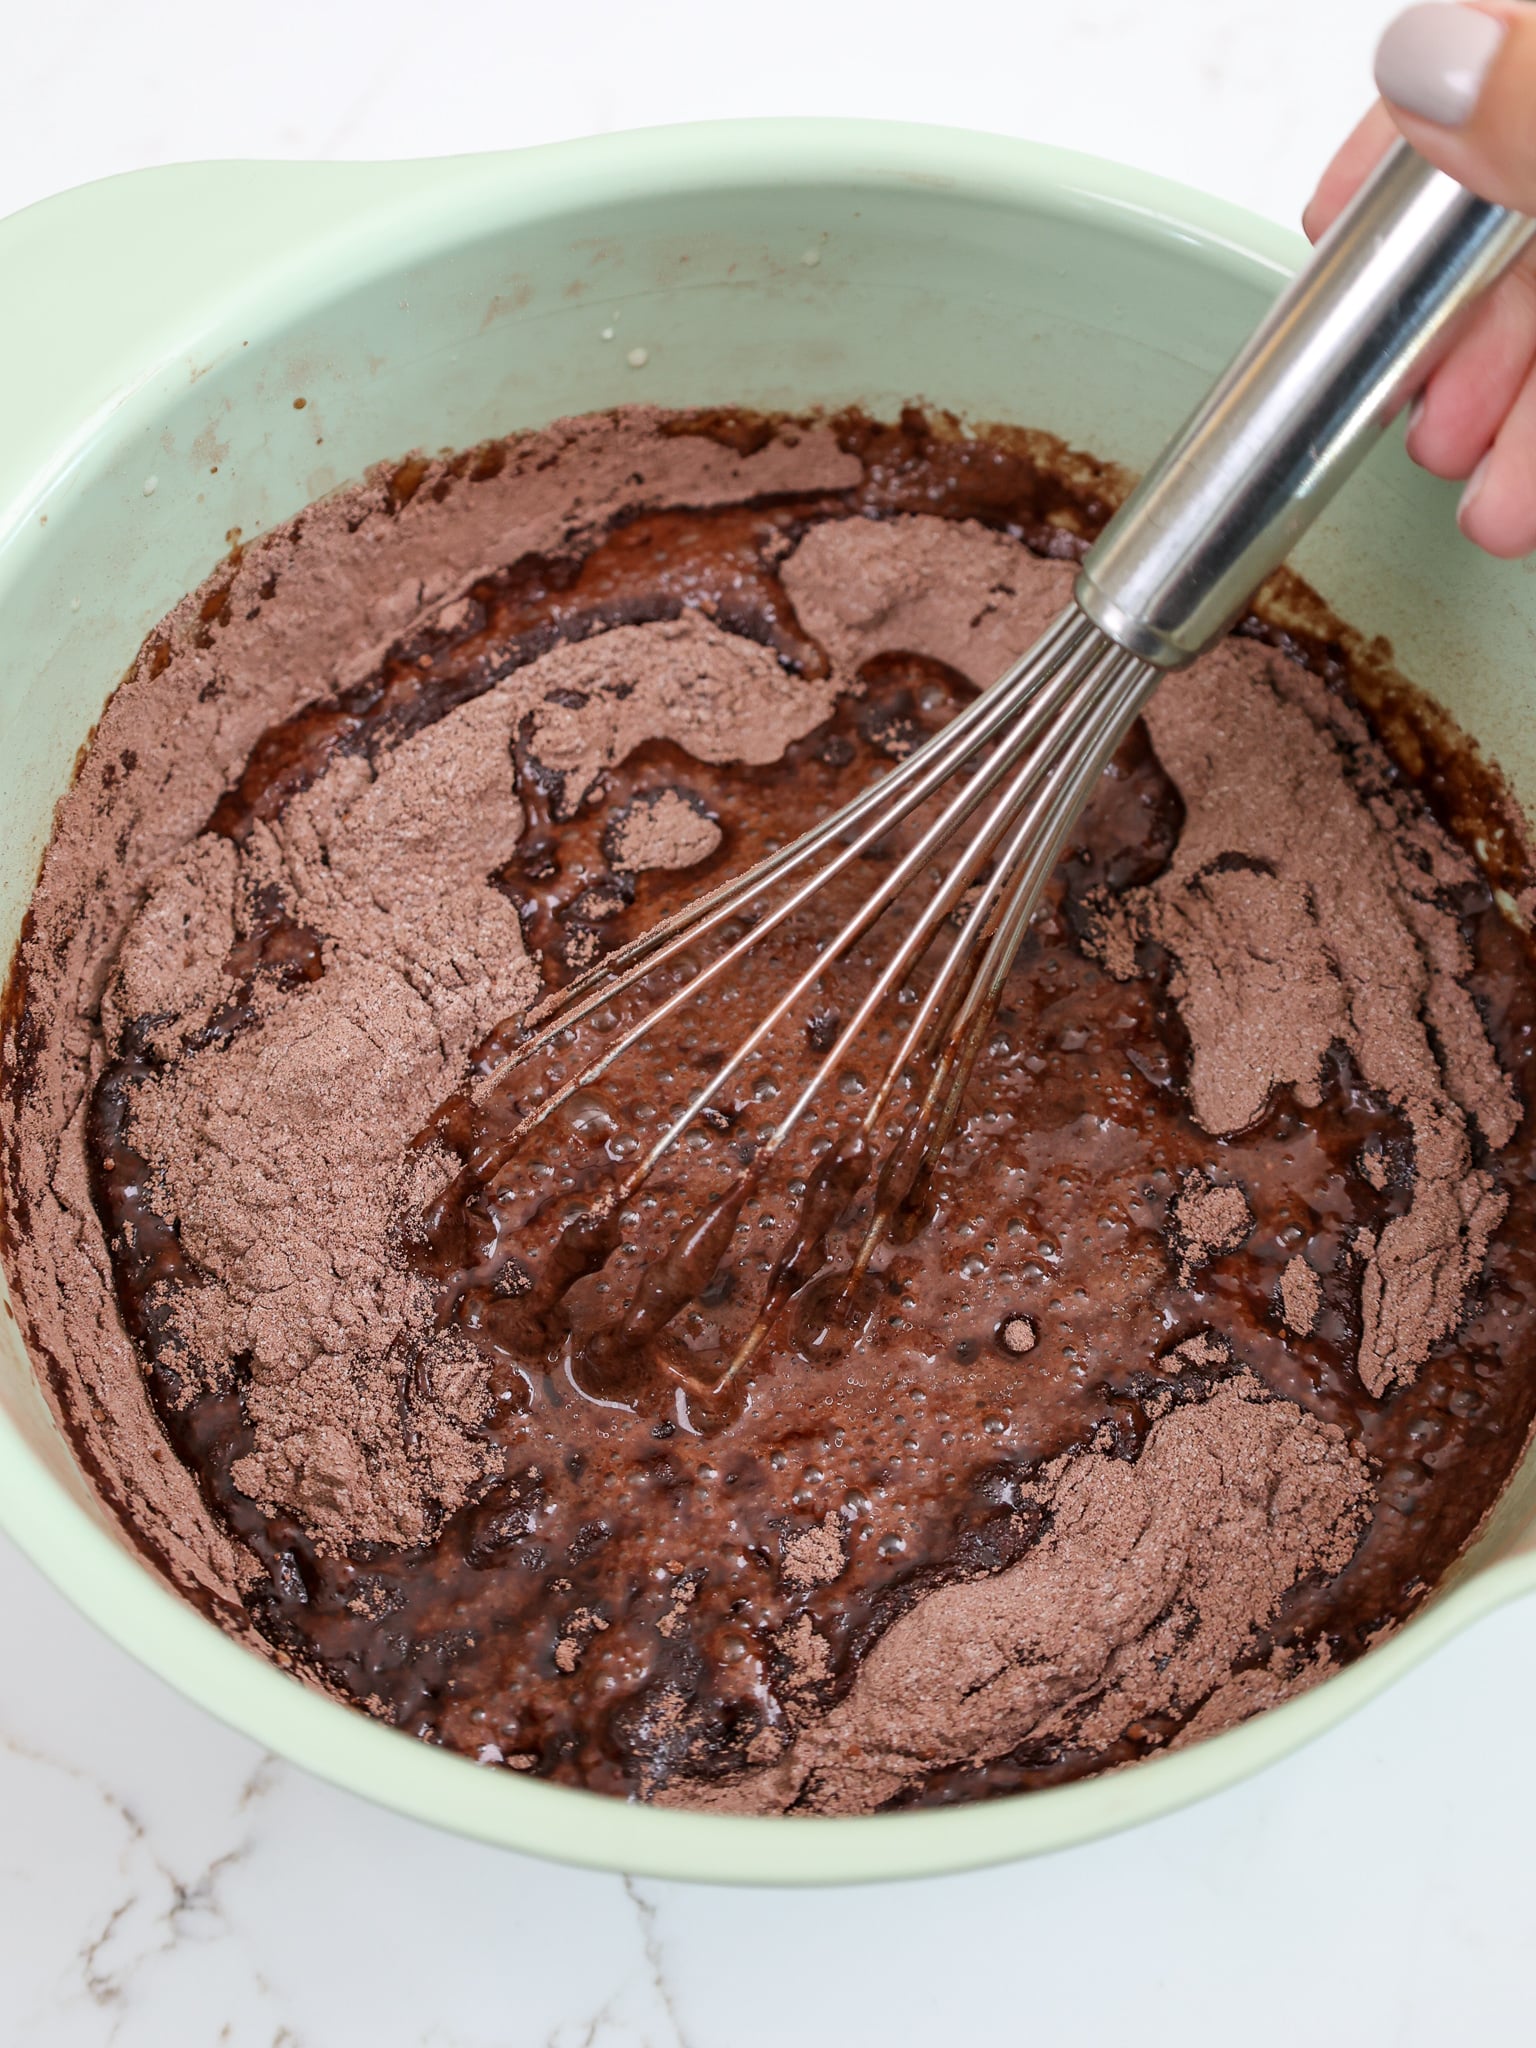
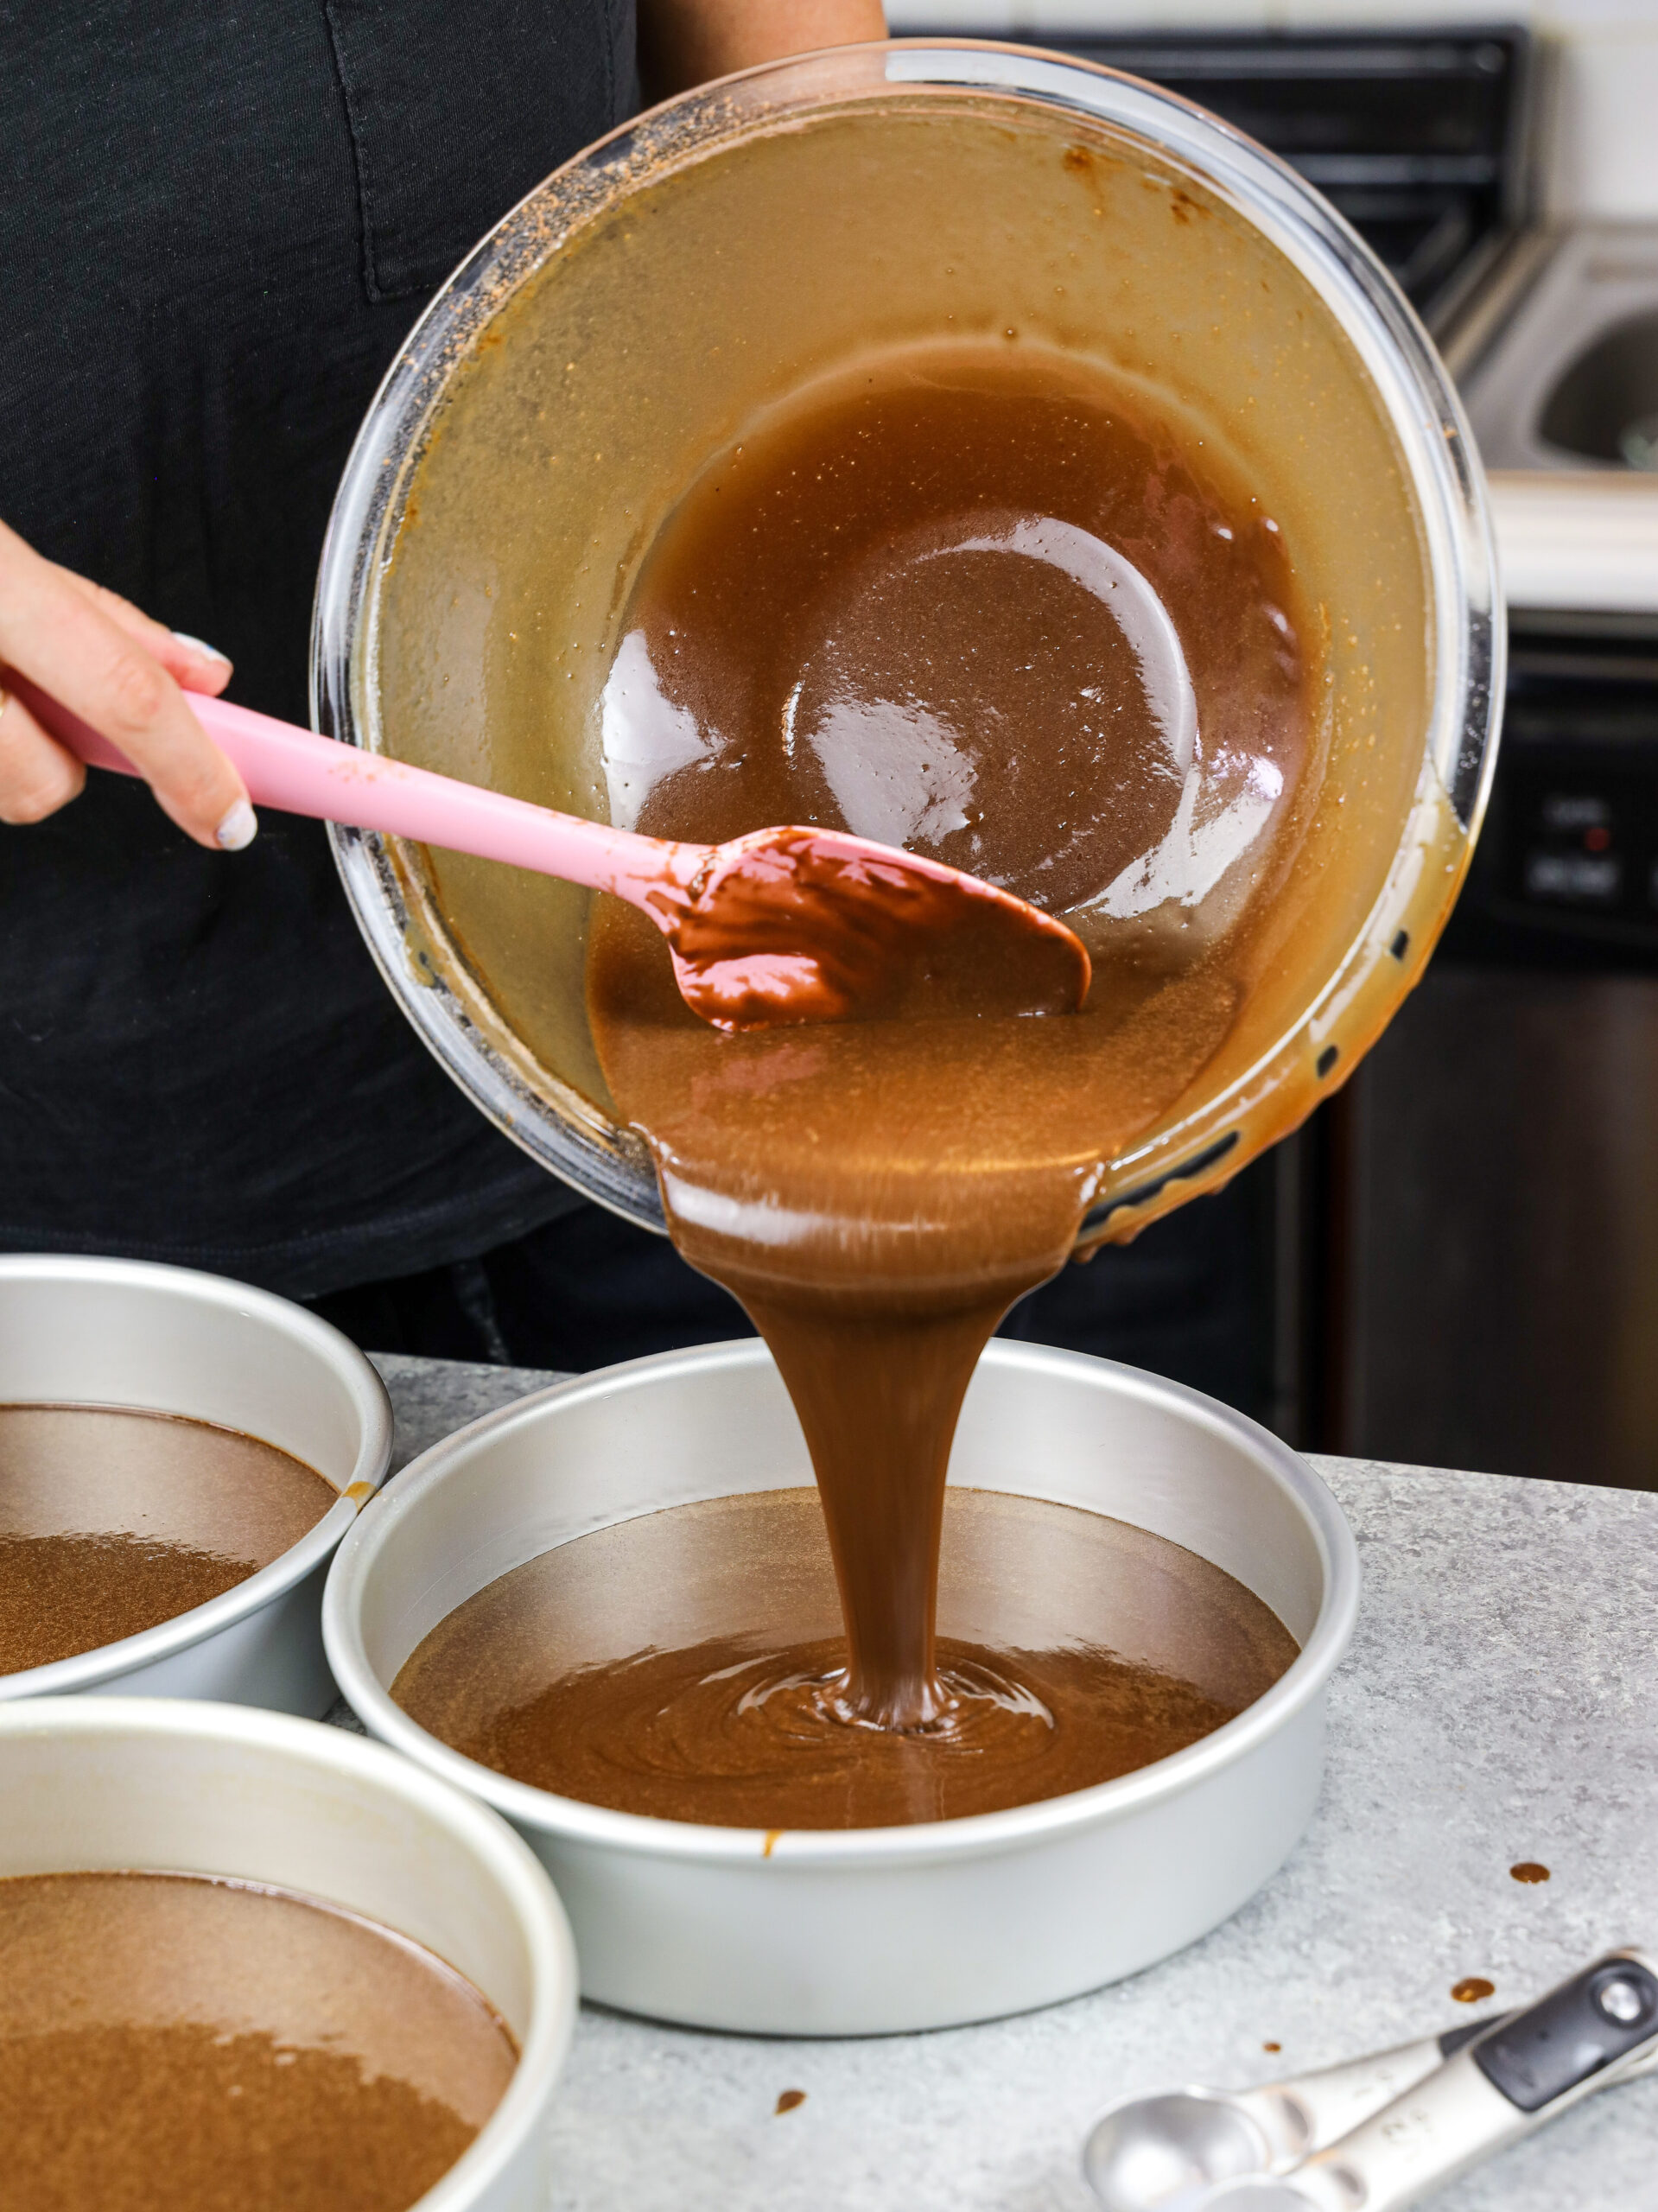
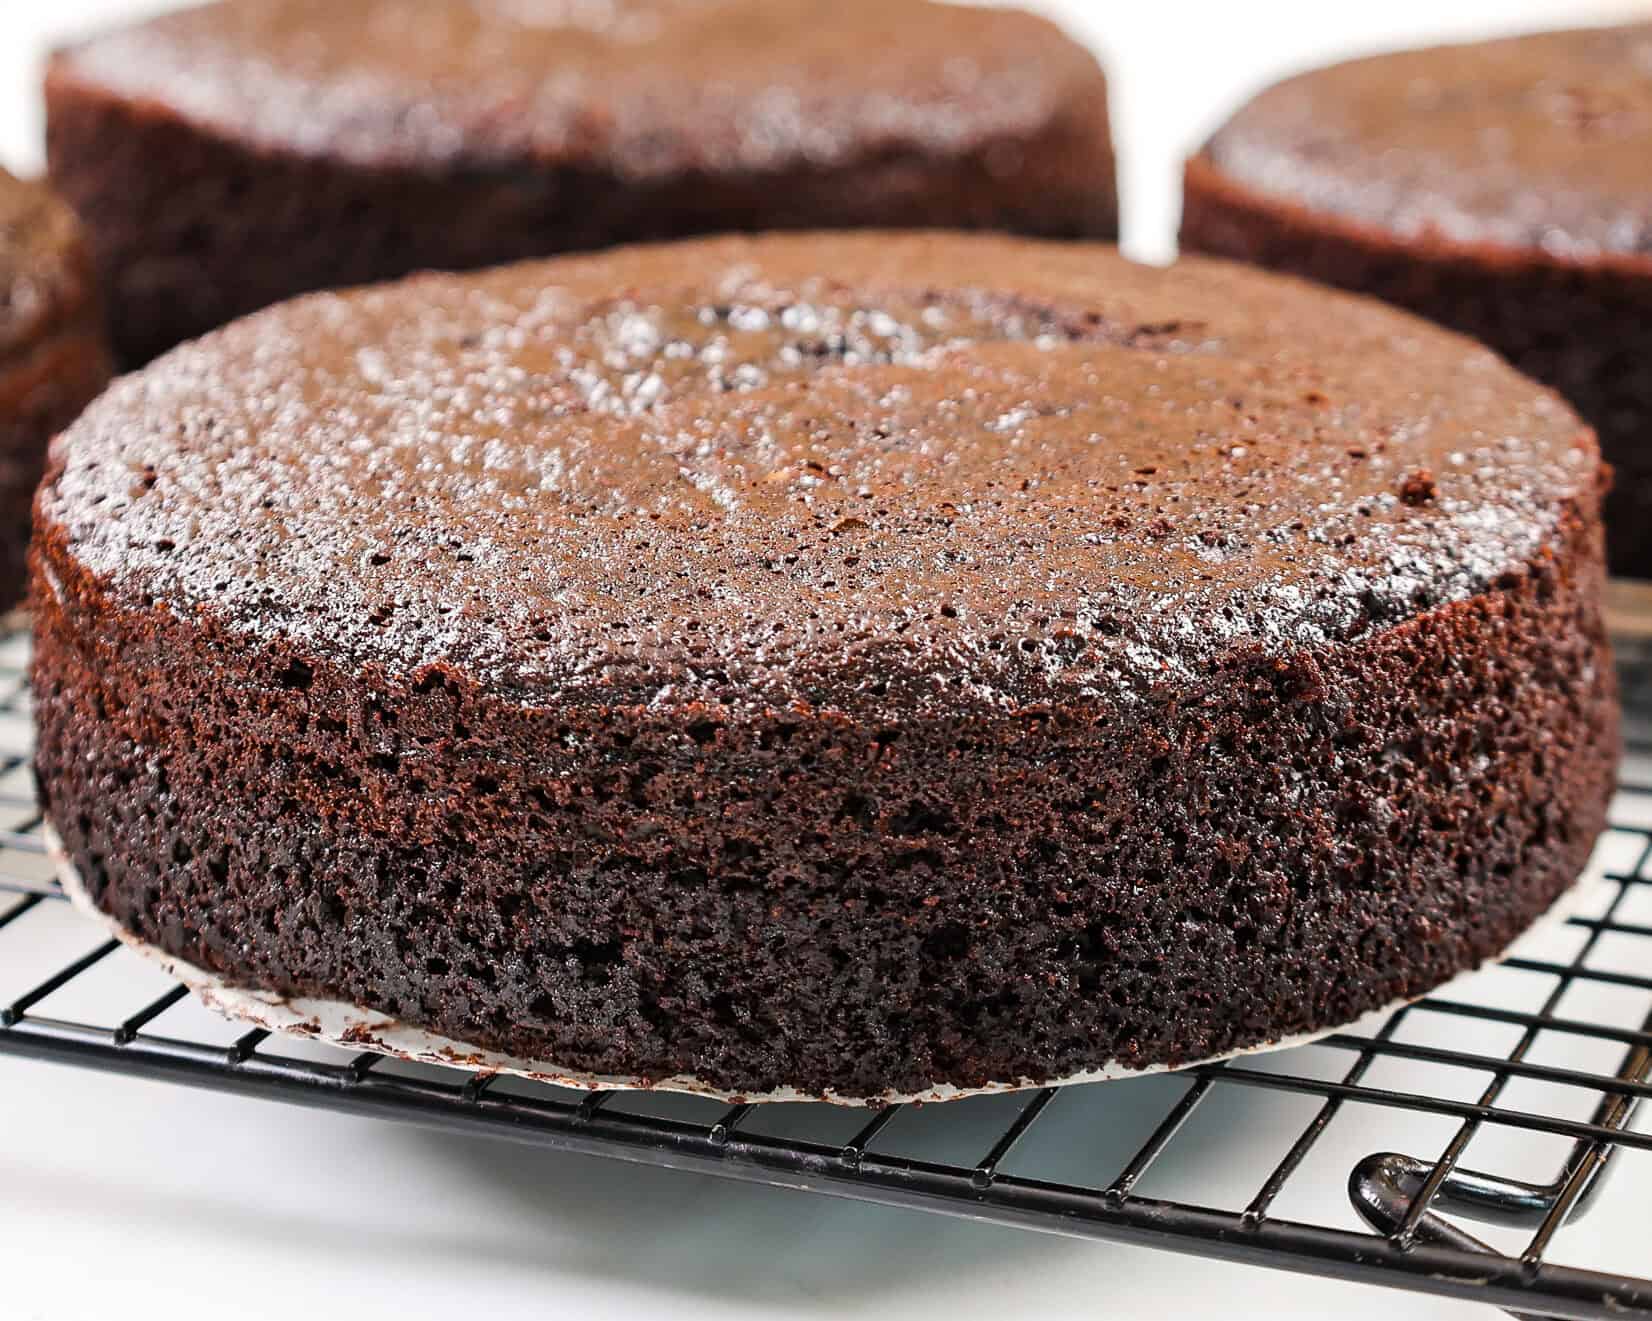
Bake the layers for 24 to 26 minutes, or until a toothpick comes out with a few moist crumbs.
Let the pans cool for about 10 minutes, then run a small offset spatula around the perimeter of each pan.
I like to place the cake pans in the freezer for about 30 minutes to speed up the cooling process. This helps lock in steam and keeps the cake layers extra moist. If you don’t have room in your freezer, let the layers cool completely on a wire rack before removing them from the pans.
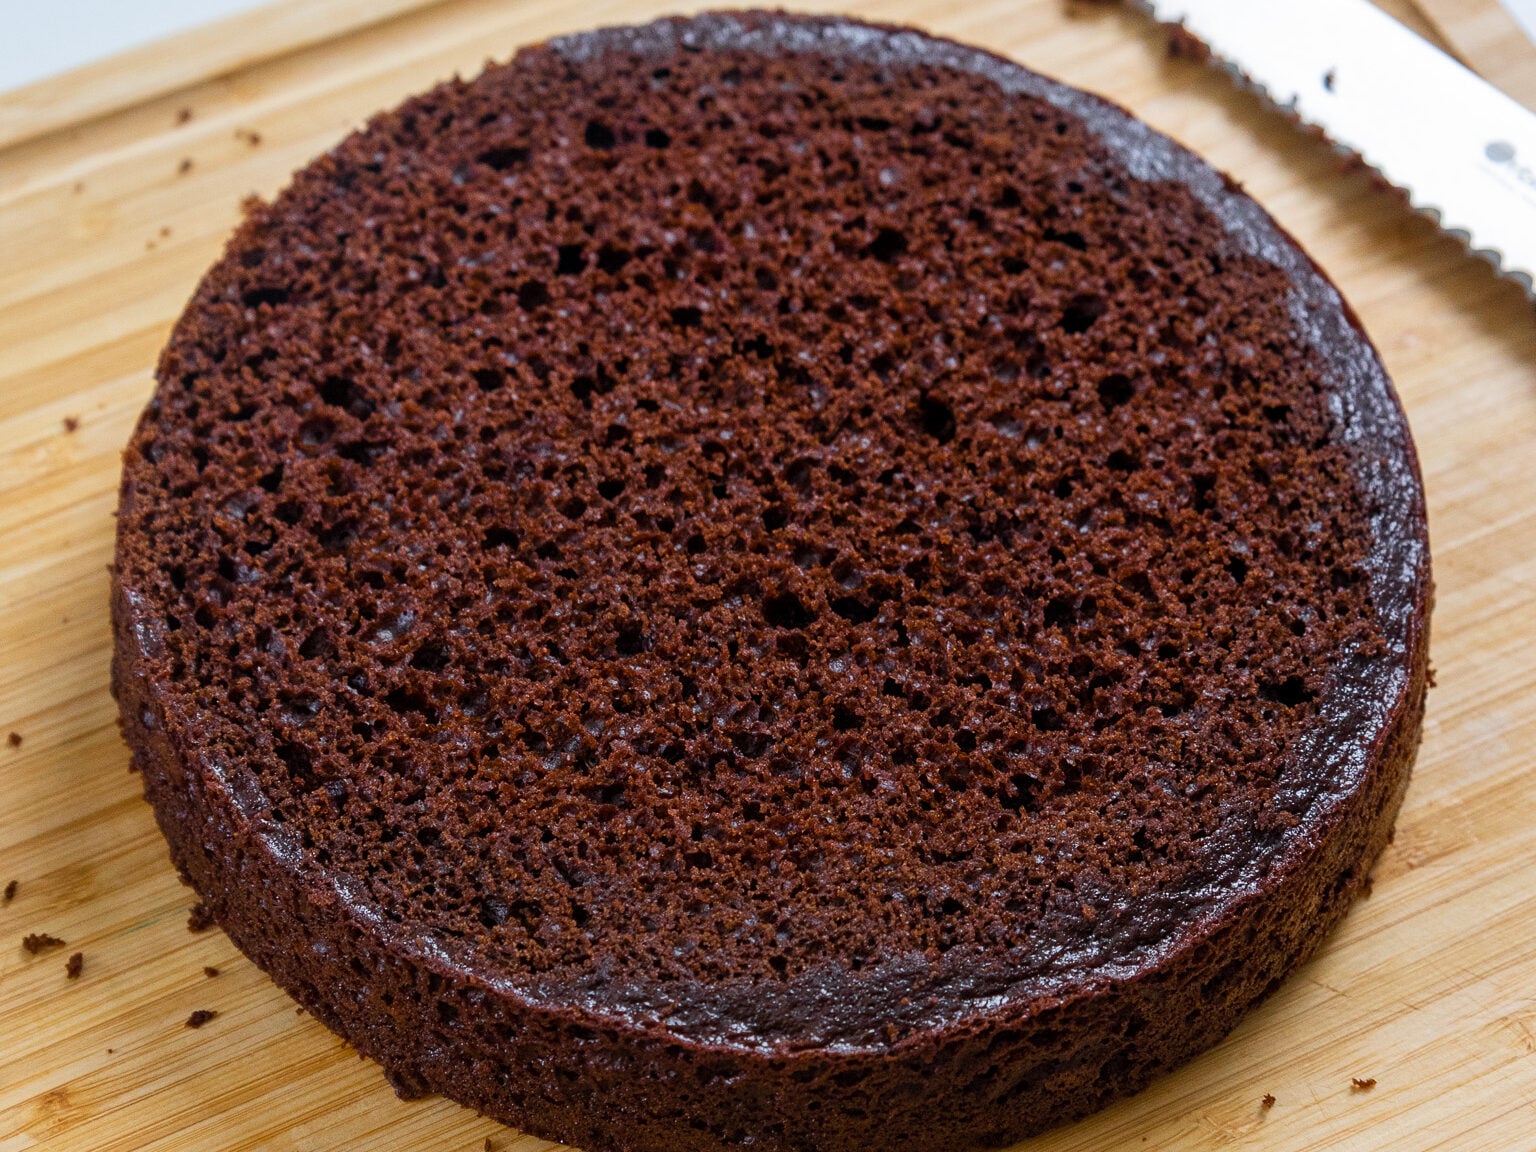
Once the layers are fully cooled, carefully remove them from the pans. These cake layers bake up pretty flat, so leveling them is optional. However, I usually trim them with a serrated knife if needed to make the cake easier to fill and stack.
How to Assemble This Peanut Butter Fudge Cake
Once all three components are ready, it’s time for my favorite part. Assembling the cake!
Step 1: Add the Ganache Fillings
Place the first cake layer on a greaseproof cake board or large flat plate. Use a small dab of chocolate ganache to help keep it in place.
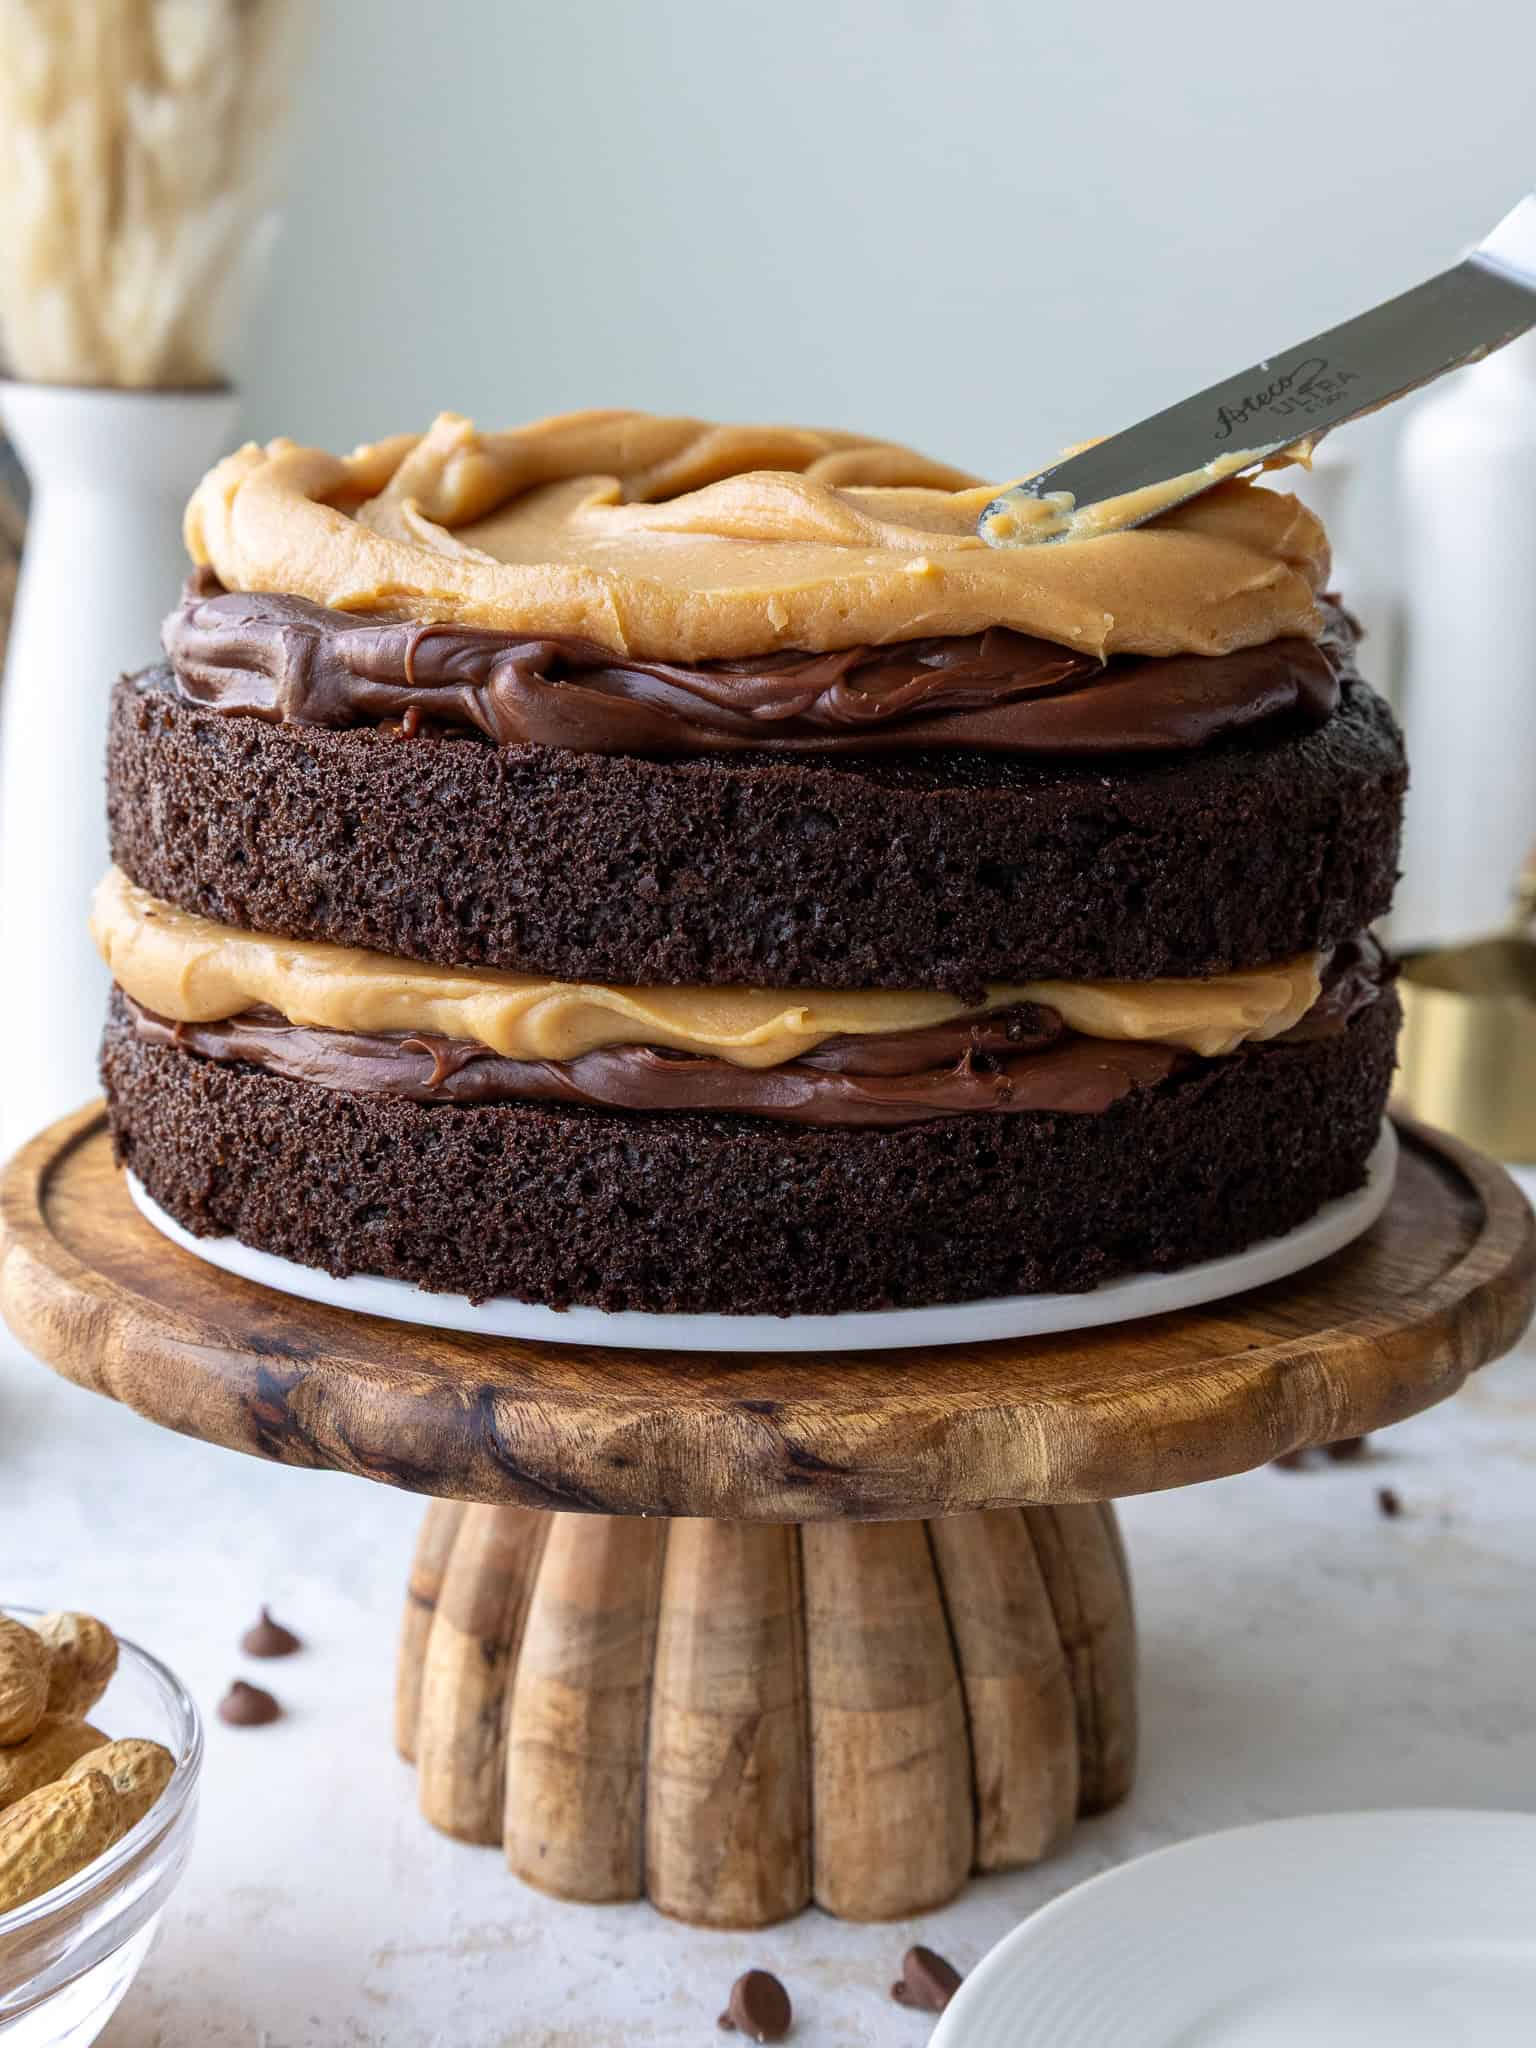
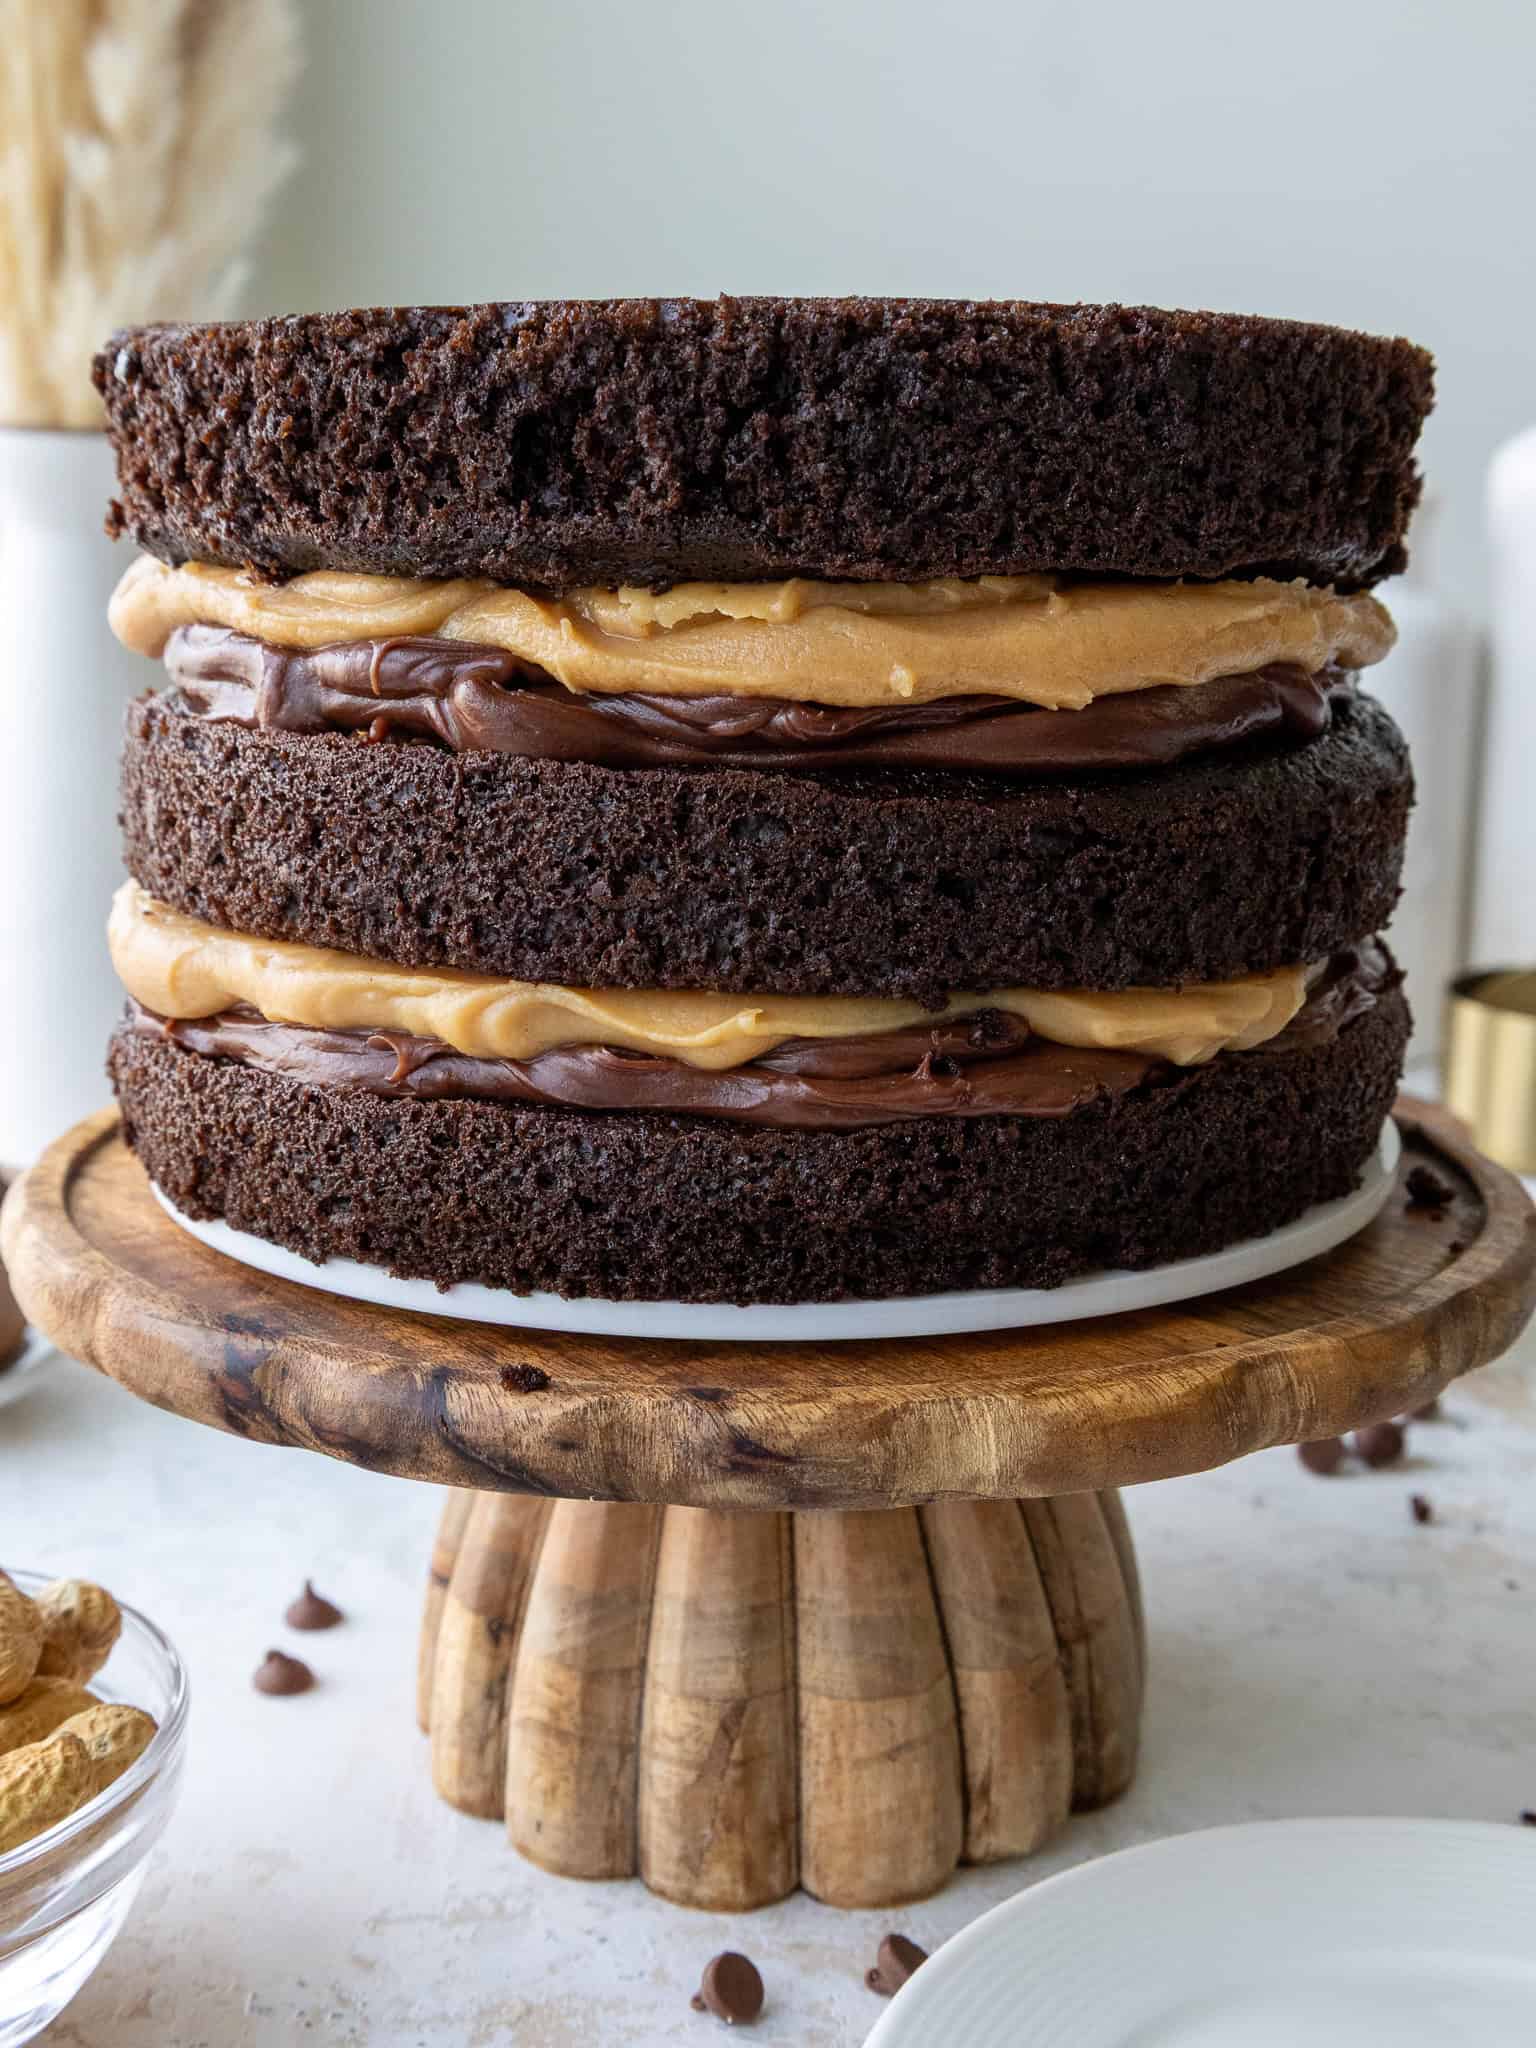
Spread about 1 1/4 cups of room-temperature milk chocolate ganache over the cake layer. Then, spread about 1 1/4 cups of the peanut butter ganache on top. Try to keep both fillings relatively even so that the next cake layer sits flat.
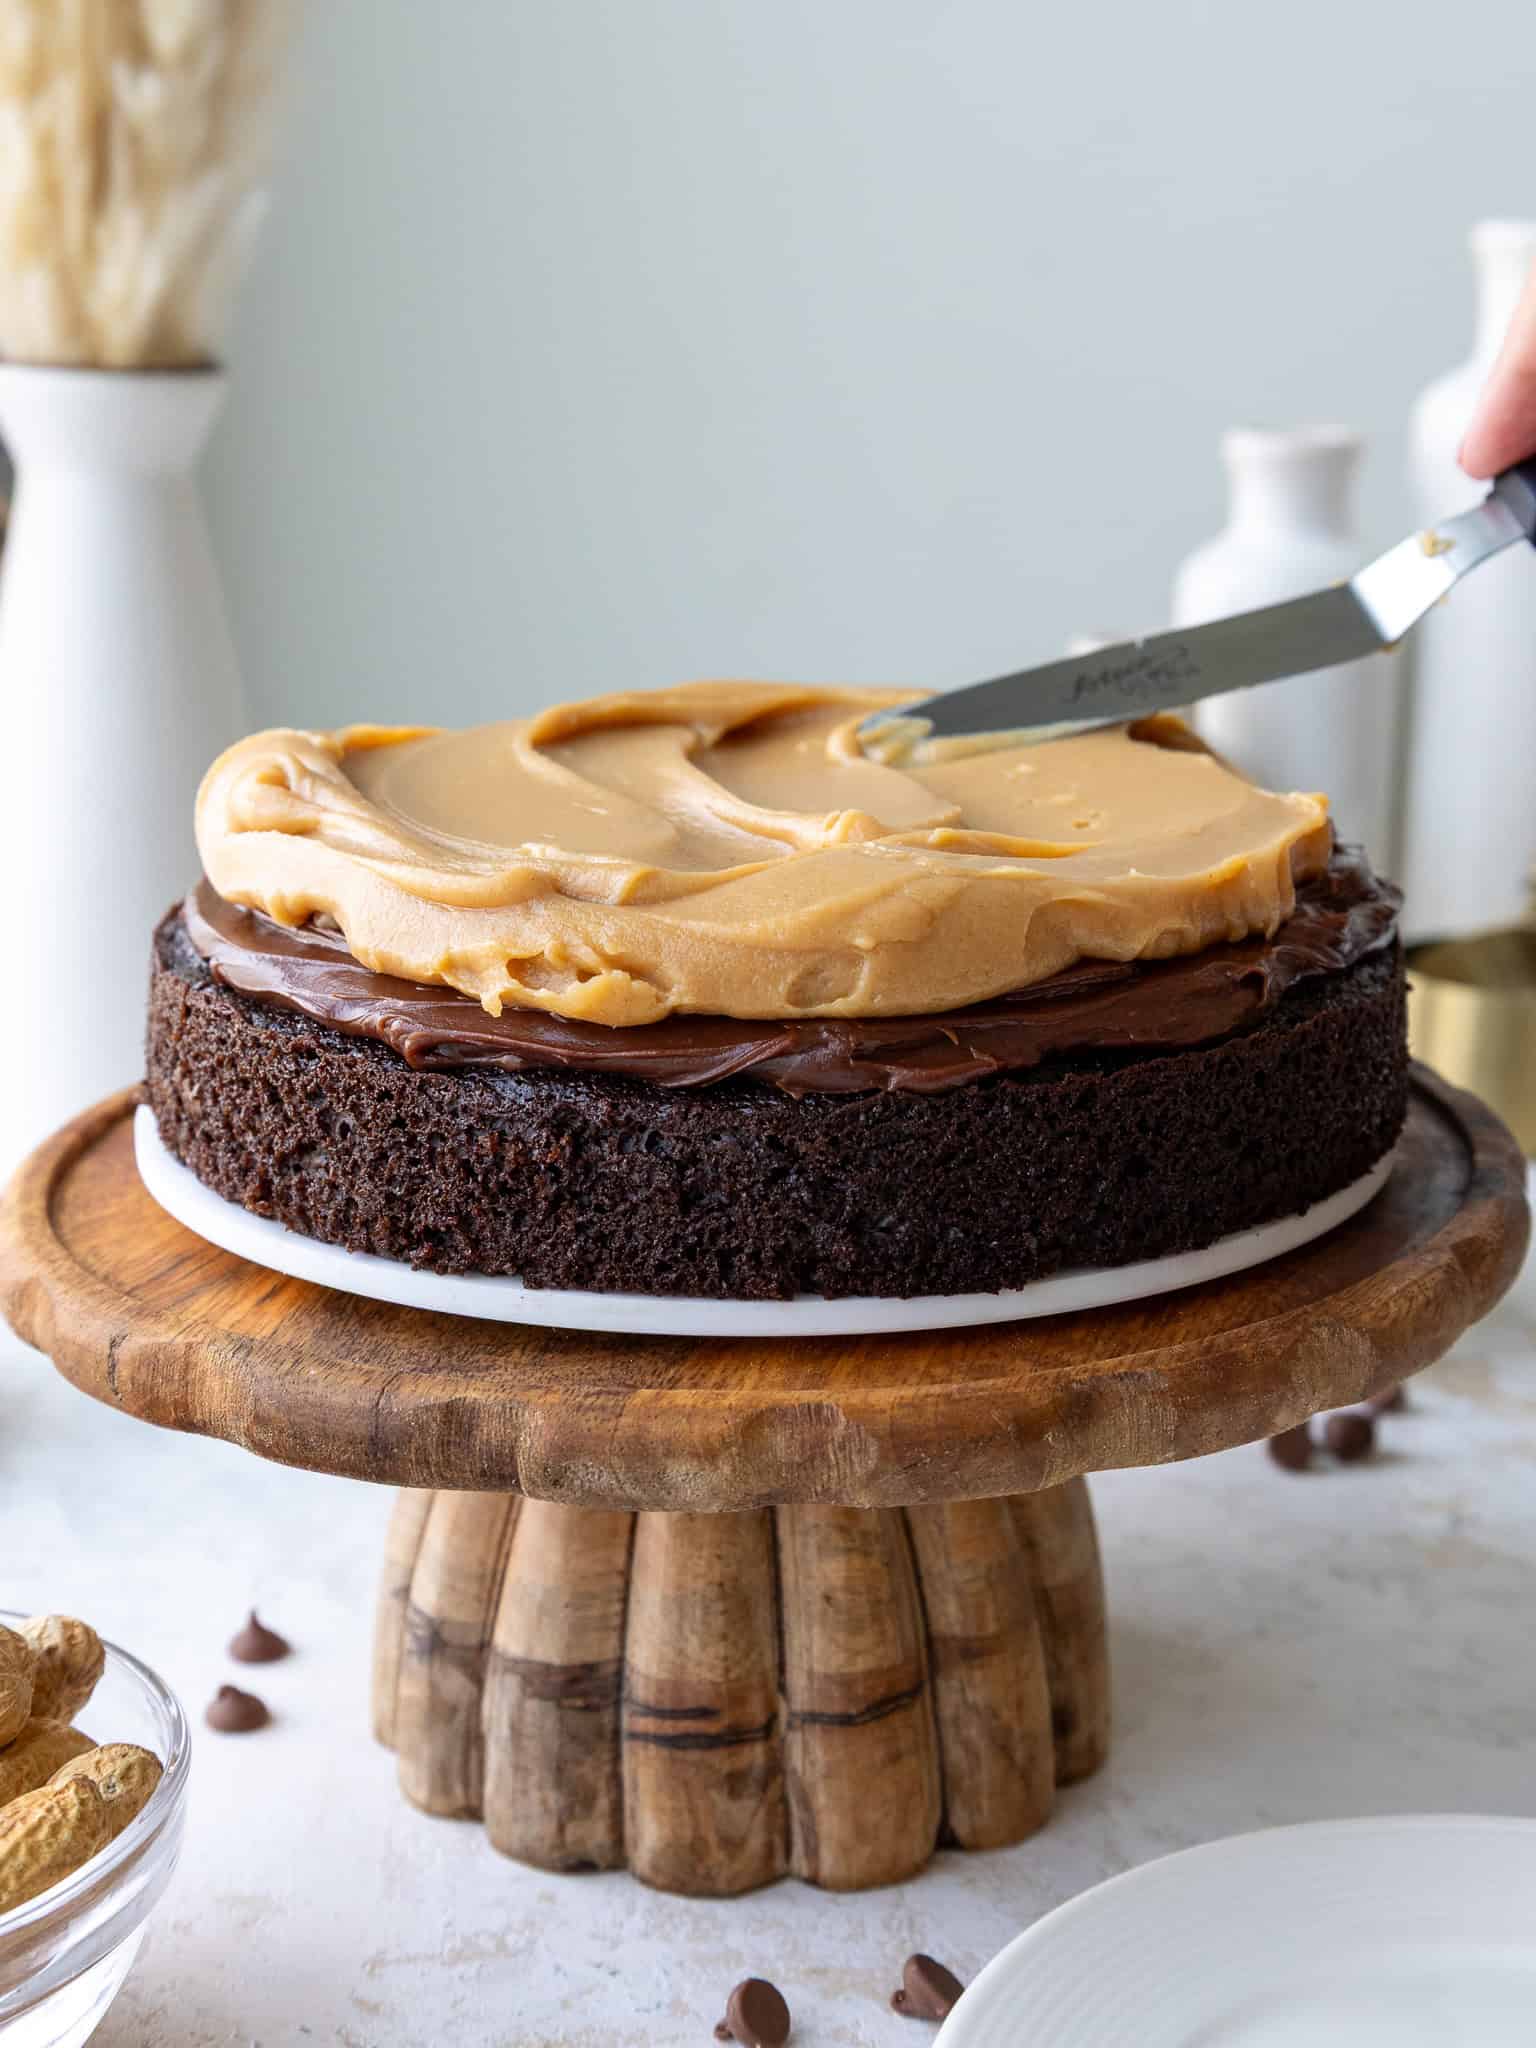
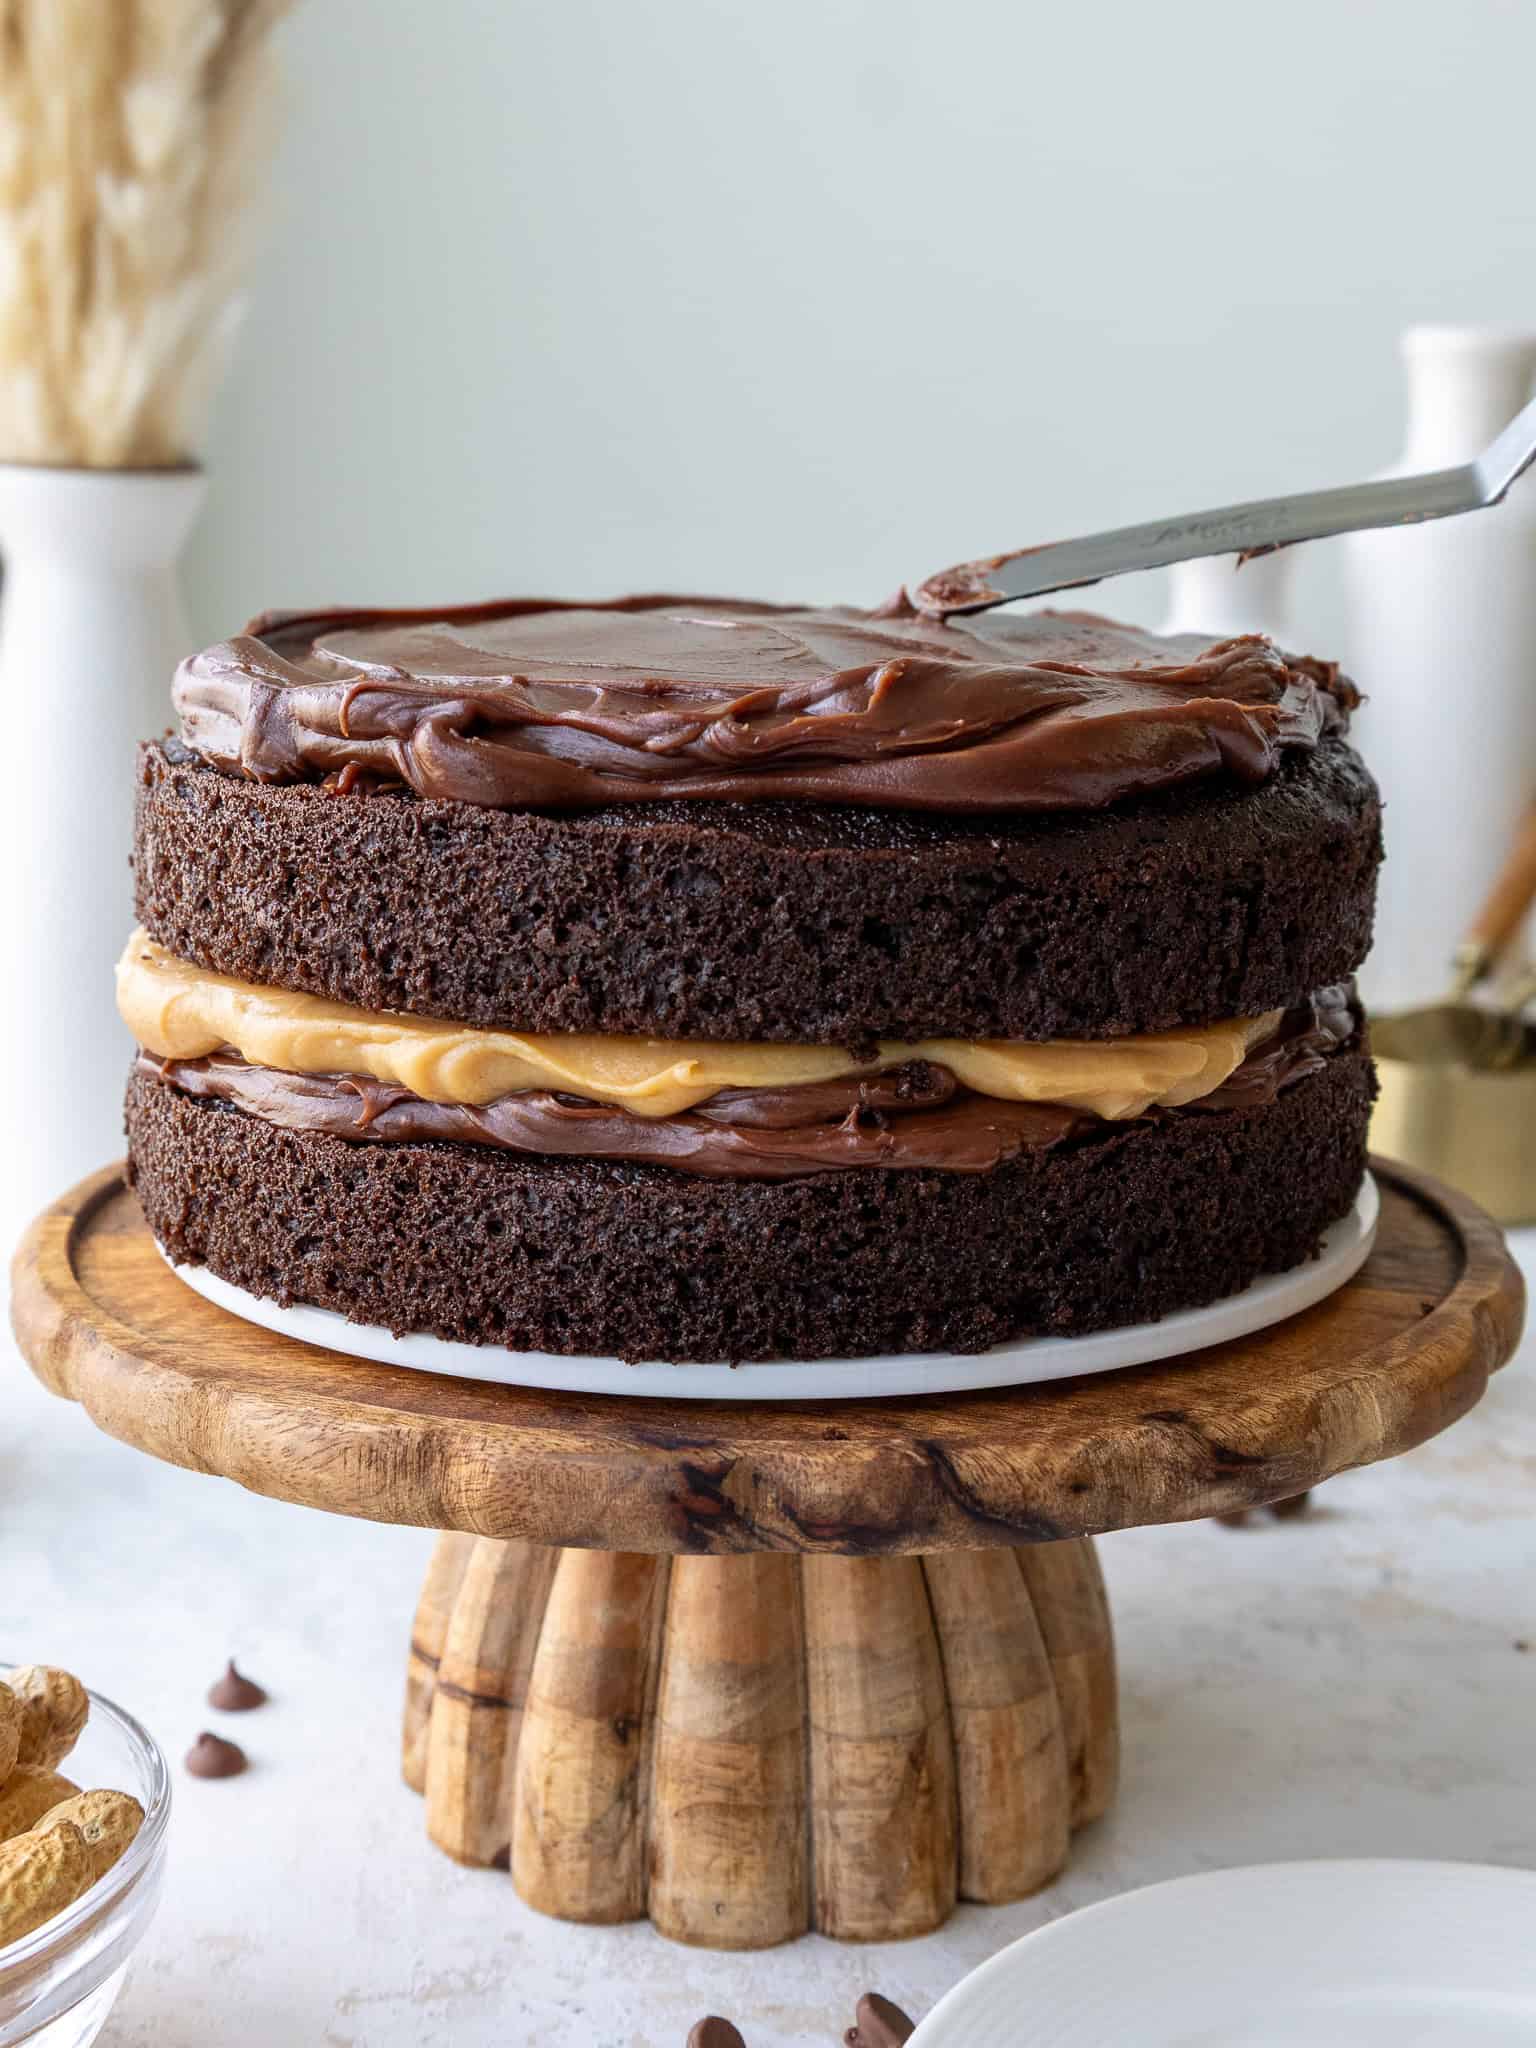
Add the second cake layer, then chill the cake in the freezer for 10 minutes or the fridge for 20 minutes. Top the second layer with the same amount of chocolate and peanut butter ganache.
Place the final cake layer upside down on top to make it easier to frost and minimize crumbing.
Step 2: Chill the Cake
Chill the stacked cake for about 15 minutes in the freezer or 30 minutes in the fridge, or until the fillings feel firm.
This step is especially important with a cake like this. There’s a generous amount of ganache between each layer, and chilling everything helps prevent the cake layers from shifting around while you frost it.
Step 3: Whip the Chocolate and Peanut Butter Ganaches & Frost
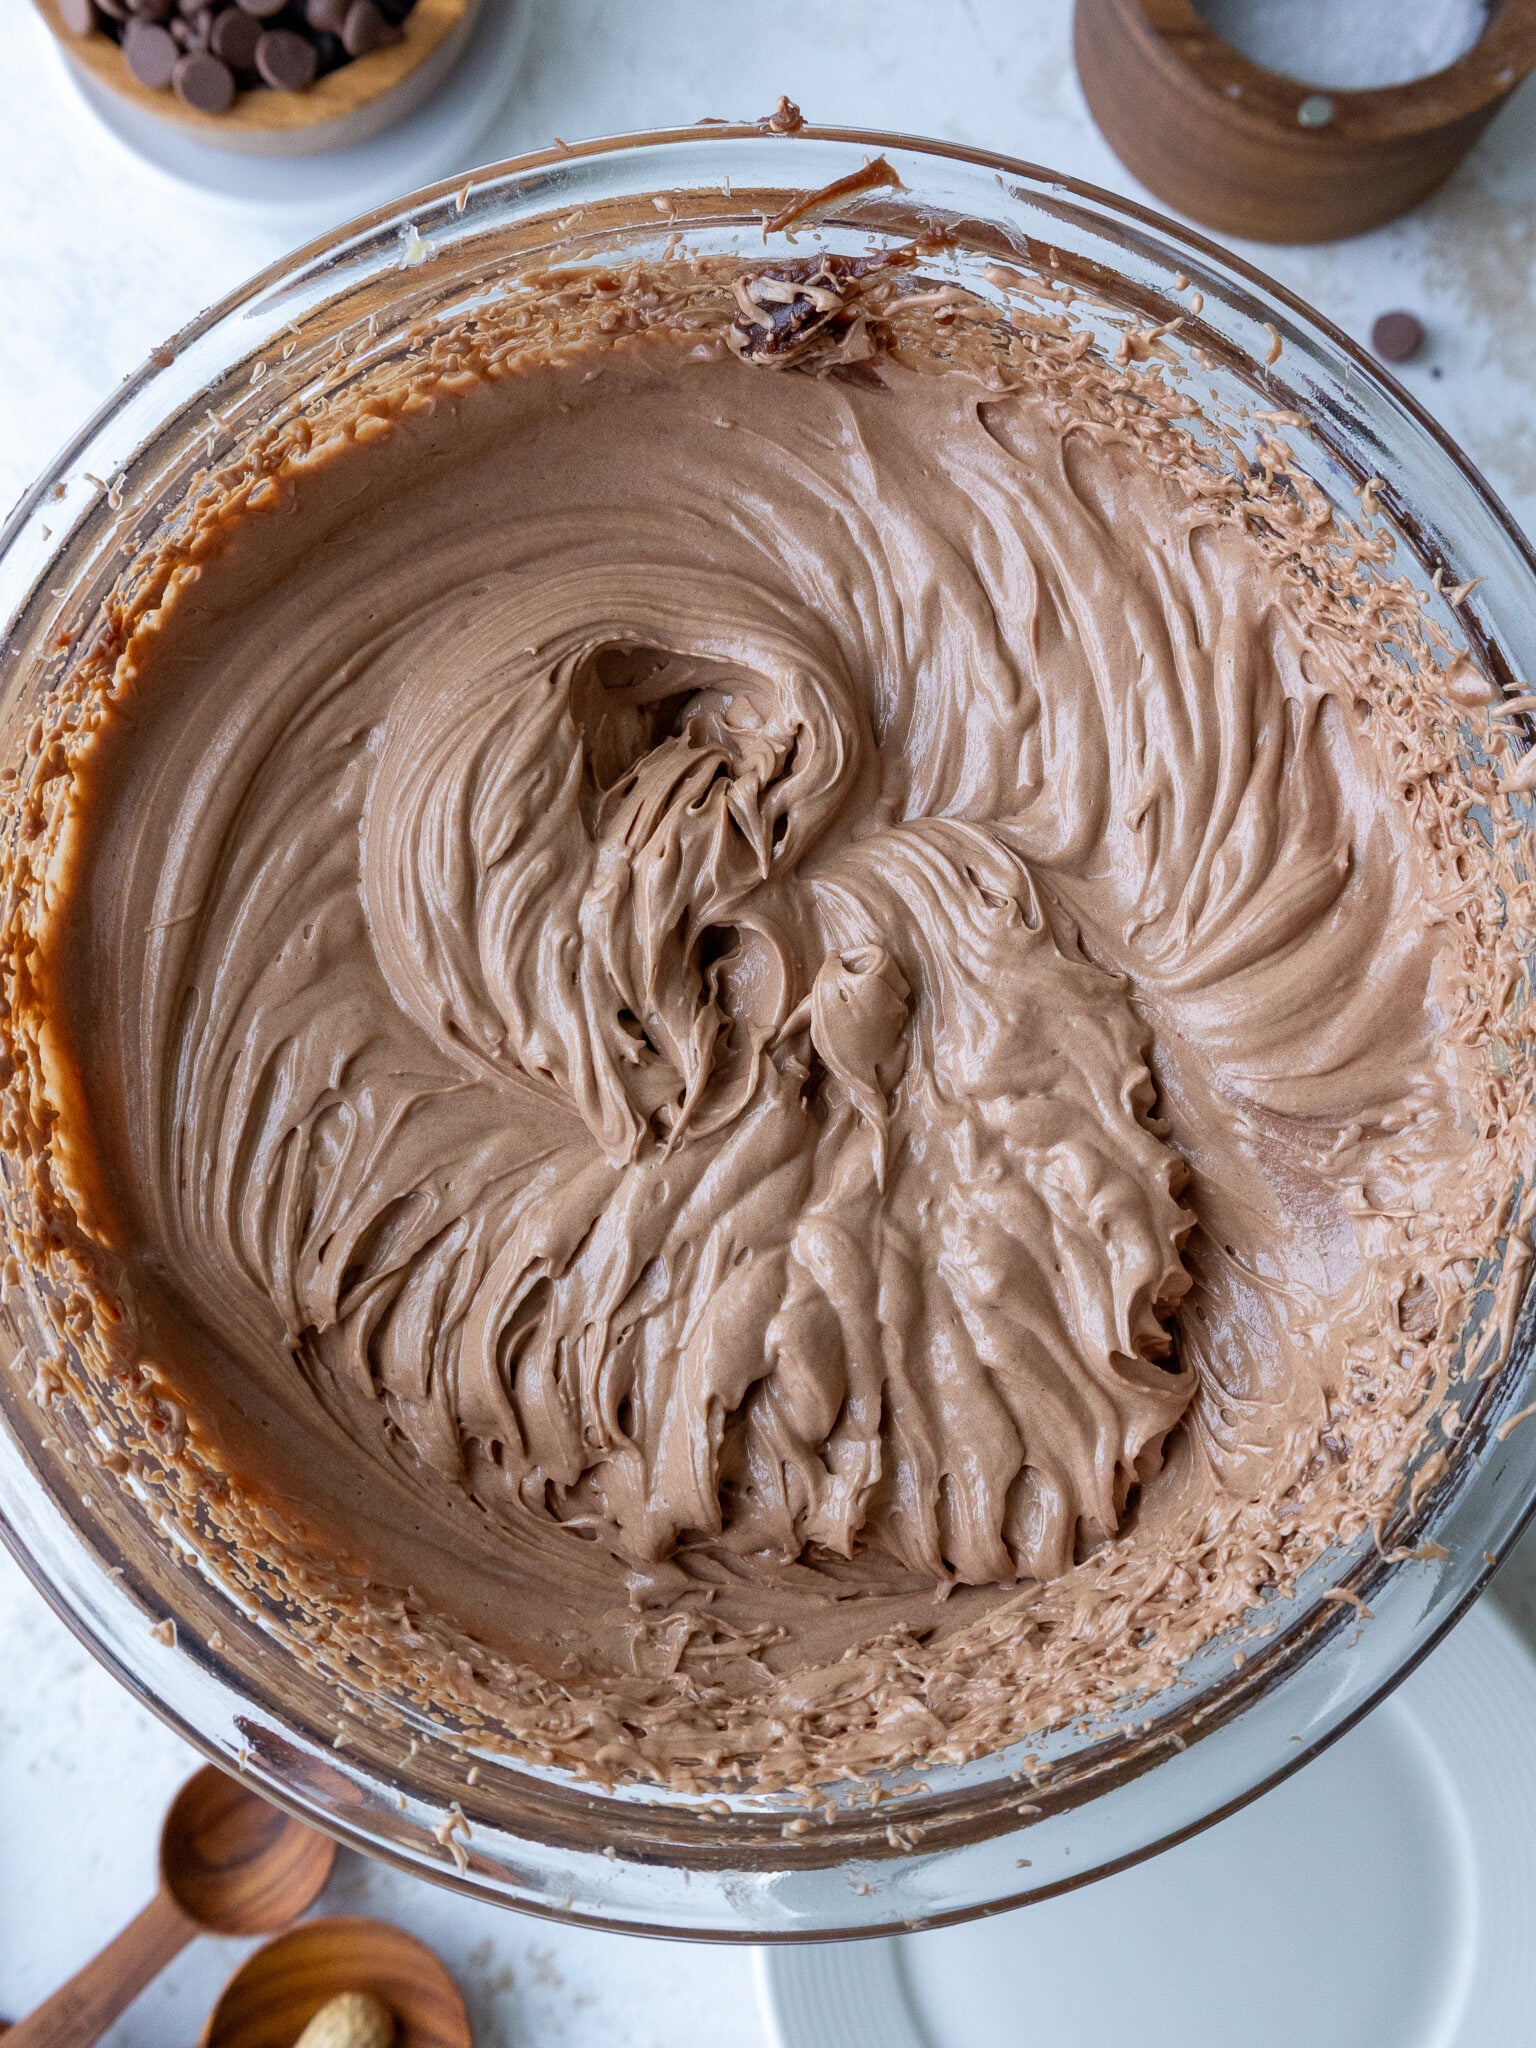
Whip the remaining room-temperature chocolate and peanut butter ganache together with a hand mixer or stand mixer on a high speed for 1-2 minutes, or until the mixture becomes lighter in color and increases in volume.
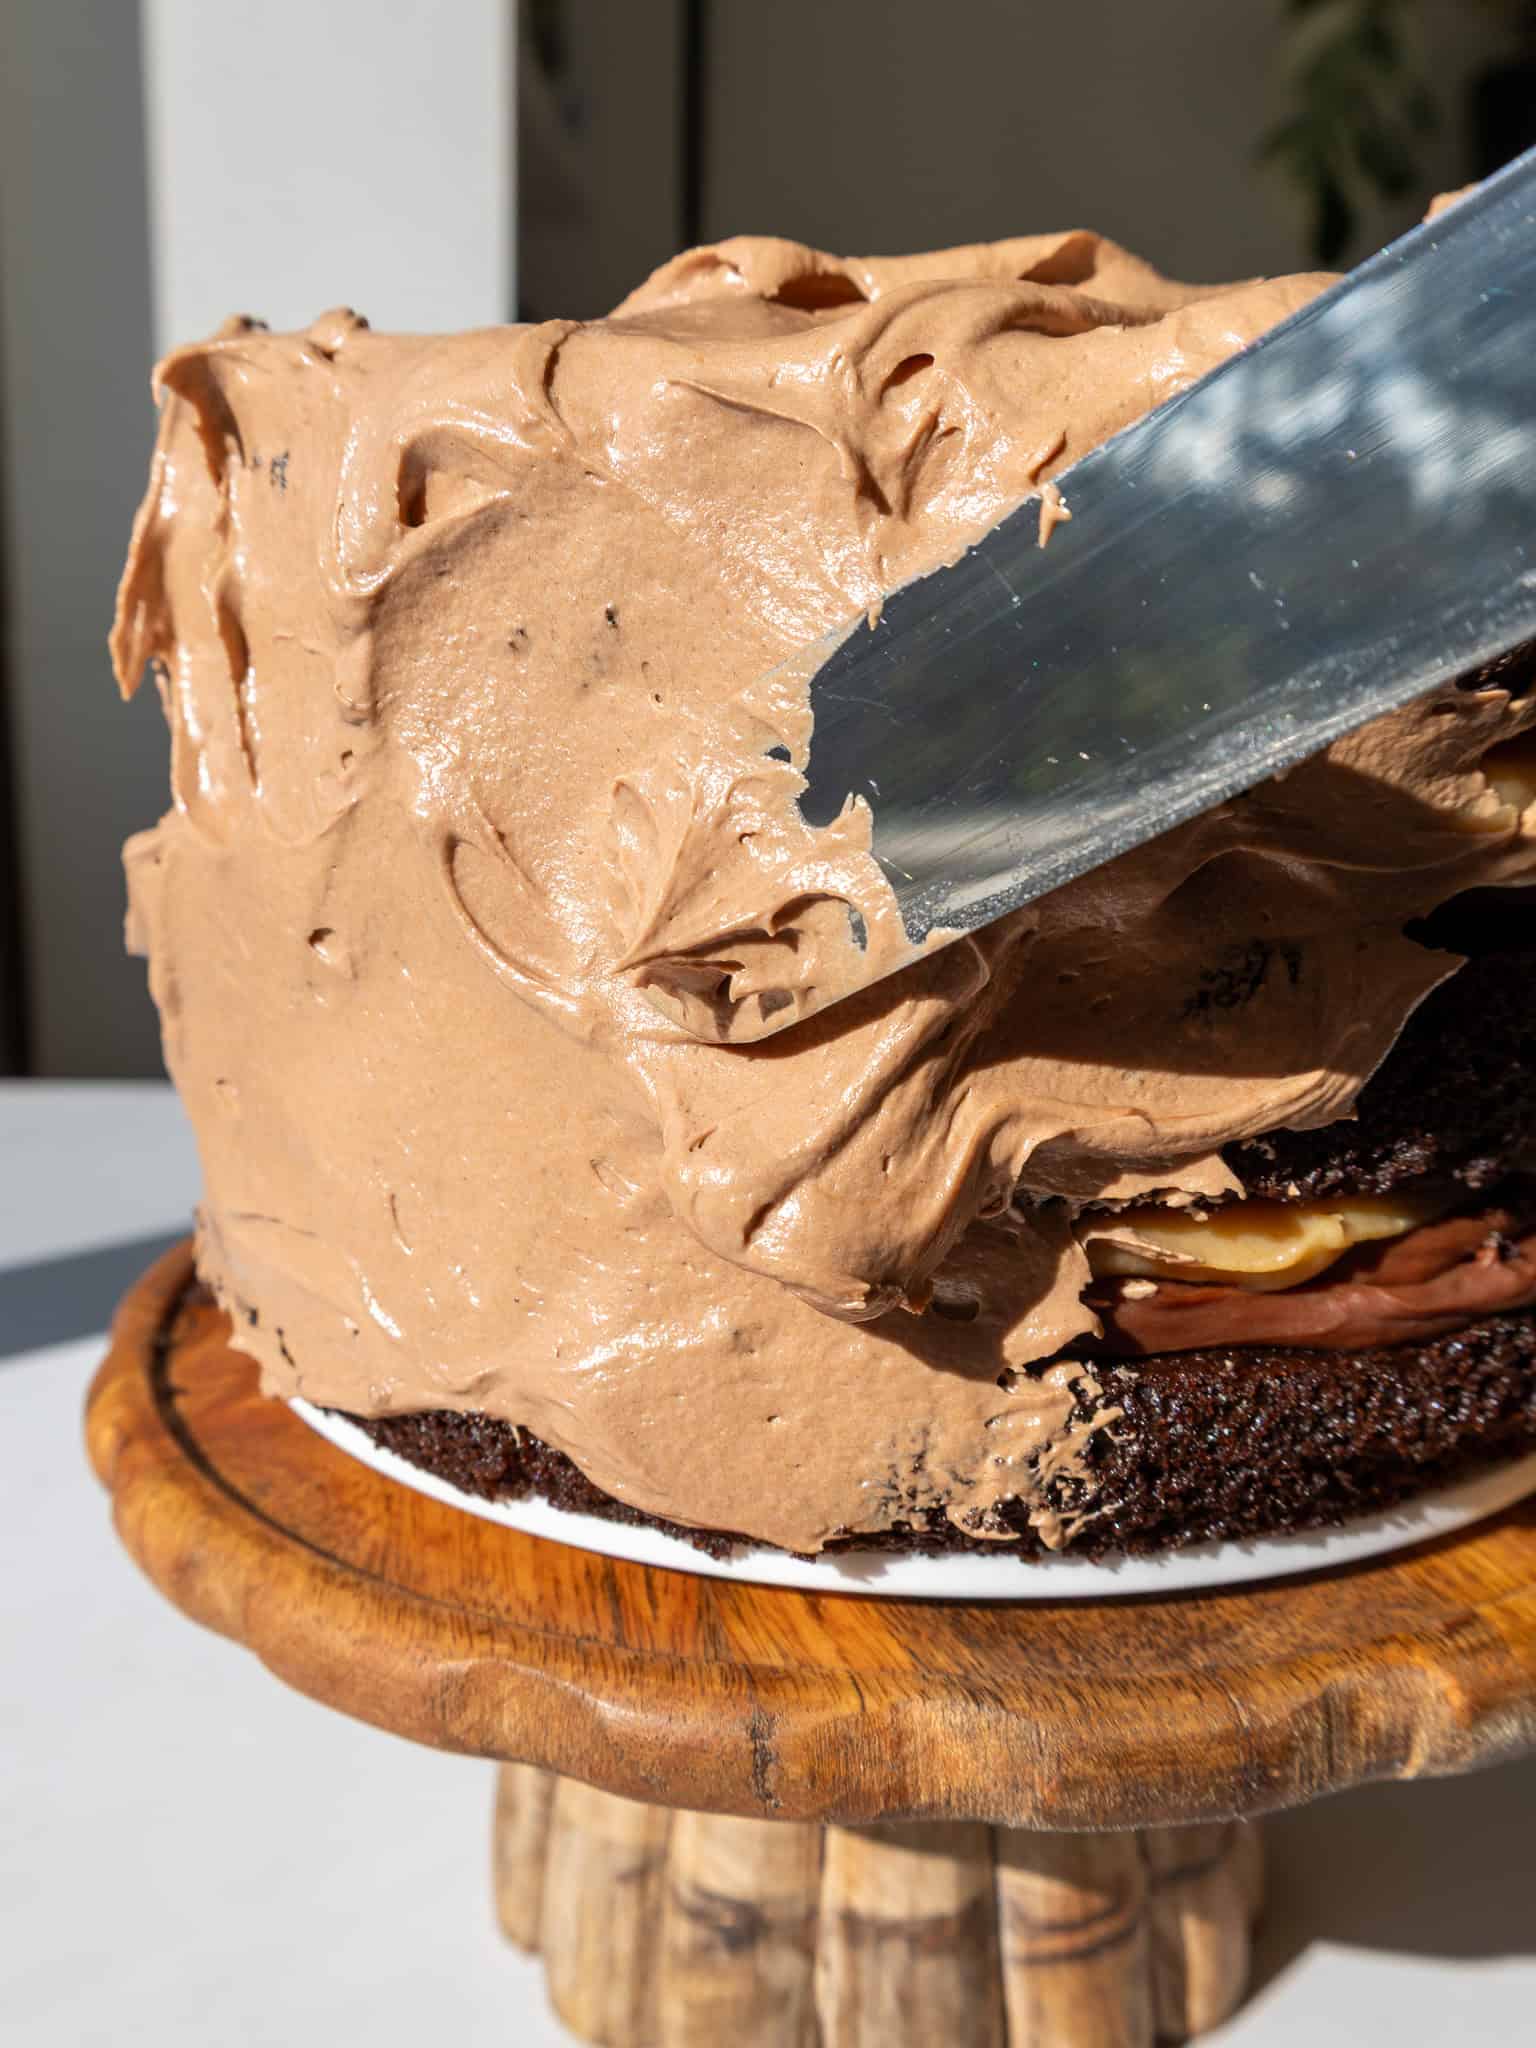
Cover the cake in a thick layer of whipped chocolate peanut butter ganache. I like to use a large offset spatula or the back of a spoon to create a textured finish around the cake.
Finish the cake with a ring of melted peanut butter, chopped peanuts, and sea salt on top, then dig in!
Substitutions and Swaps
This recipe has a few different components, and below are some swaps and substitutions that can be made.
Chocolate Cake Layers
- All-Purpose Flour: This cake turns out best with all-purpose flour. A good gluten-free 1:1 baking flour blend can also be used if needed. When using a gluten-free blend, I recommend mixing the batter slightly longer and letting it rest for about 20 minutes before baking.
- Granulated Sugar: I don’t recommend reducing the amount of sugar or changing the type of sugar. Sugar plays an important role in both the moisture and texture of these cake layers.
- Buttermilk: Full-fat yogurt, sour cream, whole milk, or nondairy milk can be used in its place.
- Vegetable Oil: Any neutral-flavored oil will work. Canola or sunflower oil are great alternatives.
Milk Chocolate Ganache
- Milk Chocolate: Milk chocolate gives this cake its sweet, fudgy flavor. If you prefer a darker, less-sweet ganache, you can use dark chocolate instead. For chocolate that is around 60 to 65% cocoa, use 480g dark chocolate with 2 cups heavy cream.
- Corn Syrup: This is optional. It helps give the ganache an extra smooth, glossy consistency but can be omitted.
- Unsalted Butter: Salted butter can be used if needed. Just reduce or omit the additional salt to taste.
Peanut Butter Ganache
- White Chocolate: You can use finely chopped white chocolate or high-quality white chocolate chips.
- Peanut Butter: I recommend using the creamy, shelf-stable peanut butter called for in the recipe for the most consistent texture.
Making This Peanut Butter Fudge Cake in Different Sizes
One batch of chocolate cake batter makes three 8-inch cake layers, with about 475g of batter in each pan.
You can also use the cake batter to make two 9-inch cake layers or four 6-inch cake layers.
The bake time will be a little longer with both of these options and can vary depending on the size and depth of your cake pans. Use the visual cues in the recipe to determine when the layers are done rather than relying only on the timer.
Keep in mind that this is a very rich cake with two different ganaches between the layers. If you make a cake with a smaller diameter, it can get quite tall and heavy. Be sure to chill it well during assembly to keep everything stable.
Can This Peanut Butter Fudge Cake Be Made in Advance?
Yes! I actually recommend making this cake in stages because both ganaches need time to set.
Milk Chocolate Ganache
The chocolate ganache is one of the easiest components to make ahead.
I usually make it the night before, then let it sit at room temperature for a few hours before assembling the cake. You want it thick and spreadable, not cold and firm.
The ganache can also be stored in an airtight container in the fridge for up to a week or frozen for up to 3 months.
Peanut Butter Ganache
The peanut butter ganache can be made up to a week in advance and stored covered in the fridge.
Let it soften slightly if needed before assembling the cake so that it’s easy to spread over the chocolate ganache.
Chocolate Cake Layers
The cake layers can also be baked in advance and frozen. Once they’re fully cooled, wrap them tightly in plastic wrap and freeze until needed. Let the layers thaw for about 15 minutes before assembling the cake.
I actually prefer stacking cakes with slightly chilled layers because they’re easier to handle and create fewer crumbs.
Assembled Cake
A frosted cake can be stored in the fridge for up to a week or in the freezer for up to a month.
Let the cake sit at room temperature for a couple of hours before serving so the ganaches have time to soften. This also makes the cake easier to slice and gives it the best texture.
Frequently Asked Questions
Can I halve this peanut butter fudge cake recipe?
Yes. A half batch should work well when you want a smaller cake. I recommend dividing the cake batter between three 6-inch pans. The layers will be a little thinner than the original 8-inch layers, so start checking them a few minutes earlier as they bake. You can halve both ganache recipes as well.
Can I use dark chocolate instead of milk chocolate?
Yes, but you’ll need to change the chocolate-to-cream ratio. If you’re using dark chocolate that contains about 60 to 65% cocoa, use 480g dark chocolate and 2 cups of heavy cream.
Dark chocolate will make the finished cake richer and less sweet, while milk chocolate gives it more of that classic fudge flavor.
Why is my chocolate ganache too runny?
It probably hasn’t fully cooled down. You can also chill it briefly if needed, stirring it occasionally until it reaches a thick, spreadable consistency.
This can also happen if lower-quality chocolate is used. I recommend using Ghirardelli or Guittard chocolate if possible.
Why is my peanut butter ganache too soft?
The peanut butter ganache needs plenty of time to cool to room temperature and set. It will look fairly loose when you initially combine the ingredients but will thicken considerably as it cools.
How do I keep the cake layers from sliding?
Make sure both ganaches are properly cooled and thick before you assemble the cake.
Keep the filling layers relatively even and avoid assembling the cake while any of the components are warm.
Once the cake is stacked, chill it for about 15 minutes in the freezer or 30 minutes in the fridge before frosting it. This allows the fillings to firm up and makes the cake significantly easier to finish.
Why is my chocolate ganache too thick?
If the ganache is too thick to spread and you chilled it in the fridge, let it sit at room temperature until it softens.
If needed, microwave it for 5 to 10 seconds at a time, stirring well between each interval. But be careful not to overheat it. You just want to soften it enough to make it spreadable again.
Tips for Making the Best Peanut Butter Fudge Cake
- Properly measure the flour. Spoon the flour into your measuring cup and level it with a knife, or use a kitchen scale for the most accurate results.
- Don’t rush the ganaches. Both fillings need time to cool to room temperature and thicken.
- Use a kitchen scale to divide the cake batter. About 475g per 8-inch pan will give you evenly sized layers that are much easier to stack.
- Work with slightly chilled cake layers. They’re sturdier, create fewer crumbs, and make a rich cake like this easier to assemble.
- Chill the stacked cake before frosting it. With two thick layers of ganache between each cake layer, this small step makes a huge difference.
- If your cake layers turn out less than perfect, check out my cake troubleshooting guide to figure out what might have happened.
Let Me Know What You Think!
If you make this peanut butter fudge cake recipe, I’d love to hear what you think! Let me know by leaving a rating and comment below.
And don’t forget to tag me @chelsweets and use #chelsweets if you share on social media so I can see your amazing creations.
Peanut Butter Fudge Cake
Equipment
- Scale (optional)
Ingredients
Milk Chocolate Ganache
- 1 cup heavy whipping cream 240g
- 4 cups milk chocolate chips 720g
- 1/2 cup (1 stick) unsalted butter, room temperature 113g
- 1/4 cup light corn syrup – optional 80g
- 1/2 tsp fine salt 3g
Peanut Butter Ganache
- 2 cups finely chopped white chocolate or high-quality white chocolate chips 350g
- 1 cup creamy, shelf-stable peanut butter 250g
- 1 1/3 cups heavy whipping cream 320g
Chocolate Cake Layers
- 2 cups all-purpose flour 260g
- 2 cups granulated sugar 400g
- 3/4 cup unsweetened cocoa powder, sifted 75g
- 2 tsp baking powder 8g
- 1 1/2 tsp baking soda 9g
- 1 tsp instant coffee or espresso, optional
- 1 tsp fine salt 6g
- 1 cup water, warm 240g
- 1 cup buttermilk, room temperature 240g
- 1/2 cup vegetable or canola oil 110g
- 2 large eggs, room temperature 112g
- 1 tsp vanilla extract or vanilla bean paste 4g
Decorations (optional)
- 1/4 cup peanut butter, melted 64g
- 2 Tbsp chopped peanuts 18g
- 1 tsp flaky sea salt
Instructions
Milk Chocolate Ganache (for the filling & frosting)
- Heat 1 cup of heavy cream in a large, heatproof bowl in the microwave for 45 seconds, until it just begins to bubble and steam. If you don’t have a microwave, heat the cream in a small saucepan over medium heat until it just begins to steam and bubble.
- Gently pour 4 cups of milk chocolate chips into the heavy cream. Make sure the chips are fully covered with cream. Let the mixture sit for 1 minute. If you want to use dark (60-65% cocoa) chocolate chips, use 2 2/3 cups (480g) and 2 cups of heavy cream.
- Stir slowly until the cream and chocolate combine and the mixture is smooth. If any bits of chocolate aren't fully melted, heat the mixture again for 10 seconds and stir until smooth.
- Then mix in 1/2 cup (1 stick) of room-temperature unsalted butter, 1/4 cup of corn syrup (optional), and 1/2 tsp of fine salt until combined.
- Pour the mixture into a shallow, wide tray to help it cool faster, then cover it with plastic wrap to prevent the ganache from forming a skin. Set aside to let it cool to room temperature.
Peanut Butter Ganache (for the filling & frosting)
- Place 2 cups of white chocolate and 1 cup of peanut butter in a large bowl and set aside.
- Pour 1 1/3 cups of heavy cream into a heat-proof bowl and heat in 15-second intervals in the microwave until it just begins to bubble (this usually takes me 45-60 seconds). If you don't have a microwave, heat the cream over medium-high heat in a saucepan until it just starts to bubble.
- Pour the heavy cream over the white chocolate and peanut butter. Make sure all the white chocolate is submerged beneath the cream. Let the mixture sit for a couple of minutes.
- Use an immersion blender or a spoon to stir the ganache and combine the ingredients until the mixture is smooth. If you don't have an immersion blender, stir the mixture until it is fully smooth and no bits of unmelted white chocolate remain.
- Pour the mixture into a shallow, wide tray to help it cool faster, then cover it with plastic wrap to prevent the ganache from forming a skin. Set aside to let it cool to room temperature.
Chocolate Cake Layers
- Preheat oven to 350°F/175°C. Line three 8-inch cake pans with parchment paper rounds and spray the sides with nonstick baking spray. Set aside.
- Sift or whisk together 2 cups flour, 2 cups granulated sugar, 3/4 cup unsweetened cocoa powder, 2 tsp baking powder, 1 1/2 tsp baking soda, 1 tsp fine salt, and 1 tsp instant espresso or coffee (optional) in a large bowl. Set aside.
- In a separate, large bowl, add 1 cup warm water, 1 cup buttermilk, 1/2 cup oil, 2 eggs, and 1 tsp vanilla and whisk together until fully incorporated.
- Whisk the dry ingredients into the wet ingredients until they're just combined, and the batter is smooth.
- Pour the batter evenly (about 475g per pan if you're making 3 layers) between the 3 cake pans. Bake for 24-26 minutes or until a toothpick comes out with a few moist crumbs.
- Let the pans cool for 10 minutes, then run a small offset spatula around the perimeter of the pan to separate the cake from the pan.
- Place the cake pans into the freezer for 30 minutes to accelerate the cooling process. This helps lock in the steam and makes the layers extra moist. If you don't have room in the freezer, place the cake pans on a wire rack and let them cool fully before removing them.
- Once the layers are fully cooled, carefully flip the pans and remove the layers. These cake layers bake up pretty flat, so leveling them is optional, but I like to level them with a serrated knife to make the cake easier to fill and frost.
- If you make these cake layers in advance, let them thaw for about 15 minutes before making the cake. The cake layers should still be slightly cold to the touch, which will make it easier to assemble the cake.
Peanut Butter Fudge Cake Assembly
- Place the first cake layer on a greaseproof cake board or large flat plate, using a small dab of chocolate ganache to keep it in place.
- Spread about 1 1/4 cups (325g) of room-temperature chocolate ganache on the first cake layer, then top this with about 1 1/4 cups (325g) of the peanut butter ganache. Try to keep the filling relatively even so the next cake layer sits flat.
- Add the second cake layer, then chill the cake in the freezer for 10 minutes or the fridge for 20 minutes. Top the second layer with the same amount of chocolate and peanut butter ganache. Place the final cake layer upside down on top to make it easier to frost and minimize crumbing. Then chill the cake one more time for about 15 minutes in the freezer or 30 minutes in the fridge, or until the filling is firm.
- Whip the remaining room-temperature chocolate and peanut butter ganache together with a hand mixer or stand mixer on a high speed for 1-2 minutes, or until the mixture becomes lighter in color and increases in volume.
- Then cover the cake in a thick layer of whipped chocolate peanut butter ganache. Use a large offset spatula or the back of a spoon to create a textured look around the cake. Finish the cake with a ring of melted peanut butter, chopped peanuts, and sea salt on top, then dig in!
Notes
Nutrition
Other Recipes You Might Like:
Is there a way to pin the recipe for later use please?
why ur milk chocolate ganache is darker than usual…is it because it has high cocoa solids???
Hi Sulochana,
I used Ghirardelli milk chocolate chips (32% cacao) to make the milk chocolate ganache. What type of chocolate are you using?
I just made the ganaches. The chocolate one looks fine but the peanu butter one looks too soft. Perhaps it will solidify as it comes to room temperature. If not, what is the best way to thicken it, add melted chips?
Hi Chuck,
The peanut butter ganache is pretty soft when it’s first mixed, but it should thicken quite a bit as it cools and sets. I’d give it plenty of time at room temperature or chill it briefly before adjusting anything. I wouldn’t add extra chips unless it’s still too soft once it has fully cooled. Hope that helps, happy baking!