
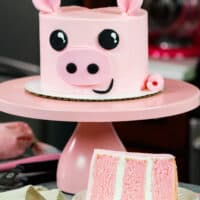
Pig Birthday Cake
This week I got to make the cutest little piggy cake to celebrate the premiere of my digital series with the Food Network! It’s kind of like dirty jobs, but all the jobs are in the food industry. Our first episode is with an amazing woman-owned butchery in Philly, so a pig cake seemed fitting. Since it’s the start of the series, I figured I’d call this cake a pig birthday cake!
The digital series is being shared on the Food Network Kitchen app, which is actually free for anyone who has amazon prime!
To get your free subscription, search the Food Network Kitchen app on your Fire TV or Fire tablet and install the app. Click Activate now, choose a renewal option and log in with your Amazon information.
They also offer a free 60-day trial, so you might as well download the app!!
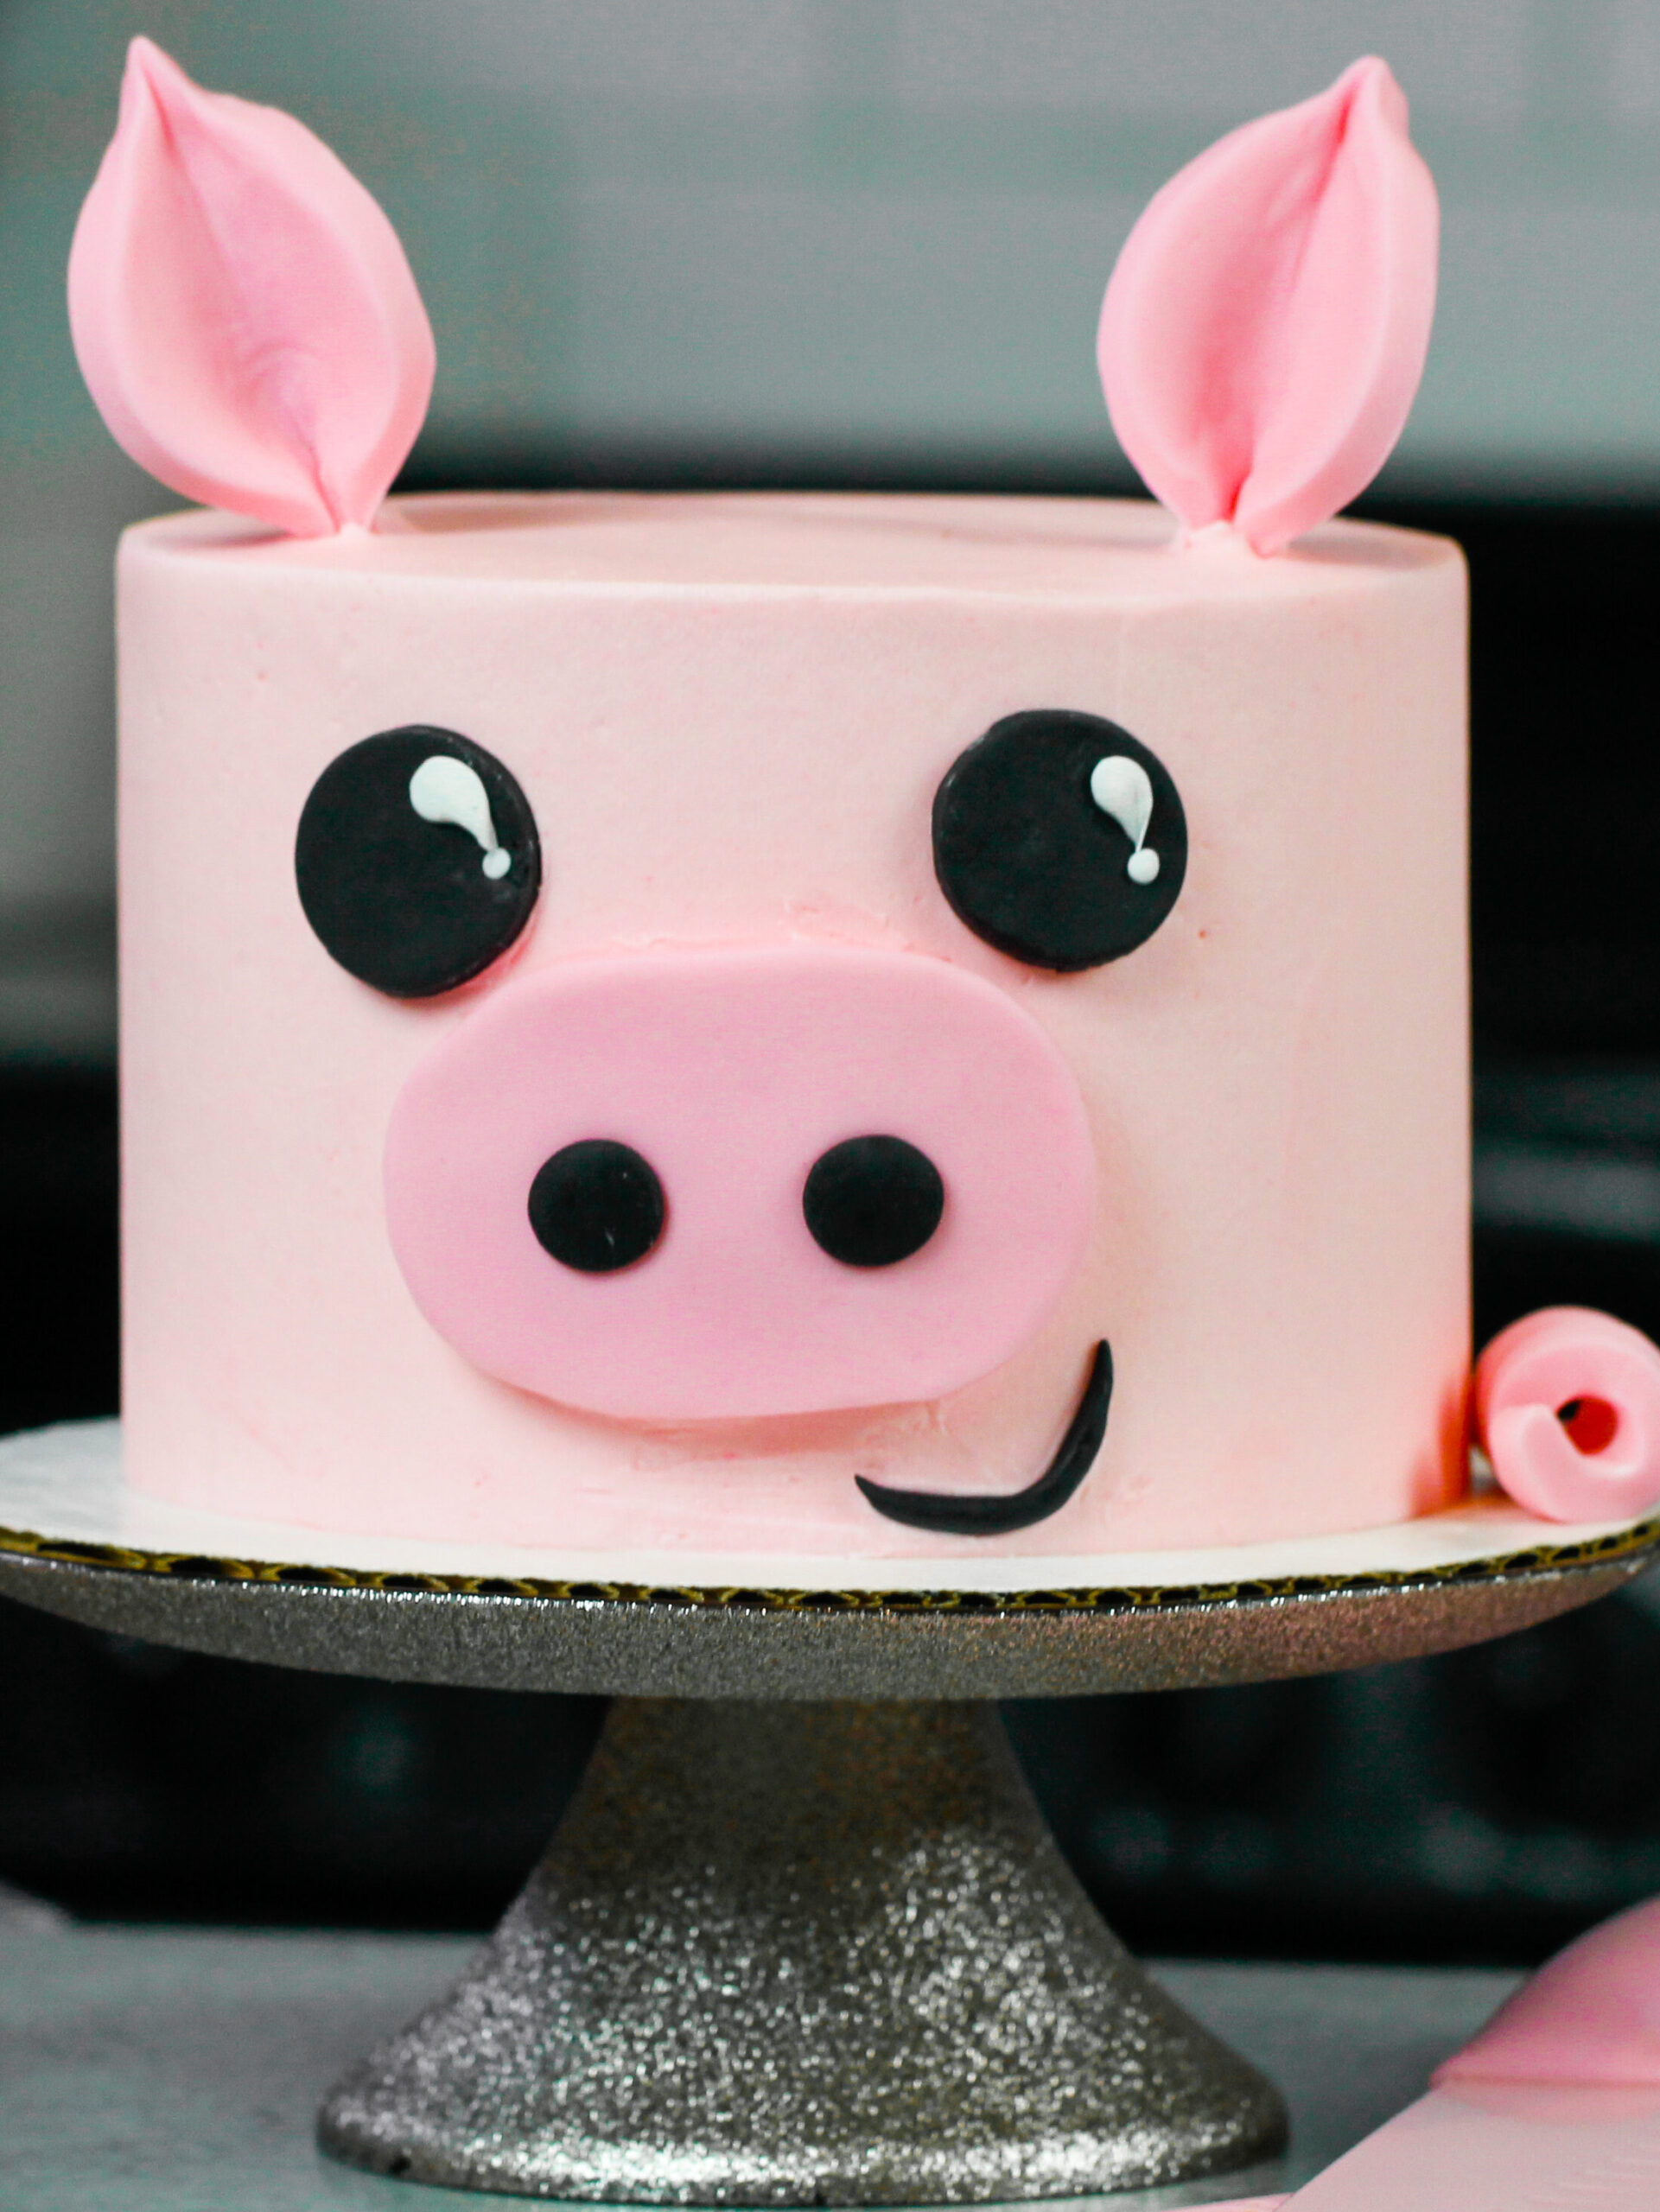
Making This Little Pig’s Face
While I’m always team buttercream, there are some situations where using a bit of fondant is easier than trying to pipe certain details.
Taking the easy way out isn’t always best, but we’ve already put so much energy into making the cake layers and buttercream from scratch! I used a bit of black, white and pink fondant to make my pig’s face.
I just don’t think the ears or snout would turn out quite as cute if I tried to pipe them 😛

Substitutions and Swaps – Pink Cake Layers
This pig birthday cake uses quite a few ingredients and I know you might not have all of them on hand. Or if you have food allergies or restrictions, I’ve got you covered.
Below are some swaps and substitutions that can be made in this pig cake recipe:
- All Purpose Flour – This recipe turns out best with AP flour, but you can use a gluten free flour blend (be sure to also follow my tips below) or cake flour if that’s all you have on hand. I don’t recommend using straight almond flour though!
- Granulated Sugar – I do not recommend reducing the amount of sugar or changing the type of sugar, as it will change the texture of the cake layers.
- Unsalted Butter – If you only have salted butter on hand you can use it in place of the unsalted butter in this recipe. Just be sure to omit the salt that this cake recipe calls for. You can also use vegan butter in its place!
- Egg whites – If you don’t have egg whites on hand (I use the type out of the carton), you can use 3 whole eggs in place of the egg whites. Or you have an egg allergy you can use flaxseed eggs in their place or 3/4 cup of unsweetened applesauce.
- Buttermilk – You can also use full fat yogurt, sour cream, whole milk, or an alternative yogurt or milk (almond, soy, oat) if you’re dairy free.
- Vegetable Oil – You can use any flavorless oil in this recipe. Canola or even sunflower oil would work great!
- Gel food coloring – Natural food coloring (either liquid or powder) can be used in place of the pink gel food coloring to make this cake!
Substitutions and Swaps – Vanilla Buttercream Frosting
- Unsalted Butter – If you only have salted butter on hand you can use it in place of the unsalted butter. Just be sure to omit the salt that this frosting recipe calls for. You can also use vegan butter in its place!
- Heavy Cream – Whole milk or alternative milk (soy, almond, oat) will work fine in this frosting recipe if that’s what you have on hand.
- Vanilla Extract – Other extracts can also be used in place of the vanilla extract. Feel free to use coconut extract, hazelnut extract, or even pistachio extract.
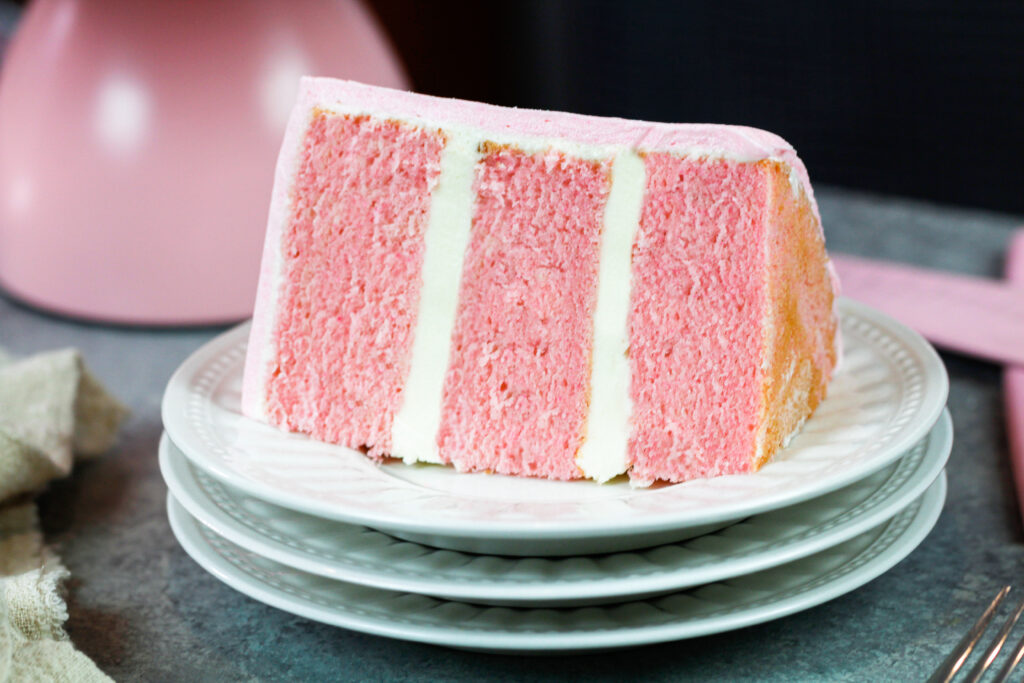
Coloring These Pink Cake Layers
I used gel food coloring to color these pink cake layers. Liquid food coloring can work too, but it can throw off the consistency of the cake batter if you add too much.
I highly recommend using gel food coloring. Gel food coloring is incredibly concentrated so it allows you to use less. A couple drops will create a beautiful pink shade.
Gel food coloring is also thicker, and won’t change the consistency of the cake batter. Americolor gel food coloring is my favorite brand and I order it on amazon.
Natural food coloring (either liquid or powder) can be used in place of the gel food coloring! The colors won’t be quite the same, but it will still be beautiful.
Tips for Making The Best Pig Birthday Cake:
- Make your own buttermilk if you don’t any! Add 1 Tbsp of lemon juice or vinegar to 1 cup of whole milk.
- Be sure to properly measure your flour (spoon into the cup measure then level) or use a kitchen scale to measure your dry ingredients.
- Natural food coloring (either liquid or powder) can be used in place of the gel food coloring. The colors won’t be quite the same, but it will still be beautiful.
- Ingredients at room temp mix together better, so be sure you set out any cold ingredients ahead of time.
- Mix your cake batter just until the ingredients are incorporated. This will ensure your cake layers are tender and fluffy.
- Chill your cake layers in the freezer for about 20 minutes before assembling the cake. This makes it easier to stack and frost.
- One batch of batter can be also be used to make one 9×13 inch sheet cake. Bake it at 325F for 33-38 minutes.
- As ironic as it sounds, make this pig cake vegan or dairy free! Use your favorite type of dairy free milk to replace the buttermilk and heavy cream, and use vegan butter sticks in place of the butter.
Making This Pig Cake In Advance & Storage Tips:
- Make your cake layers in advance and freeze them. It breaks the process up and make it more approachable.
- Make your frosting ahead of time too or save any leftover frosting. It can be stored in an airtight container in the fridge for up to a month. Or store it in the freezer for up to 3 months! Be sure to give it a good stir once it thaws to get the consistency smooth again.
- A frosted cake can last in the fridge for up to a week. In the freezer it can last for up to a month! The buttercream locks in all the moisture, keeping the cake fresh and delicious.
- If you cut into the cake and have leftovers, use any remaining frosting to cover the cut section to keep it moist. It can be stored in the fridge like this for up to a week.
Let Me Know What You Think!
If you try this pig birthday cake recipe, I’d love to hear what think of it! Please leave a rating and let me know your thoughts by sharing a comment.
Also please tag me @chelsweets! Use the #chelsweets so that I can see your amazing creations on social media.
Other Recipes You Might Like:
Pig Birthday Cake
Ingredients
Pink Vanilla Cake
- 2 cups + 2 Tbsp all-purpose flour 276 grams
- 2 cups granulated sugar 400 grams
- 1 1/2 tsp baking powder 6 grams
- 1/2 tsp fine salt 3 grams
- 2/3 cup unsalted butter, room temperature 150 grams - 1 and 1/3 sticks
- 2/3 cup large egg whites, room temperature or about 5 egg whites (155 grams)
- 1 cup buttermilk, room temperature 228 grams
- 1 Tbsp vegetable or canola oil 14 grams
- 1 tsp. vanilla extract or vanilla bean paste 4 grams
- pink gel food coloring if desired
Vanilla Buttercream Frosting
- 2 cups unsalted butter, room temperature 434 grams
- 7 cups powdered sugar 907 grams - or a 2 lb bag
- 2 Tbsp heavy whipping cream, room temperature or whipping cream (30 grams)
- 1 Tbsp vanilla extract or vanilla bean paste 12 grams
- 1/2 tsp fine salt 3 grams
- pink gel food coloring if desired
Pig Face
- 1 oz. pink fondant
- 1/2 oz black fondant
- pinch white fondant
Instructions
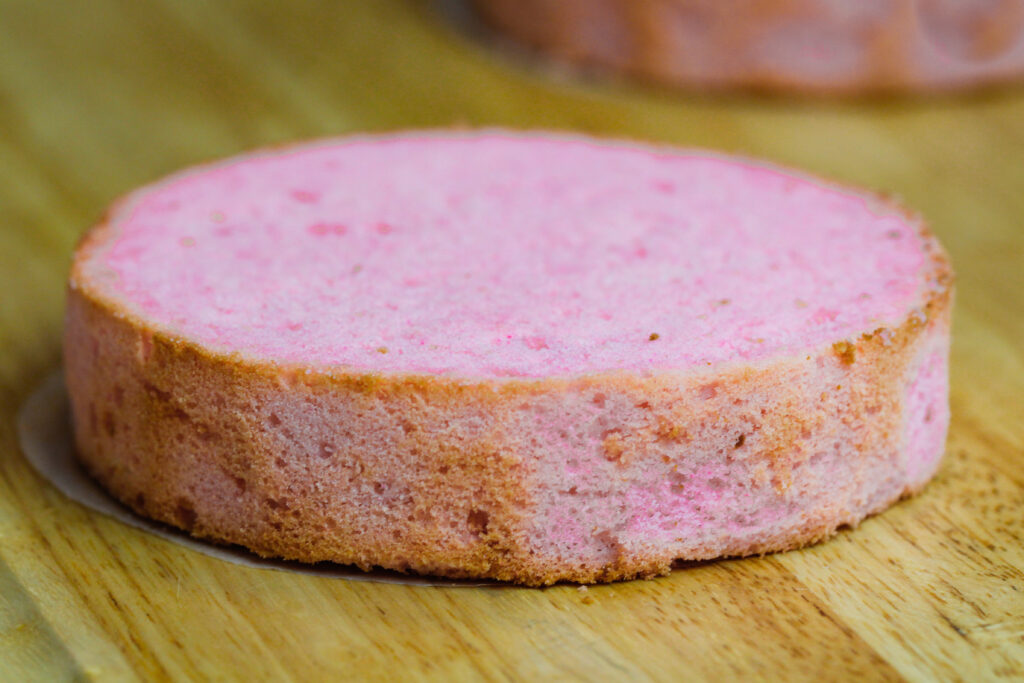
Pink Vanilla Cake Layers:
- Preheat oven to 350°F. Line three 6 inch pans with parchment rounds, and grease with non-stick baking spray.
- Mix together 2 cups + 2 Tbsp all-purpose flour, 2 cups granulated sugar, 1 1/2 tsp baking powder, and 1/2 tsp salt in a large bowl. Use a stand mixer with a paddle attachment or hand mixer to mix on a low speed until combined.
- Mix in 2/3 cup (1 & 1/3 stick) unsalted butter slowly into the dry mix, on a medium-low speed. Continue to mix until no large chunks of butter remain, and the mixture becomes crumbly.
- Pour in 2/3 cup or about 5 egg whites and mix on low until just incorporated and the batter looks wet.
- Mix in 1 cup of buttermilk on a low speed. Scrape the sides and bottom of of the bowl as needed with a rubber spatula.
- Add in 1 Tbsp of vegetable oil and 1 tsp vanilla extract. Mix at a medium-low speed until fully incorporated.
- If desired, add in a couple drops of pink gel food coloring and stir by hand with a rubber spatula until the batter is evenly colored.
- Divide batter evenly between the prepared cake pans. I like to use a digital kitchen scale to weigh my pans, and ensure they all have the same amount of batter. This guarantees your layers will bake to be the same height.
- Bake for 32-35 minutes, or until a toothpick comes out with a few moist crumbs. Allow the pans to cool for 10 minutes, then run a small offset spatula around perimeter of the pan to separate the cake from the pan.
- Place cake layers into the freezer for 30 minutes to accelerate the cooling process. Once the layers are fully cooled, carefully flip the pans and remove the layers.
- If desired, use a serrated knife to level the tops of the cake layers and remove caramelization from the sides. I like to do this right before I assemble my cake, to prevent them from drying out.
Vanilla Buttercream Frosting:
- While the cake layers bake and cool, make the vanilla buttercream frosting.
- Beat 2 cups of unsalted butter on a medium speed for 30 seconds with a paddle attachment or hand mixer until smooth.
- Slowly mix in 7 cups of powdered sugar on a low speed, 1 cup at a time. Halfway through, add in 2 Tbsp of heavy cream or milk to make it easier to mix.
- Scrape the sides and bottom of of the bowl as needed with a rubber spatula.
- Once the frosting is fully mixed and smooth, add in 1 Tbsp of vanilla extract and 1/2 tsp salt. Mix on the lowest speed for a couple minutes to help make the frosting silky smooth.
- Wait to color the frosting until after the cake has been assembled and crumb coated.
- If the frosting seems too thick, add in additional cream (1 teaspoon at a time). If the frosting is too thin, add in more powdered sugar (quarter of a cup at a time). If you're unsure how thick your frosting should be, you can learn what consistency you're looking for in my frosting consistency post.
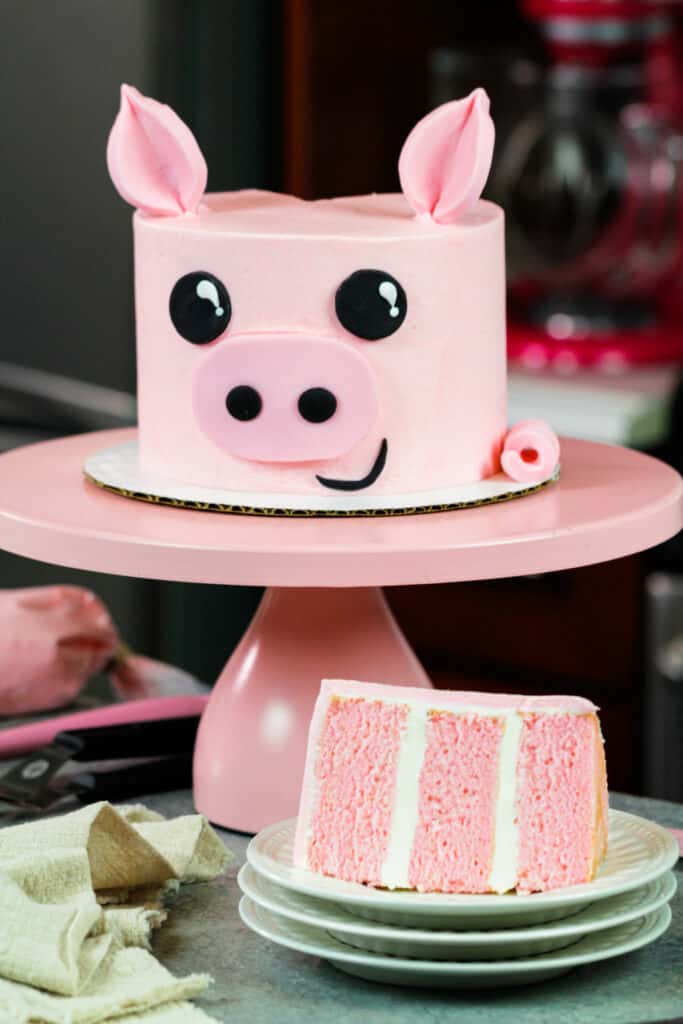
To Assemble This Pig Birthday Cake:
- Stack and frost cake layers on a greaseproof cake board, using a dab of frosting to help stick the first cake layer to the board.
- Spread an even layer of buttercream between each cake layer with a large offset spatula.
- Add a thin coat of frosting around the the cake to fully cover the cake layers.
- Smooth using a bench scraper, then chill the cake in the fridge (20 minutes) or freezer (10 minutes) until the frosting is firm to the touch.
- Color the remaining frosting pink with a couple drops of gel food coloring.
- Add a second, thicker layer of frosting to the cake, and smooth using a bench scraper.
- Chill the cake in the fridge while you cut out and create the fondant eyes, snout, ears, and tail for the pig.
- Use a bit of leftover buttercream to stick the pieces of fondant onto the cake.
Very cute cake!! . Question tho! Not really related to this particular cake but to your cake in general. I am planning to make a pregnant belly cake for a baby shower this weekend. When making your Vanilla Cake, can I use the batter to put in a semi large Oven safe – I think it is ceramic, mixing bowl, (looks like a half spear pan but maybe a bit bigger ) I need to make a round belly and my research indicates that I can use oven mixing bowl but I am worried that your recipe for your vanilla cake will either not be enough or it will not cook properly and perhaps cave in if all is placed in one bowl rather than multiple cake pans..? I look forward to your reply.
Thank you.
Anna
Good Morning ??,
I have a question. What’s the difference between cake flour and AP flour? I have cake flour and Wanda’s to know if it would mess up the recipe???
The question mark above after good morning are supposed to be sunshine emoji
Hi Chelsey! I’ve baked a few of your recipes, vanilla, berry chantilly, matcha drip, dark chocolate strawberry and it seems most of the time the cake layers come out very sticky on the tops and sides. They are fully cooked on the inside so I was wondering what causes the stickiness and how to prevent it from happening?
Hi Chelsea!
I love this cake. Was wondering if it’s ok to put these kind of fondant decorations in the refrigerator once the are already on the cake??
Thank you!!
Hi Jamie,
So happy to hear that! And great question. As long as the cake will fit in your fridge with the ears / fondant details on then you can add them in advance. They should hold up just fine. Hope that helps, happy baking!
Can I use corn oil instead of vegetable oil?
Hi Kelly,
Great question! You can use corn oil in place of the vegetable oil in this recipe. Hope that helps, happy baking!