
Small Batch Marble Cake
My marble cake recipe has been so popular I wanted to share this small batch version of it!
It’s an amazing recipe but makes a pretty big cake. What if you wanted to make a 6-inch cake??
One batch of my original recipe makes a layer cake large enough to feed about 24 people. You can use it to make three, 8-inch cake layers. It can also be used to make four, 7-inch cake layers.
This is all great and dandy if you’re making a cake for a party, or a big group of people. But sometimes you don’t need to make that big of a cake. You might just want to make a cute little six-inch layer cake.
Maybe you simply don’t need to feed that many people. Or maybe you want to make a smaller cake to create a certain look.
More often, people don’t have bigger pans. A lot of people start off with 6-inch cake pans, which may be the only size they have on hand. If that sounds like you, then this recipe is right up your alley!
How Many Cake Layers Does This Recipe Make?
This small batch marble cake recipe makes four, perfect little 6-inch cake layers. You can also make three, 7-inch cake layers with this recipe.
It may seem like you’re filling your pans pretty full, but this batter doesn’t rise much as it bakes.
That’s part of what makes my marble cake recipe so great though. It bakes flat, so leveling your cake layers is optional. With that in mind, you should end up with cake layers that are about 1 1/2 inches tall.
One Batter, Two Flavors!!
There was a reason I put off sharing this marble cake recipe for so long. I was embarrassed to say that in the past, I used to just make a half batch of both my vanilla cake batter and my chocolate cake batter!
It was SO much extra work!! This meant making two sets of batter, which also meant twice the time commitment, twice the dishes, twice the headache!!
My vanilla and chocolate layer cake recipes are super similar. In fact, the main difference is that in my chocolate cake recipe, I swap out some of the flour for baking cocoa.
With that in mind, I’ve adjusted this recipe so that you only have to make one base batch of batter.
After making the vanilla cake batter, half of it gets transformed into chocolate batter!
All you have to do mix in a few additional ingredients. Now you can forget about the extra dishes and enjoy the cake once it’s made!
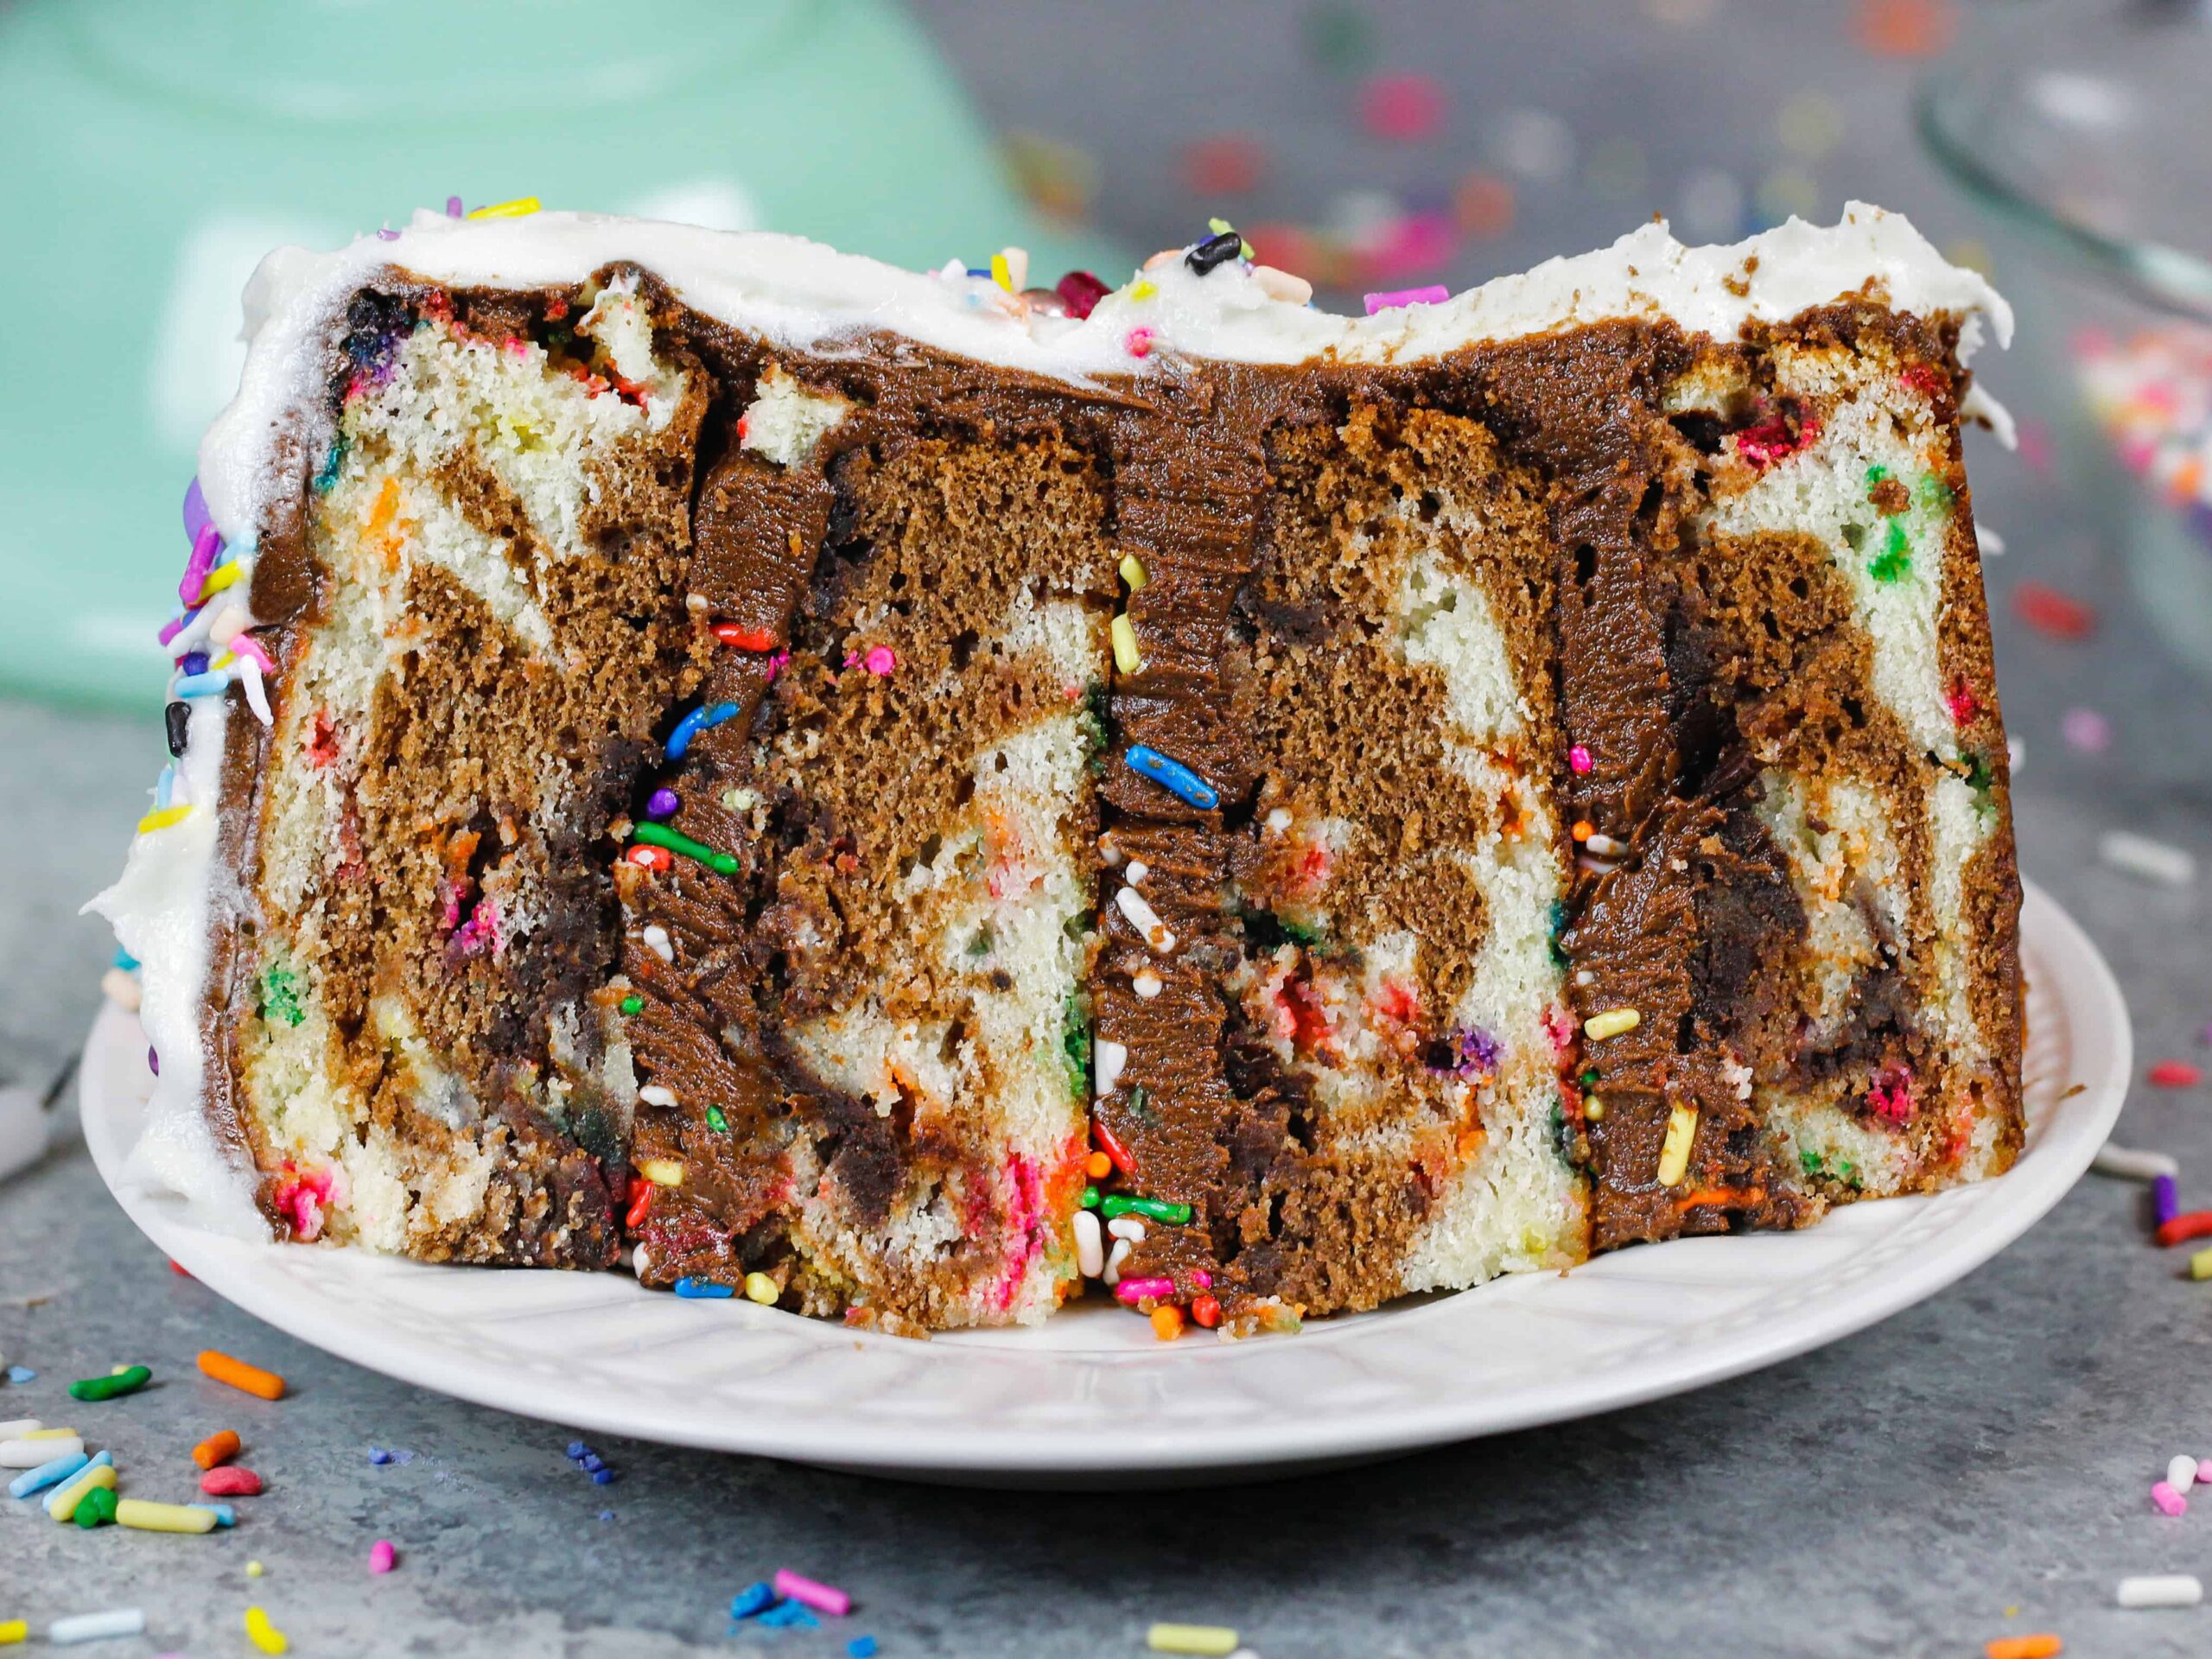
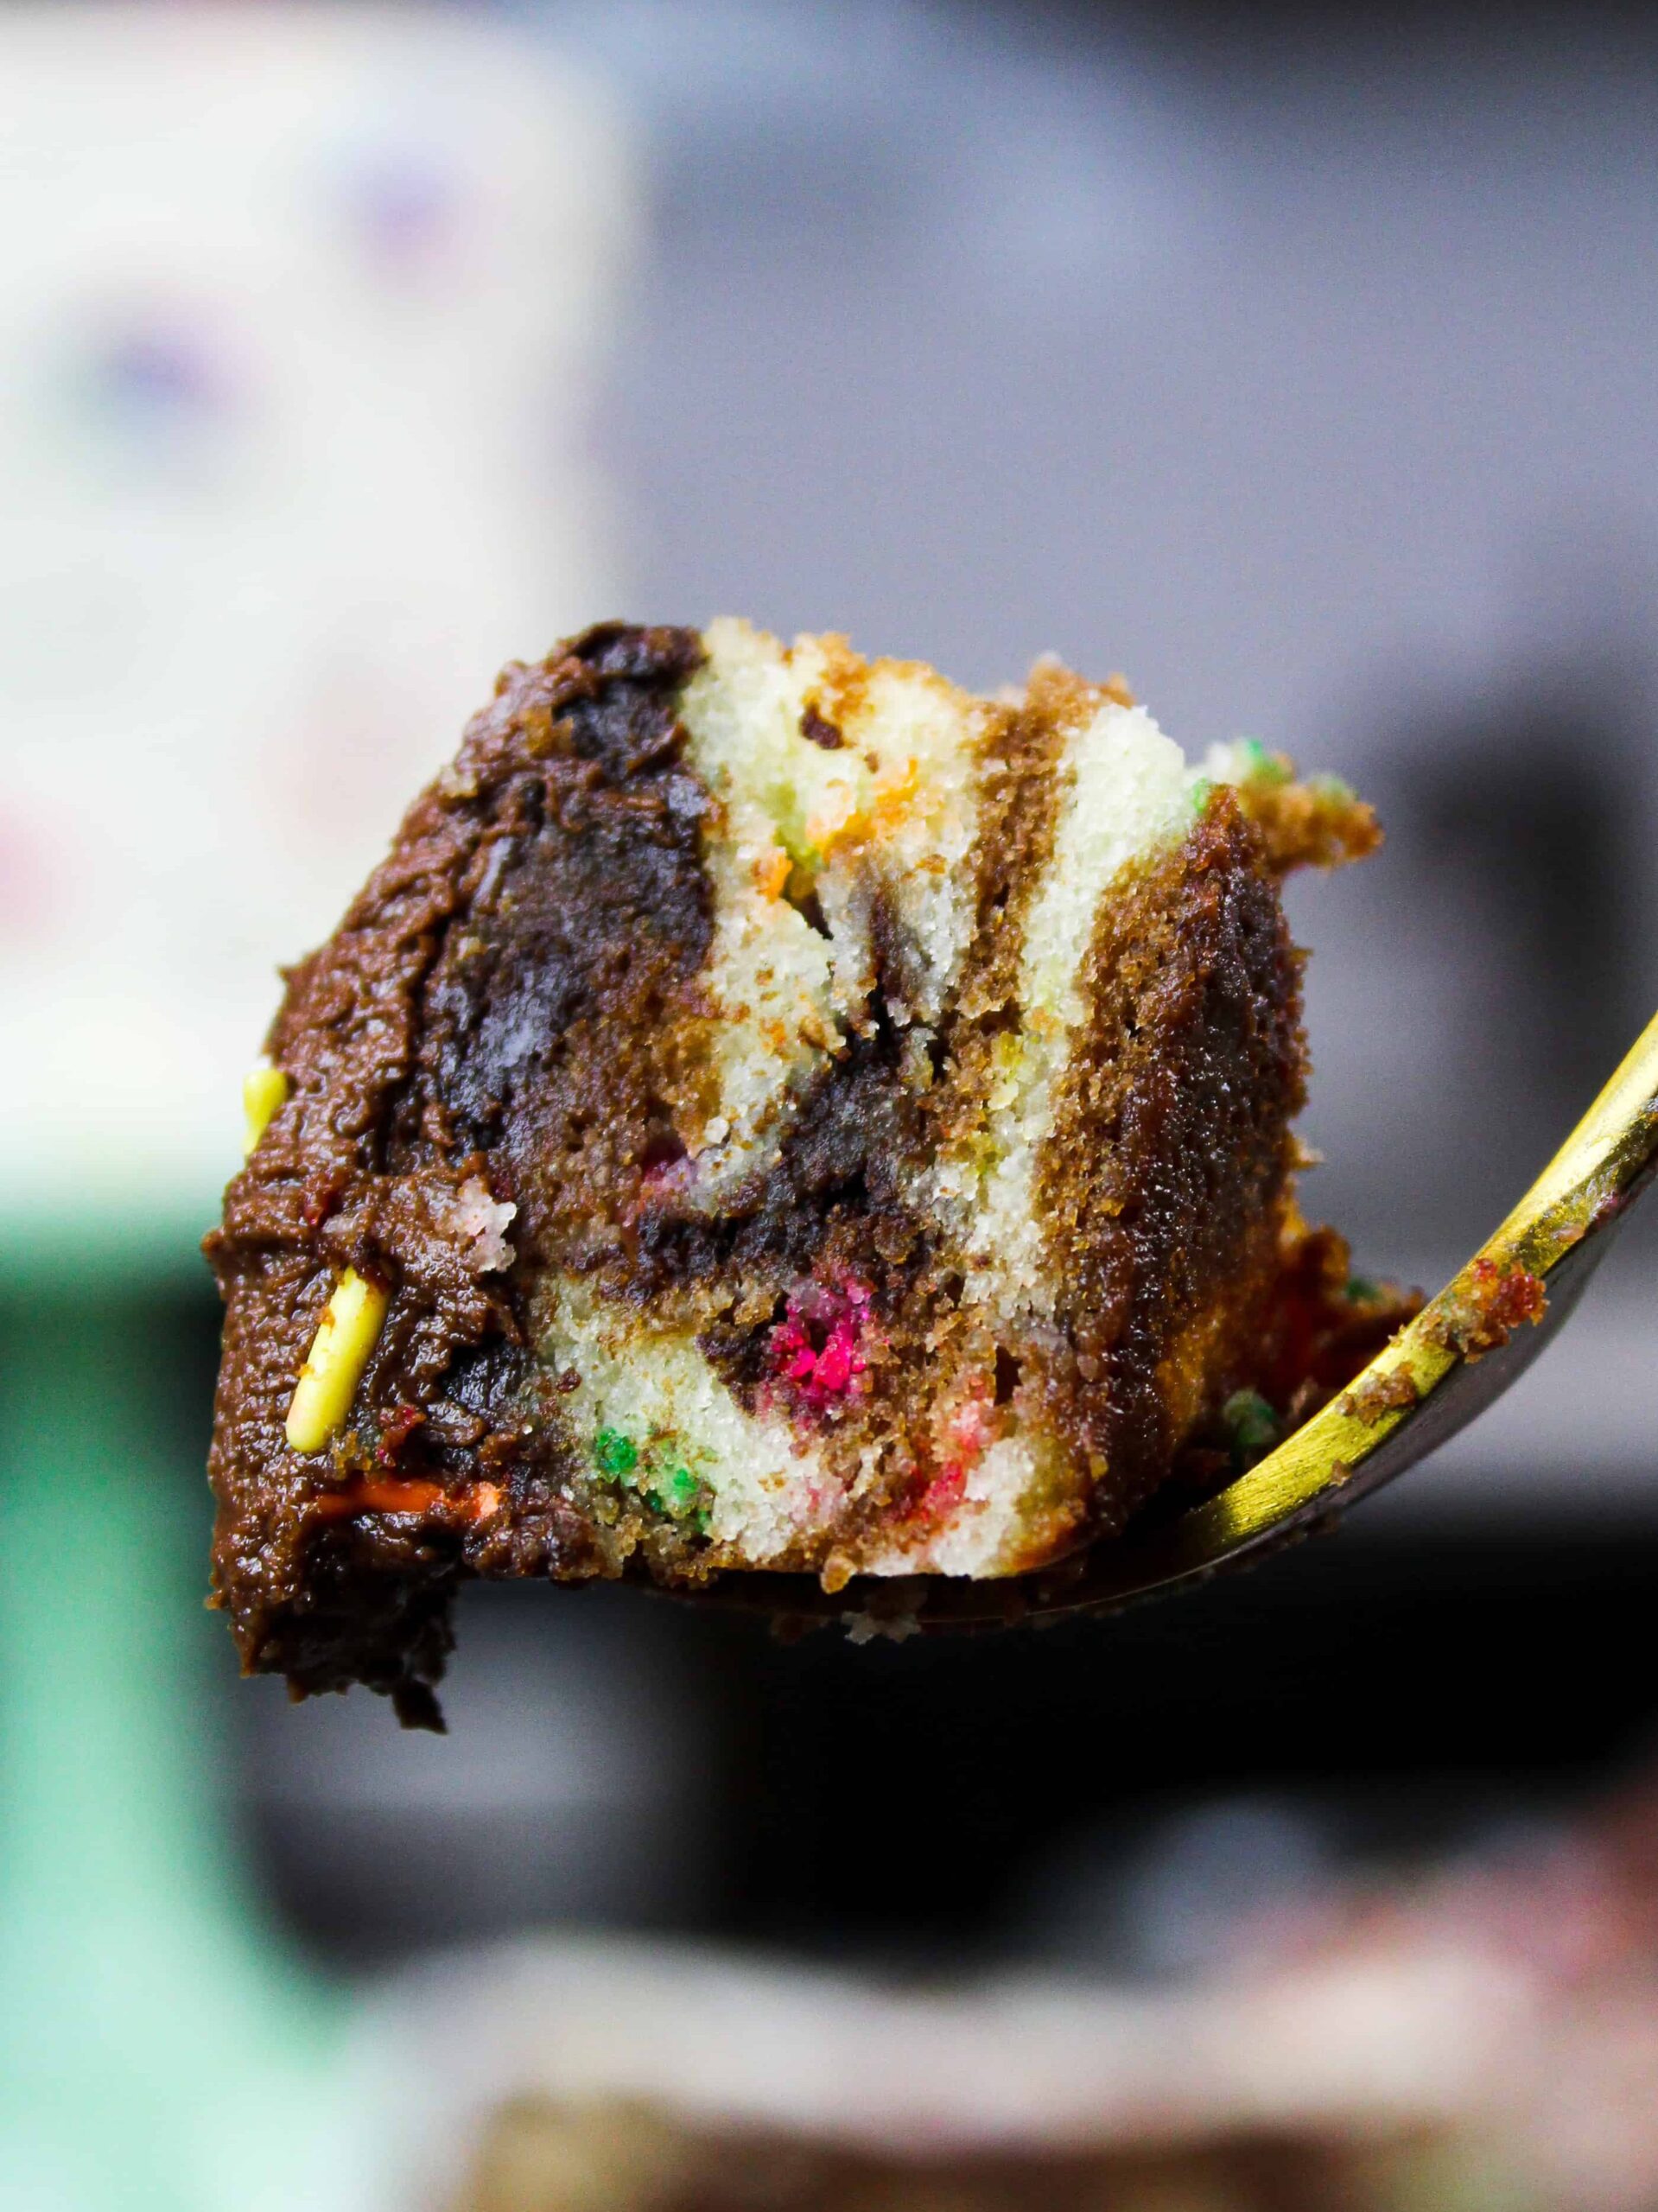
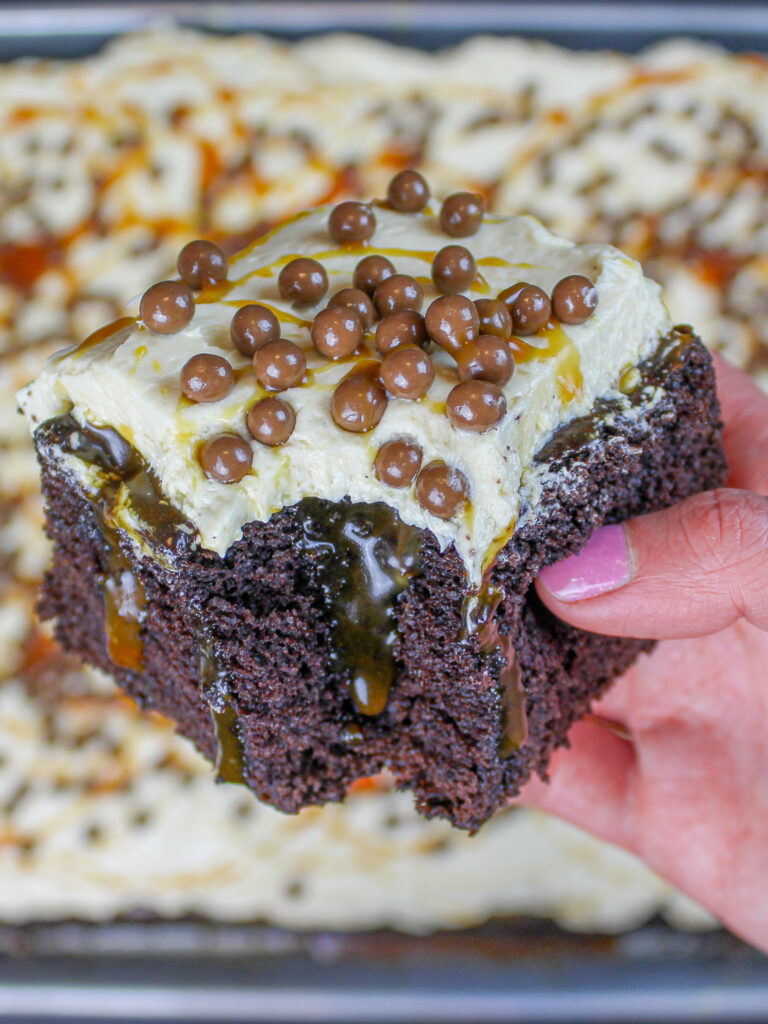
The Added Bonus: A Fudge Swirl
If you want to up the ante, this recipe also includes a chocolaty fudge swirl! It’s totally optional but is such a pleasant surprise when you bite into this cake.
It also bakes up beautifully! The fudge ripple adds a rich and chocolatey flavor into each bite.
I’m also big on aesthetics. The melted chocolate swirled into the batter looks GORGEOUS! Not only is it worth adding for the taste, it also creates a visually stunning look.
How To Make These Marble Cake Layers
Once both cake batters (and the optional chocolate fudge ripple) are made, the real fun starts.
Alternate spoonfuls of vanilla and chocolate cake batter into your pans. Continue until you’ve evenly distributed the batter between the pans.
TIP: It’s much easier to make sure your pans have the same amounts of cake batter if you add the spoonfuls of batter in rounds. Add a spoonful of vanilla to each pan, then a spoonful of chocolate to each pan, and repeat until you’ve used all your batter.
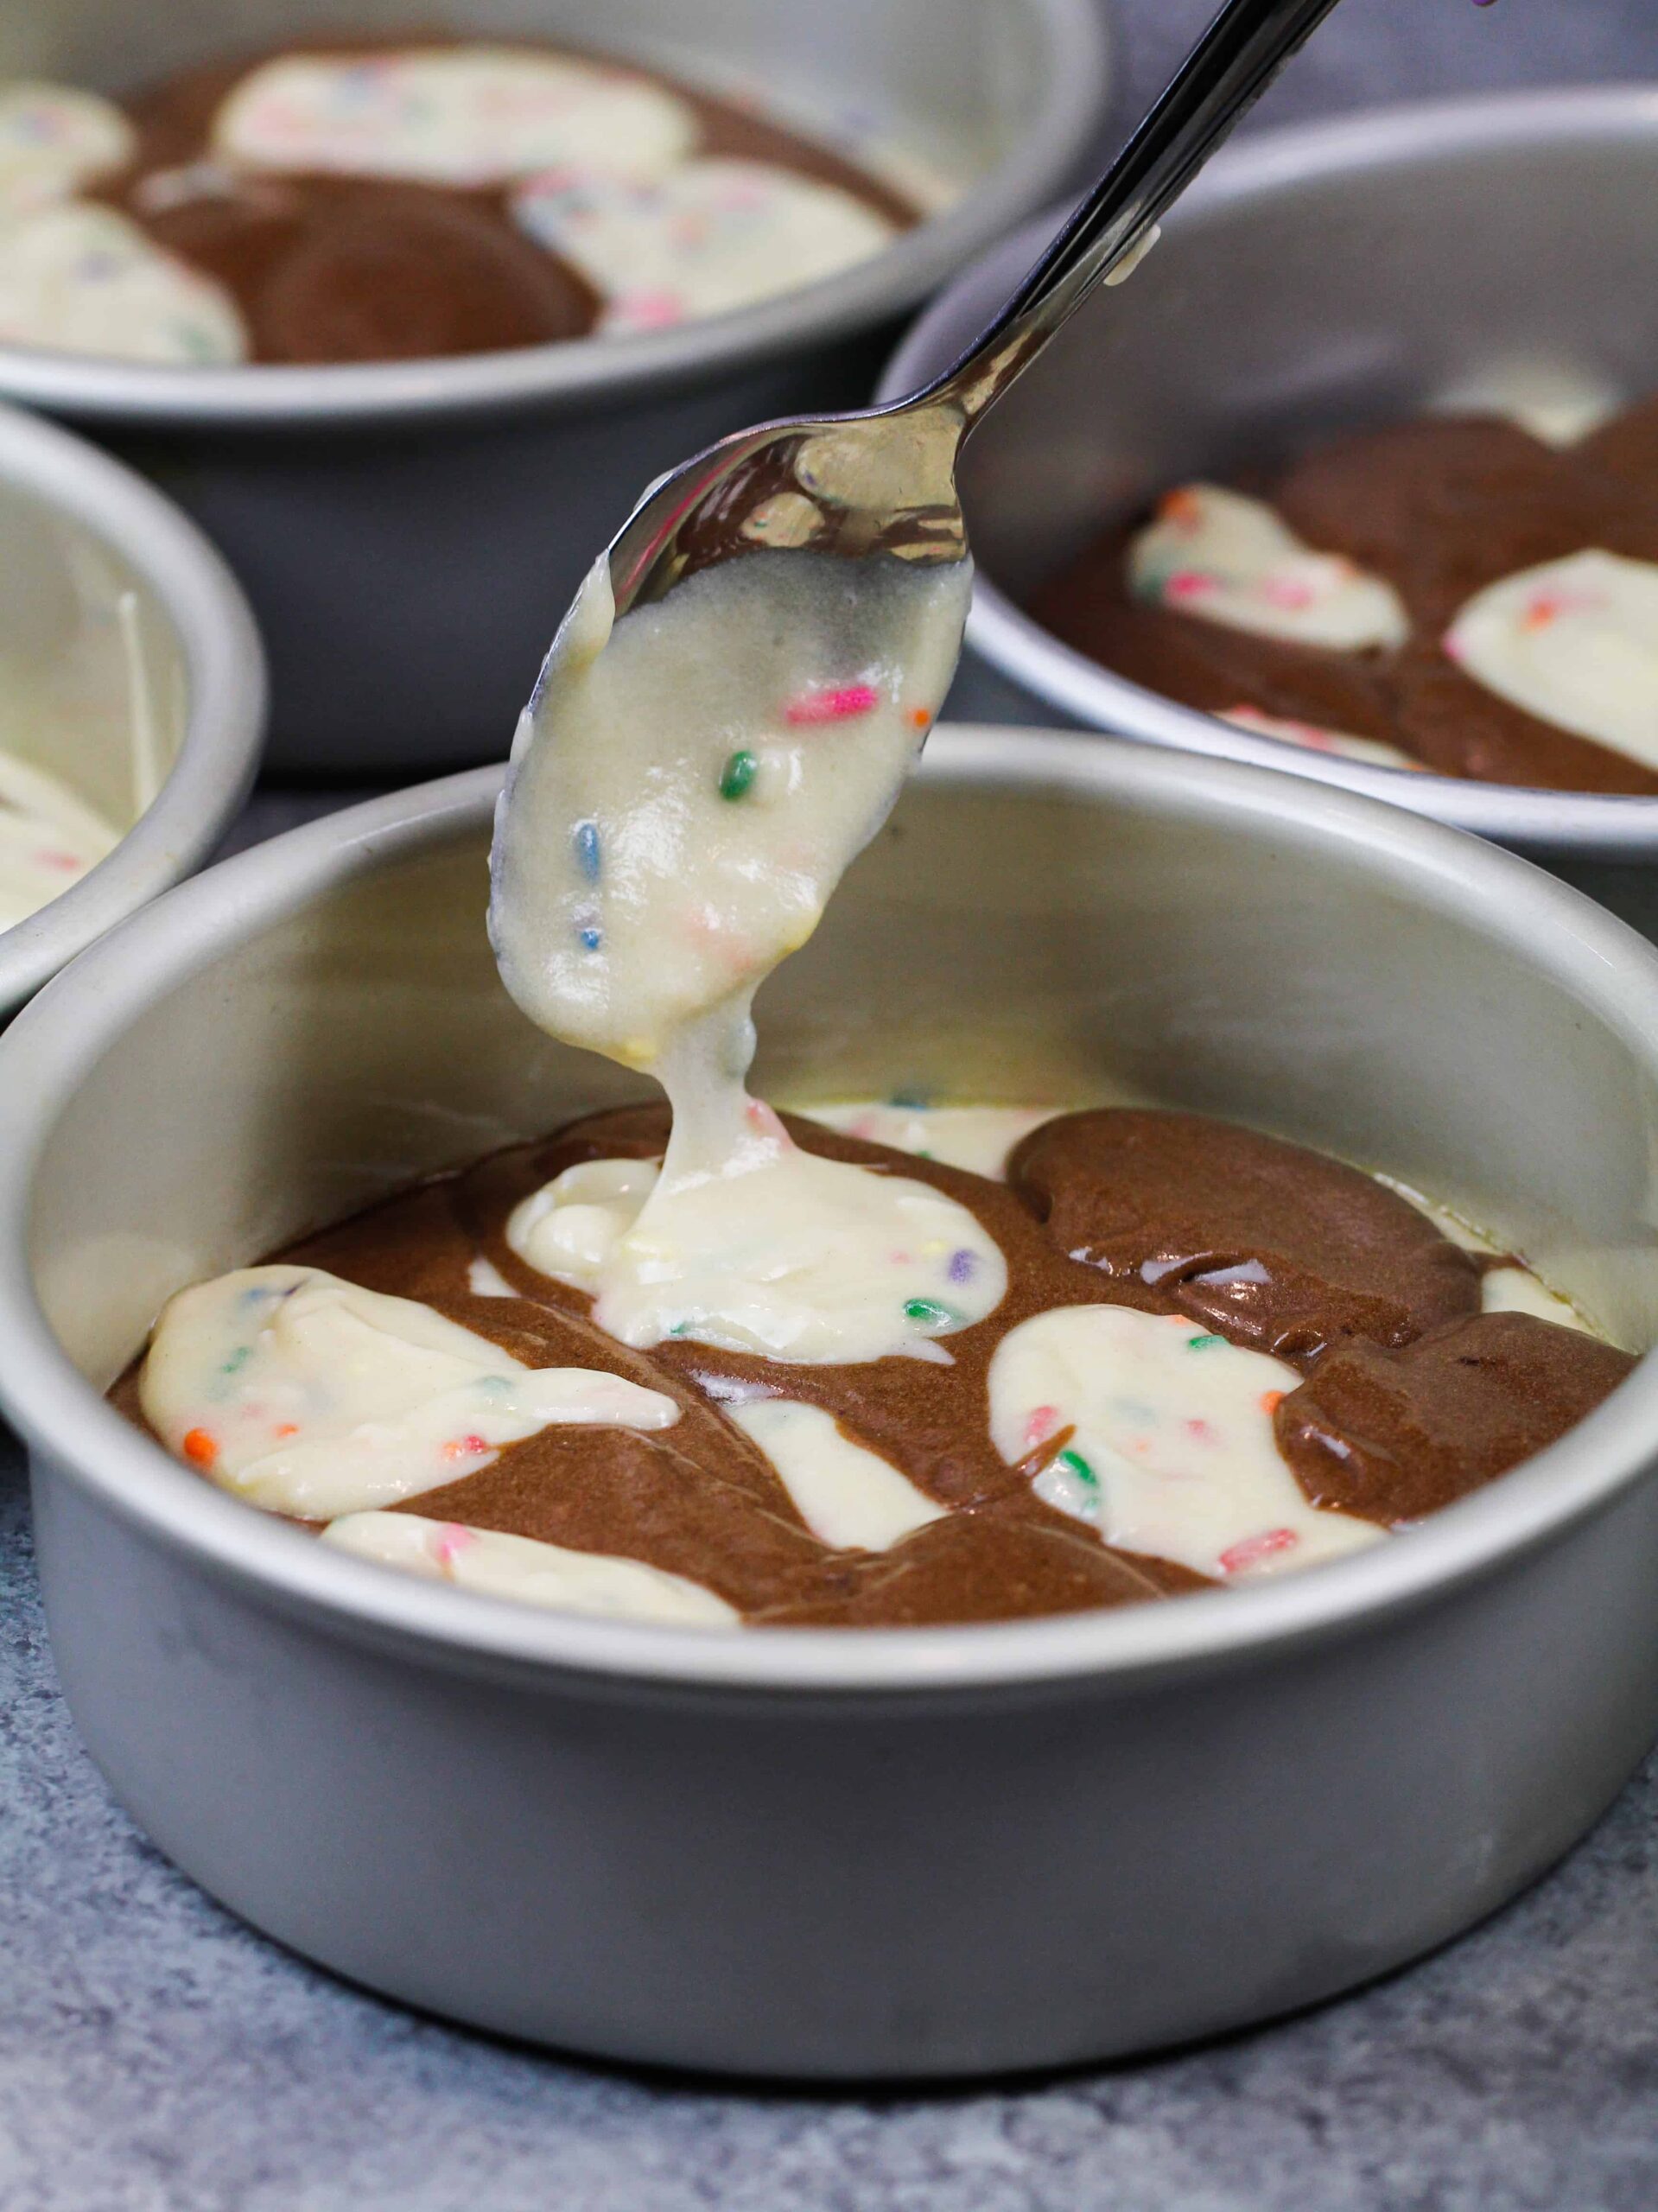
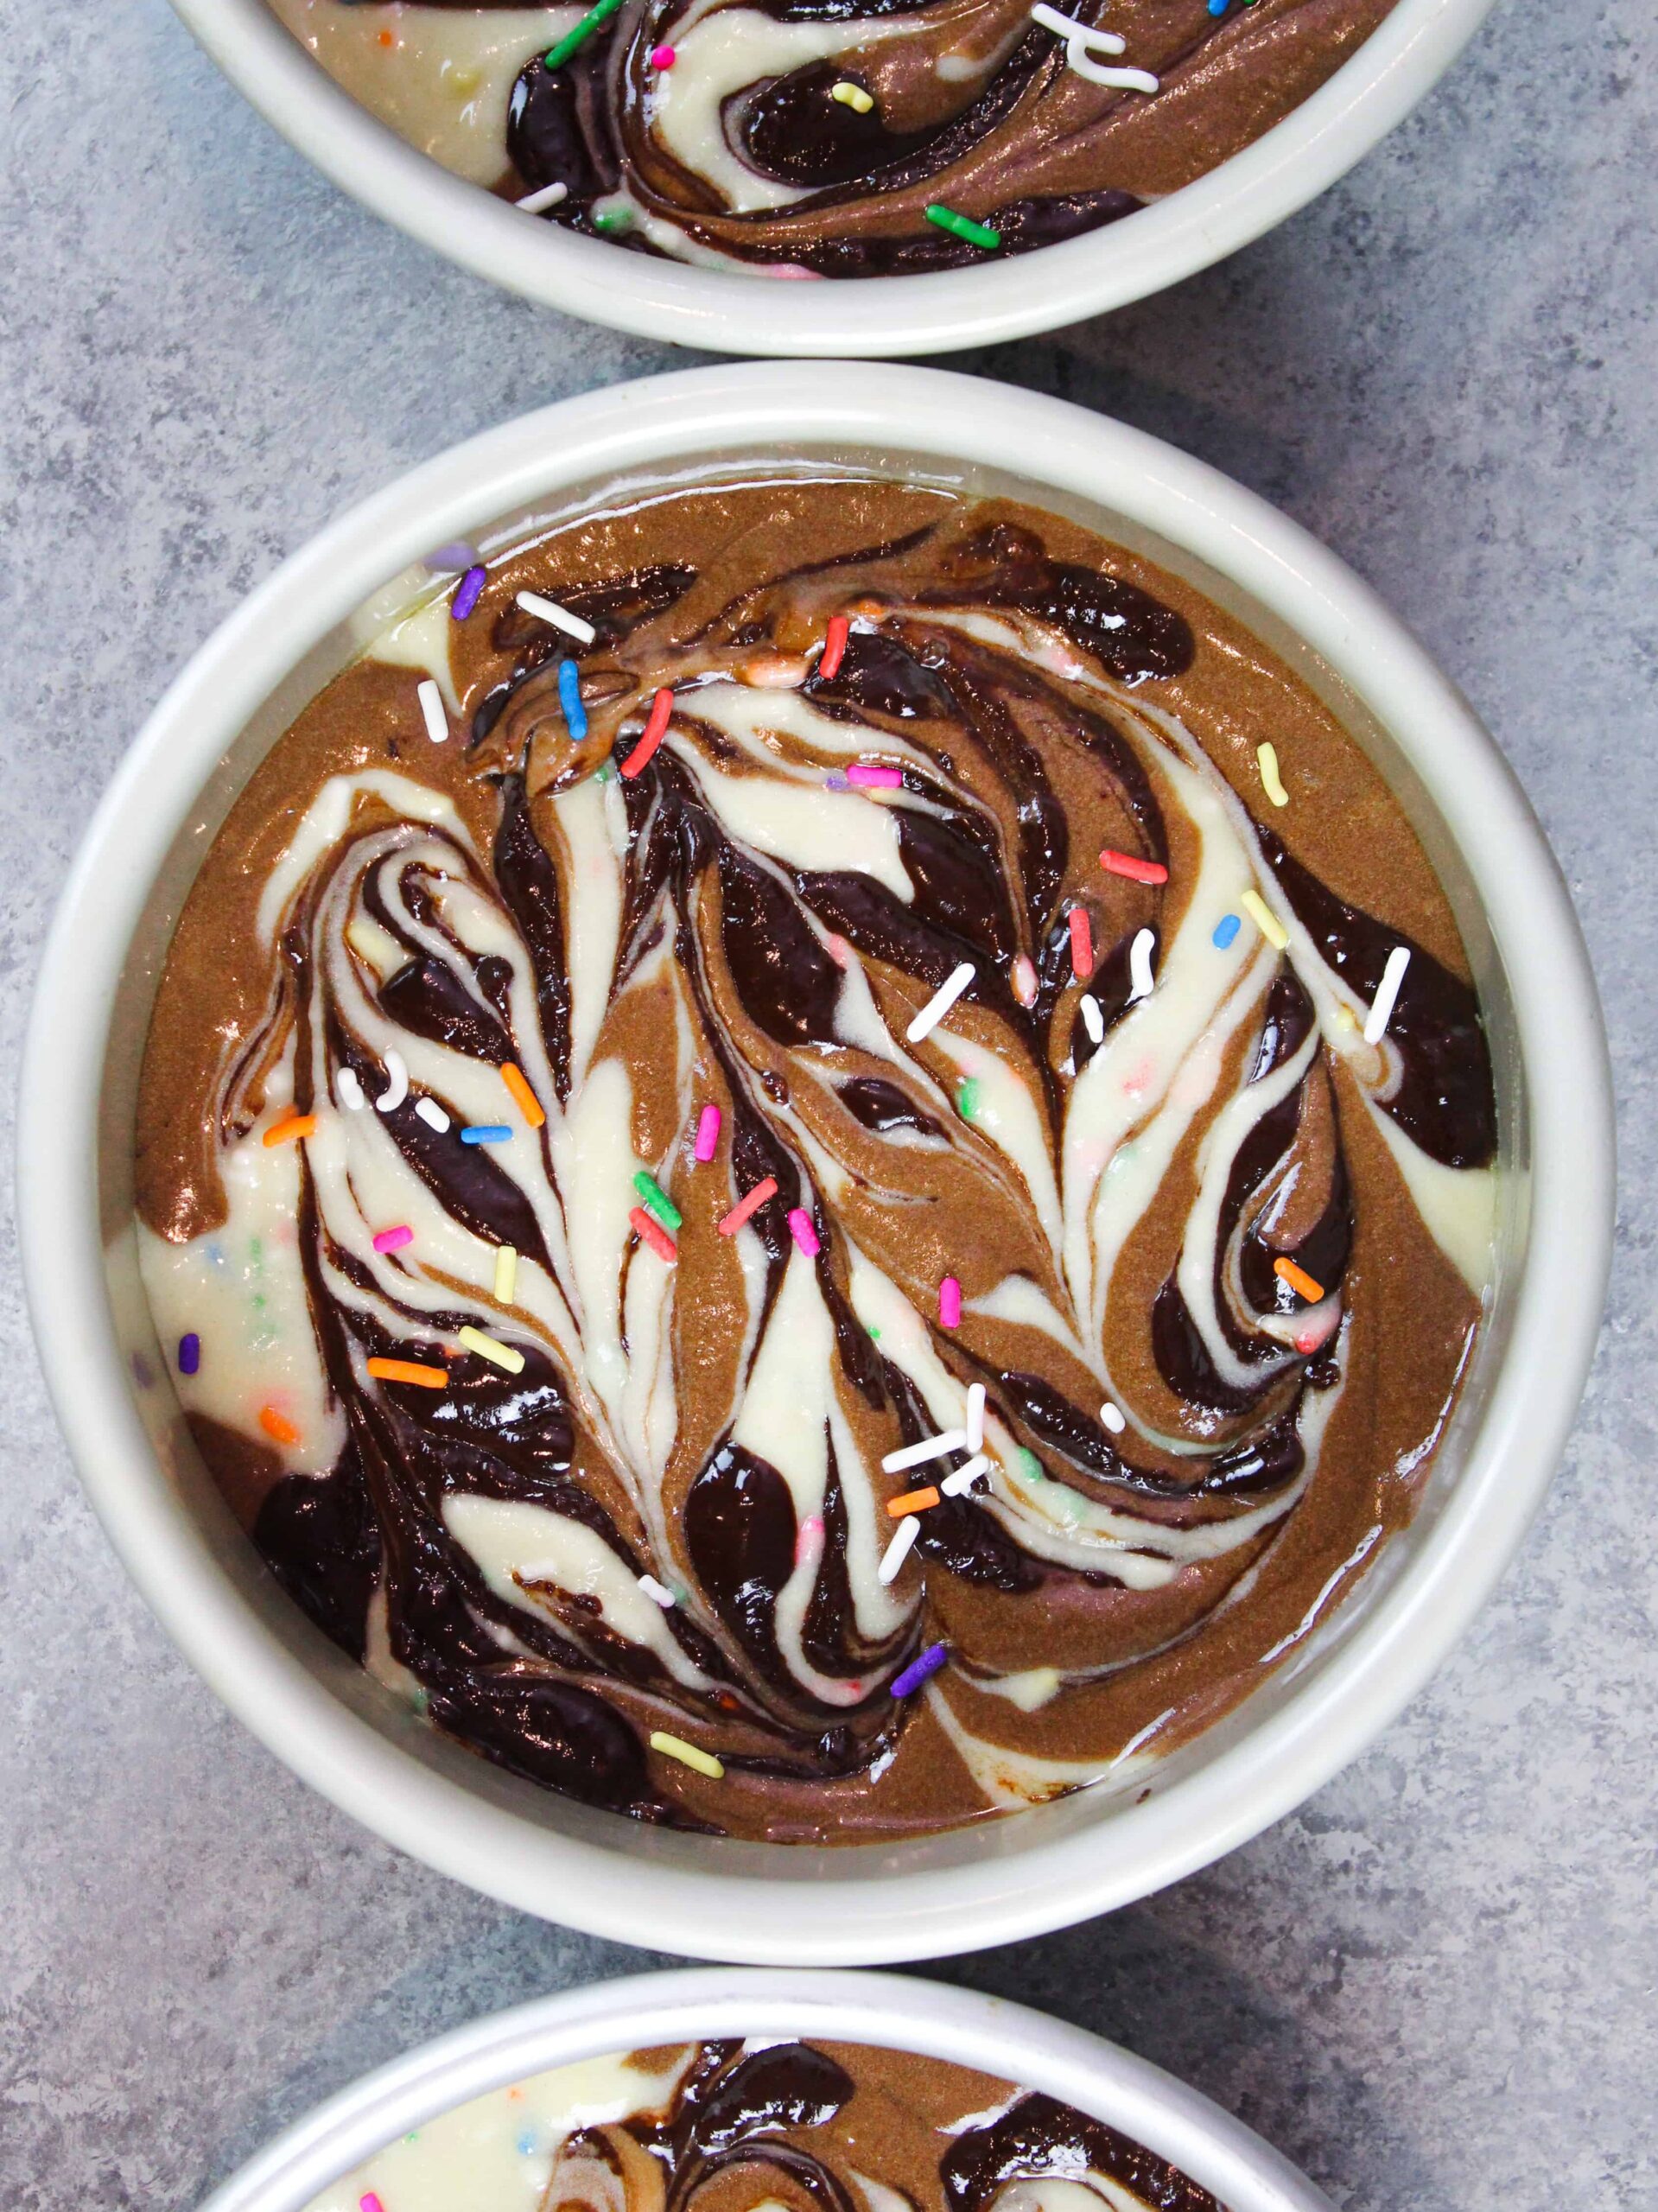
Once you’ve used all your batter, use a spoon to add small drops of the chocolate fudge mixture on top of the cake batter.
Be sure the chocolate drops are relatively spread out. This will prevent them from completely covering the cake batter when swirled.
You want to be able to see each different component in these cake layers once they’re baked!!
Then drag a small offset spatula or butter knife through the batter to create lines that are both horizontal and vertical.
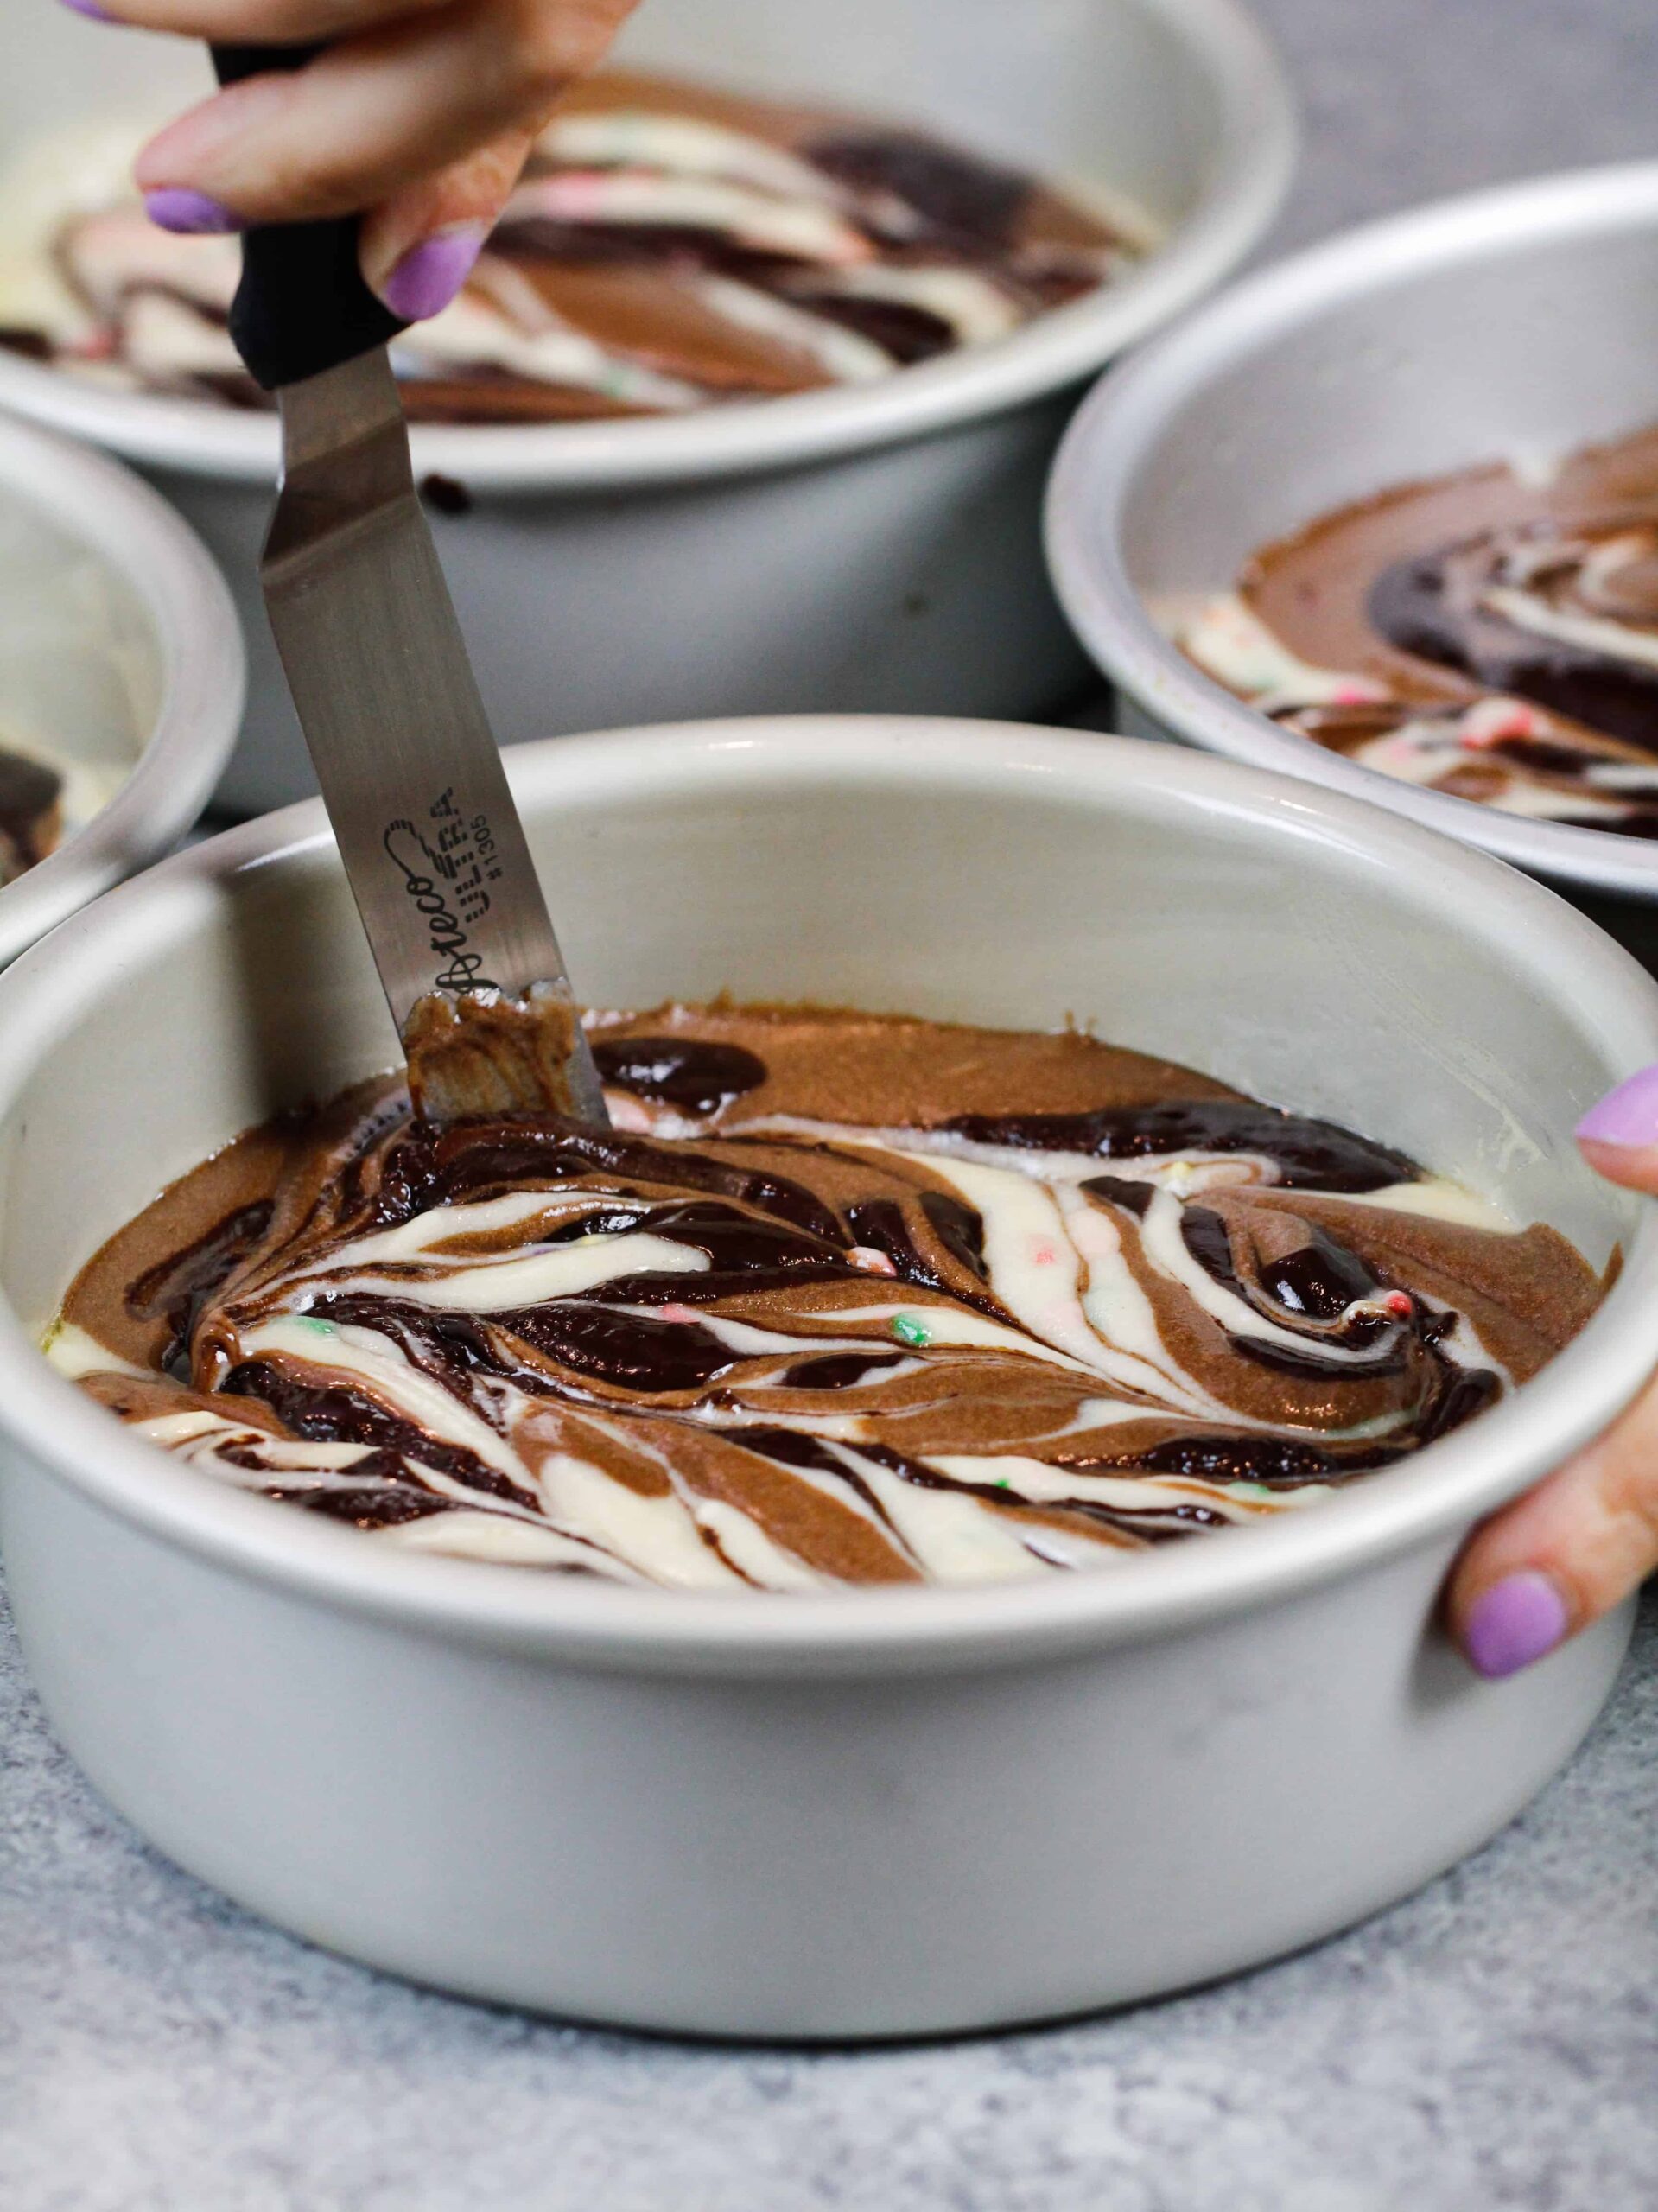
Make sure the offset spatula is lightly touching the bottom of the pan. This helps make sure you’re swirling the batter throughout the layer, and not just on the top.
Try to create the lines using one continuous motion, going up and down, and then side to side.
Repeat with remaining cake layers, then pop the layers into the preheated oven for 33-36 minutes, or until a toothpick comes out with a few moist crumbs.
Substitutions and Swaps
Below are some swaps and substitutions that can be made in this small batch marble cake recipe:
- All Purpose Flour – This recipe turns out best with AP flour, but you can use a gluten free flour blend or cake flour if that’s all you have on hand.
- Granulated Sugar – I do not recommend reducing the amount of sugar or changing the type of sugar, as it will change the texture of the cake layers.
- Buttermilk – You can also use full fat yogurt, sour cream, whole milk, or an alternative yogurt or milk (almond, soy, oat) if you’re dairy free.
- Vegetable Oil – You can use any flavorless oil in this recipe, so canola or even sunflower oil would work great! I advise against olive oil, as its flavor is quite strong and doesn’t blend well with the chocolate in this recipe.
- Unsalted Butter – If you only have salted butter on hand, you can use it in place of the unsalted butter in this recipe. Just be sure to omit the salt that this frosting recipe calls for. You can also use vegan butter in its place!
- Heavy Cream – Whole milk or alternative milk (soy, almond, oat) will work fine in this frosting recipe if that’s what you have on hand.
Tips for Making the Best Small Batch Marble Cake:
- You can make your own buttermilk if you don’t any. Simply add 1 Tbsp of lemon juice or vinegar to 1 cup of whole milk.
- Ingredients at room temp mix together better. Set out any cold ingredients ahead of time.
- Properly measure your flour (spoon into the cup measure, then level) or use a kitchen scale to measure your dry ingredients.
- Use a kitchen scale to weigh your cake pans as you fill them. It helps the cake layers bake to the same height and bake more evenly.
- Bang your cake pans on the counter before putting them in the oven. This brings any air bubbles that are trapped in the batter to the surface.
- Level your room temperature or thawed cake layers with a serrated knife to make them easier to stack.
- Chill the cake layers in the freezer for about 20 minutes before assembling the cake. It makes them so much easier to frost.
Making This Cake In Advance & Storage Tips
Make your cake layers in advance and freeze them. It breaks the process up and makes it more approachable.
Make your frosting ahead of time too or save any leftover frosting! It can be stored in an airtight container in the fridge for up to a month, or in the freezer for up to 3 months. Be sure to give it a good stir once it thaws to get the consistency nice and smooth again.
A frosted cake can last in the fridge for up to a week, or in the freezer for up to a month. The buttercream locks in all the moisture, keeping the cake fresh and delicious!
If you cut into the cake and have leftovers, use any remaining frosting to cover the cut section to keep it moist and store in the fridge for up to a week.
Let Me Know What You Think
If you try this small batch marble cake recipe, I’d love to hear what you think! Please leave a comment and rating below.
And don’t forget to tag me @chelsweets and use #chelsweets so that I can see your delicious creations!
Other Recipes You Might Like:
6-Inch Marble Cake
Ingredients
Vanilla Cake Recipe*
- 2 cup all-purpose flour 260g
- 2 cups granulated sugar 400g
- 1 1/2 tsp baking powder 6g
- 1/2 tsp fine salt 3g
- 2/3 cup (1 1/3 sticks) unsalted butter, room temperature 150g
- 3 large eggs, room temperature 168g
- 1 cup buttermilk, room temperature 240g
- 1 tsp vanilla extract or vanilla bean paste 4g
- 1 1/2 Tbsp vegetable or canola oil 21g
- 1/2 cup rainbow sprinkles optional
- *additional ingredients for the chocolate cake are listed below
Additional Ingredients: (to be added after the vanilla cake batter is made, to change it into chocolate batter)
- 1/4 cup unsweetened baking cocoa 20g
- 3 Tbsp granulated sugar 38g
- 1/4 tsp baking powder 1g
- 1 large egg, room temperature 56g
- 3 Tbsp buttermilk, room temperature 40g
Chocolate Fudge Swirl:
- 2/3 cup chocolate chips 100g
- 3 Tbsp unsalted butter, room temperature 42g
- 3 Tbsp heavy whipping cream, room temperature 43g
Chocolate Cream Cheese Buttercream Frosting
- 1 1/2 cups (3 sticks) unsalted butter, room temperature 339g
- 1/2 cup (4 oz) full-fat cream cheese, room temperature 113g
- 1 tsp vanilla extract or vanilla bean paste 4g
- 1 tsp fine salt 6g
- 7 cups powdered sugar 904g or a 2lb bag
- 2 Tbsp heavy whipping cream, room temperature 20g
- 1/2 cup unsweetened baking cocoa 50g
- 1/2 cup dark chocolate chips, melted and cooled 90g
Decorations and filling
- 2/3 cup rainbow sprinkles
- pretty sprinkle blend
Instructions
Marble Cake Layers
- Preheat oven to 350°F. Line three 6-inch round cake pans or three 7-inch cake layers with parchment rounds and grease with non-stick baking spray.
- Begin by making the vanilla cake batter. Mix together all dry ingredients (flour, sugar, baking powder, and salt) in a stand mixer with a paddle until fully combined.
- Mix chunks of room-temperature butter slowly into the dry mix, on a low speed. Continue to mix until no large chunks of butter remain, and the mixture becomes crumbly.
- Mix in 3 large eggs, one at time on a low speed then mix in the buttermilk on a low speed.
- Add in vanilla and oil, and mix at a low speed until fully incorporated. Scrape down the sides of the bowl with a spatula, then beat on medium speed for about 30 seconds.
- Pour half of the batter into a separate bowl (roughly 625 grams), and set aside.
- If desired, fold in 1/2 cup rainbow sprinkles in to the vanilla cake batter.
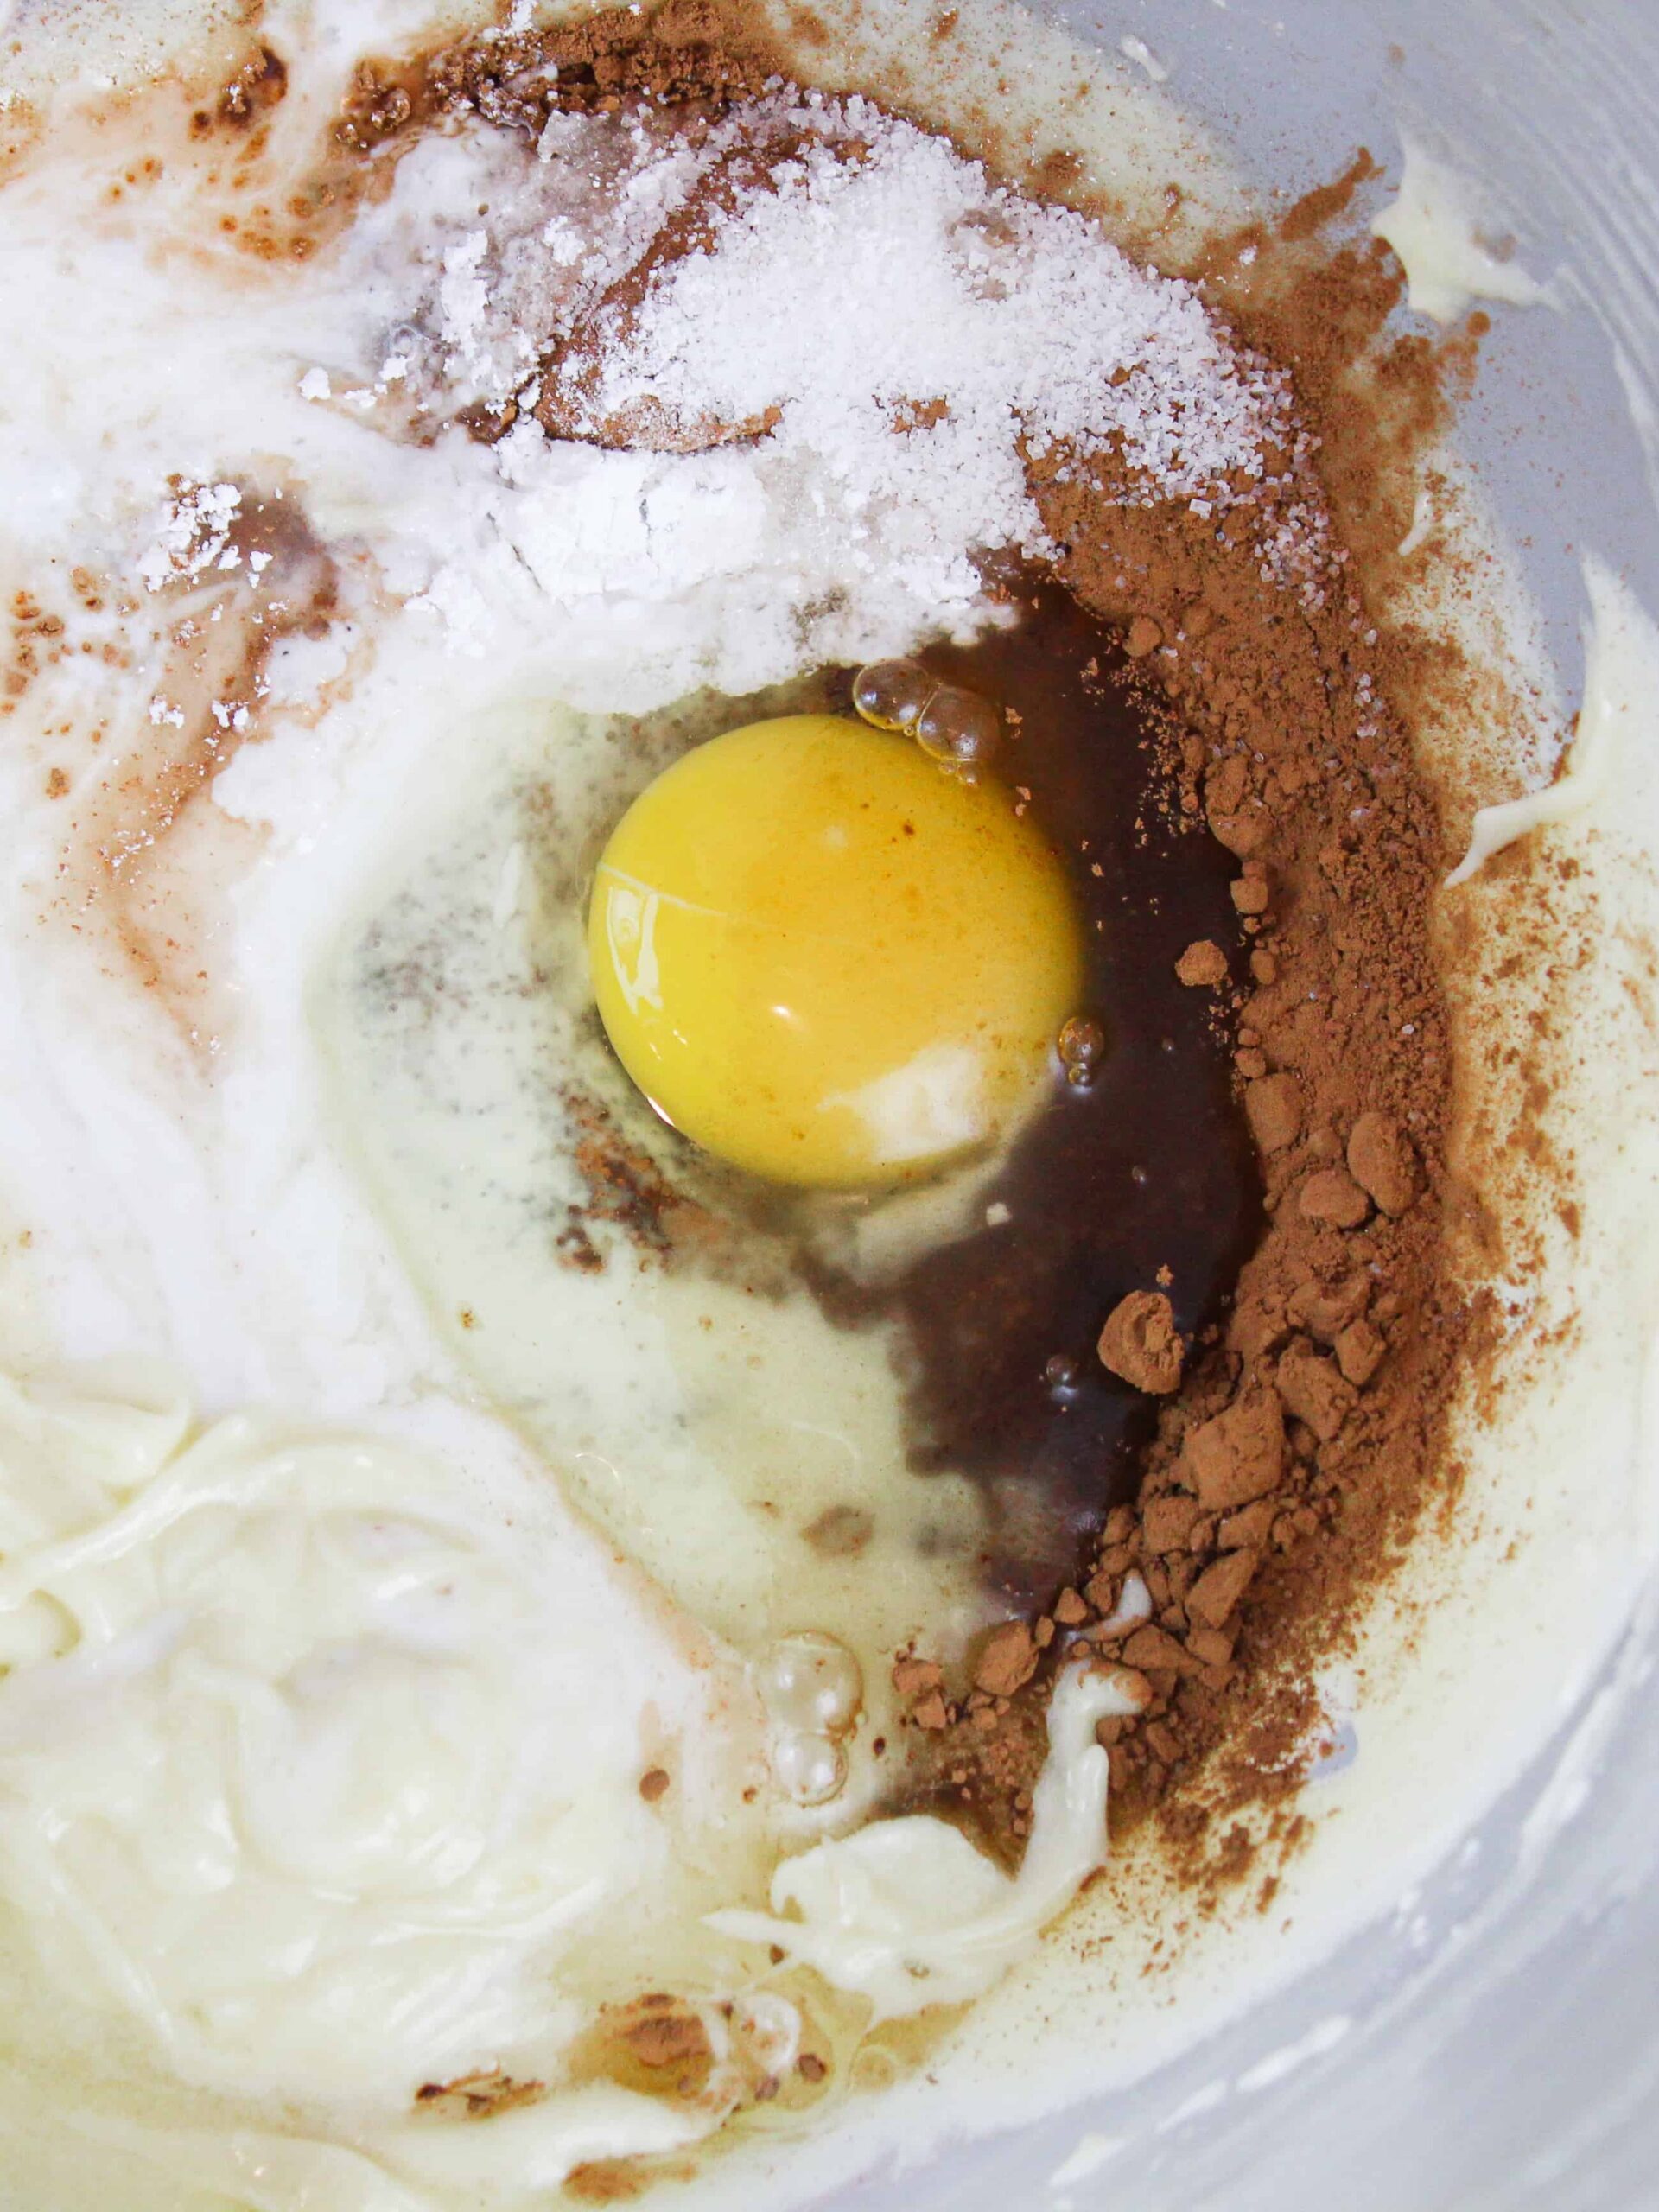
- Now it's time to transform our other bowl of vanilla batter into chocolate cake batter. Mix the additional 1/4 cup baking cocoa, 3 Tbsp sugar, and 1/4 tsp baking powder into the remaining batter.
- Add the additional egg and 3 Tbsp buttermilk. Mix on a low speed until smooth.
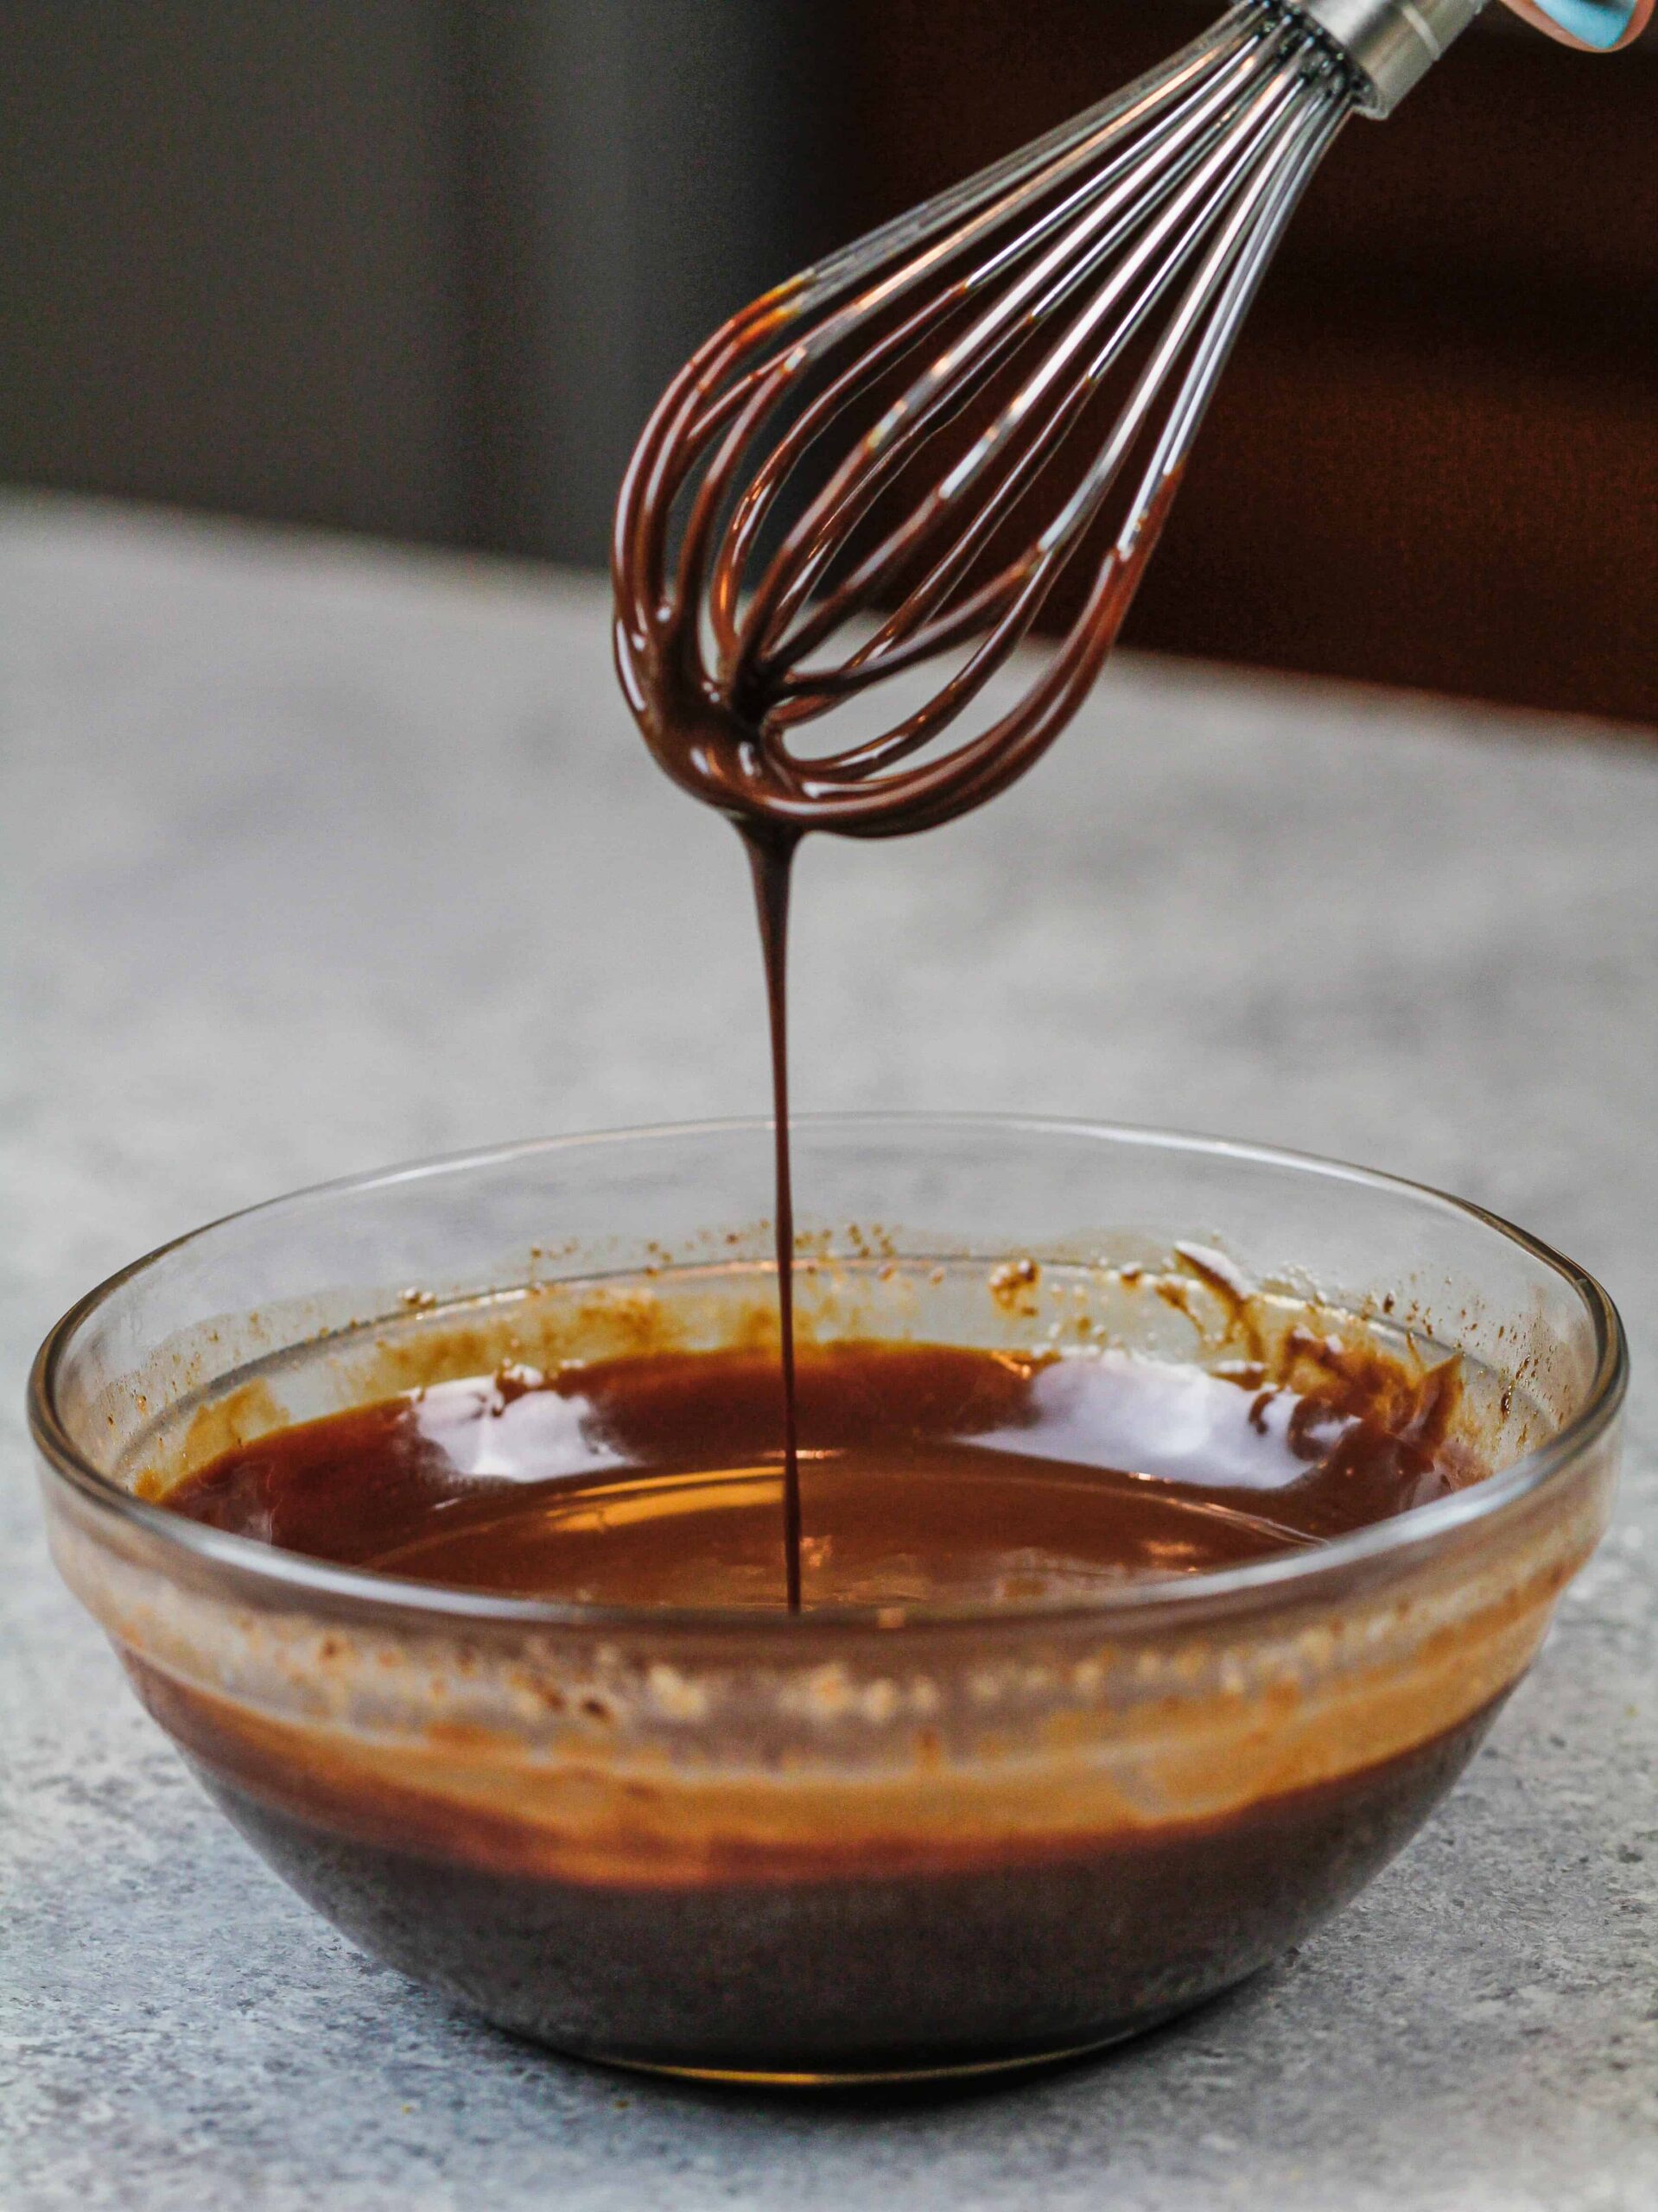
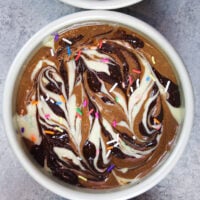
- If desired, make the chocolate fudge swirl. Combine 2/3 cup chocolate chips, 3 Tbsp butter, and 3 Tbsp heavy cream into a heatproof bowl. Heat in two 30-second intervals, stirring in between. Allow the mixture to sit for 1 minute, then stir until smooth and set aside to cool.
- Alternate spoonfuls of chocolate and vanilla cake batter into the prepared cake pans, filling them roughly one inch high with batter (I like to use a digital kitchen scale to make sure each pan has the same amount of batter).
- Add small drops (about one inch in diameter) of the chocolate swirl on top of the cake batter, then drag a small offset spatula or butter knife through the batter in horizontal and vertical lines to create a marbled pattern.
- Bake for 33-36 minutes (or until a skewer comes out clean). Allow to cool for 10 minutes, then run an offset spatula around perimeter of the pan to separate the cake from the pan.
- If desired, level the cakes with a serrated knife once they're fully cooled.
Cream Cheese Buttercream Frosting
- Beat the butter and cream cheese on a medium speed for 30 seconds with a stand mixer and paddle attachment or hand mixer, until smooth.
- Add in the vanilla extract and salt, and beat on low until the ingredients are fully incorporated.
- Gradually mix in the powdered sugar on a low speed. Halfway through, add 2 Tbsp of heavy cream to make the frosting easier to mix.
- If the frosting seems too thick, add in additional cream (1 tablespoon at a time). If the frosting is too thin, add in more powdered sugar (1/4 cup at a time).
- Place 2/3 of the cream cheese buttercream into a separate bowl and cover with plastic wrap. Set aside.
- Mix 1/2 cup of baking cocoa, and 1/2 cup melted chocolate chips into the remaining frosting. This will be used to fill the cake. Cover with plastic wrap to prevent crusting, and set aside.
Assembling This Small Batch Marble Cake
- Once all the different components of this cake are ready, begin to assemble the cake!
- Stack the cake layers on a greaseproof cardboard cake round or flat plate. Spread a thin dab of buttercream on the center of the board, to help your cake layer stay in place.
- Next, spread about 1/3 of the chocolate cream cheese buttercream onto the cake layer with a large offset spatula. Repeat with remaining cake layers.
- Place the top cake layer upside down to make it easier to frost.
- Cover the cake in a thin layer of the remaining chocolate cream cheese frosting, and smooth using a bench scraper.
- Chill the cake in the freezer for about 5 minutes, until the frosting is firm to the touch.
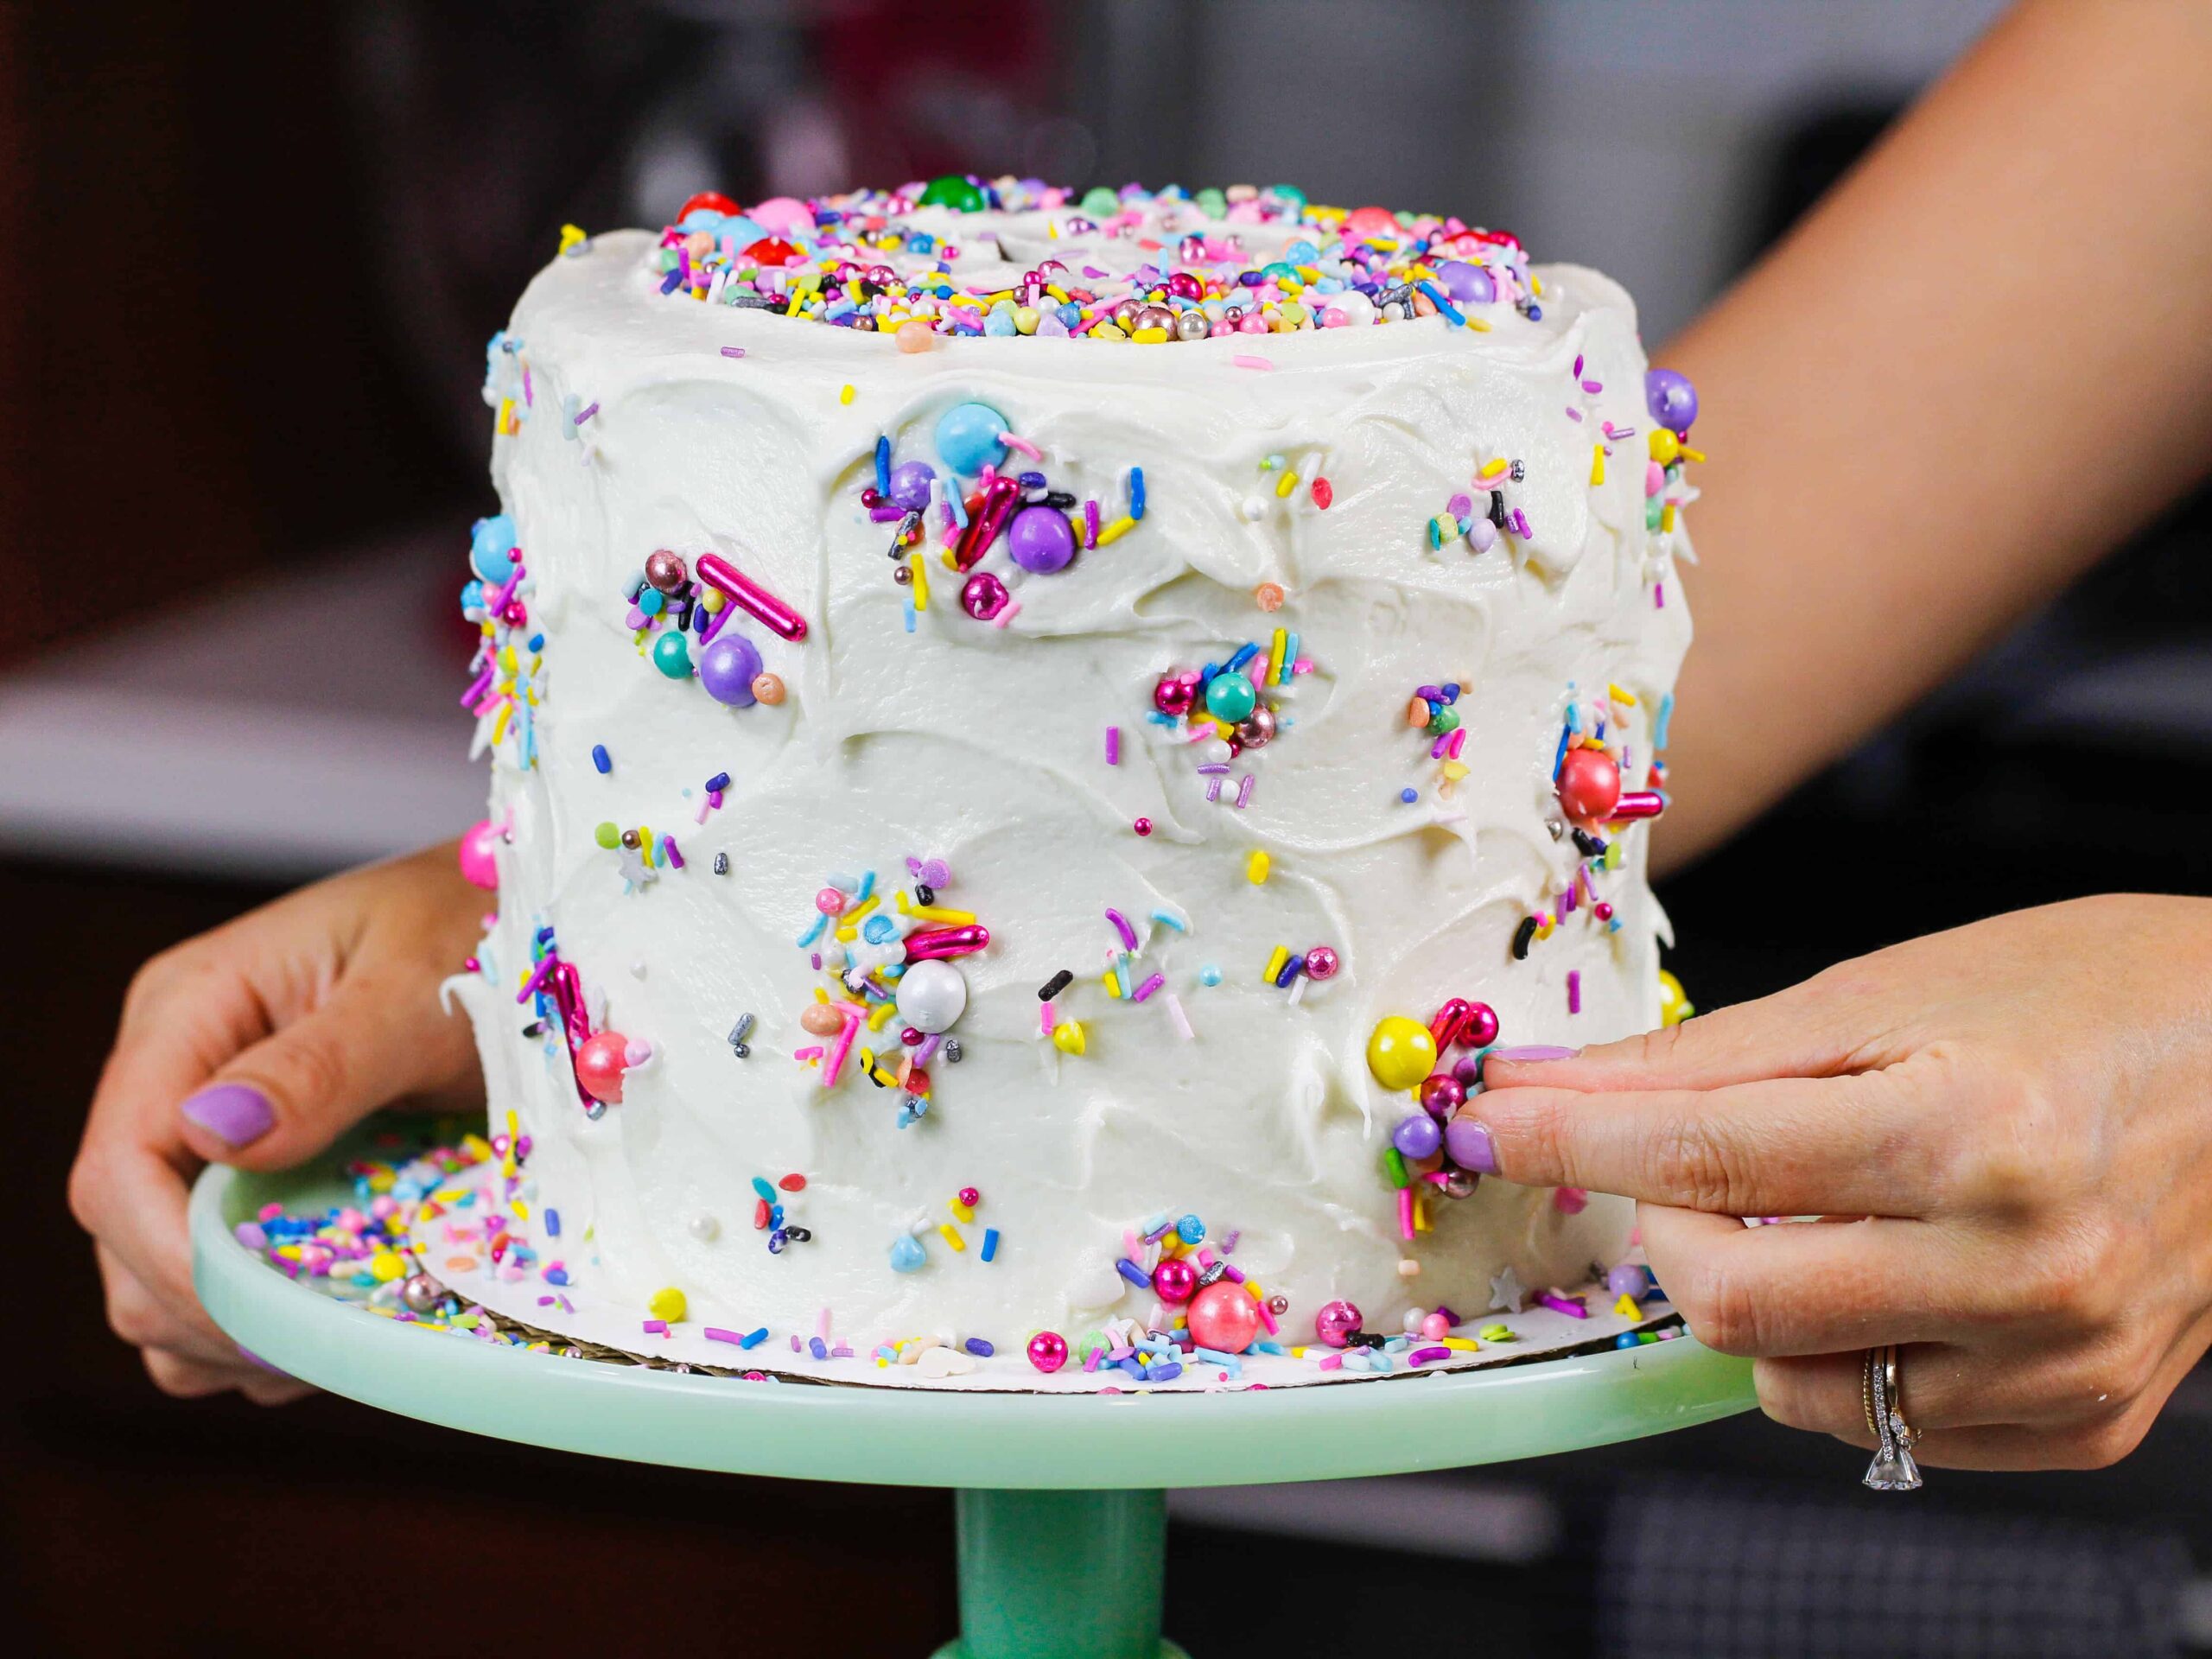
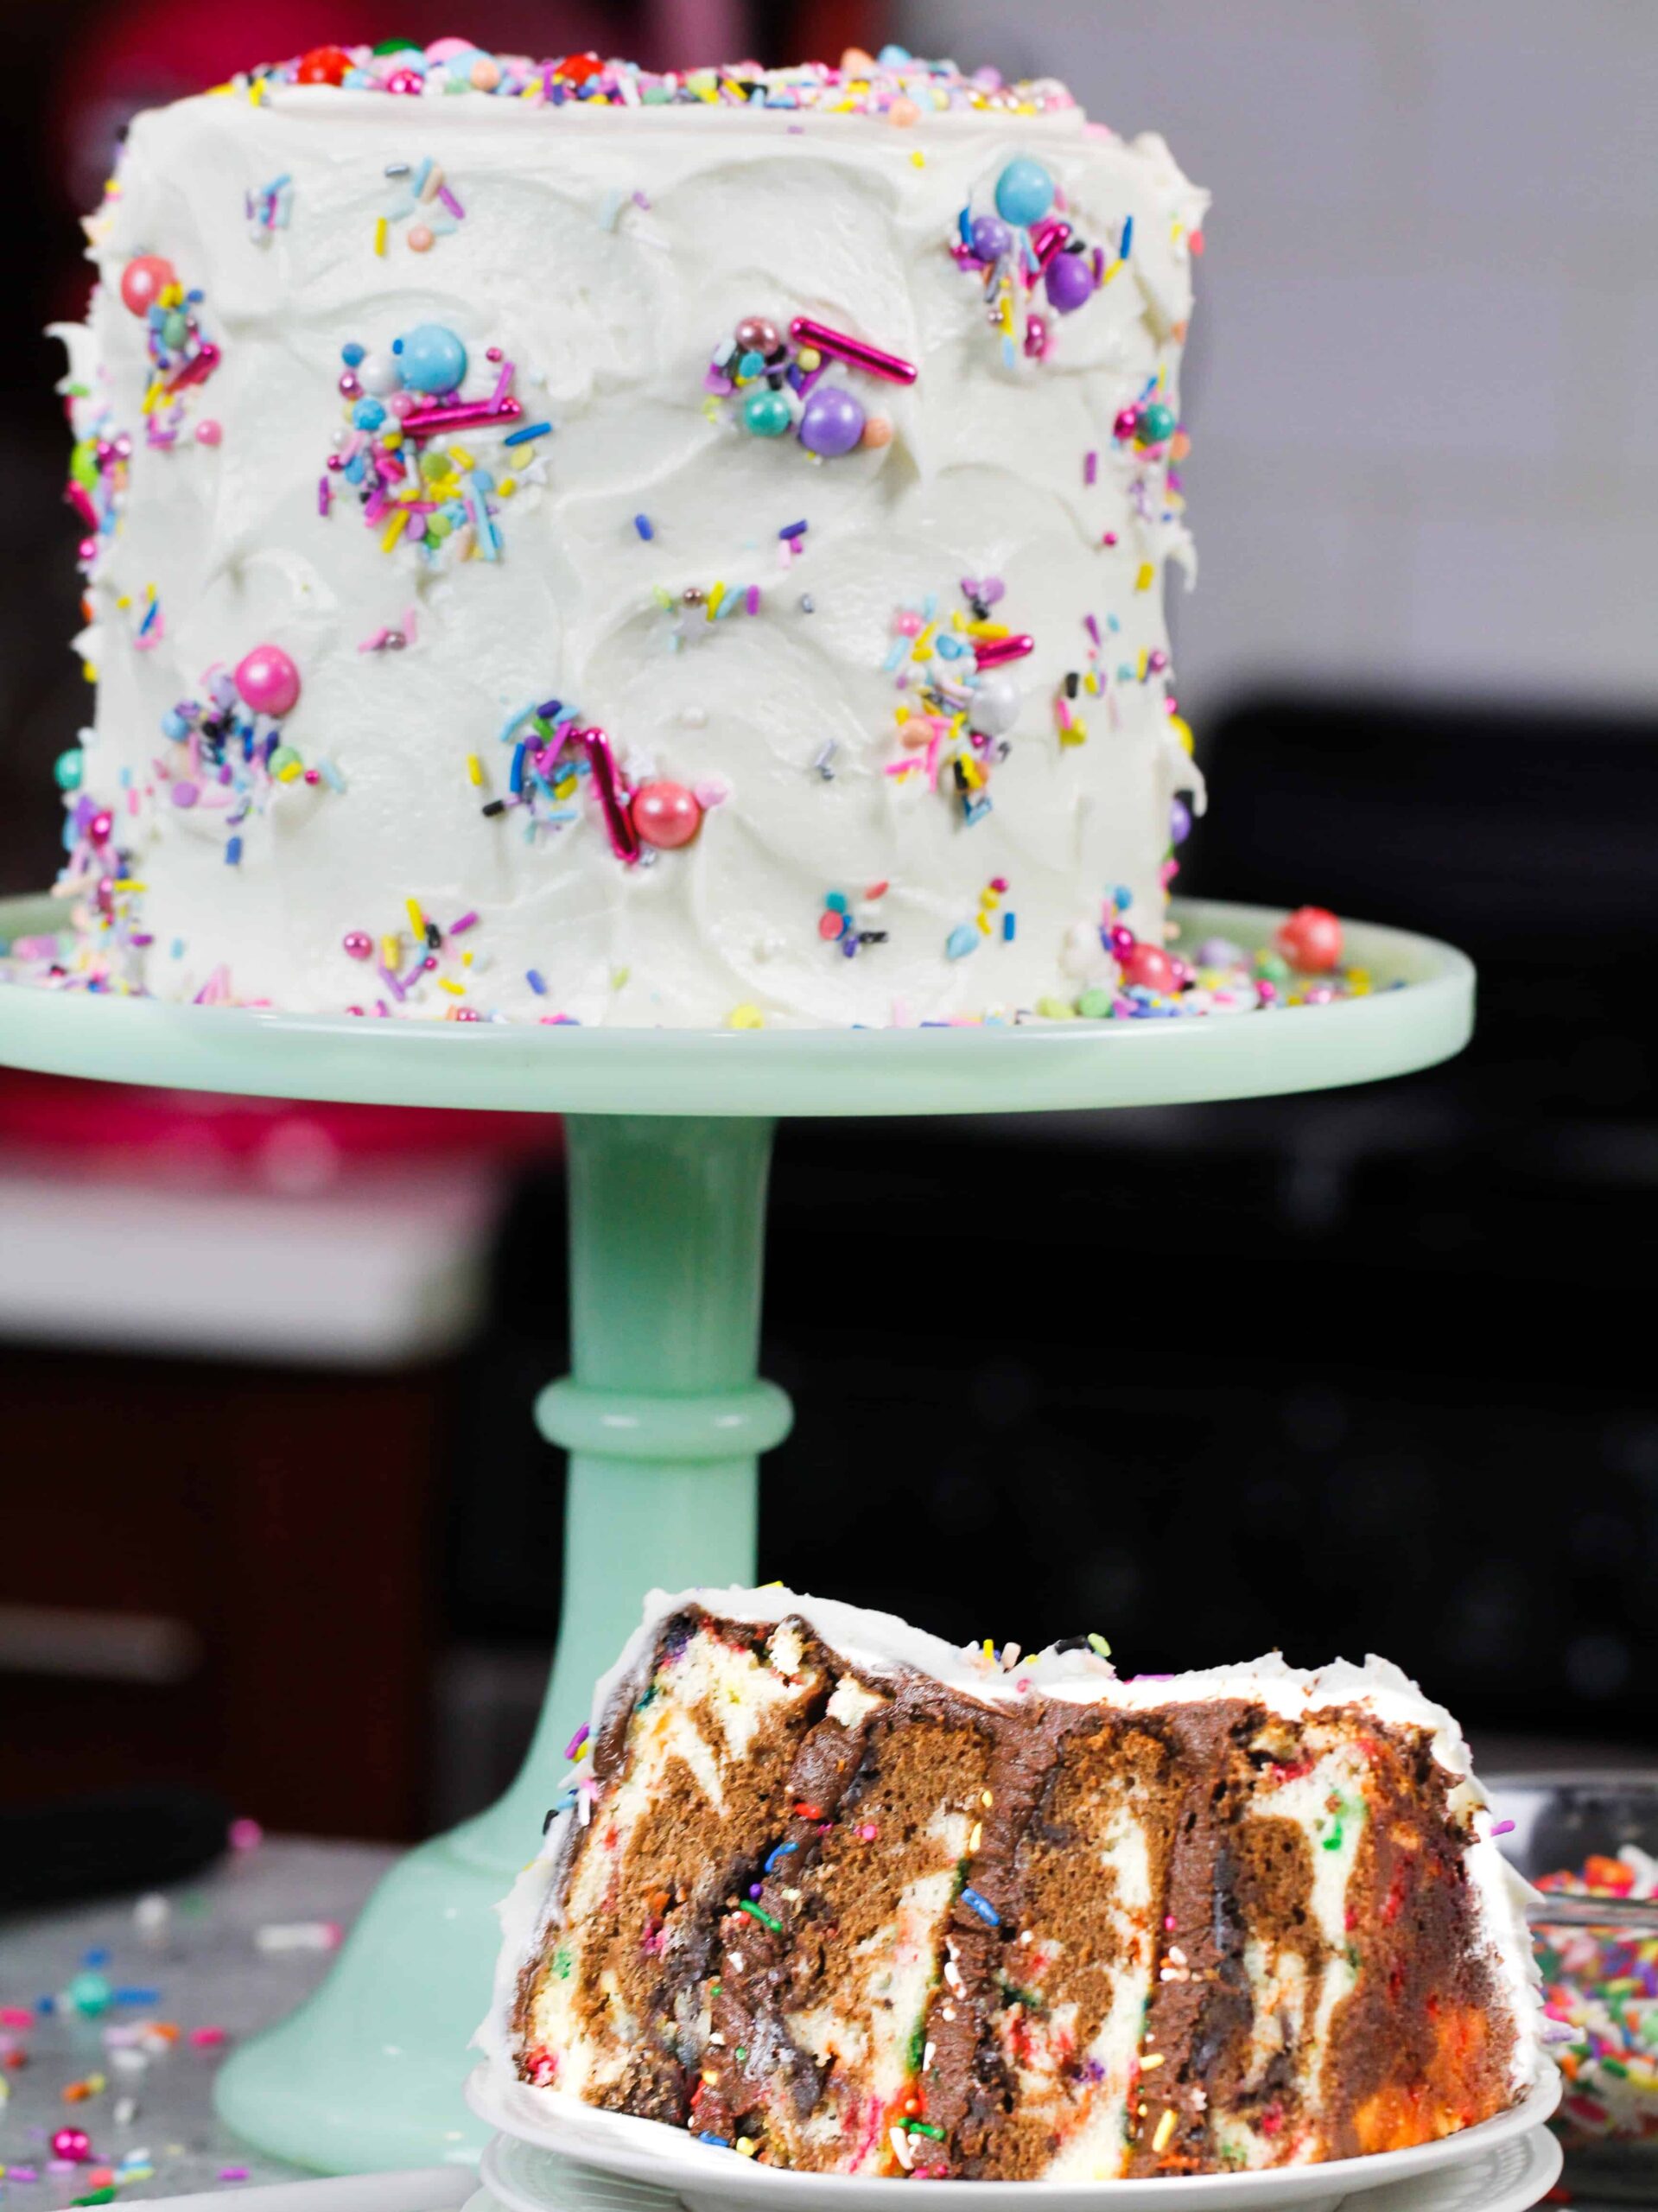
- Cover the cake in a thicker layer of vanilla cream cheese frosting and decorate as desired! I chose to decorate mine with a pretty sprinkle blend and some tall candles.
Video
Notes
My Tips for Making the Best Small Batch Marble Cake
- Ingredients at room temp mix together better! Set out any cold ingredients ahead of time.
- Properly measure your flour (spoon into the cup measure, then level). Or better yet, use a kitchen scale to measure your dry ingredients.
- Use a kitchen scale to weigh your cake pans as you fill them. It helps the cake layers bake to the same height and bake more evenly.
- Bang your cake pans on the counter before putting them in the oven. This brings any air bubbles that are trapped in the batter to the surface.
- Level your room temperature or thawed cake layers with a serrated knife to make them easier to stack.
- Chill the cake layers in the freezer for about 20 minutes before assembling the cake. It makes them so much easier to frost.
Hi Chelsey:
Thank you for this fabulous “small
cake” option for one of my favorite. Chelsweets recipes. It’s just a perfect size with the (wise!) “self isolation” or “quarantine” recommendations still in effect in many places.
Question: instead of four smaller pans, with this recipe provide an adequate volume for 2-8 inch pans? Would likely get two 1 1/2 inch flat layers (I use cake strips around the pans) with the quantity of batters I would make from this recipe?
Any thanks, as always, for your professional guidance.
Judge Nikki
@Nicola Rubinow, wh does have a “full size” recipe on her blog too!! I use it all the time!
Quick question in the video you used egg whites and in the recipe it says eggs. Just checking if its egg whites or whole eggs. Also the video didnt add oil but recipe says oil. Please confirm. I cannot wait to make this cake!
@Samantha Topping,
I tried this recipe multiple times, the eggs work perfectly every time like the written recipe. I use 3- 6 inch pans instead of four. Hope this helps.
I’m so excited to make this for Father’s Day! I was wondering about this recipe but cupcakes. Does it work ok? What about baking time? Thank you so much! I love your recipes!
I see someone asked thsi already about the eggs! Is it eggs or egg whites? Thanks
Hi! Can I use salted butter and omit the salt for this recipe?
I have the same question! ? would love to make a cupcake version of this amazing cake!
Hi Chelsea, here in the Ingredients list you have mentioned whole eggs but the instructions says to add egg whites. So is it just egg whites for whole eggs???
Did anyone figure out the egg situation? I was planning on making this cake for Friday but don’t wanna mess it up!
Her original recipe calls for egg whites only so I will go based off that!
Hey, thanks for the recipe but I have a question about the additional ingredients added to make half of the batter chocolate. In the ingredients vs the instructions several of the measurements are different plus some extra ingredients are in the directions part. Can you clarify these measurements and ingredients please?
Hi! I love your videos and recipes
I would like to make cupcakes with this recipe, but i thinks i’ll get a lot of them! Do you think i could use your moist vainilla cupcake recipe for that?
hey i am making a neapolitan cake , one 6 in layer is vanilla, another is chocolate, and the last one is strawberry. If i wanted to make just enough chocolate cake batter for one cake pan would i half it? And what would I do to make just one layer of strawberry cake, I was thinking of just adding some freeze dried strawberry powder bc i don’t want to have to make a strawberry reduction. and i don’t have an artificial extract.
I’m so upset!
This recipe is FLAWED! The ingredients are different quantities than the instructions. Example: says 3 eggs ( vanilla cake) , in the instructions it says ‘pour egg whites’. Which is it? 3 whole eggs or 3 egg whites?
Also…. on ‘Additional Ingredients’ she lists quantities but, in the instructions bullet point #8 for the chocolate cake…. every ingredient quantities amount is different than the listed amount on 1st page.
Needless to say I was knee deep in making this very in-depth cake. I read it but did not catch the different quantity amounts and eggs or egg whites in time.
My hard work, being a new baker, was done in vain.
Shame on you for not correcting this recipe!
I made this last night. Just so everyone knows: I used 2/3 cup of egg whites in the vanilla batter and then added the additional 1/4 cup egg whites to the chocolate batter as the instructions asked. My cake layers turned out fine! Now get to baking!
Hi there! The ingredient substitutions list above includes sour cream and then lists what can be substituted for it, but there is no sour cream in the recipe. Does this mean I can replace the buttermilk in the actual recipe with sour cream? I just want to confirm before trying and make sure there isn’t an error in the list! Thank you!
I am so glad I read the comments and stopped myself from making this cake! I thought it was strange that a 6” cake would need 4 eggs! With so much confusion I dont get why she isnt answering these comments.
I agree Dorothy! First, this isn’t small batch. Second, the recipe is unsound. Third, to not reply to so many questions is irresponsible of anyone who wants to run a food blog.
@Annie M “so irresponsible” ???? y’all are so dramatic, it ain’t that serious
Can this recipe be used for cupcakes aswell?
Is it possible to adjust the batter so as to make a yellow cake batter instead of a vanilla (white) cake batter?
I love this recipe, have made it a handful of times already! My friend is gluten free and wants me to make this for her birthday, anyone know if I can use 1-to-1 instead of all purpose flour?? Thanks!
Can this recipe be used for cupcakes?
I’m loving baking 6” cakes now but it would helpful if everyone would post the size of their 6” pans. I see your recipe is for the 2” deep pan. I’m using only 6 x 3”. Plus your link for pans goes to the Fat Dadio 3” pan that I purchased a while back.
Otherwise, love your posts.
Hi Lola,
This recipe should bake up great in both 2-inch deep pans and 3-inch deep pans. I have both, but usually use the 2-inch pans just because they’re easier to store. I’ve updated the links in this post to go to the 2-inch deep pans, thank you for letting me know. Happy baking!
Can I ask for these small batch cakes do the cakes rise in a ceramic ramekin? Or should I use an aluminium cake pan? If so what small cake pan dimensions should I look gor when buying one a 6 inch?
Hi Anne,
I’ve never tested this type of cake in a ramekin before. Ceramic bakes similar to glass, and takes a while to heat up, so I would guess you’d need to lengthen your cooking time.
I definitely think this recipe bakes up best in an aluminum pan, it heats up quickly and bakes evenly! When buying an aluminum pan, you want a light colored, 100% aluminum pan. I like the type that are 2 inches tall because they’re easier to stack. I use the type made by Fat Daddio and I order them on Amazon (https://amzn.to/3oTYVzb) but I think they also sell them at a lot of craft stores.
Hope that helps, happy baking!
Hi Chelsey! Since this doesn’t rise as much, can I use the batter to make baked donuts? On a donut pan? Thanks!
Hi Kacie,
Great question! I haven’t tested it out but I’d think it should work! If you try it, please let me know how it goes 🙂
Loved the Cake. It was scrumptious! Thanks a lot
So happy to hear that 🙂 Thank you for sharing!!