
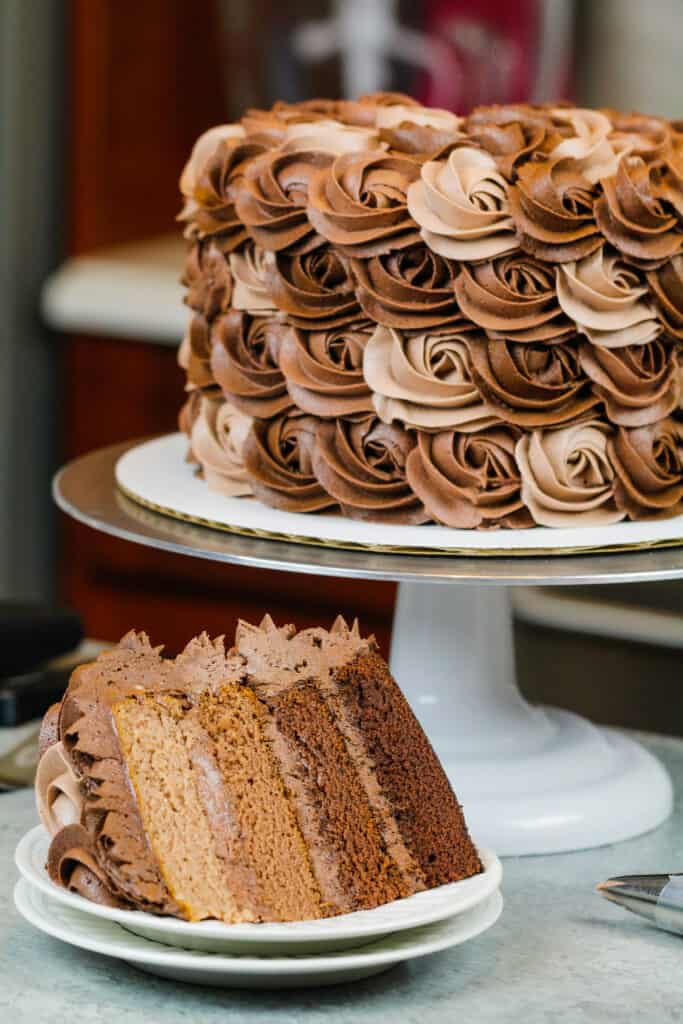
Ombre Chocolate Cake
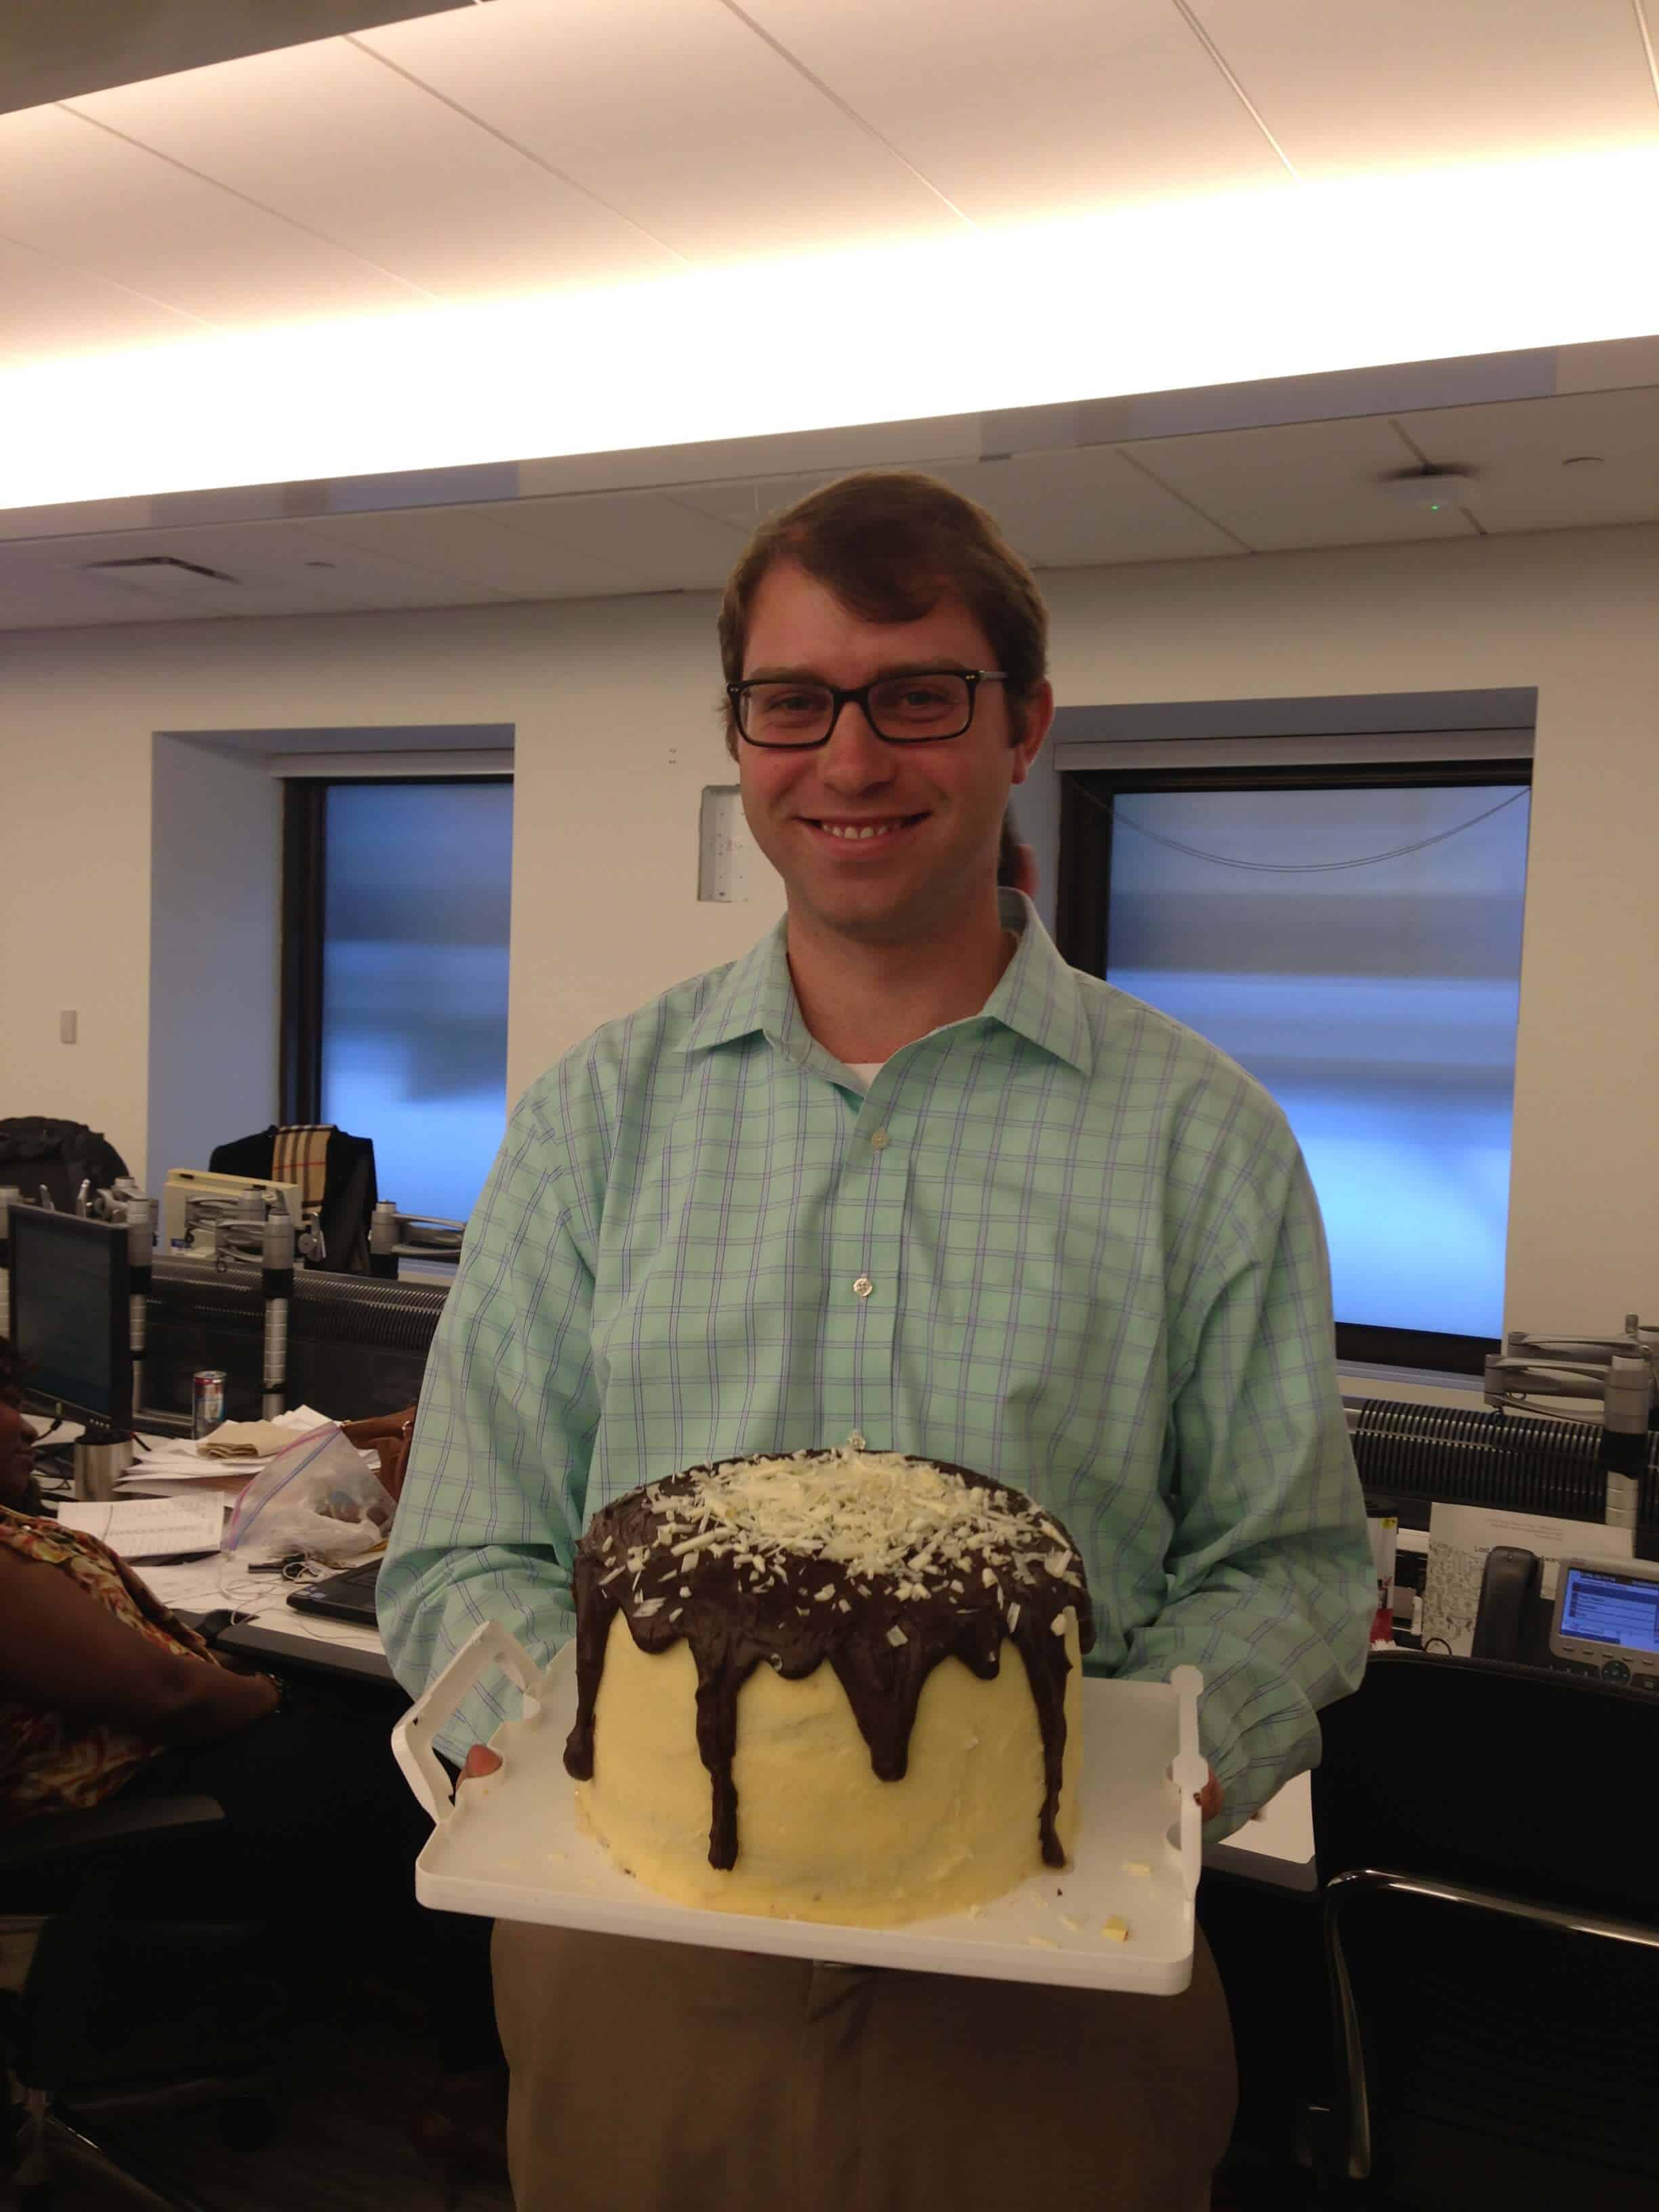
I originally made this ombre chocolate cake for a coworker’s birthday 6 years ago. It seems like a lifetime ago! If you want a good laugh, scroll down the to bottom of this post to see what my cakes looked like when I first started baking.
This recipe definitely needed a facelift, so I’ve revamped the recipe and photos to show this ombre chocolate cake in all its chocolatey glory.
The Star of the Show: Dark Cocoa Powder
What gives this chocolate cake its incredible chocolate flavor is the type of cocoa used in the cake batter and buttercream.
While I’m usually a big fan of using black cocoa, in this cake I prefer using dark cocoa powder. It’s processed slightly differently than black cocoa, which gives it a deep brown color.
Both types of cocoa powder taste great in cakes, but I prefer the way the dark cocoa powder makes this cake look. It also makes it easier to create the ombre colors.
Most large grocery stores carry Hershey’s Special Dark baking cocoa, but you can also order it online if you can’t find it in stores. Any brand of dark baking cocoa will work too!
You can also use regular baking cocoa, but the shades won’t be quite the same.
Substitutions & Swaps: Ombre Chocolate Cake Layers
While I love this ombre chocolate cake just the way it is, I know some of you might not have all of these ingredients on hand.
Below are some swaps and substitutions that can be made in this recipe:
- All-Purpose Flour – You can use a gluten-free flour blend (be sure to also follow my tips below) or cake flour if that’s all you have on hand.
- Granulated Sugar – I do not recommend reducing the amount of sugar or changing the type of sugar, as it will change the texture of the cake layers.
- Egg whites – I use carton egg whites to avoid wasting the yolks, but you can use/separate fresh eggs for this recipe. You can also use 4 whole eggs in their place. If you have an egg allergy, you can use flaxseed eggs or 1 cup of unsweetened applesauce.
- Buttermilk – You can also use full-fat yogurt, sour cream, whole milk, or an alternative yogurt or milk (almond, soy, oat).
- Vegetable Oil – You can use any flavorless oil in this recipe. Canola or even sunflower oil would work great!
- Dark Cocoa Powder – If you can’t find dark cocoa powder or don’t have any on hand, you can also use regular baking cocoa. Just note that the shades won’t be quite the same.
Substitutions & Swaps: Chocolate Buttercream
Below are some great swaps and substitutions for the ombre chocolate buttercream in this recipe.
- Unsalted Butter – If you only have salted butter on hand, you can use it in place of the unsalted butter. Just be sure to omit the salt that this frosting recipe calls for. You can also use vegan butter in its place!
- Heavy Cream – Whole milk or alternative milk (soy, almond, oat) can also be used to make the frosting.
- Dark Cocoa Powder – If you can’t find dark cocoa powder or don’t have any on hand, you can also use regular baking cocoa. Just note that the shades won’t turn out quite the same.
- Dark and Milk Chocolate – You can use chocolate chips, baking chocolate, or good-quality chocolate bars to melt and add into the frosting. In addition, you can also use all dark chocolate or all milk chocolate if you have a strong preference.
Decorating this Chocolate Cake
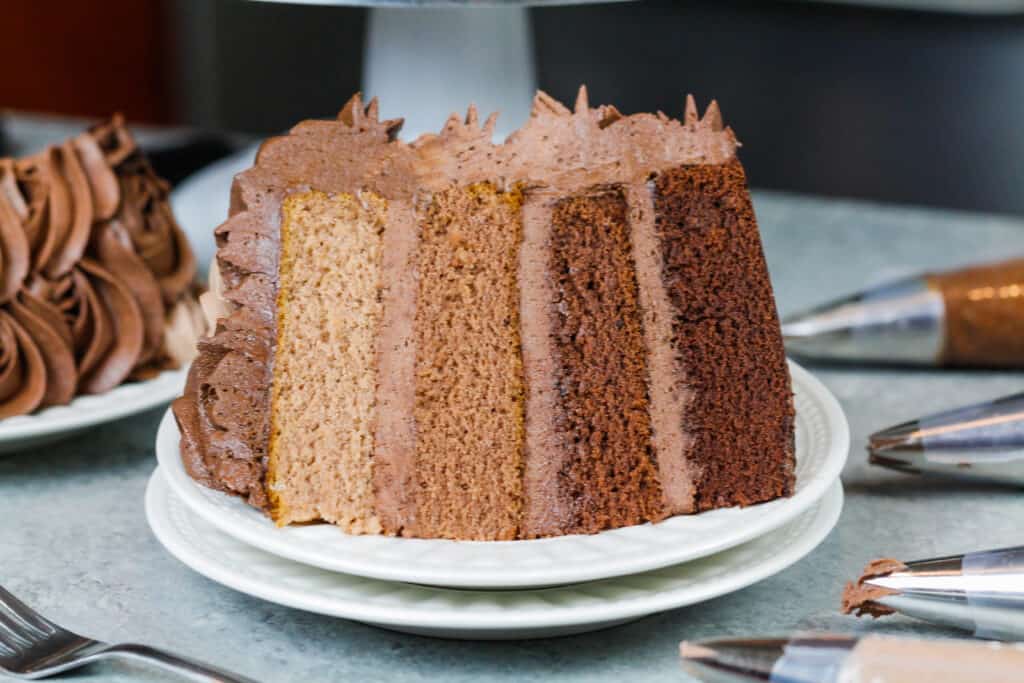
I felt like a cake this pretty on the inside needed to be decorated beautifully.
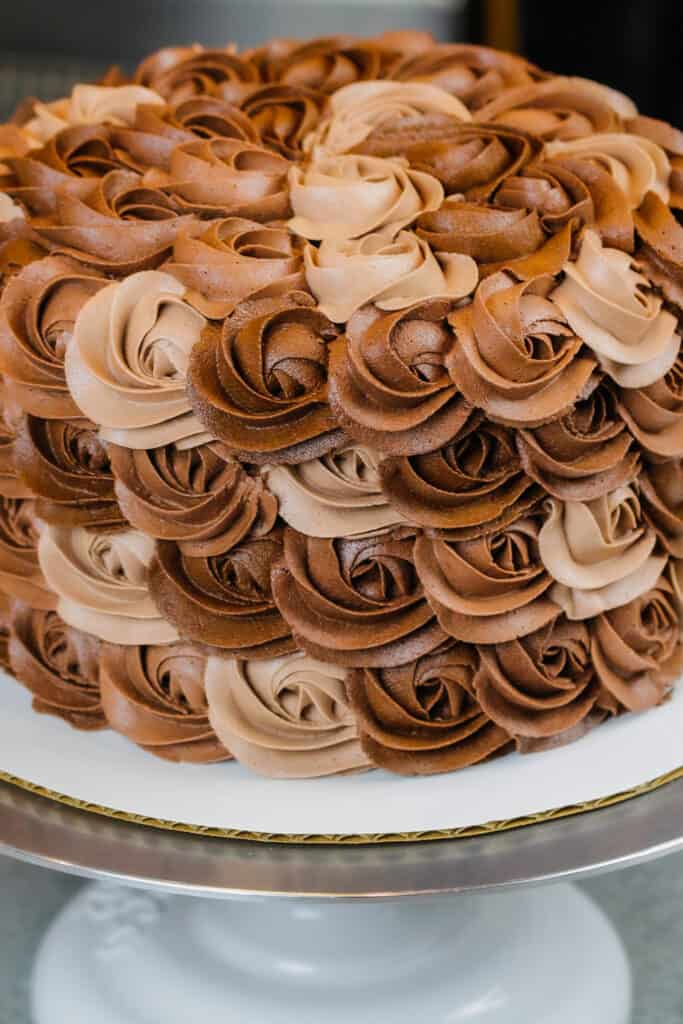
I considered a lot of different decorating techniques, but in the end I settled on the idea of classic buttercream rosettes. There’s something so stunning about the simplicity of a buttercream rosette.

It’s a relatively easy cake design as long as you’re comfortable piping! As an added bonus, this design is made with a Wilton 1M frosting tip, which a lot of bakers already have.
I made matching ombre frosting, but went a little rogue as I added the rosettes. I didn’t want to follow the classic look of an ombre rosette cake, so I added the colors randomly.
The end result was uniquely beautiful!! However, you can decorate this cake however you like! Feel free to get creative and let your artistic skills flow.
Tips for Making the Best Ombre Chocolate Cake
- Chill your cake layers in the freezer for about 20 minutes before assembling the cake, to make it easier to stack and frost.
- Level your room temperature or thawed cake layers with a serrated knife to make them easier to stack.
- Ingredients at room temperature mix together better! Be sure you set out any cold ingredients ahead of time.
- Be sure to properly measure your flour (spoon into the cup measure, then level). Or use a kitchen scale to measure your dry ingredients.
- You can make your own buttermilk if you don’t have any! Simply add 1 Tbsp of lemon juice or vinegar to 1 cup of whole milk for each cup of buttermilk you need.
- Mix your cake batter just until the ingredients are incorporated. This will ensure your cake layers are tender and fluffy.
Making this Cake in Advance and Storage Tips
- Make your cake layers in advance and freeze them. It breaks the process up and makes it more approachable.
- Make your chocolate frosting ahead of time or save any leftover frosting! It can be stored in an airtight container in the fridge for up to a month.
- This frosting can also be stored in the freezer for up to 3 months! Just be sure to give it a good stir once it thaws to make it nice and smooth again.
- A frosted cake can last in the fridge for a week or in the freezer for a month. The buttercream locks in the moisture and keeps the cake fresh and delicious!
Let Me Know What You Think
If you try this ombre chocolate cake recipe, I’d love to hear what you think!
Please leave a rating below and a comment to let me know your thoughts.
Ombre Chocolate Cake
Ingredients
Ombre Chocolate Cake Layers:
- 2 1/4 cups all-purpose flour 290 grams
- 3 cups granulated sugar 600 grams
- 2 1/2 tsp baking powder 10 grams
- 1 tsp fine salt 6 grams
- 2 tsp instant coffee 4 grams – optional
- 1 cup unsalted butter, room temperature 226 grams – 2 sticks
- 1 cup carton egg whites, room temperature or about 7 egg whites (235 grams)
- 1 1/2 cups buttermilk, room temperature 345 grams
- 2 Tbsp vegetable or canola oil 28 grams
- 2 tsp. vanilla extract or vanilla bean paste 8 grams
Ombre Cake Layer Add Ins:
- Bowl 1: 2 Tbsp all-purpose flour 16 grams + 1 1/2 tsp sifted dark cocoa powder (3 grams)
- Bowl 2: 2 Tbsp all-purpose flour 16 grams + 1 Tbsp sifted dark cocoa powder (6 grams)
- Bowl 3: 1 Tbsp all-purpose flour 8 grams + 2 Tbsp sifted dark cocoa powder (12 grams)
- Bowl 4: 3 Tbsp dark cocoa powder 18 grams
Chocolate Buttercream Frosting
- 3 cups unsalted butter, room temperature 678 grams
- 1 Tbsp vanilla extract or vanilla bean paste 12 grams
- 1 tsp fine salt 6 grams
- 10 cups powdered sugar 1250 grams
- 1/3 cup heavy whipping cream, room temperature or whipping cream (75 grams)
Ombre Chocolate Buttercream Add Ins:
- Bowl 1: 1 Tbsp sifted dark cocoa powder 6 grams
- Bowl 2: 3 Tbsp sifted dark cocoa powder 18 grams
- Bowl 3: 1/4 cup sifted dark cocoa powder 25 grams + 1/2 cup melted milk chocolate + 1 Tbsp heavy cream
- Bowl 4: 1/3 cup sifted dark cocoa powder 33 grams + 1/2 cup melted dark chocolate + 2 Tbsp heavy cream
Instructions
Ombre Chocolate Cake Layers:
- Preheat oven to 350°F. Line four 7" or three 8" pans with parchment rounds, and grease with non-stick baking spray.
- Mix together 2 1/2 cups all purpose flour, 3 cups sugar, 1 1/2 tsp baking powder, 1 tsp salt and 2 tsp of instant coffee (optional) in a stand mixer with a paddle attachment or hand mixer until fully combined.
- Mix in 1 cup of unsalted butter slowly into the dry ingredients on a low speed. Continue to mix until no large chunks of butter remain and the mixture looks crumbly.
- Pour in 1 cup of egg whites and mix on low until just incorporated. Mix in 1 1/2 cups buttermilk in two installments, on a low speed.
- Add in 2 tsp of vanilla extract and 2 Tbsp of vegetable oil, and mix at a low speed until fully incorporated.
- Scrape down the sides of the bowl with a rubber spatula, then beat on a low speed for about 30 seconds to make sure everything is properly mixed together.
- Divide the batter evenly between three or four bowls (depending on how many cake layers you’re making). I like to use a digital kitchen scale to weigh my pans, and ensure they all have the same amount of batter.
Mix the following ingredients into each bowl of batter to create ombre colored chocolate cake batter:
- Bowl 1: 3 Tbsp all-purpose flour (24 grams) and 1 1/2 tsp dark cocoa powder (3 grams)
- Bowl 2: 2 Tbsp all-purpose flour (16 grams) and 1 Tbsp dark cocoa powder (6 grams)
- Bowl 3: 1 Tbsp all-purpose flour (8 grams) and 2 Tbsp dark cocoa powder (12 grams)
- Bowl 4: 3 Tbsp dark cocoa powder (18 grams)
- Pour each color of batter into one of the prepared cake pans.
- Bake for 34-35 minutes, or until a toothpick comes out with a few moist crumbs. Allow the pans to cool for 10 minutes, then run a small offset spatula around perimeter of the pan to separate the cake from the pan.
- Place cake layers into the freezer for 30 minutes to accelerate the cooling process. Once the layers are fully cooled, carefully flip the pans and remove the layers.
- Use a serrated knife to level the tops of the layers right before you plan to assemble your cake, or you can wrap and freeze them in you’re making them in advance.
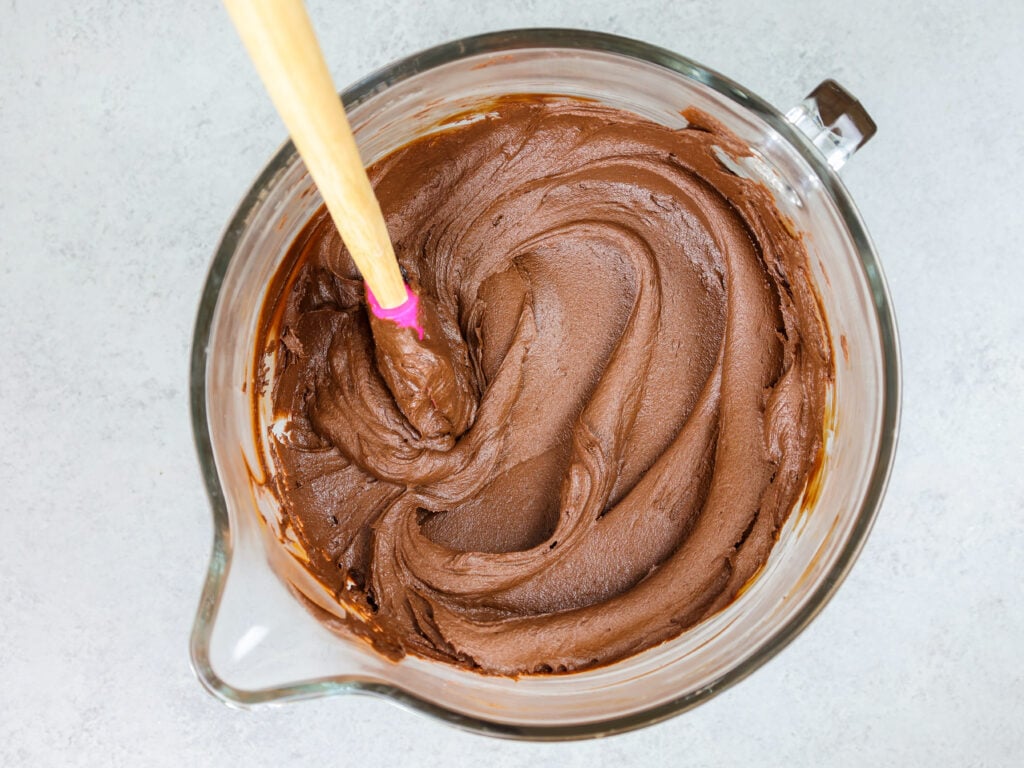
Chocolate Buttercream Frosting:
- While the cake layers bake and cool, make the vanilla buttercream frosting.
- Beat 3 cups of unsalted butter on a medium speed for 30 seconds with a paddle attachment, until smooth.
- Mix in 1 Tbsp of vanilla extract or vanilla bean paste and 1 tsp salt on a low speed.
- Slowly add in 10 cups of powdered sugar, 1 cup at a time. Alternate with small splashes of 1/3 cup of cream.
- Continue to mix on low speed for a few minutes, until the desired consistency is reached.
- Divide the frosting evenly between three or four bowls (depending on how many cake layers you’re making).
Mix the following ingredients into each bowl of frosting to create ombre colored chocolate buttercream:
- Bowl 1: 1 tsp regular unsweetened cocoa powder (6 grams)
- Bowl 2: 2 Tbsp dark cocoa powder (12 grams)
- Bowl 3: 3 Tbsp dark cocoa powder (18 grams)
- Bowl 4: 3 Tbsp dark cocoa powder (18 grams) and 1/4 cup melted dark chocolate (40 grams)
- NOTE: If any of the shades of frosting seem too thick, add in additional cream (1 TBSP at a time). If the frosting seems too thin / not pipeable, add in more powdered sugar (quarter of a cup at a time). You can learn more about frosting consistency (and what to look for) here.
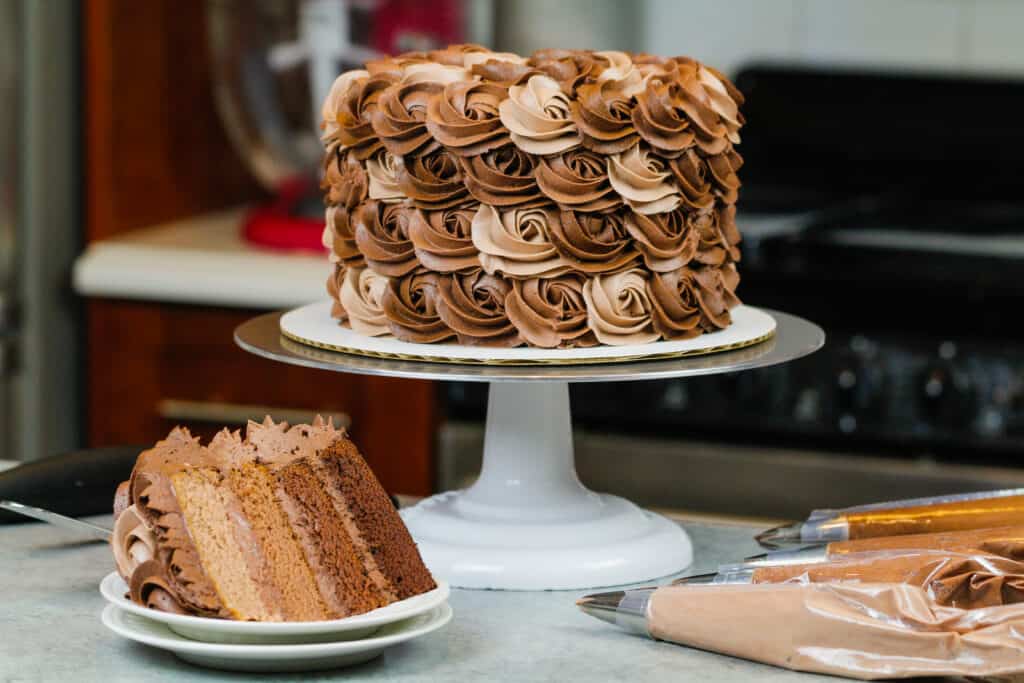
To Assemble This Chocolate Ombre Cake:
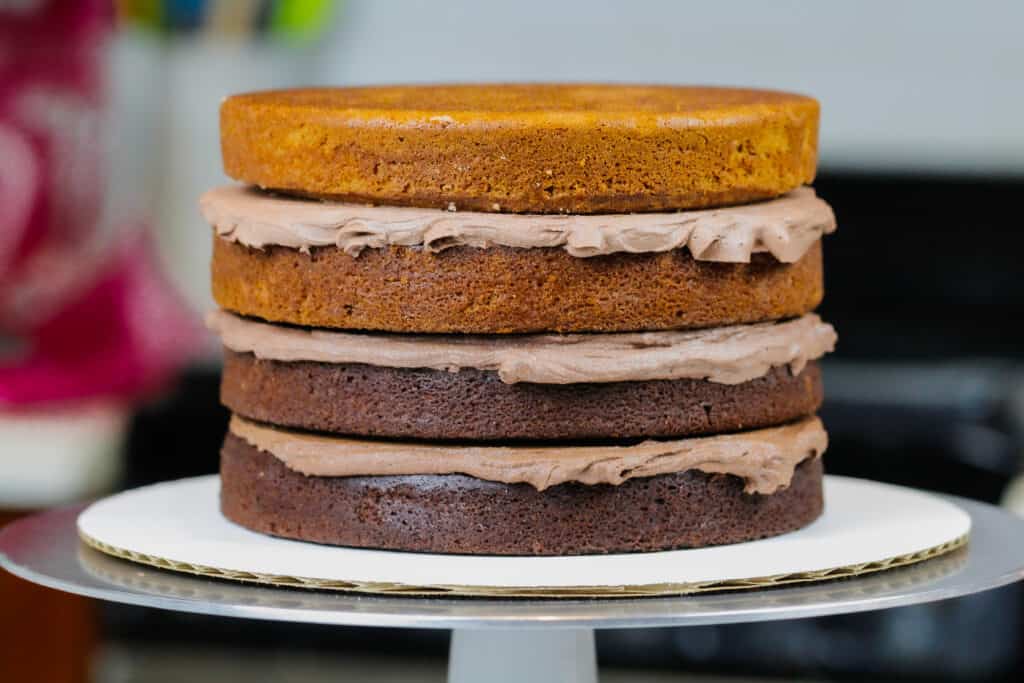
- Stack and frost cake layers on a greaseproof cake board, using a dab of frosting to help stick the first cake layer to the board.
- Start with the darkest chocolate cake layer, and frost it with an even layer of the most chocolatey buttercream. Repeat with the remaining cake layers, moving from the most intensely chocolate to the least.
- Add a thin coat of frosting around the the cake using the overhanging frosting to fully cover the cake layers.
- Smooth using a bench scraper, then chill the cake in the fridge (20 minutes) or freezer (10 minutes) until the frosting is firm to the touch.
- Place the remaining frosting in large piping bags fit with a Wilton 1M frosting tip, and pipe buttercream roses around the cake.
Video
Notes
Nutrition
Other Recipes You Might Like:
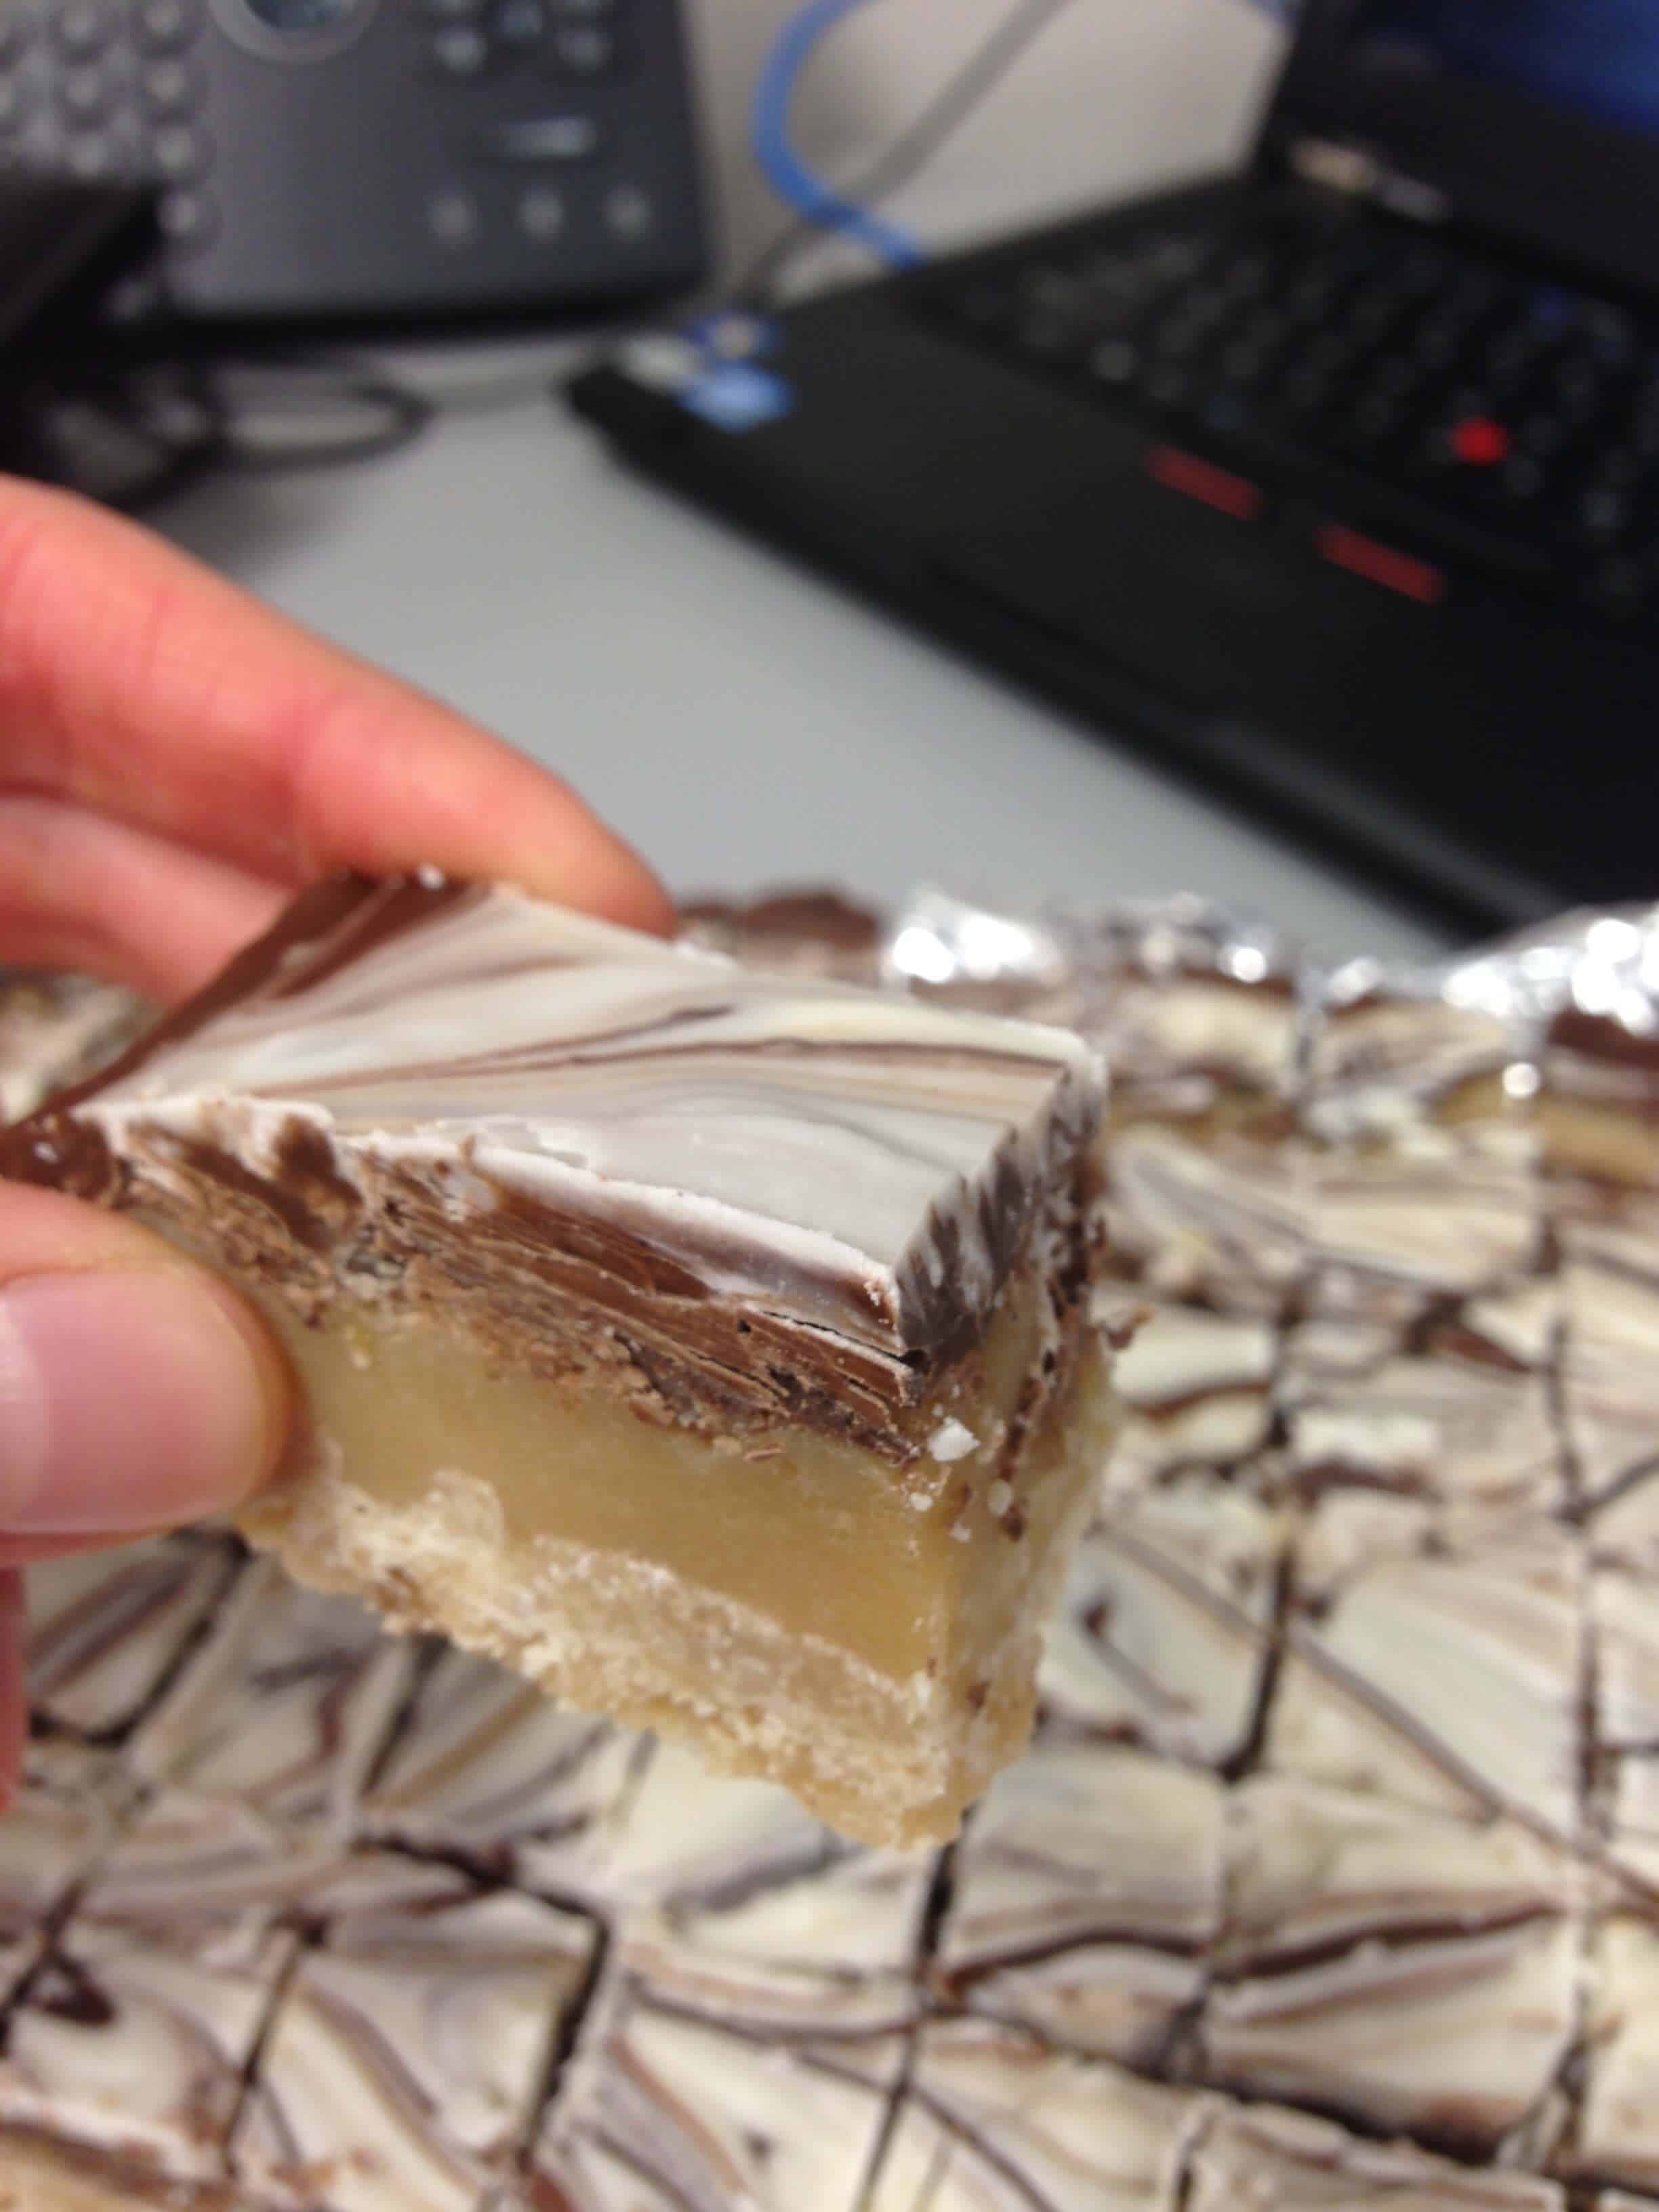

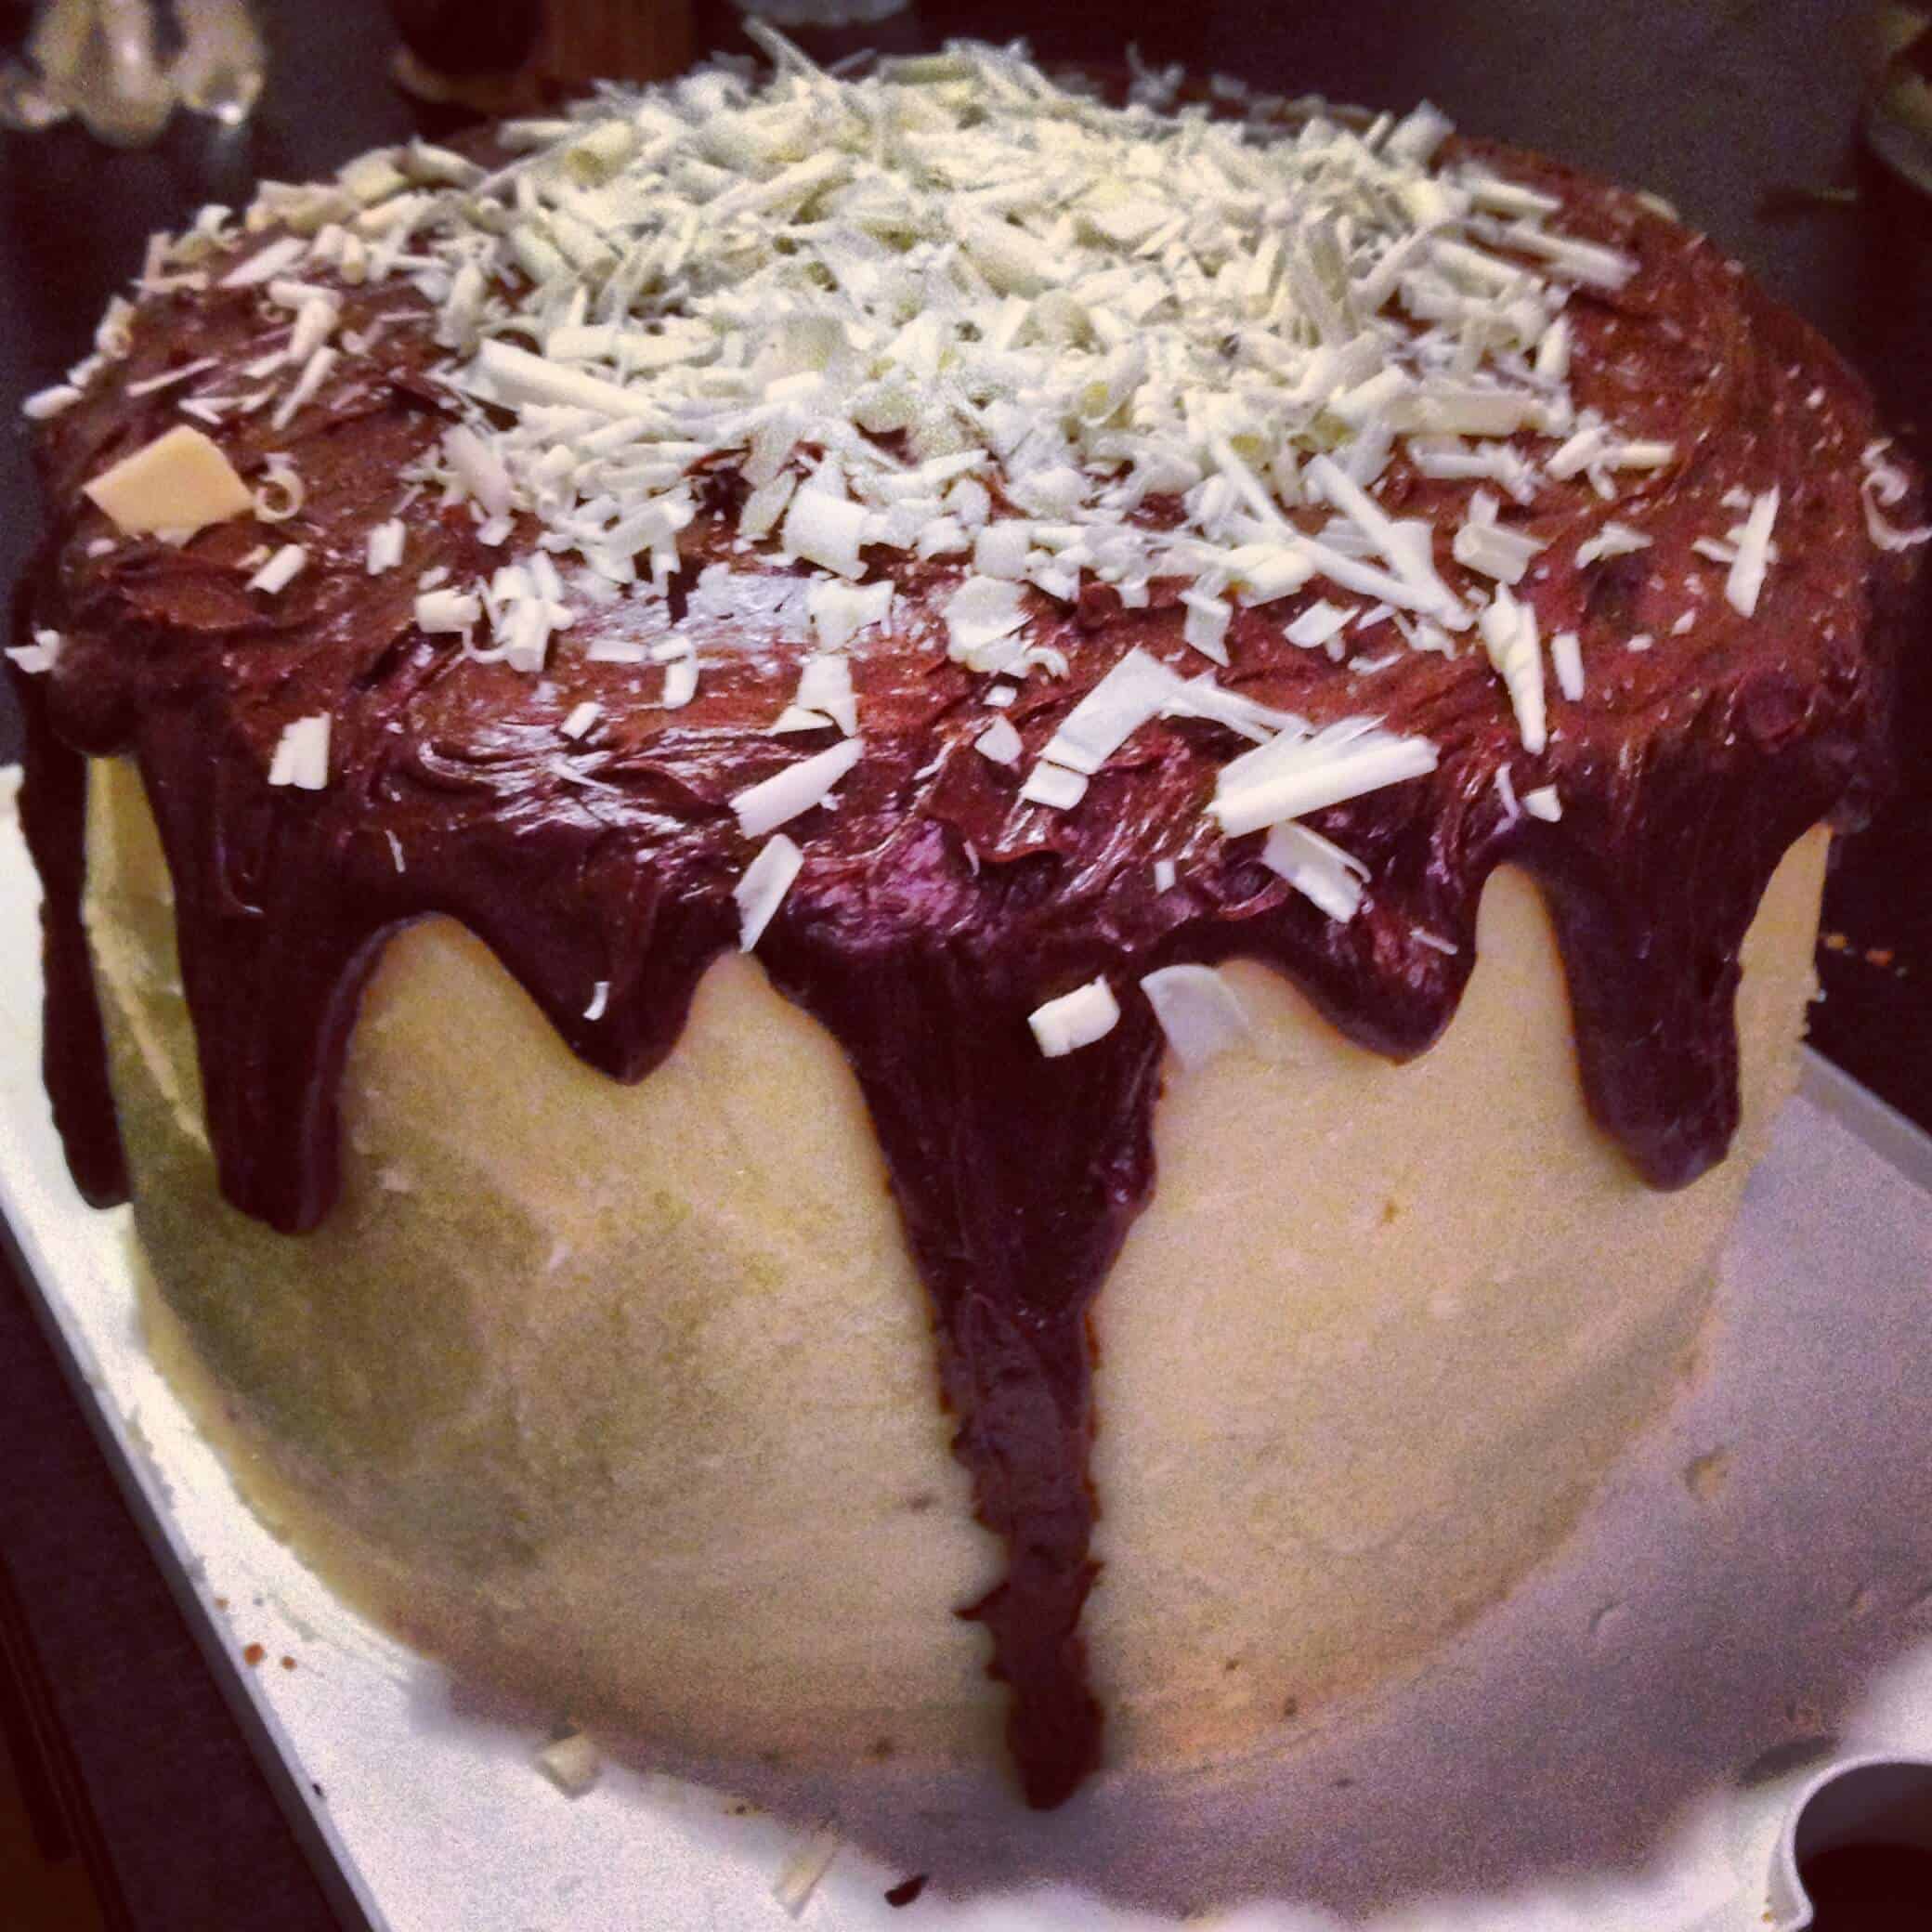
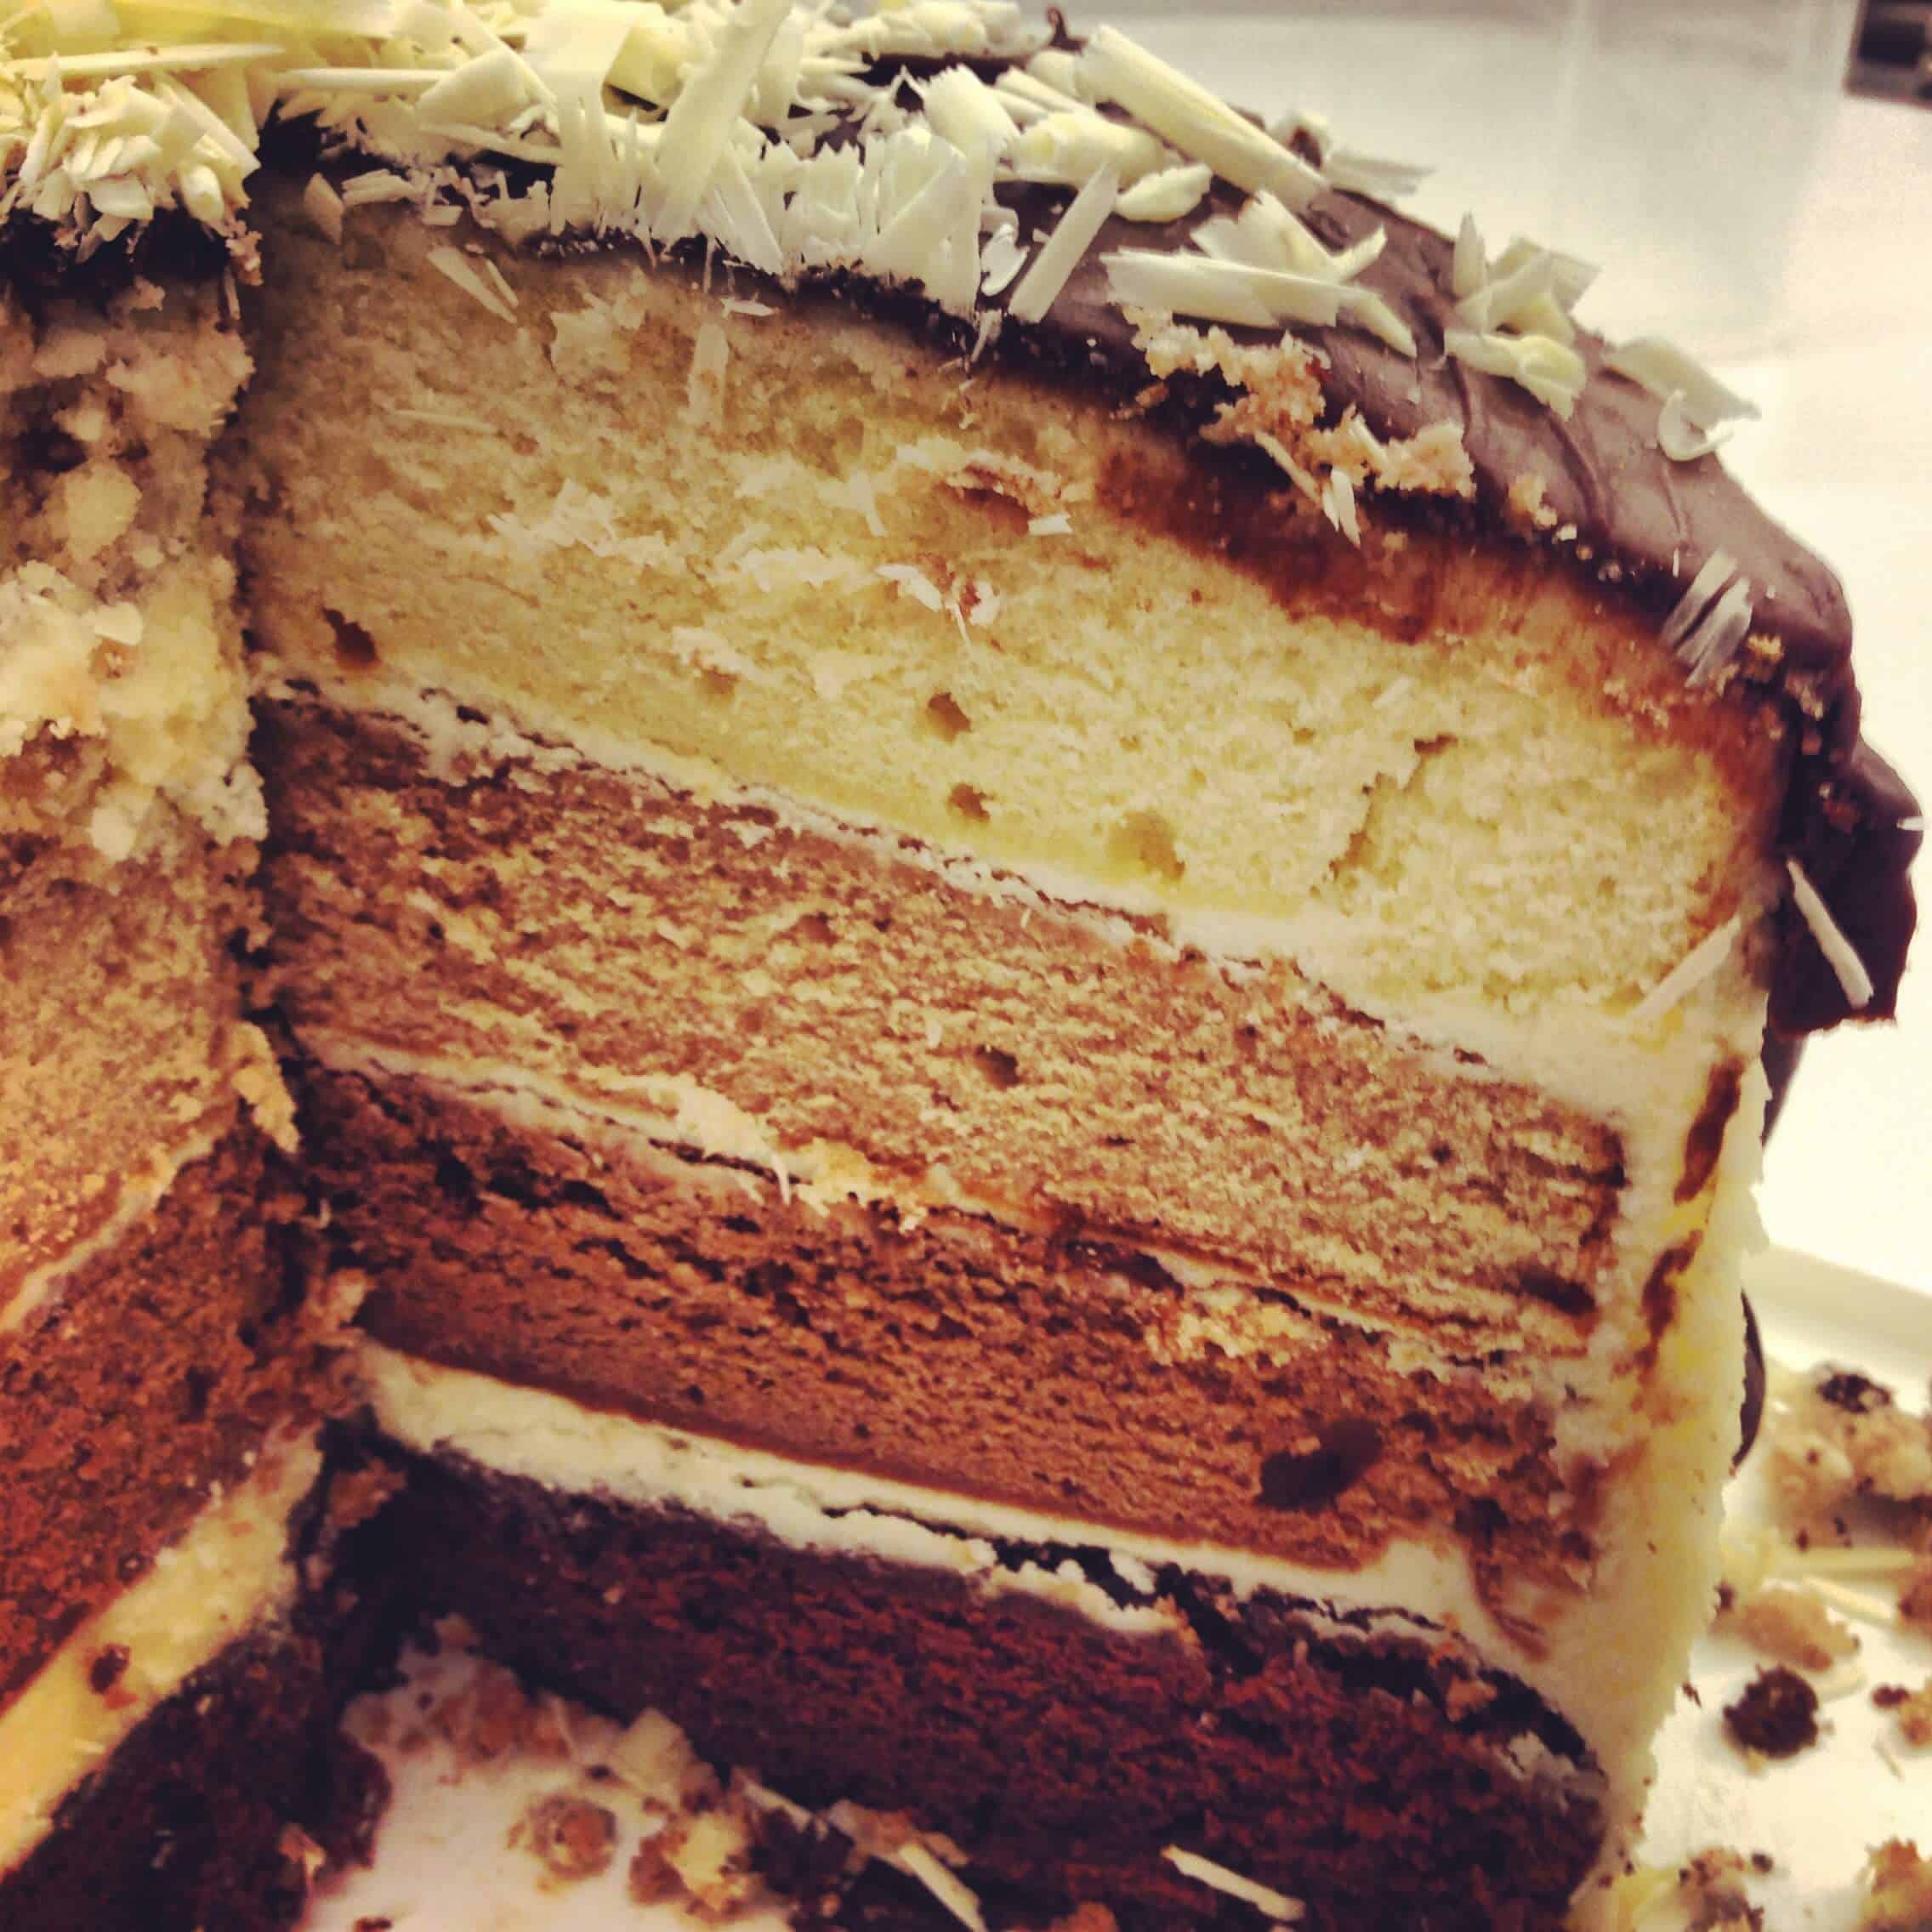
Here’s a trip down memory lane! This is what the original version of this cake looked like in 2014.

Looks AMAZING! I love how the colors go from darker to light, from bottom up! Happy baking and Happy Valentine’s Day!
Hi! I just LOVE your incredible cakes and your down to earth style in sharing your skills! I tried this cake for a dear friend’s birthday and it was DELICIOUS!!!! Honestly yummy ? They all raved. My colors turned out way darker and not as ombré as yours. I would love to send you a picture but I can’t paste it here! Anyway, thank you kindly!
Thank you so much for posting the original cake… I love to bake and my cakes currently look like that picture… it motivates to keep practicing so I can make amazing cakes like you one day
I made this cake last weekend for my mother in-law’s birthday. She and everybody at the party said it was the most beautiful, delicious, amazing cake they have ever had. It was a lot of work with all the coloring of the cake layers and frosting but the end product was so worth it. I will be making it again. Thank you for such an amazing cake recipe.
Clarification needed:It says 2.5 tsp of baking powder in the ingredients but only 1.5 tsp when it says to add baking powder in the instructions.
I’m baking mine with the 1.5 from the instructions so…..fingers crossed.
@Mary P., Thanks! How did the 1.5 tsp work?
I didn’t see any clarification posted.
Kindly,
Pat
Just watch your work is amazing will be trying out the different shades of buttercream
I agree with everyone else – this cake was perfect! The varying shades of the cake worked just right. As mentioned by someone else, my frosting shades did not have enough difference in color – the three darkest ones all looked exactly the same on the cake, with just the lightest one looking different. Of course, no one knew that it didn’t look exactly like I wanted it to. It was gorgeous (I had no idea how easy the rosettes would be – it just took a few practice trials and then I was ready to go) and also a really delicious cake. And I loved that the layers did not dome up as they baked – I didn’t need to level them at all.
I took a day off from work and made this cake and the Earl Grey Lavender cake for twin birthdays… it was a lot to do in one day, but I felt great about the results!
Omg that is a lot of baking in one day!! So happy to hear this cake turned out great 🙂 Thank you for sharing Rachel!