
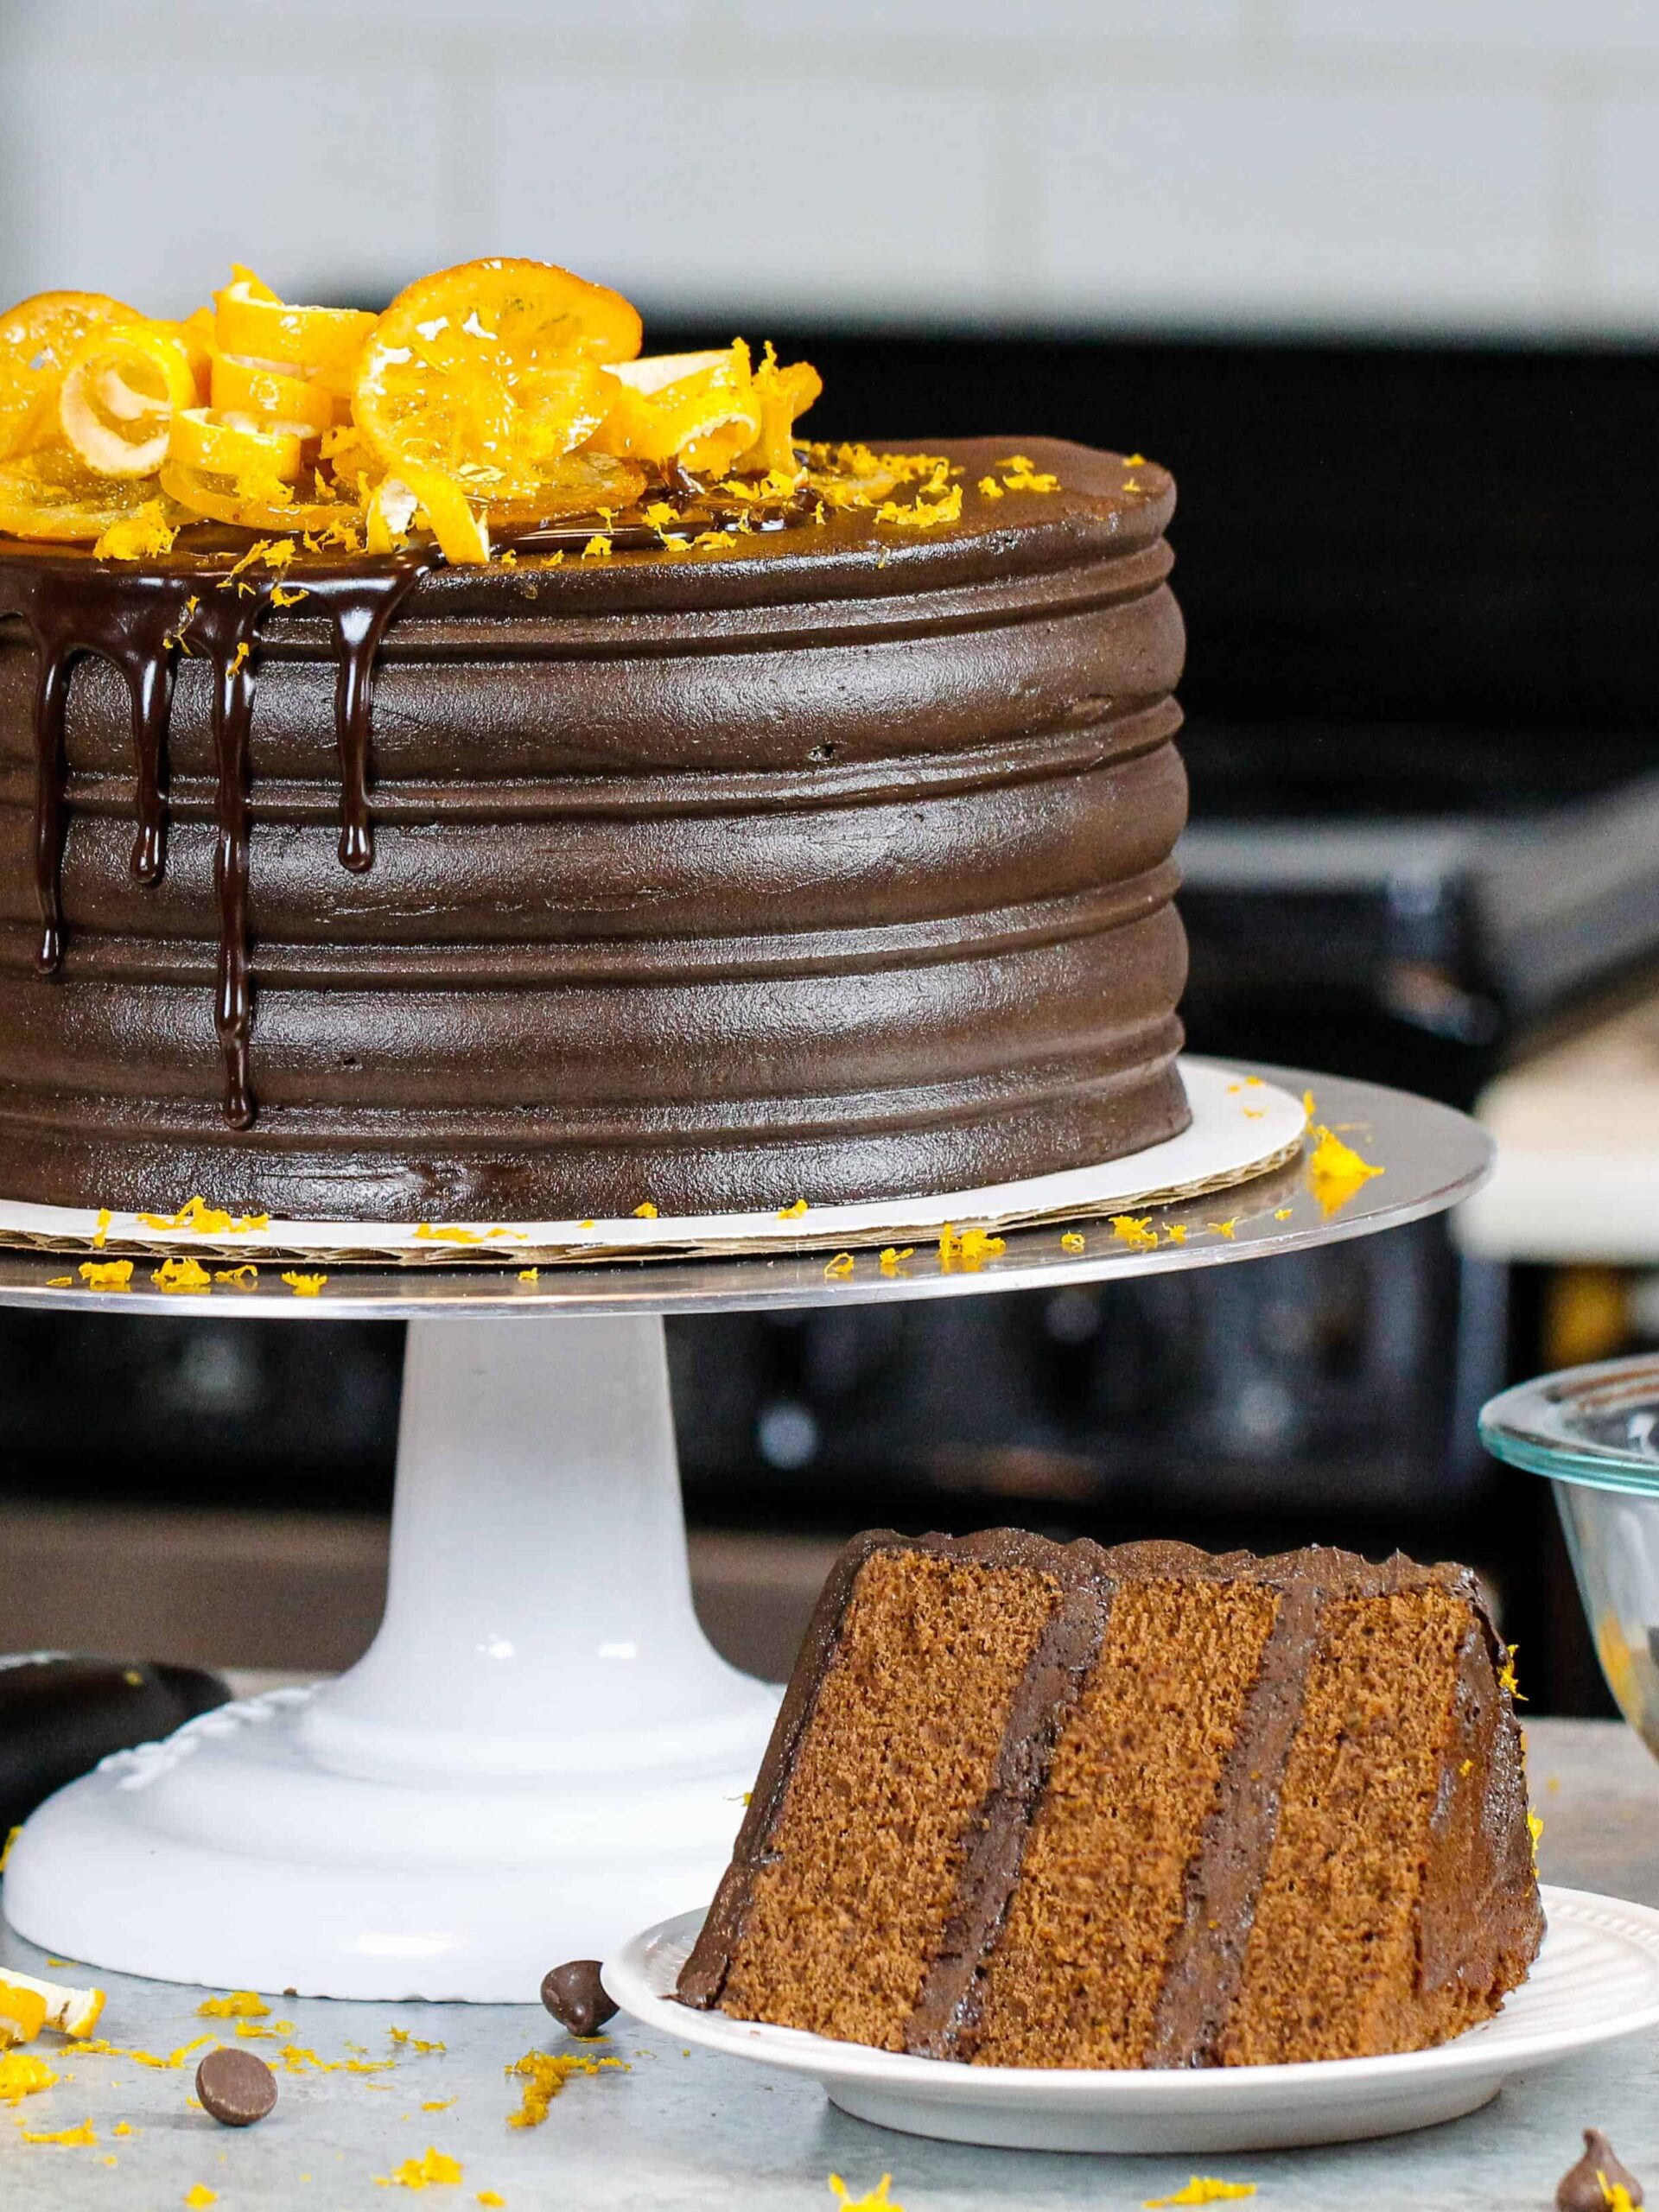
Chocolate Orange Cake
While chocolate and orange might sound like an odd combo, it reminds me of being a kid. My Grandma always used to buy us chocolate oranges for the holidays, and they’re the inspiration behind this chocolate orange cake.
I wanted this cake to be just as delicious and full of chocolate and orange flavor.
To do that, I used one of my favorite chocolate cake recipes as a starting point. Then I tested out the best way to incorporate that bright, citrus flavor into this cake.
Packing This Orange Chocolate Cake with Citrus Flavor
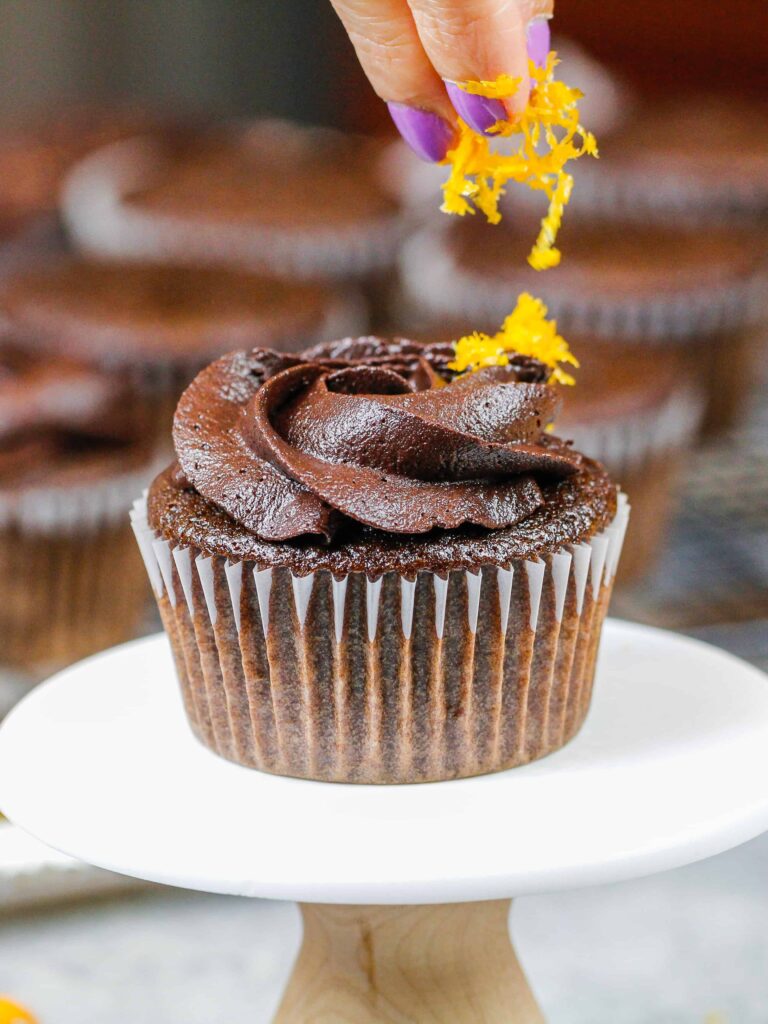
This chocolate orange cake uses pretty much every part of an orange! The cake batter is made with orange juice and orange zest, and the top is even decorated with orange peel spirals!
But the real secret to getting that amazing orange flavor into this cake is using an orange emulsion.
While an orange extract would also work, using an orange emulsion really steps up the flavor of this cake. Why, you ask? It has a secret ingredient. Citric acid!!
Now before you get creeped out by the sound of that, citric acid is made naturally by citrus fruits. It’s what gives them their tart, sour taste.
I find that both the cake batter and frosting have that wonderfully bright, citrus flavor when I use an orange emulsion.
Cake Flour vs. All-Purpose Flour
Now, some of you might be asking, why self-rising cake flour?? Your recipes usually use all-purpose flour!
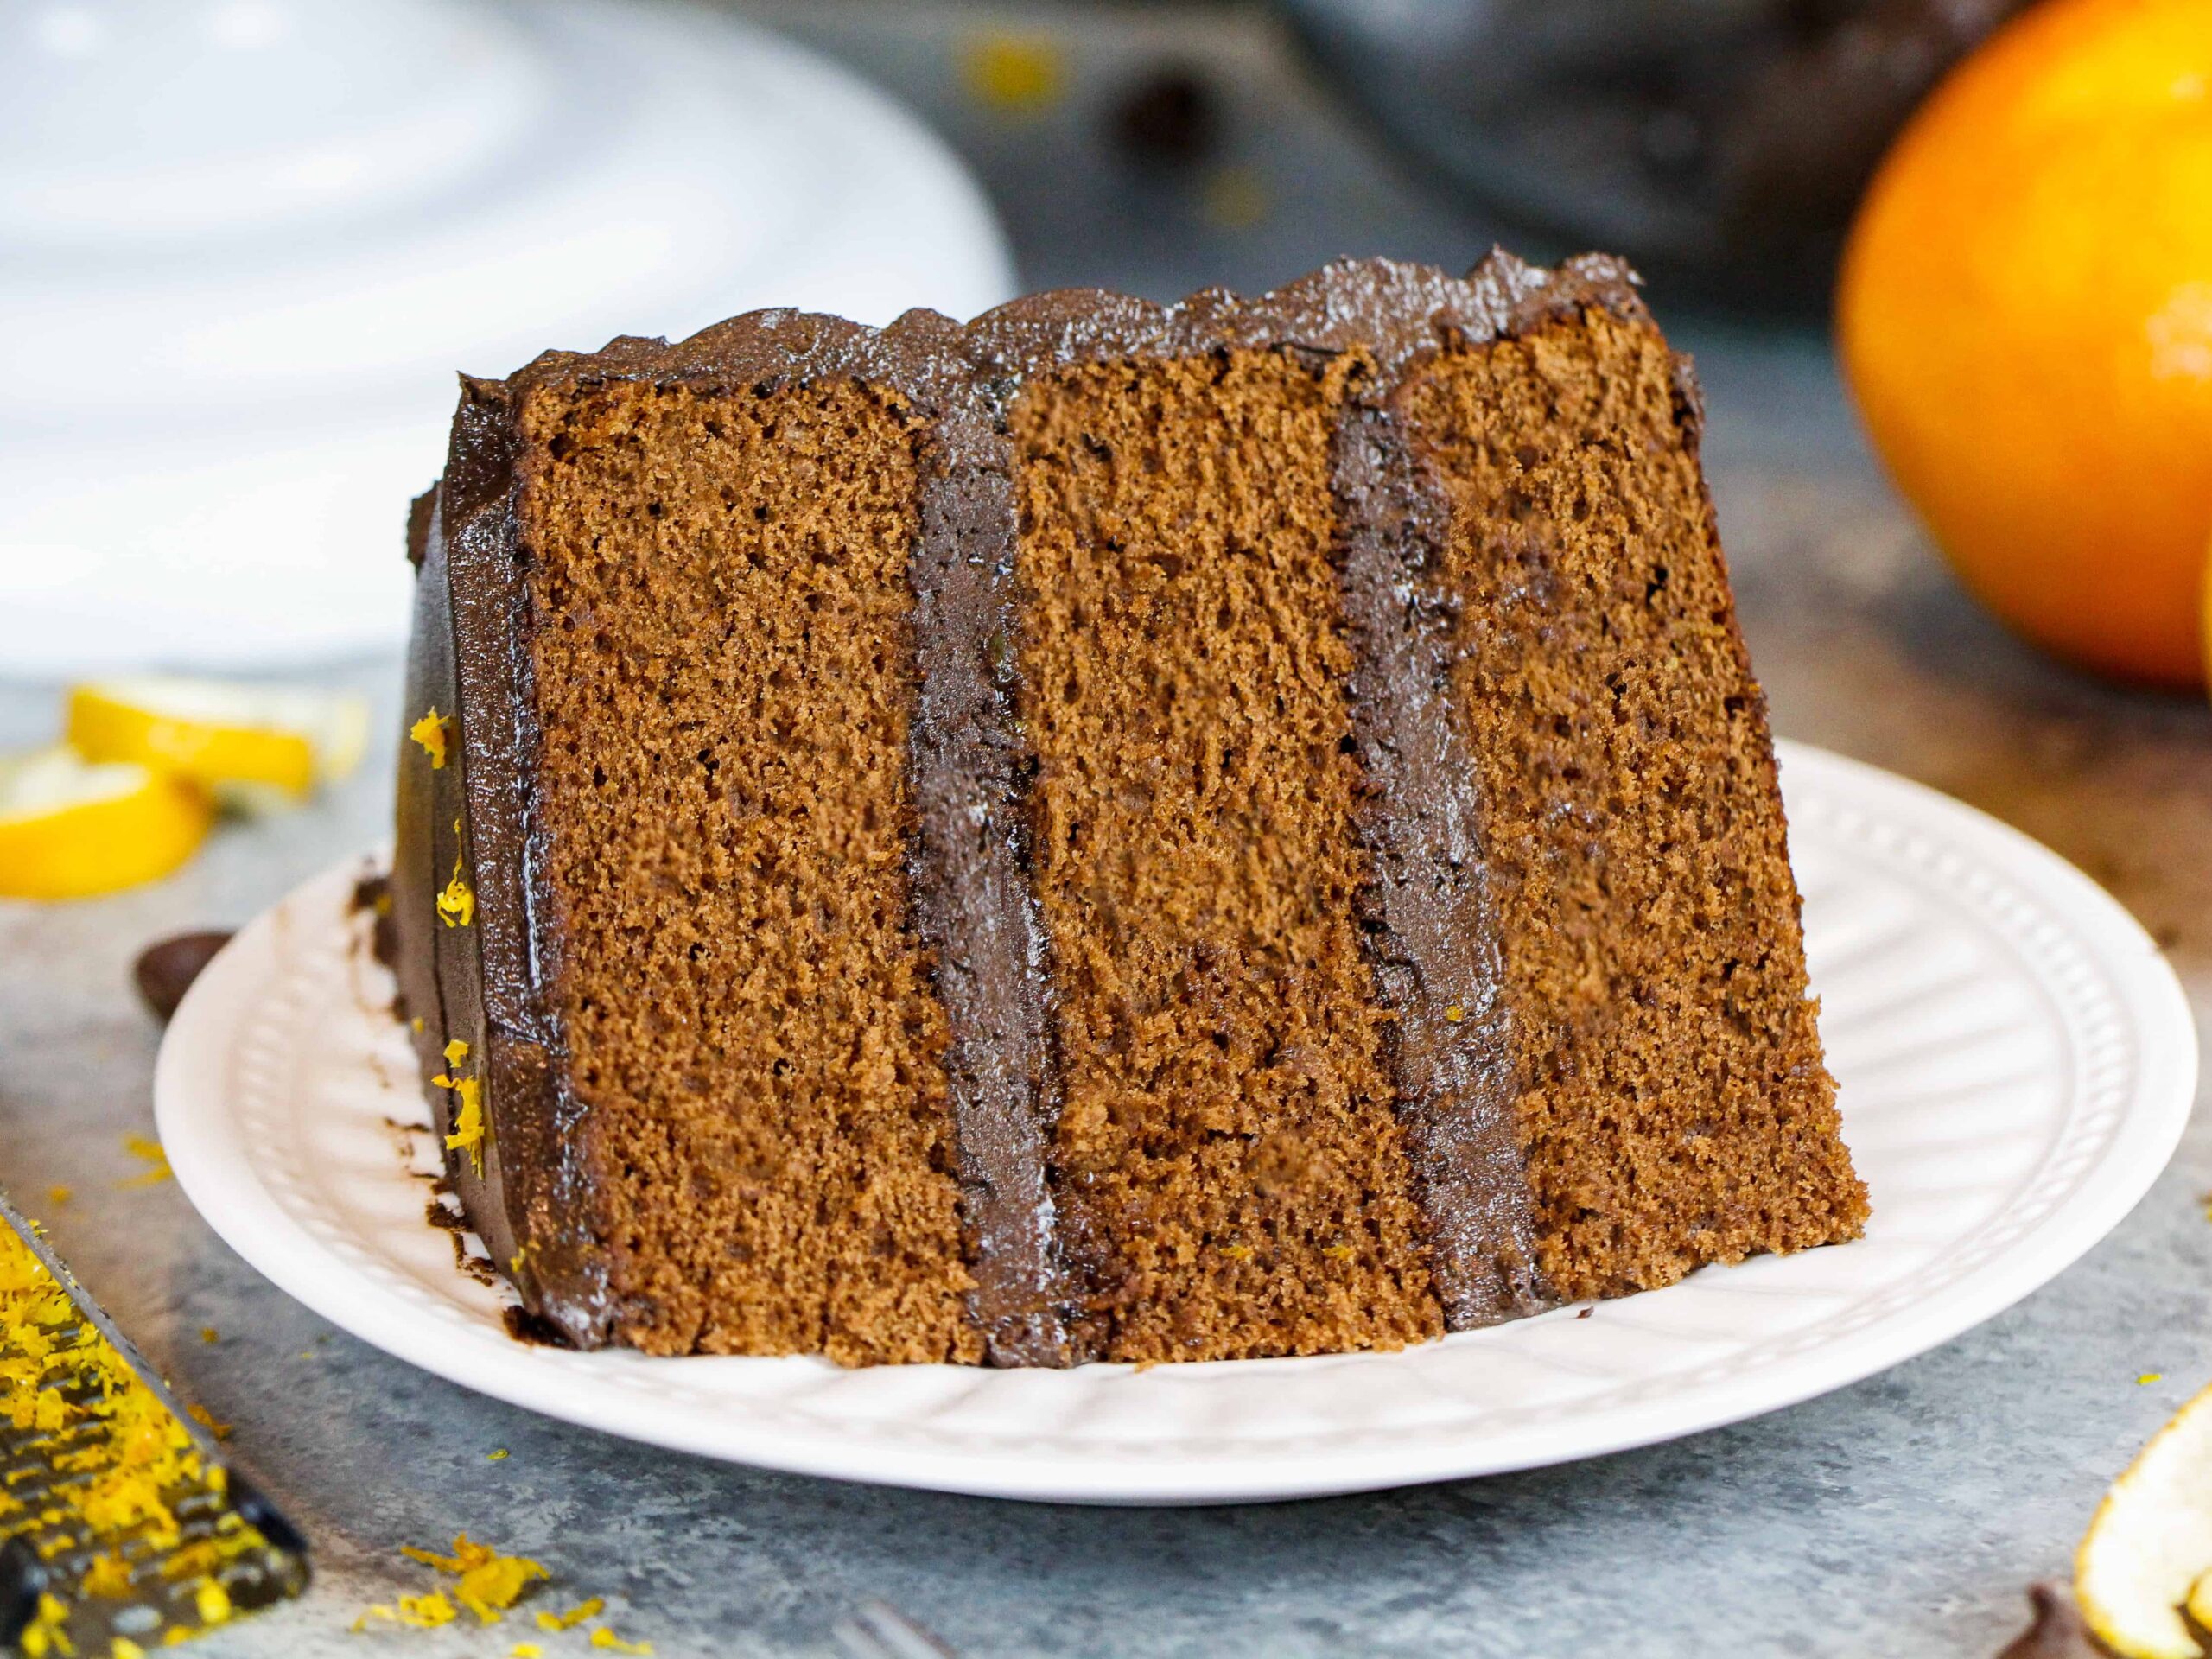
Cake flour makes baked goods that are fluffier and lighter, like angel food cake. They also give baked goods a finer crumb.
And that’s exactly what I was after with this cake. The chocolate orange frosting is pretty rich, and these light-as-air cake layers balance out the textures and flavors in this cake.
Why Self-Rising Cake Flour is Your Best Friend
Now onto the self-rising part. Self-rising cake flour is pre-mixed, so salt and baking powder are already perfectly incorporated into the cake flour.
I love this because it helps you skip three steps.
Rather than getting out the ingredients, placing them in a separate bowl, and whisking them together, you just use 3 cups of your self-rising cake flour. Viola!
Surprisingly, my neighborhood grocery store ONLY carries the self-rising type of cake flour. If you forgot to grab some at the store or can’t find any, don’t worry.
I guide you through how to make your own self-rising cake flour below!
How To Make Your Own Self-Rising Cake Flour
For every cup of self-rising flour that this recipe calls for, measure out 1 cup of cake flour, then add 1/4 teaspoon salt and 1 1/4 teaspoons baking powder.
Or if you are more of a metrics person, here’s the same formula in grams.
You can swap 100 grams of self-rising flour with 100 grams of cake flour, plus 5 1/2 grams of baking powder and 1 gram of salt.
Substitutions and Swaps – Chocolate Orange Cake
This chocolate orange cake recipe uses quite a few ingredients, and I know you might not have them all on hand. Or if you have food allergies or restrictions, I’ve got you covered.
Below are some swaps and substitutions that you can make:
- Self-Rising Cake Flour – To make your own self-rising cake flour, measure out 3 cups of cake flour, then add 3/4 teaspoon salt and 1 Tbsp baking powder.
- Granulated Sugar – I do not recommend reducing the amount of sugar or changing the type of sugar, as it will change the texture of the cake layers.
- Eggs – If you have an egg allergy, you can use 4 flaxseed eggs or 1 cup of unsweetened applesauce + 1 extra Tbsp baking powder
- Unsalted Butter – If you only have salted butter, you can use it in place of the unsalted butter. You can also use vegan butter in its place!
- Orange Juice – If you don’t have orange juice, you can use warm water instead.
- Buttermilk – You can also use full-fat yogurt, sour cream, whole milk, or an alternative yogurt or milk (almond, soy, oat) if you’re dairy-free.
- Orange Emulsion – If you can’t get a hold of orange emulsion, you can use orange extract or vanilla extract in its place. The orange flavor won’t be quite as strong, but it’ll still taste great.
Substitutions and Swaps – Orange Chocolate Frosting
- Unsalted Butter – If you only have salted butter, you can use it in place of the unsalted butter. You can also use vegan butter in its place!
- Heavy Cream – Whole milk or alternative milk (soy, almond, oat) will work fine in this frosting recipe if that’s what you have on hand.
- Orange Emulsion – If you can’t get a hold of orange emulsion, you can use orange extract or vanilla extract in its place. The orange flavor won’t be quite as strong, but it’ll still taste great.
- Cocoa Powder – If you’re out of cocoa powder, you can use additional powdered sugar in its place.
- Dark Chocolate – you can use milk, dark, or semi-sweet chocolate to make this chocolate frosting! Just be sure it’s a good quality chocolate, so it will melt smoothly.
Tips for Making the Best Orange Chocolate Cake:
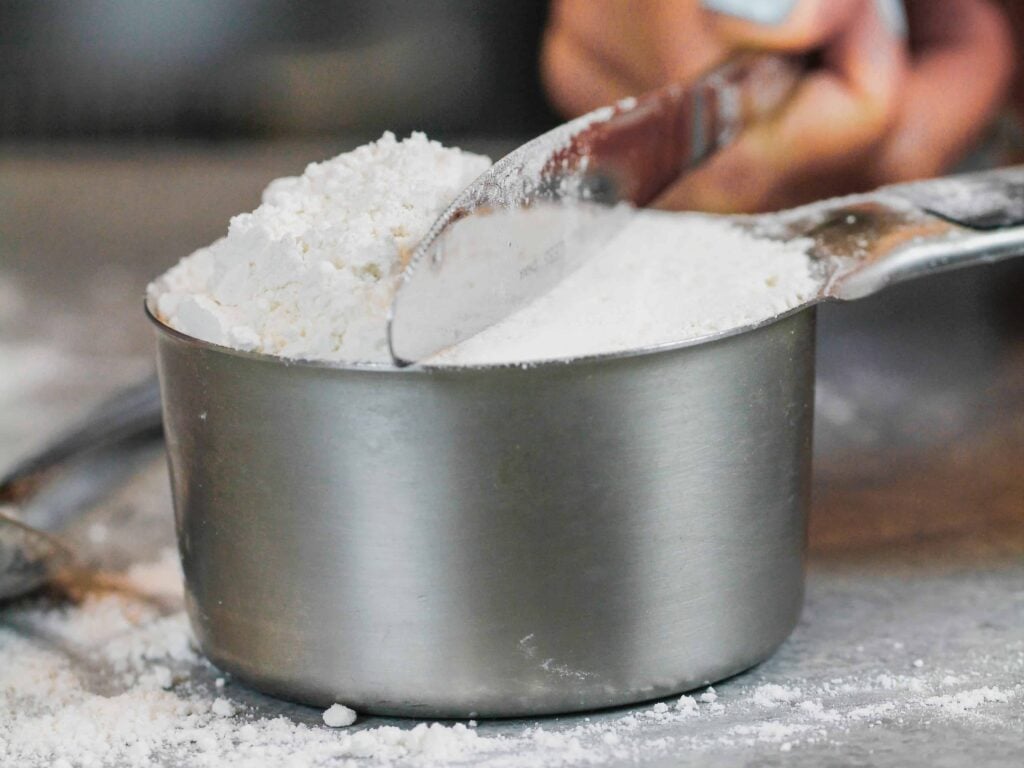
- Properly measure your flour! Either spoon it into the cup measure, then level with a knife or use a kitchen scale.
- Make sure your ingredients are at room temperature to help them mix together better.
- Don’t level your cake layers until they are completely cooled.
- Use an orange emulsion to really pack this cake with citrus flavor!
- Spread a layer of orange marmalade on top of each cake layer before adding the frosting. It makes the cake layers even more moist!
- This recipe can also be used to make four, 6″ cake layers. They will need slightly longer to bake, and I recommend baking them at 325°F for 33-36 minutes.
- One batch of batter can also be used to make one 9×13-inch orange chocolate sheet cake. Bake it at 325°F for 40-50 minutes.
- Make this orange chocolate cake vegan or dairy-free! Use your favorite type of dairy-free milk to replace the buttermilk and heavy cream, vegan butter sticks in place of the butter, and flaxseed eggs.
Making These Cake Layers in Advance and Storage Tips:
Make your cake layers in advance and freeze them. It breaks the process up and makes it more approachable.
Make your frosting ahead of time, too, or save any leftover frosting! It can be stored in an airtight container in the fridge for up to a month, or in the freezer for up to 3 months. Be sure to give it a good stir once it thaws to get the consistency nice and smooth again.
A frosted cake can last in the fridge for up to a week, or in the freezer for up to a month. The ganache locks in all the moisture, keeping the cake fresh and delicious!
If you cut into the cake and have leftovers, use any remaining ganache to cover the cut section to keep it moist and store in the fridge for up to a week.
Let Me Know What You Think
If you try this chocolate orange cake recipe, please tag me @chelsweets and use #chelsweets so I can see your beautiful creations!!
And don’t forget to leave a comment and rating below.
Chocolate Orange Cake
Ingredients
Orange Chocolate Cake
- 1 cup unsalted butter, room temperature 226g
- 2 1/2 cups granulated sugar 500g
- 4 large eggs, room temperature 224g
- 1 cup orange juice 240g
- 1 cup buttermilk, room temperature 240g
- 1 cup baking cocoa 100g
- 2 Tbsp fresh orange zest – about 1 large orange 8g
- 2 tsp orange emulsion or orange extract 10g
- 3 cups self-rising cake flour 360g – see note above on how to make your own if you don’t have this on hand
Chocolate Orange Buttercream Frosting
- 1 1/2 cups unsalted butter, room temperature 339g
- 1 tsp orange emulsion or orange extract 5g
- 2 Tbsp fresh orange zest – about 1 large orange 18g
- 1/2 tsp fine salt 3g
- 3 cup powdered sugar 375g
- 1 cup dark or Dutch-processed cocoa powder 100g
- 1/2 cup heavy whipping cream, room temperature 115g
- 2 cups melted milk or dark chocolate, cooled 330g
Optional Filling & Garnish
- 1/2 cup orange marmalade 160g
- Chocolate ganache drip
- Candied orange slices
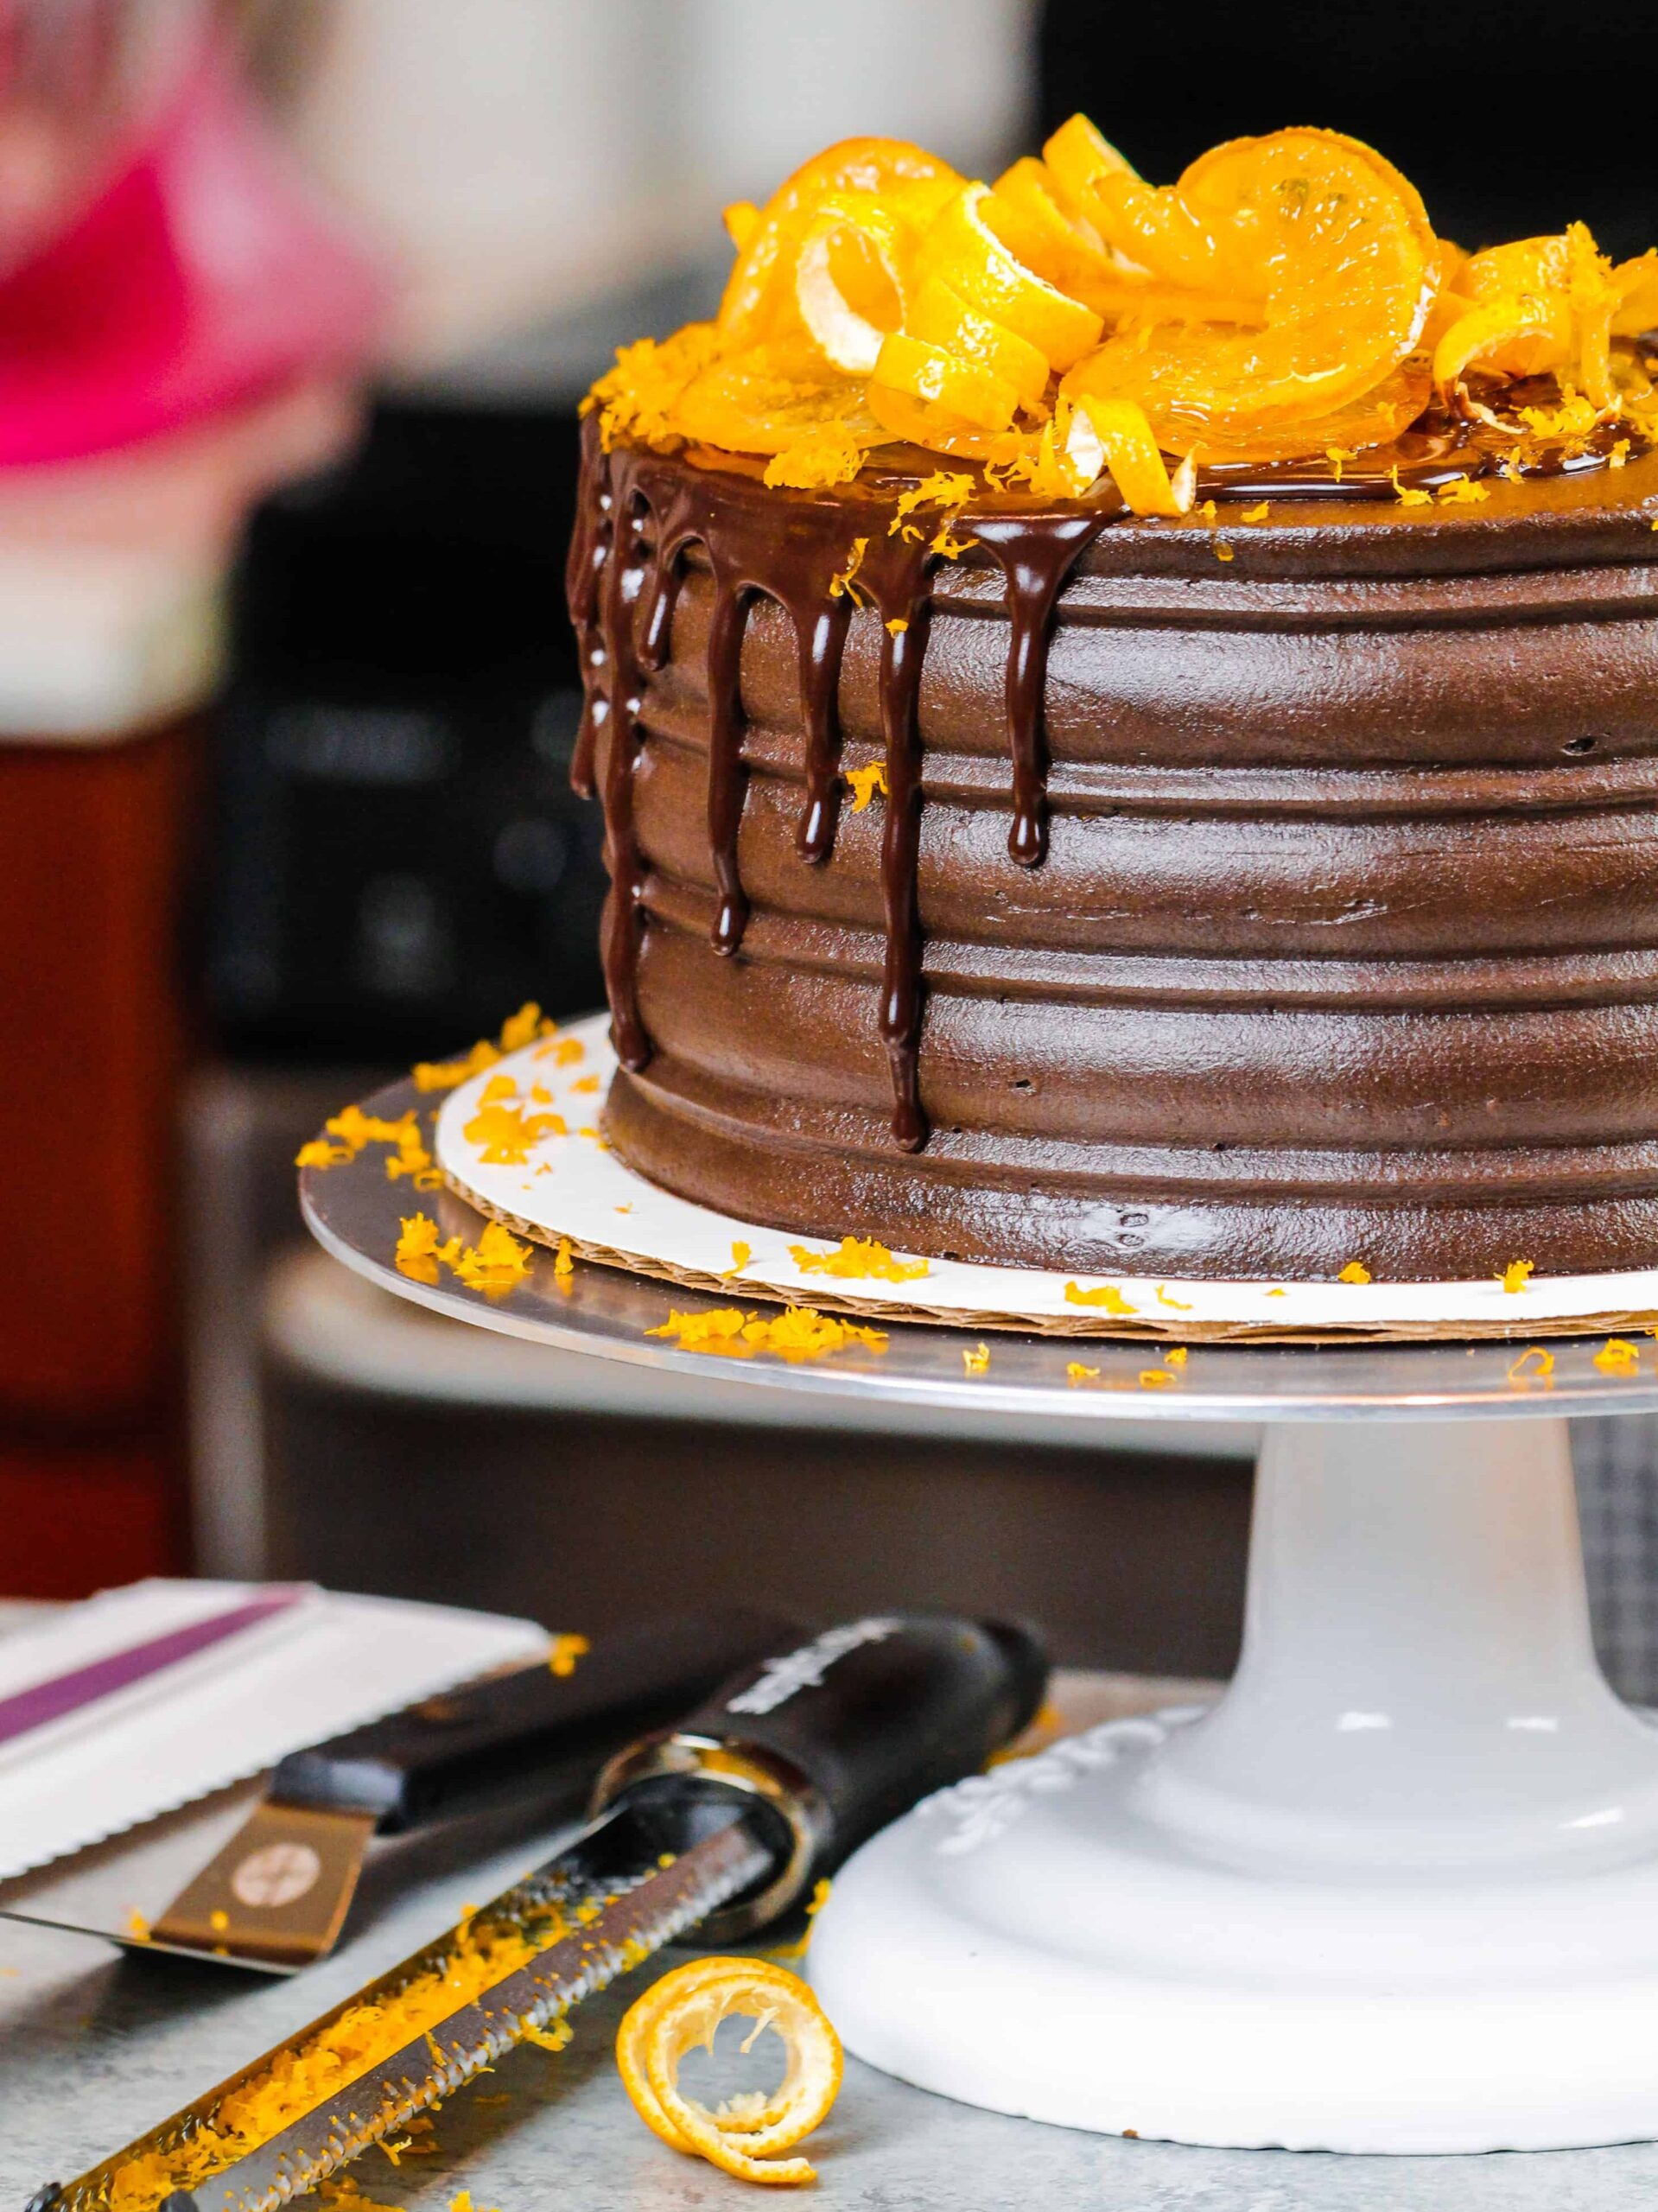
- Orange peel spirals
- Orange Zest
Instructions
Chocolate Orange Cake Layers
- Begin by preheating the oven to 325 F / 165 C. Line three 8-inch pans with parchment rounds and spray with non-stick baking spray. Set aside.
- Add 1 cup unsalted butter and 2 1/2 cups of sugar into the bowl of a stand mixer and mix on high for 1 minute with a whisk attachment or a hand mixer. The mixture should become light in color.
- Mix in 4 large eggs, two at a time. Mix on medium high until they're fully incorporated.
- In a separate bowl, combine the 1 cup orange juice, 1 cup of buttermilk, 1 cup of black cocoa, 2 Tbsp of fresh orange zest, and 2 tsp orange emulsion or extract. Whisk until no clumps remain.
- Next, mix 1 cup of self-rising cake flour into the butter/egg mixture on a low speed. Scrape the sides of the bowl with a rubber spatula to make sure the flour gets fully mixed in.
- Pour in half of the orange juice/cocoa mixture and gently pulse the mixture at first to incorporate the liquid (if you don't, you'll end up splattering the cocoa mixture all over your kitchen!). Then mix on low until incorporated.
- Repeat with another cup of cake flour followed by the remaining orange juice/cocoa mixture, scraping the sides of the bowl as needed.
- Add in the 3rd cup of self-rising cake flour and mix on low until the flour is just incorporated. Scrape the sides as needed. You want to be careful not to over-mix the batter or else you'll end up with dense cake layers!
- Pour the batter evenly between the prepared cake pans. I like to use a kitchen scale to ensure each pan has exactly the same amount of batter.
- Bake for 32-35 minutes, or until a toothpick comes out clean.
- Allow the layers to cool in the pans for about 10 minutes, then run an offset spatula around the edge of the pans to help separate the layers from the pans.
- Once the layers are fully cooled, carefully flip the pans and remove the layers from the pans.
- Use a serrated knife to level the tops of the layers, then set aside.
Chocolate Orange Buttercream Frosting
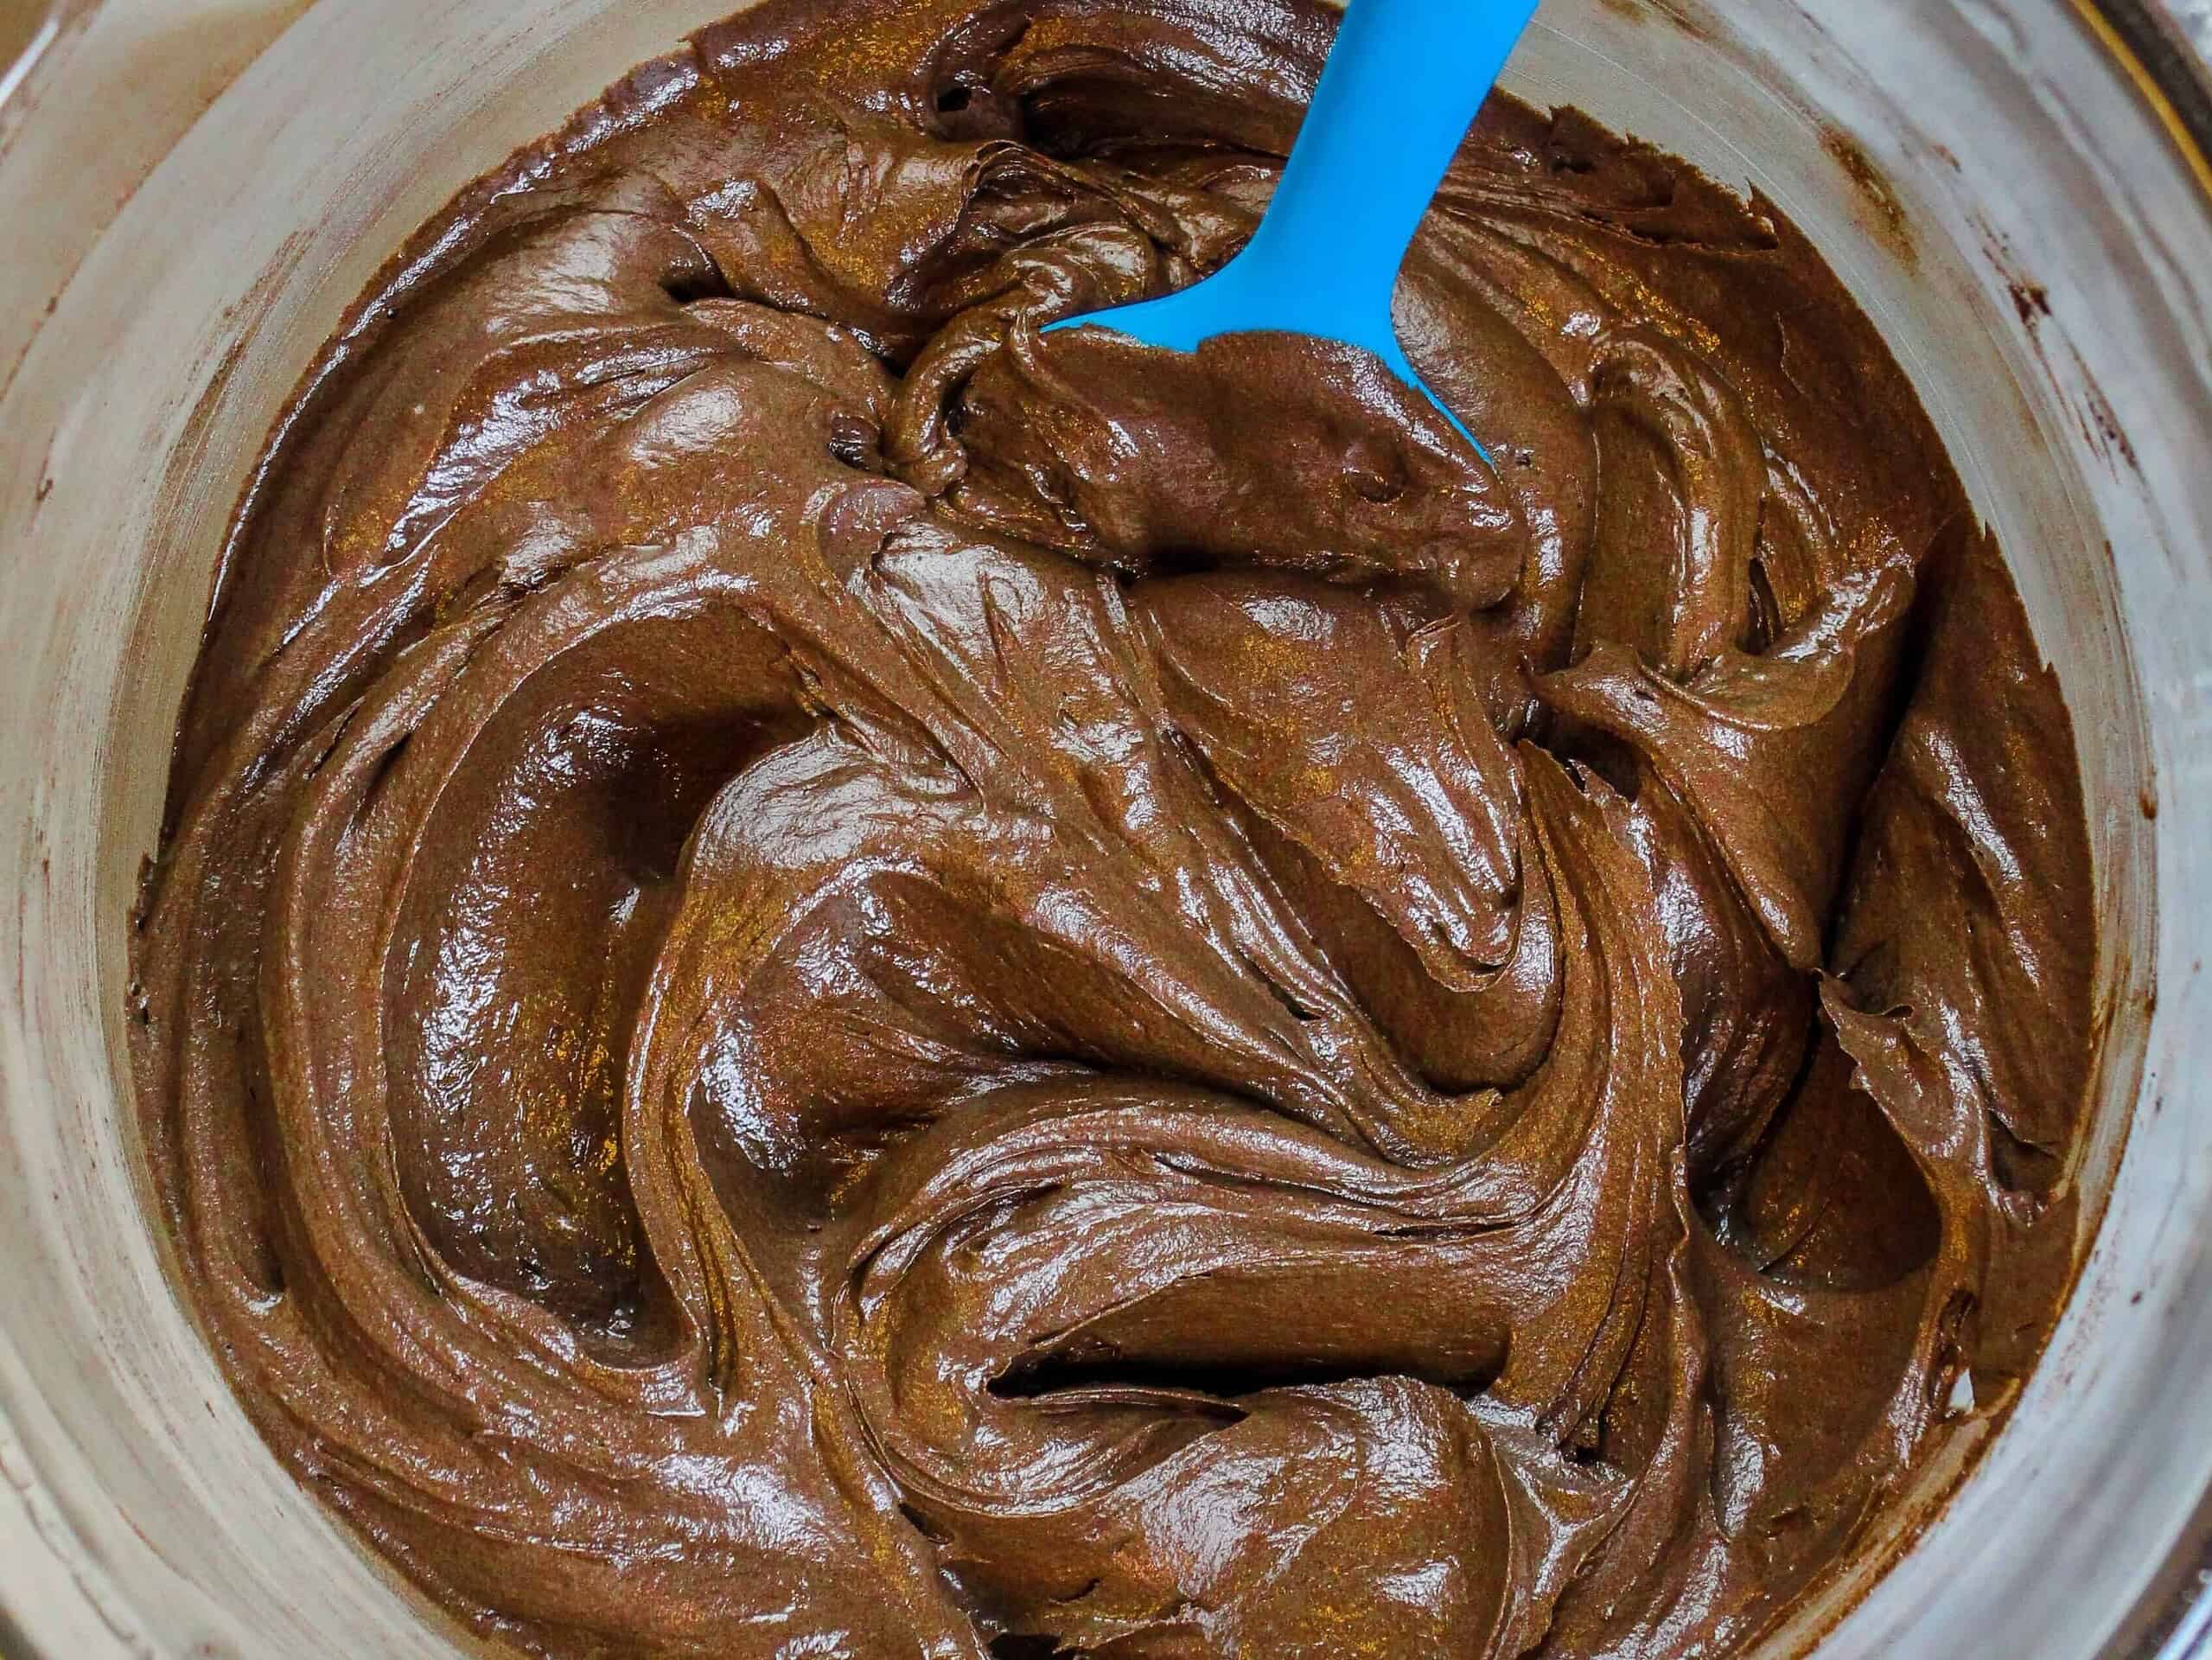
- While the cake layers bake and cool, make the chocolate orange buttercream frosting.
- Beat 1 1/2 cups of unsalted butter on a medium speed for 30 seconds with a paddle or whisk attachment until smooth.
- Mix in 1 tsp orange emulsion or extract, 2 Tbsp fresh orange zest and 1/2 tsp salt on a low speed.
- Gradually add in 3 cups of powdered sugar on a low speed.
- Scrape the sides and bottom of the bowl as needed with a rubber spatula.
- Add 1/2 cup of heavy cream half through adding in the powdered sugar to make it easier to mix.
- Mix in 1 cup dark cocoa powder on a low speed.
- Pour in 2 cups of cooled, melted chocolate.
- Beat on low until the ingredients are fully incorporated and the desired consistency is reached.
- If the frosting is too thick, add an extra Tbsp of heavy cream. If it's too thin, add in another 1/4 cup of powdered sugar. Repeat until the frosting is the right consistency.
- Stir by hand with a rubber spatula to get the frosting SUPER smooth. Cover with plastic wrap and set aside.
Assembling This Orange Chocolate Cake:
- If possible, chill your cake layers in the freezer for 20 minutes before assembling the cake. It makes them cold to the touch, which minimizes crumbing and makes them so much easier to frost and stack them.
- Spread about 1 Tbsp of orange chocolate frosting onto a greaseproof cake board or plate, then place your first cake layer on top of frosting smear. This helps the layer stay in place as you assemble the cake.
- Spread 1/4 cup of orange marmalade directly onto the cake layer, being careful not to pull up too many crumbs.
- Spread an even layer of orange chocolate frosting on top of marmalade with a large offset spatula.
- Repeat with the remaining cake layers, being sure to flip the top cake layer upside down (cut side down). This makes it easier to get sharp edges on your cake!
- Cover the cake in a thin coat of chocolate orange frosting. Smooth using a bench scraper, then chill the cake in the fridge (10 minutes) or freezer (5 minutes) until the frosting is firm to the touch.
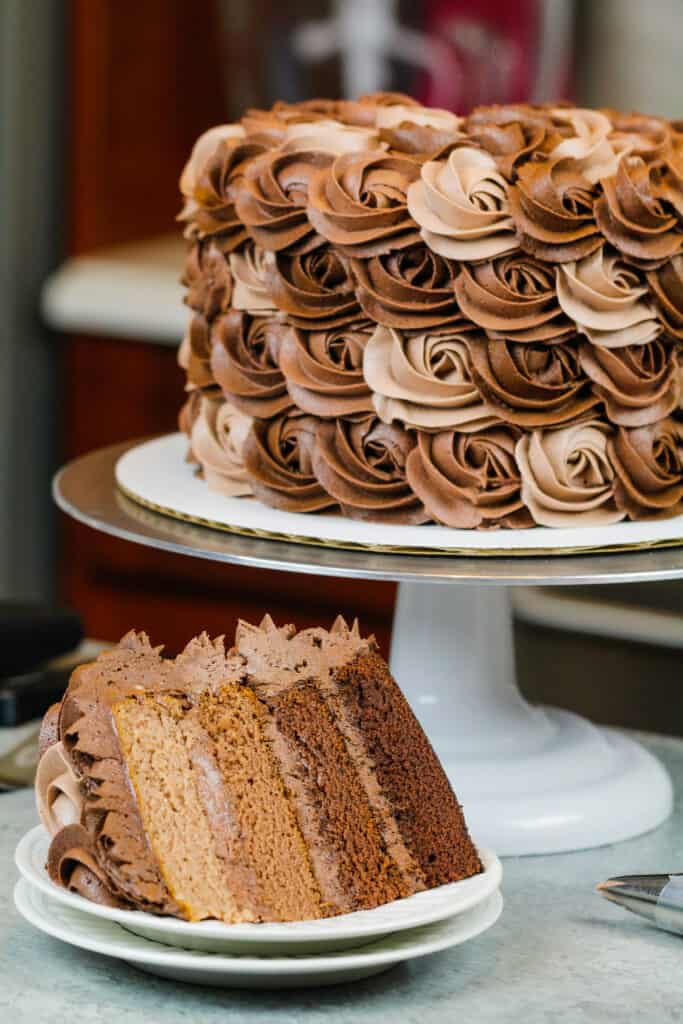
- Add a second, thicker layer of orange chocolate frosting to the cake, and smooth using a bench scraper or icing comb. I chose to use an icing comb to give the sides of the cake a bit of texture.
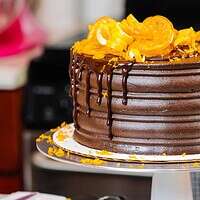
- Decorate as desired! I chose to add a partial chocolate ganache drip, and used some candied orange slices, orange spirals, and orange zest to decorate the top of the cake.
Video
Notes
Nutrition
Other Recipes You Might Like:
This looks absolutely amazing … reminds me of a visit to France! I can’t wait for the perfect occasion to make this beautiiful cake (with the candied orange peels and marmalade, of course). Thank you, Chelsweets.com!
I’m excited to try this because I think the flavors would pair well, I did have a question about if orange blossom water would work in place of the orange emulsion?
Curious why you went with regular baking cocoa in place of your usual black cocoa! Looks divine. ?
what happens if I leave out the coco powder and dont want it chocolate. can this recipe be the base of just a orange cake? should I add more flour if I remove the coco powder?
Just put the cake in the oven and I am looking through the ingredients to make the buttercream. Can 1cup cocoa and two cups of melter chocolate be correct? Please respond. Curious in Colorado
@Lynn, yes! It worked just fine for me.
@Amy Renee Denton,
Is this the response about leaving out the coca powder, adding additional cake flour? I want a moist orange cake recipe, so I can alternate my layers, chocolate cake, orange cake, chocolate, orange. Any help would be appreciated.
Amazing cake. Made it yest and everyone loved it. The frosting is soooo good?
Is there any way to use a box cake mix to make this?
I didn’t like the tangy flavour, but that is my opinion
It won’t work
Great cake!! I didn’t have orange extract or emulsion so I just used vanilla extract and I thought it had the perfect balance. My husband thinks this is the best cake.
Would you rather buy Cake Flour and mix in the salt, etc or buy Self Rising flour? My store has either or – confused which one to get. Help!
@jo, I bought cake flour and turned it into self rising.
What can I use instead of eggs..
What kind of orange juice… freshly squeezed from the oranges used for their zest or actual orange juice like Tropicana?
Choc/Orange doesn’t sound strange at all. It’s a match made in heaven. I’m from Australia and we have a ‘lollie’ called a Jaffa. Which is a chocolate ball inside a shell of orange. It’s made by Pascal/Cadbury, so I think you have it in America, too. We used to have an ice cream company than made a creamy icy pole called a Jupiter and that wasn chocolate and orange, too.
I made this cake today by following your recipe. It turned out to be good. However, at a first sight of the recipe, I found that the quantity of sugar was a bit too much. So I took the amount of sugar as much as the flour. And I am glad I did that. I wish I had reduced sugar in icing as well.
I made this last night in jet black and assembled it today. I shared my outcome in your Facebook group. It may just be my favorite cake ever!
Would love to make a “sugar-free” version of this. Any tips?
is the cocoa Dutch cocoa,?
bought special dark process
Duncan Hines has an orange cake mix. I would try that!
Can dutch processed cocoa be used in place of regular cocoa?
Hi Sharon,
It can in this recipe! Hope that helps, happy baking!