I’m sure you knew when I shared my salted caramel buttercream recipe a couple weeks ago, it was only a matter of time before I shared a caramel drip cake!
I always have leftover caramel when I make a batch, and decided adding a caramel drip to this cake would be a great way to decorate it.
My wedding is only a couple weeks away, so I wanted to keep this cake design simple! No sculpting, challenging shapes, or finicky recipes for me right now.
I wanted to make a simple, delicious, and stress-free cake that looks just as good as it tastes.
In the end, I think I achieved just that with this recipe 🙂
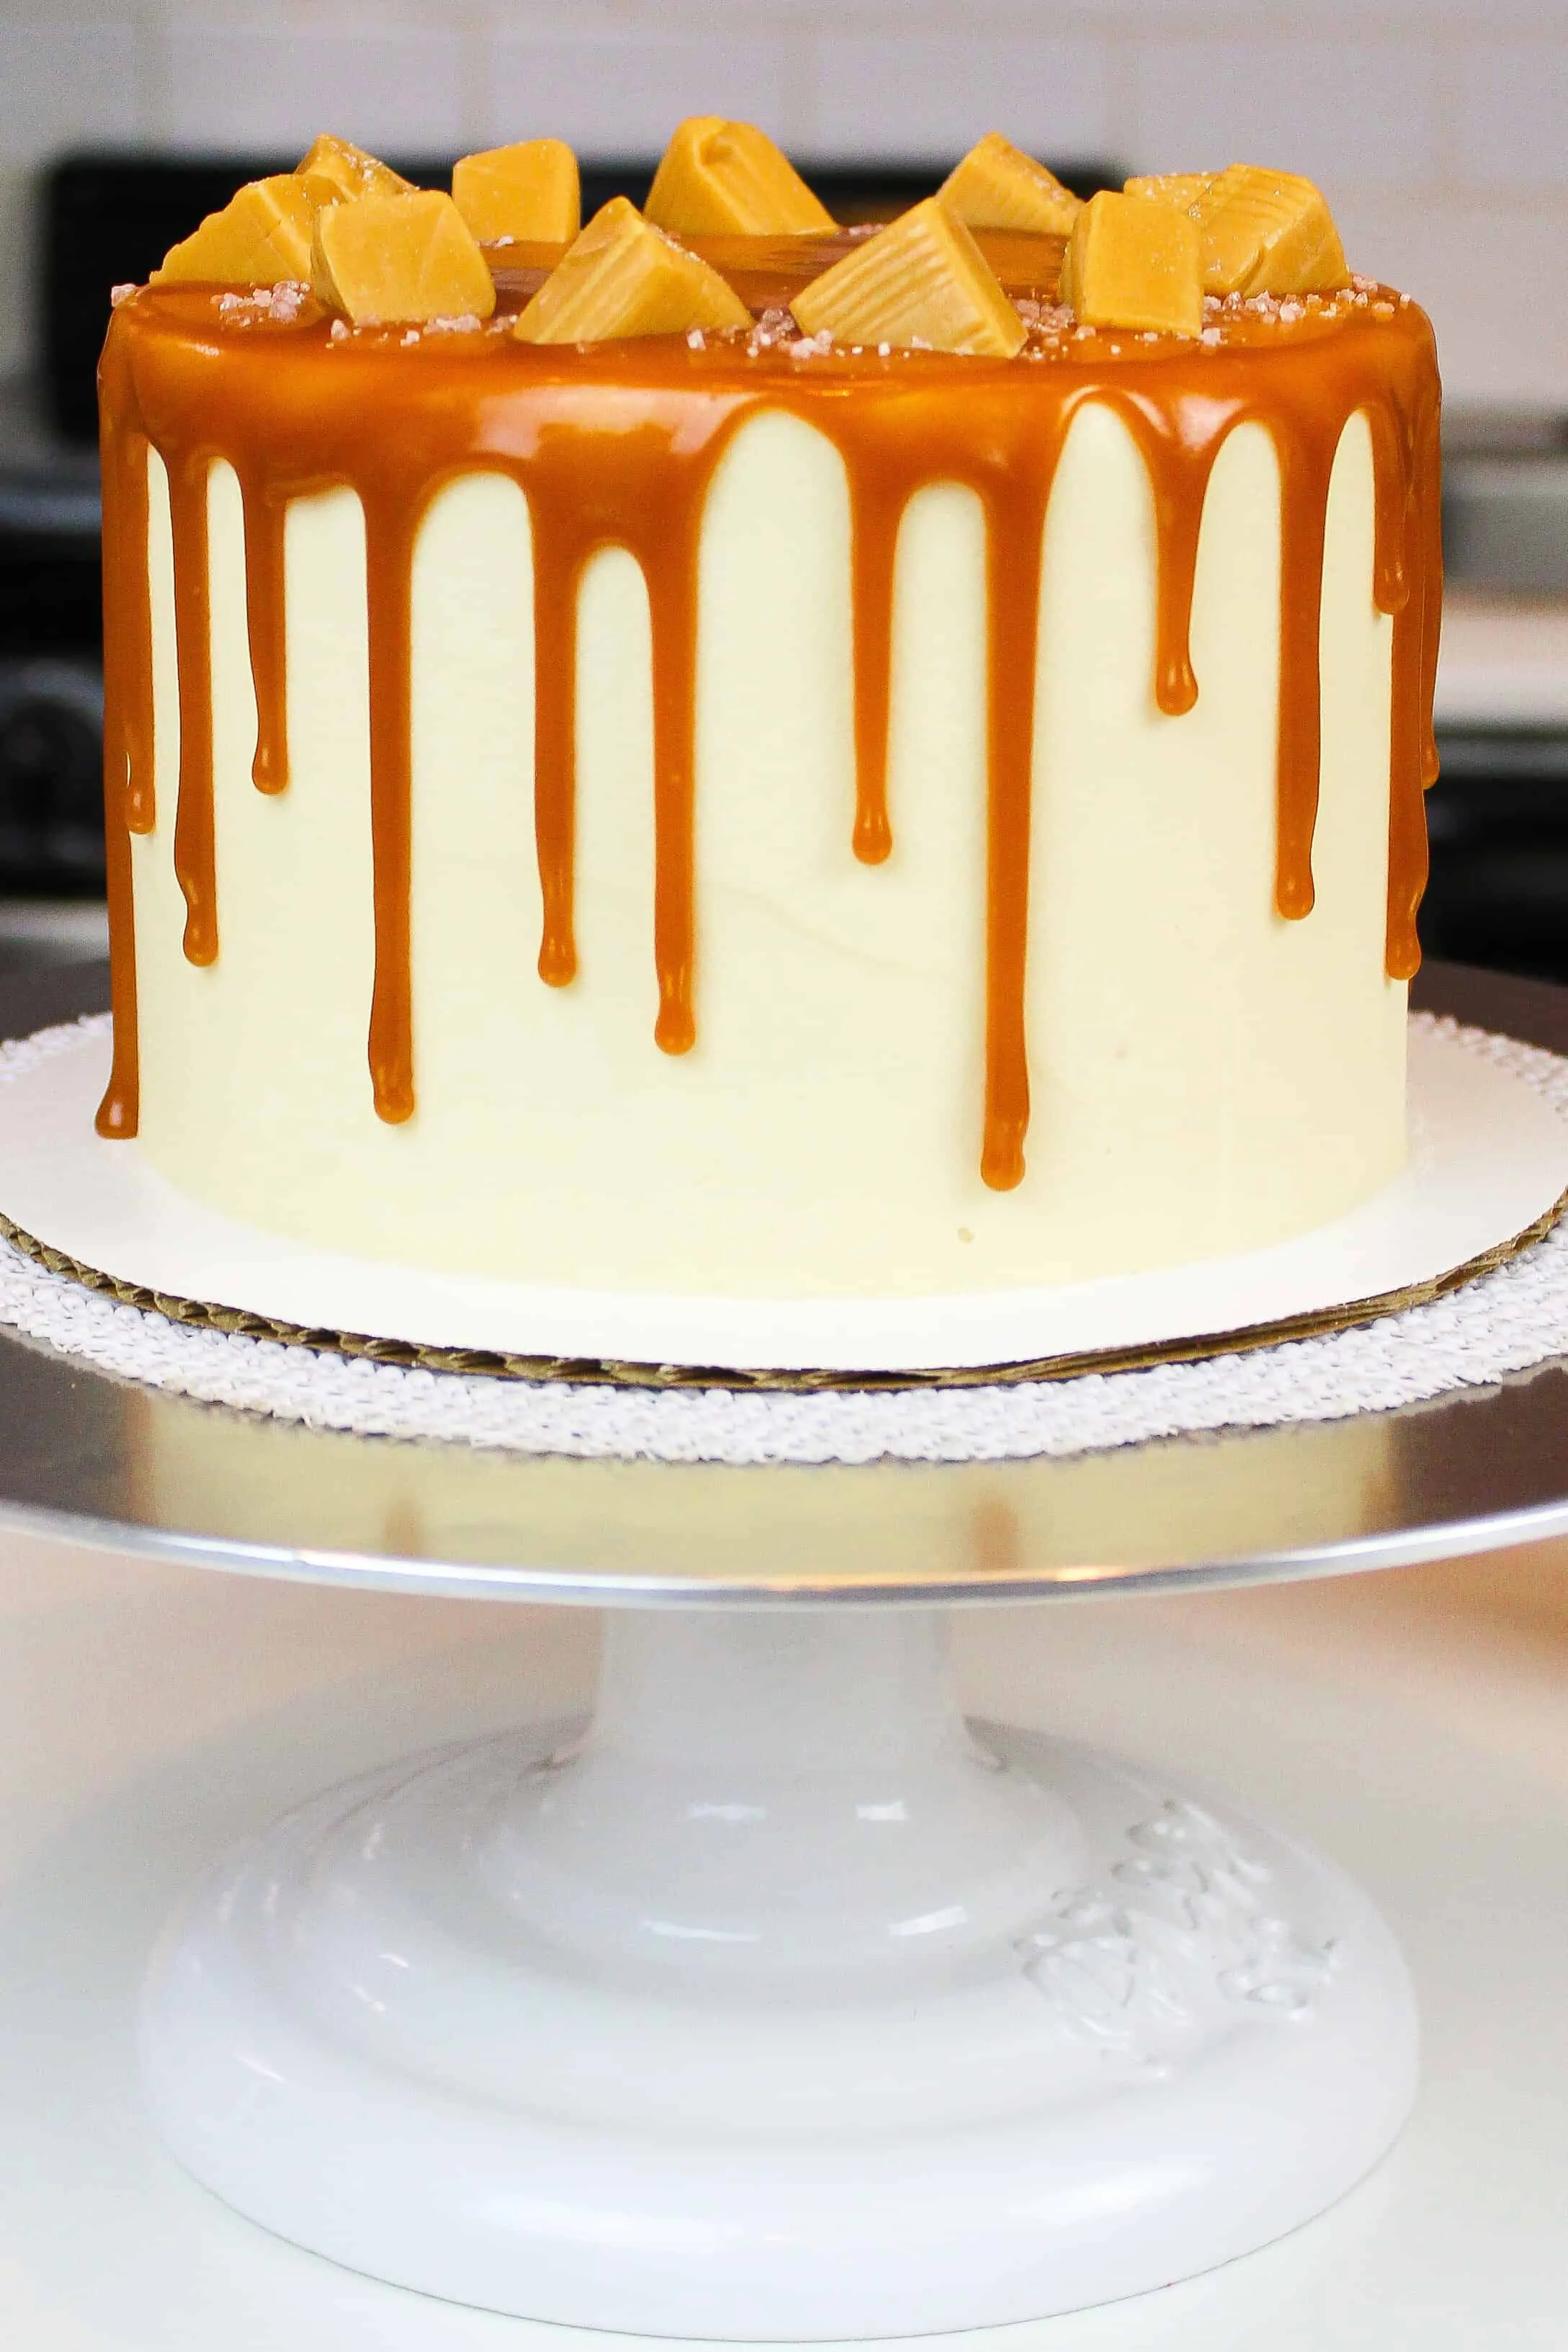
The Secret Ingredient: Homemade Caramel
The caramel sauce in the recipe is used in pretty much every element of the cake. It’s in the frosting, swirled between the cake layers, and of course, dripped all around the cake.
I know that making caramel sauce from scratch can seem intimidating if you’ve never tried it before. When I was a kid, I remember seeing caramel made in giant copper kettles at the old-timey candy store.
I was convinced it was some complicated process that must require all kinds of special equipment. But the truth of the matter is, it doesn’t have to be complicated.
In fact, my caramel is made without a thermometer, with just four ingredients. A batch can be made in about 5 minutes. It doesn’t get much easier than that!
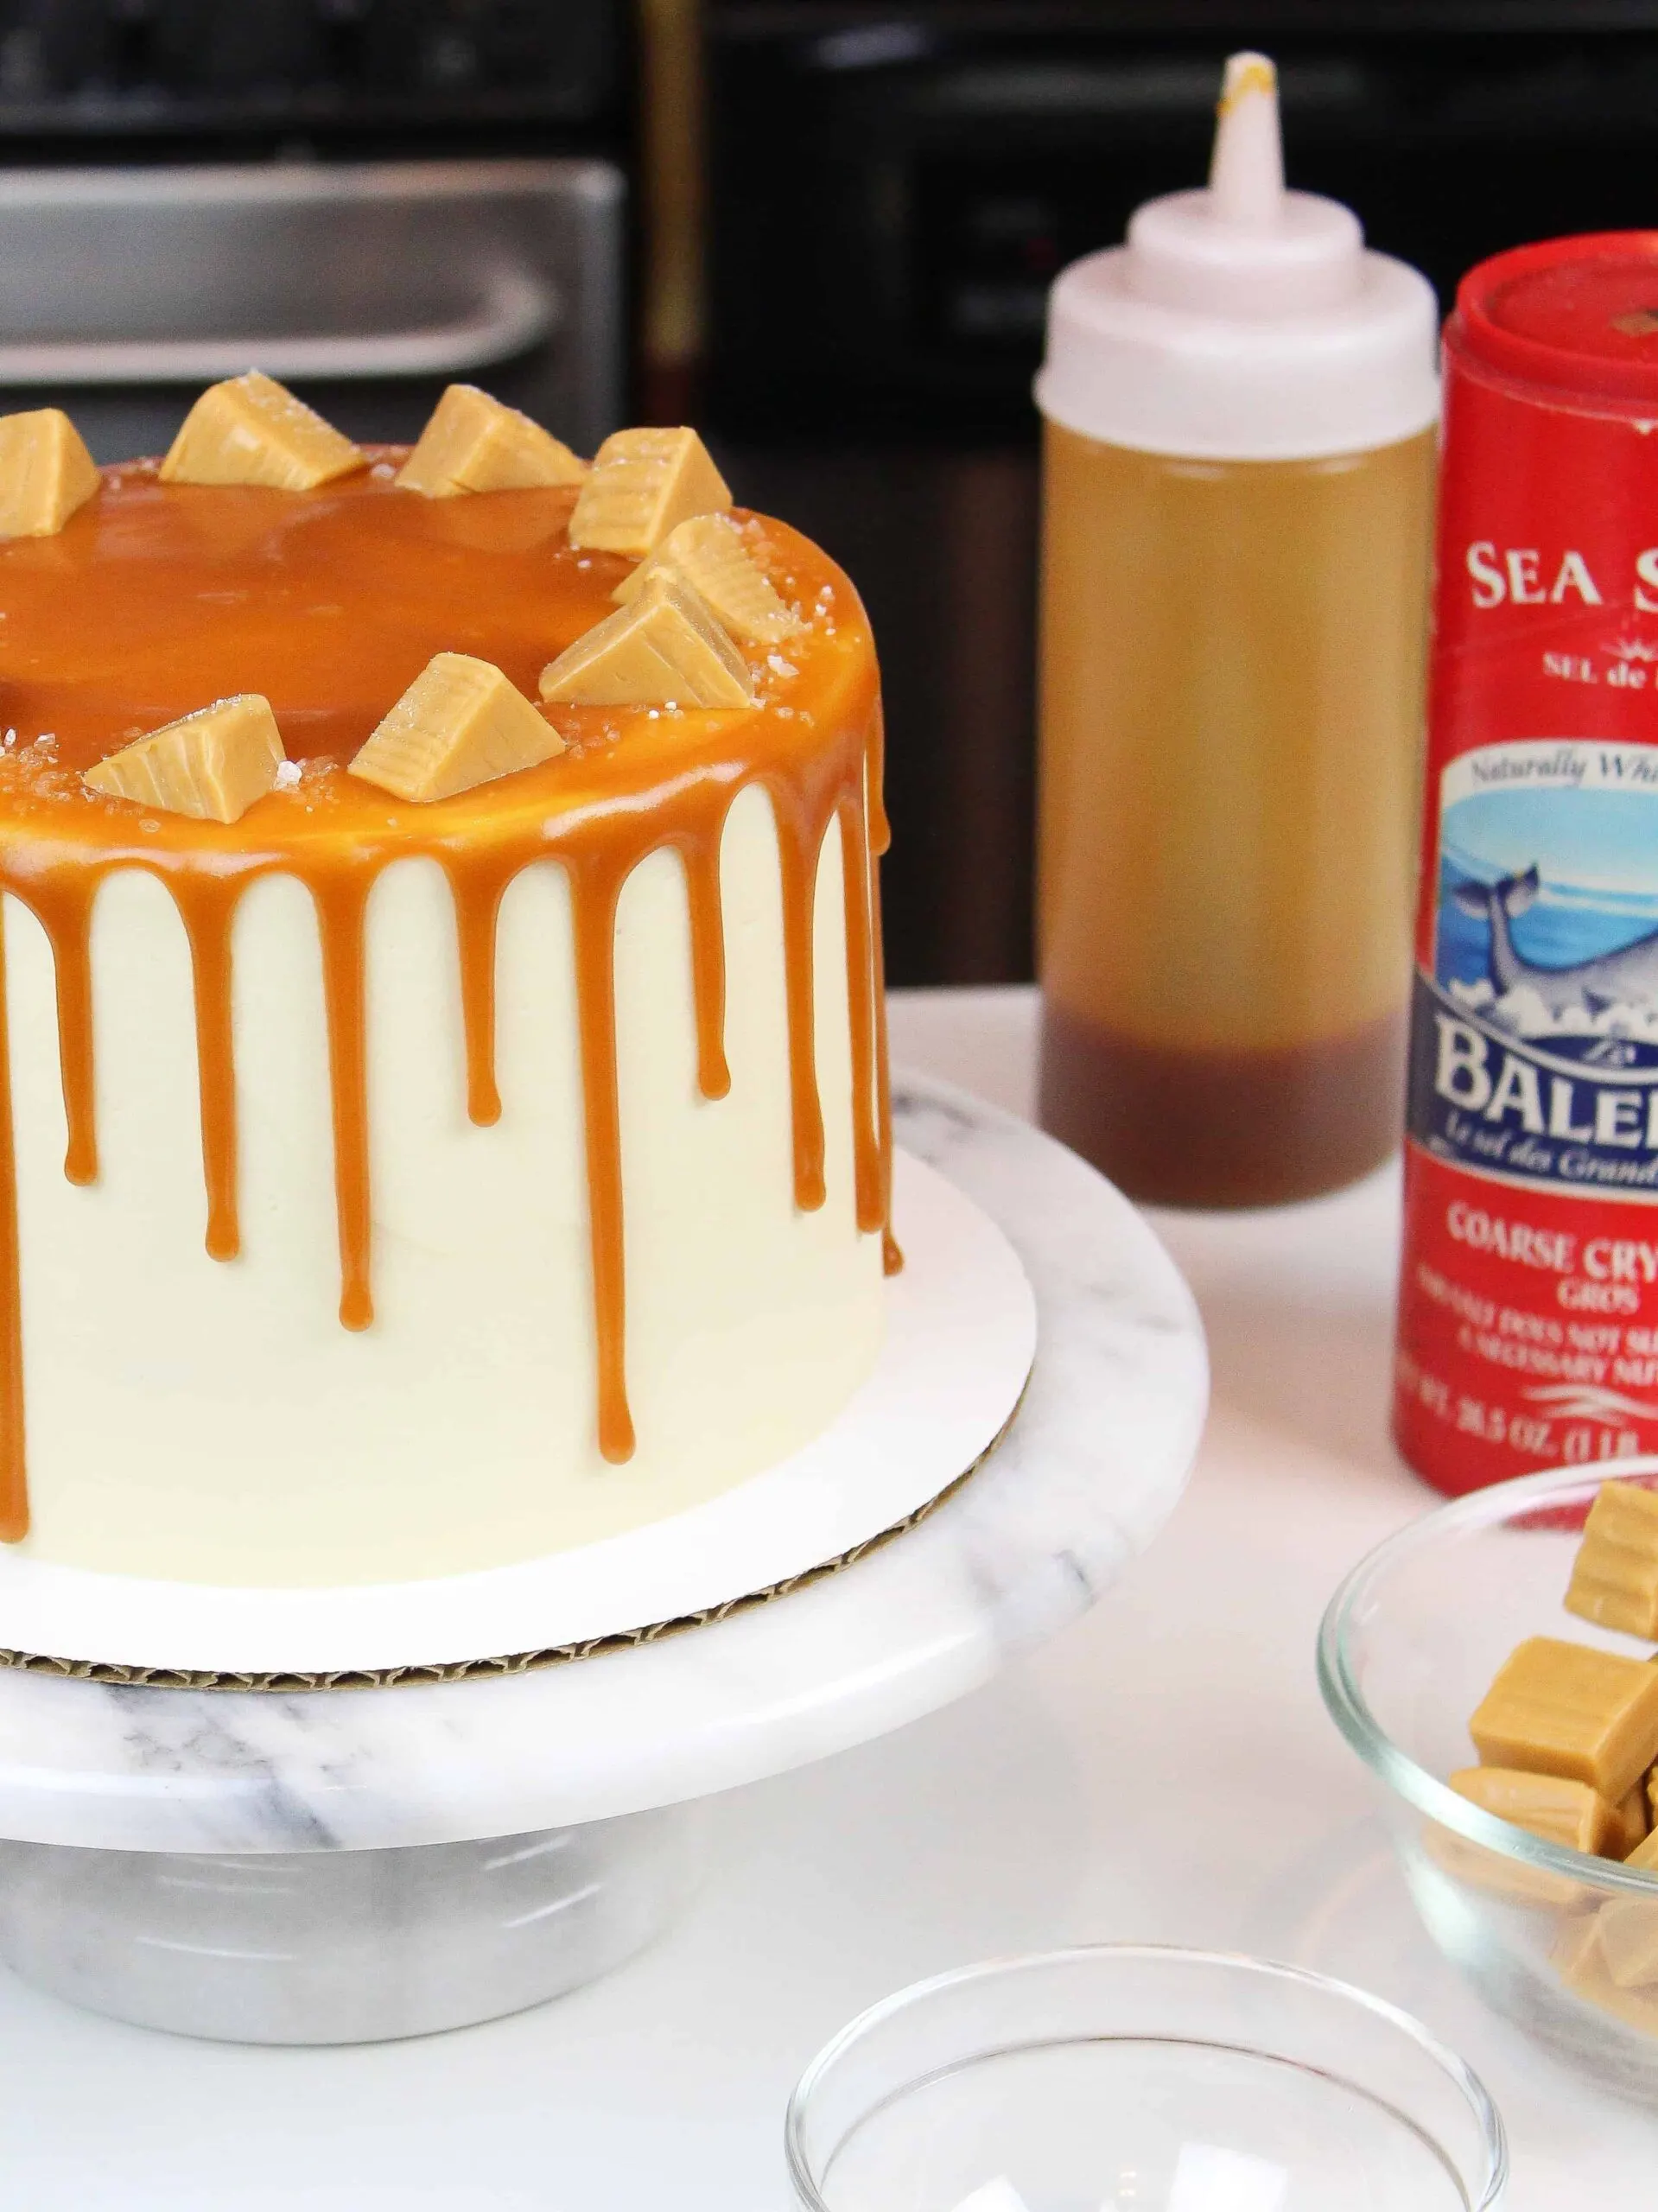
All you need is sugar, butter, heavy cream, and a bit of salt. The only part that is a little scary is melting down the sugar.
My biggest tip when doing this is to add the sugar gradually. I add about a quarter of a cup at a time.
This helps the granulated sugar liquify more quickly, and minimizes clumping. It makes a world of a difference.
However, I didn’t know to do that when I first started making caramel. I used to just dump it all in at once.
The caramel will still turn out if you add all the sugar at once, but it takes a lot longer to melt down.
Adding Drips To This Caramel Drip Cake
Drip cakes don’t have to be scary, but there are a few things to keep in mind to make sure you get that perfect drip look! The most common issues people run into when making drip cakes include:
- Runaway drips – drips that run all the way down the cake and right off the cake board
- Watery, thin drips, that looks more like streaks than drips
- Caramel that seems to melt the buttercream
- Short, stubby drips that resemble candle wax
Most of these problems are caused by adding the caramel to a cake when it isn’t the right temperature.
You can also have issues if the cake hasn’t been properly chilled. If you follow my tips below, I promise you can avoid all of these issues!!
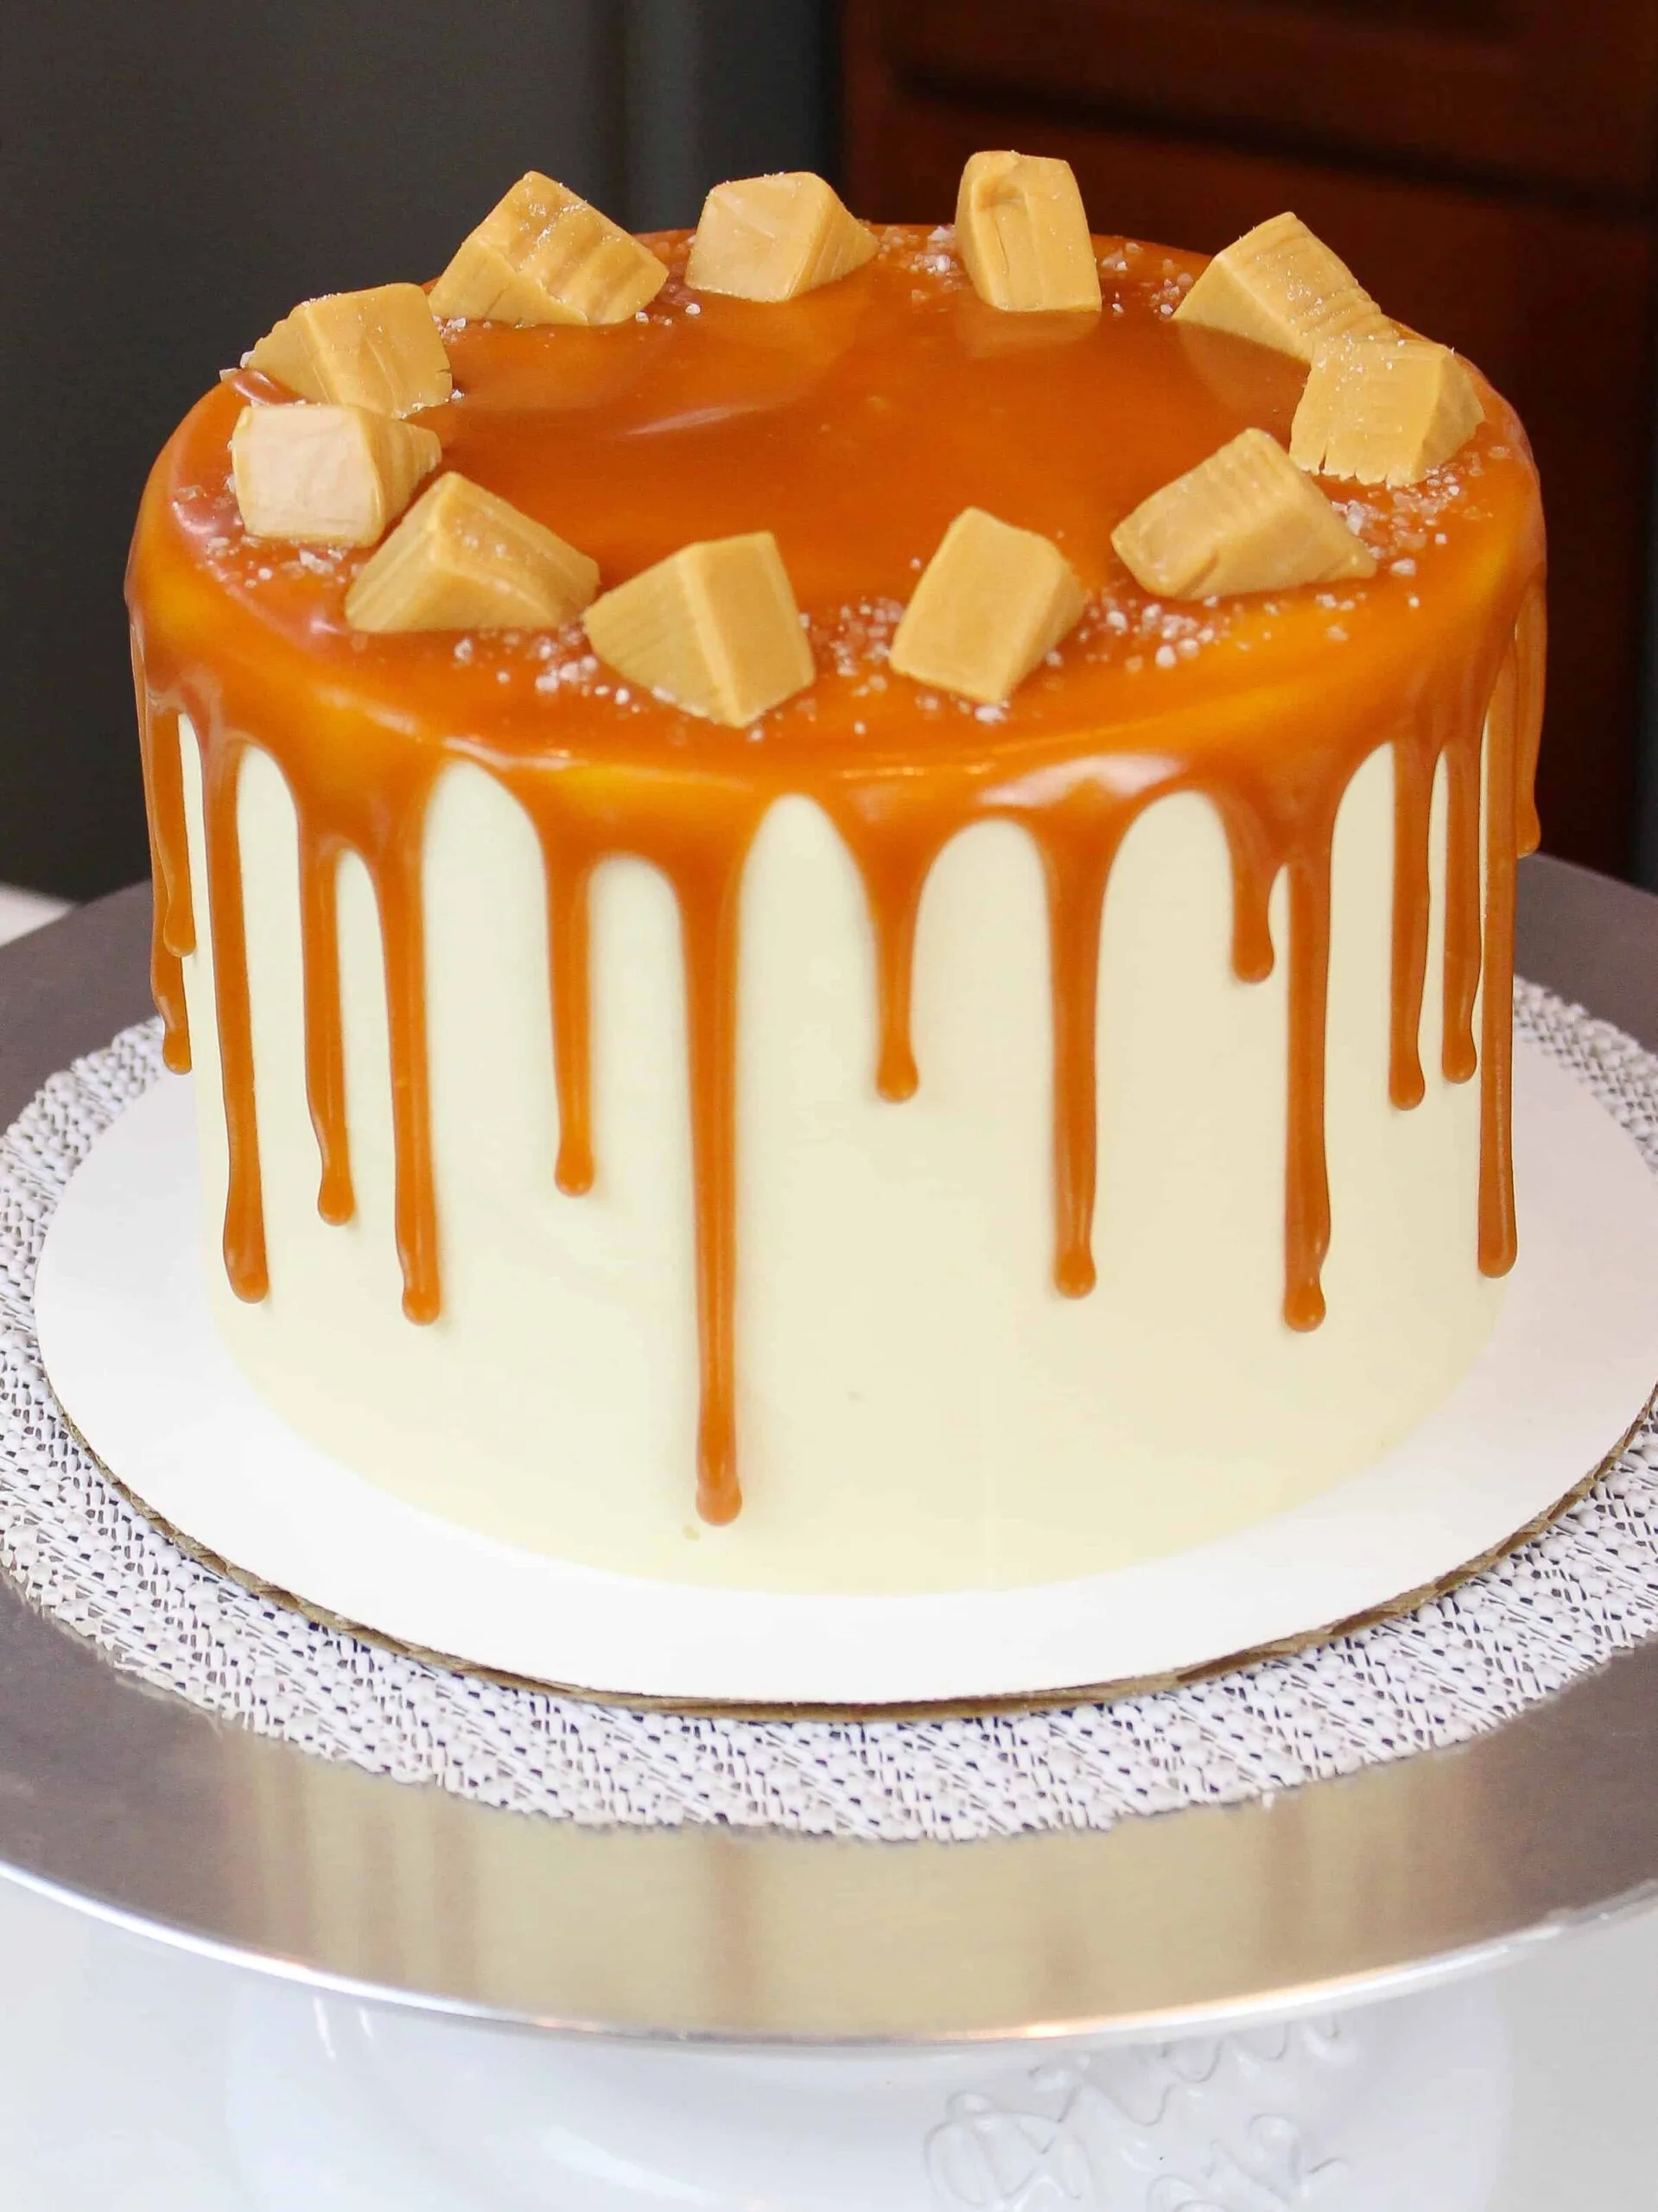
Step #1 : Chill Your Cake
My first tip is to make sure your cake is properly chilled. Once frosted, you should allow it to sit in your fridge for at least 20 minutes, or in your freezer for 10 minutes. This makes sure the frosting is cold and firm to the touch.
Chilling the cake helps the buttercream keep its shape as the caramel is added.
It will also help slow down the speed at which the drips run down the cake. This helps keep them from running all the way down the cake.
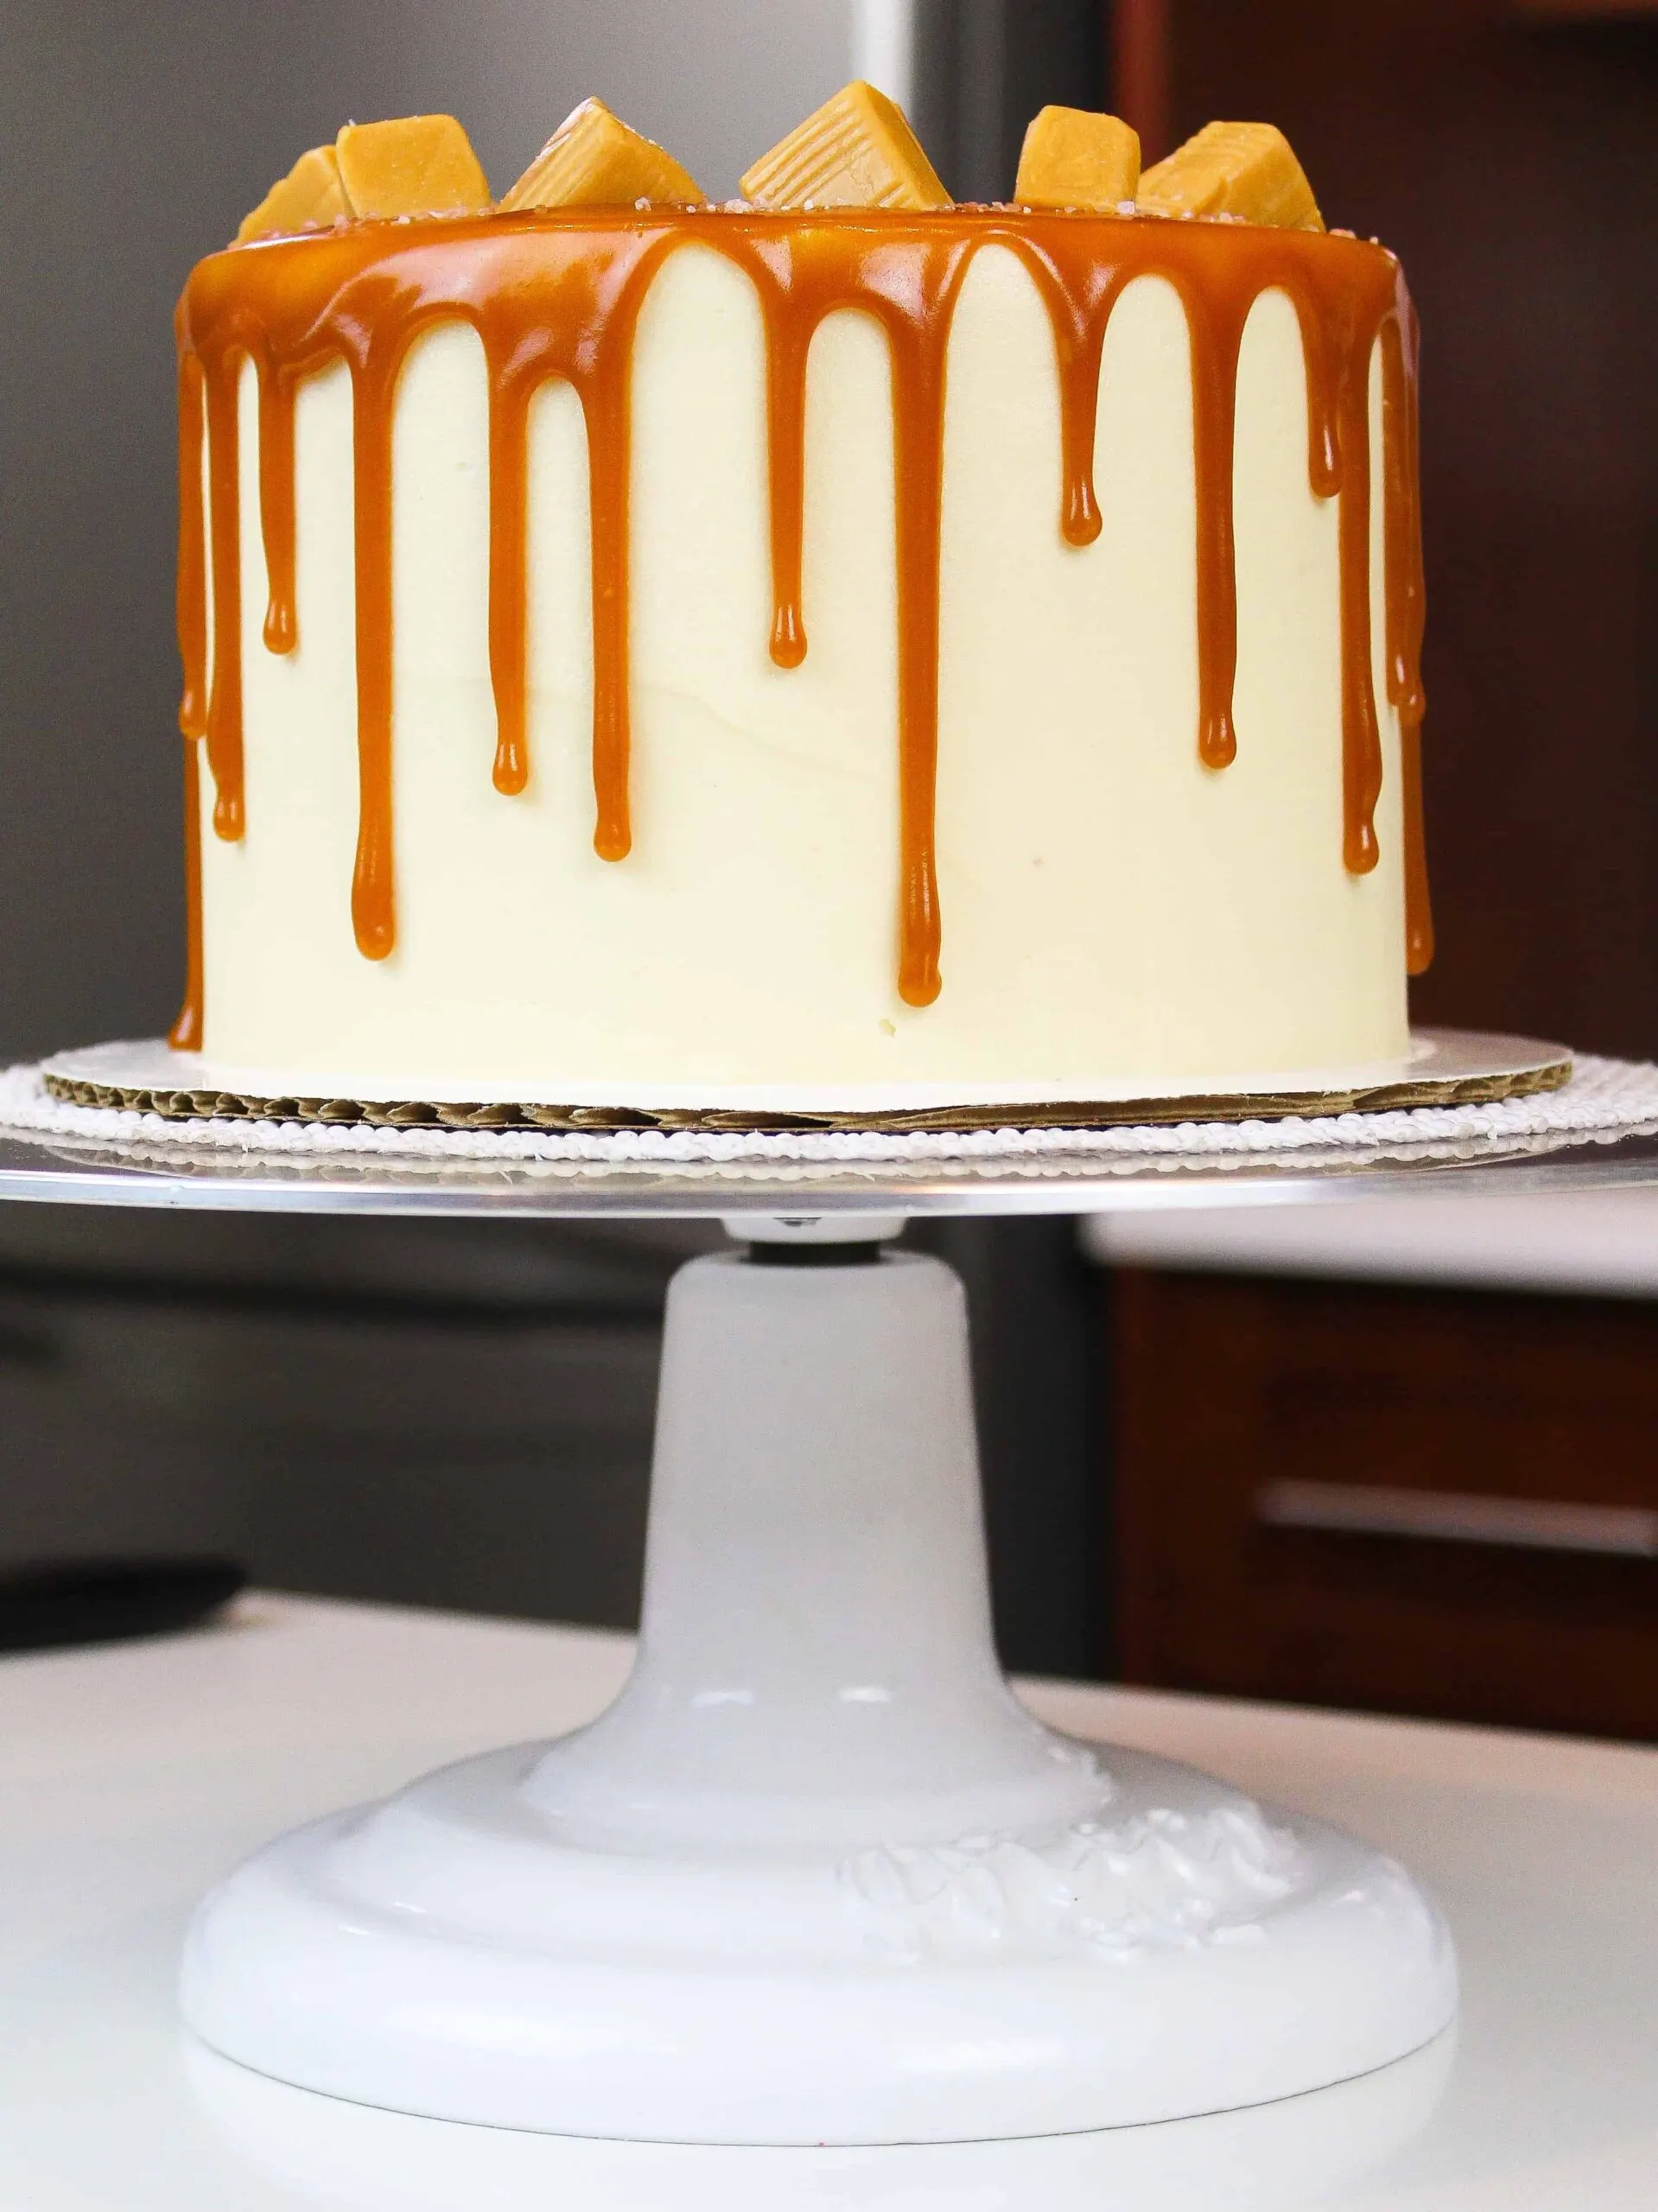
Step #2 : Check the Temperature Of Your Caramel
The second tip is to make sure your caramel is the right temperature!! It should be pretty much at room temperature.
If your caramel is too warm, it will be thinner than you want, and will run straight down the cake and pool at the bottom of your cake board.
On the other hand, if it’s not warm enough, you will end up with short, stubby little drips. Neither of these will create those beautiful, long drips.
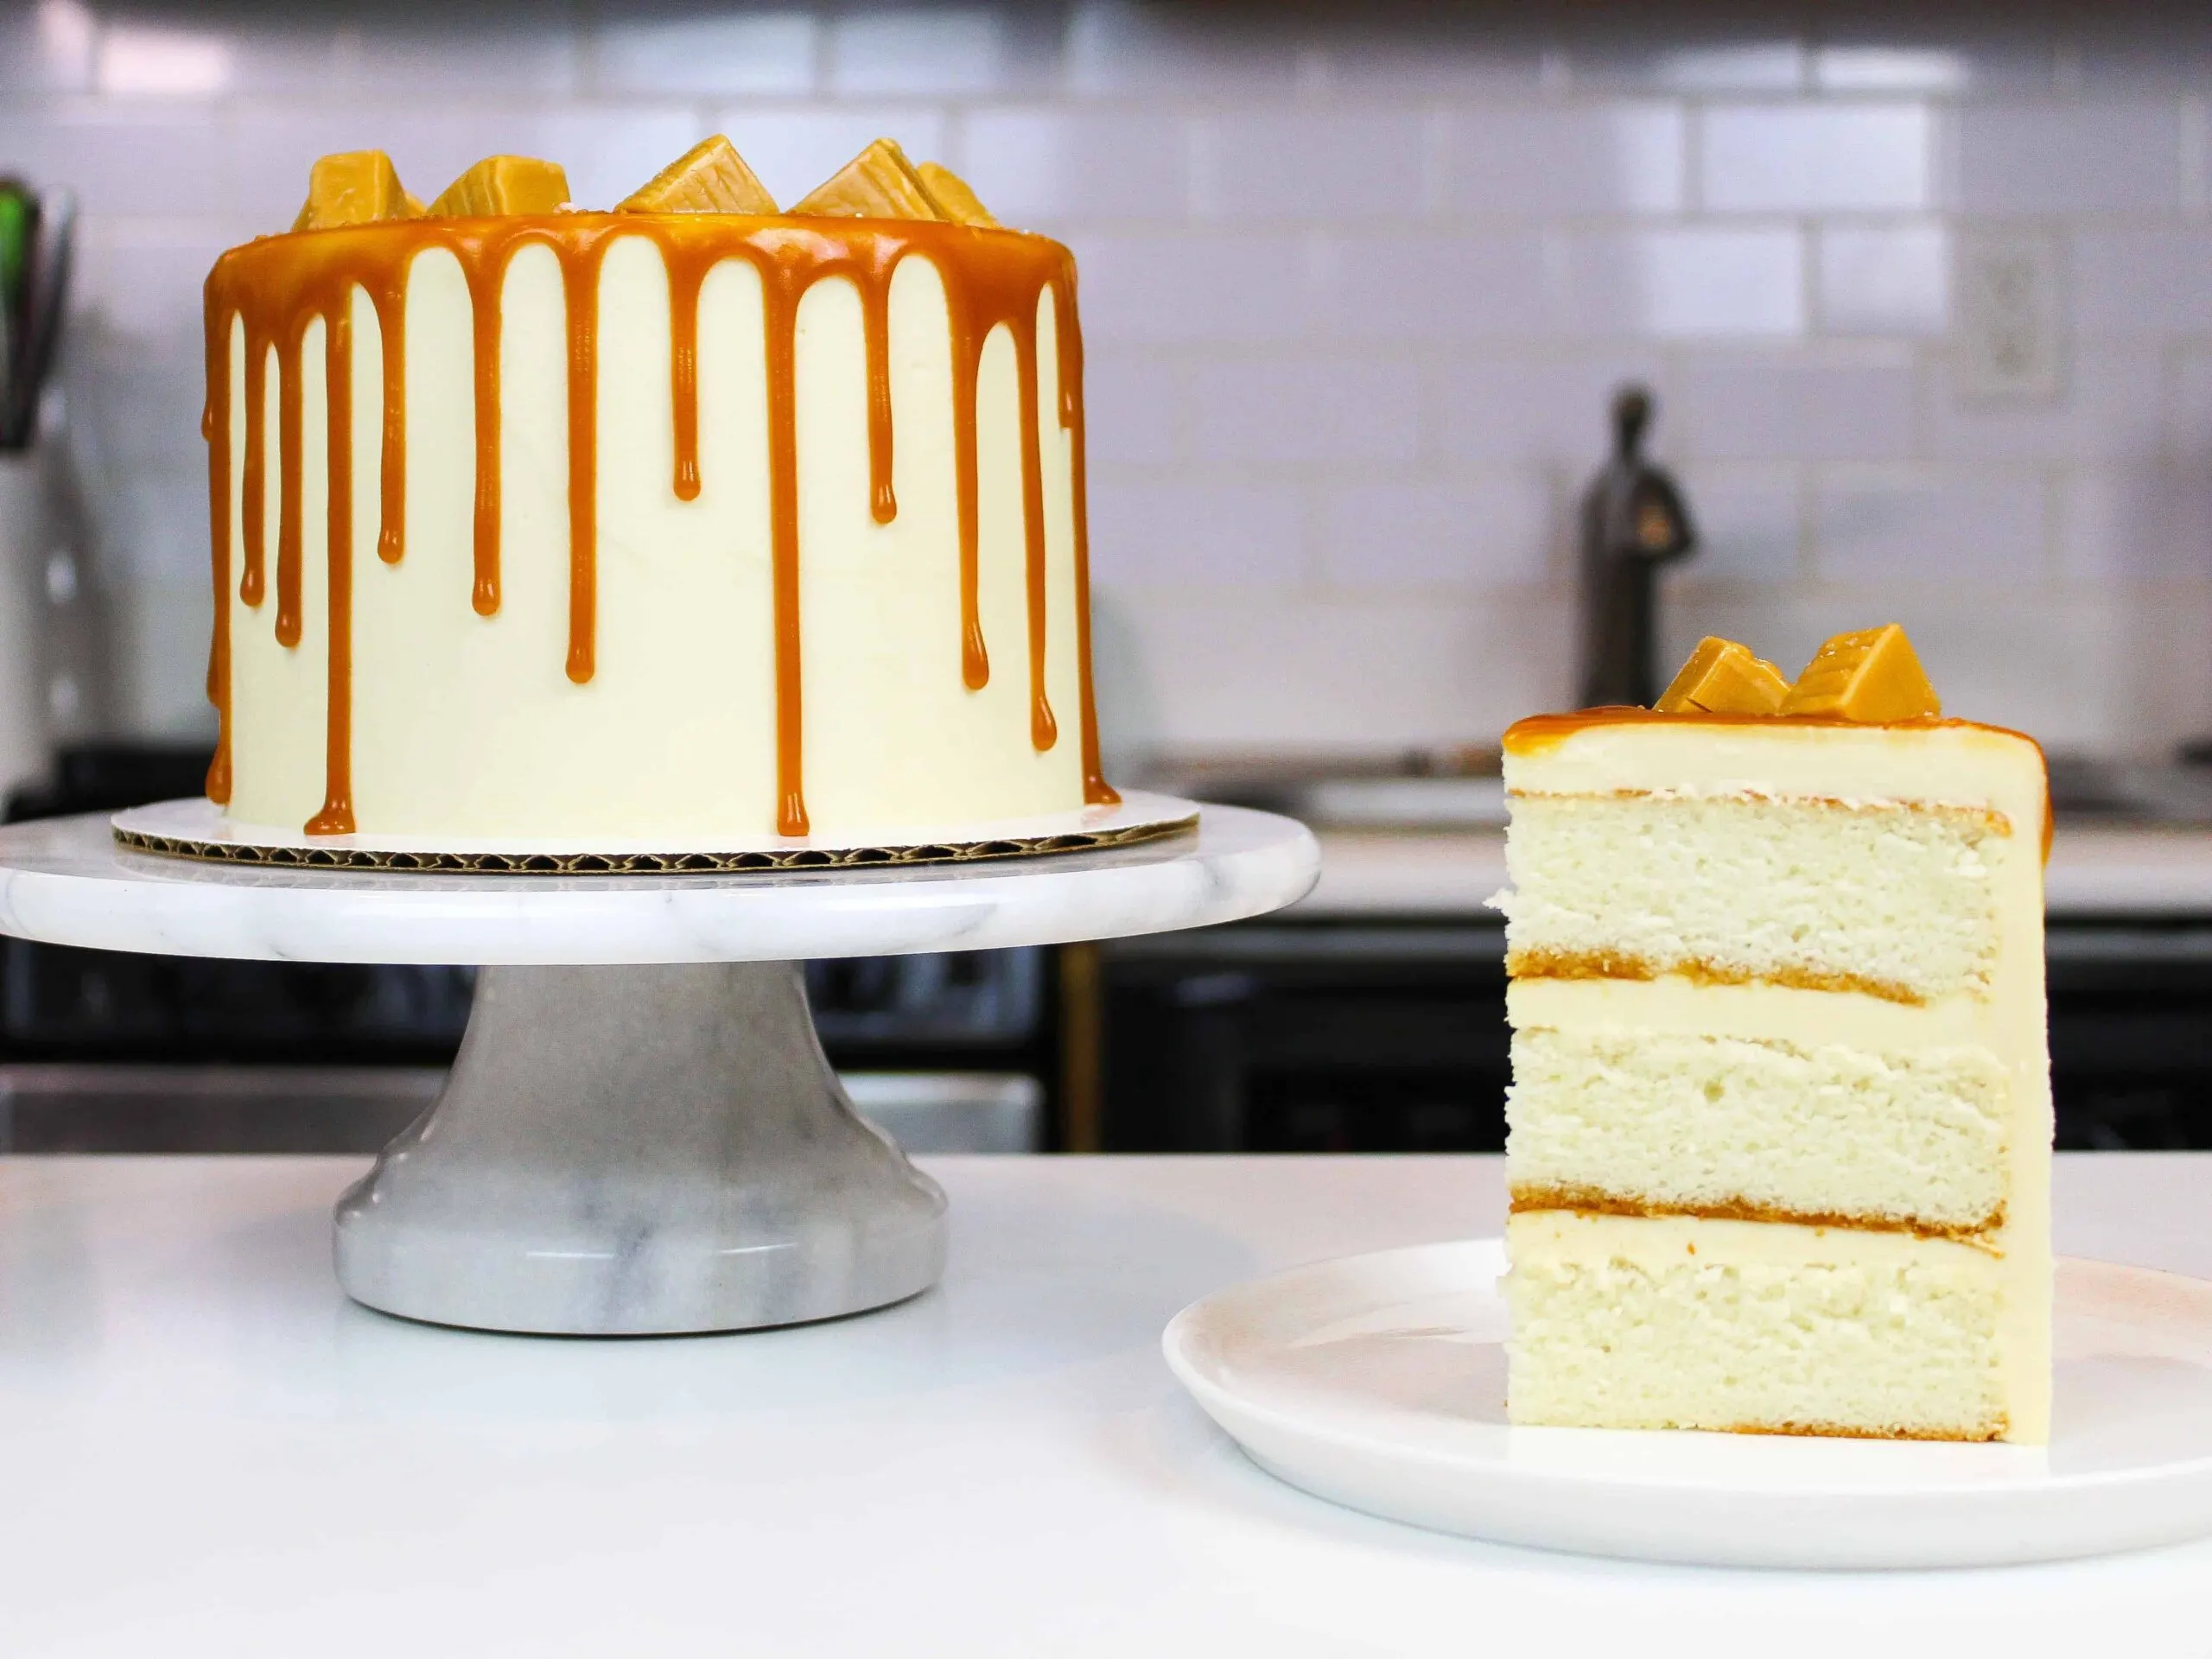
Step #3: Make a Test Drip
The best way to ensure the caramel is the right temperature is to do a test drip. THIS IS SUCH A CRUCIAL STEP!!!
Make one drip on the side of your cake, and let it flow. Allow it to slowly run down the side of the cake for a couple minutes.
If it’s the length and look you’re after, then go ahead and add drips to the rest of the cake. If not, adjust as needed.
Either pop the caramel into the fridge for a couple minutes to allow it to cool off a bit more, or heat the bottle (or bowl) in the microwave for 5-10 seconds.
Then test out one more drip, just to be safe! While these extra steps may lengthen the process, it’s worth it to make sure your drips are perfect.
When you spend hours making a cake from scratch, it’s worth taking the extra 10 minutes to ensure your caramel drips will turn out beautifully.
If you’re more of a visual learner, here is a video tutorial showing how to add drips to a cakes.
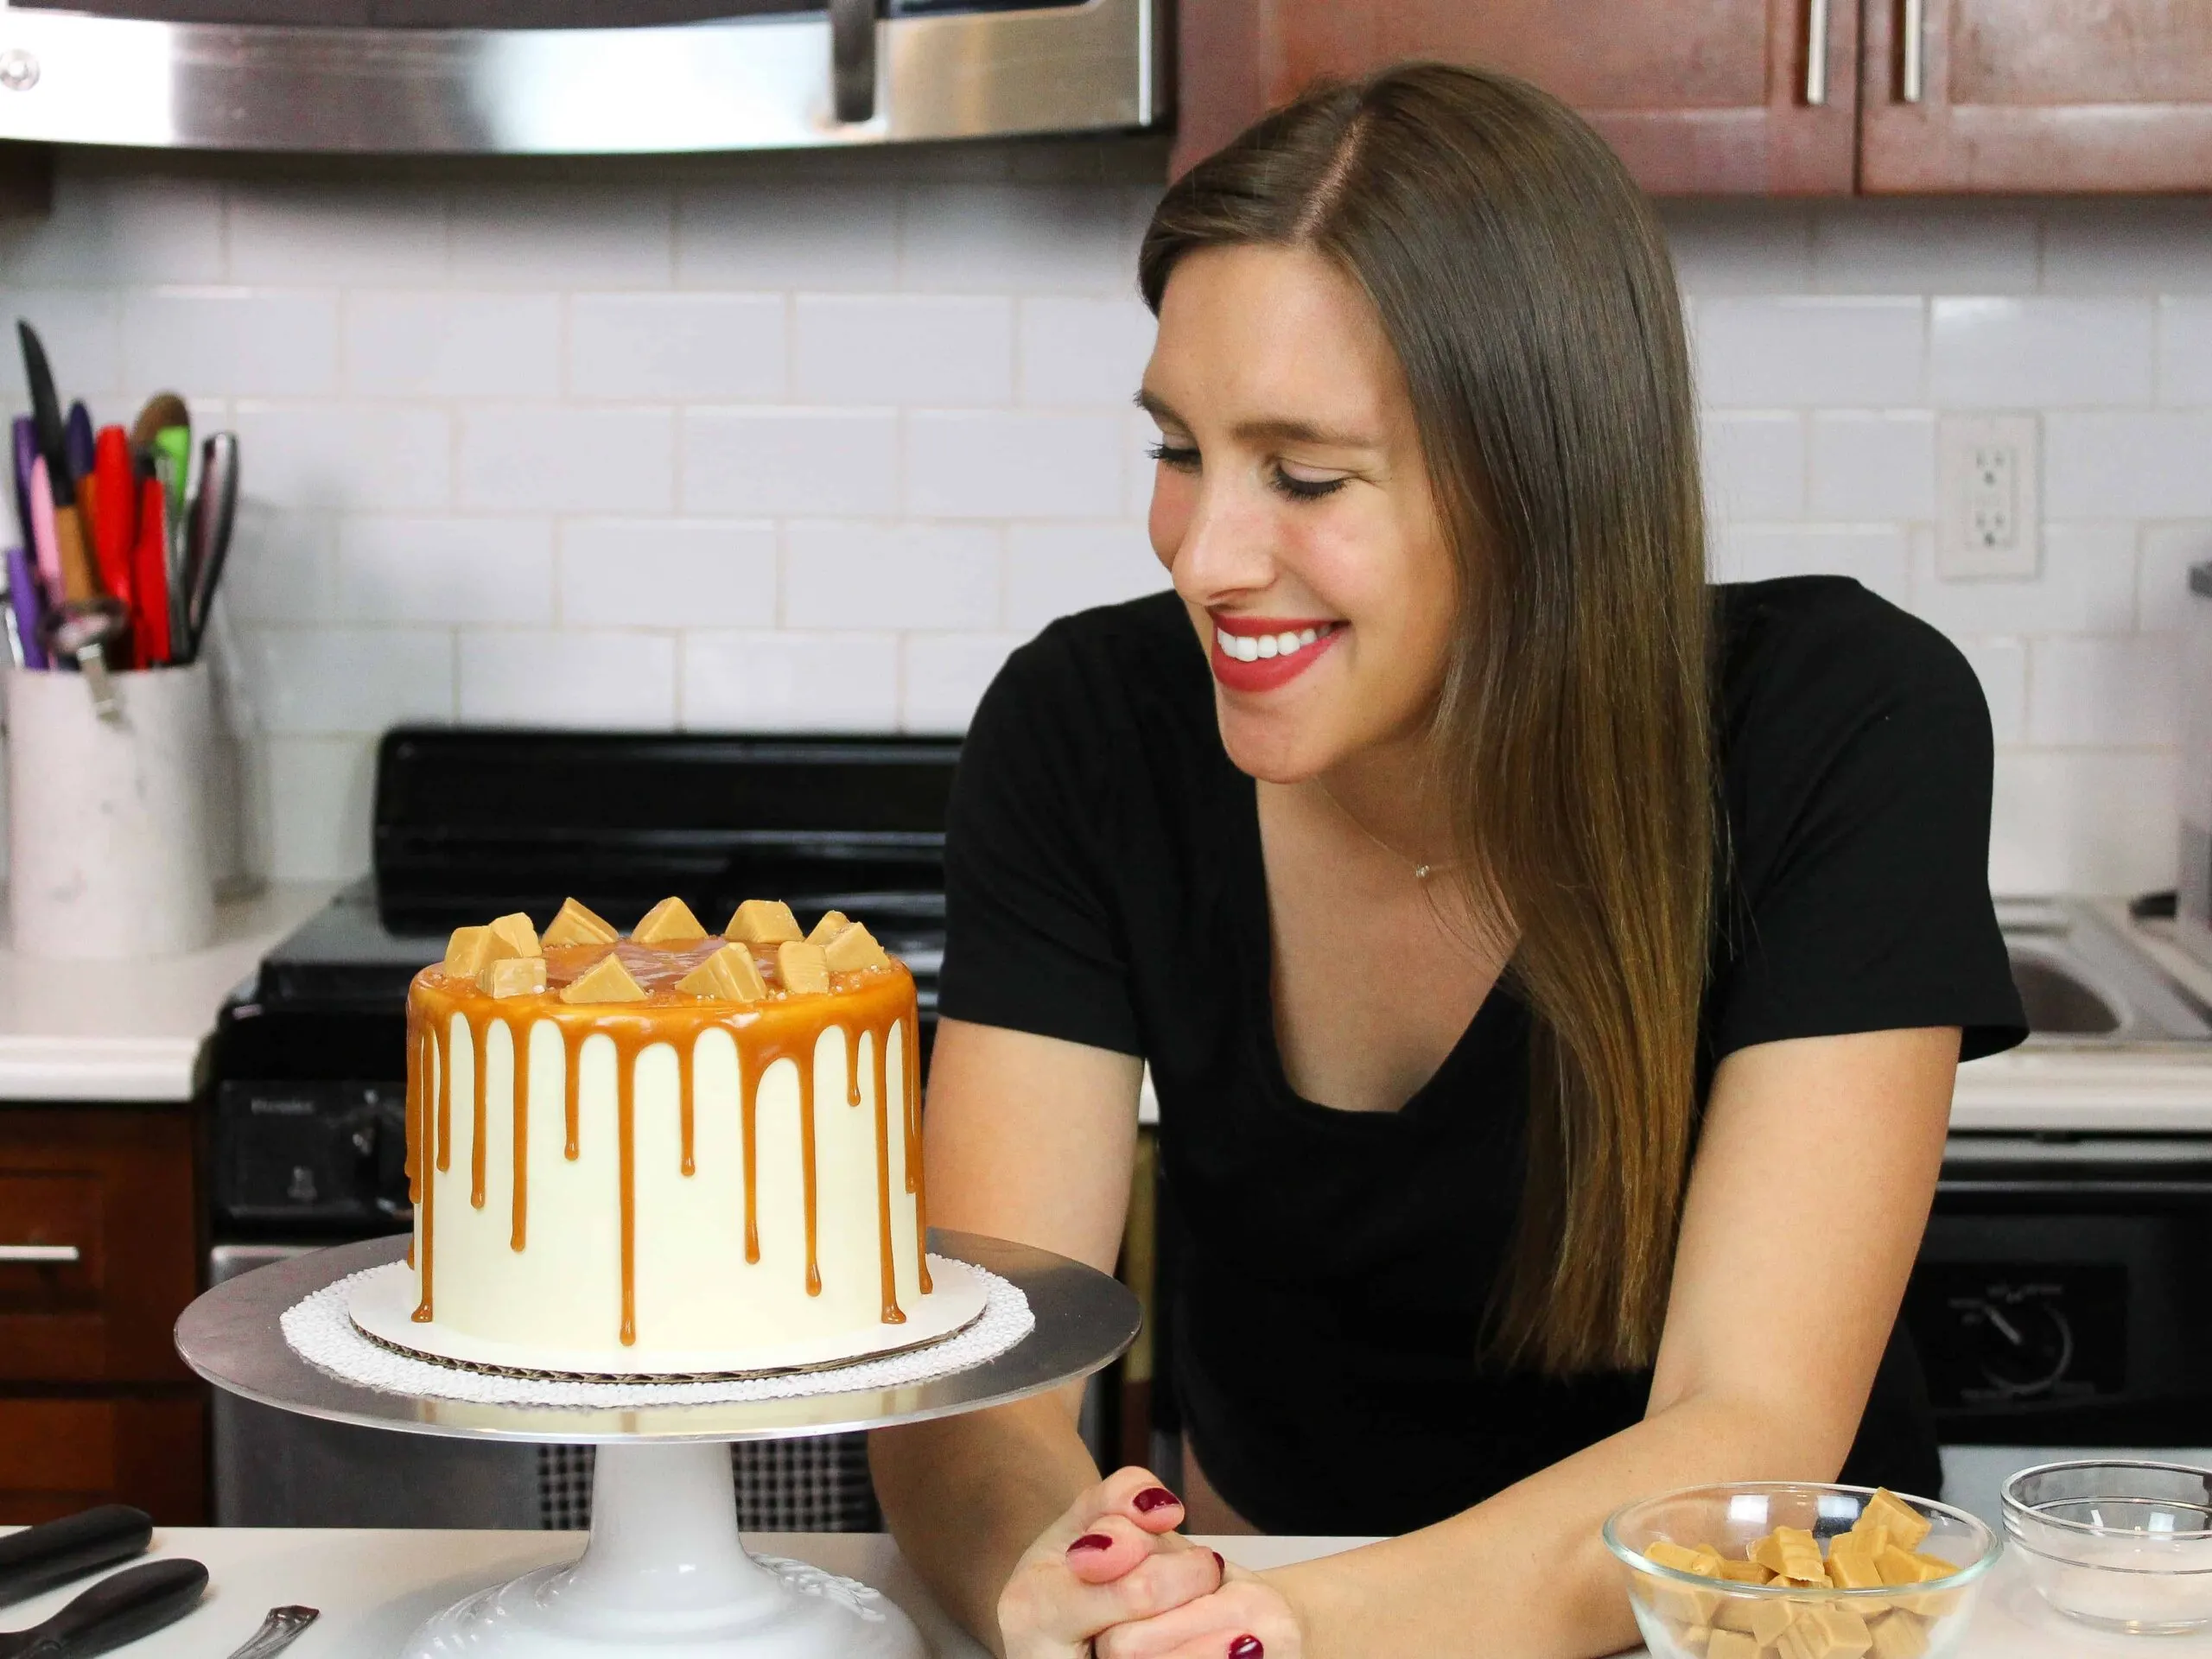
Tips For Make the Best Caramel Drip Cake
- Properly measure your flour (spoon into the cup measure, then level) or use a kitchen scale.
- Make sure your ingredients are at room temperature to help them mix together better.
- Use a serrated knife to level your cake layers once they’re fully cooled.
- Be sure to use heavy cream or heavy whipping cream! You need the high fat content to give the caramel the right consistency. Milk cannot be used in place of the cream.
- Make sure your buttercream is the right consistency. This will help give your cake proper structure and make it easier to decorate.
- If your cake layers turn out less than perfect, read my cake troubleshooting guide to see where things might’ve gone awry.
Making This Caramel Drip Cake in Advance & Storage Tips
Make this caramel ahead of time or save leftovers! Once it’s made, wrap the bowl with plastic wrap or cover the top of the plastic bottle and store in the fridge for up to 3 weeks.
To use chilled caramel, heat the bottle or bowl in to the microwave for 10 second intervals until it reaches the right consistency
Make your cake layers in advance and freeze them. It breaks the process up and makes it more approachable.
Make your frosting ahead of time too or save any leftover frosting. It can be stored in an airtight container in the fridge for up to a month, or in the freezer for up to 3 months. Be sure to give it a good stir once it thaws to get the consistency nice and smooth again.
A frosted cake can last in the fridge for up to a week, or in the freezer for up to a month. The buttercream locks in all the moisture, keeping the cake fresh and delicious!
If you cut into the cake and have leftovers, use any remaining frosting to cover the cut section to keep it moist and store in the fridge for up to a week.
Share Your Creations With Me!
If you try this caramel drip cake recipe, let me know what you think by leaving a comment and rating below.
Tag me on social media @chelsweets and use #chelsweets so I can see you beautiful creations!
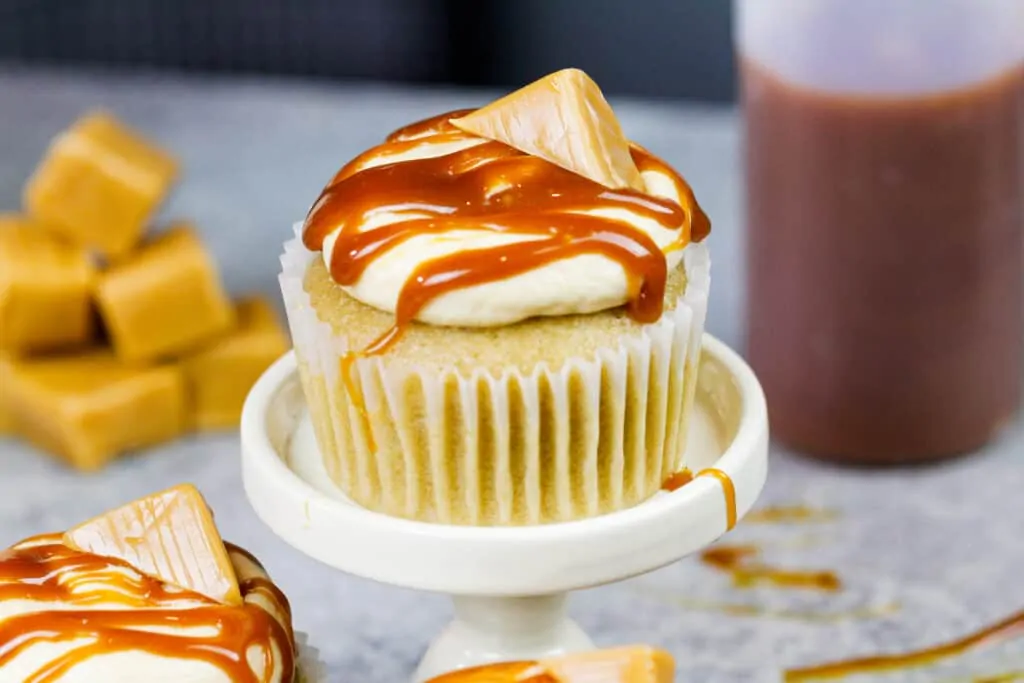
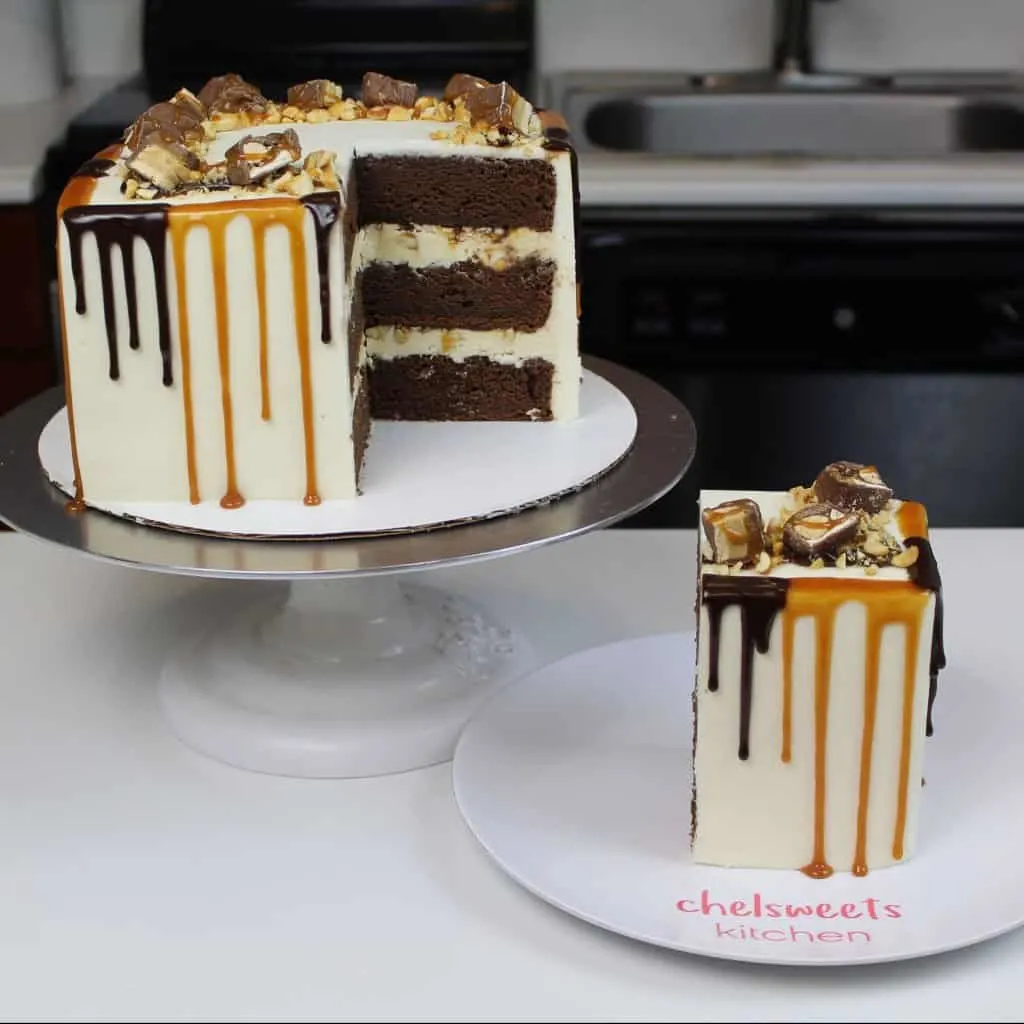
Other Recipes You Might Like:
Caramel Drip Cake
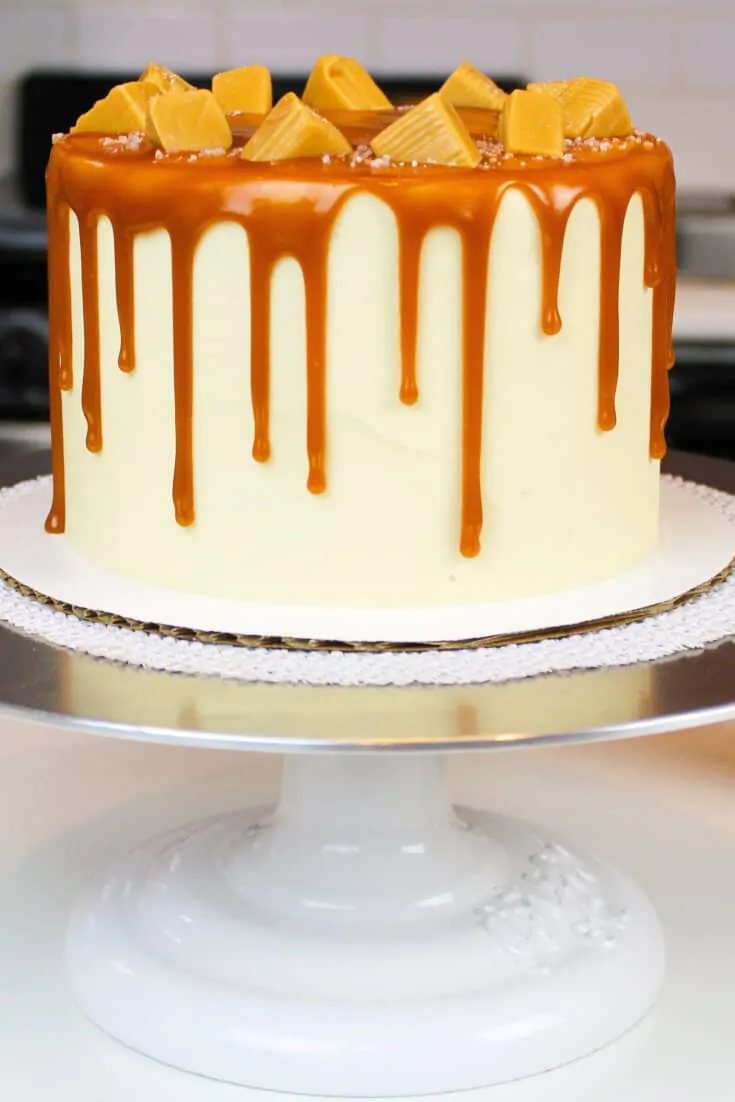
This caramel drip cake is made with vanilla cake layers, salted caramel frosting and a gorgeous caramel drip!!
Ingredients
Vanilla Cake Layers
- 2 cups + 2 Tbsp all-purpose flour (265g)
- 2 cups granulated sugar (400g)
- 1 1/2 tsp baking powder (6g)
- 1/2 tsp salt (3g)
- 2/3 cup unsalted butter, room temperature (150g) - 1 and 1/3 sticks
- 2/3 cup egg whites or about 4 egg whites (160ml)
- 1 cup buttermilk, room temperature (240ml)
- 1 Tbsp vegetable oil (14ml)
- 1 tsp vanilla extract (4ml)
Caramel Sauce
- 1 cup granulated sugar (200g)
- 6 Tbsp unsalted butter, room temperature (84g)
- 1/3 cup heavy cream, room temperature (80ml)
- 1/4 tsp table salt (2g)
Salted Caramel Buttercream Frosting
- 1 1/2 cups unsalted butter, room temperature (339g)
- 1/2 tsp table salt (3g)
- 1 tsp vanilla extract (4ml)
- 6 cups powdered sugar (750g)
- 1 Tbsp heavy cream or whipping cream (15ml)
- 1/3 cup of caramel sauce - recipe above (108g)
Additional Decorations
Instructions
Vanilla Cake Layers
- Preheat the oven to 350°F / 175°C. Line three 6-inch pans with parchment rounds, and grease with non-stick baking spray.
- Mix together all dry ingredients (flour, baking powder, sugar, and salt) in a stand mixer with a paddle attachment or hand mixer until fully combined.
- Mix chunks of room-temperature butter slowly into the dry mix, on a low speed. Continue to mix until no large chunks of butter remain, and the mixture becomes crumbly.
- Pour in the egg whites and mix on low until just incorporated. Mix in the buttermilk in two installments on a low speed.
- Mix in the oil and vanilla extract on a low speed until fully incorporated.
- Scrape down the sides of the bowl with a spatula, then beat on a medium speed for 30 seconds.
- Divide batter evenly between the prepared cake pans. I like to use a digital kitchen scale to weigh my pans to make sure they all have the same amount of batter. This helps the layers bake up to be the same height.
- Bake for 30-33 minutes, or until a toothpick comes out clean. Allow the pans to cool for 10 minutes, then run a small offset spatula around the perimeter of the pan to separate the cake from the pan.
- Place the cake layers in the freezer for 30 minutes to accelerate the cooling process. Once the layers are fully cooled, carefully flip the pans and remove the layers.
- Use a serrated knife to level the tops of the layers, then set aside.
Caramel Sauce
- Next, make the caramel sauce. Heat a saucepan over medium-high heat.
- Pour in sugar gradually, adding 1/4 cup at a time. Wait until the sugar is mostly liquified, then add the next increment of sugar.
- As the sugar melts, it will gradually deepen in color. Stir occasionally until the sugar is fully dissolved and is a deep amber color.
- Turn off the heat. Mix in the room temperature butter 1 Tbsp at a time, then stir in the heavy cream and salt. The mixture will be thin but will thicken as it cools.
- Pour into a separate container, then place in the fridge to cool for 20 minutes.
Salted Caramel Buttercream Frosting
- As the caramel cools, make the caramel buttercream.
- Beat the butter on a medium speed for 30 seconds with a paddle attachment or hand mixer until smooth. Mix in the vanilla and salt on a low speed.
- Slowly add in the powdered sugar on a low speed. Halfway through add the heavy cream and caramel.
- Beat on low until the ingredients are fully incorporated and the desired consistency is reached.
To Assemble This Caramel Drip Cake
- Stack and frost cake layers on a greaseproof cake board using a dab of frosting to help stick the first cake layer to the board.
- Add an even layer of salted caramel buttercream between each cake layer. Drizzle 3 Tbsp of caramel on top of the frosting. Repeat with the remaining cake layers.
- Once the layers are stacked, spread a thin coat of frosting around the cake to fully cover the cake layers.
- Smooth using a bench scraper, then chill the cake in the fridge (30 minutes) or freezer (10 minutes) until the frosting is firm to the touch.
- Add a second, thicker layer of frosting to the cake and smooth using a bench scraper.
- Chill the cake for an additional 10 minutes in the freezer. Once the frosting is firm to the touch, use the caramel sauce to add drips around the cake.
- Cover the top of the cake with caramel sauce and add caramel squares around the top of the cake.
- Finish with a sprinkle of flakey sea salt on top of the cake.
Notes
Tips for Making the Best Caramel Drip Cake
- Be sure to use heavy cream or heavy whipping cream! You need the high fat content to give the caramel the right consistency. Milk cannot be used in place of the cream.
- Properly measure your flour (spoon into the cup measure, then level) or use a kitchen scale.
- Make sure your ingredients are at room temperature to help them mix together better.
- Don't level your cake layers until they are completely cooled.
- Make sure your buttercream is the right consistency. This will help give your cake proper structure and make it easier to decorate.
- If your cake layers turn out less than perfect, read my cake troubleshooting guide to see where things might've gone awry.
Making This Caramel Drip Cake in Advance
Make this caramel ahead of time or save leftovers! Once it's made, wrap the bowl with plastic wrap or cover the top of the plastic bottle and store in the fridge for up to 3 weeks.
To use chilled caramel, heat the bottle or bowl in to the microwave for 10 second intervals until it reaches the right consistency
Make your cake layers in advance and freeze them. It breaks the process up and makes it more approachable.
Make your frosting ahead of time too, or save any leftover frosting! It can be stored in an airtight container in the fridge for up to a month, or in the freezer for up to 3 months. Be sure to give it a good stir once it thaws to get the consistency nice and smooth again.
A frosted cake can last in the fridge for up to a week, or in the freezer for up to a month. The buttercream locks in all the moisture, keeping the cake fresh and delicious!
If you cut into the cake and have leftovers, use any remaining frosting to cover the cut section to keep it moist and store in the fridge for up to a week.
Nutrition Information
Yield
16Serving Size
1Amount Per Serving Calories 646Total Fat 34gSaturated Fat 21gTrans Fat 0gUnsaturated Fat 11gCholesterol 89mgSodium 359mgCarbohydrates 86gFiber 0gSugar 84gProtein 3g

Hope
Monday 3rd of June 2024
Can you use whole eggs in the cake instead of egg whites, and can I use brown sugar in the cake instead of granulated sugar? Thank you.
Chelsweets
Tuesday 4th of June 2024
Great question Hope! You totally can, I'd recommend using 3 whole eggs in place of the egg whites, and doing half granulated half brown sugar! If you do full brown sugar, the layers will end up a lot denser, but half granulated half brown should give you some nice brown sugar flavor while keeping the texture. Hope that helps, happy baking!
Kim Goldfeder
Friday 10th of May 2024
If I wanted to cover a cake in fondant, could I use caramel on top of it and for a slight drip effect, or would it melt the fondant?
Chelsweets
Sunday 12th of May 2024
Hi Kim,
Sadly I don't think a caramel drip would work well over fondant! I do think it will kind of melt/dissolve the fondant, I'm so sorry!
How To Decorate A Caramel Cake | Cake Karma
Wednesday 13th of March 2024
[…] key to decorating a caramel cake lies not only in creating beautiful designs but also in complementing its rich flavor profile. […]
Rita Vascimini
Tuesday 10th of October 2023
Do you think the caramel could be painted gold or does it not dry enough for that?
Chelsweets
Sunday 15th of October 2023
Hi Rita,
This caramel does not set firm enough to paint, but you could color the caramel with gel food coloring!
Rita Shabazz
Wednesday 6th of September 2023
Can you use 8 in cake pan I do not have ,a 6 in cake for this recipe