
I made my first frog birthday cake a couple years ago, but am bringing him back to get some better footage of the cake for the Food Network.
I also realized I’ve never shared the recipe for this lil’ guy, so I’m sharing it this time around.
When mirror glazes first took the internet by storm, I wanted to think of another way to use them!
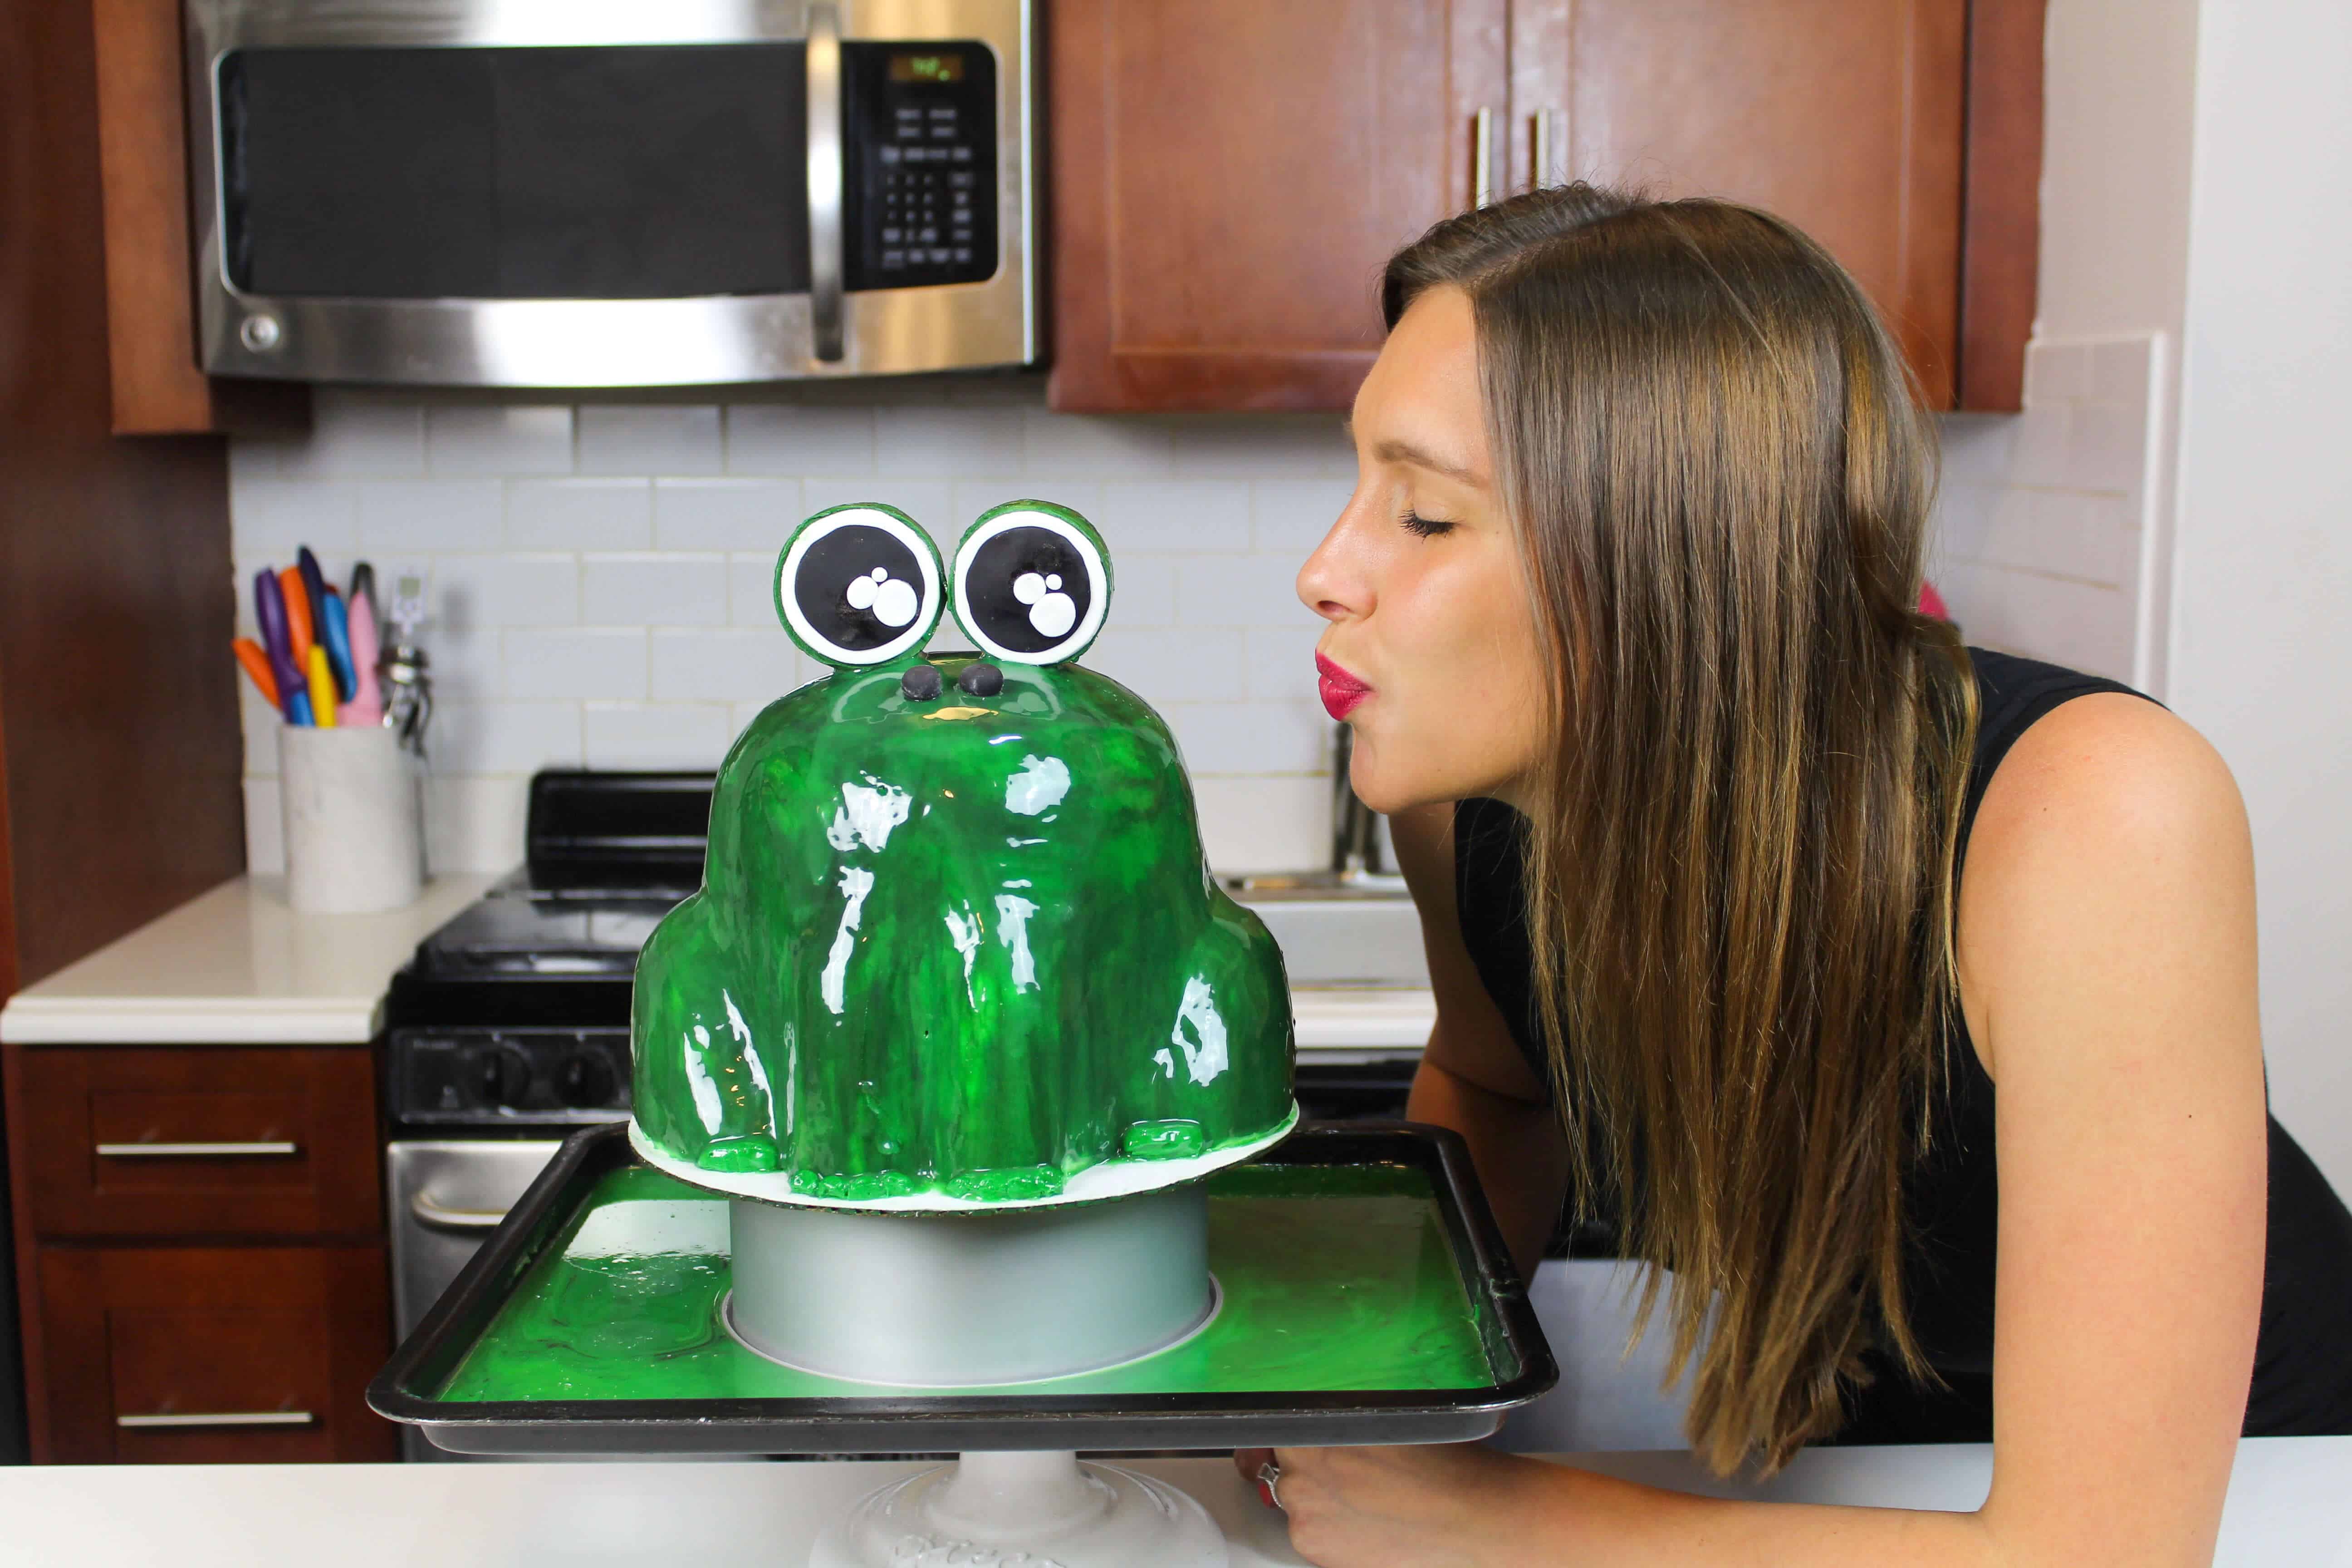
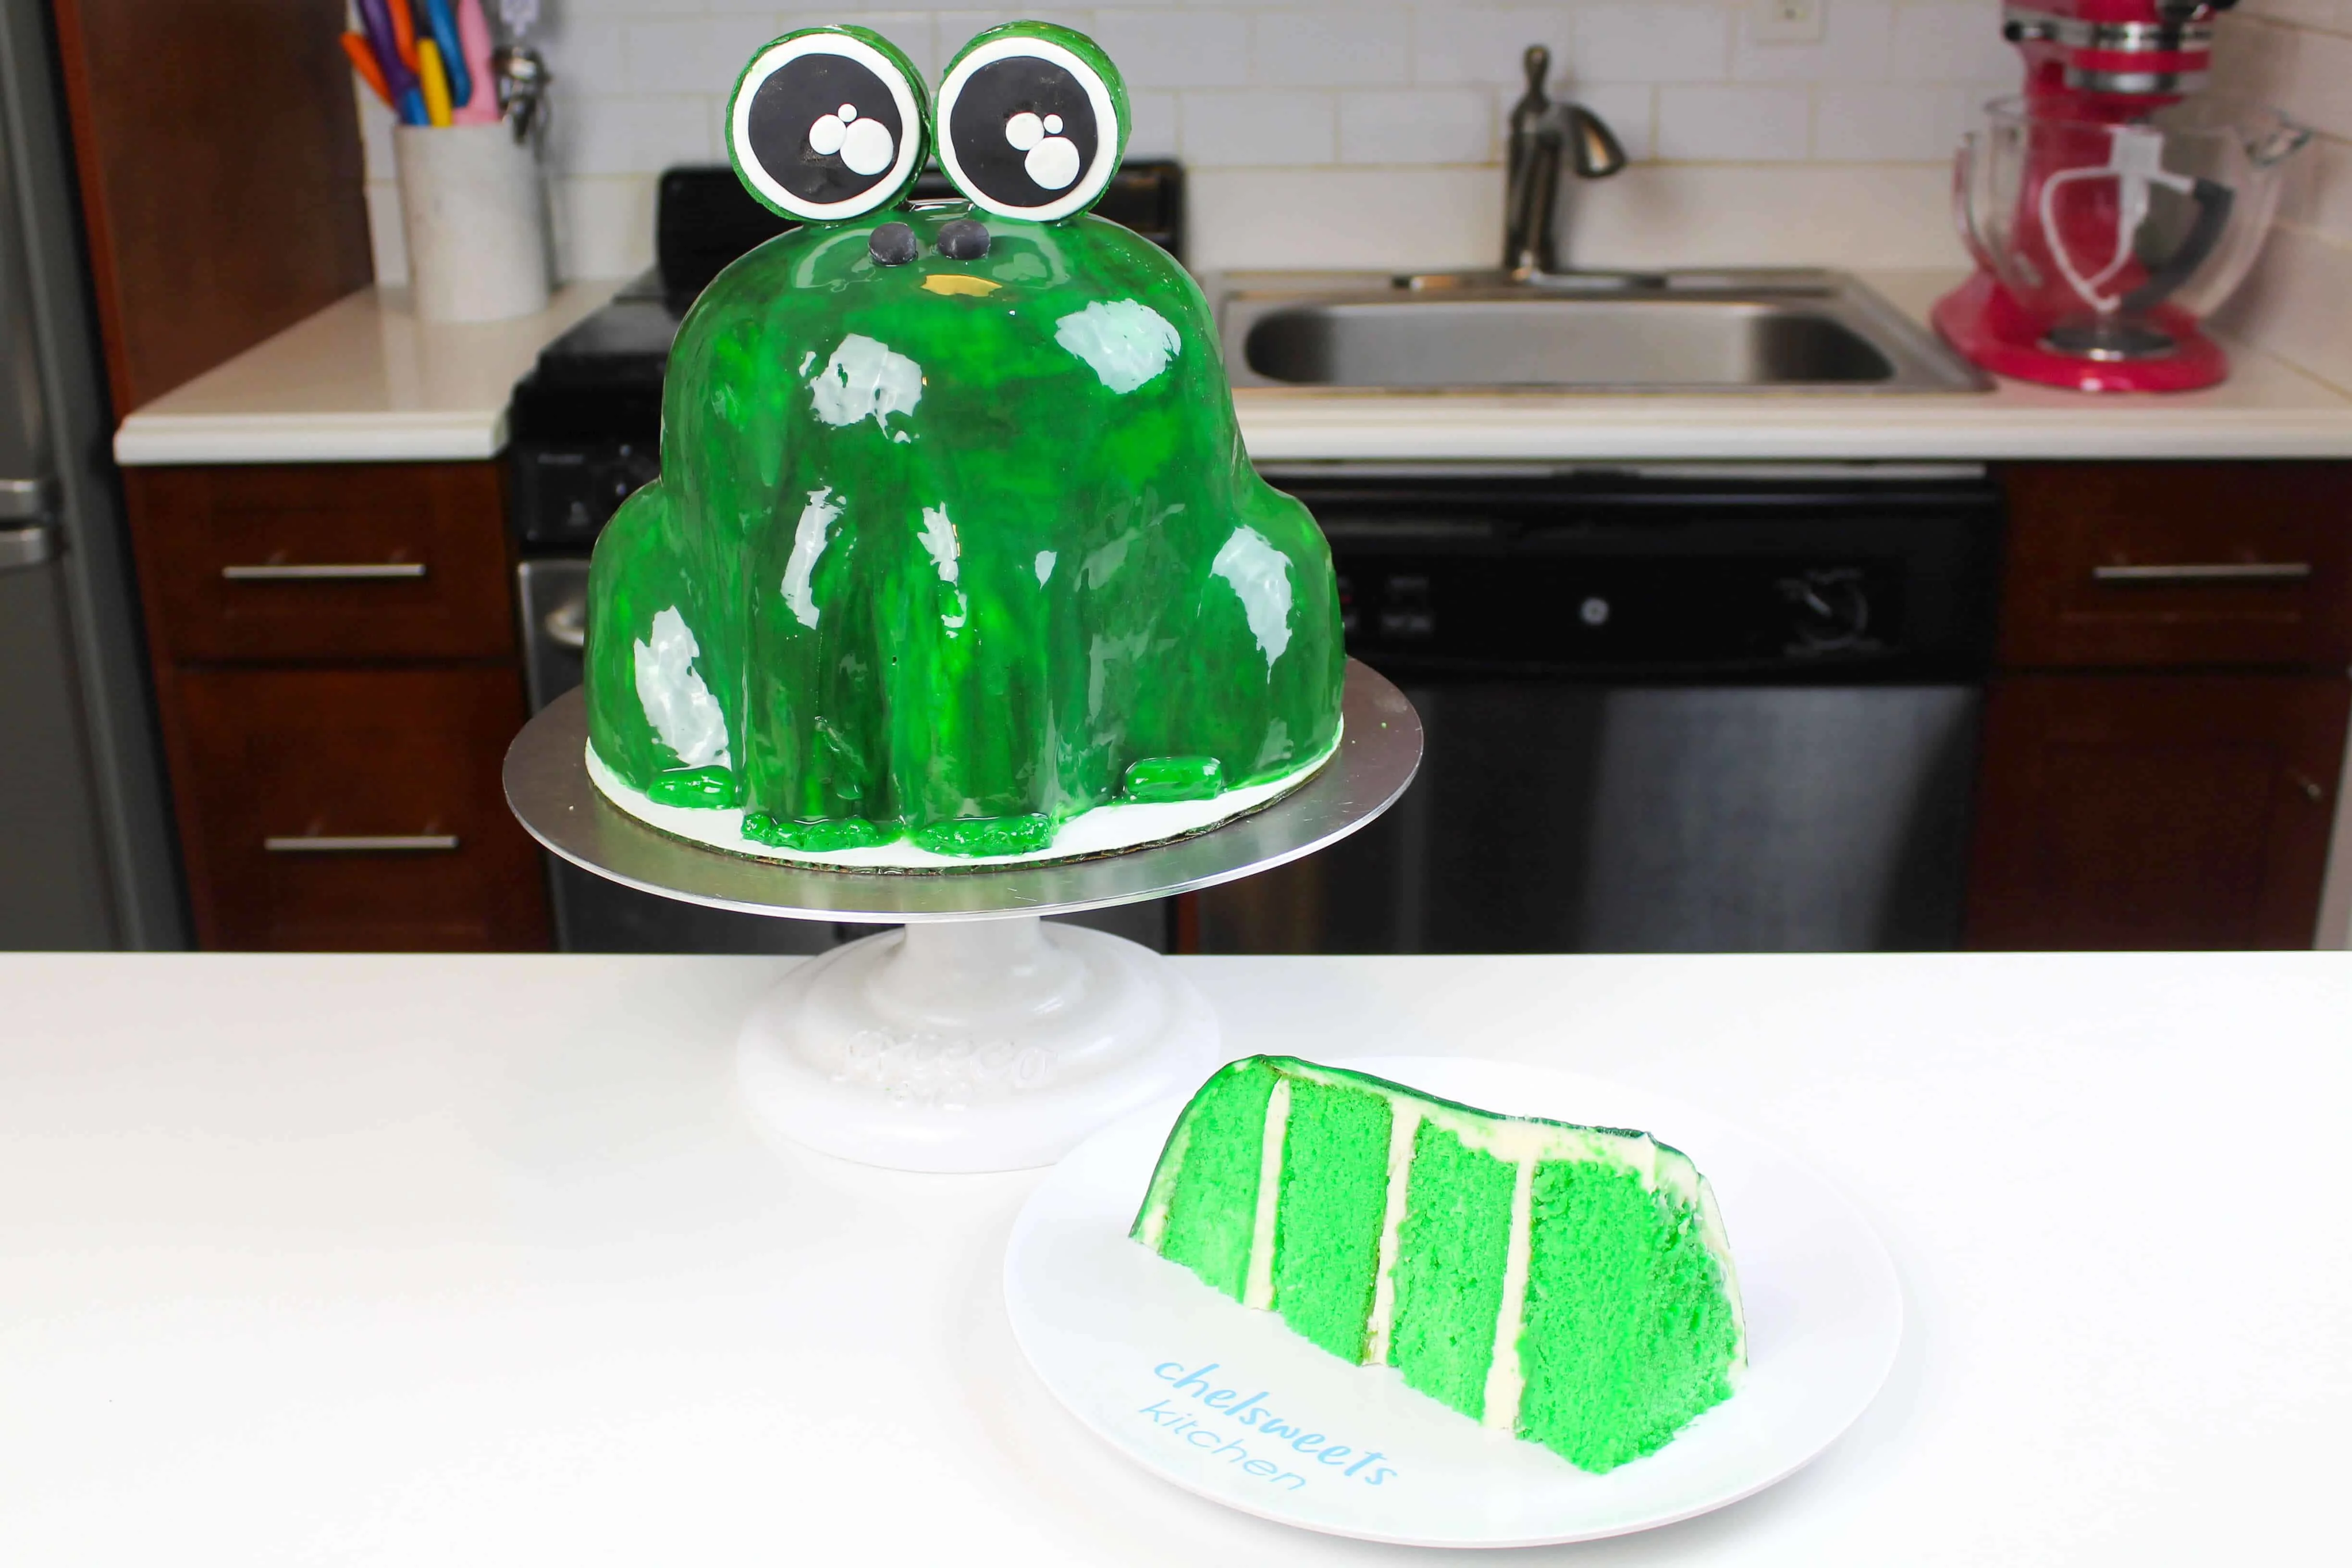
I’m still not quite sure how this popped into my head, but I thought it would make the most PERFECT frog slime!! I love how the mirror glaze brings this cute little frog cake to life!

Recipes Used:
- 1 Batch Vanilla Cake
- 1 Batch Vanilla Buttercream
- 1 Batch Mirror Glaze
For this cake, I simply colored my 5 ingredient mirror glaze a few different shades of green, and poured it over a frog shaped layer cake.
I used my go-to vanilla layer cake recipe, and American buttercream to make this cake.
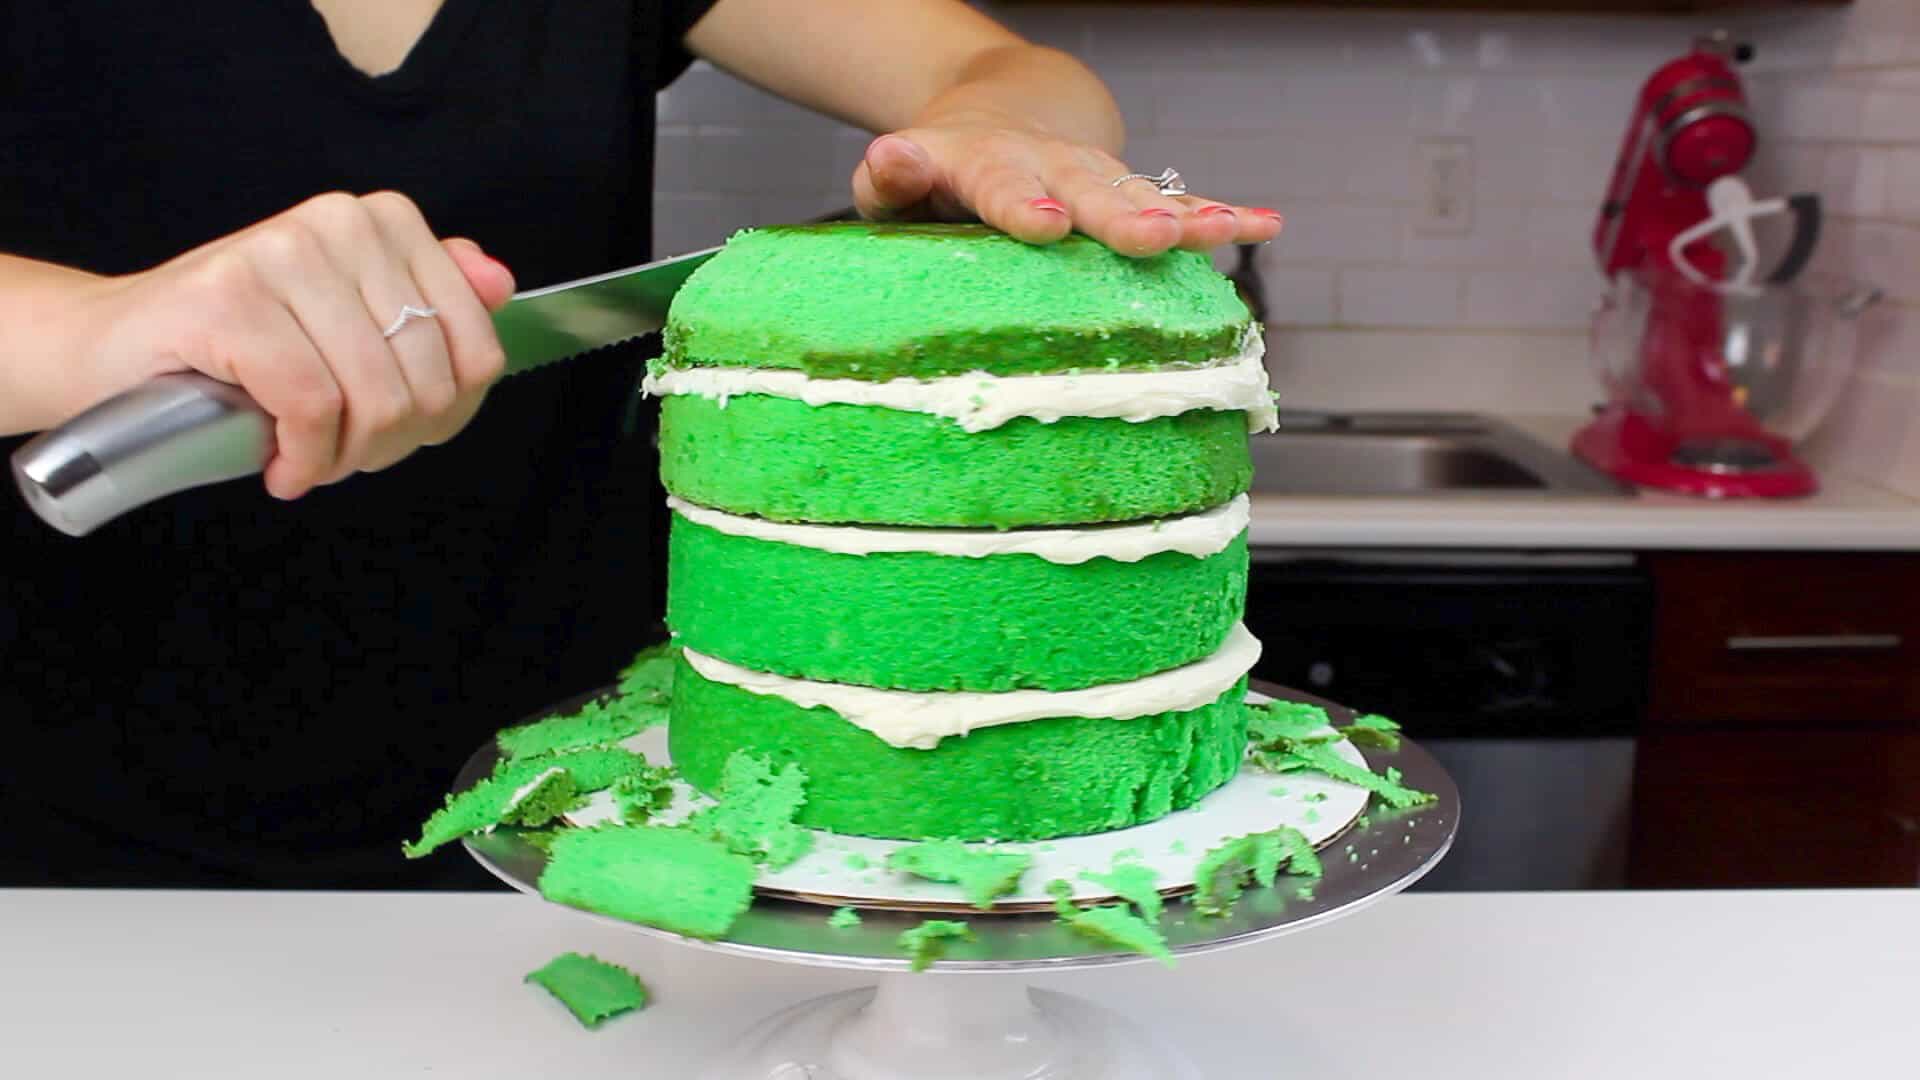
I made a green batch of my vanilla layer cake recipe, by mixing in some leaf green gel food coloring. I baked five 7-inch cake layers.
Four will be stacked to create the main body of the frog, and the fifth layer will be set, aside, to make the frog’s arms, legs and eyes.
If desired, trim the caramelization from the sides and top of the cake layers using a serrated knife before beginning to decorate.
I like to chill my cake layers in the freezer before stacking them, to make them easier to frost and carve.
I usually make my cake layers in advance. To do this, I freeze them overnight and let them thaw on the counter for about 20 minutes before I begin to assemble the cake.
Stack and frost four cake layers, setting the fifth layer aside. Add a generous, even layer of buttercream between each layer.
Use a serrated knife to carefully trim to edge away from the top layer of cake, creating a rounded edge. This will make it easier to achieve a dome shaped top of the cake.

Next, cover the cake in a thin layer layer of frosting, to trap in any rogue crumbs!
Add a bit of extra frosting to the top of the cake, to fully create a small dome.

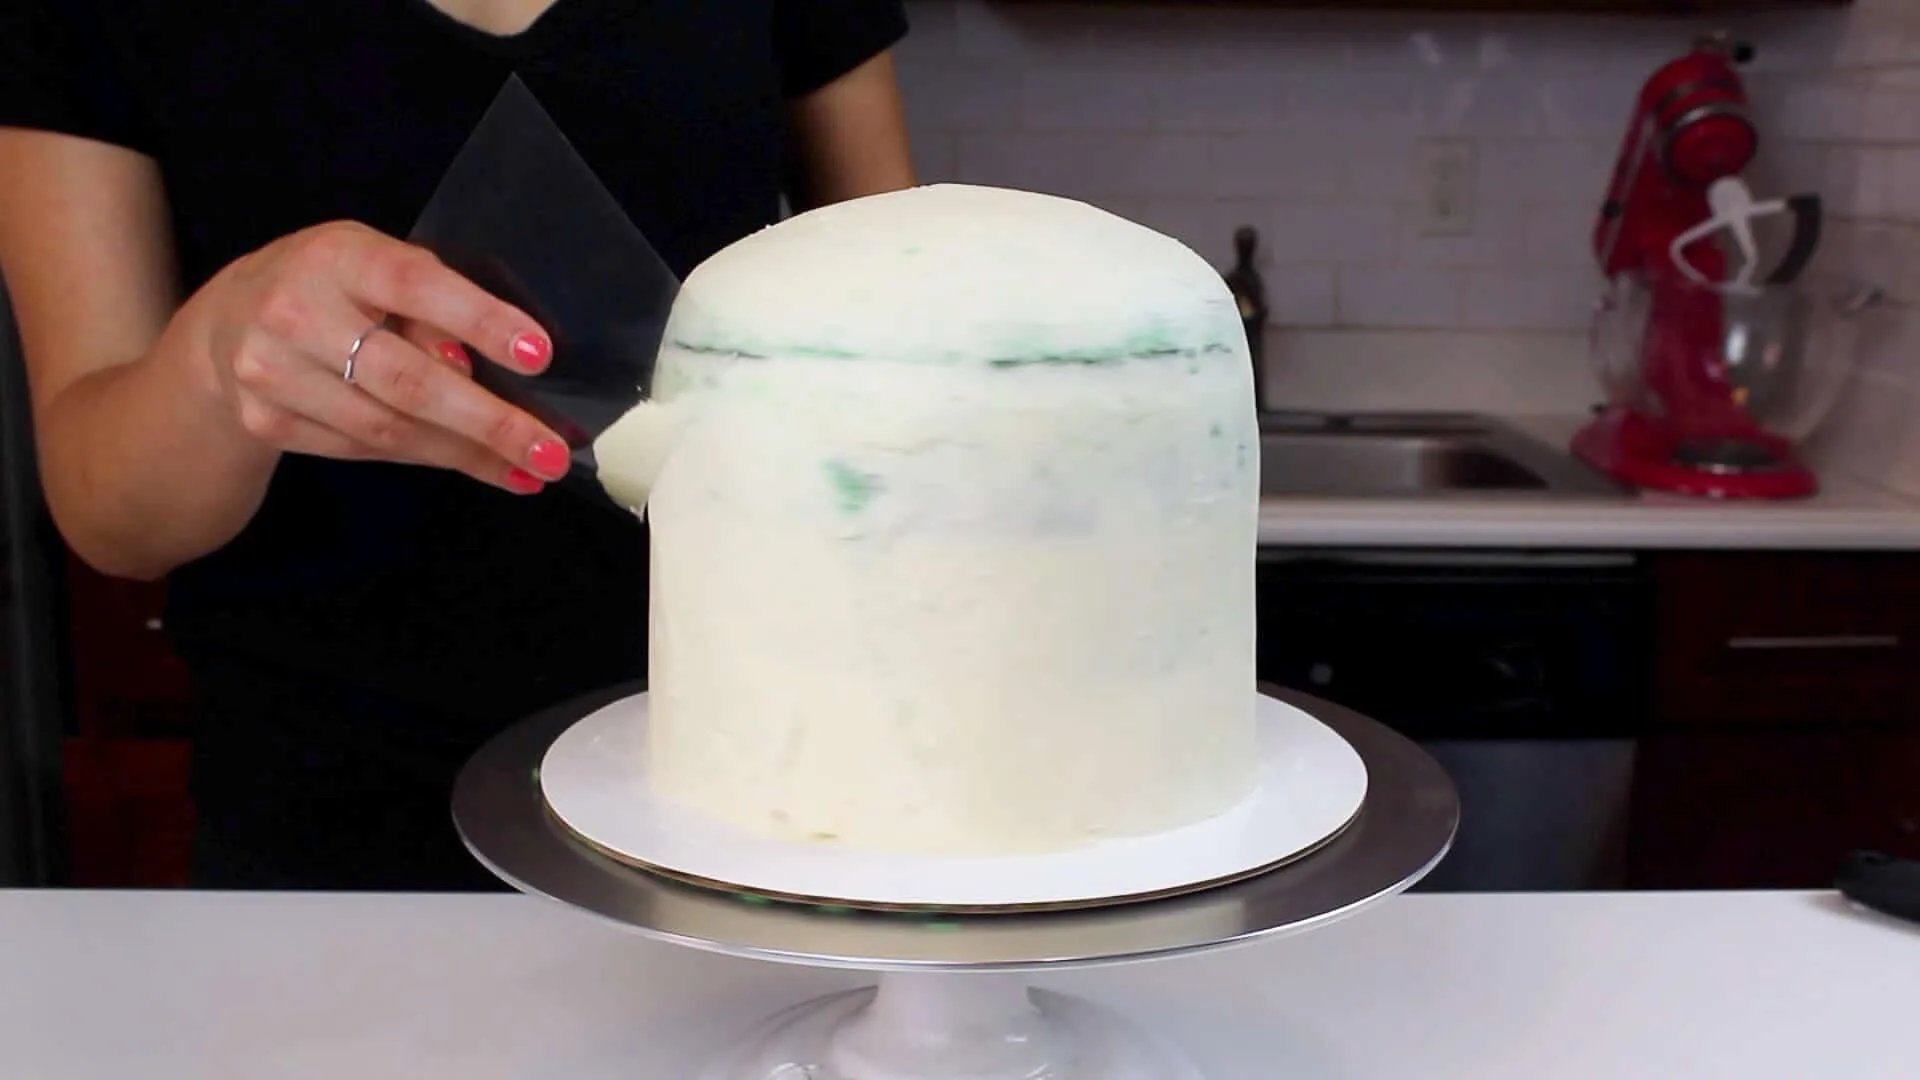
Smooth using a large offset spatula, and then a small acetate sheet (or flexible bowl scraper) to smooth the rounded top of the cake.
Use the fifth cake layer to cut out the front and back legs of the frog, as well as the eyes. Cut the layer in 4 equal quarter.
Two of the quarters will be the hind legs of the frog. Out of the remaining two sections, cut out two long rectangles to be the frogs front legs.
With the remaining but of cake, use a circle cutter to create two round cut outs to be the frogs eyes.
Gently press the leg cutouts onto the cake, and carefully cover with frosting using a small offset spatula.

Chill the cake in the freezer for about 5 minutes, to all the crumb coat to set.
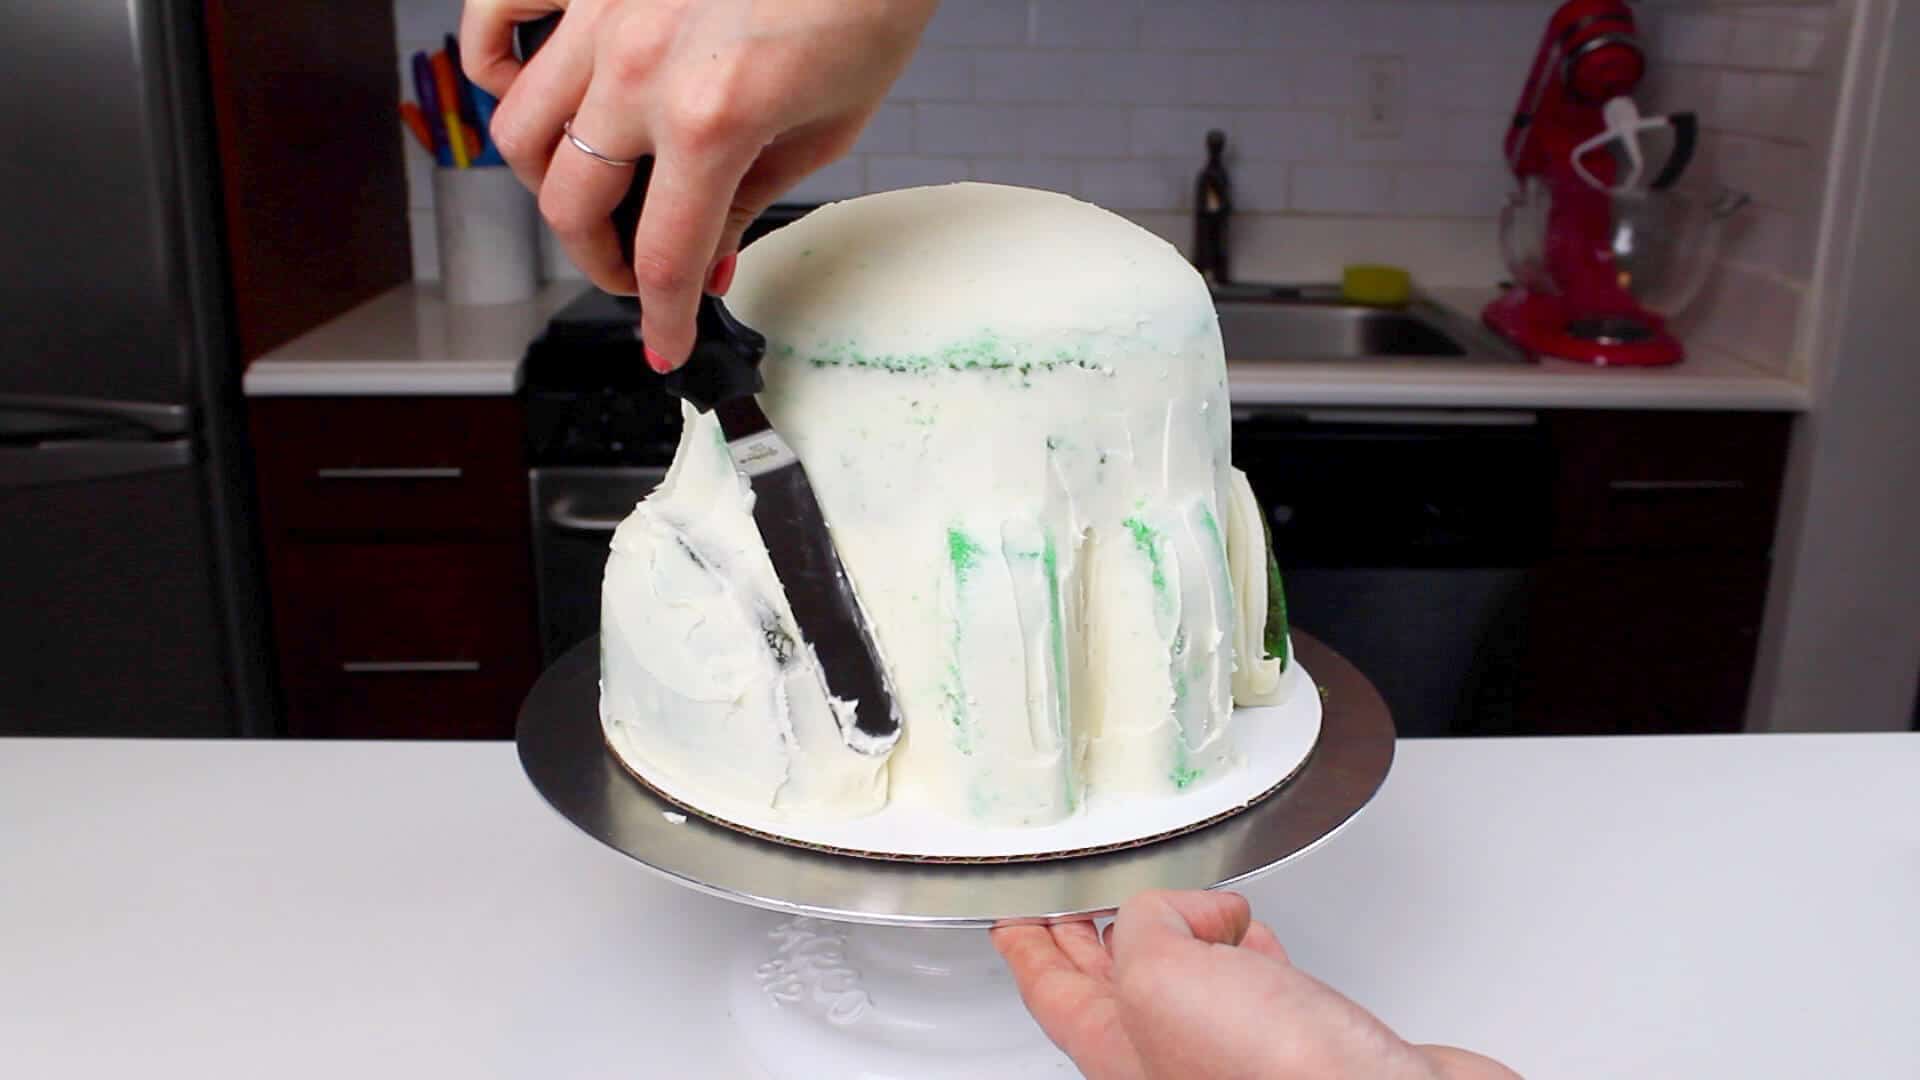
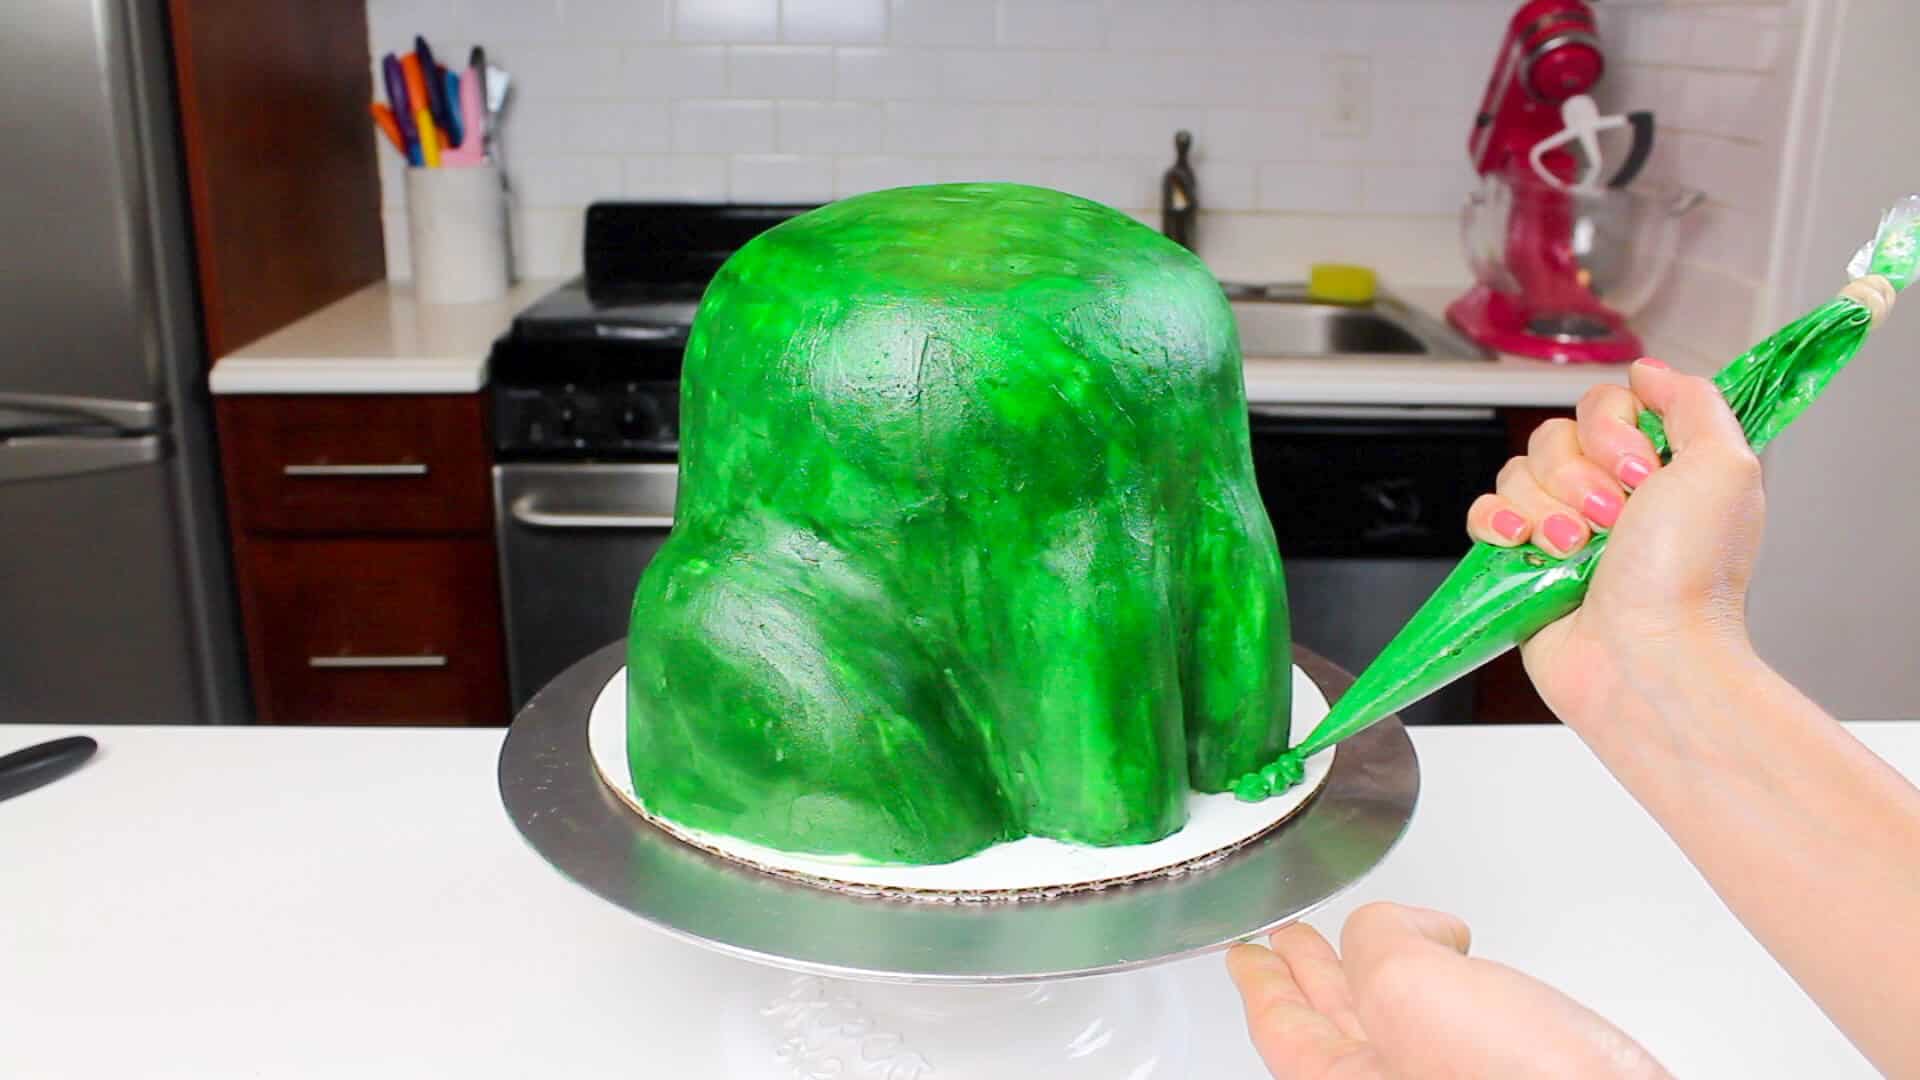
Color the remaining frosting green using gel food coloring, and add a second layer of frosting to the cake.
Pipe small dollops of green frosting around the frogs legs, to create the frog’s toes. Place the cake back into the freezer, to allow it really firm up.
Cover the cake circles with a thick layer of green frosting, and add black and white fondant cut outs to one side, to create the eyes.

Insert then wooden dowels through them, to allow you to stick them to the top of the cake once they’re chilled.
Next, prepare the mirror glaze! Heat the water, sugar, sweetened condensed milk, and melted white chocolate into a bowl, and then mix in the bloomed gelatin.
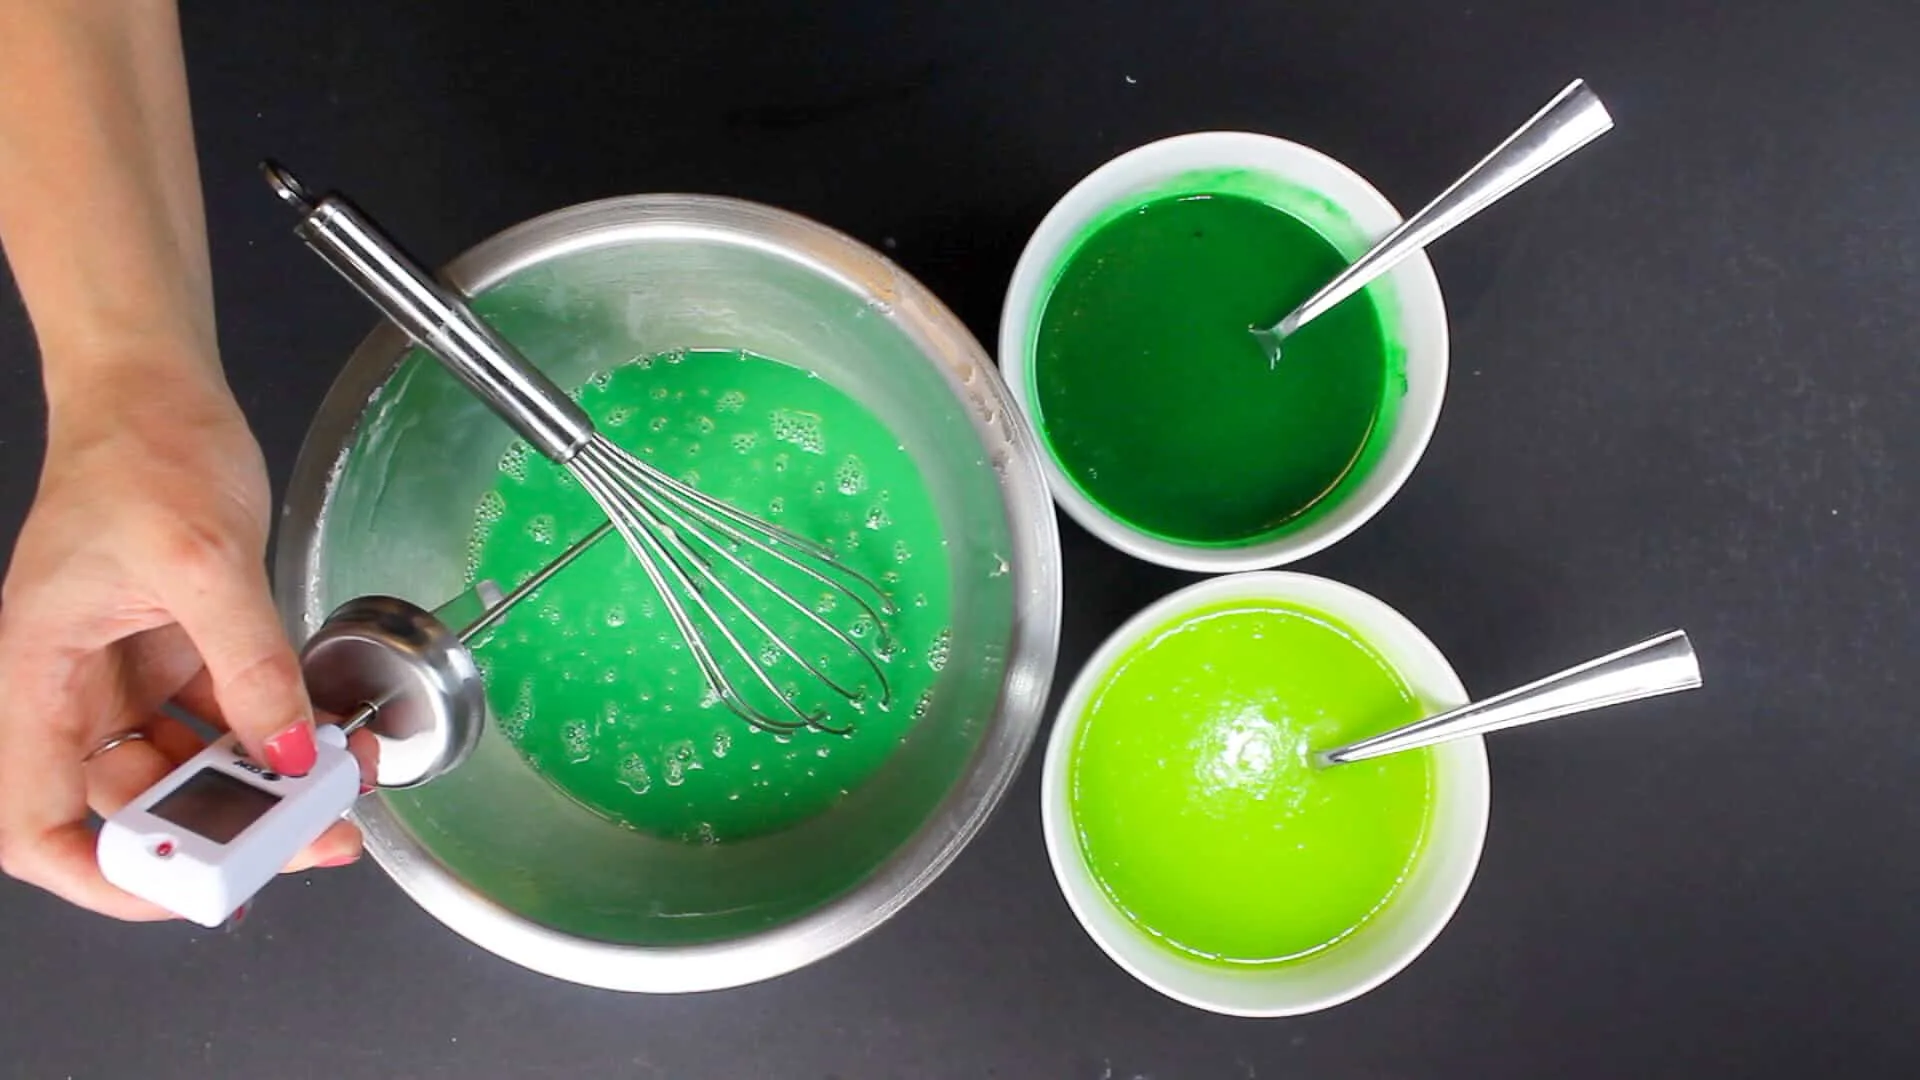
When the mixture is fully incorporated and smooth, divide it between three bowls and color different shades of green using gel food coloring.
Once the glaze cools to 95 degrees F, combine all the mirror glazes into one bowl by drizzling the colors on top of each other.

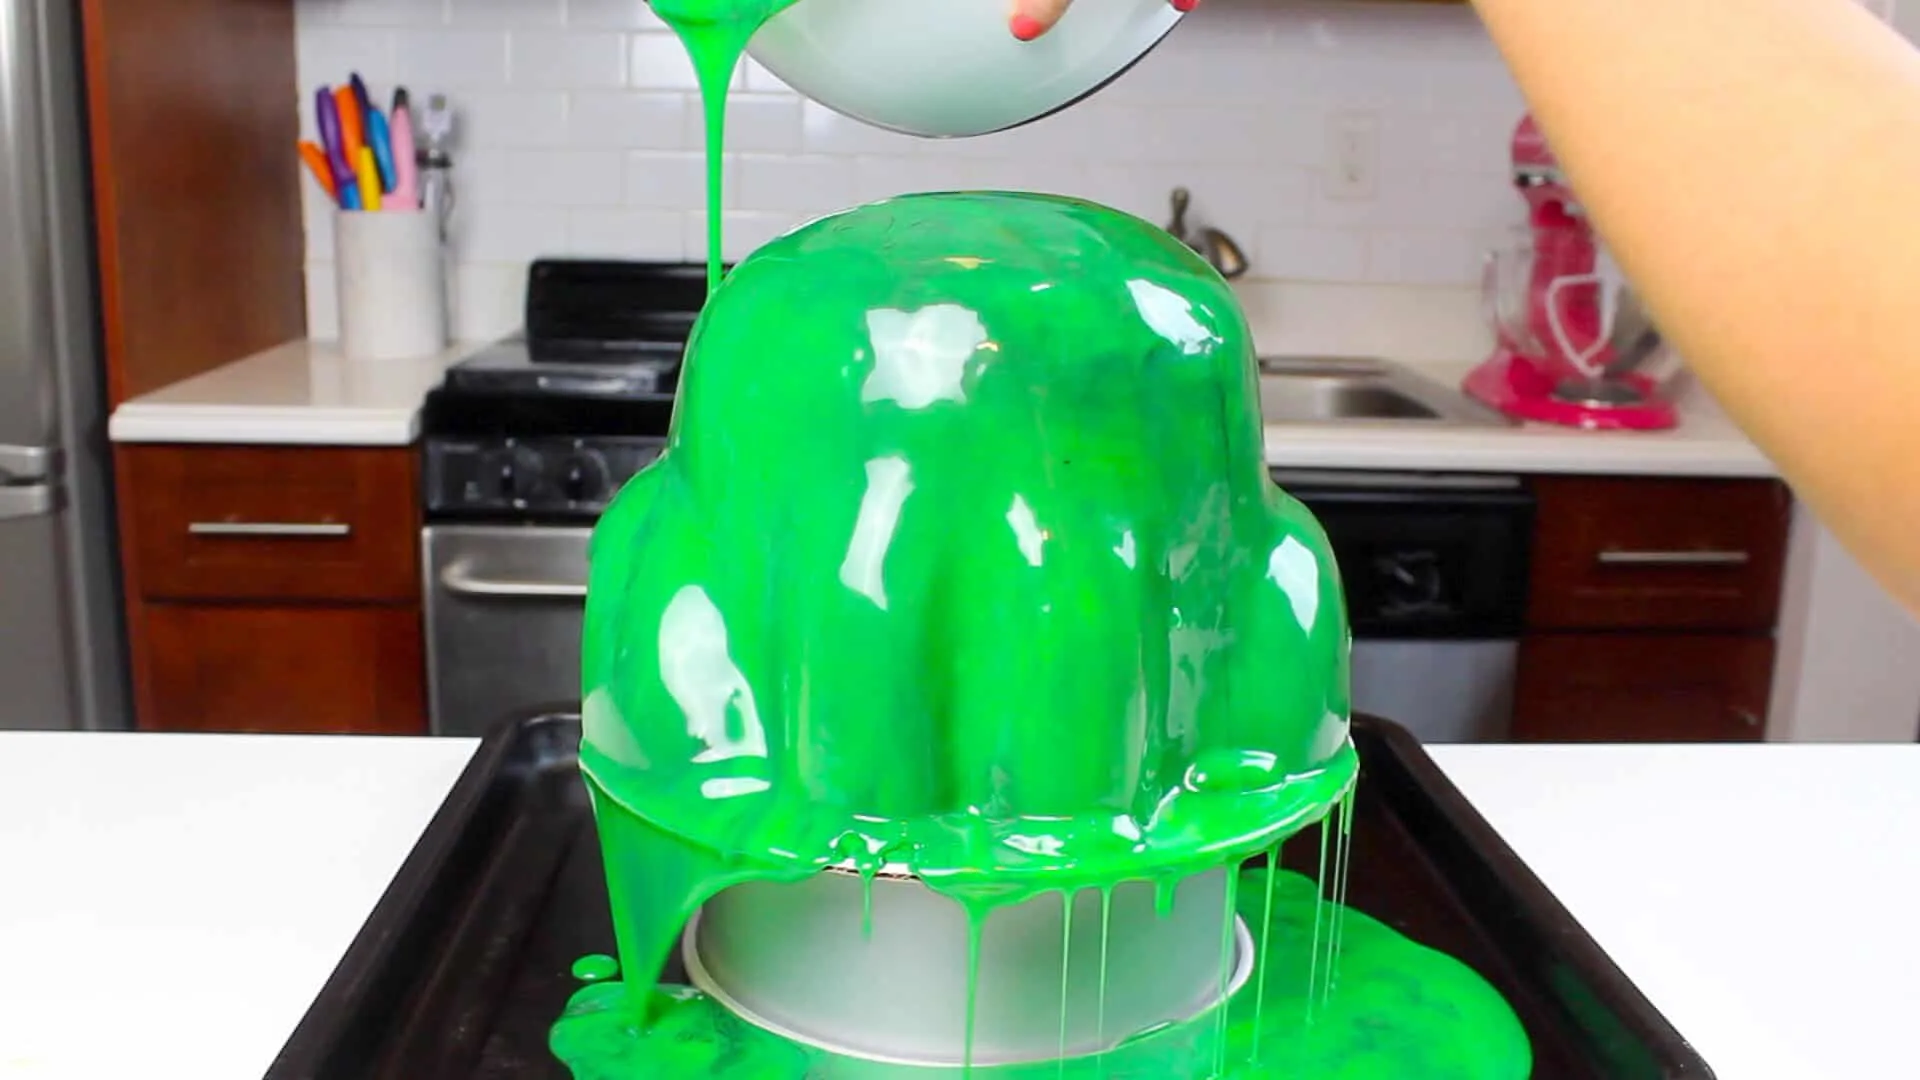
Remove the cake from the freezer, and place on top of a cake pan smaller than your cake board.
This will allow excess mirror glaze to run off as you pour it onto the cake.
Place the cake and cake pan on top of a baking sheet, to collect the runoff glaze.

Once the cake has been fully covered in mirror glaze, carefully add the eyes onto the top of the cake.

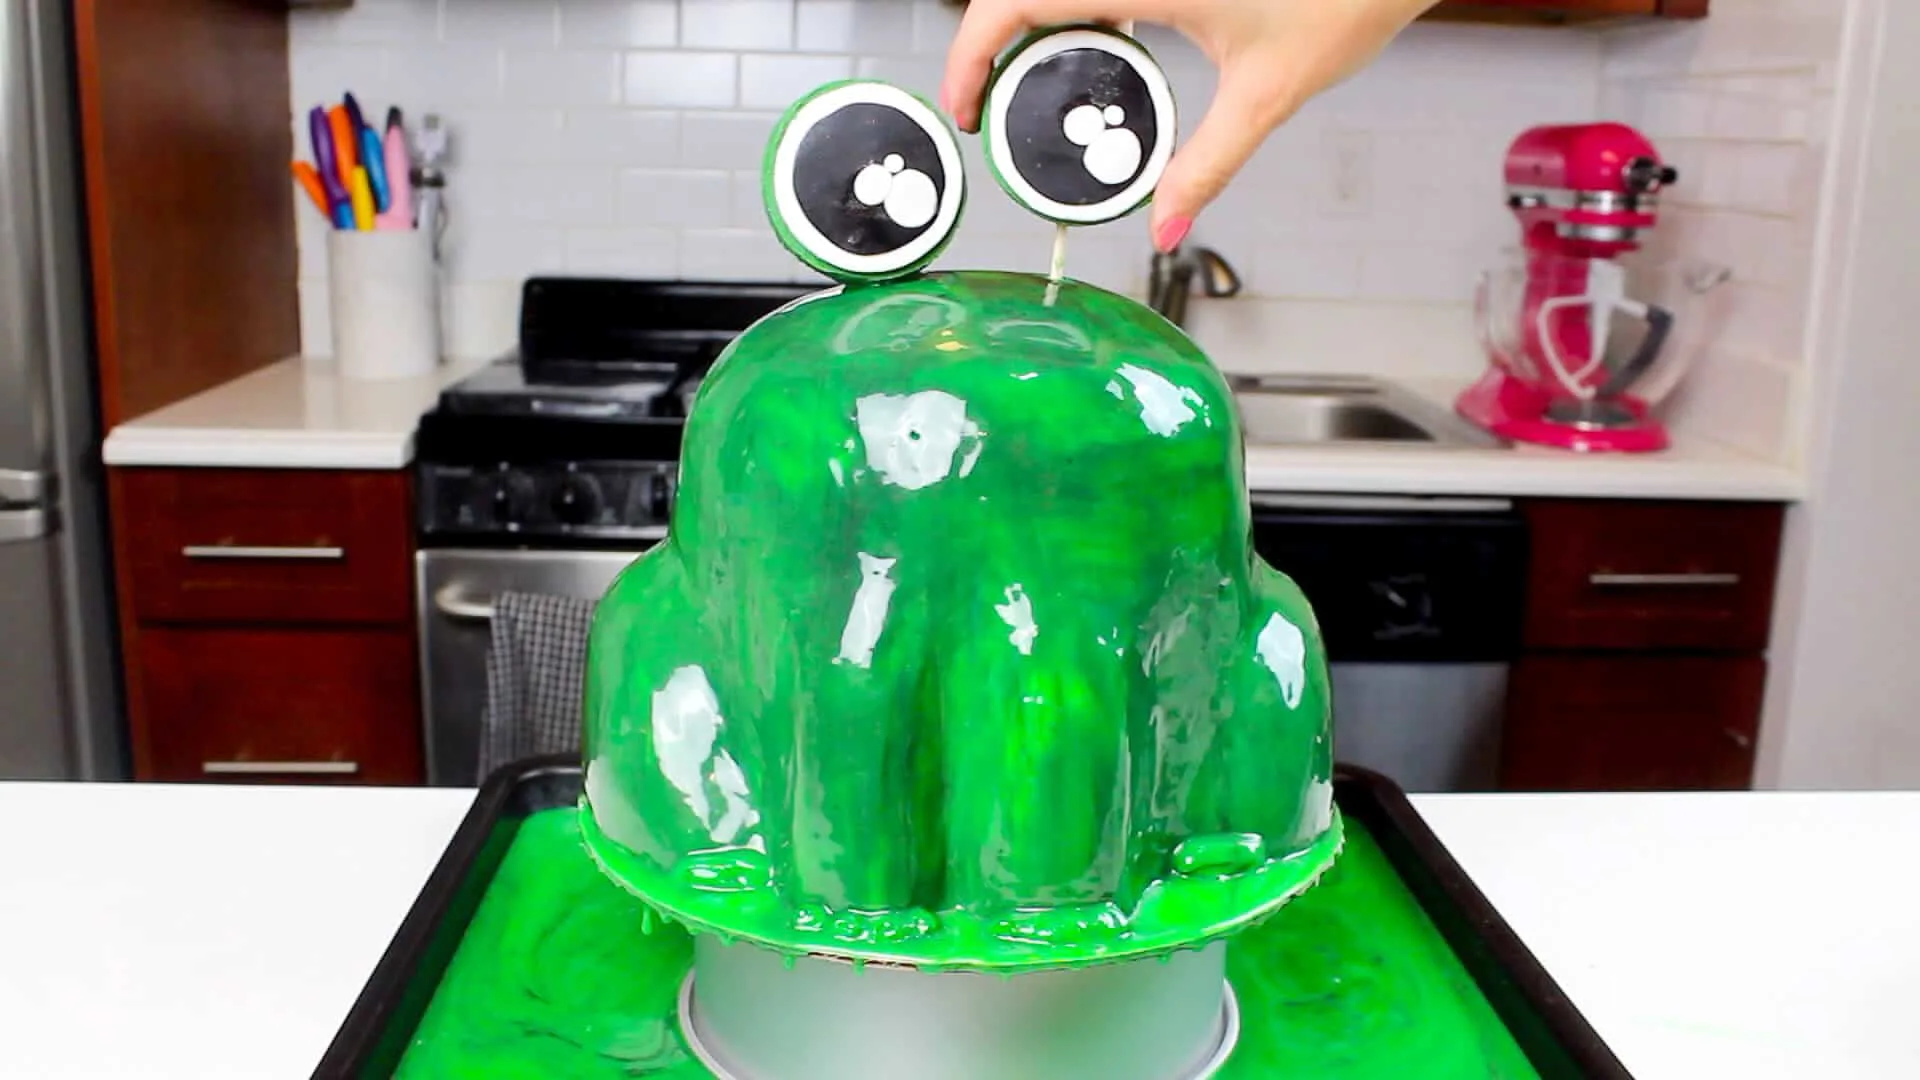
Use a spoon to add a bit more mirror glaze over the back of the eyes, to really give the whole cake a “slimy” shine!
Allow the the cake to sit for about 10 minutes, to allow any excess glaze to run off. Since the cake is chilled, the glaze should gradually firm up, and the gelatin will set.
Use a bench scraper or acetate sheet to clean up the cake board, and wipe away the excess glaze.
Allow the cake to sit at room temperature for at least an hour before cutting it!
Since it was thoroughly chilled before adding the glaze, it will need some time to warm up before you’ll be able to cut into it.
I recommend warming up your knife by running it under some hot water (and drying it), to ensure you’ll be able to get nice, clean slices.

Debbie
Friday 9th of November 2018
Can you tell me what • 0.66 cups sweetened condensed milk is please never saw this kind of measurement before sorry may be a dumb question but I really wasn't sure how much sweetened condensed milk to use. I hope your reading question about older post I wanted to do the mirror glaze tomorrow?
Chelsweets
Tuesday 4th of December 2018
no worries! it just means 2/3 of an american cup! so sorry for the delayed response!!!