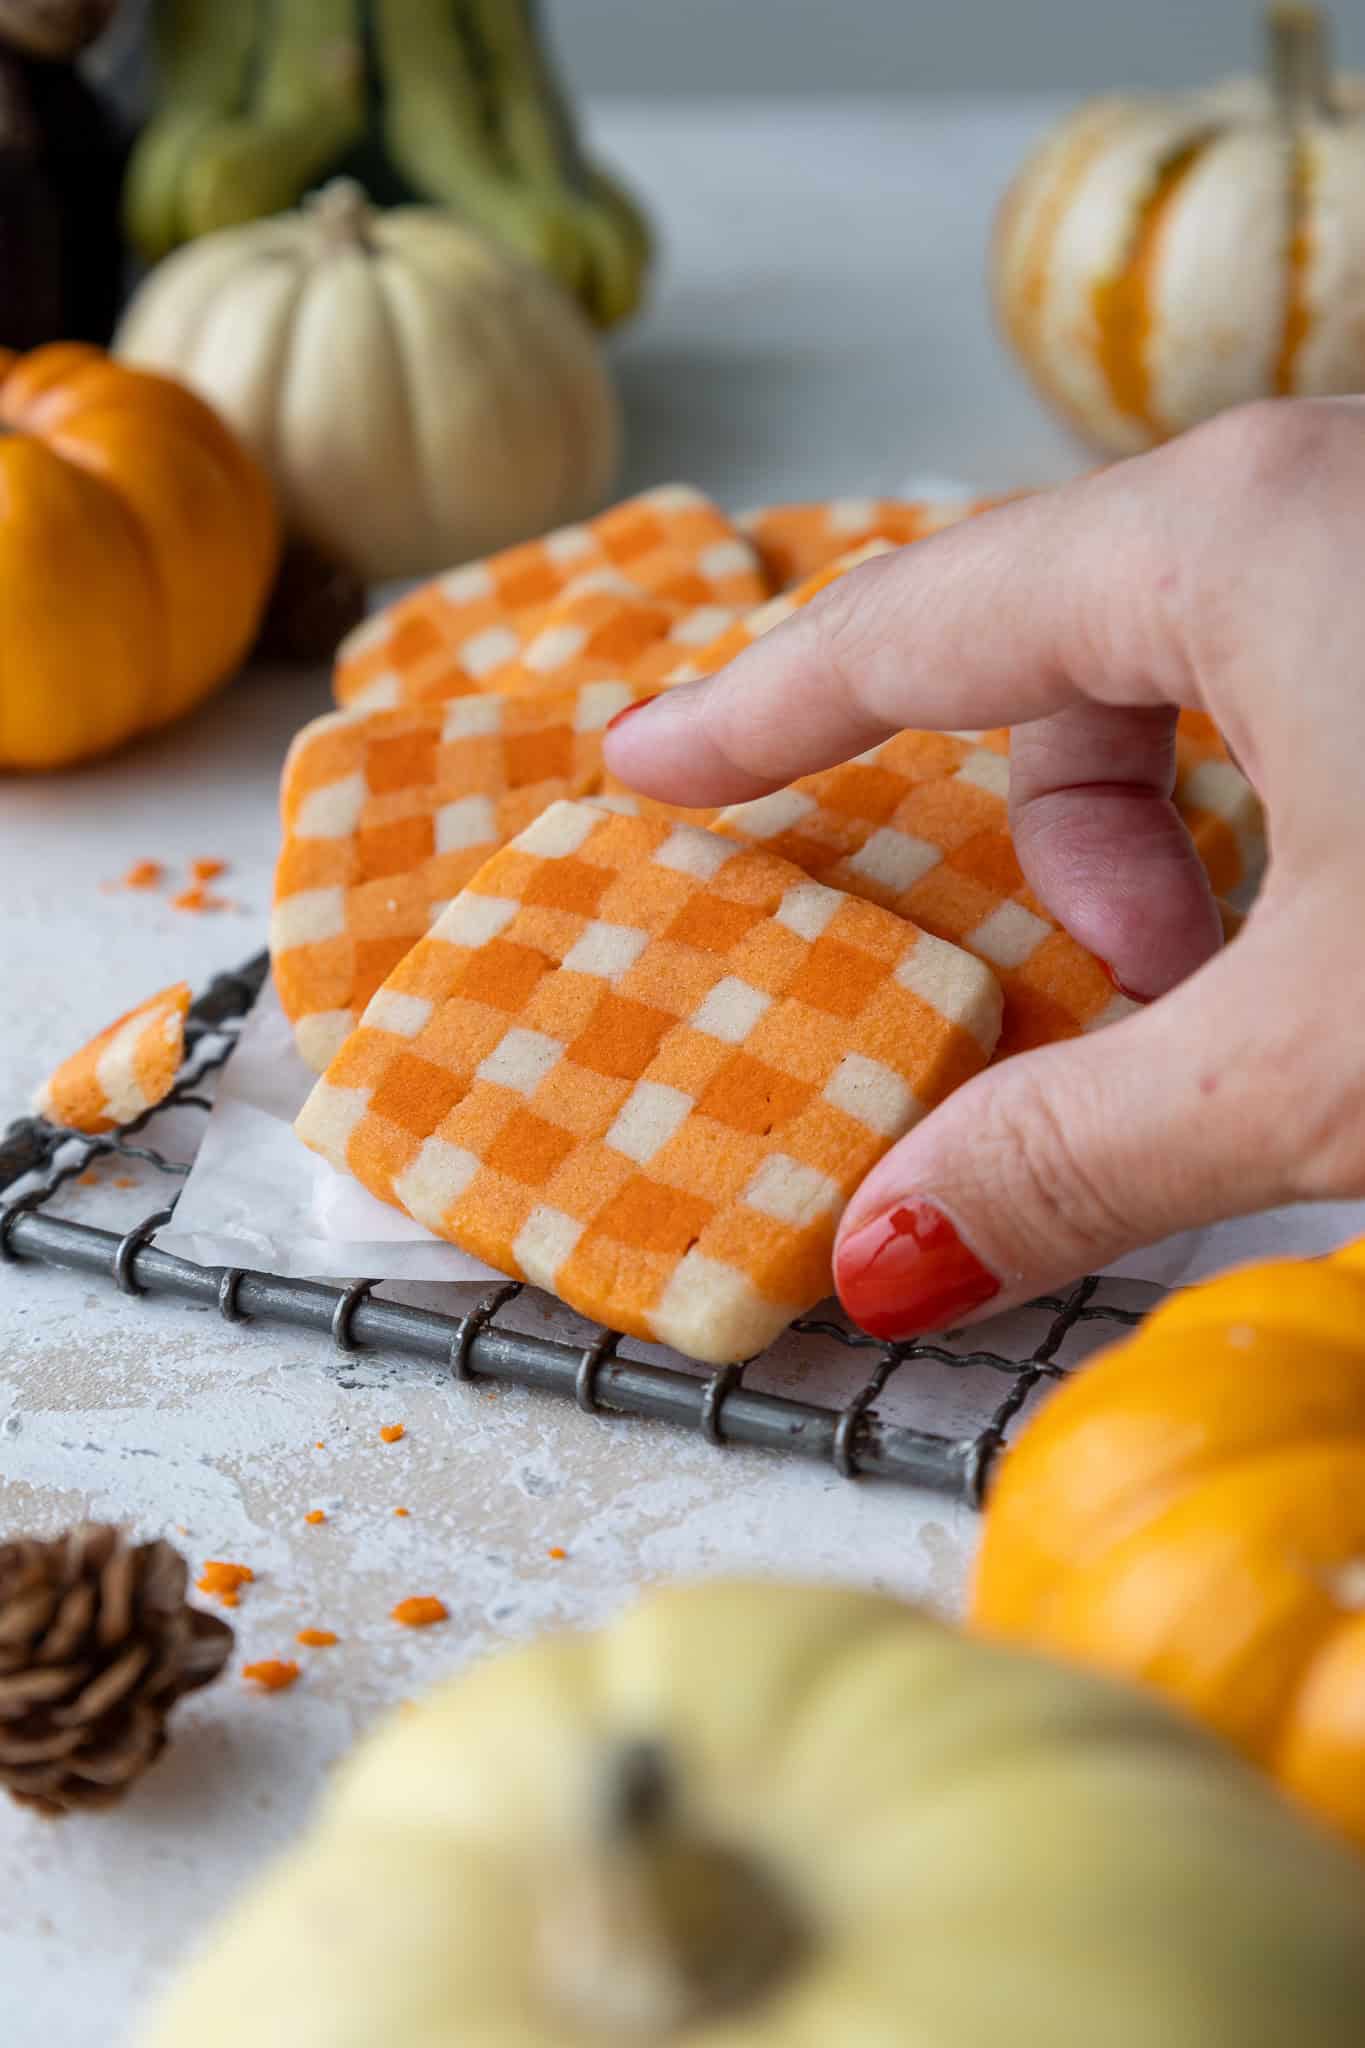
Gingham Shortbread Cookies
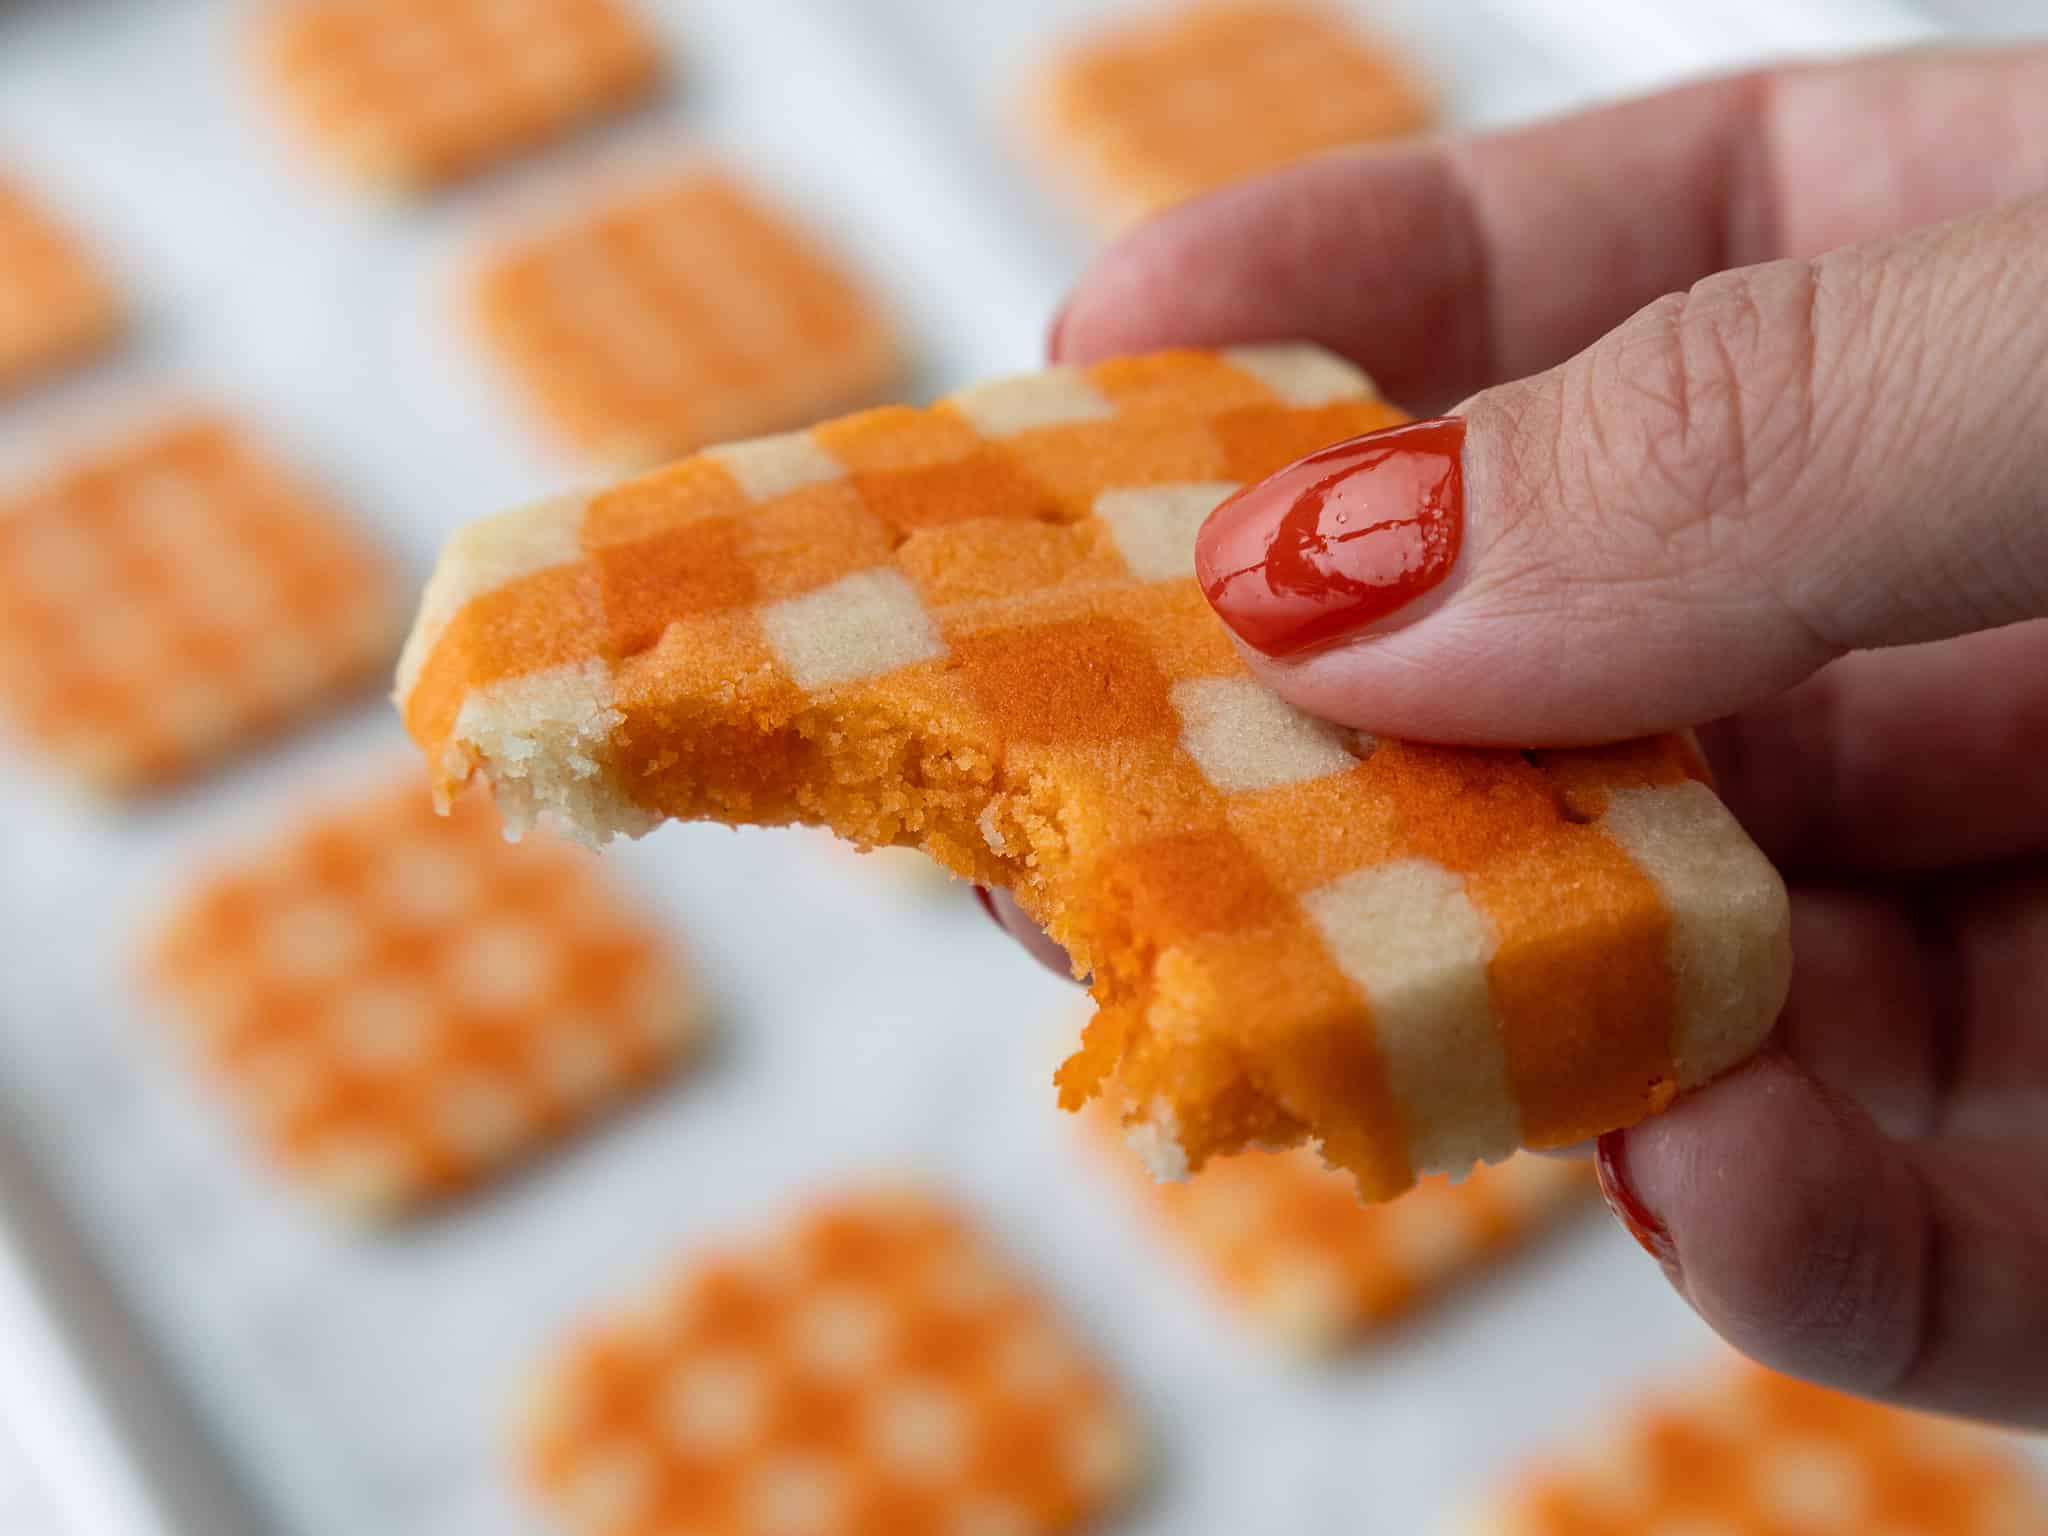
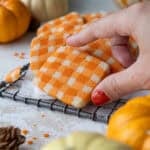
These gingham shortbread cookies bake up melt-in-your-mouth tender and have that classic checkered pattern that’s perfect for the fall!
How to Make These Gingham Shortbread Cookies
Let’s walk through each step of this recipe to make sure it turns out as amazing as possible!
I’ve also shared a video in the recipe card at the bottom of this post.
Step 1: Make the Shortbread Dough
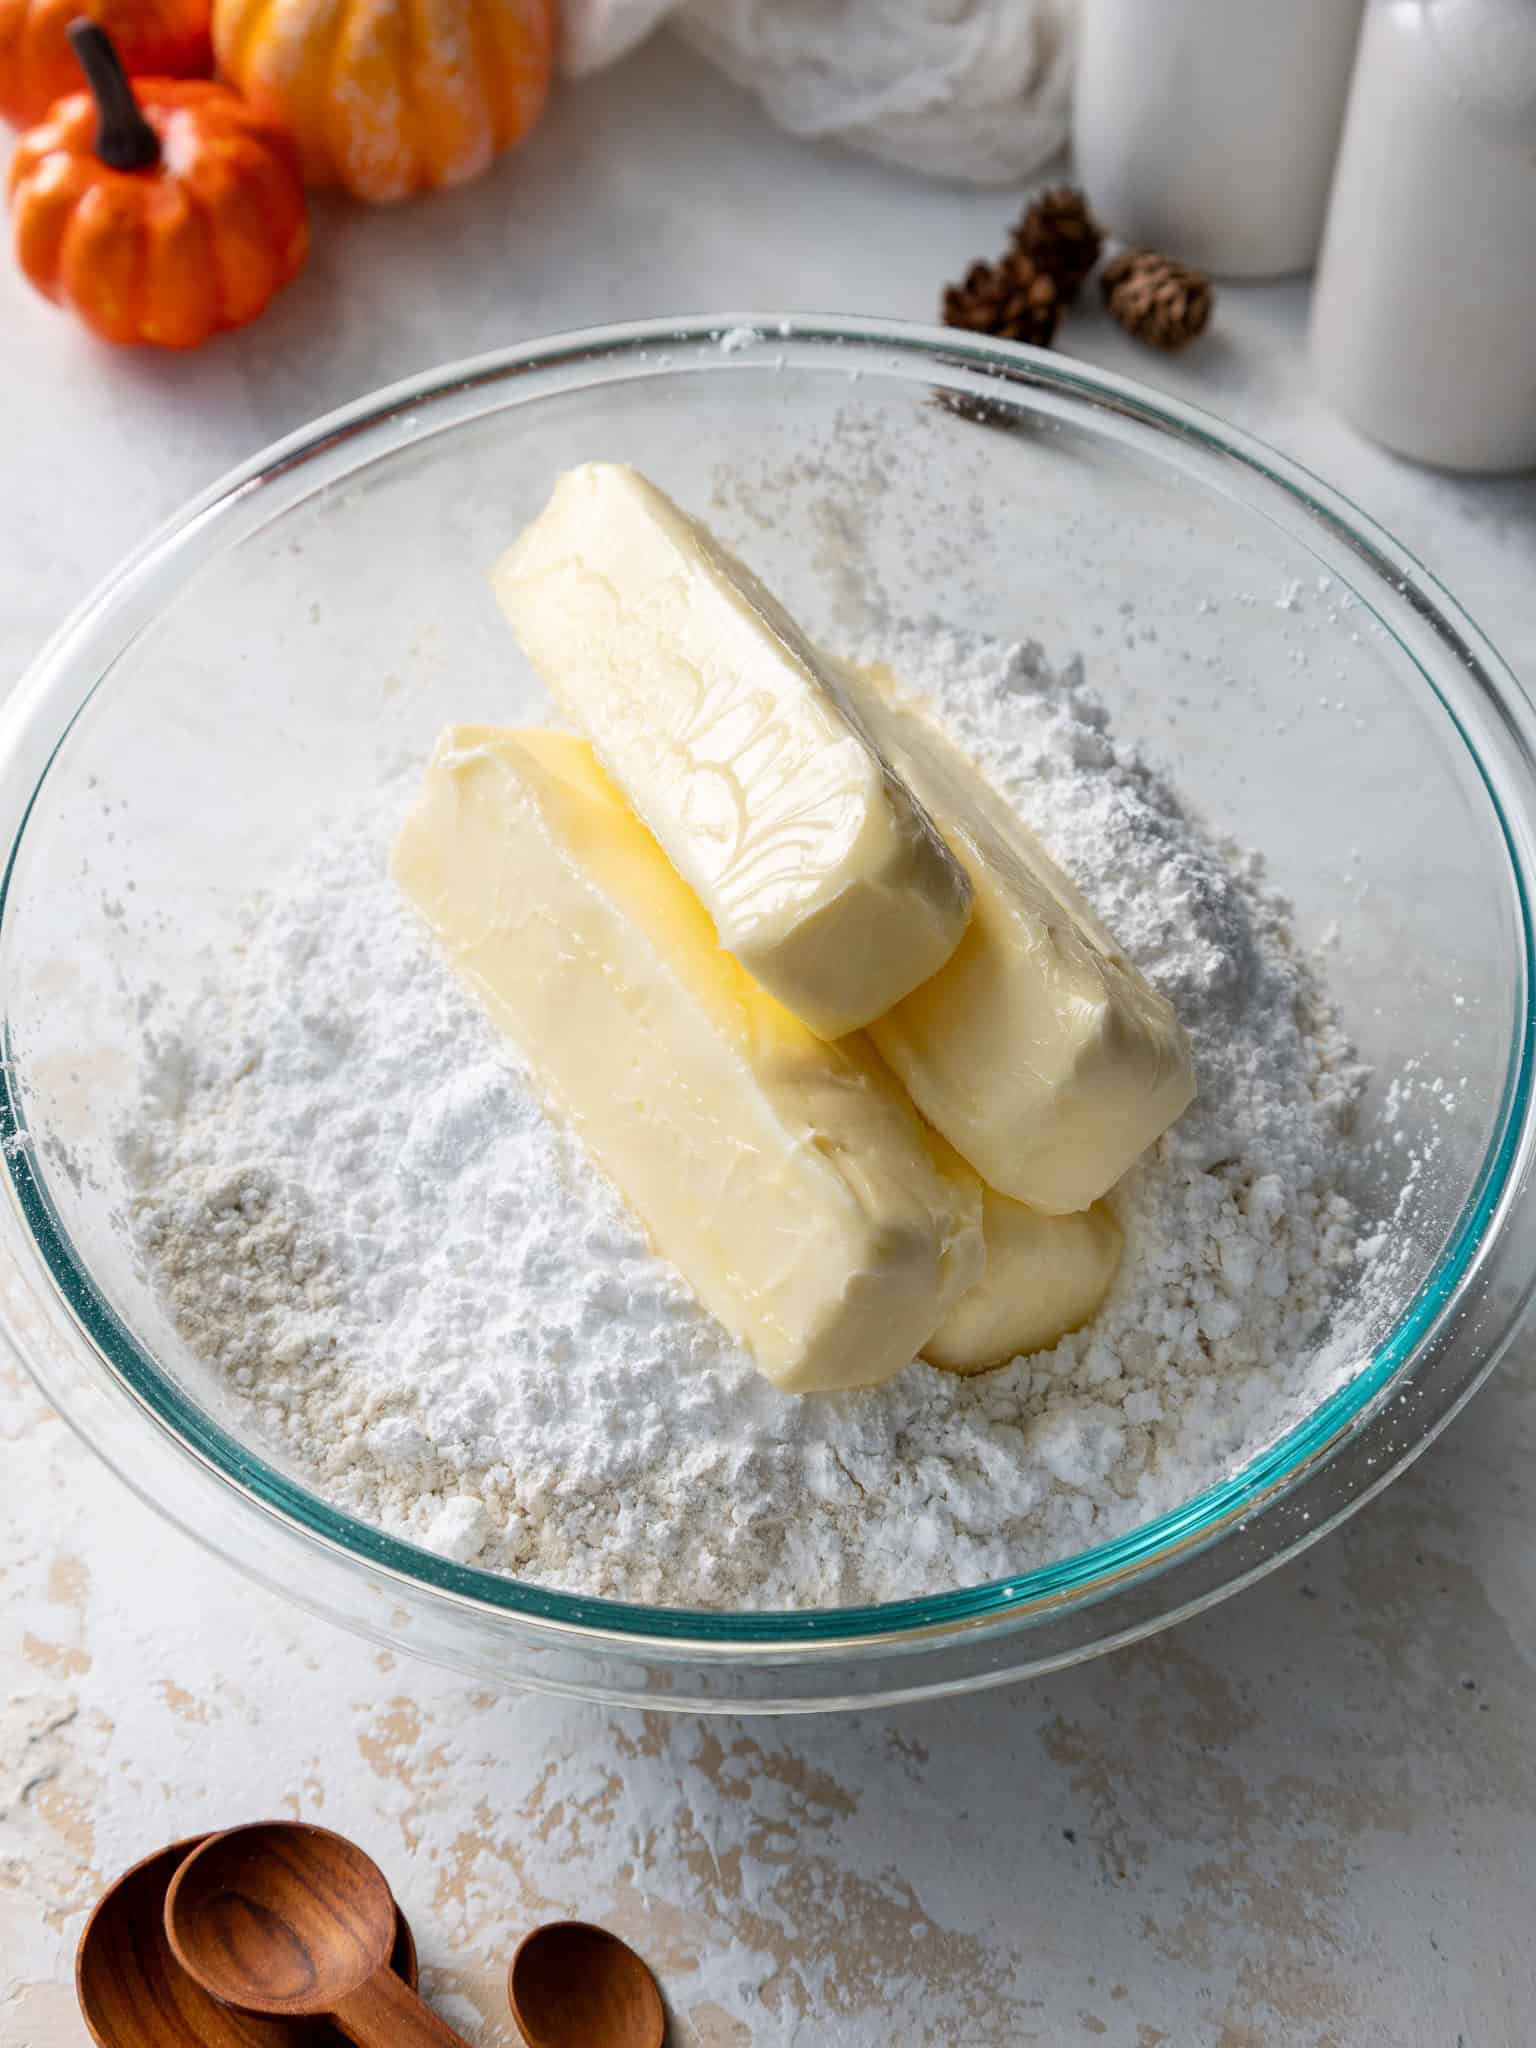
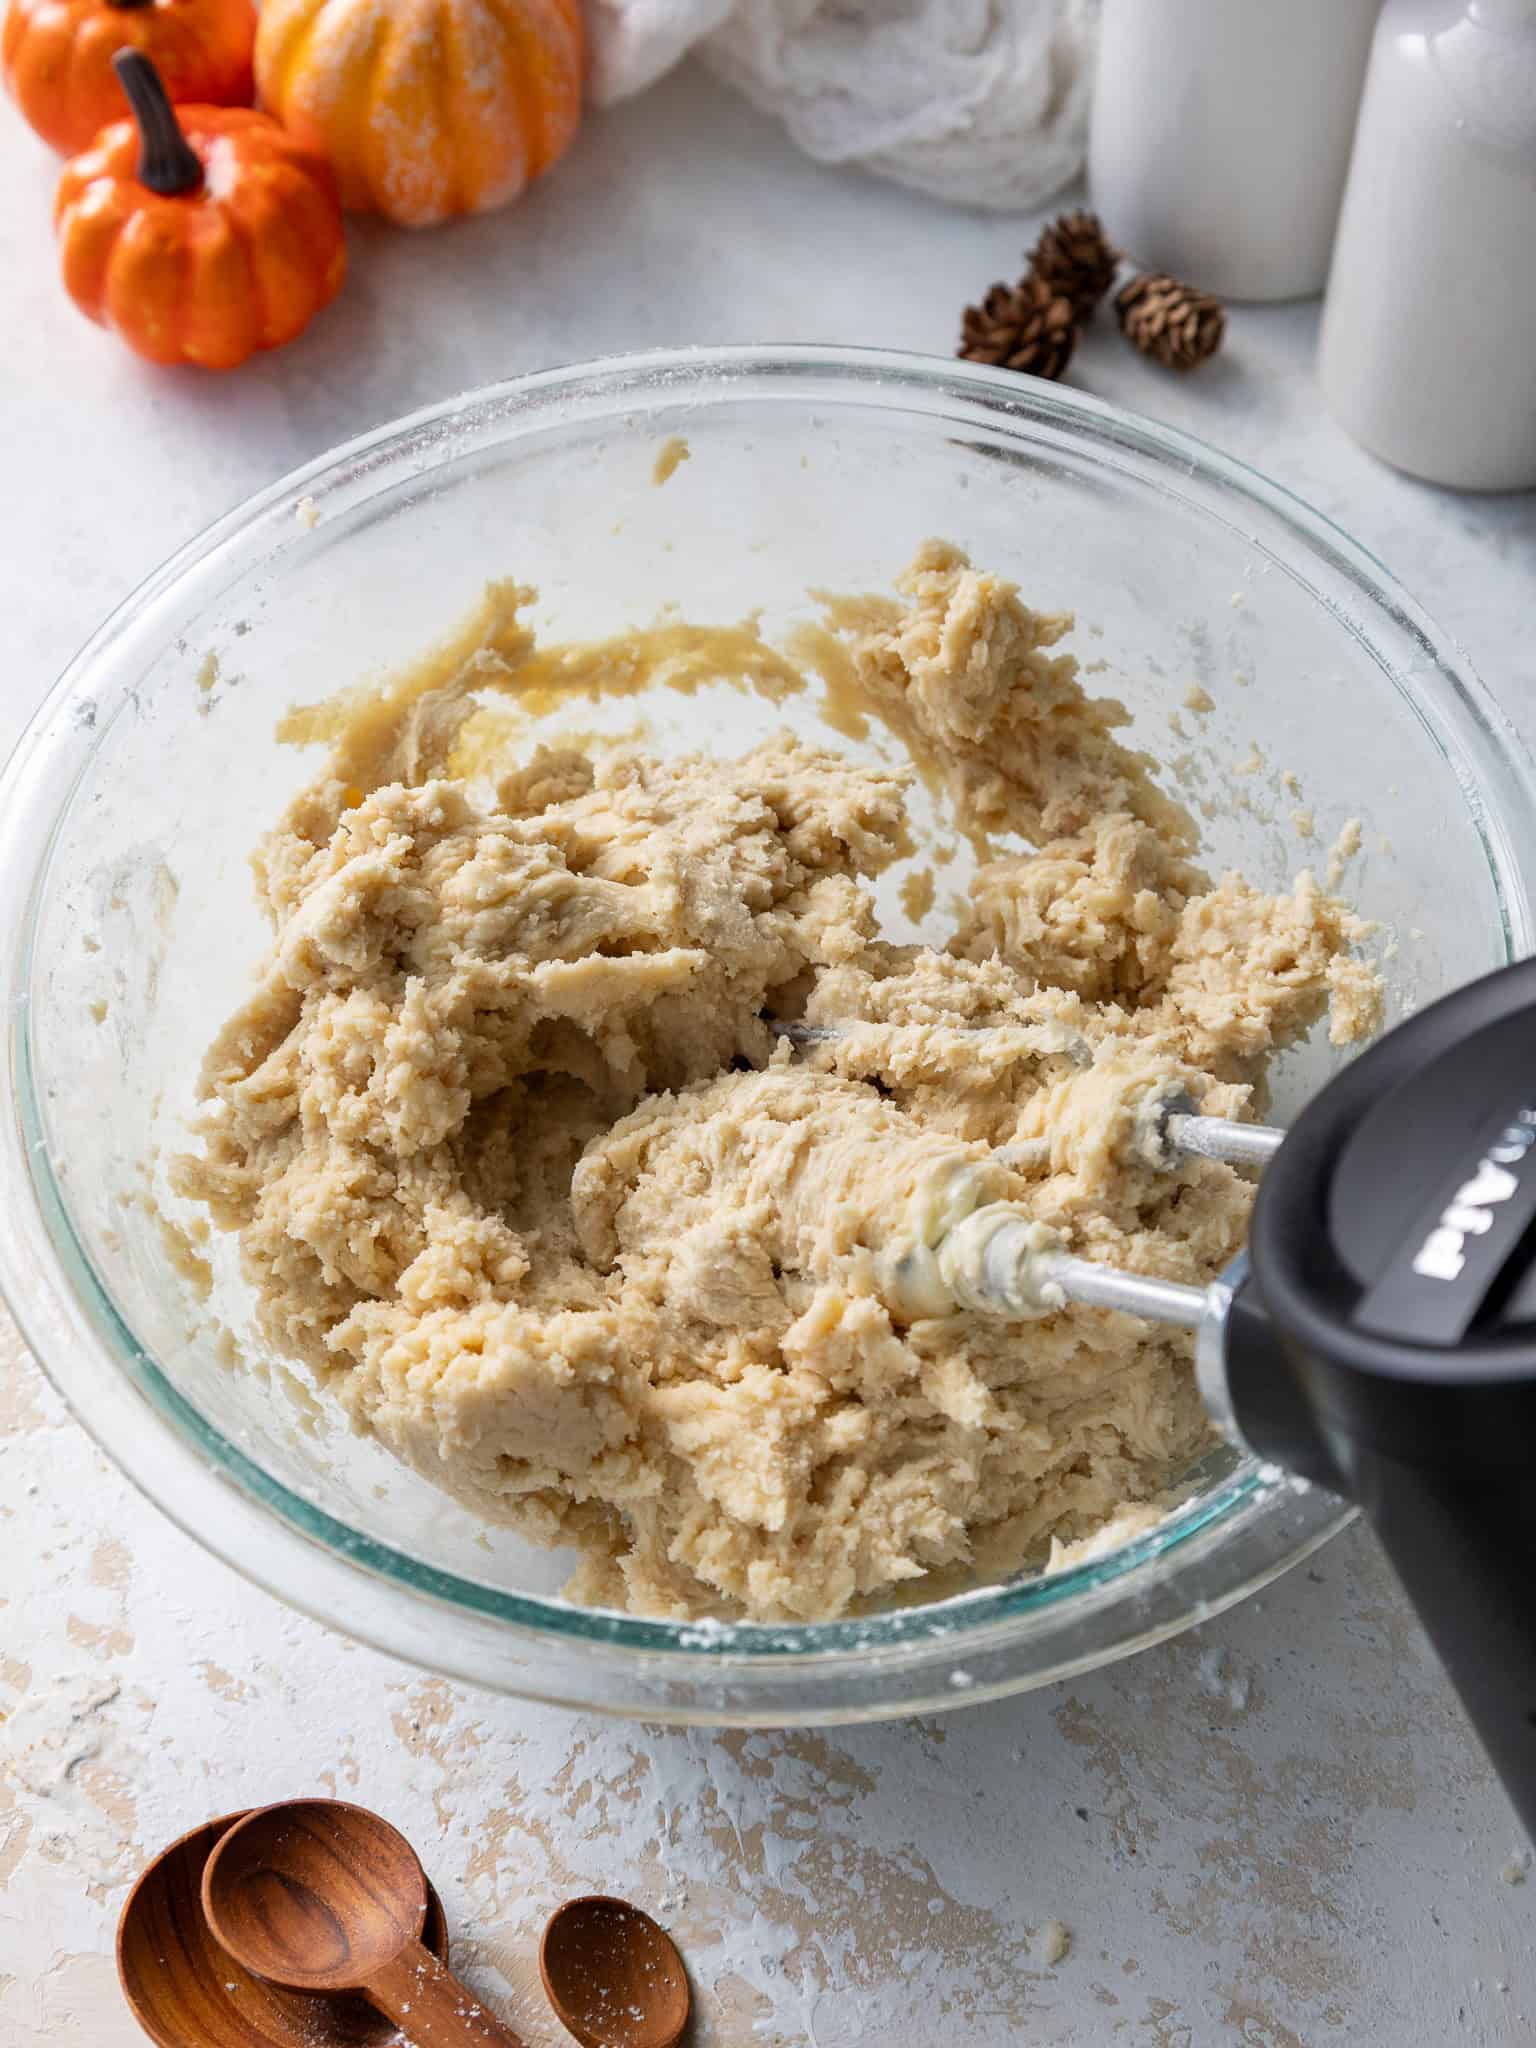
Please note that this recipe has a LOT of chill time (but I promise it’s worth it!), so be sure to plan accordingly. Use an electric mixer to combine the butter, flour, powdered sugar, and fine salt.
The mixture might look a bit crumbly at first, but it will eventually form a soft dough once it’s fully mixed.
If the mixture isn’t coming together, you may want to heat it in the microwave for a couple of seconds (literally 2-3 seconds, you don’t want to melt the butter!) to help soften the butter.
Step 2: Portion, Color, and Chill the Dough
Color half of the dough (about 540g) a light shade of orange with orange gel food coloring.
Place the dough onto a large piece of plastic wrap and roll it out to be 1/4 inch thick (rolling pin rings or even two pieces of wood to act as a guide help a ton). Wrap the dough tightly and place it in the fridge to chill.
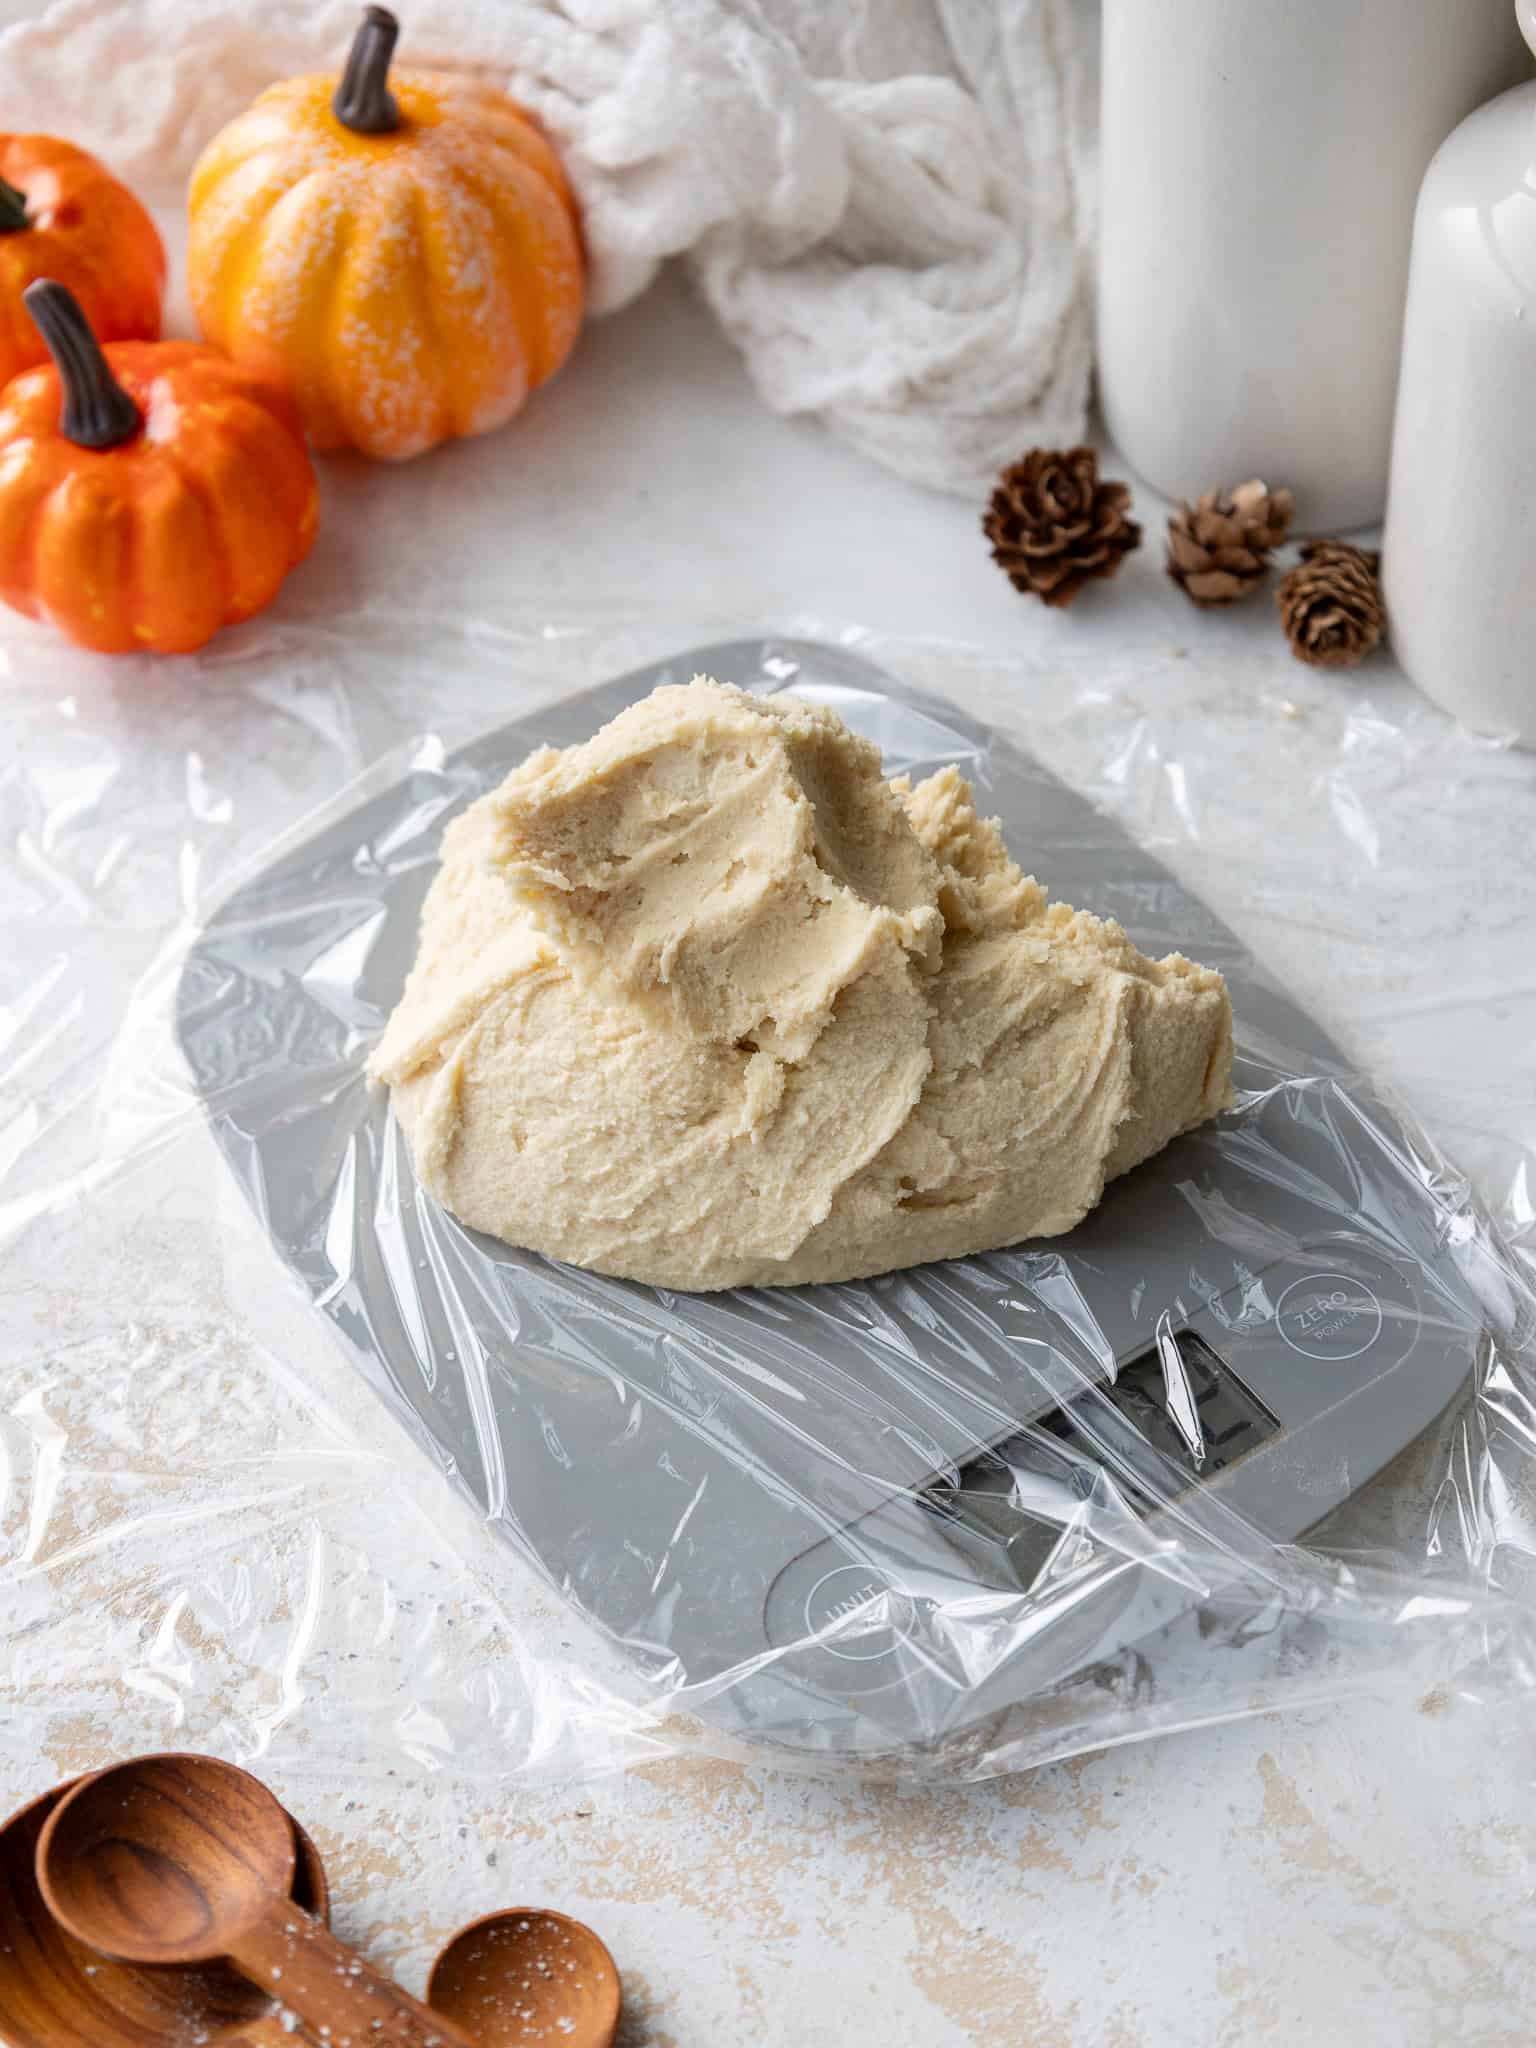
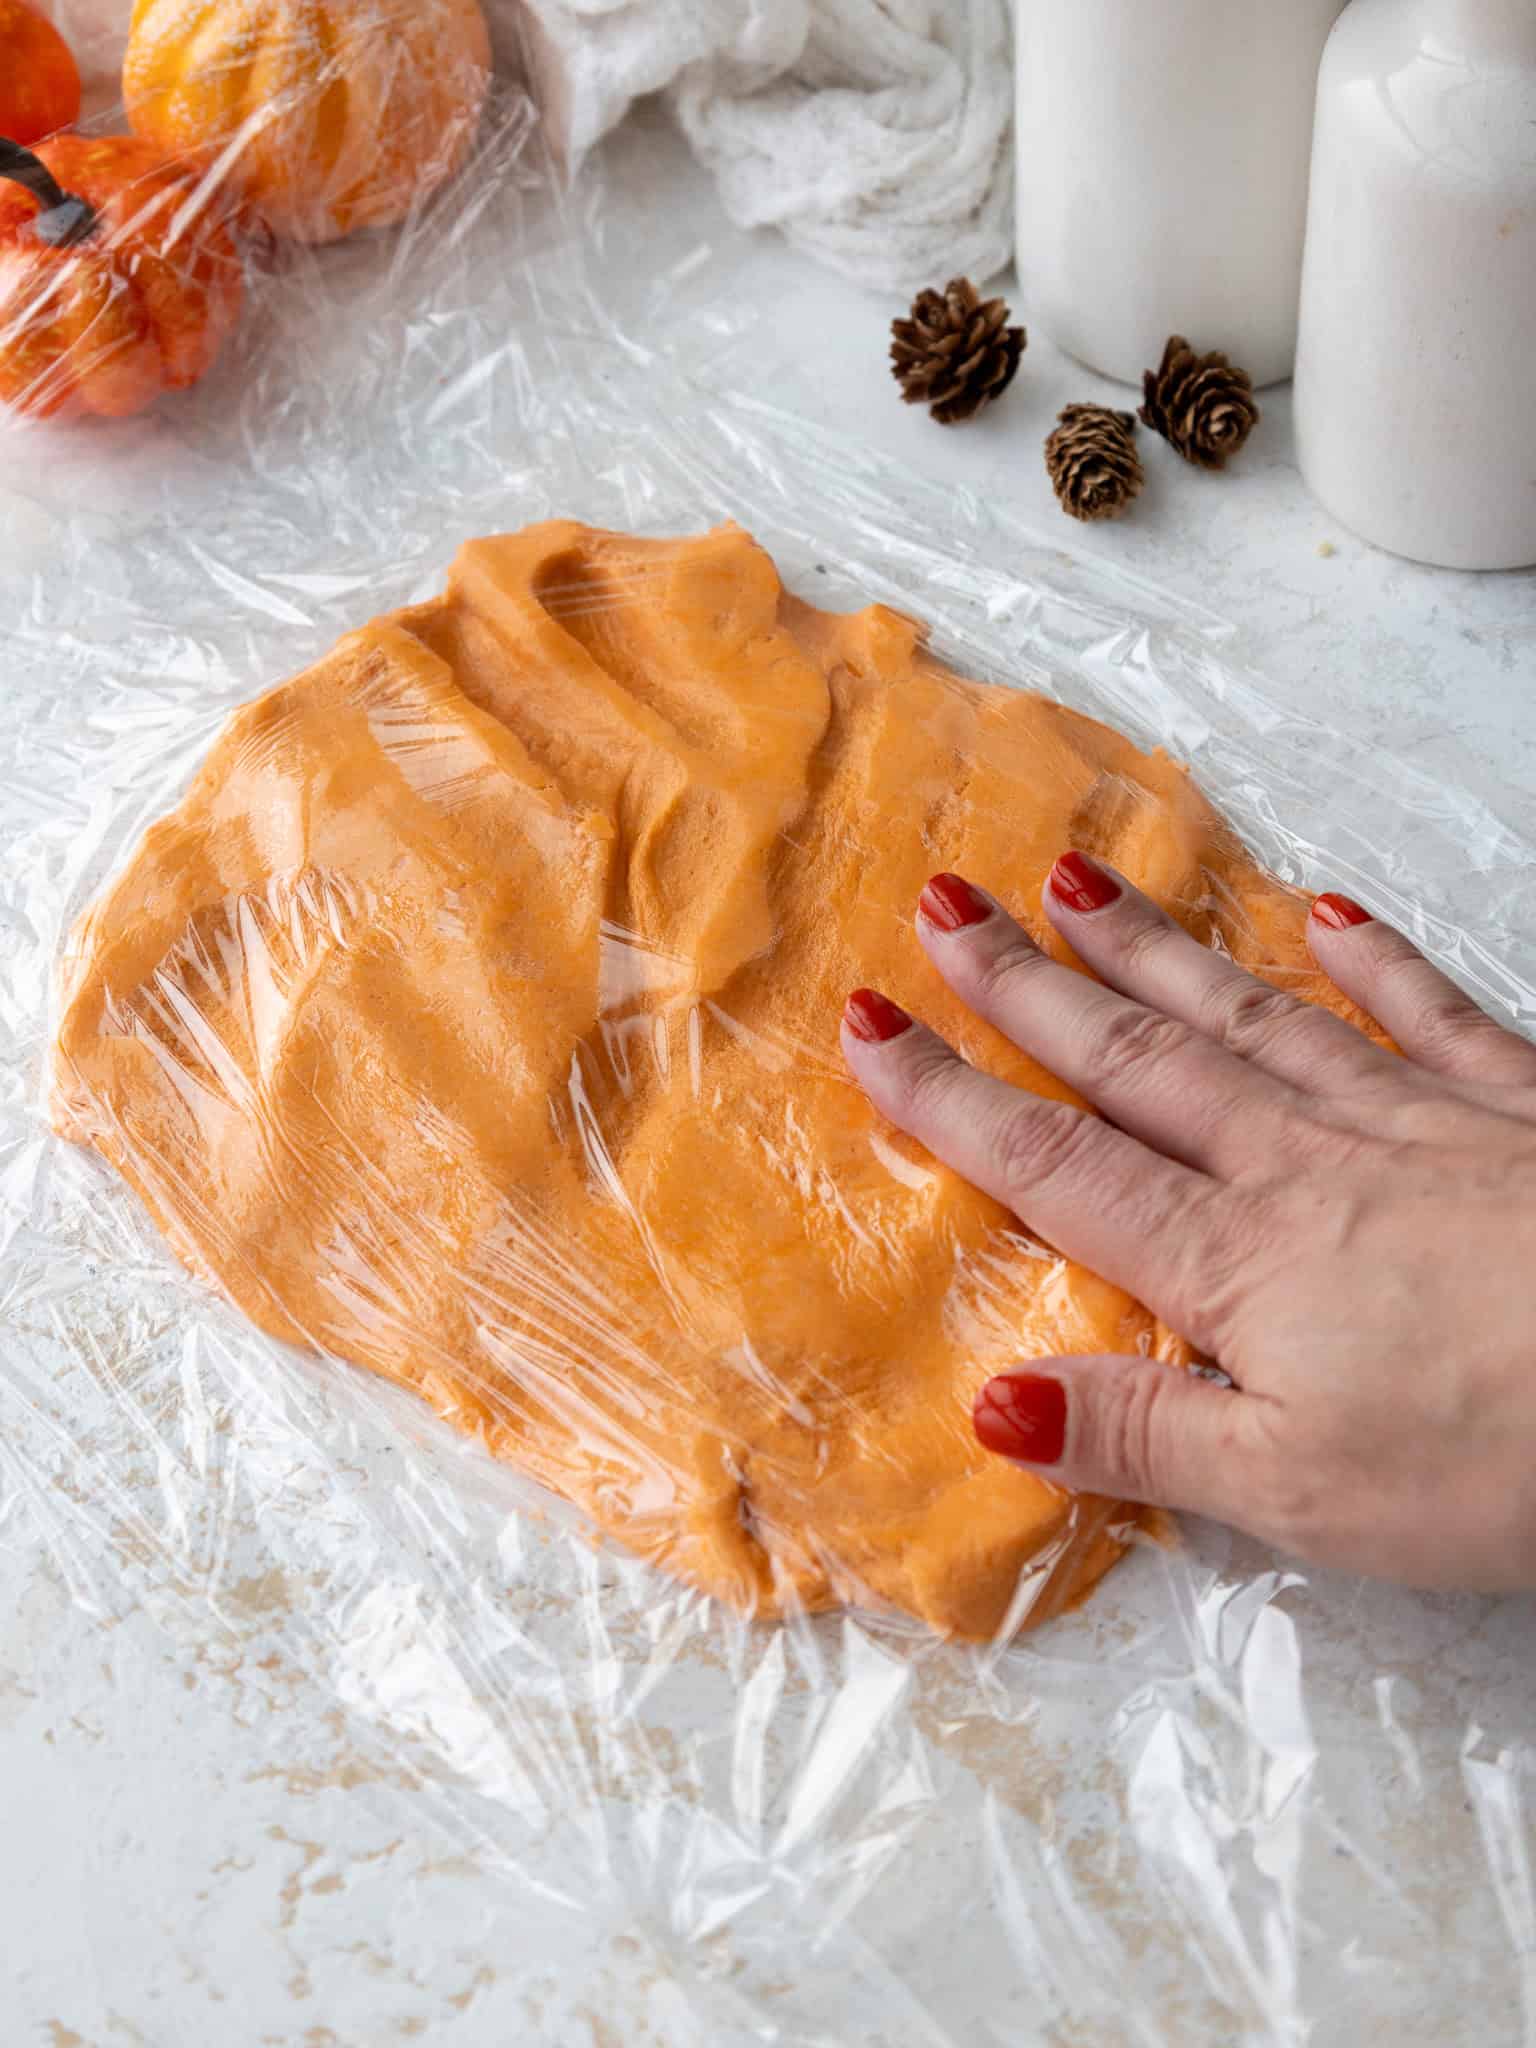
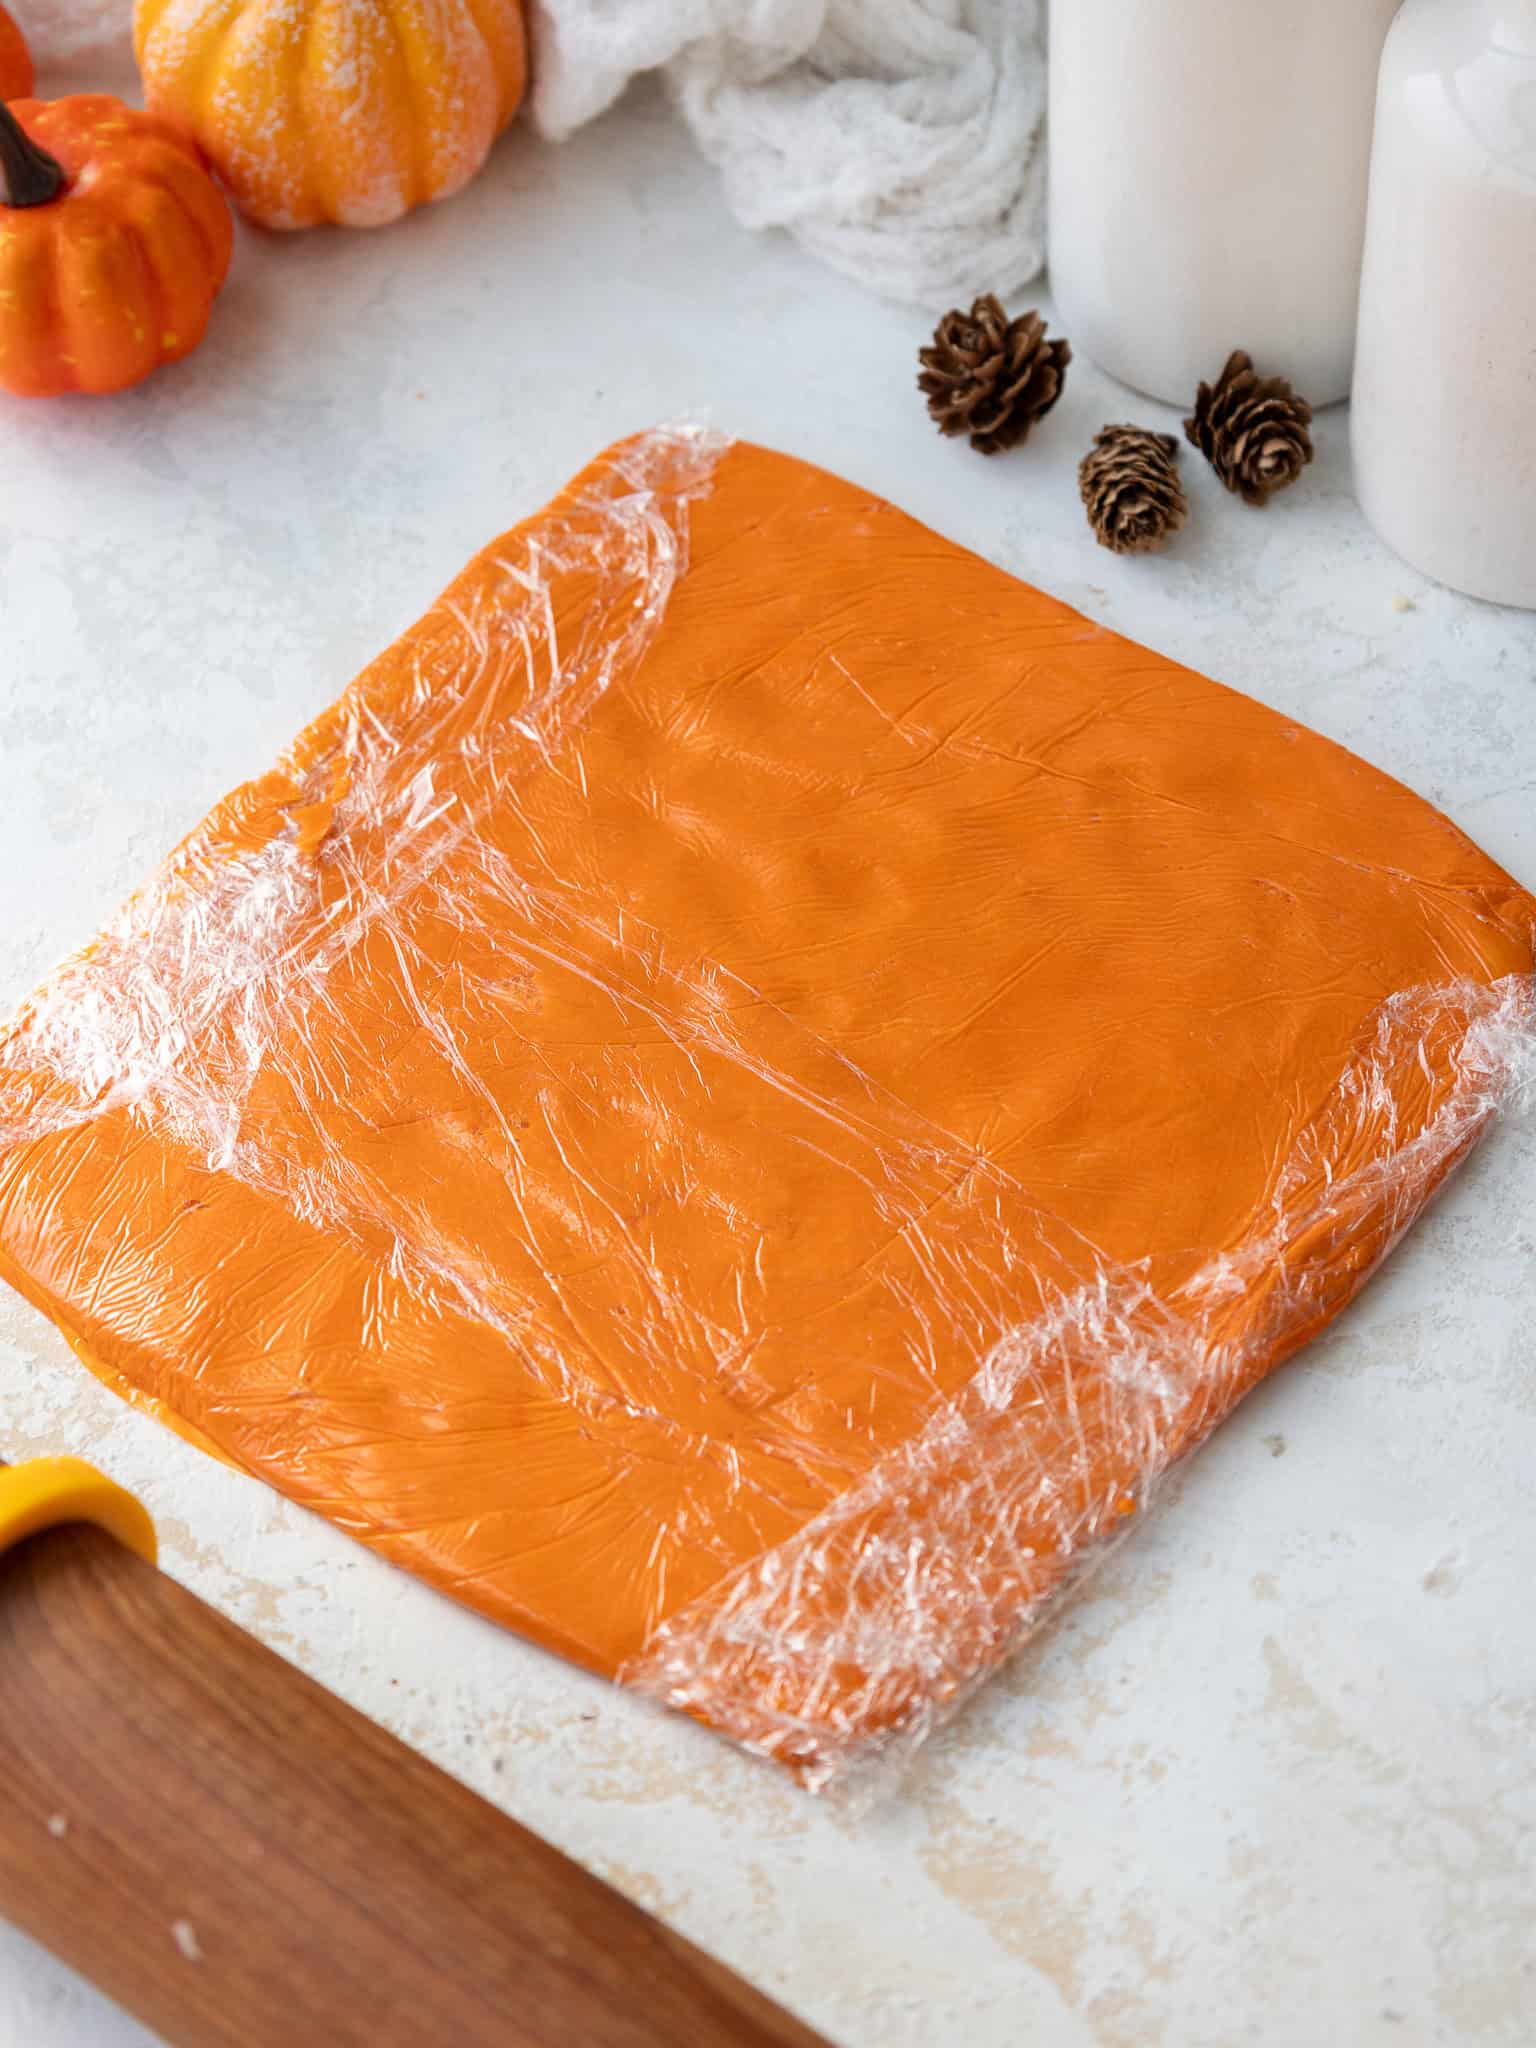
Divide the remaining dough into 2 portions (about 270g each) and place one portion of uncolored dough onto a large piece of plastic wrap. Repeat the step above to spread the dough out and wrap it before placing it in the fridge.
Color the remaining dough a deep shade of orange with the same gel food coloring. Repeat the step above to spread the dough out and wrap it before placing it in the fridge. Let all three portions of dough chill for at least an hour, or overnight.
Step 3: Roll out and Cut the Dough Into Strips
Remove one portion of dough from the fridge at a time and unwrap it so that it’s sitting on top of the plastic wrap (this keeps your counters clean and makes the dough easy to move later).
Then place the plastic loosely over the top (this prevents the dough from sticking to the rolling pin) and roll it out again to make sure it’s exactly 1/4 inch thick. It’s super helpful to use rolling pin rings or some type of guide to make sure the dough is the right thickness.
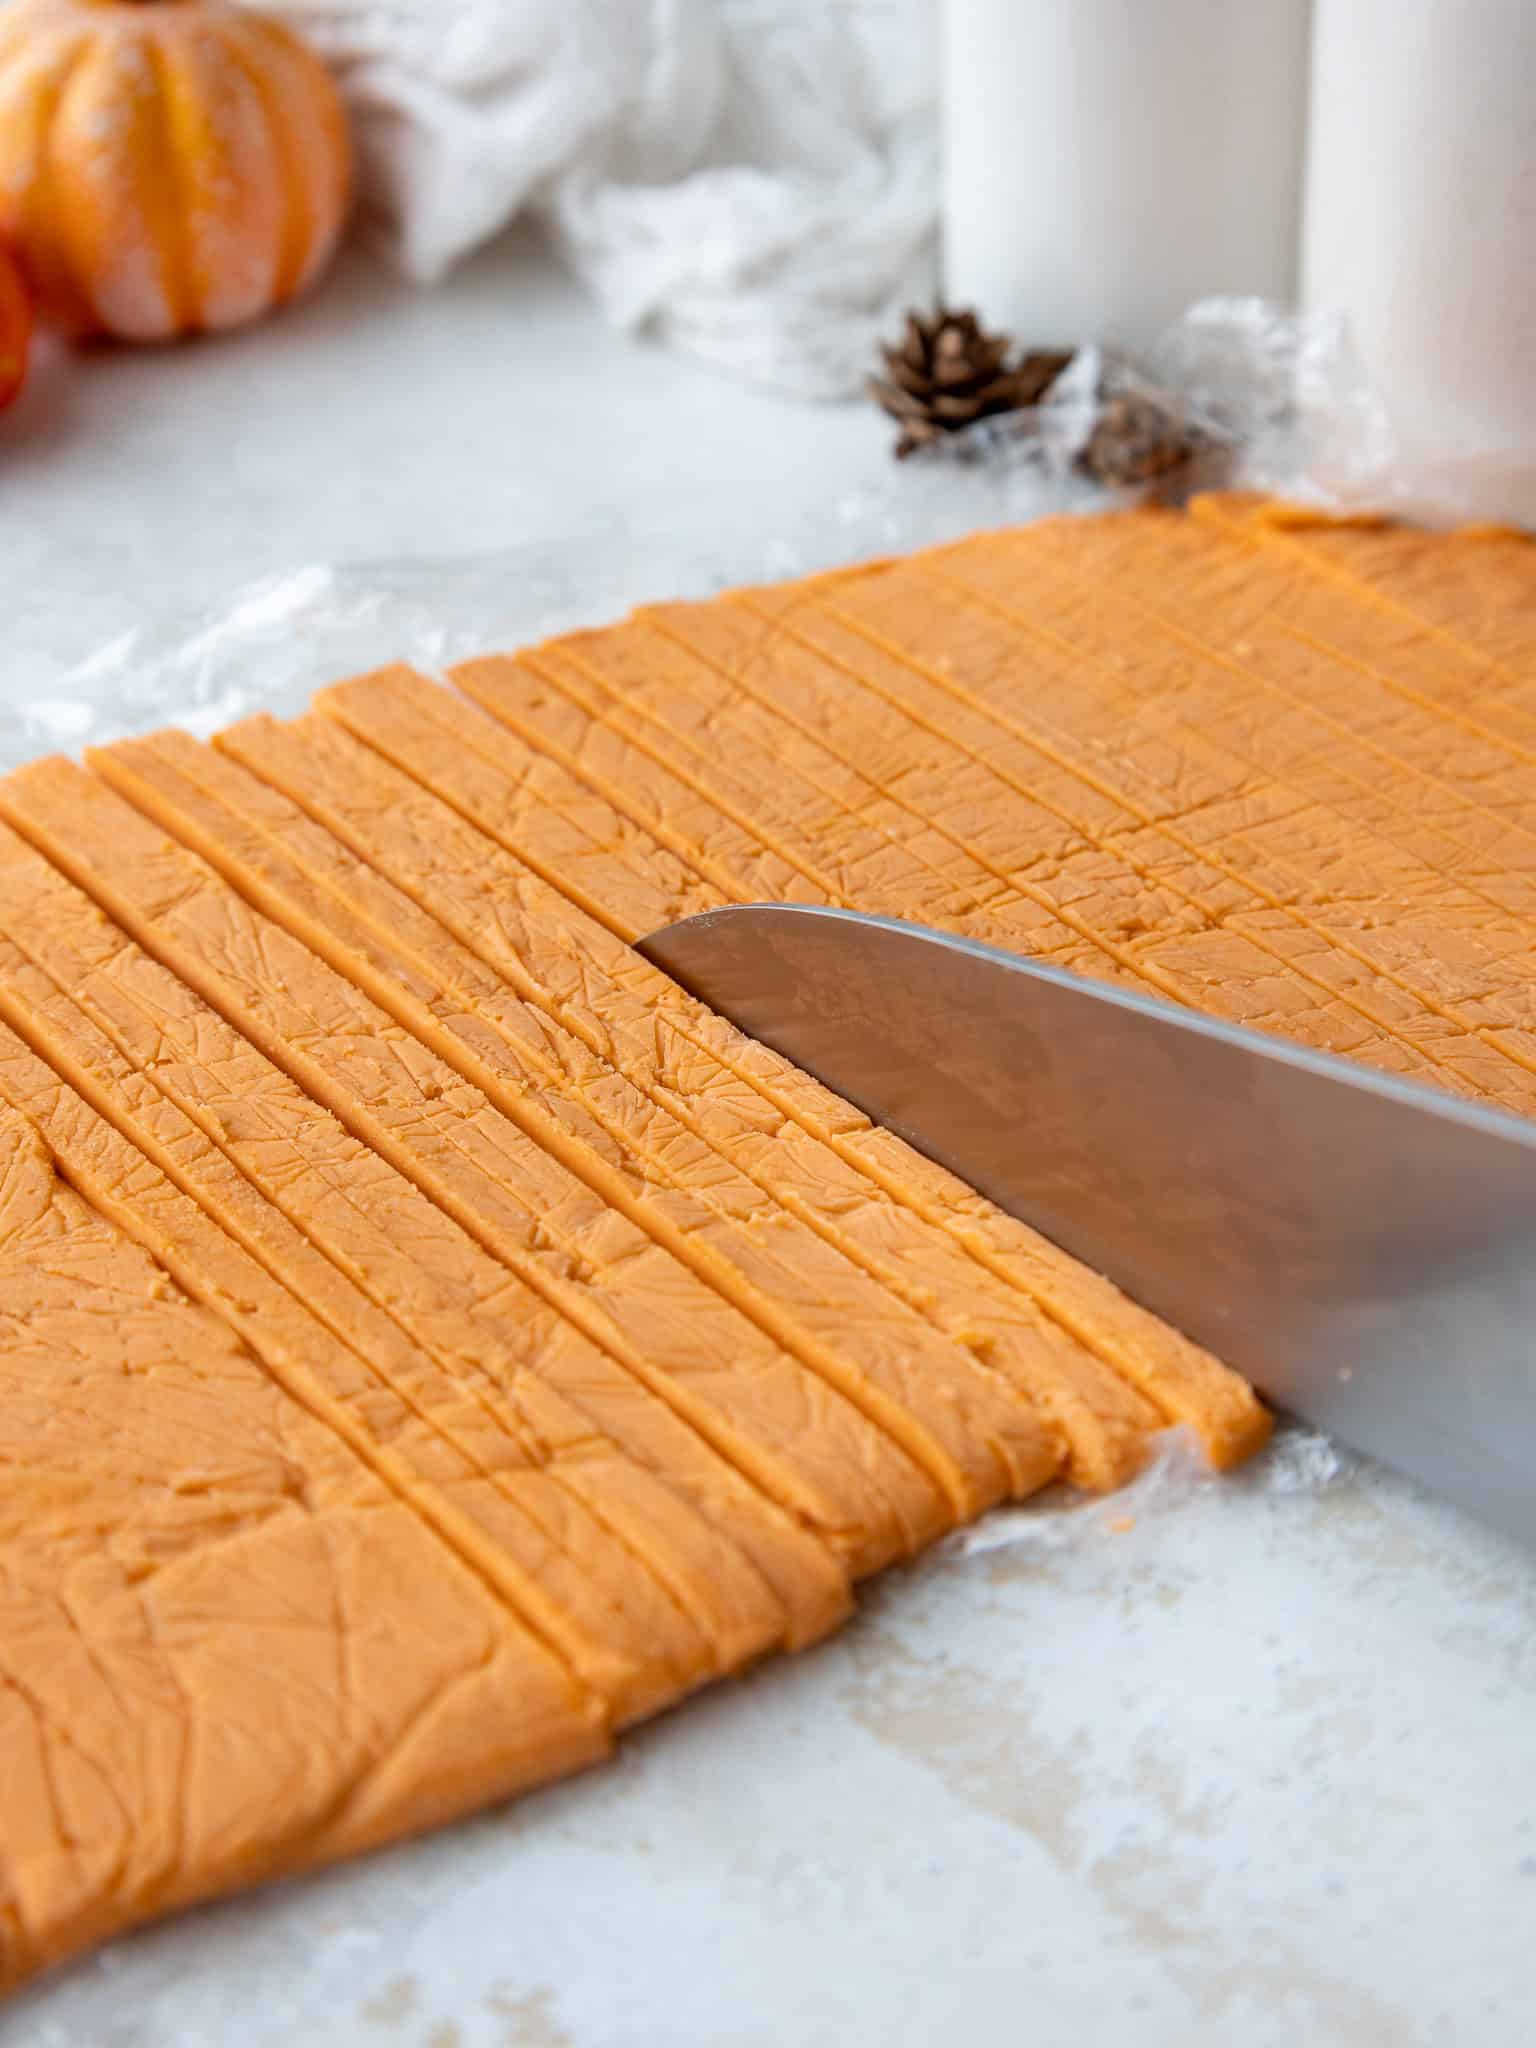
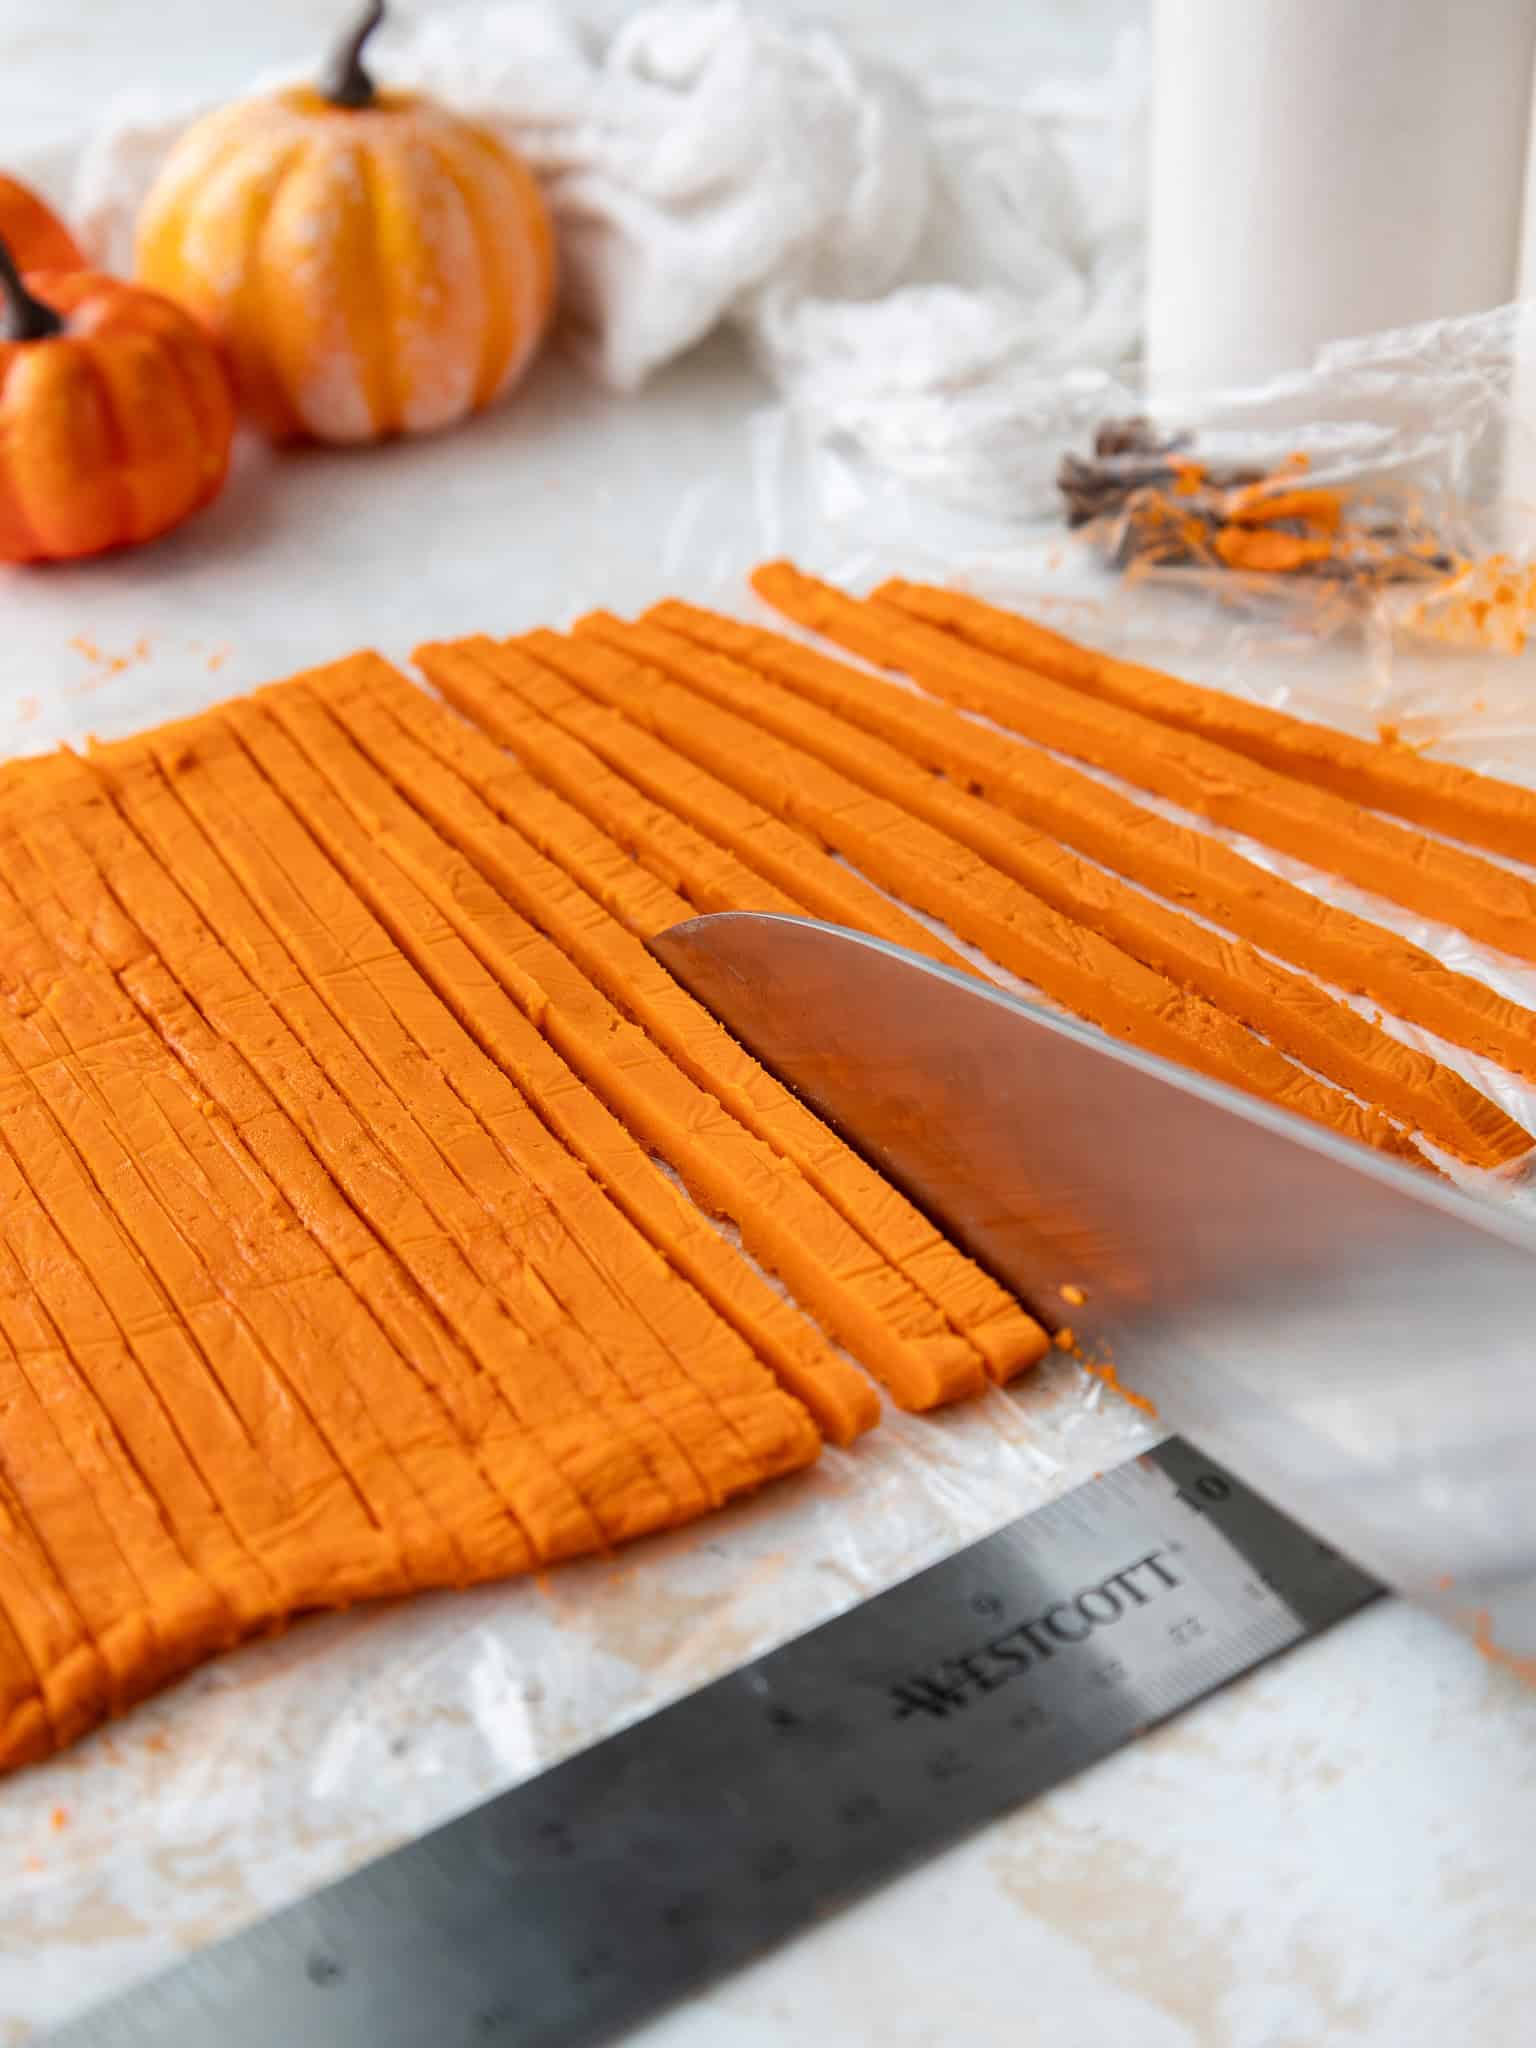
Use a sharp knife to trim away the edges of the dough to create crisp, straight lines (see pictures above).
Use a sharp knife to cut long strips of dough that are the exact same width (1/4 inch) as they are in height.
And yes, I HIGHLY recommend using a ruler as you do this! Once you’ve cut one color, lift the plastic wrap up and move it back to the fridge. The colder the dough is when we stack it, the easier it will be to work with! Repeat this process with all the portions of dough.
Step 4: Preheat the Oven and Stack the Dough Strips
Then preheat the oven to 350°F/175C° and line two large, light colored (aluminum is best) baking sheets with silicone mats or parchment paper. Then get out a large cutting board and a sharp chef’s knife.
Remove the dough strips from the fridge and begin to assemble the cookies on the cutting board. Keep in mind that you will be making about 2 logs of gingham dough, so try to space them accordingly so you can easily cut them later. I built mine with 7 strips in each layer and 7 layers high, following this order: 1st layer (white, light orange, white, etc.), 2nd layer (light orange, dark orange, light orange, etc.).
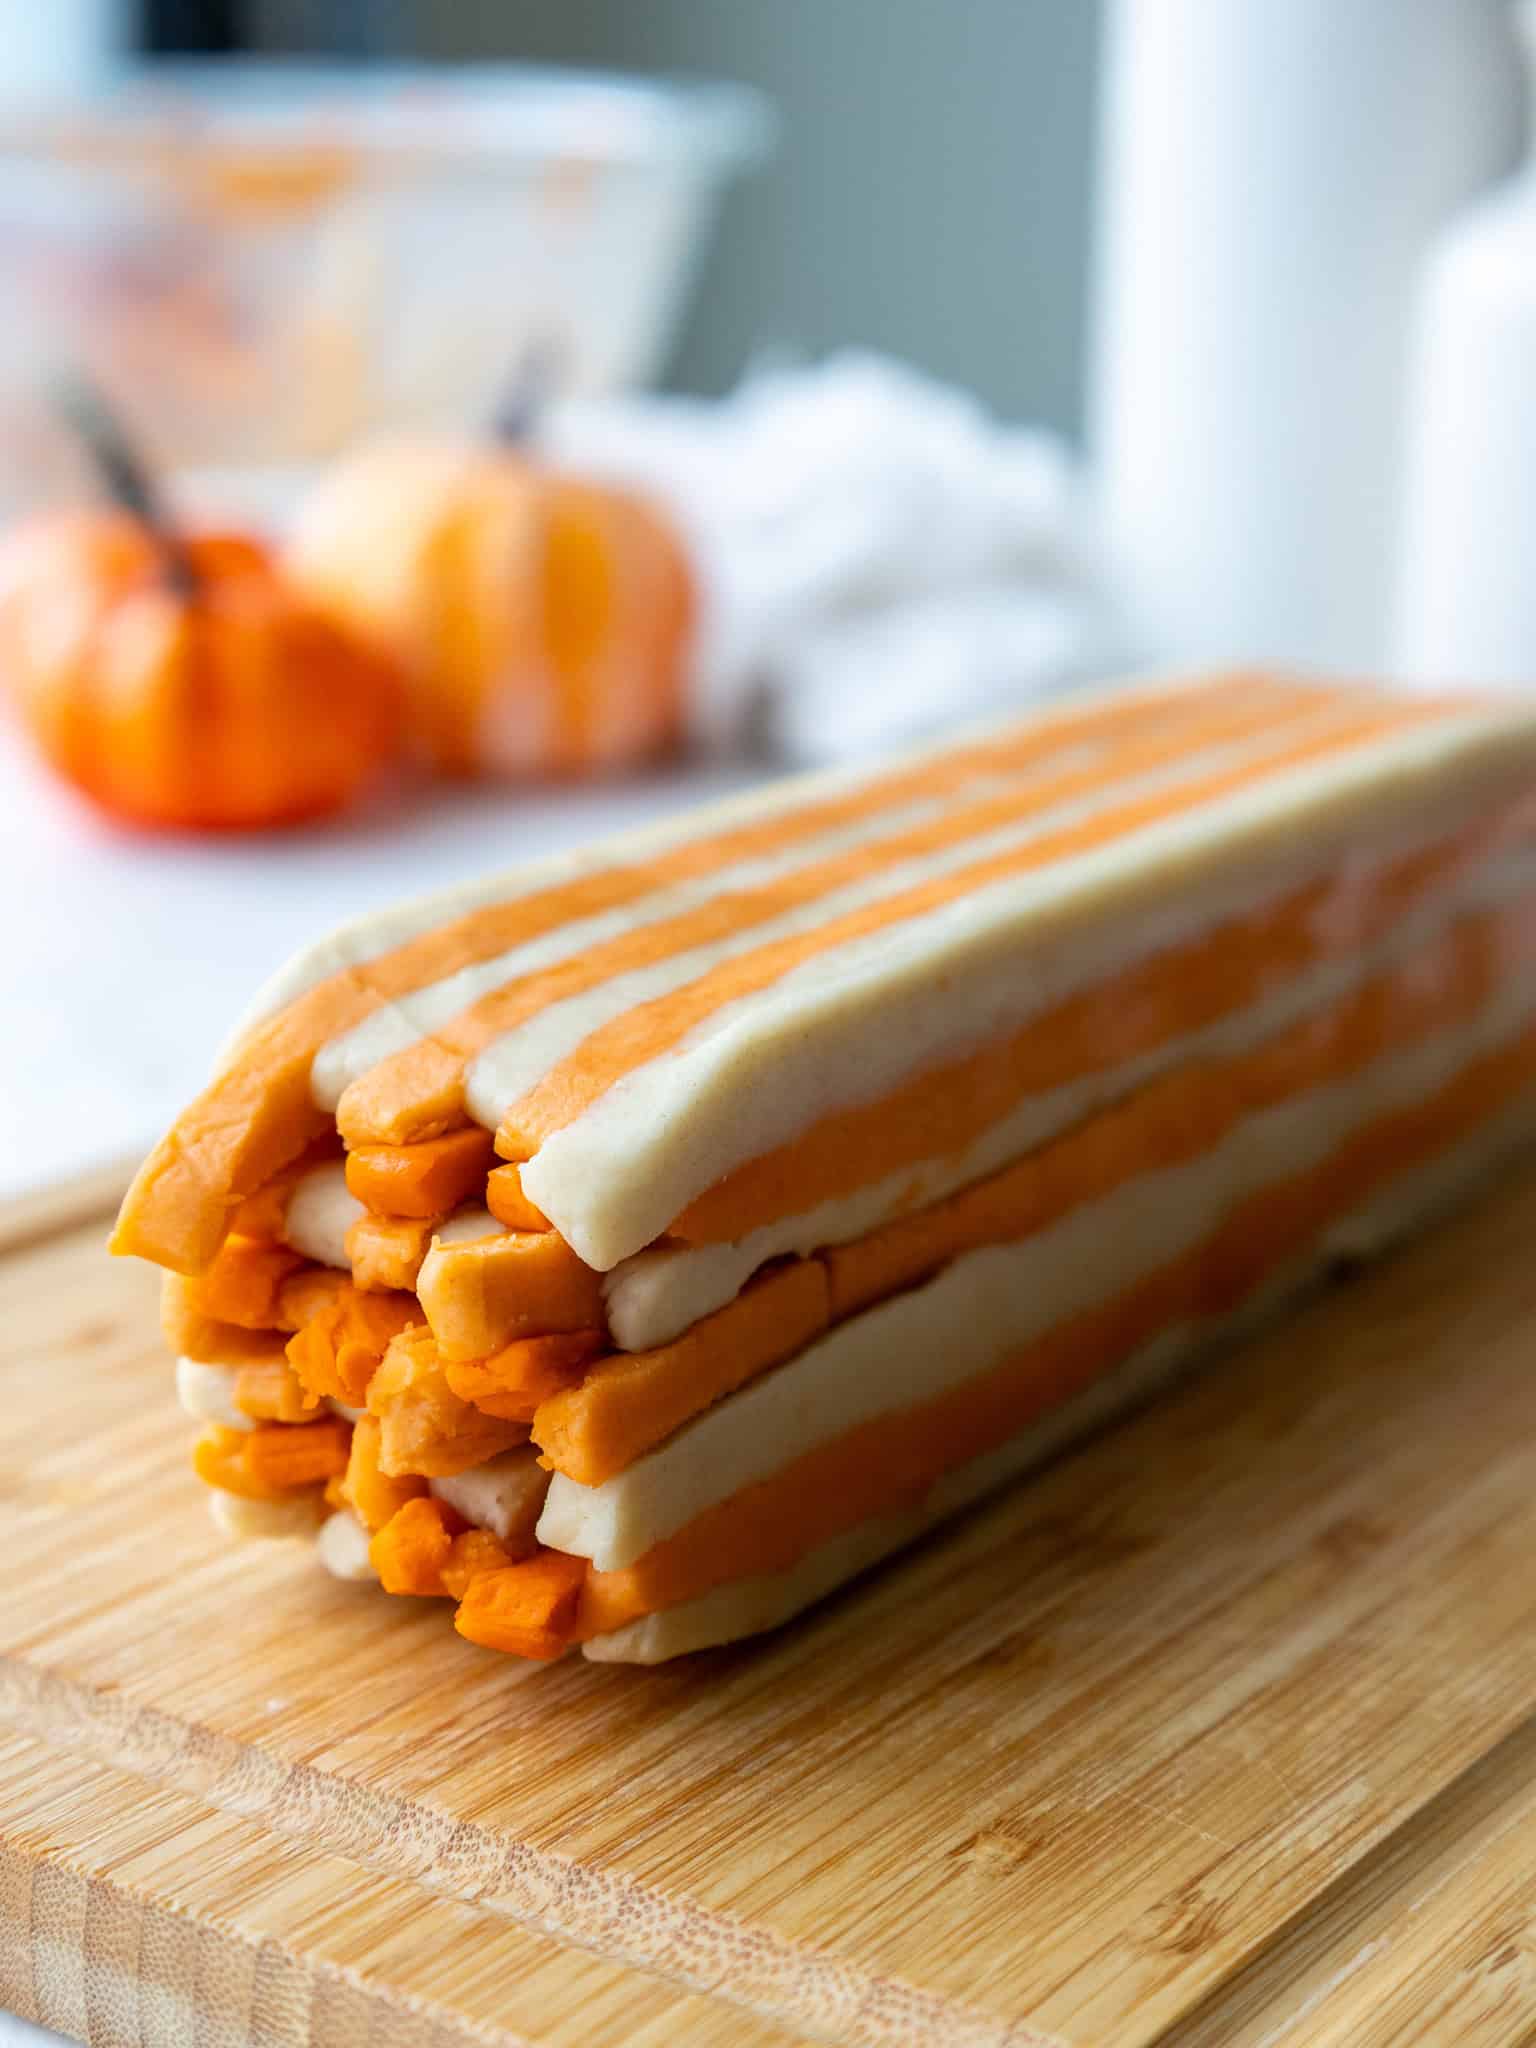
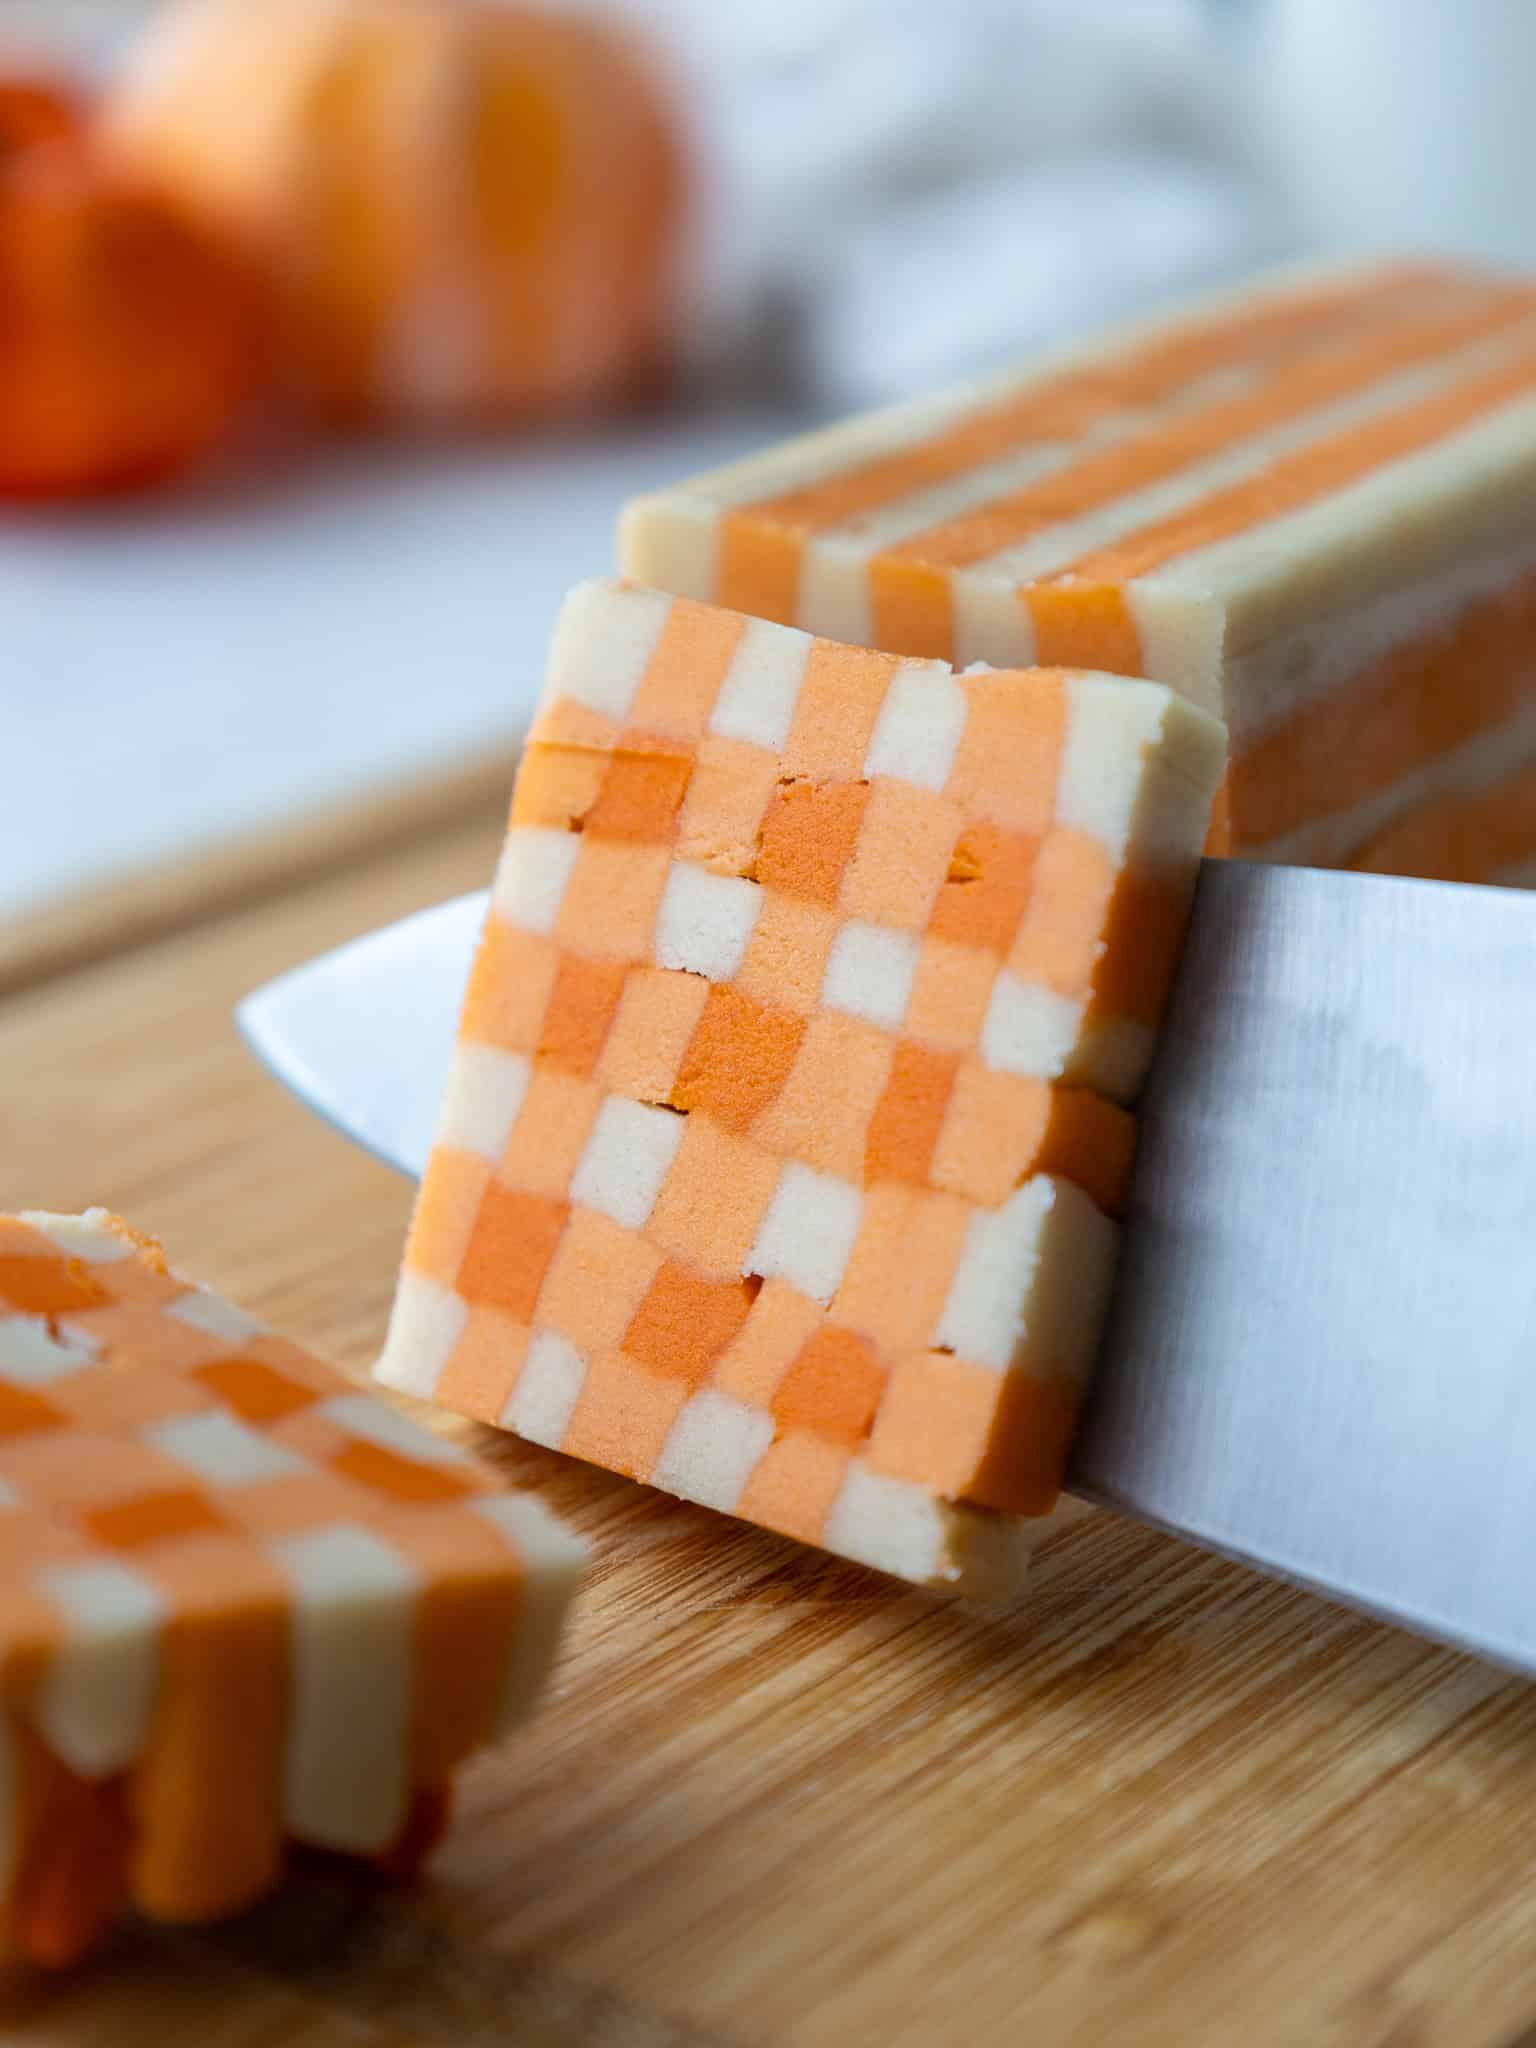
Once they’re all stacked, use the flat edge of a large knife or a bench scraper to gently press down on the dough to help all the pieces stick to each other. As long as the dough is still cold and firm, gently flip it over and press down on all four sides. Repeat this process with both logs of dough.
If you are able to work quickly and the dough is still cold and firm, you can cut it immediately. If you notice the dough softening up, place the cutting board in the fridge for another 30 minutes, or in the freezer for 15 minutes. You want the dough to be firm so that when you cut in, you don’t squish the dough and ruin that perfect pattern.
Step 5: Bake the Shortbread Cookies
When you are ready to cut them, use a sharp knife to cut slices that are about 1/3 inch thick.
The cookies will spread a bit as they bake, so place the cookies about 2 inches apart on the prepared baking sheets.
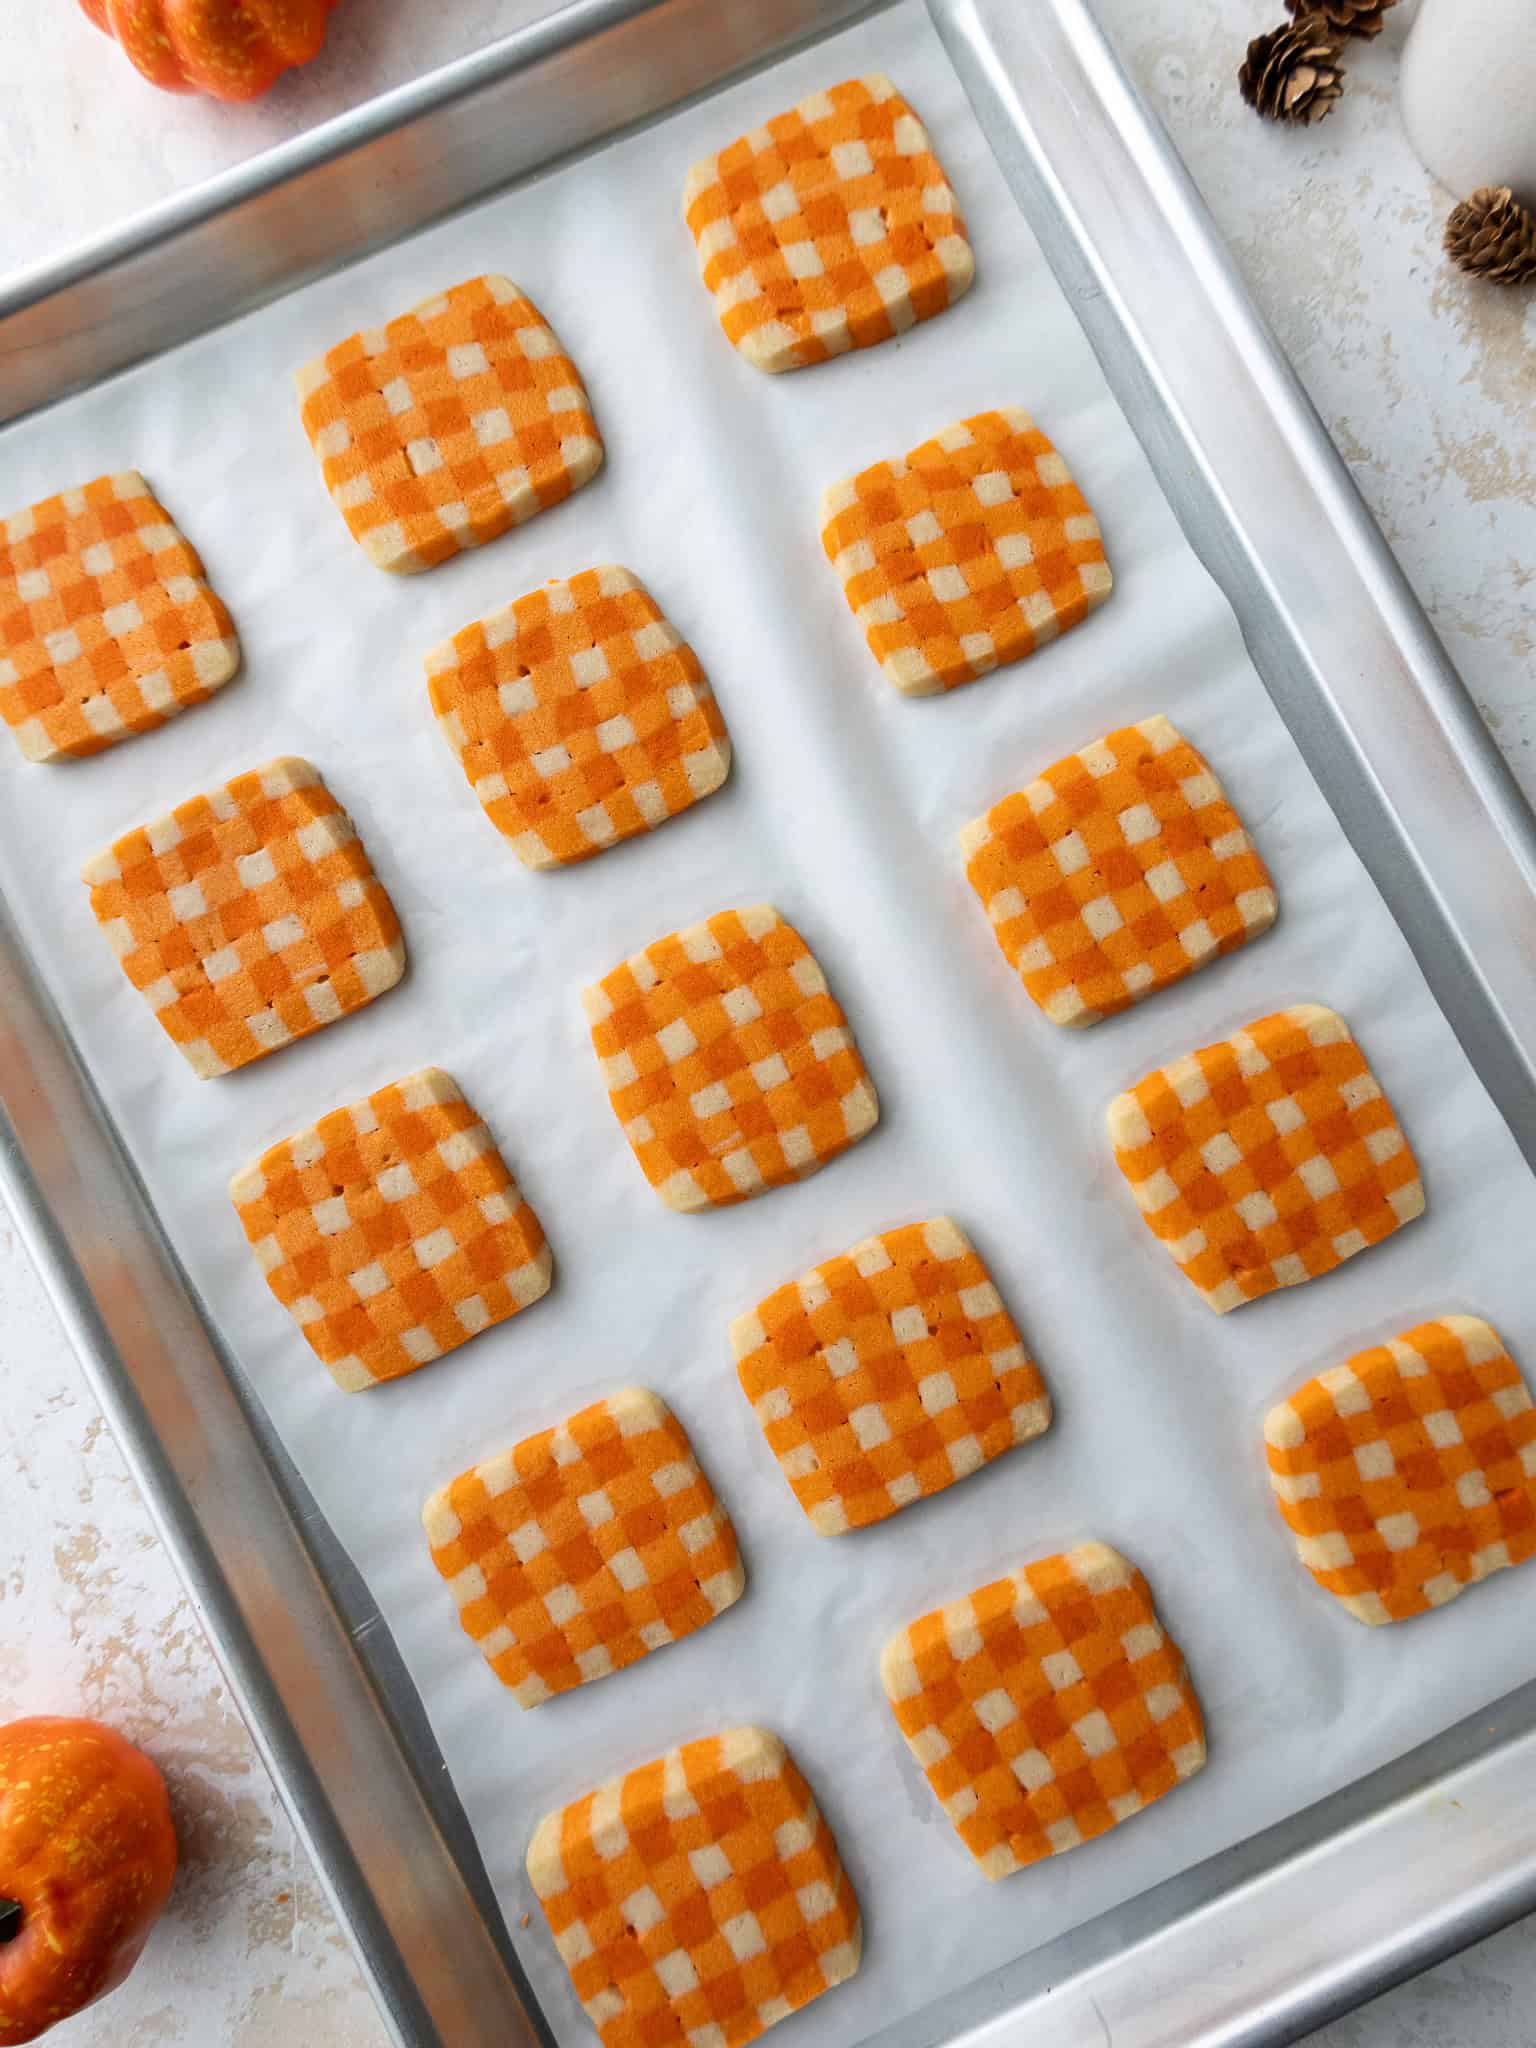
Bake them one tray at a time for 12-14 minutes, or just before the edges start to brown. I highly recommend rotating the pan halfway through to help them bake more evenly.
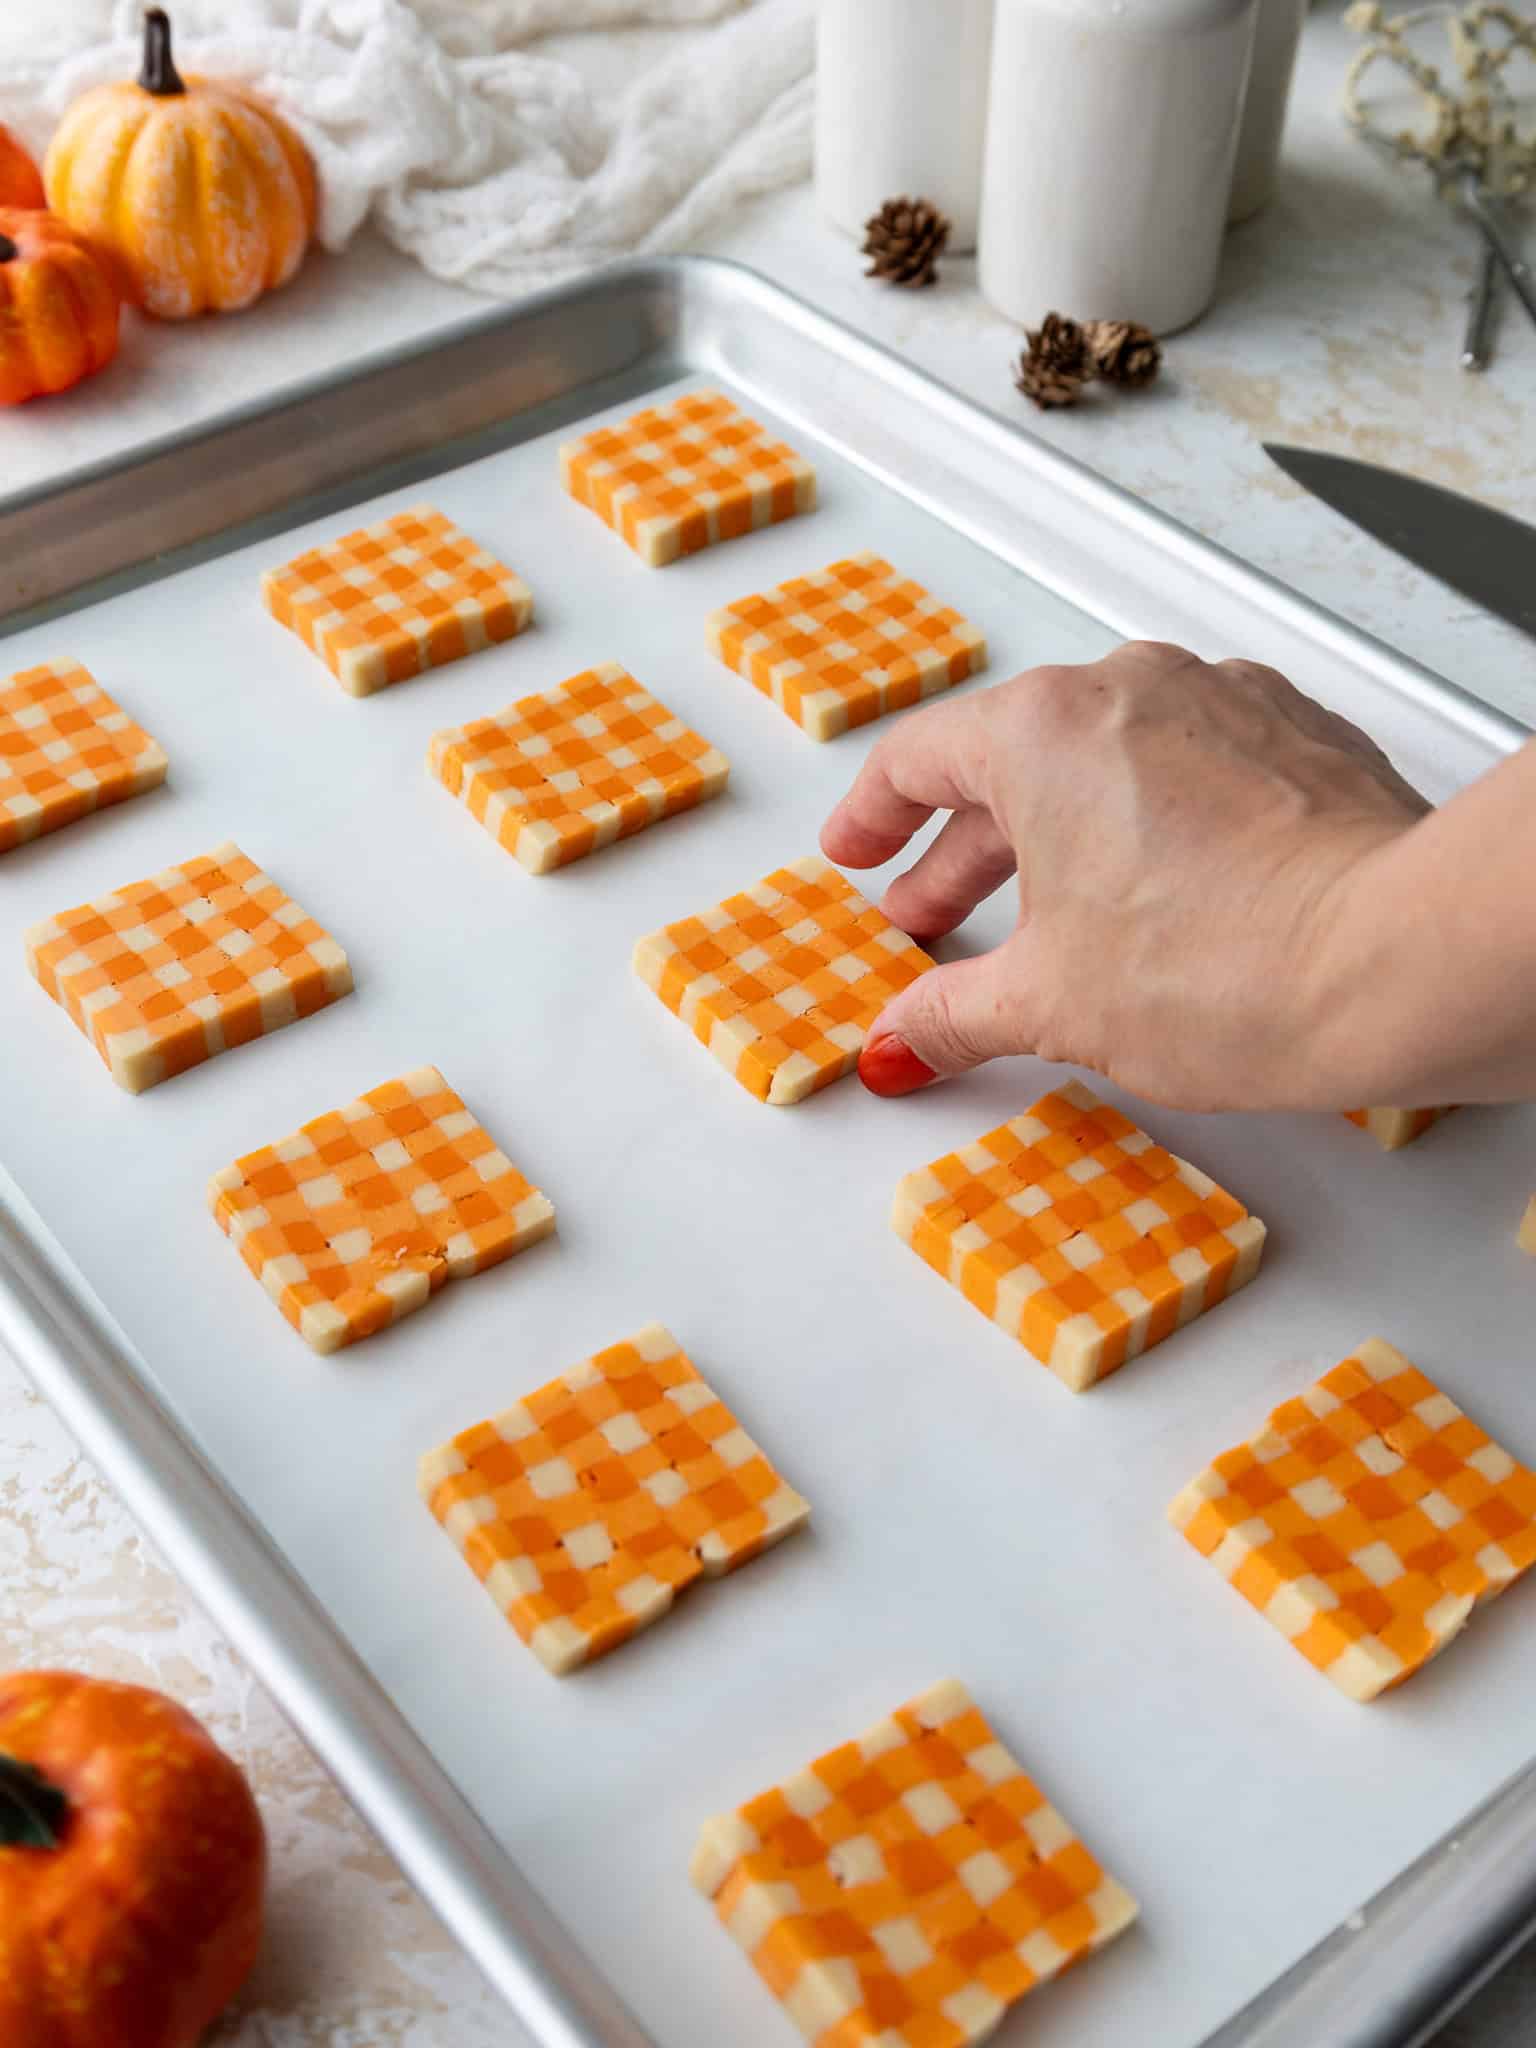
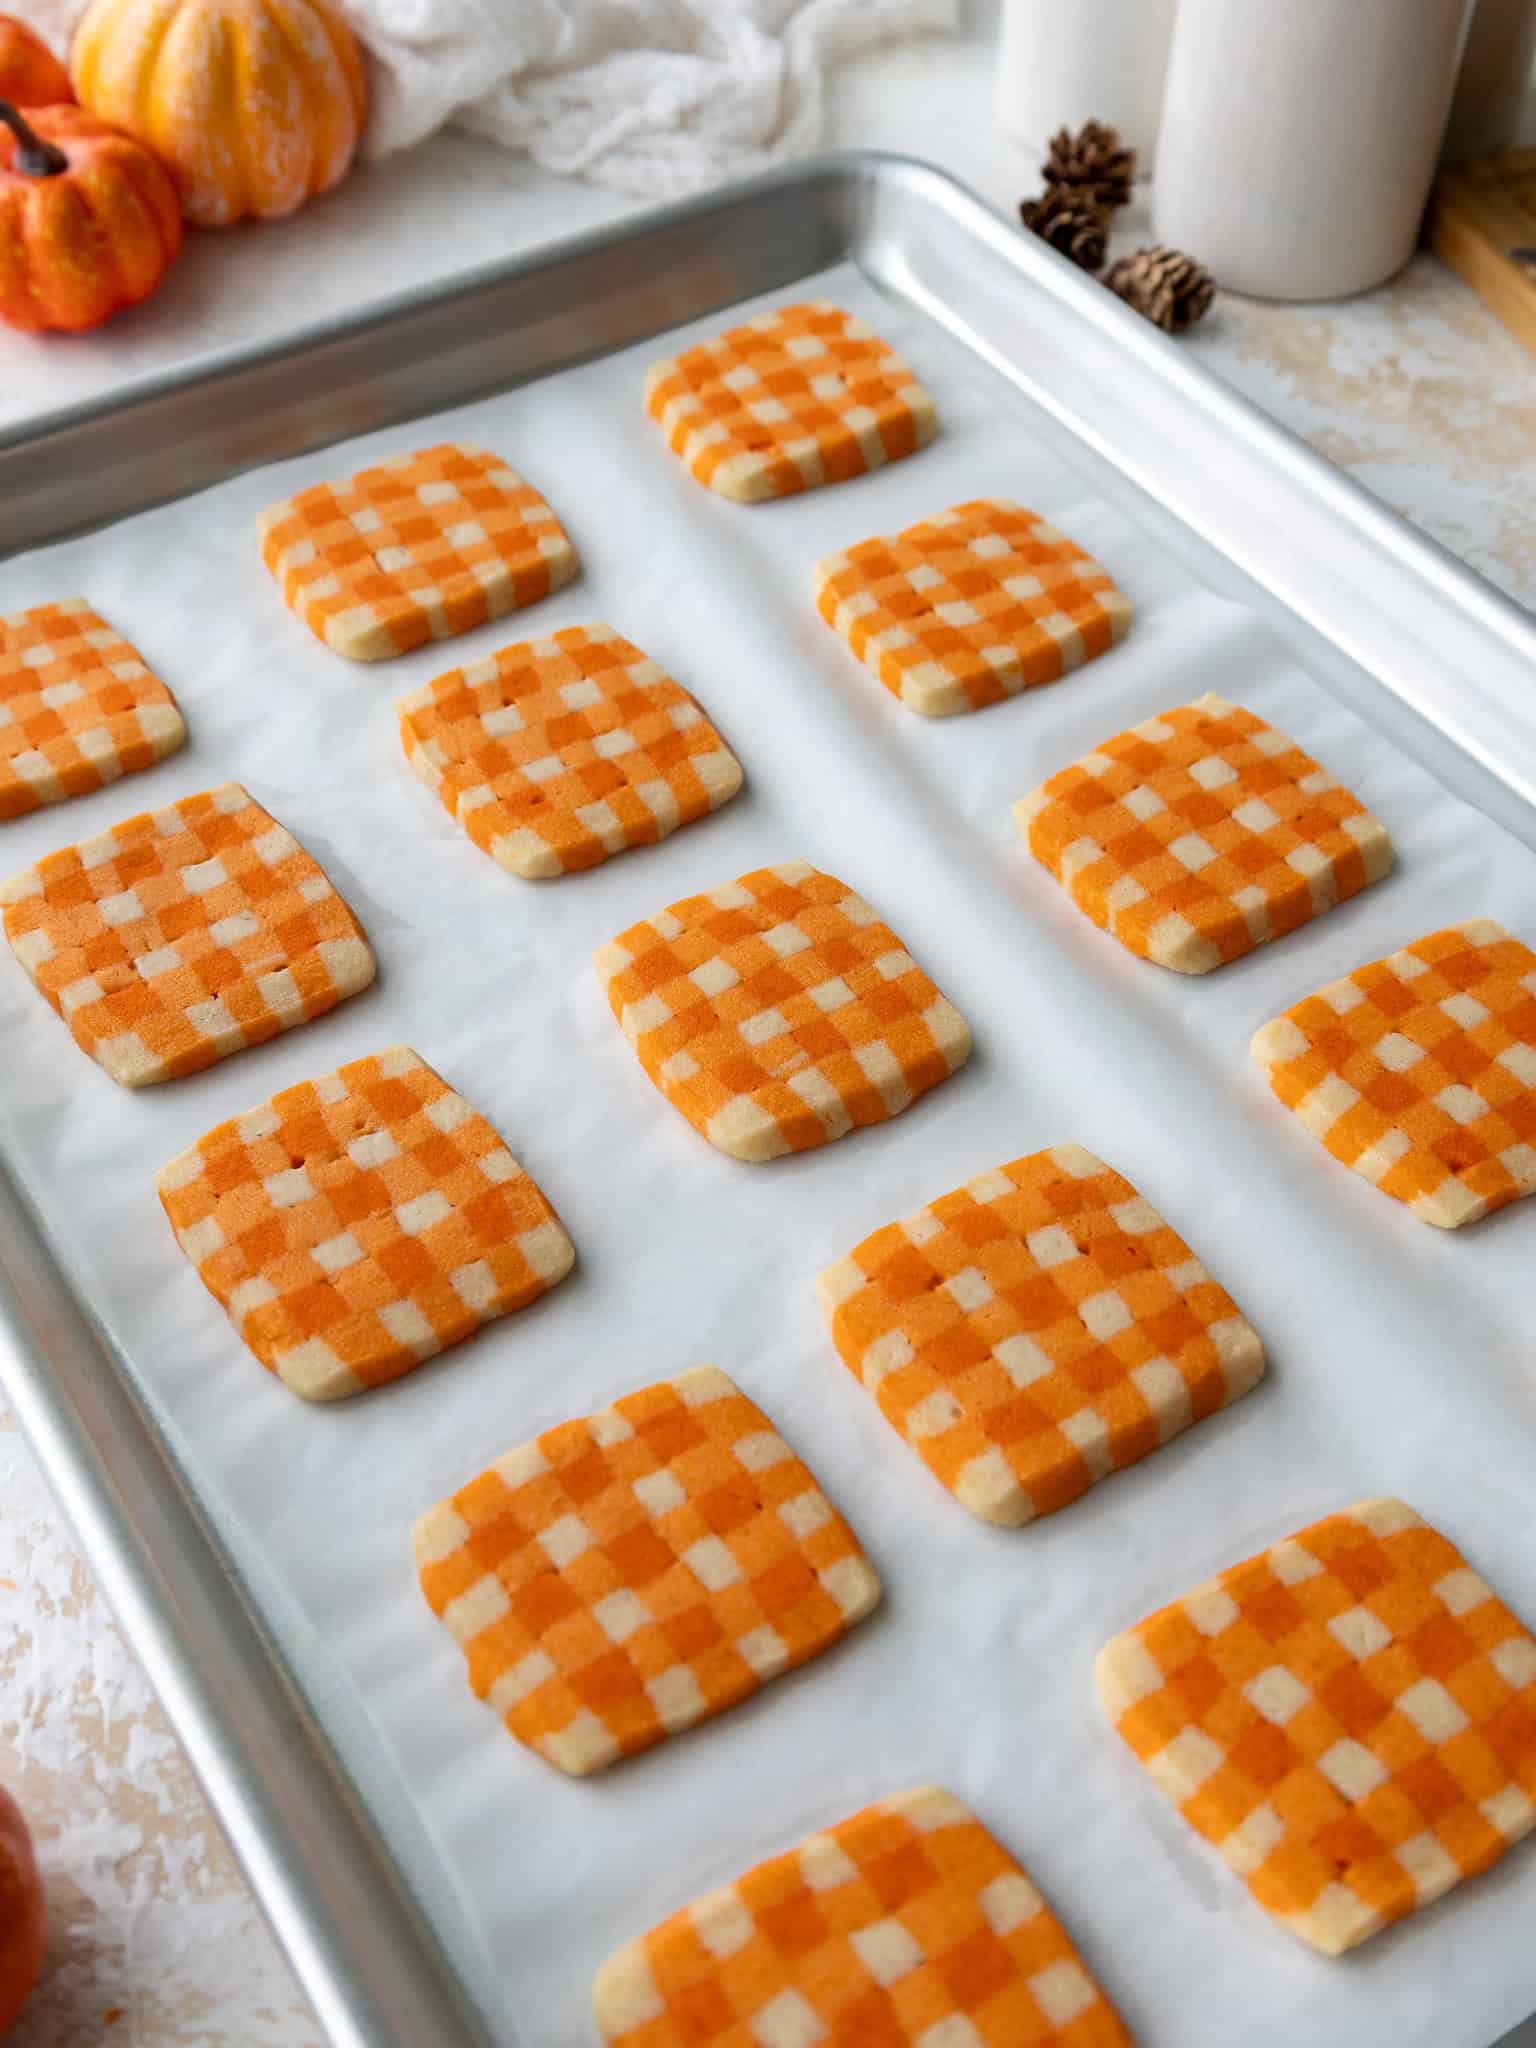
Then remove the cookies from the oven and let them cool fully on the pan, and enjoy!
Substitutions and Swaps
Below are some swaps and substitutions that you can make.
- Unsalted Butter – If you only have salted butter on hand, you can use it in place of the unsalted butter. Just be sure to omit the salt that this frosting recipe calls for. You can also use vegan butter in its place (and omit the salt)!
- Powdered Sugar – I do not recommend reducing the amount of sugar or changing the type of sugar, as it will change the texture of the cookies.
- All-purpose flour – This recipe turns out best with AP flour, but you can use a gluten-free flour blend if needed.
- Fine Salt – I use fine table salt when I bake! If you need to use a different type, please make sure you convert the amount appropriately.
- Gel Food Coloring – I used gel food coloring to make these, but liquid food coloring can be used if needed.
Can These Shortbread Cookies Be Made in Advance?
Yes! These cookies keep super well and can totally be made in advance. They can be stored at room temperature in an airtight container for up to a week.
The dough can also be kept in the fridge for up to 5 days if it’s tightly wrapped in plastic wrap.
You can also freeze these cookies for up to 3 months in an airtight container! When you’re ready to enjoy the frozen cookies, place them in the fridge overnight to let them thaw gradually and enjoy them the following day.
Doubling this Recipe
This recipe makes about 40 cookies. If you want to halve or double this recipe, go for it! Simply adjust the ingredients and follow the directions in the recipe card above.
How To Make the Best Gingham Shortbread Cookies
- Use a sharp knife to get clean slices of shortbread. Be sure to wipe the blade as needed after each cut.
- Make sure the butter is at room temperature before being added to the dough. It helps them mix together better and will give the cookies a smoother texture.
- Properly measure your flour! I like to use a scale, but the fluff and level method works great too.
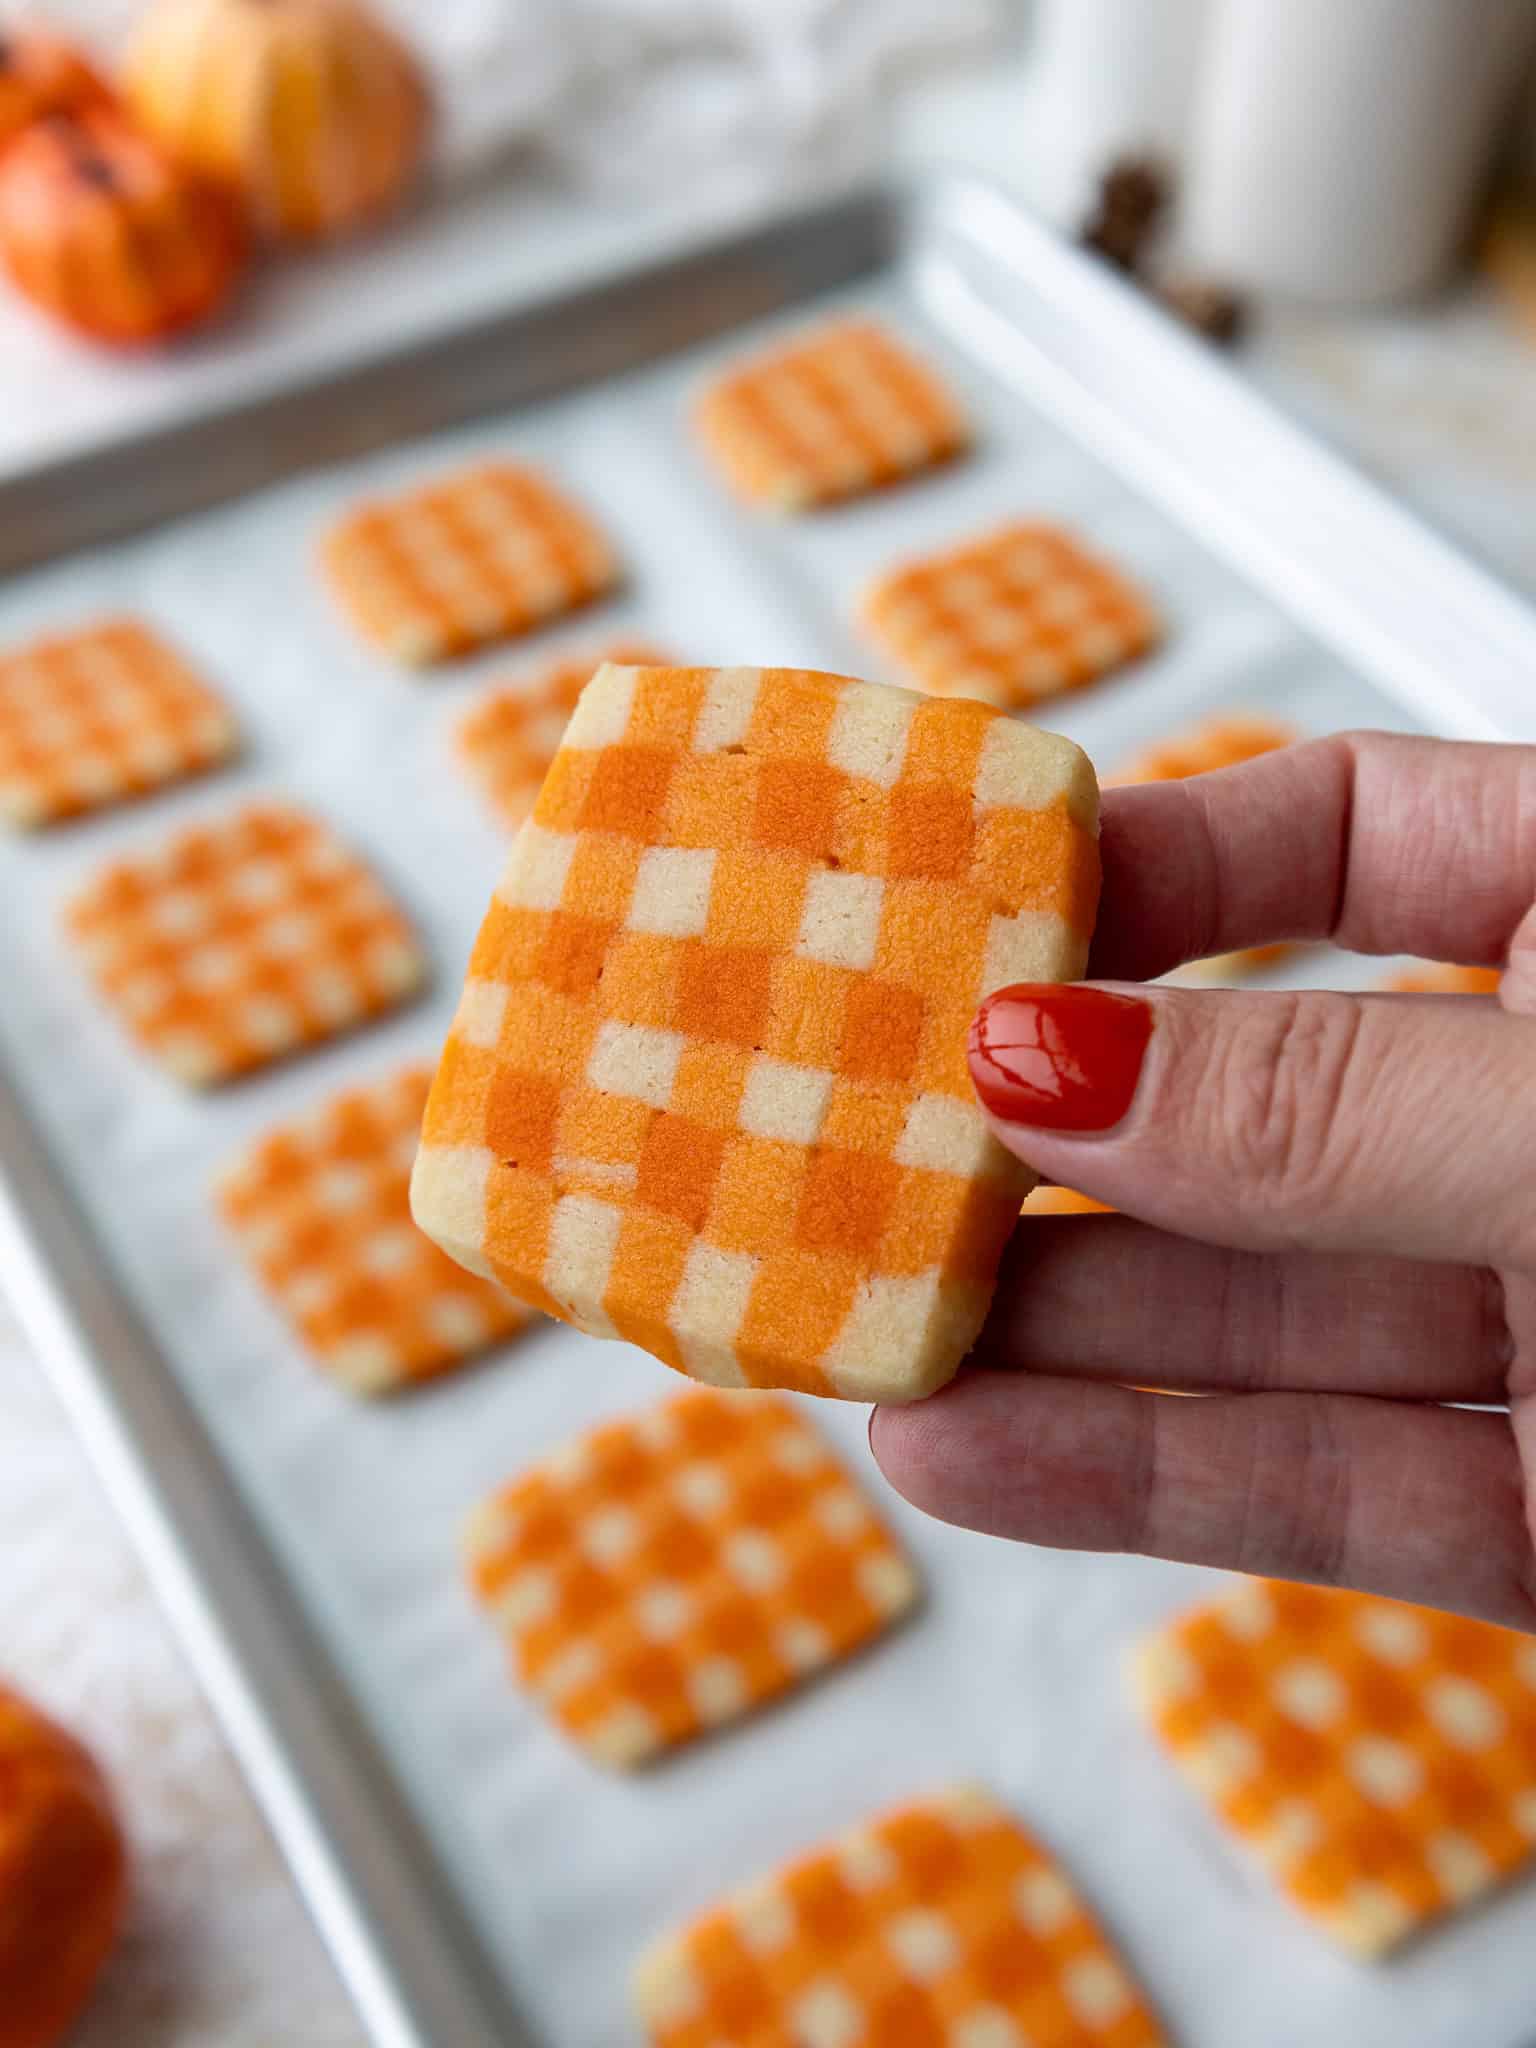
- Be sure to chill the dough the way the recipe card recommends! It’s all that chill time that creates that perfect pattern 🙂
Let Me Know What You Think!
If you try this recipe for gingham shortbread cookies, I’d love to hear what you think! Please leave a rating and let me know your thoughts by sharing a comment.
Gingham Shortbread Cookies
Equipment
- 1/4-inch rolling pin rings
Ingredients
Gingham Shortbread Cookies
- 2 cups unsalted butter, room temperature 454g
- 4 cups all-purpose flour 520g
- 1 cup powdered sugar 125g
- 1 tsp fine salt 6g
- Orange gel food coloring (I love Americolor and Chef Master)
Instructions
Gingham Shortbread Cookies
- Please note that this recipe has a LOT of chill time (but I promise it's worth it!), so be sure to plan accordingly. Use an electric mixer to combine 2 cups of butter, 4 cups of flour, 1 cup of powdered sugar, and 1 tsp of fine salt. The mixture might look a bit crumbly at first, but it will eventually form a soft dough once it's fully mixed. If the mixture isn't coming together, you may want to heat it in the microwave for a couple of seconds (literally 2-3 seconds, you don't want to melt the butter!) to help soften the butter.
- Color half of the dough (about 540g) a light shade of orange with orange gel food coloring. Place the dough onto a large piece of plastic wrap and roll it out to be 1/4 inch thick (rolling pin rings or even two pieces of wood to act as a guide help a ton). Wrap the dough tightly and place it in the fridge to chill.
- Divide the remaining dough into 2 portions (about 270g each) and place one portion of uncolored dough onto a large piece of plastic wrap. Repeat the step above to spread the dough out and wrap it before placing it in the fridge.
- Color the remaining dough a deep shade of orange with the same gel food coloring. Repeat the step above to spread the dough out and wrap it before placing it in the fridge. Let all three portions of dough chill for at least an hour, or overnight.
- Remove one portion of dough from the fridge at a time and unwrap it so that it's sitting on top of the plastic wrap (this keeps your counters clean and makes the dough easy to move later). Then place the plastic loosely over the top (this prevents the dough from sticking to the rolling pin) and roll it out again to make sure it's exactly 1/4 inch thick. It's super helpful to use rolling pin rings or some type of guide to make sure the dough is the right thickness.
- Use a sharp knife to cut off the edges to create crisp lines (see pictures above).
- Use a sharp knife to cut long strips of dough that are the exact same width (1/4 inch) as they are in height. And yes, I HIGHLY recommend using a ruler as you do this! Once you've cut one color, lift the plastic wrap up and move it back to the fridge. The colder the dough is when we stack it, the easier it will be to work with! Repeat this process with all the portions of dough.
- Then preheat the oven to 350°F/175C° and line two large, light colored (aluminum is best) baking sheets with silicone mats or parchment paper. Then get out a large cutting board and a sharp chef's knife.
- Remove the dough strips from the fridge and begin to assemble the cookies on the cutting board. Keep in mind that you will be making about 2 logs of gingham dough, so try to space them accordingly so you can easily cut them later. I built mine with 7 strips in each layer and 7 layers high, following this order: 1st layer (white, light orange, white, etc.), 2nd layer (light orange, dark orange, light orange, etc.).
- Once they're all stacked, use the flat edge of a large knife or a bench scraper to gently press down on the dough to help all the pieces stick to each other. As long as the dough is still cold and firm, gently flip it over and press down on all four sides. Repeat this process with both logs of dough.
- If you are able to work quickly and the dough is still cold and firm, you can cut it immediately. If you notice the dough softening up, place the cutting board in the fridge for another 30 minutes, or in the freezer for 15 minutes. You want the dough to be firm so that when you cut in, you don't squish the dough and ruin that perfect pattern.
- When you are ready to cut them, use a sharp knife to cut slices that are about 1/3 inch thick. The cookies will spread a bit as they bake, so place the cookies about 2 inches apart on the prepared baking sheets. Bake them one tray at a time for 12-14 minutes, or just before the edges start to brown. I highly recommend rotating the pan halfway through to help them bake more evenly.
- Then remove the cookies from the oven and let them cool fully on the pan and enjoy!
Video
Notes
Doubling this Recipe
This recipe makes about 40 cookies. If you want to halve or double this recipe, go for it! Simply adjust the ingredients and follow the directions in the recipe card above.How To Make the Best Gingham Shortbread Cookies
- Make sure the ingredients are at room temperature. It helps them mix together better and will give the cookies a smoother texture.
- Properly measure the flour! I like to use a scale, but the fluff and level method works great too.
- I know it’s annoying, but be sure to chill the dough the way the recipe card recommends! It’s all that chill time that creates that perfect pattern 🙂
- Use a sharp knife to get clean slices of shortbread. Be sure to wipe the blade as needed after each cut.
Nutrition
Other Recipes You Might Like: