
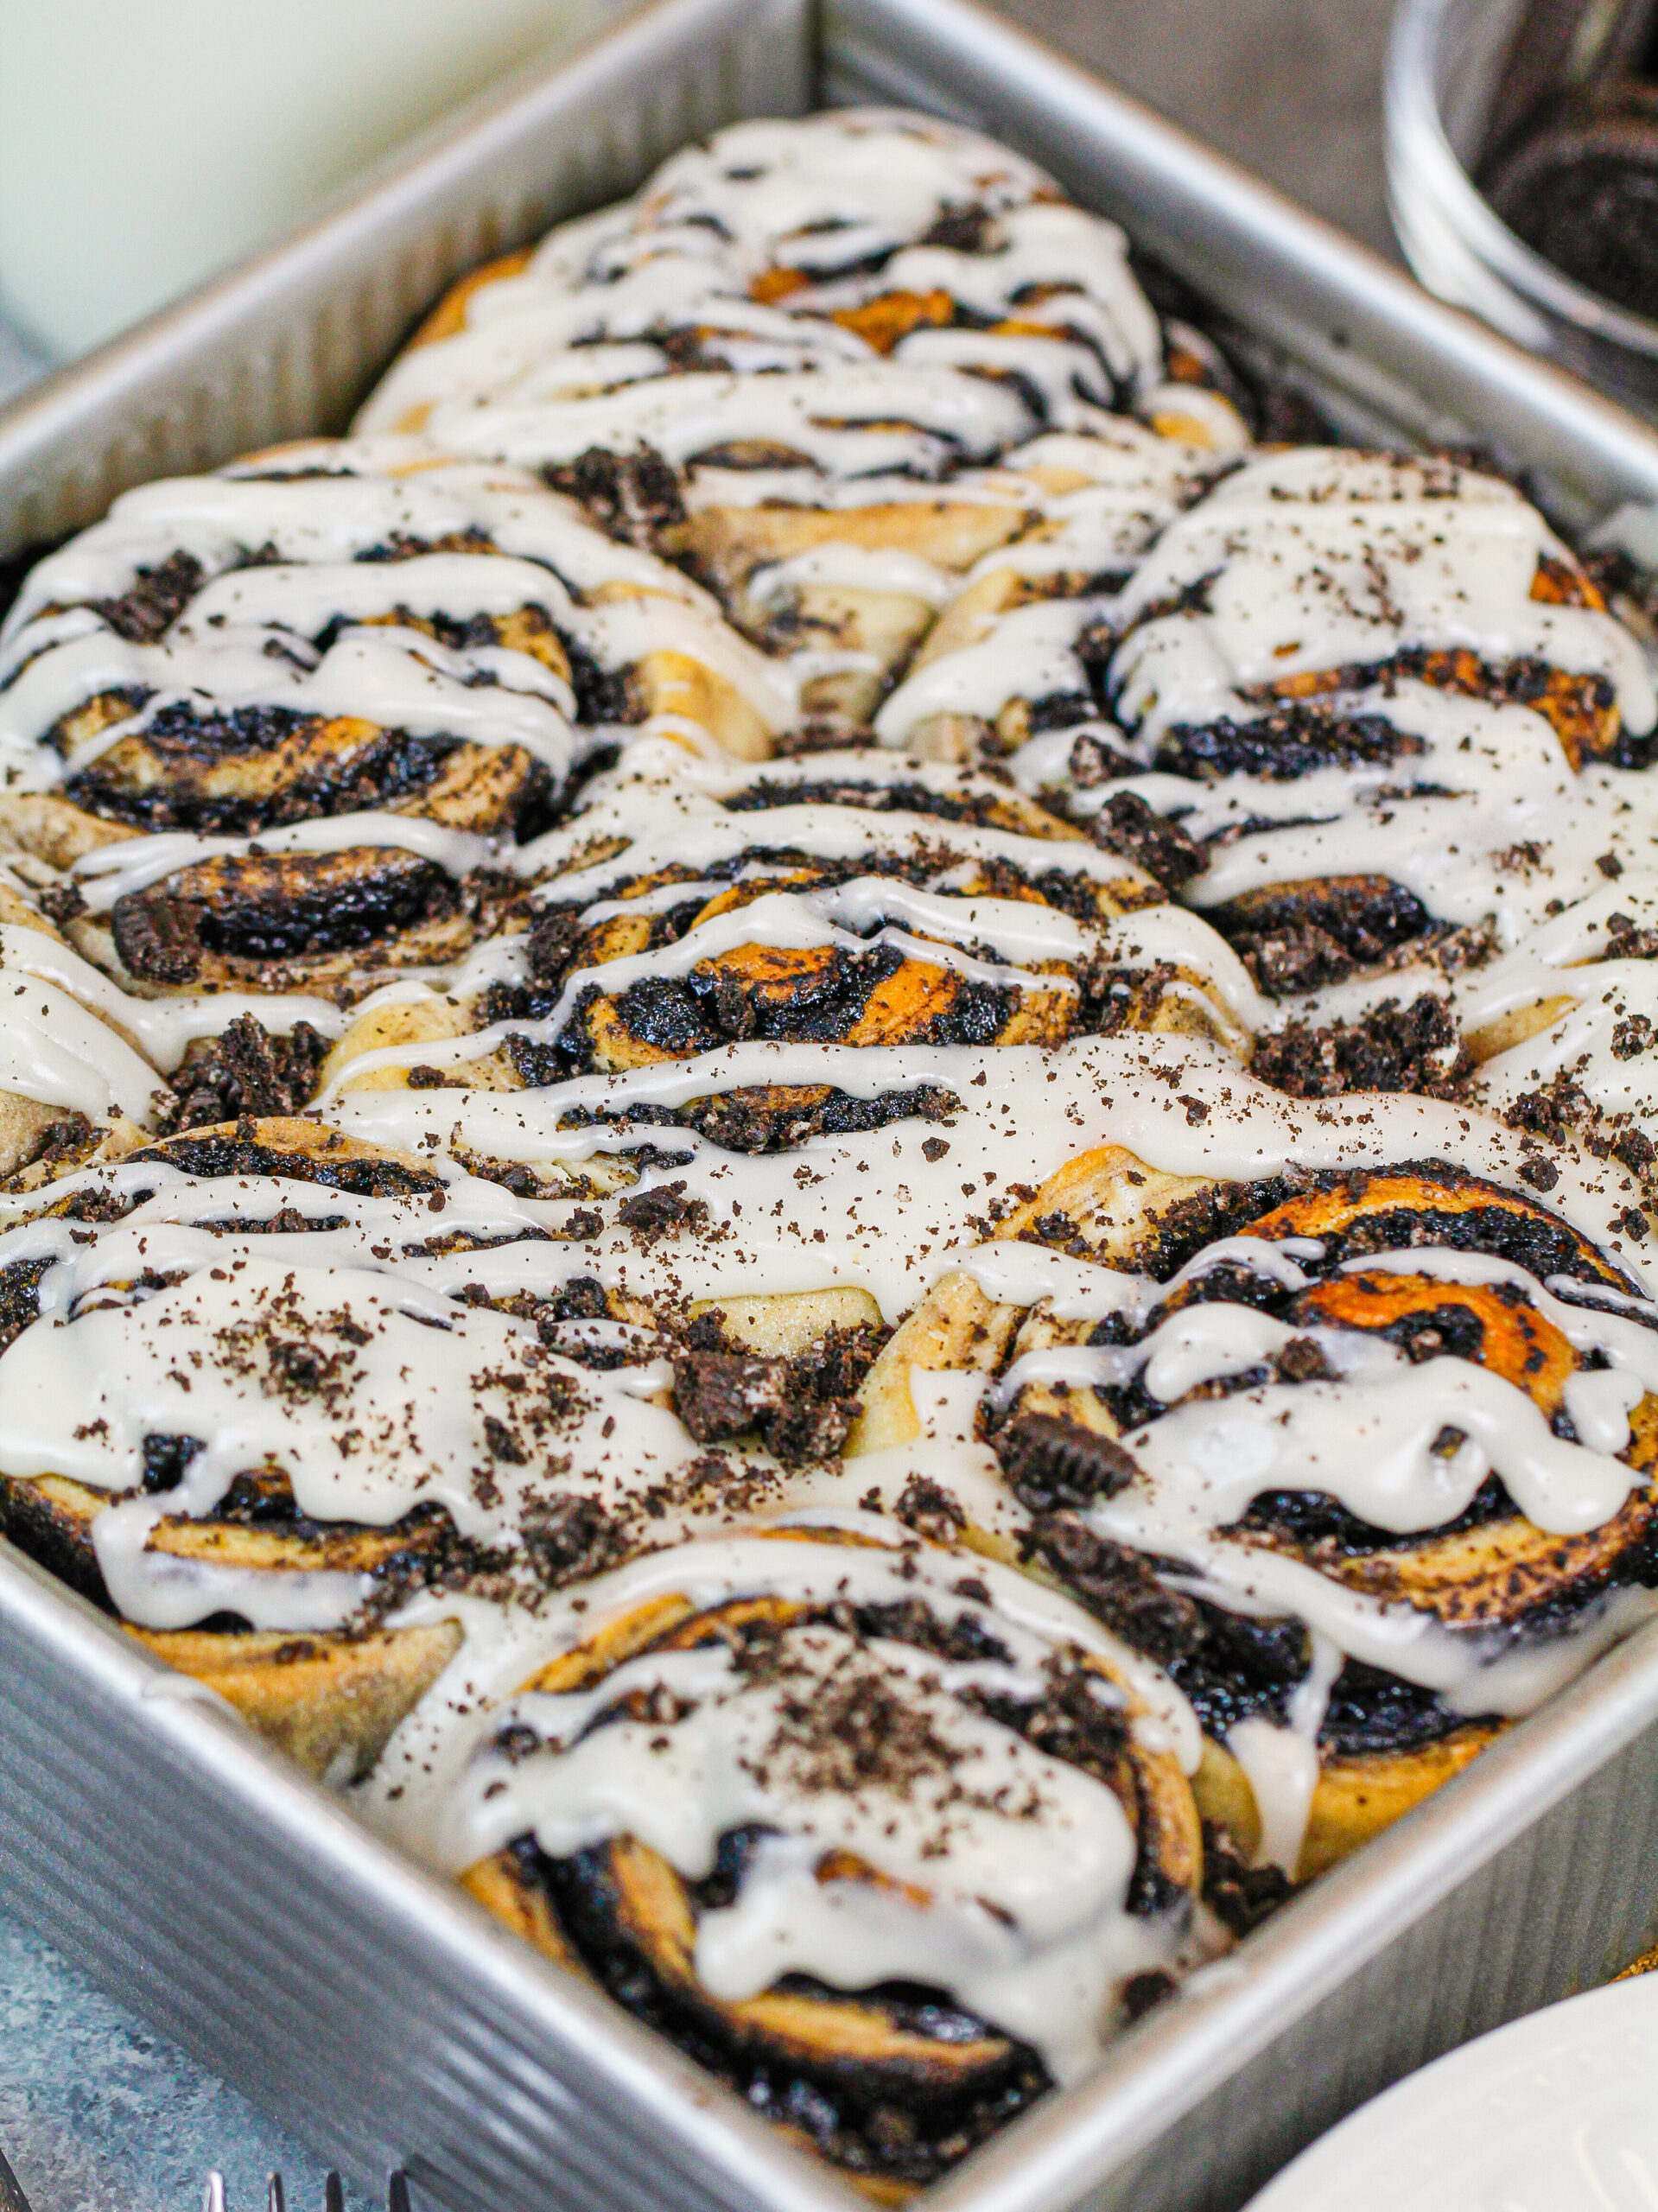
Oreo Cinnamon Rolls
After making my first batch of quick yeast cinnamon rolls, they’ve become a part of our weekend routine. This weekend I decided to play around with the flavor and make Oreo cinnamon rolls!
It’s a sneaky way to normalize eating Oreos for breakfast, and I’m all for it!
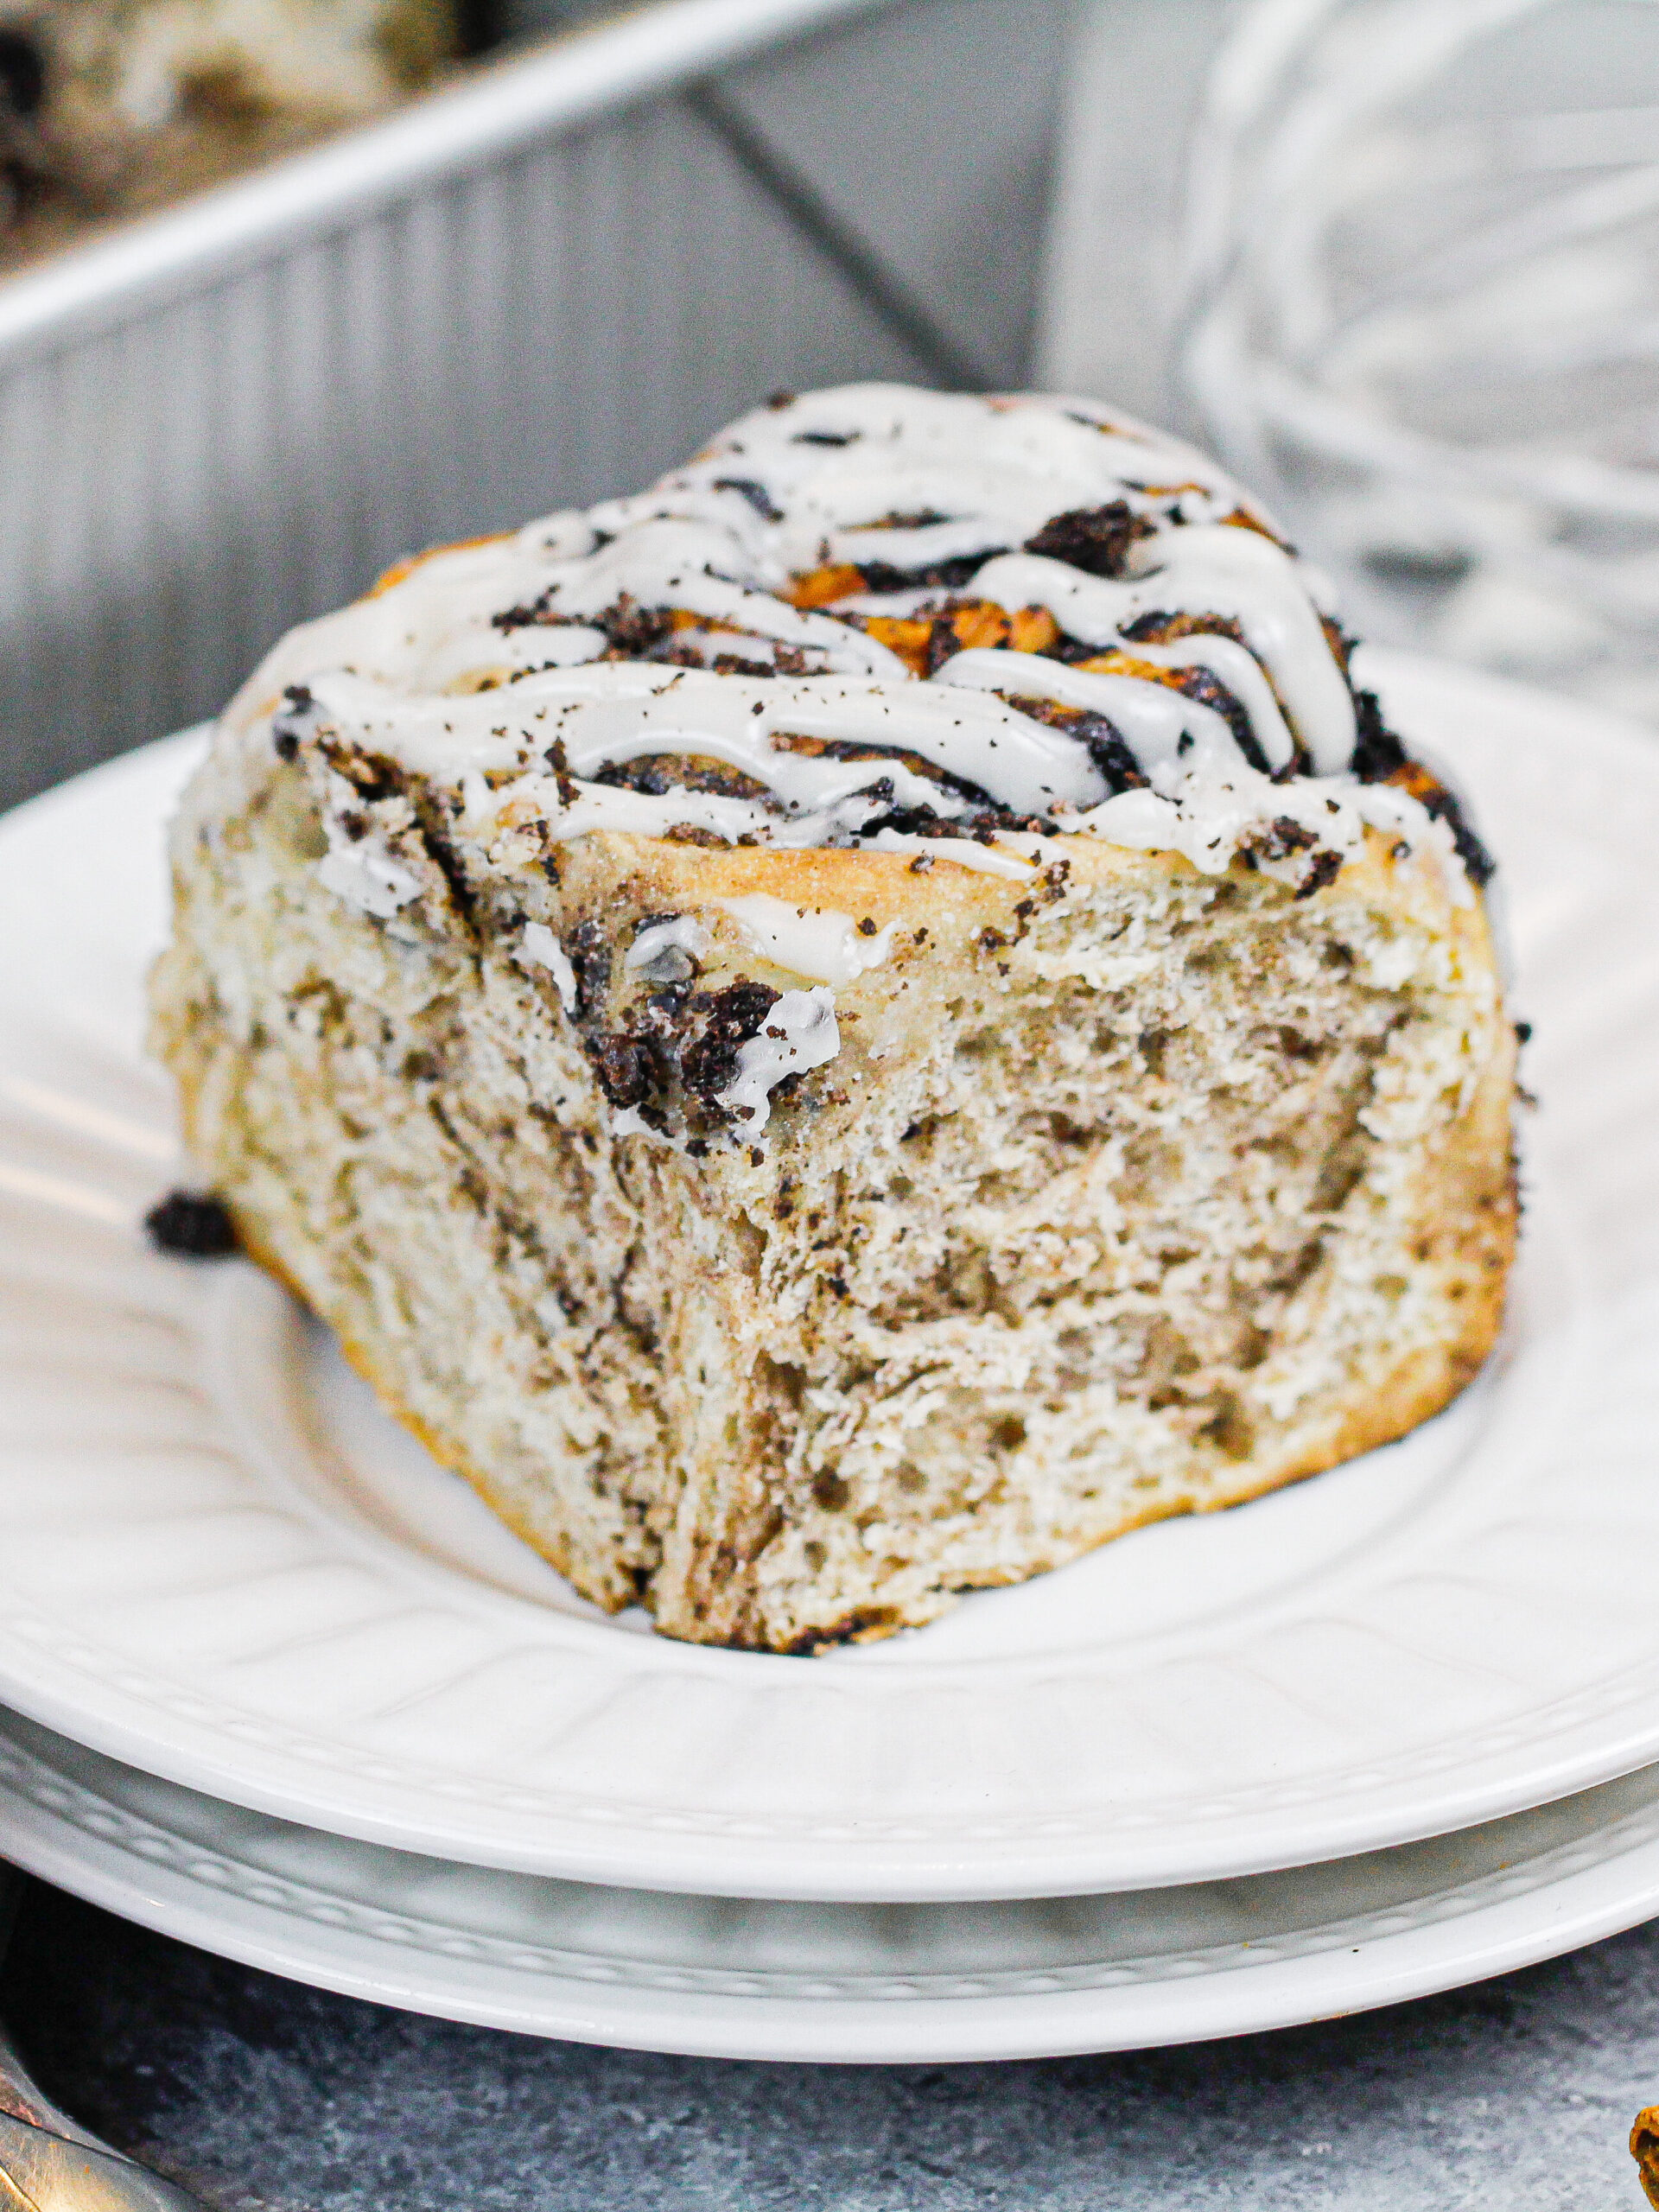
The unique chocolate filling combined with a generous drizzle of delicious vanilla glaze makes this recipe a wonderful way to start the weekend.
The Secret Ingredient in These Oreo Cinnamon Rolls
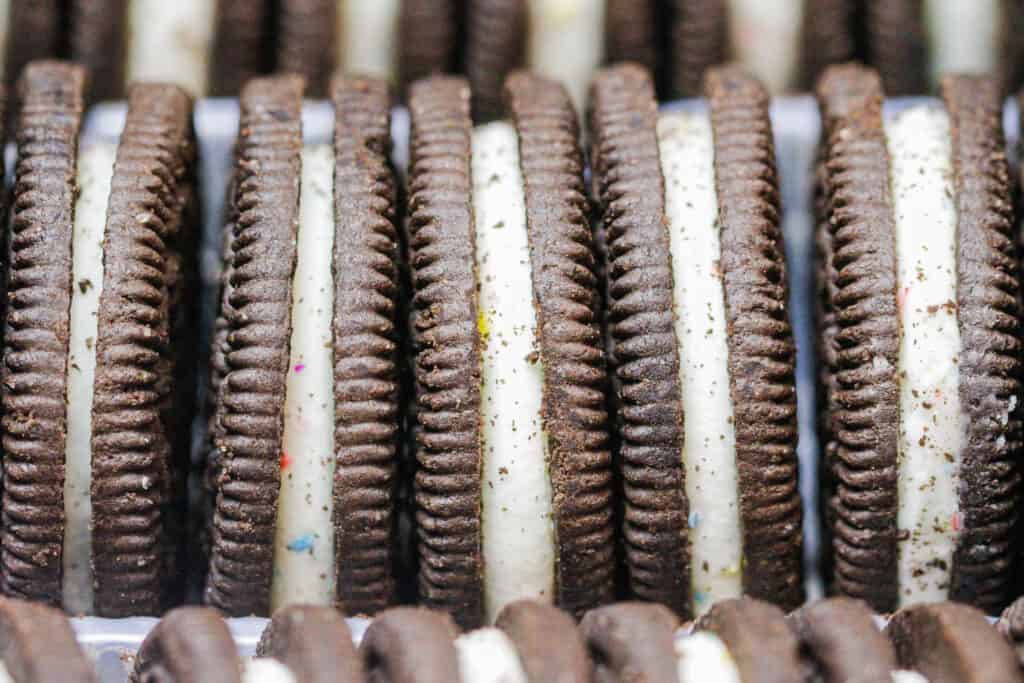
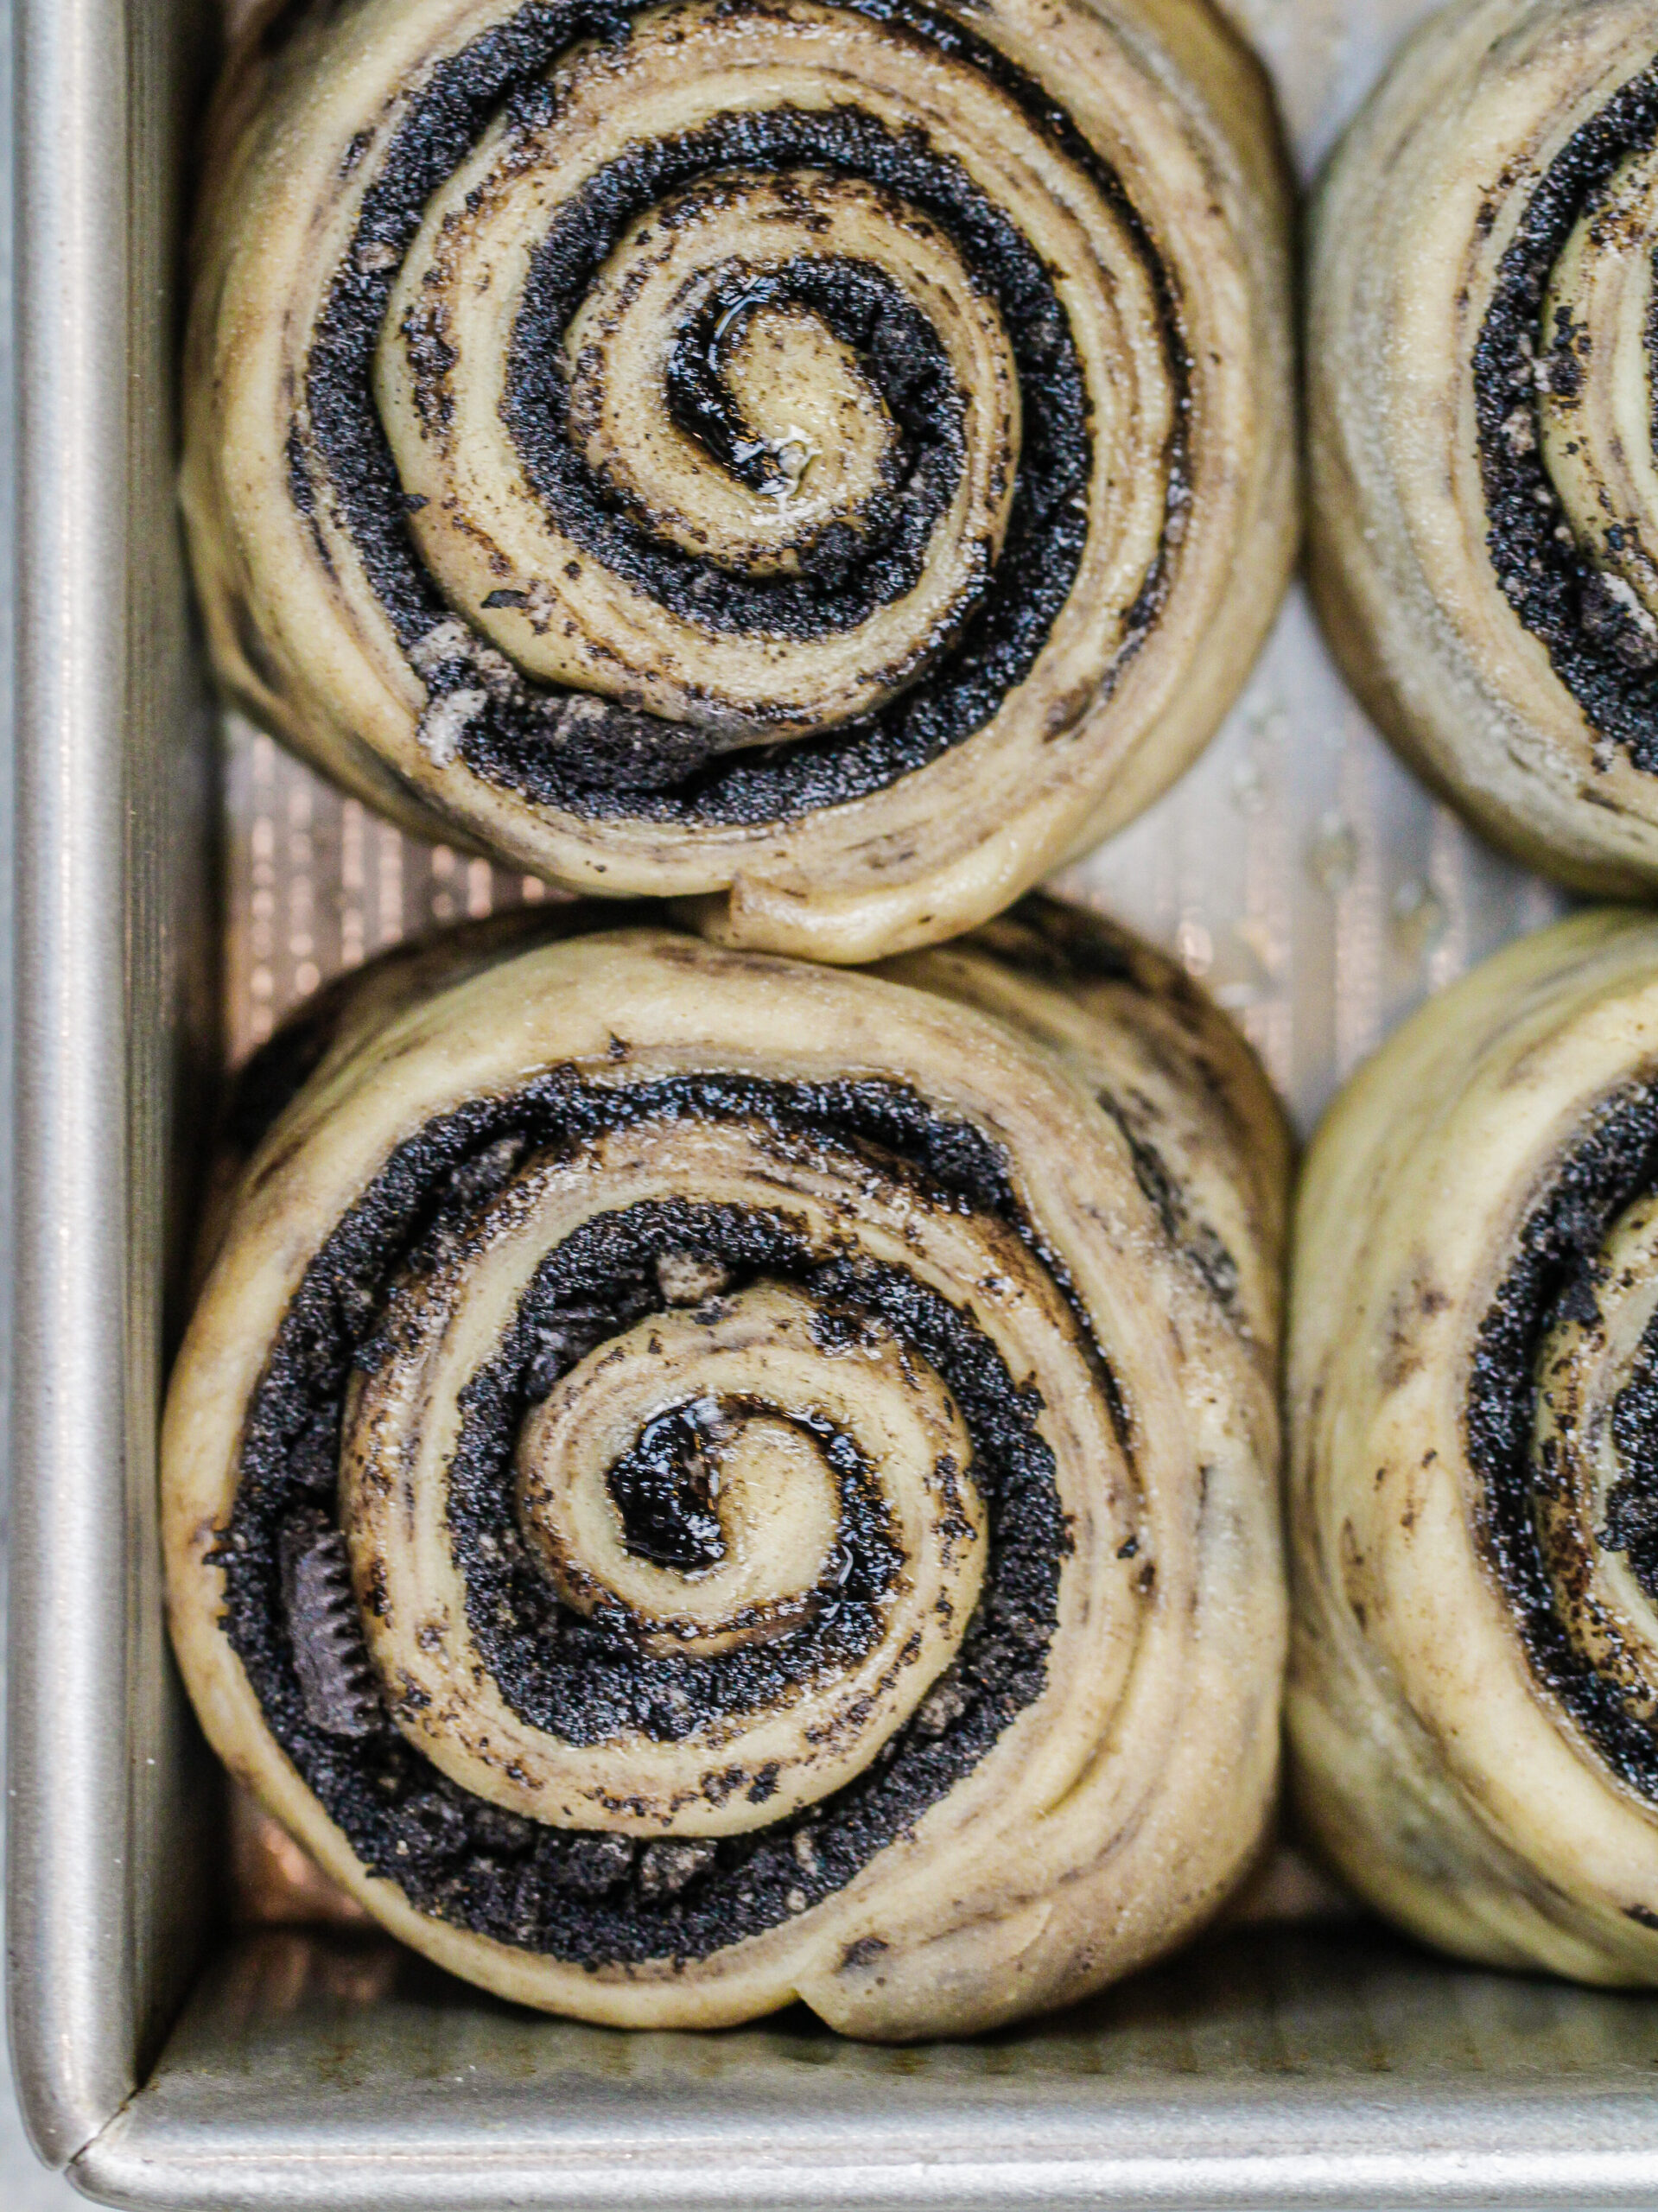
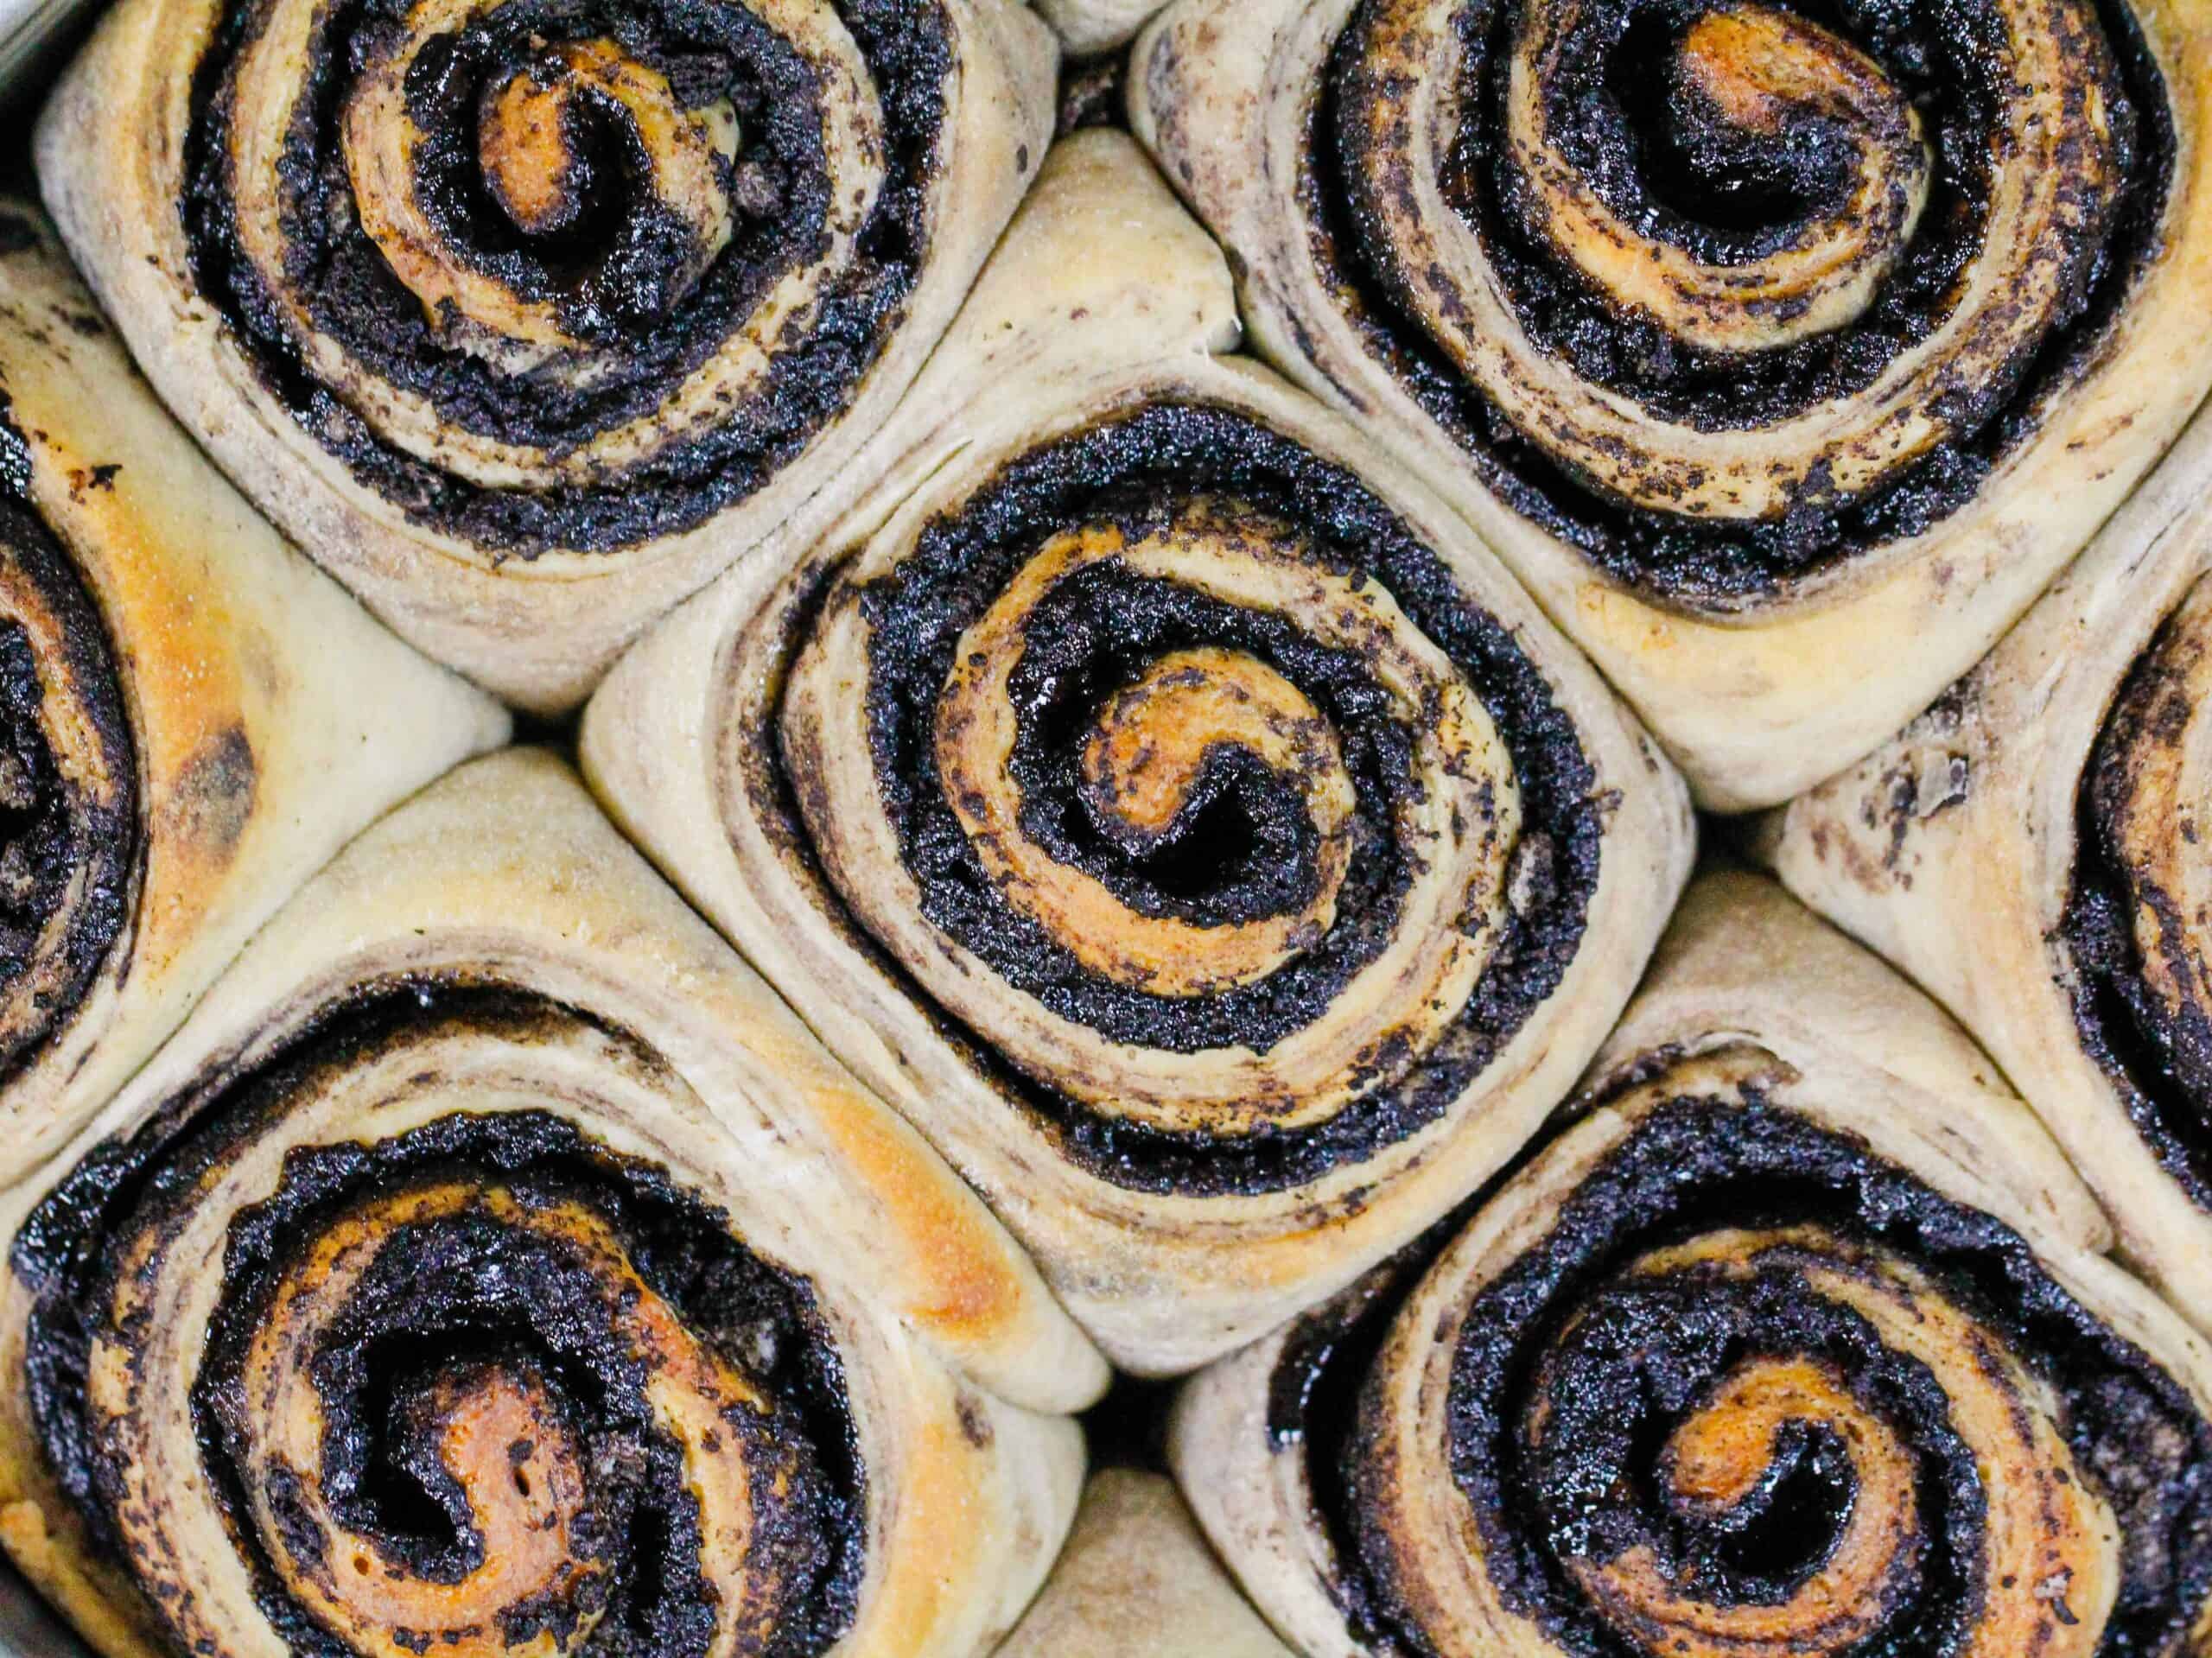
The trademarks of an Oreo are its unique chocolatey taste and that signature dark color.
To help translate both aspects into these oreo cinnamon rolls, I use black cocoa in the filling!
Black cocoa has a slightly higher pH than Dutch-processed cocoa (8 vs. 7) and is less acidic than natural baking cocoa (5-6).
This gives the cinnamon rolls a bittersweet, chocolaty taste just like an Oreo cookie!
It’s absolutely delicious, and pairs great with the brown sugar and hint of cinnamon in the filling.
If you can’t find or order black cocoa in time, you can also use dark cocoa powder.
Hershey’s makes a popular version of this that can be found at most large grocery stores.
How Much Flour Am I Supposed to Use??
One part of this recipe that can be a bit daunting or hard to interpret is the amount of flour this recipe uses. As you can see on the recipe card, it isn’t a set amount.
I tried so hard to find the perfect amount, but the truth is it will vary batch to batch and kitchen to kitchen.
I’ve made these by hand, in a stand mixer, here in NYC, and in my childhood home in Seattle. Each time I use a slightly different amount of flour.
Now, the amount of flour you start with is set at 3 1/2 cups of all-purpose flour.
But as you add in your wet ingredients and a sticky dough ball begins to form, you will need to add in additional flour.
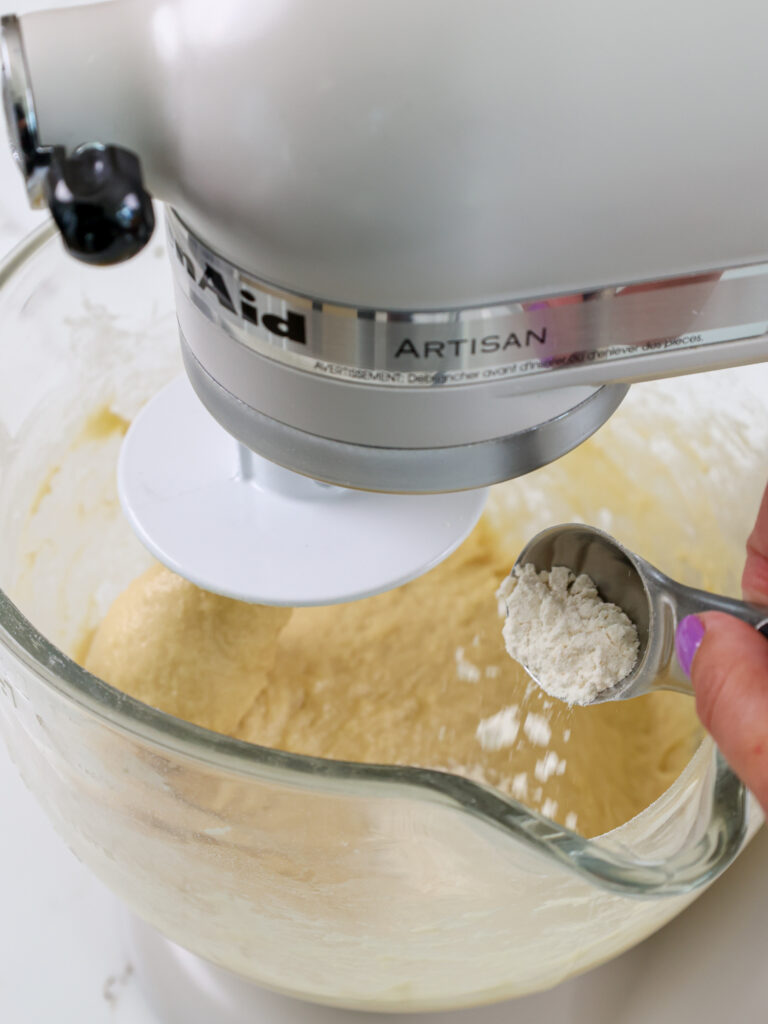
I do this as I knead the dough and add in a Tablespoon at a time. You need enough to create an elastic, workable dough that you can roll out.
However, if you add too much flour, you can end up with dense, chewy cinnamon rolls. That’s why it’s a range.
When using my stand mixer, I usually add in 4-6 additional tablespoons as the dough is kneaded.
In some batches I’ve used less, and in a few I’ve used the full additional 1/2 cup of flour.
Making These Cinnamon Rolls by Hand vs. Stand Mixer
My first couple of batches of cinnamon rolls were made when I was home for the holidays, and I didn’t have a stand mixer.
This recipe can be made by hand or with a dough hook / stand mixer.
Whichever method you use to make the dough, just be sure to knead/mix the dough until it gets an elastic texture and pulls away from the bowl or counter.
The dough should be tacky but not sticky once it’s ready to be rested.
I like to test the dough by pressing it with my finger. It should feel tacky, but not leave any residue on your finger when you pull it away.
Once you get to this point, stop, and let the dough rest for 10-15 minutes.
If you continue to work the dough, the gluten strands can become too tight. Just like adding in too much flour, this can also lead to dense cinnamon rolls.
It’s easier to sense when the dough is ready if you’re kneading by hand. If you’re using a stand mixer, keep a close eye on your dough to ensure you don’t accidentally overwork it.
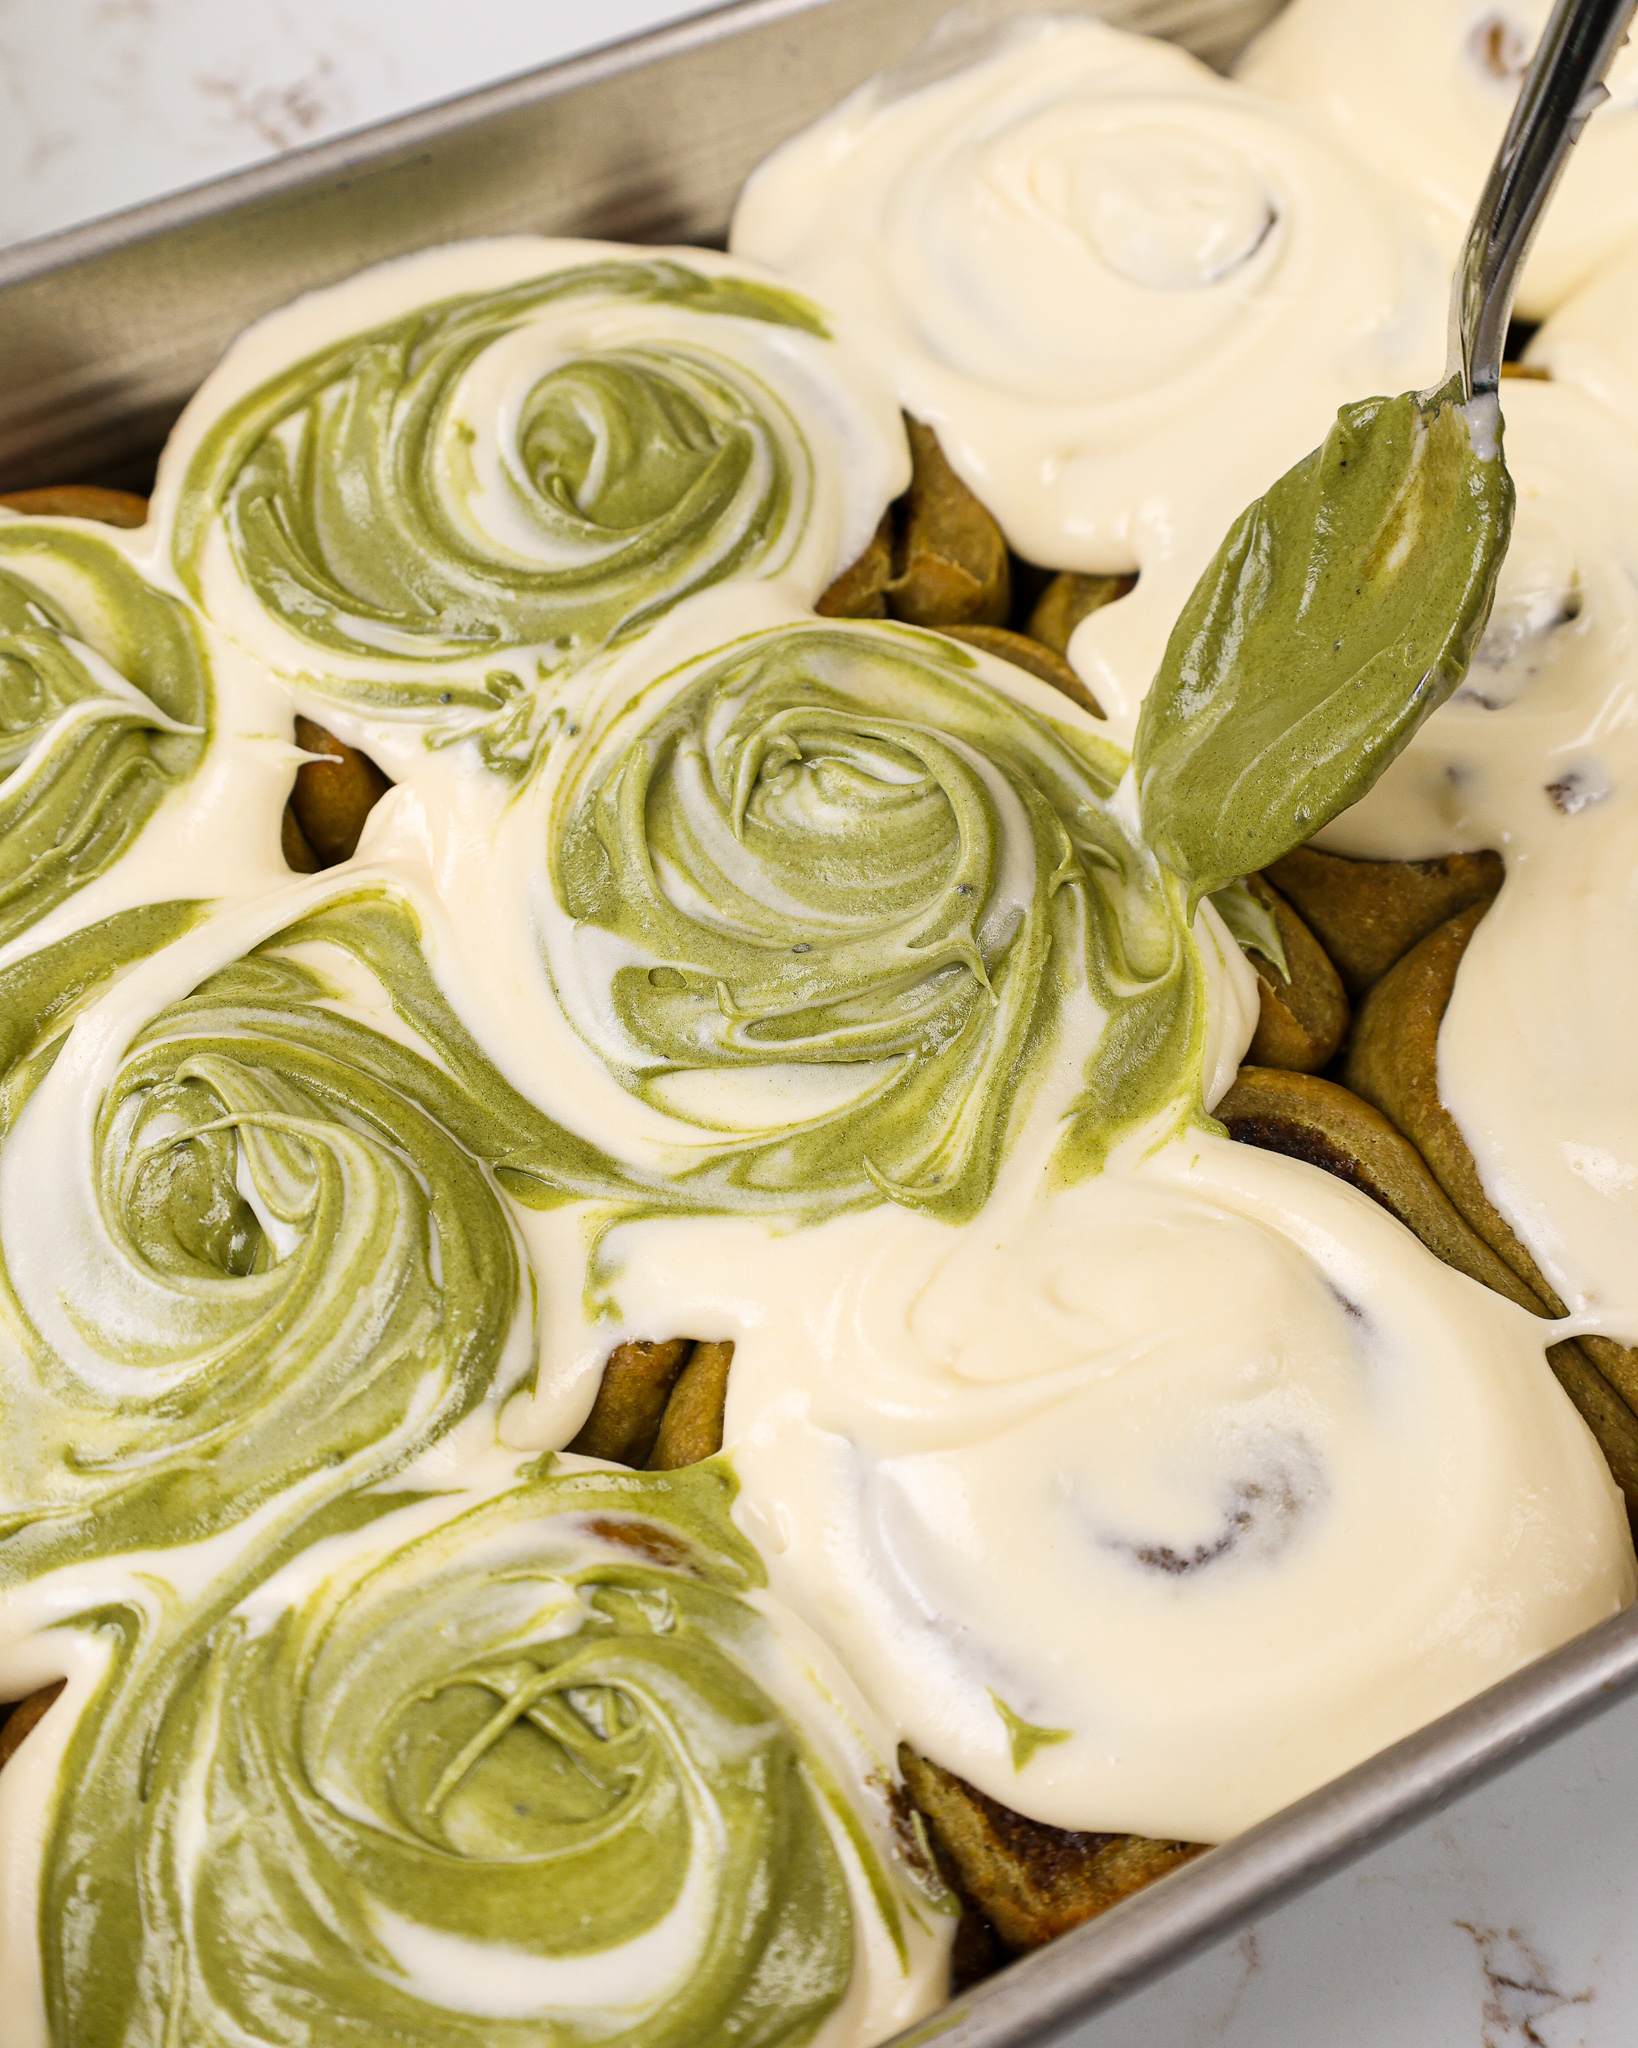
Topping These Cinnamon Rolls
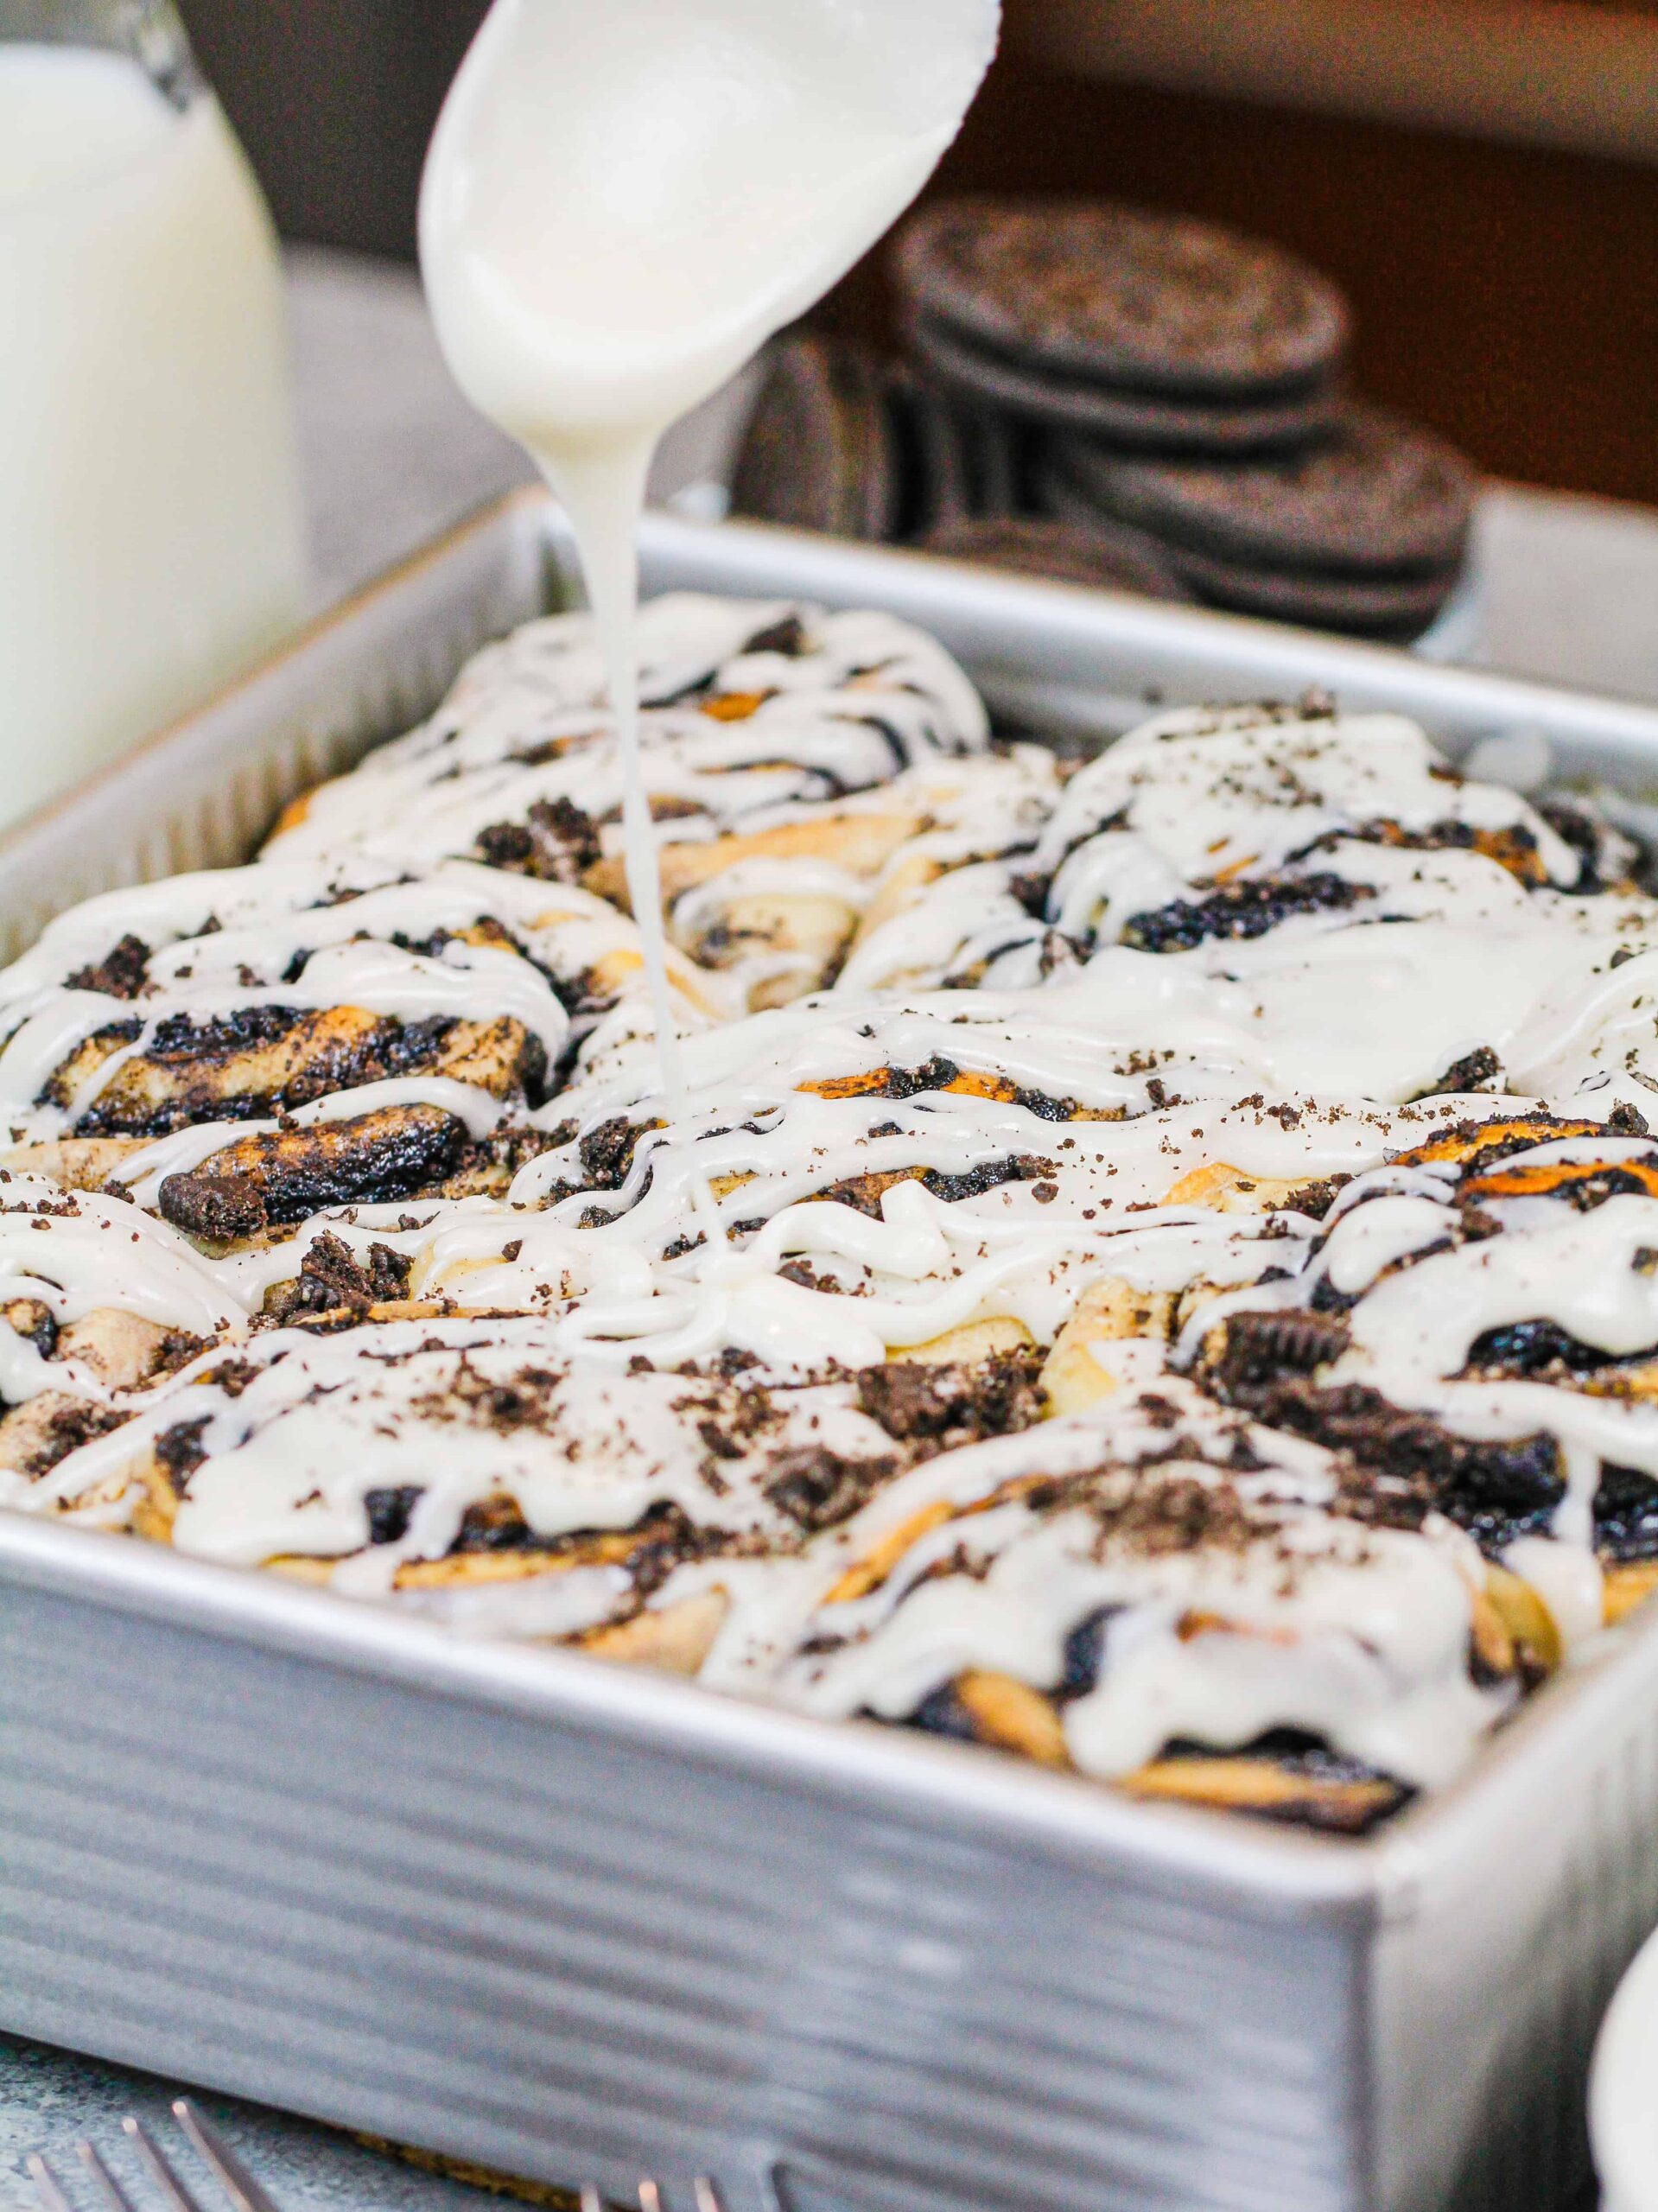
The finishing touch on any cinnamon roll has to be its topping!
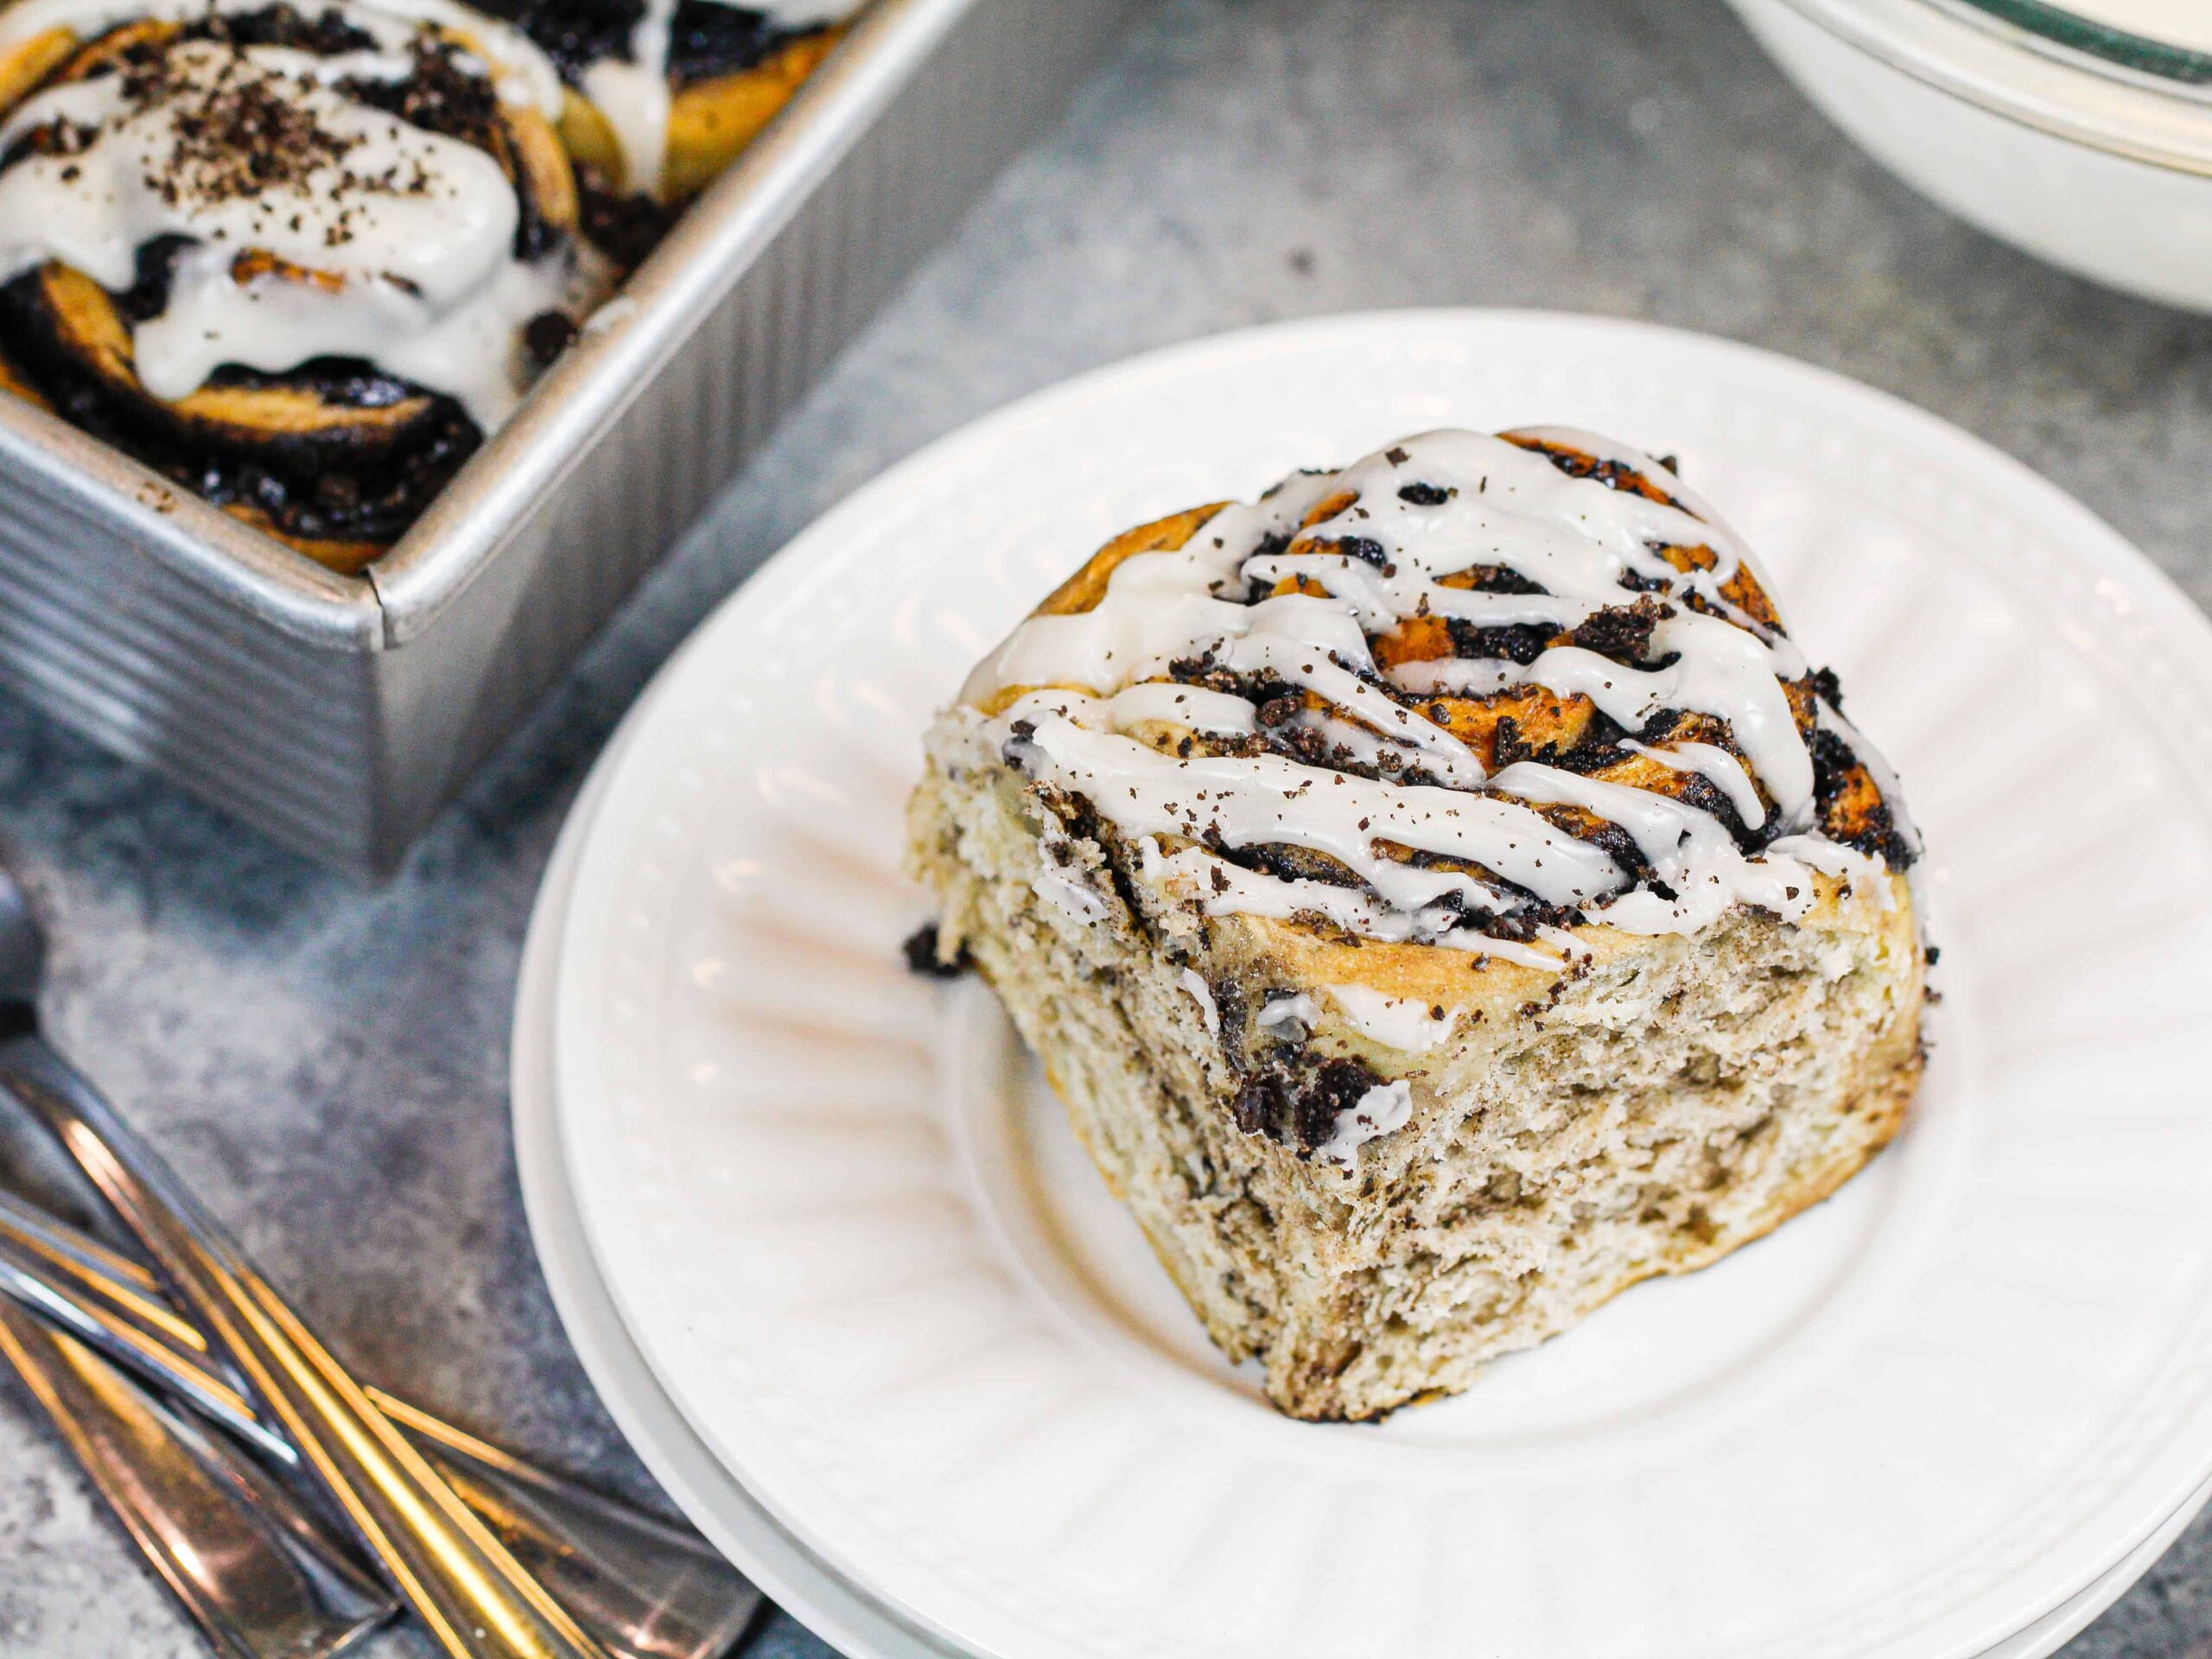
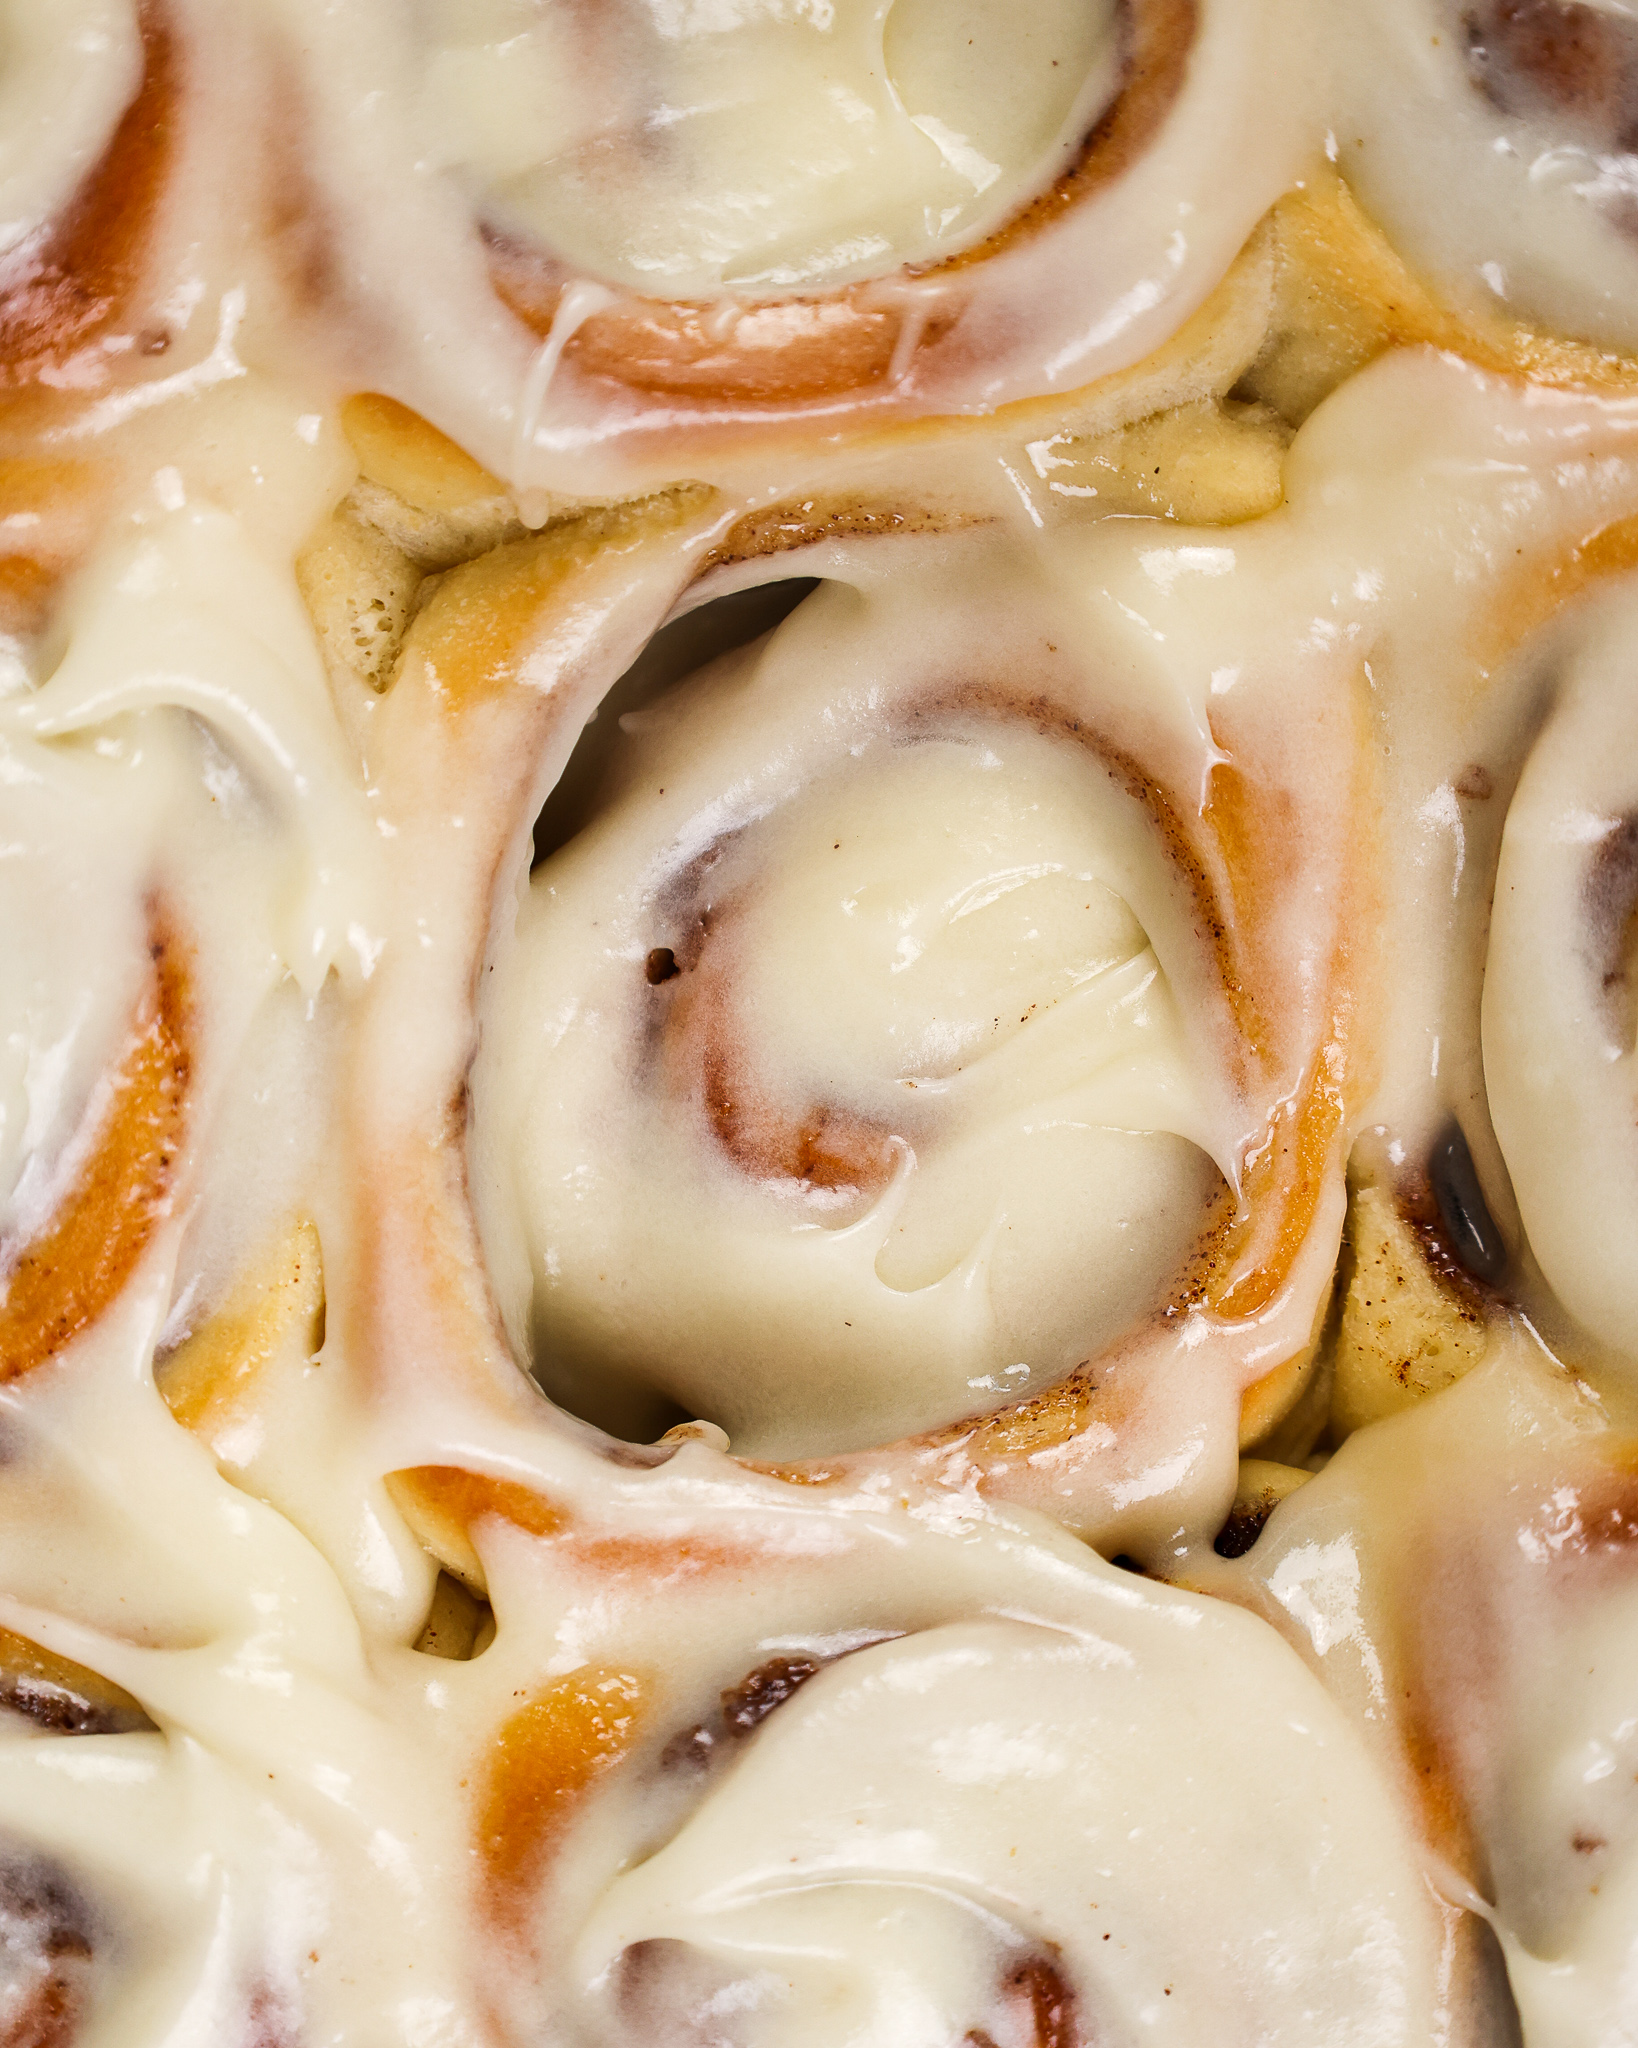
A cinnamon roll isn’t complete without sweet, melty icing. I decided to top these cinnamon rolls with a delicious vanilla glaze.
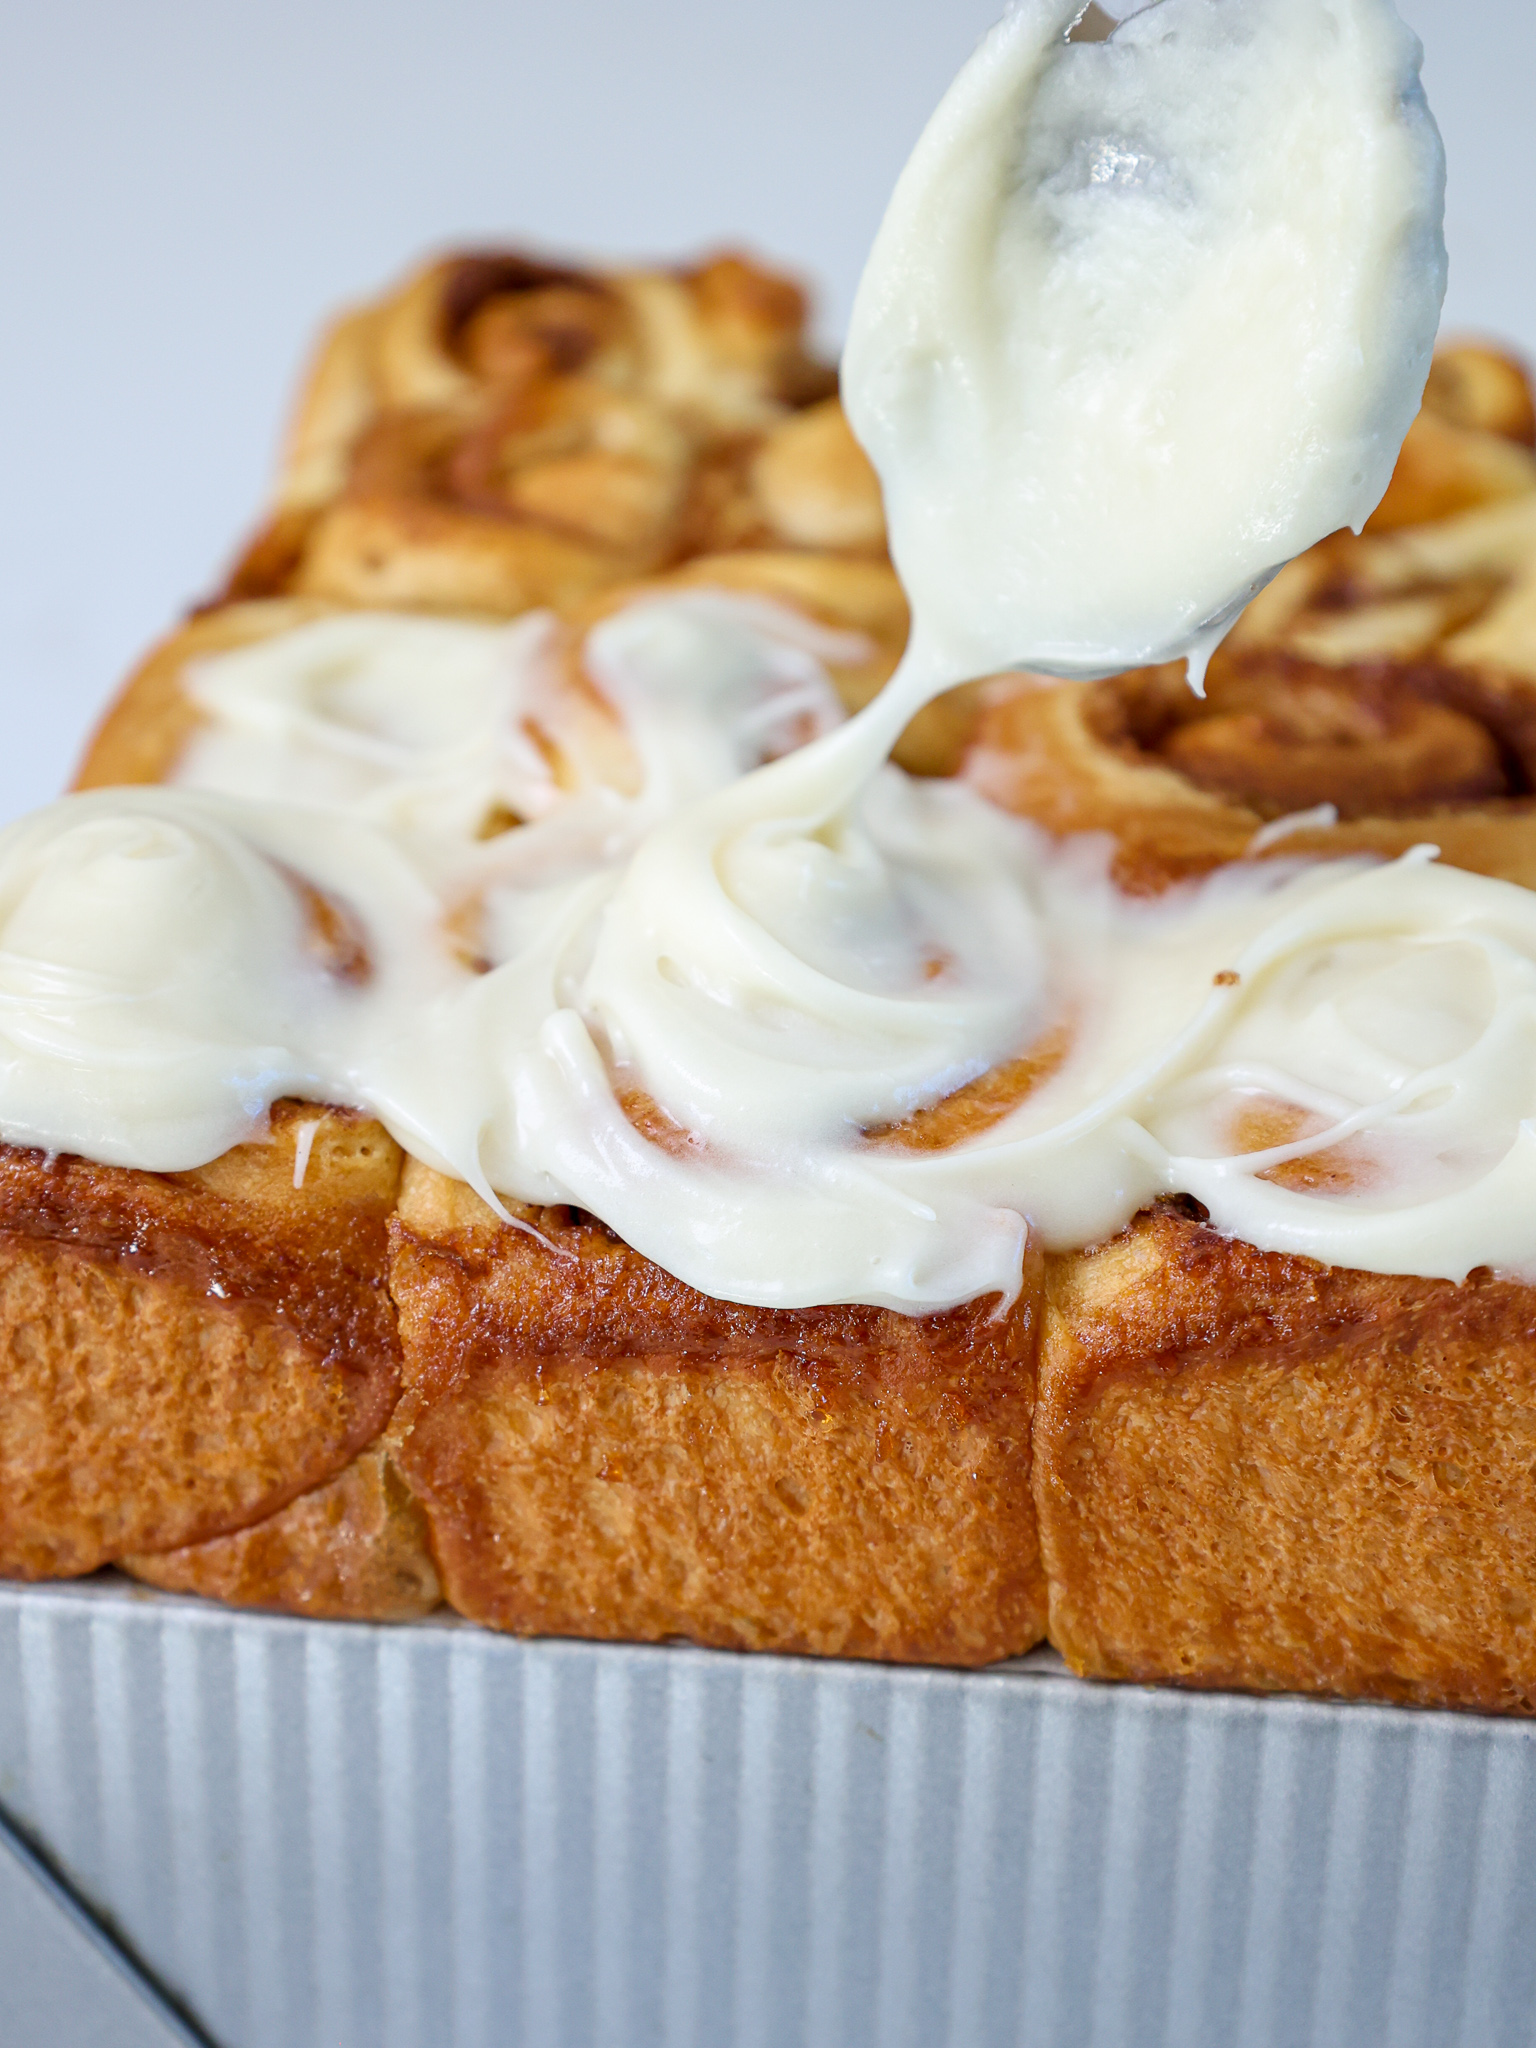
While I was tempted to use my cream cheese buttercream or my American buttercream, for some reason, a vanilla glaze just felt right.
You can use a more traditional frosting if you prefer your cinnamon rolls that way, though!
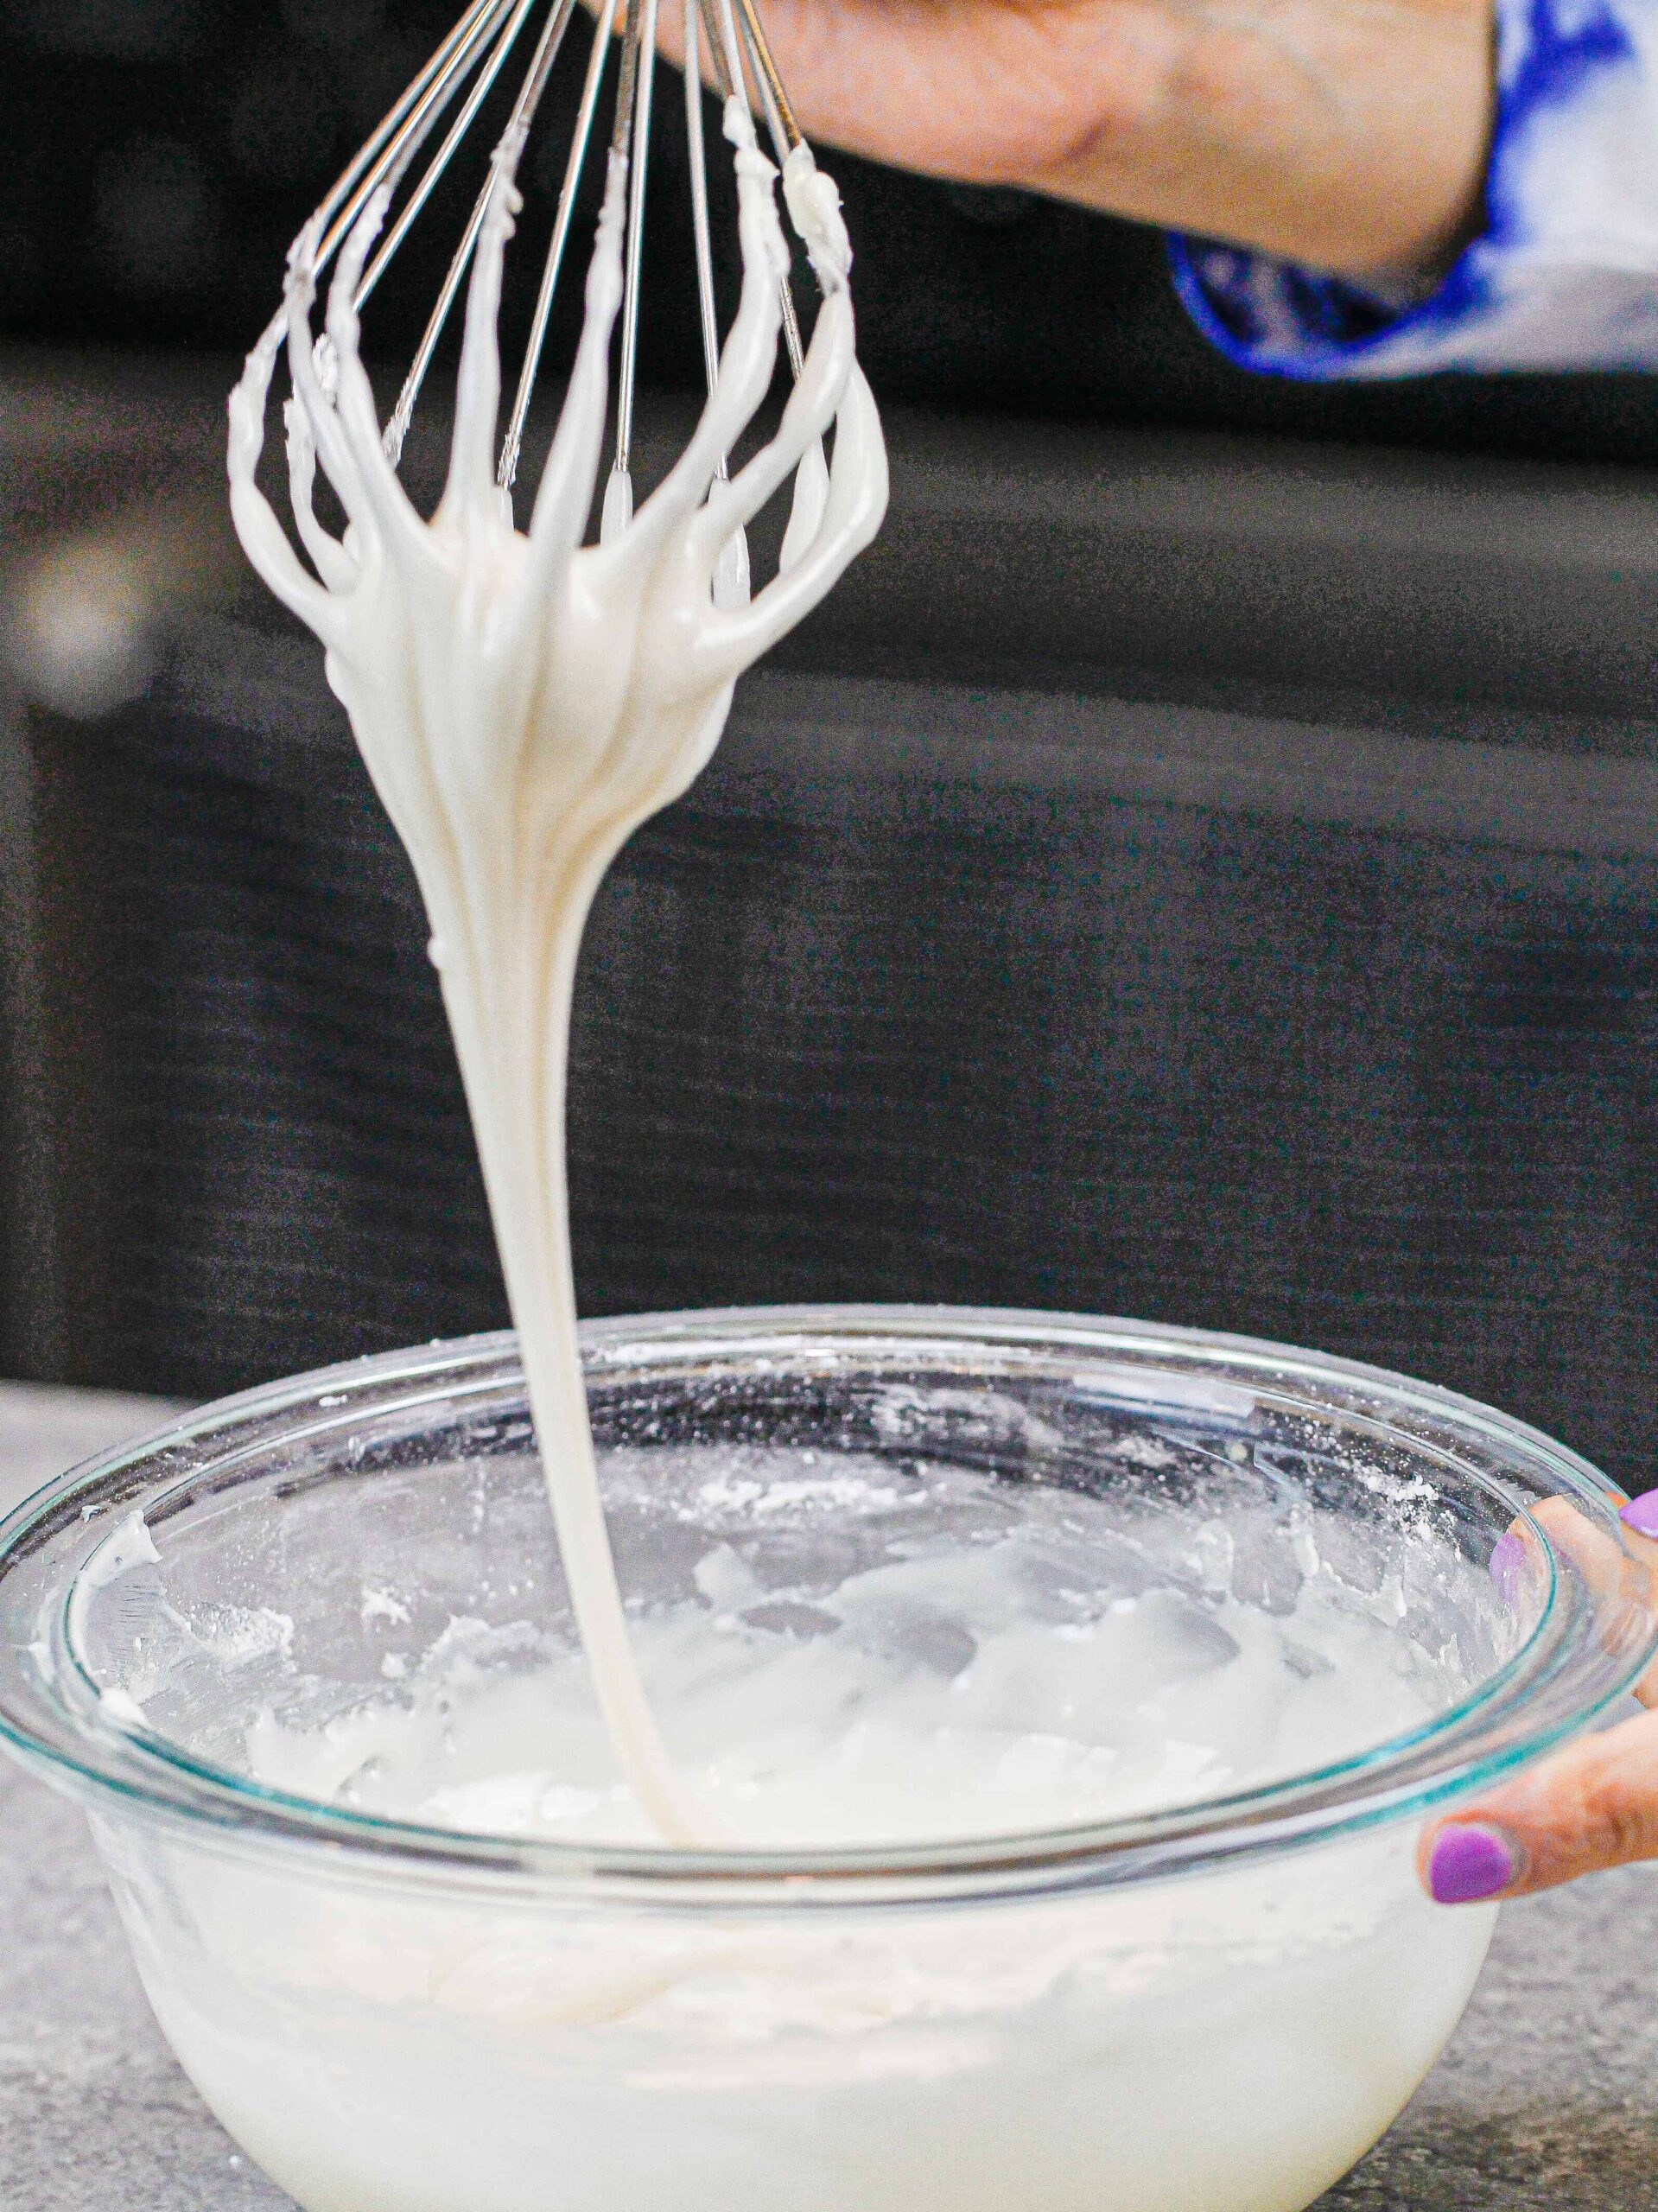
If you opt to make a vanilla glaze like I did, you want the consistency to be just right. The glaze should be thick enough to drizzle over your finger and keep its shape.
I use this test every time I make a glaze and show what I mean in the video shared with this post.
Substitutions and Swaps – Oreo Cinnamon Rolls
While I love this recipe just the way it is, I know some of you might not have all these ingredients on hand!
Below are some swaps and substitutions that can be made in this recipe.
- All-Purpose Flour – I haven’t tested this recipe out with gluten-free flour, but it should work if you use a good blend like King Arthur’s GF flour. Just be sure to knead the dough a bit longer to help give it structure.
- Unsalted Butter – If you only have salted butter on hand, you can use it in place of the unsalted butter in this recipe. Just be sure to omit the salt that this recipe calls for. You can also use vegan butter in its place!
- Whole Milk – Most alternative milks work fine in this recipe, including soy, oat, and almond milk.
- Instant / Rapid Rise Yeast – You can use active dry yeast in place of the instant yeast in this recipe, just be sure to activate it before adding it into the dough and allow the dough to rise for a bit longer. Active yeast takes longer to rise than instant.
- 1 Large Egg – This is an enriched dough, so it uses an egg. You can use a flaxseed egg in its place to make eggless or vegan Oreo cinnamon rolls
Tips for Making the Best Oreo Cinnamon Rolls:
- Use a ruler to make sure your dough is rolled out to the right size (12 in x 18 in) and cut into even pieces.
- Use dental floss to easily cut each cinnamon roll, rather than a knife.
- Let the cinnamon rolls cool for about 5-10 minutes, then add the glaze. This will allow it to perfectly melt over your cinnamon rolls.
- Only cut 9 cinnamon rolls from your log to create tall and fluffy cinnamon rolls.
- Bake the cinnamon rolls in a greased, square pan (mine is 8 in x 8 in).
Making These Oreo Cinnamon Rolls in Advance
If you want to make these cinnamon rolls ahead of time, be my guest! I’m all about working ahead and making life easier.
This recipe can be made the evening before and then baked the following morning.
You can refrigerate these cinnamon rolls after they have been cut in a greased or lined pan.
Cover the cinnamon roll pan tightly with plastic wrap, making sure the seal is airtight.
If the cinnamon rolls are exposed to air, they can dry out, and no one wants dry cinnamon rolls!
The morning you want to bake them, take them out 1 hour before you plan to bake them, then follow the recipe instructions to bake.
You can also bake the cinnamon rolls, then let them cool and freeze them individually.
This is what I do with our leftover cinnamon rolls. I leave the leftover rolls unfrosted, then tightly wrap each roll in a layer of plastic wrap then foil.
I move individual cinnamon rolls from the freezer to the fridge the night before I want to eat them.
Then in the morning, I unwrap the cinnamon roll and heat it up in the microwave until it’s warm and gooey (usually about 30 seconds!).
Let Me Know What You Think
If you try this recipe for Oreo cinnamon rolls, I’d love to hear what you think! Please leave a rating and comment below.
You can also tag me on social media @chelsweets or use #chelsweets so I can see your creations!!

Oreo Cinnamon Rolls
Ingredients
Chocolate Oreo Cinnamon Roll Filling
- 1/2 cup packed light brown sugar 100g
- 2 Tbsp black cocoa powder 12g
- 1 tsp ground cinnamon 3g
- 1/4 cup unsalted butter, softened – to be spread on the dough 56g
- 1/2 cup crushed Oreos 50g
Oreo Cinnamon Roll Dough
- 3 1/2 cups all-purpose flour + up to 1/2 cup addition flour to be added later in process 440g-500g
- 2 tsp or 1 packet instant dry yeast 7g, 1/4 oz.
- 1 tsp fine salt 6g
- 1 cup whole milk 240g
- 1/2 cup granulated sugar 100g
- 1/4 cup unsalted butter, room temperature 56g
- 1 large egg, room temperature 56g
- 1/2 cup crushed Oreos 50g
Vanilla Glaze
- 1 Tbsp unsalted butter, room temperature 8g
- 1 1/2 cups powdered sugar 188g
- 2 Tbsp whole milk 30g
- 1 tsp artificial vanilla extract 4g
Instructions
Chocolate Oreo Cinnamon Roll Filling
- In a medium sized bowl, mix together 1/2 cup packed light brown sugar, 2 tablespoons of black cocoa, and 1 teaspoon of ground cinnamon and set aside.
Oreo Cinnamon Roll Dough
- Preheat your oven to 200 F / 95 C.
- In a large bowl or the bowl of a stand mixer, combine 3 1/2 cups of flour, 1 packet instant dry yeast (or about 2 teaspoons), and 1 teaspoon salt.
- In a separate bowl, add 1 cup milk, 1/4 cup softened butter, and 1/2 cup granulated sugar into a microwave safe bowl.
- Heat on high power for 60-90 seconds, until the mixture is warm to the touch and the butter is melted. Stir to combine the ingredients.
- Gradually add the warm milk mixture into the flour mixture and mix on medium speed with a dough hook until the dough comes together.
- Add in the egg and mix on a low speed until a sticky dough ball forms. Continue to mix on a medium low speed for 2-3 minutes, until the dough becomes more elastic.
- As the dough mixes, add in additional flour 1 Tbsp at a time until the dough begins to leave the sides of the bowl. My favorite way to know if my dough is ready is to poke it with my finger. It should feel tacky but not sticky. As you pull your finger away, there should be no residue on your finger.
- Once you're done adding in the additional flour, mix in 1/2 cup of crushed Oreos on a medium speed. Mix until the Oreos are incorporated throughout the dough.
- Cover your bowl with plastic wrap and set aside to let the dough to rest for 10 minutes. The plastic wrap should fog up a bit from the warmth of the dough.
- Generously flour your counter and roll your dough ball into a large rectangle that's 12 inches x 18 inches. It should be about 1/2 cm thick.
- Spread 1/4 cup of softened butter over the dough, leaving 1/2 inch on the long side of the rectangle uncovered.
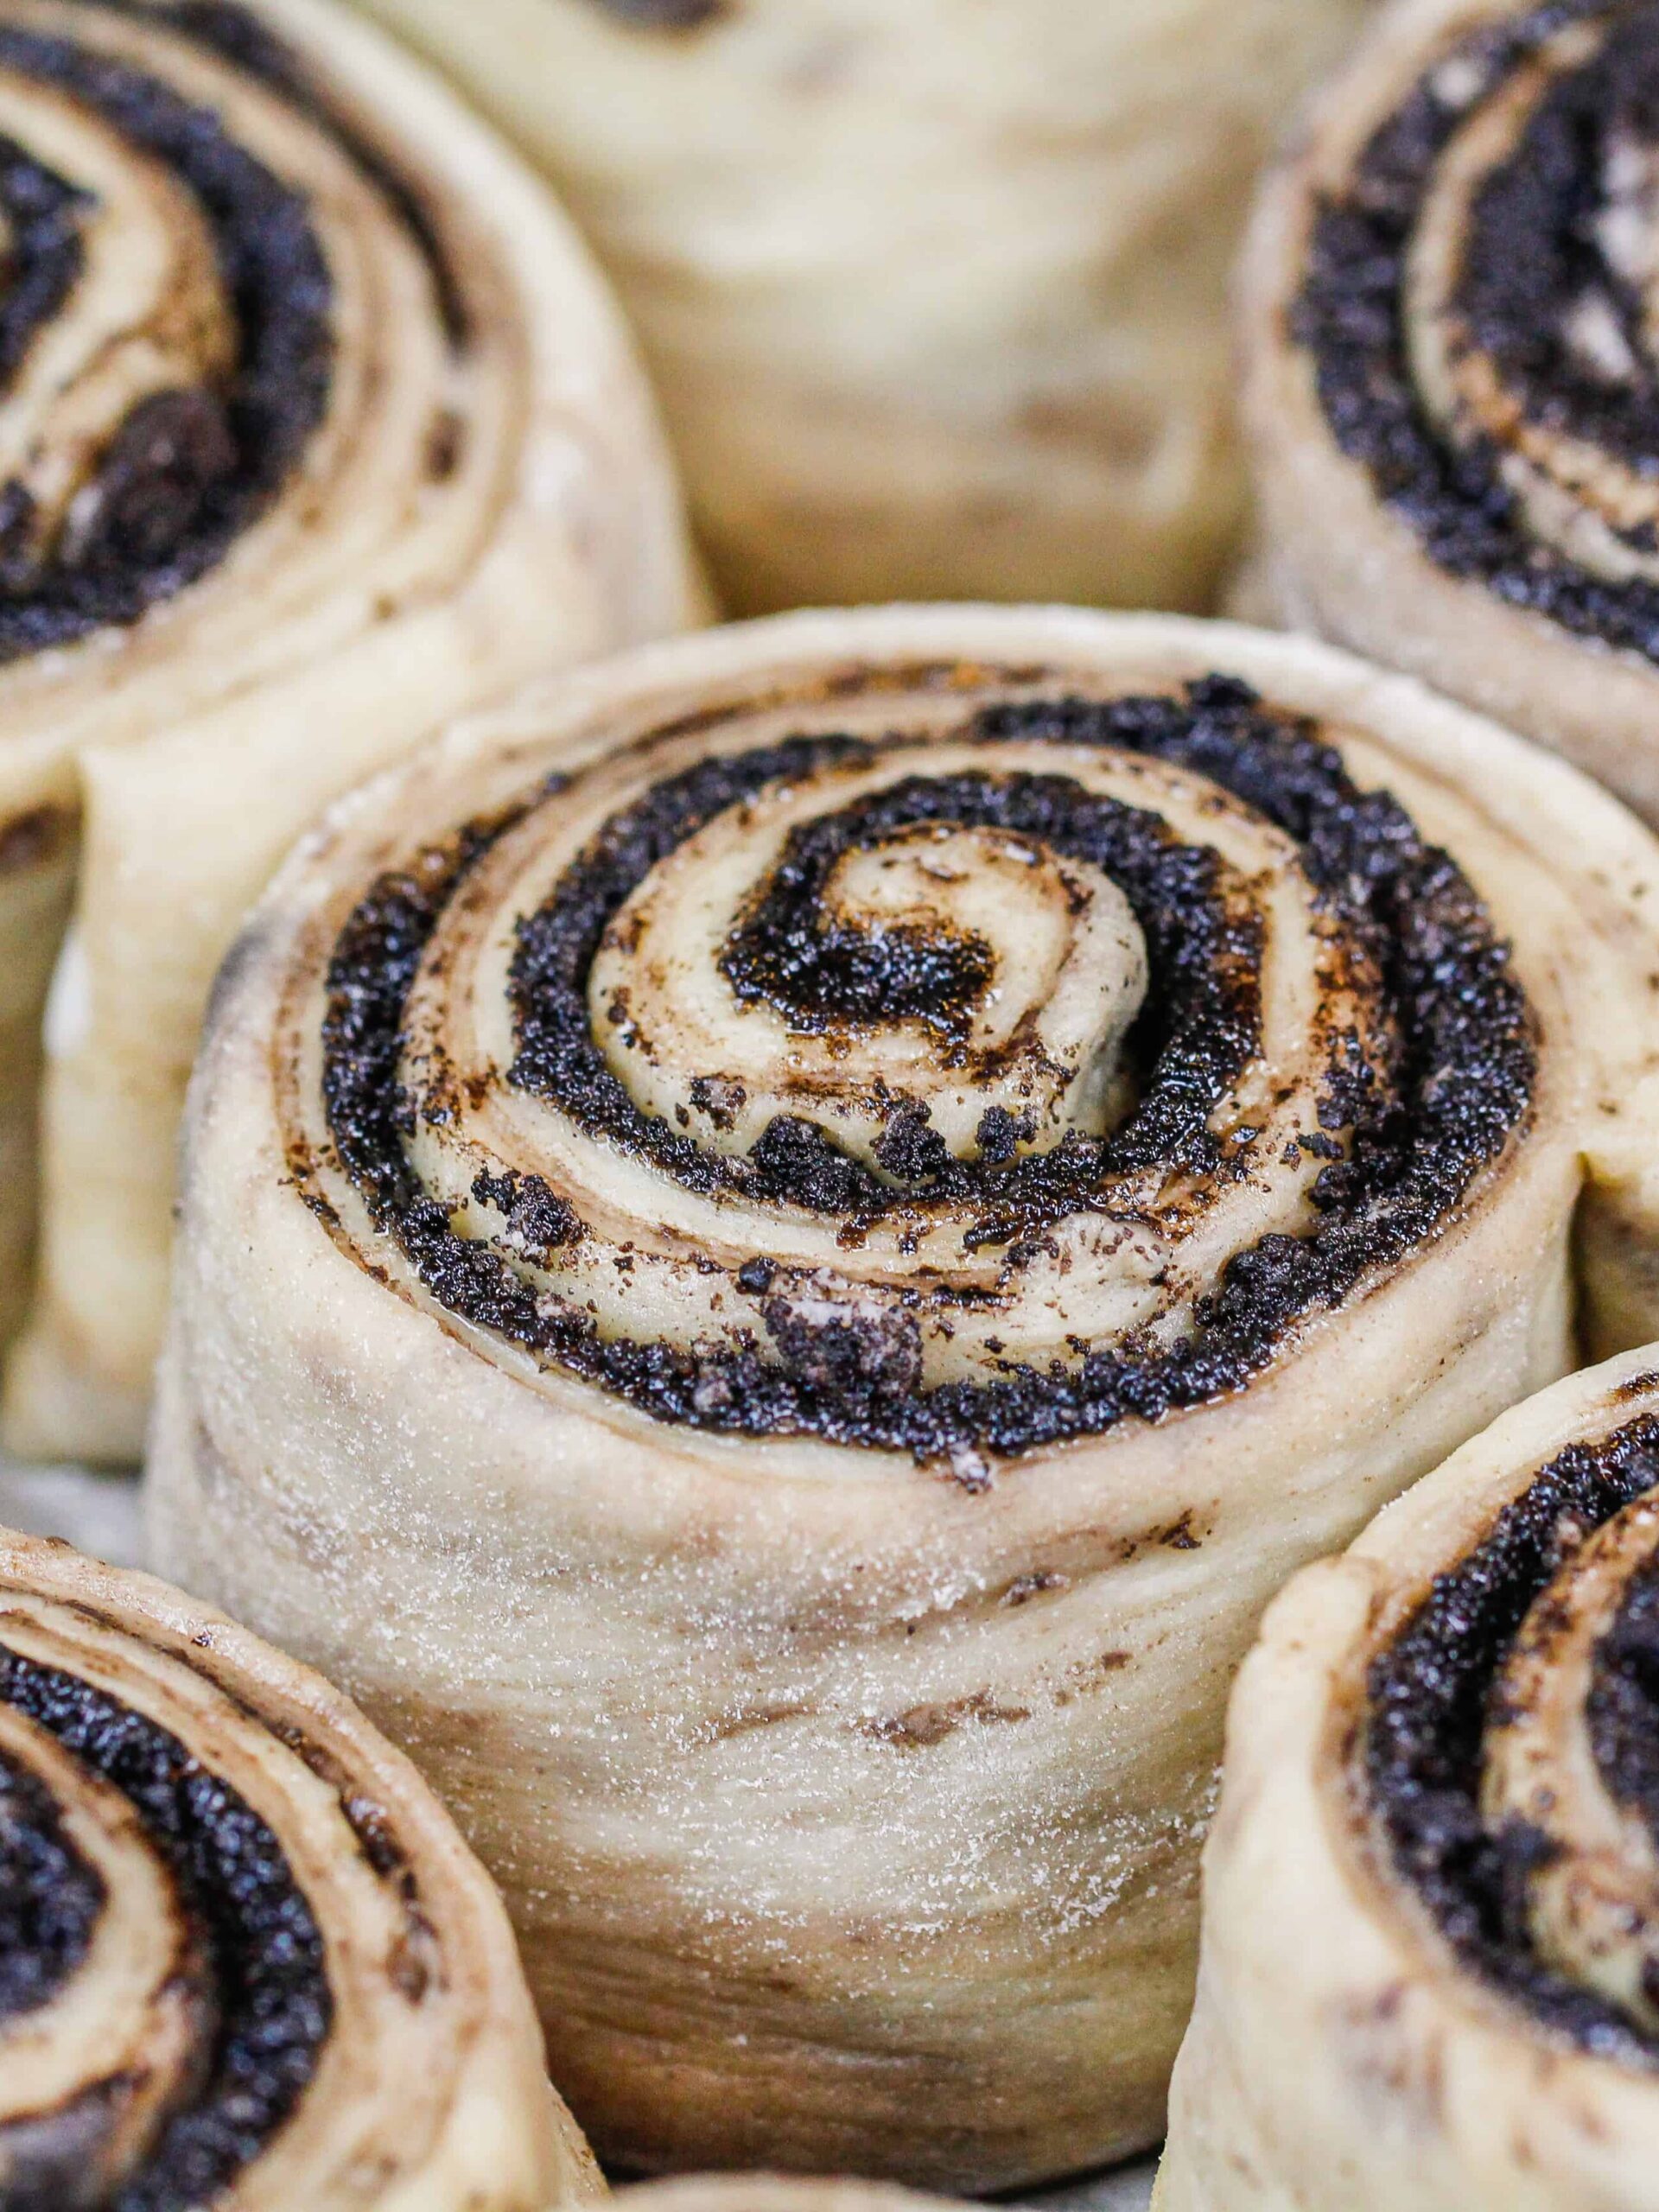
- Sprinkle the cinnamon roll filling (instructions above) evenly over the buttered area, and top with 1/2 cup of crushed Oreos.
- Tightly roll the dough horizontally toward the uncovered strip.
- Cut dough log into 9 equal pieces with dental floss (you can cut it into more pieces if you want smaller/shorter cinnamon rolls) and place in a greased square pan (mine is 8 in x 8 in).
- Turn the oven off! I REPEAT, TURN THE OVEN OFF.
- Cover the cinnamon roll pan with foil and place in a the oven for 30 minutes (or until the cinnamon rolls have risen).
- Remove the pan from the oven and take off the tinfoil. Turn the oven back on, and heat to 350 F / 175 C.
- Once the oven has preheated to 350 F / 175 C, bake for 26-30 minutes or until rolls are golden brown. Rotate the pan halfway through to help the rolls bake evenly.
Vanilla Cinnamon Roll Glaze
- To make the vanilla cinnamon roll glaze, add 1 Tbsp of unsalted butter, 1 1/2 cups of powdered sugar, 2 tablespoons of whole milk and 1 teaspoon artificial vanilla extract in a medium-sized bowl. Mix together until smooth.
- Let the cinnamon rolls cool for 10-20 minutes, then drizzle the glaze over the cinnamon rolls. Garnish with some extra chopped up Oreos and serve warm.
Video
Notes
Using the Right Type of Yeast: Active vs. Instant Yeast
Be sure you are using instant yeast! It comes in small packets that can usually be found in the refrigerated section of your grocery store. You can use active dry yeast in place of the instant yeast in this recipe, just allow the dough to rise for longer (active yeast takes longer to rise than instant).Tips for Making the Best Oreo Cinnamon Rolls
- Use a ruler to make sure your dough is rolled out to the right size (12 in x 18 in) and cut into even pieces.
- Use dental floss to easily cut each cinnamon roll rather than a knife.
- If you're struggling to cut your cinnamon rolls, place the cinnamon roll log on a baking sheet and chill it in the fridge for 20-30 minutes. It will make it easier to cut.
- Cut 9 equal-sized cinnamon rolls from your log to make sure they all bake evenly.
- Try to let the cinnamon rolls cool for about 10-20 minutes, then add the glaze. This will allow it to perfectly melt over your cinnamon rolls!
Hey! This recipe looks so good! But in the filling can I use unsweetened cocoa powder instead of black cocoa? And if i can do i add anything else since it is bitter?
Hi My-Lan,
You can definitely use regular cocoa powder instead of black cocoa if that’s all you have on hand. The cocoa is mixed with brown sugar, which is plenty sweet to balance out the flavor of the filling.
It won’t taste quite the same, but it will still be delicious 🙂
OMG! I have literally been waiting for this, Oreo Cinnamon Rolls. Yummy! But I have a question, can I reduce the amount of powdered sugar in the vanilla glaze?
Hi Valentina,
Haha so happy to hear that! I hope they turn out great! You can reduce the amount of powdered sugar, but you might also want to reduce the amount of milk to get the consistency right. Hope that helps, happy baking!
Hi..Can I put black cocoa instead of ground oreo without the cream in it?
@norah, the recipe calls for using black cocoa for the filling as well as Oreos. I would just follow the recipe as is, I actually subbed regular cocoa powder and they still look great. You can always adjust recipes to your liking as well.
If I use active dry yeast how much is that if I make them that day or if I want to do it the night before how much yeast is that. Can you tell me the exact measurements?
@Karrie, 4.5 T!
@Erica, I meant teaspoons not teaspoons. Apologies.
Hi in other cinnamon roll site they say if you want to make this recipe ahwad of time just put it in the freezer after the first rise but in your website I need to let it rise first then cut it and put in a greased pan after the secons rise so you mean I cannot do what other bakers do when making ahead of time?
Second is I am a bit confused what is exact measurement and ingridients needed if ill be using the reg yeast and whan to make it ahead of time because you said double the amount so what is the exact amount just wanna make it right thank and godbless
@mits, roll, cut, proof in oven, and then freeze! She gives any info you need throughout the reading. If using regular yeast, 4.5 teaspoons is what you need.
What about dark cocoa?
@Tiffany, I used classic unsweetened cocoa powder and they turned out awesome.
Hi, I’m so excited to make this! Question though, would you recommend baking this is the 8×8 first and transferring into an aluminum pan or can I bake it in the aluminum pan? Gifting it to my mother in law who loves cinnamon rolls.
@Kay, it would be tough to transfer the rolls after proofing. Safest bet is to do all the baking in the same dish!
I’ve never had luck making cinnamon rolls from scratch much less any dough successfully. Your directions were very clear and these cinnamon rolls came out beautiful! Thank you!!
Hi! I just wanna double check if it’s really 200 F not 200 C? I’m a bit confused coz most of the baking temp I usually encounter is an oven temp of 350 F. Thanks.
@Jun, 200F is for the proofing stage. It accelerates it since it’s a low temp. She also mentioned when you put them in the oven to proof, turn it off right away. Then you will later cook them at a higher temp!
I absolutely love this recipe and will be using it again! I had never heard of Oreo brownies before until a friend of mine requested I make them for her husband homecoming from Afghanistan. Guuuuurl!! I just took them out of the oven (of course I made a taster for myself) OhMyDamn (excuse the language ?) these are heavenly!! I didn’t wait for it to cool or for the icing to go on top. The husband and I devoured the tester!! I’m so excited to make these again for my fambam! xoxo
Hi! To make 12 rolls in a 9″x13″ pan, can I do 1.5 of the recipe? Or just roll it out more? How will the time be affected? Thank you!
@Liza, depending on your oven and the size of each roll, you’ll have to adjust baking time. I just cut the original recipe into 14 pieces and baked in a large springform pan. Just cook them until slightly brown!
Do you have any tips and tricks for rolling the doll into a rectangle?
@Kari Benning, start aiming for a rectangle when you first roll. Roll towards the corners. I found this dough to be pretty forgiving. I was able to lightly tug to corner it out. It doesn’t have to be perfect! That’s the beauty of homemade.
I make these gluten free and vegan and sourdough all the time. I know that sounds like a lot of changes, but they are so delicious and the recipe still works. My family adores them.
I just made these. Do the yeast supposed to show through the dough once it it has been rolled out.
I can’t find the recipe any more.
Hey there, the recipe seems to have disappeared from this page. Could you repost it?! Thank you! 🙂
I am also unable to see the recipe anymore.
This is the best Oreo cinnamon recipe!! I had no cocoa powder but still went through making it coz it looks so good, and it turned out delicious! I’ll surely make it again, with the complete recipe that time.
Thank you for this!
So happy to hear that Skarlet!!! Thank you for sharing 🙂 I hope your next batch turns out just as delicious!
Delish! My family gobbled it down after hiking. Super easy recipe. It’s not as sweet as you think it’s going to be. Super balanced. I used brown sugar instead of white and added espresso powder in the filling and probably doubled the amt of vanilla I didn’t measure it. I used just the plain vanilla powdered sugar frosting. I bet cream cheese frosting would be good too. My 8 yr is already asking me to make more. This might be a new hiking tradition. Go hiking eat cinnamon rolls. I can live with that 😉 ANYTHING that gets the screens off and hanging out together. Fantastic recipe!
Hi Steph,
Love that!! This recipe would be so perfect after a long hike!! Thank you so much for sharing 🙂
When using active dry yeast, do I strictly replace it for the instant yeast with the dry ingredients or do I have to activate it in water before adding it to the dough? I know I have to wait longer for it to rise once I have the dough ball. ? Thanks! I am so excited to try these.
Hi Heidi,
Great question! I would recommend sprinkling the dry active yeast over a bit of warm water to activate it before adding it into the dough, and then adding it when you add the other wet ingredients. Hope that helps, and that your cinnamon rolls turn out delicious! 🙂
Made these for a company party, and they were a hit. Only one was left over by the end.
I just made these. I used active dry yeast. Would definitely recommend using a larger pan. 8×8 is just too small. My dough rose over the sides and oozed and burnt on the bottom of my oven. There also wasn’t enough space for the rolls to properly rise and cook evenly.
Tasted delicious in the end though
Hi Arianne,
So sorry to hear that! Active dry yeast does rise differently than instant yeast, which is why I prefer to use instant yeast in this recipe. Did you use 1 packet of active yeast?
These are sooo good. Dough was easy to work with. The rolls were pillowy soft. Thank you for the recipe
Hi, if I were to triple this recipe and bake them in 3 8×8 trays and bake them all at once, how long should I bake them?
Hi Elyannah,
Great question! It can vary depending on the size and type of your oven, but bake time should a few minutes longer! Usually when the oven is a bit crowded it takes longer for things to bake through. I’d keep an eye on them though, and pull them out once they start to brown. Also be sure to rotate the pans around as they bake to help them bake more evenly. Hope that helps, happy baking!
Making this recipe now, but the glaze recipe is really off. 2 Tablespoons of milk two 1.5 cups of powdered sugar gets you a barely clumped sugar. Significantly more milk is needed for this, I added about 1/4 of additional whole milk.
Hi Matt,
Thanks for the feedback! What type of milk were you using? I usually fill the Tbsp to the brim, so I probably do end up using a bit more than 2 Tbsp. I also am a bit heavy handed with the vanilla extract.
With glazes it’s always better to air on the side of adding too little liquid, because you can always add a bit more, but you can’t take it away once it’s added! So I try to be conservative with amount of milk in the recipe. Hope that helps, happy baking!
would the recipe still work if a substituted the regular flour for a gluten free flour?
Hi Marie,
Great question! Yes, you can make this recipe with a gluten-free 1:1 baking flour (like the kind that’s meant to substitute regular all-purpose flour cup-for-cup) but the texture is going to be a bit different!
That said, gluten-free doughs can be a little trickier to work with—they’re usually softer and more delicate, so I’d recommend chilling the dough before rolling and shaping to make it easier to handle. You might also need to adjust the rise time slightly, since GF flours don’t develop structure the same way.
If you give it a go, I’d love to hear how it turns out!