
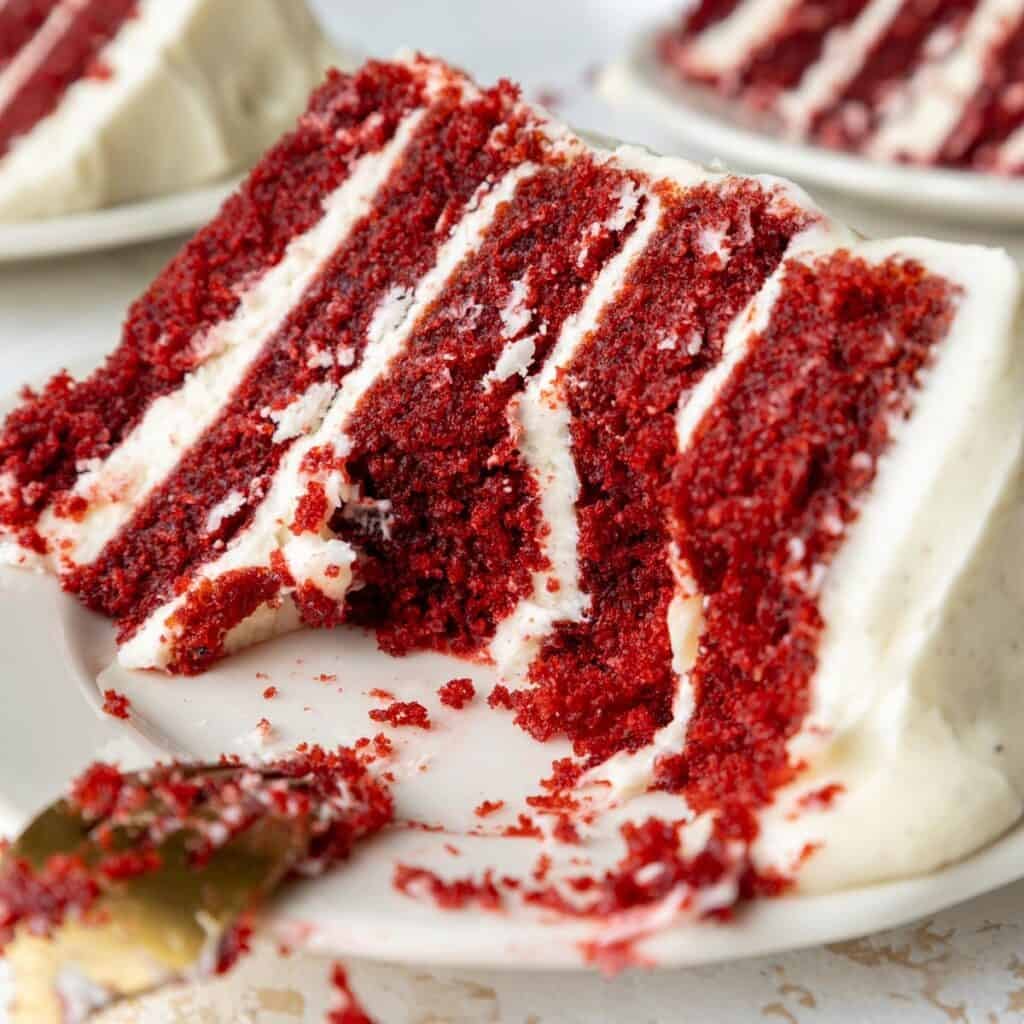
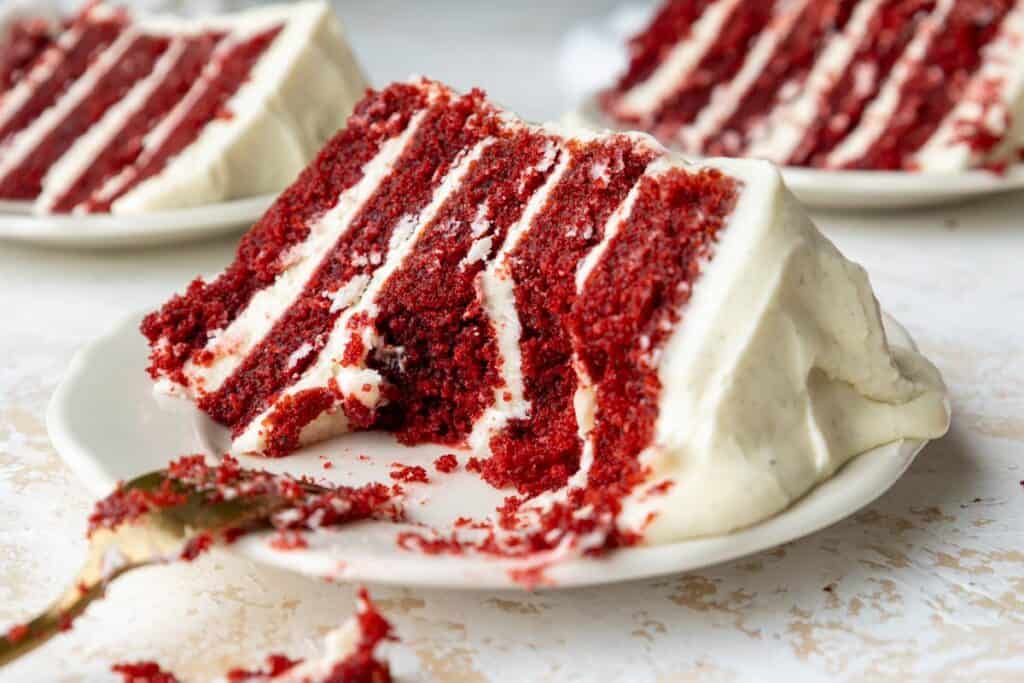
Five Layer Red Velvet Cake
I love my 6-inch red velvet cake recipe, but sometimes you need a BIG red velvet cake! And that’s where this 5 layer red velvet cake comes in.
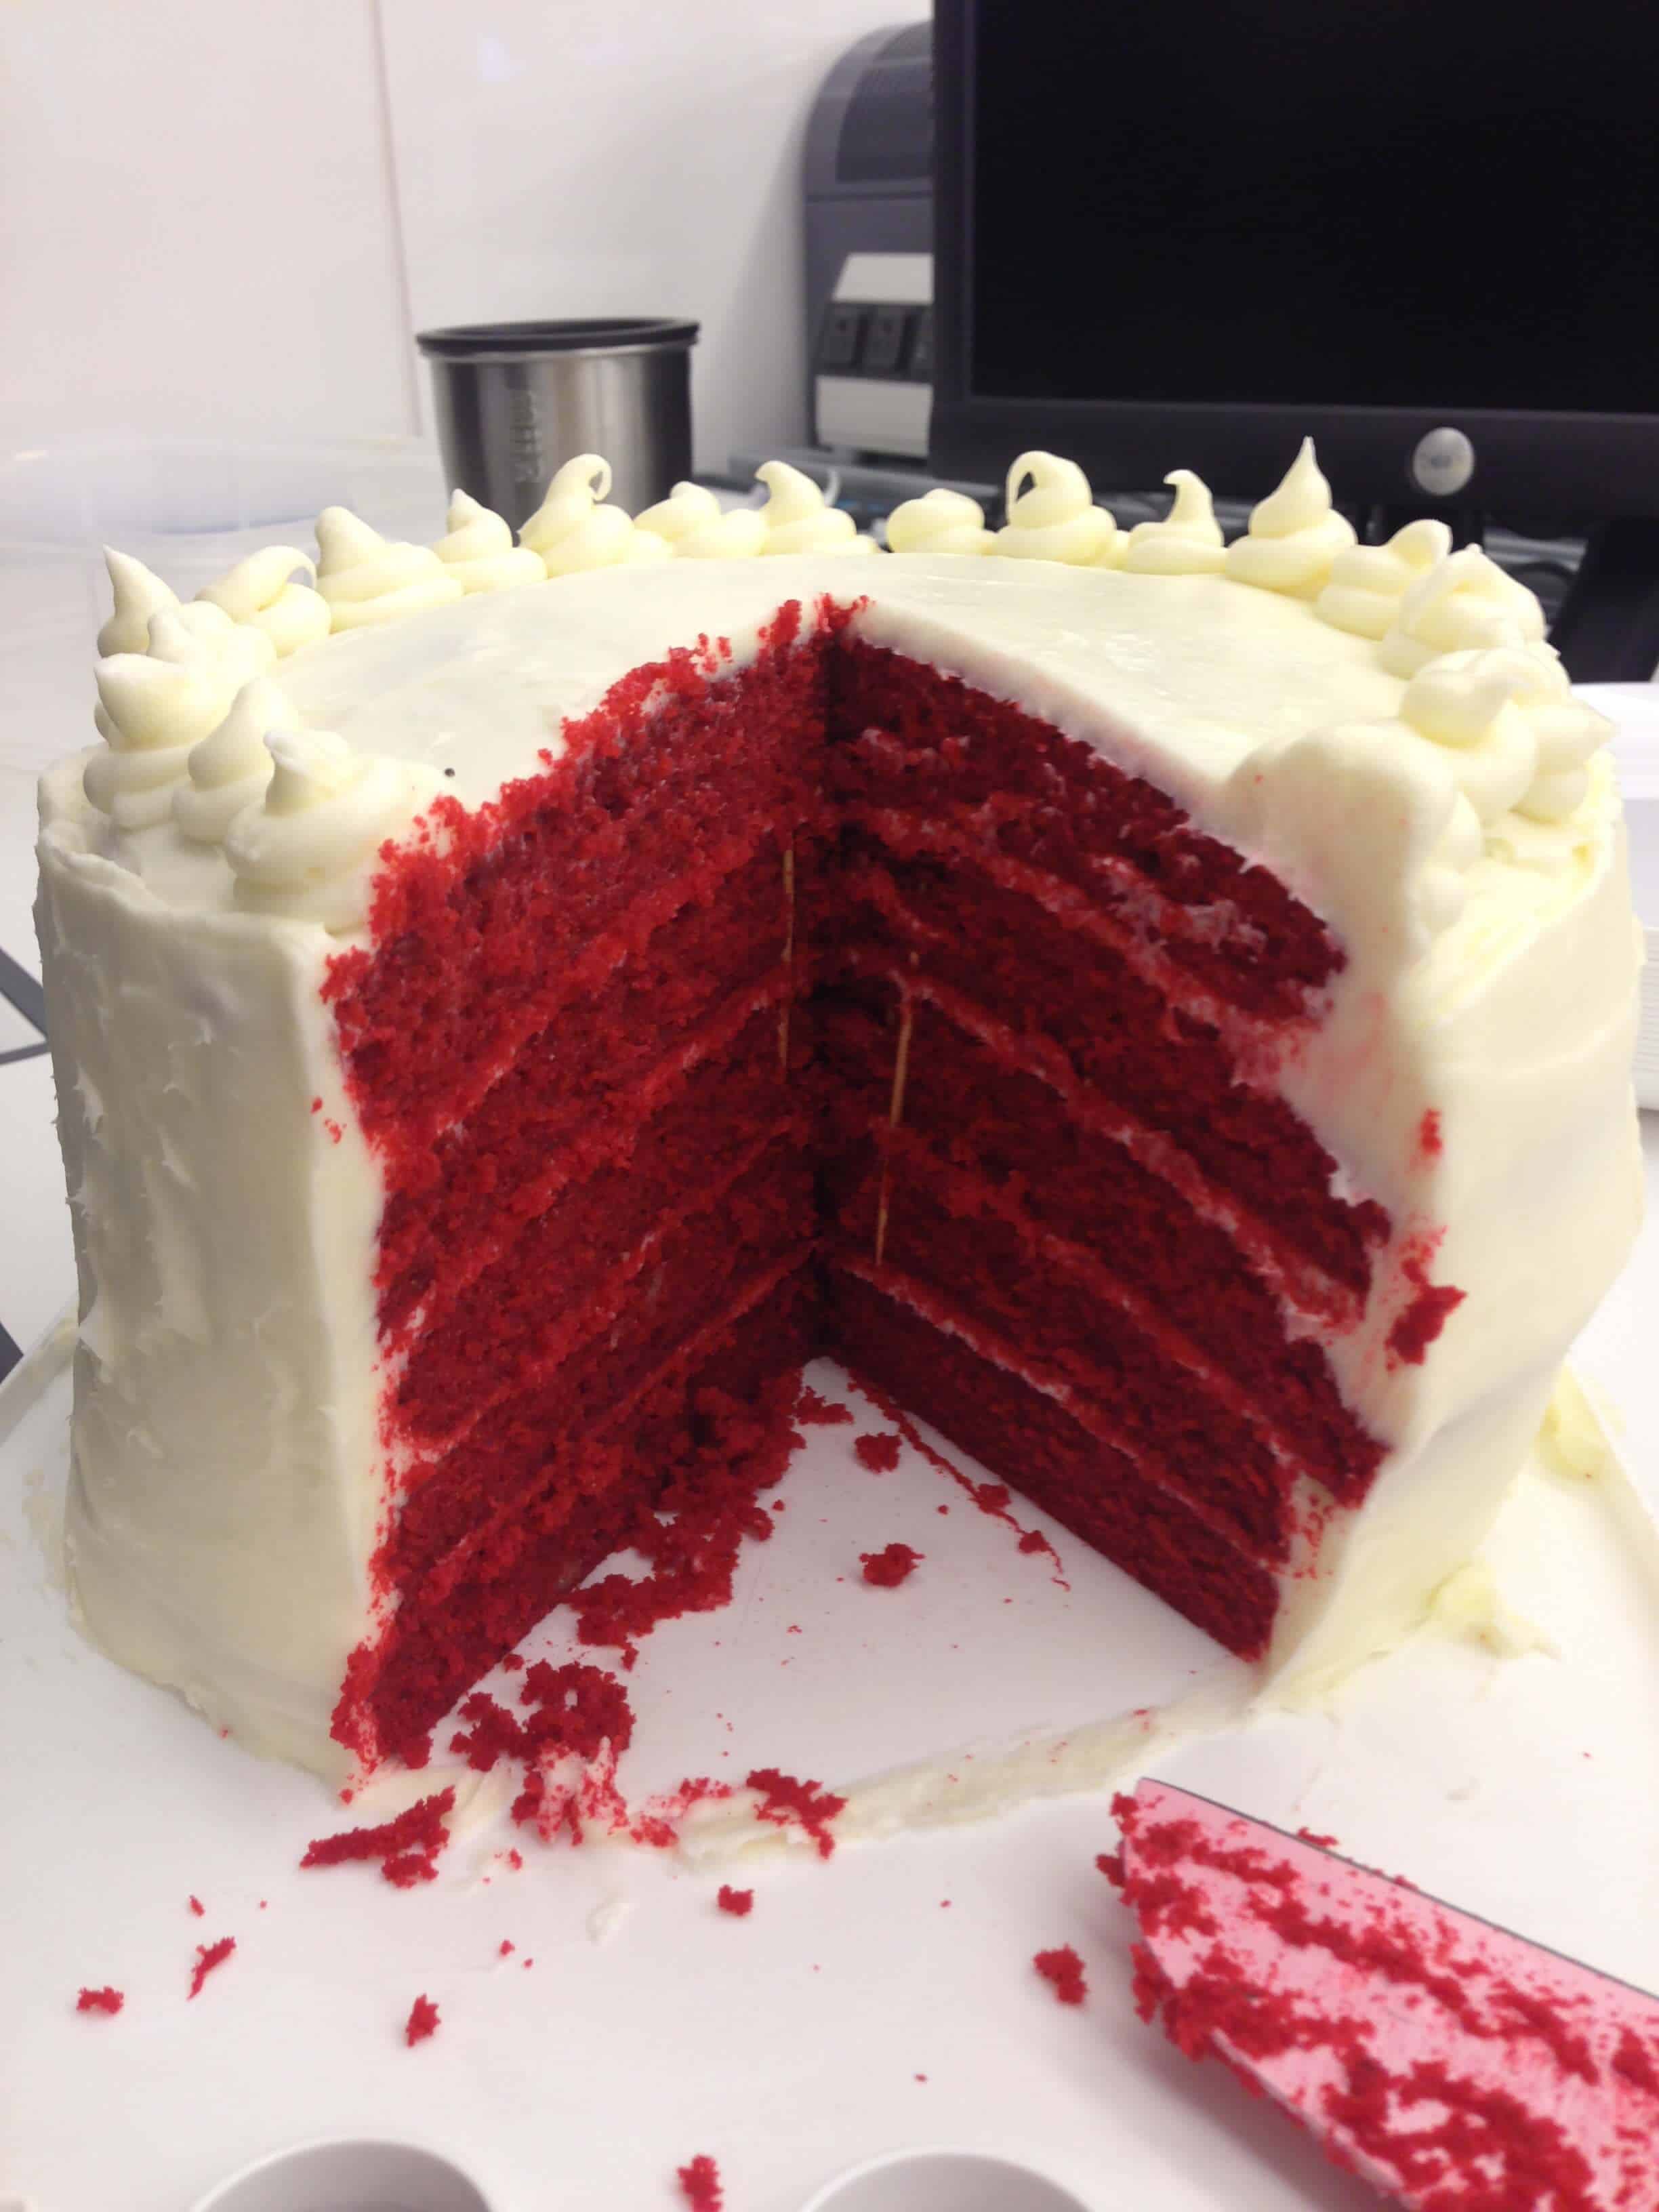
Just like its name implies, this recipe makes 5, 8-inch red velvet cake layers that are super moist and tender.
And of course, it’s slathered in a light, fluffy, and tangy cream cheese frosting. It is seriously so good and such a crowd pleaser!
How To Make This 5-Layer Red Velvet Cake
Let’s walk through each step of this recipe to make sure it turns out as amazing as possible.
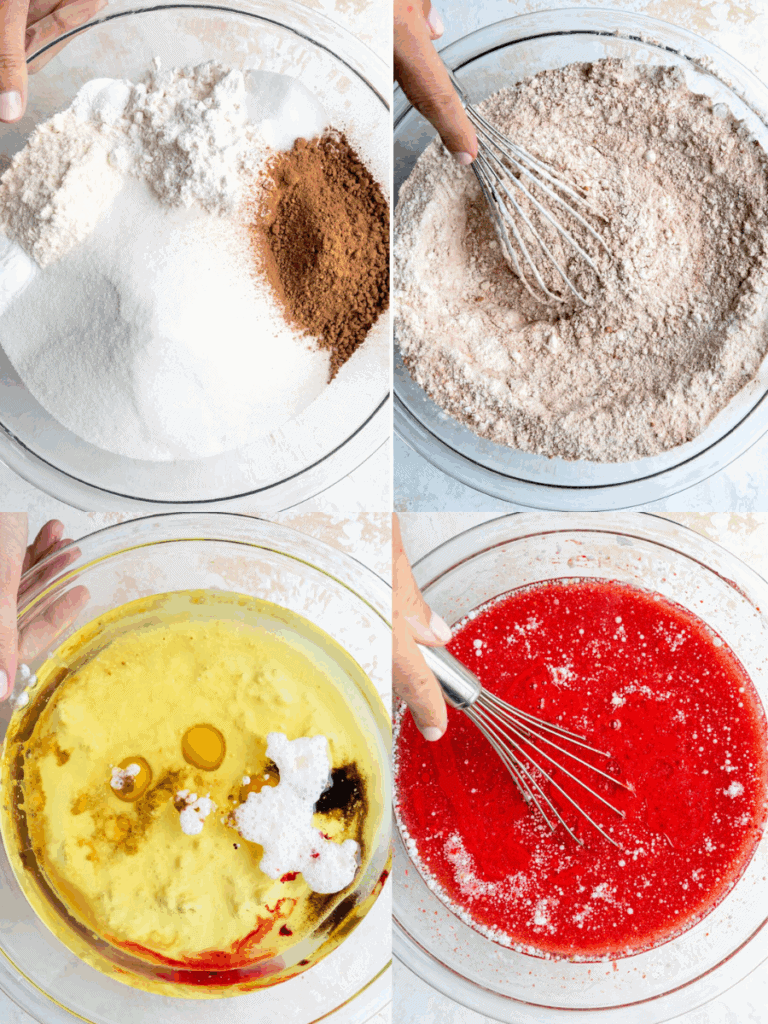
Step 1: Make the Red Velvet Cake Batter
Make the cake batter following the recipe card at the bottom of this post. It’s a super-easy batter that can be made by hand.
We mix together the wet ingredients in one bowl, then the dry ingredients in another, then combine them.
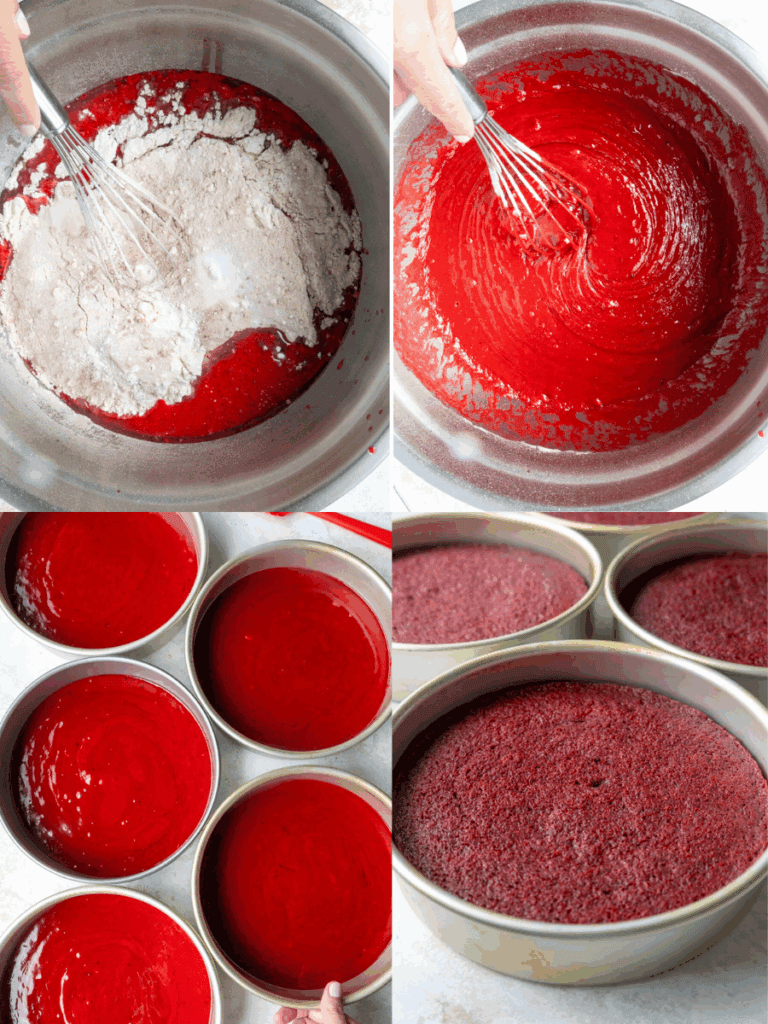
Step 2: Bake the Cake Layers
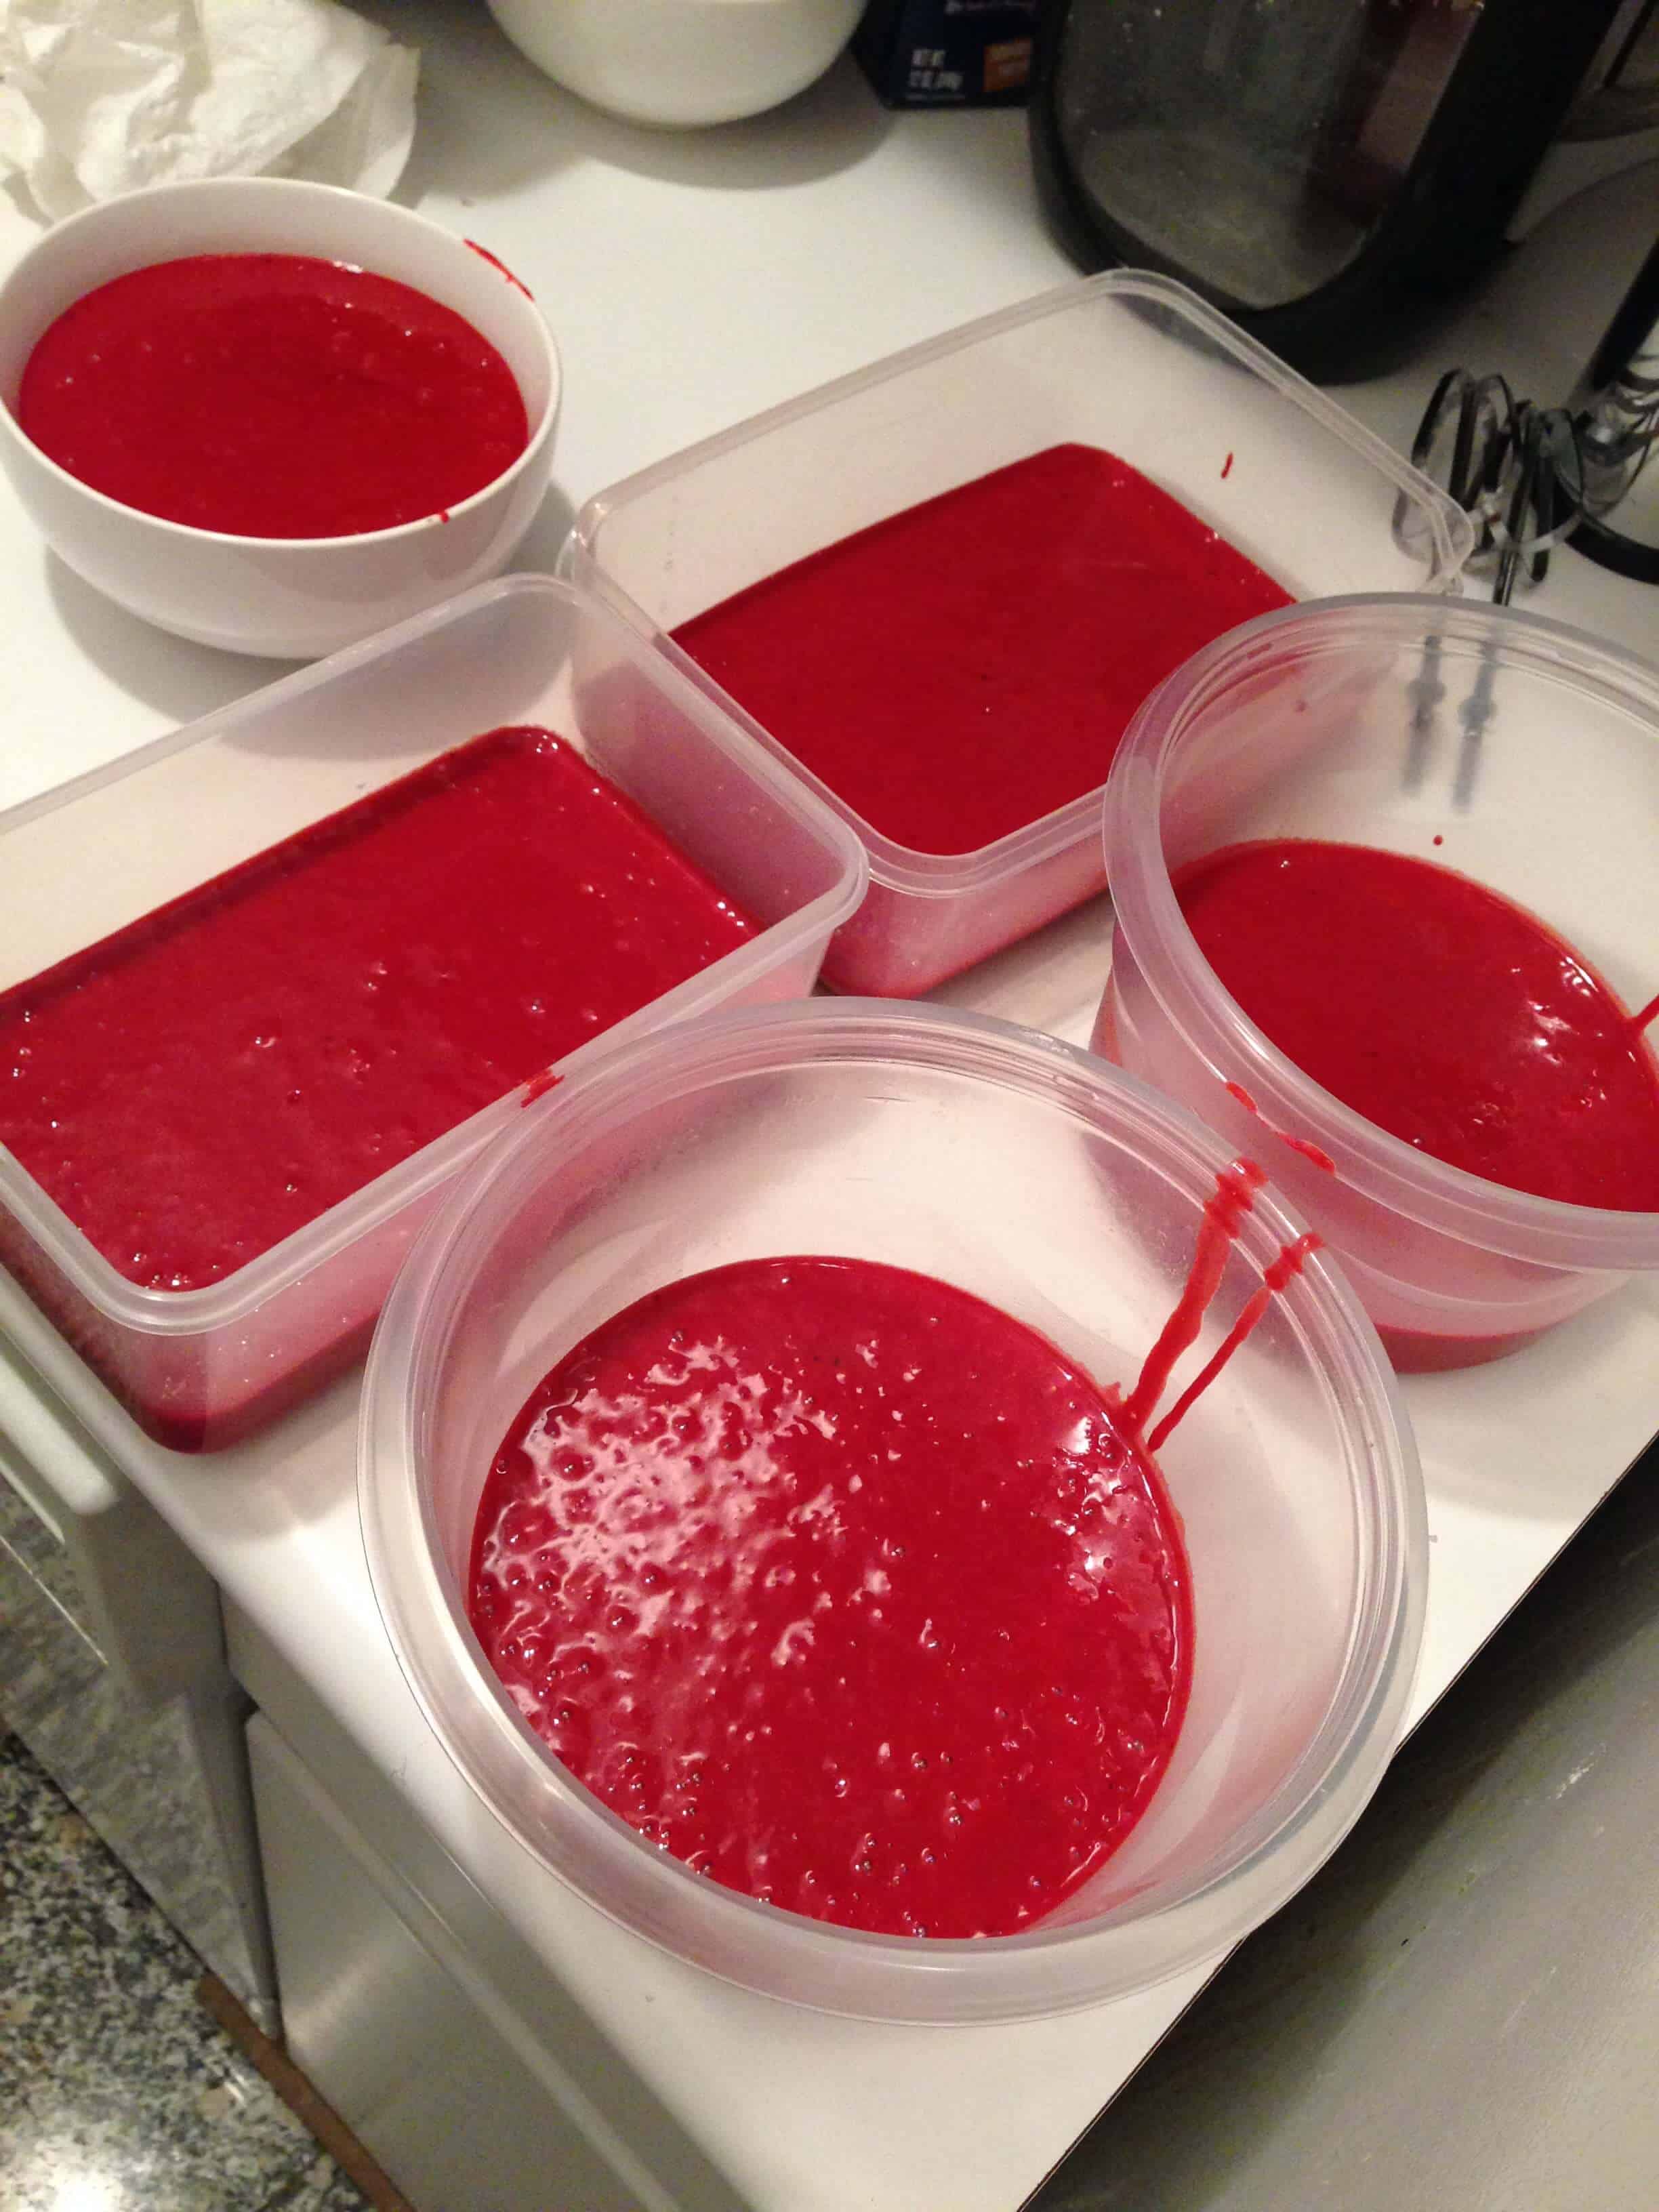
Divide the batter evenly between the prepared pans, about 2 1/2 cups or 540g per pan.
Bake for 23-26 minutes, or until a toothpick inserted in the center of the cake comes out with a few moist crumbs.
Remove the pans from the oven and let them cool on a wire rack for 30 minutes. Then carefully flip the layers out of the pans and place them on a wire rack to finish cooling.
These layers don’t rise a ton, so I don’t usually level them. If you’re making these in advance, wrap and freeze them at this point.
Step 3: Make the Cream Cheese Buttercream Frosting
While the cake layers bake and cool, make the cream cheese buttercream frosting. This recipe uses equal parts butter and cream cheese, so it has that creamy, tangy flavor we expect from a cream cheese frosting!
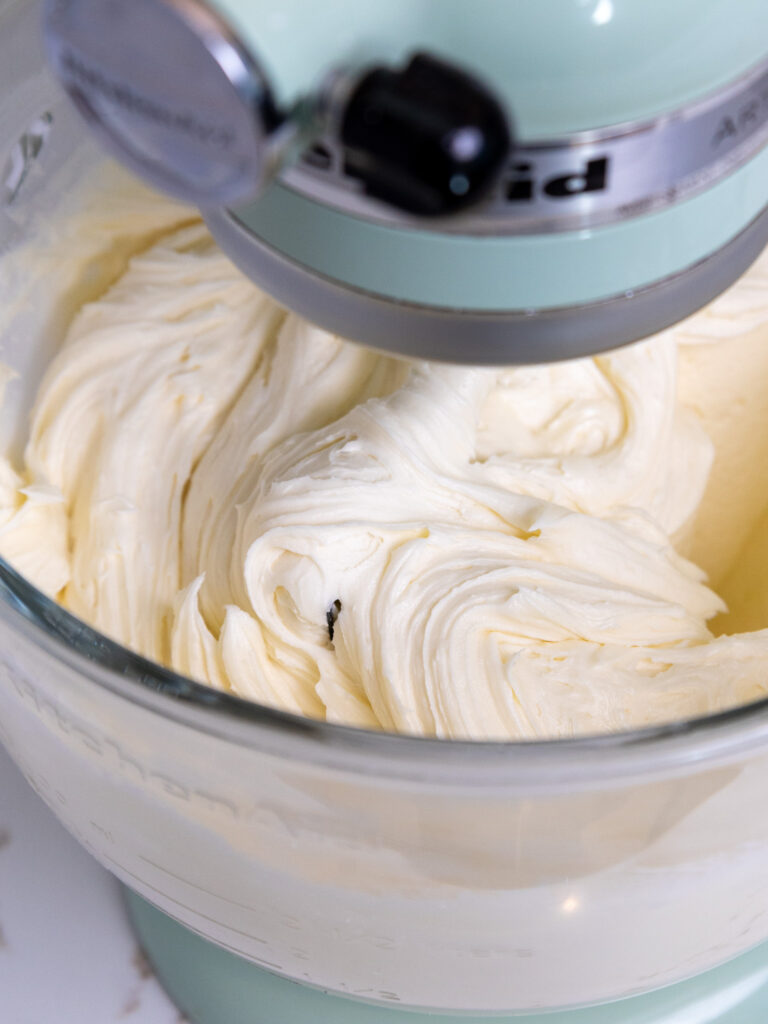
I also like to really whip the butter and cream cheese in the first step of the recipe to make it have a whipped, super creamy texture.
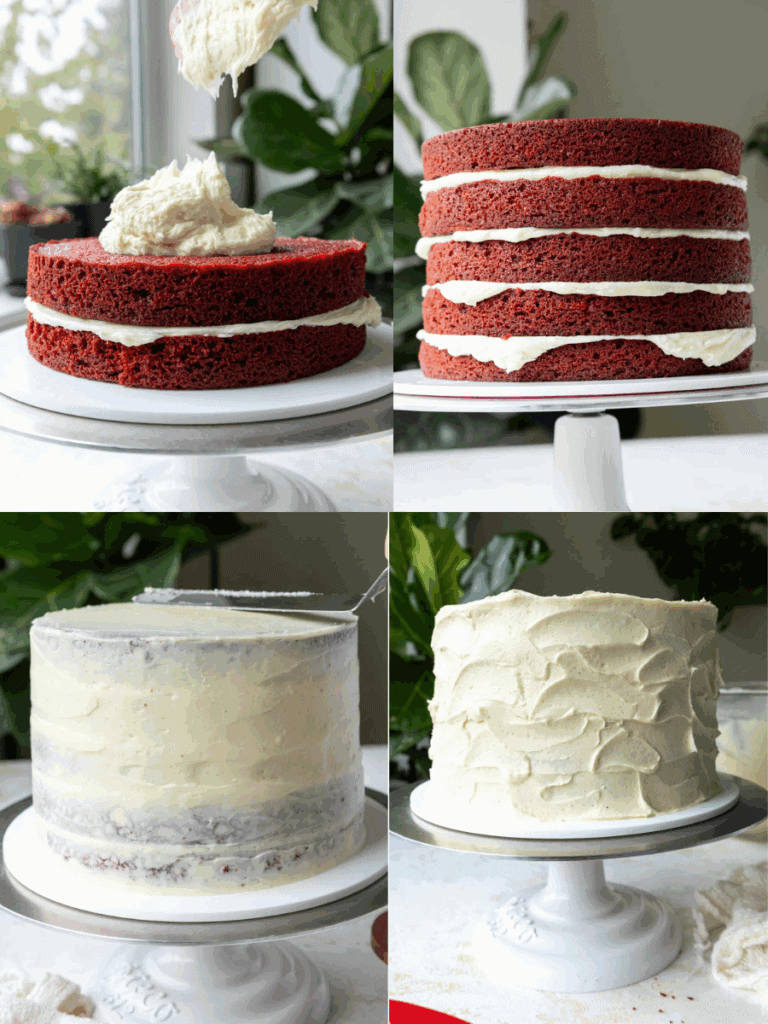
Step 4: Assemble the Red Velvet Cake
Once the cake layers have fully cooled, stack and frost them on a greaseproof cake board using a dab of frosting to help stick the first cake layer to the board. If you haven’t made a layer cake before, I walk through all the basics in this YouTube video.
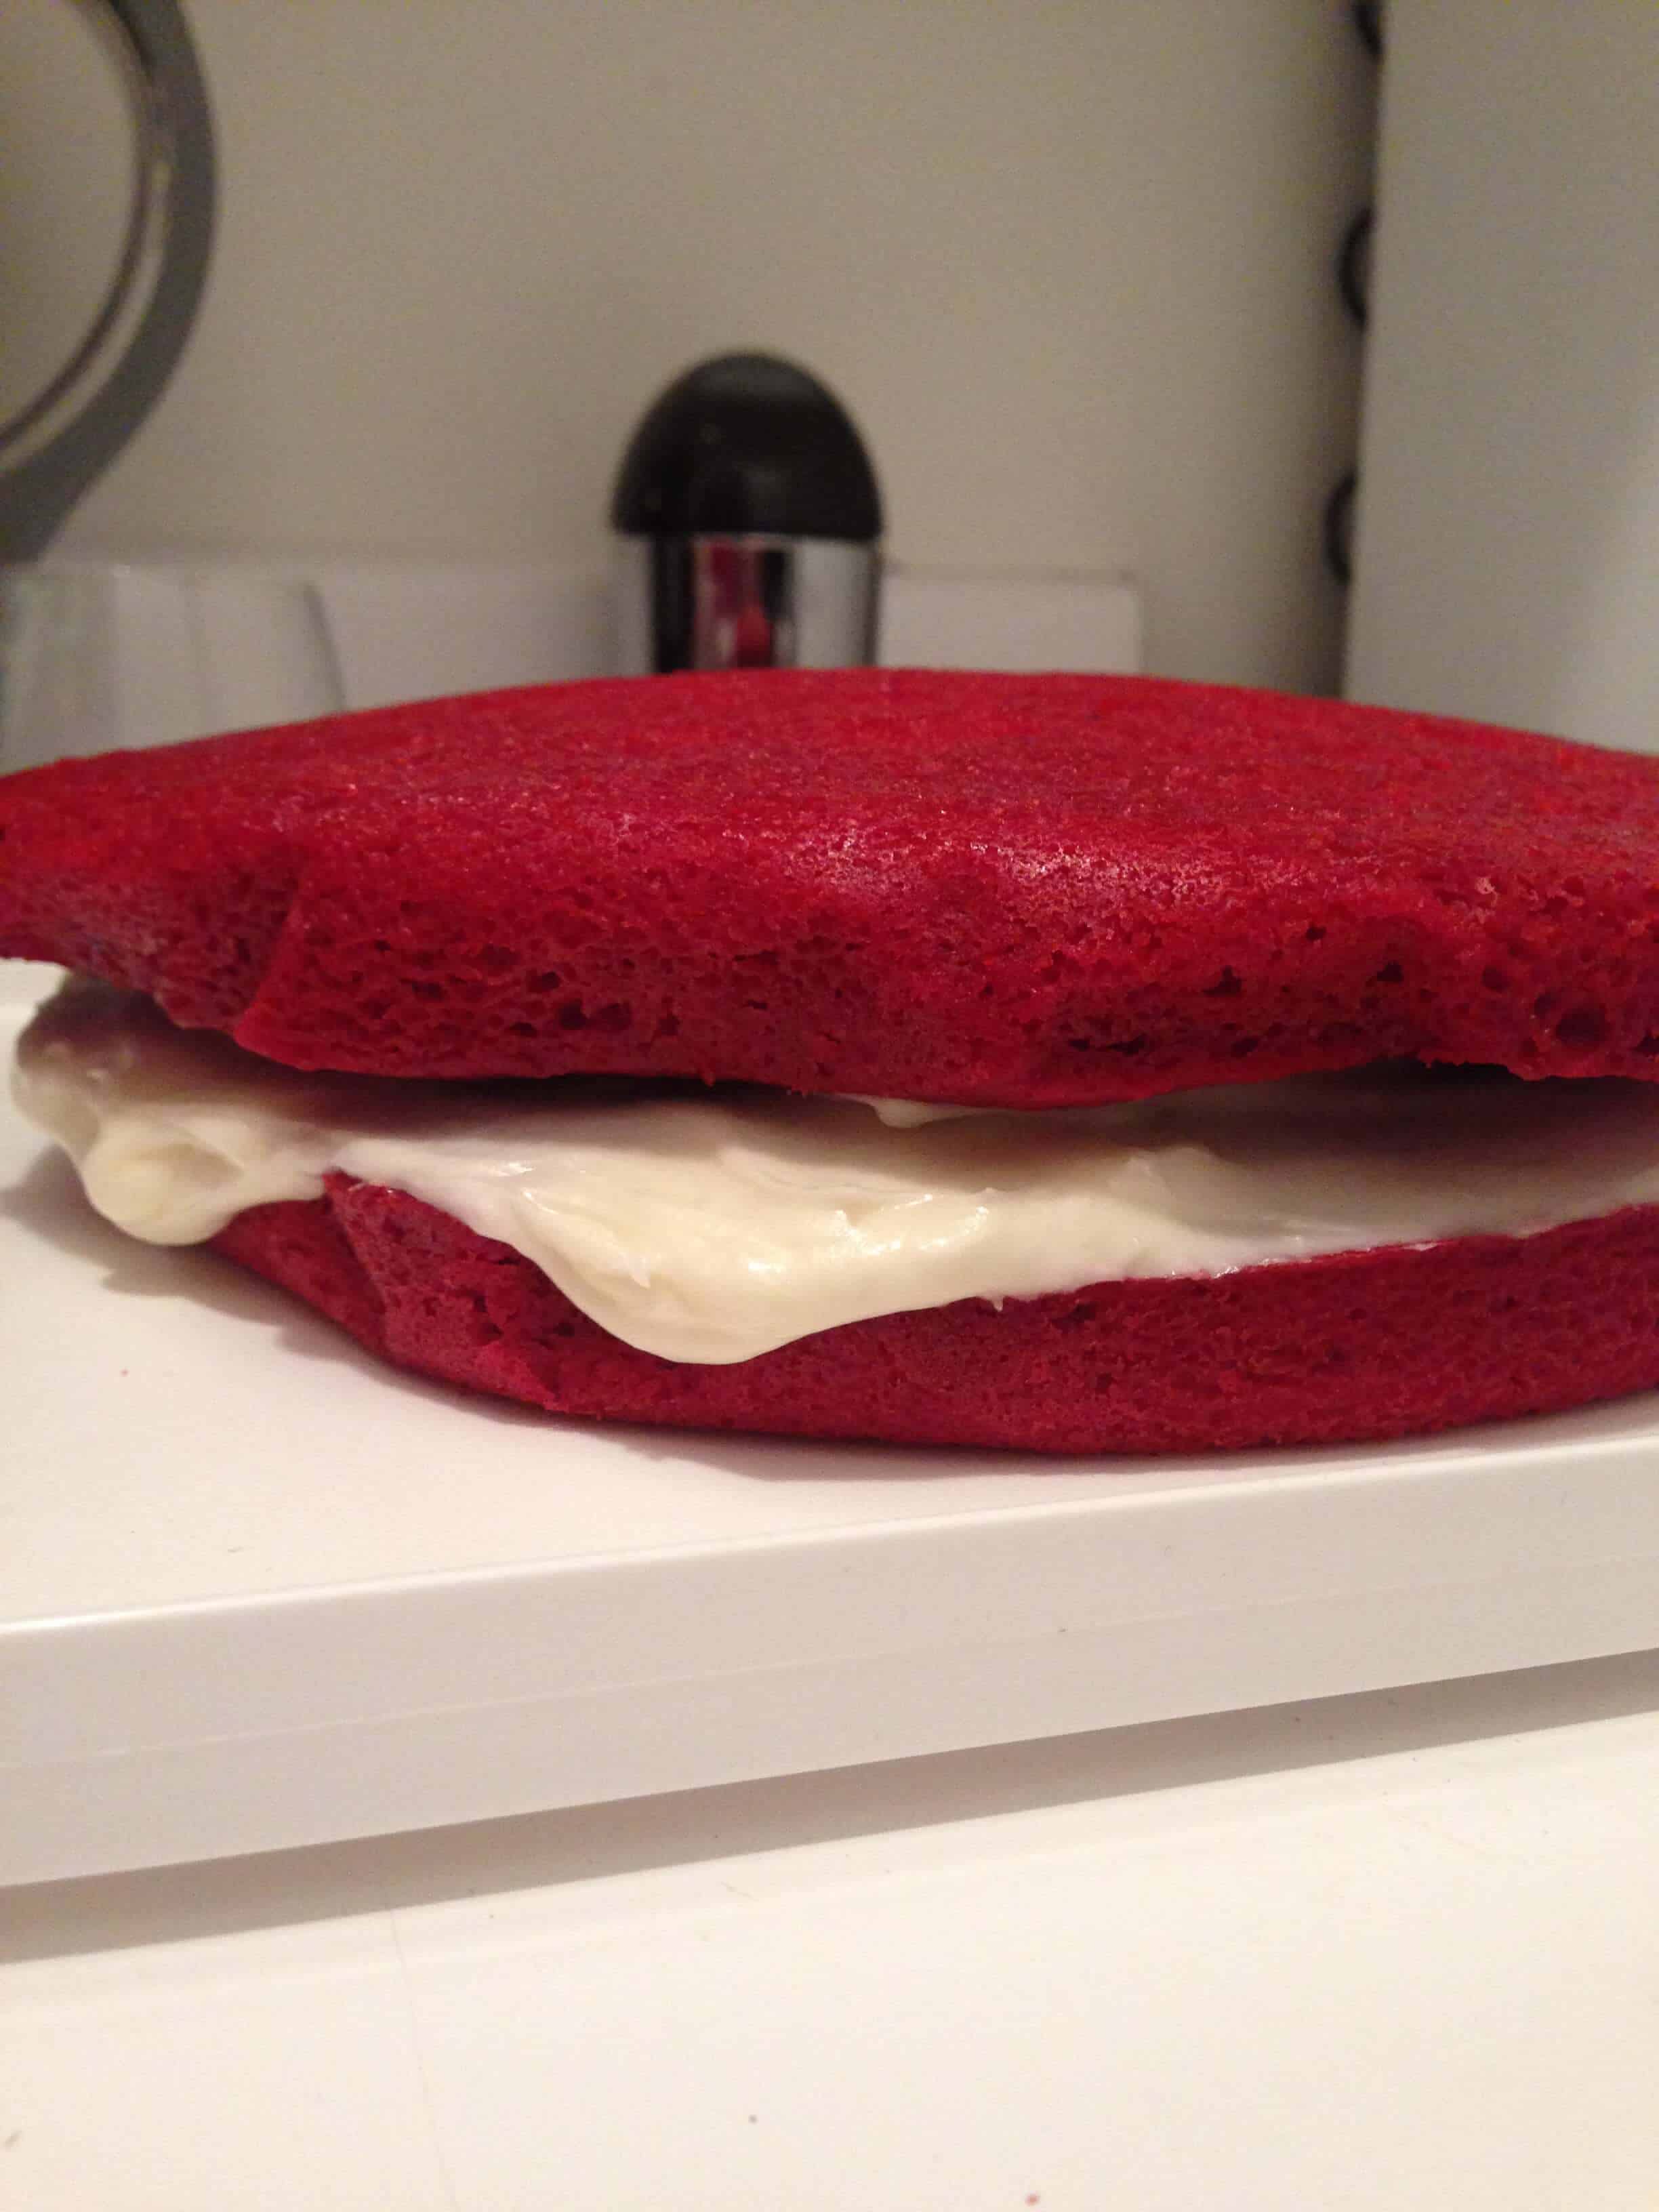
Add an even layer of cream cheese buttercream between each cake layer. For reference, I add about 1 cup of frosting per layer.
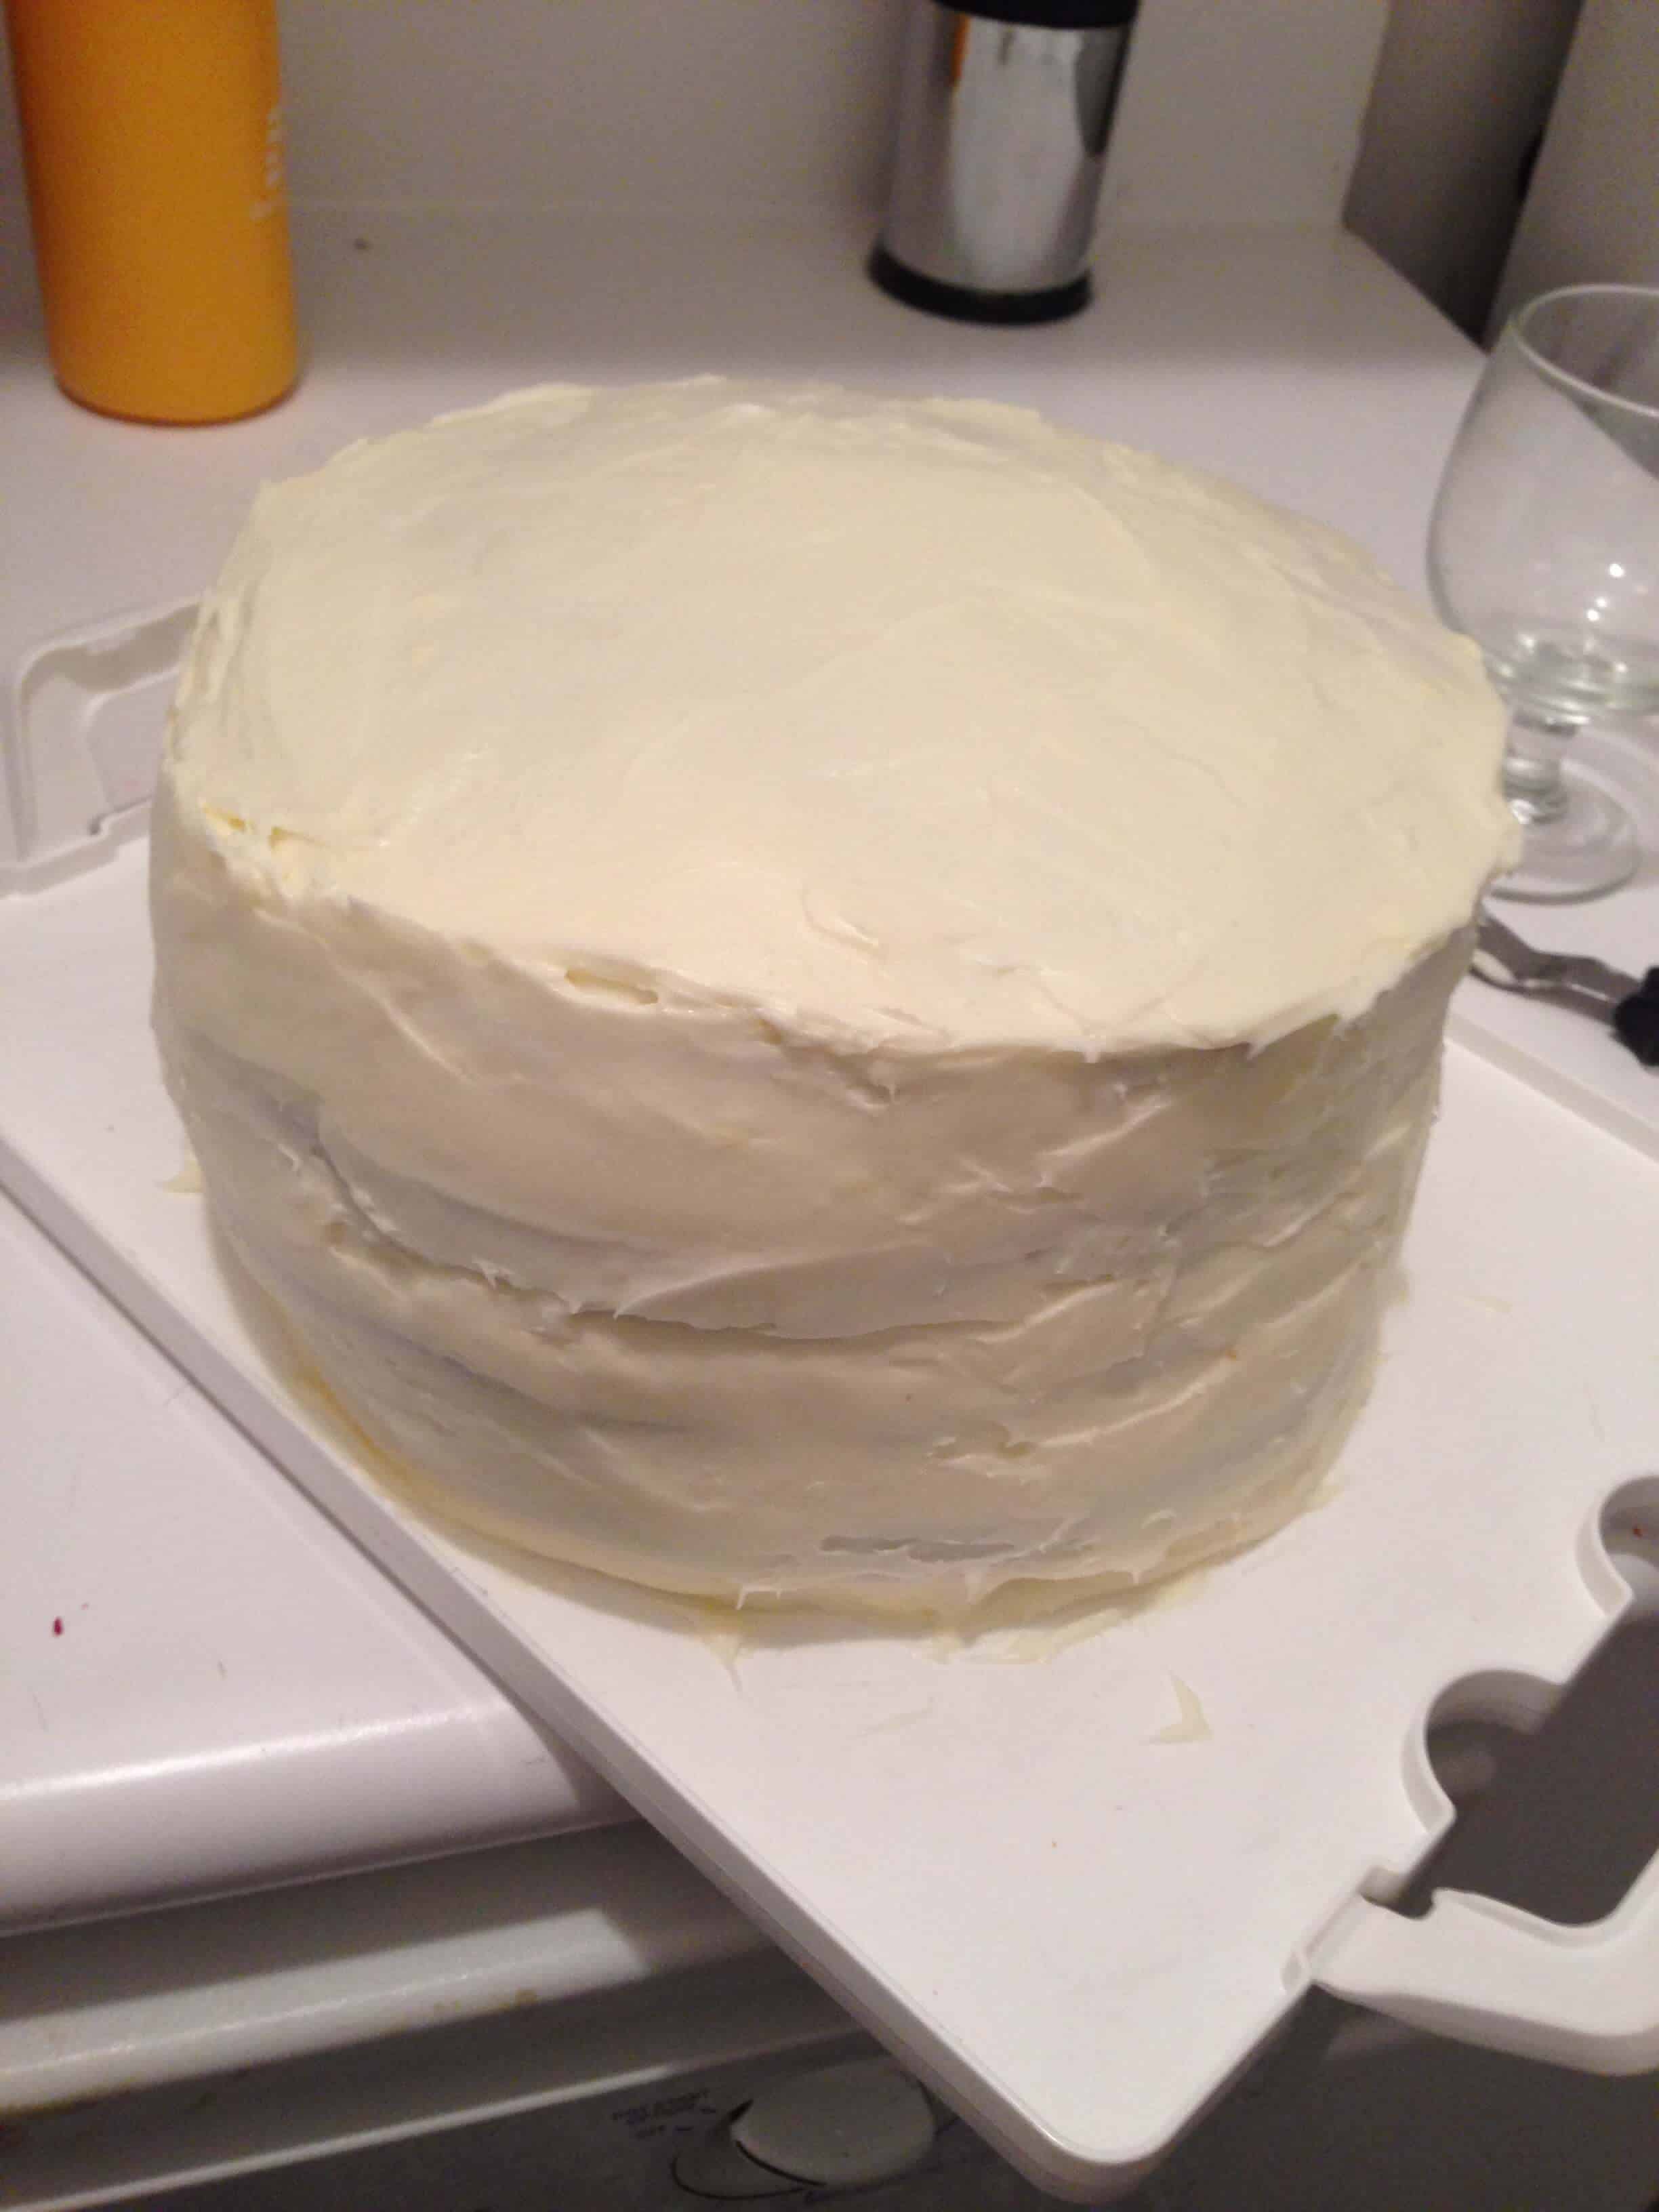
Spread a thin coat of frosting around the cake to fully cover the cake layers. Smooth using a bench scraper, then chill the cake in the fridge (30 minutes) or freezer (10 minutes) until the frosting is firm to the touch.
Cover the cake in a second, thicker layer of frosting and use a large offset spatula or the back of a spoon to give the frosting a textured look, then enjoy!
Substitutions & Swaps in This Red Velvet Cake Recipe
This recipe uses quite a few ingredients, and I know you might not have them all on hand. Or if you have food allergies or restrictions, I’ve got you covered.
Below are some swaps and substitutions that you can make.
- Vegetable Oil – Any flavorless oil can be used in this recipe. Canola, vegetable, or even sunflower oil would all work great. I don’t recommend olive oil, though, as it has a strong flavor and will change the taste of the cake.
- Buttermilk – You can also use full-fat yogurt, sour cream, whole milk, or an alternative yogurt or milk (almond, soy, oat).
- Large Eggs – This recipe uses large eggs. If you have an egg allergy, you can try using a vegan egg replacer, but the texture will be a bit different.
- Granulated Sugar – I do not recommend reducing the amount of sugar or changing the type of sugar, as it will change the texture of the cake layers.
- Cake Flour – This recipe turns out best with cake flour. However, you can use AP flour if needed. You can also swap in a good gluten-free flour blend (like this). If you opt to make a GF version, just be sure to stir the batter longer than normal to help give the cake layers proper structure, and let the batter sit for about 20 minutes before baking it if you opt to make a gluten-free version.
- Unsweetened Baking Cocoa – I like to use the Hershey’s brand of baking cocoa, but any brand of unsweetened baking cocoa powder should work. I don’t recommend using Dutch-processed or dark cocoa powder, as it can impact the rise of the cake.
- Red Food Coloring – Gel food coloring allows you to get a bright shade of red without throwing off the consistency of the batter. You can use 1 Tbsp of liquid food coloring if needed, though!
Making this Red Velvet Cake in Different Sizes
One batch of batter is about 2700g or 13 cups, so I add about 540g to each of my cake pans when using 5, 8-inch cake pans.
You can also use one batch of batter to make 4, 9-inch cake layers. Bake time should be the same as the recipe card calls for.
If you want to make a tiered cake with this recipe, check out my cake batter calculator to see how many batches of batter you’ll need.
If you want to make red velvet cupcakes, bake them at 350°F/175°C for 18-20 minutes. One batch of batter will make about 4 dozen cupcakes (yield will vary based on the size of your liners).
You can also use my red velvet cupcake recipe if you want to make a dozen.
Tips for Making the Best Red Velvet Layer Cake:
- Ingredients at room temperature mix together better! Set out any cold ingredients ahead of time.
- Properly measure your flour (spoon into the cup measure, then level). Or better yet, use a kitchen scale to measure your dry ingredients.
- Mix the cake batter just until the ingredients are incorporated, once you add in the flour. This will ensure your cake layers are tender and fluffy.
- Use a scale to weigh your cake pans as you fill them. It will make your cake layers bake to the same height and bake more evenly.
- Use full-fat cream cheese that comes in a brick. It will give the frosting the best consistency.
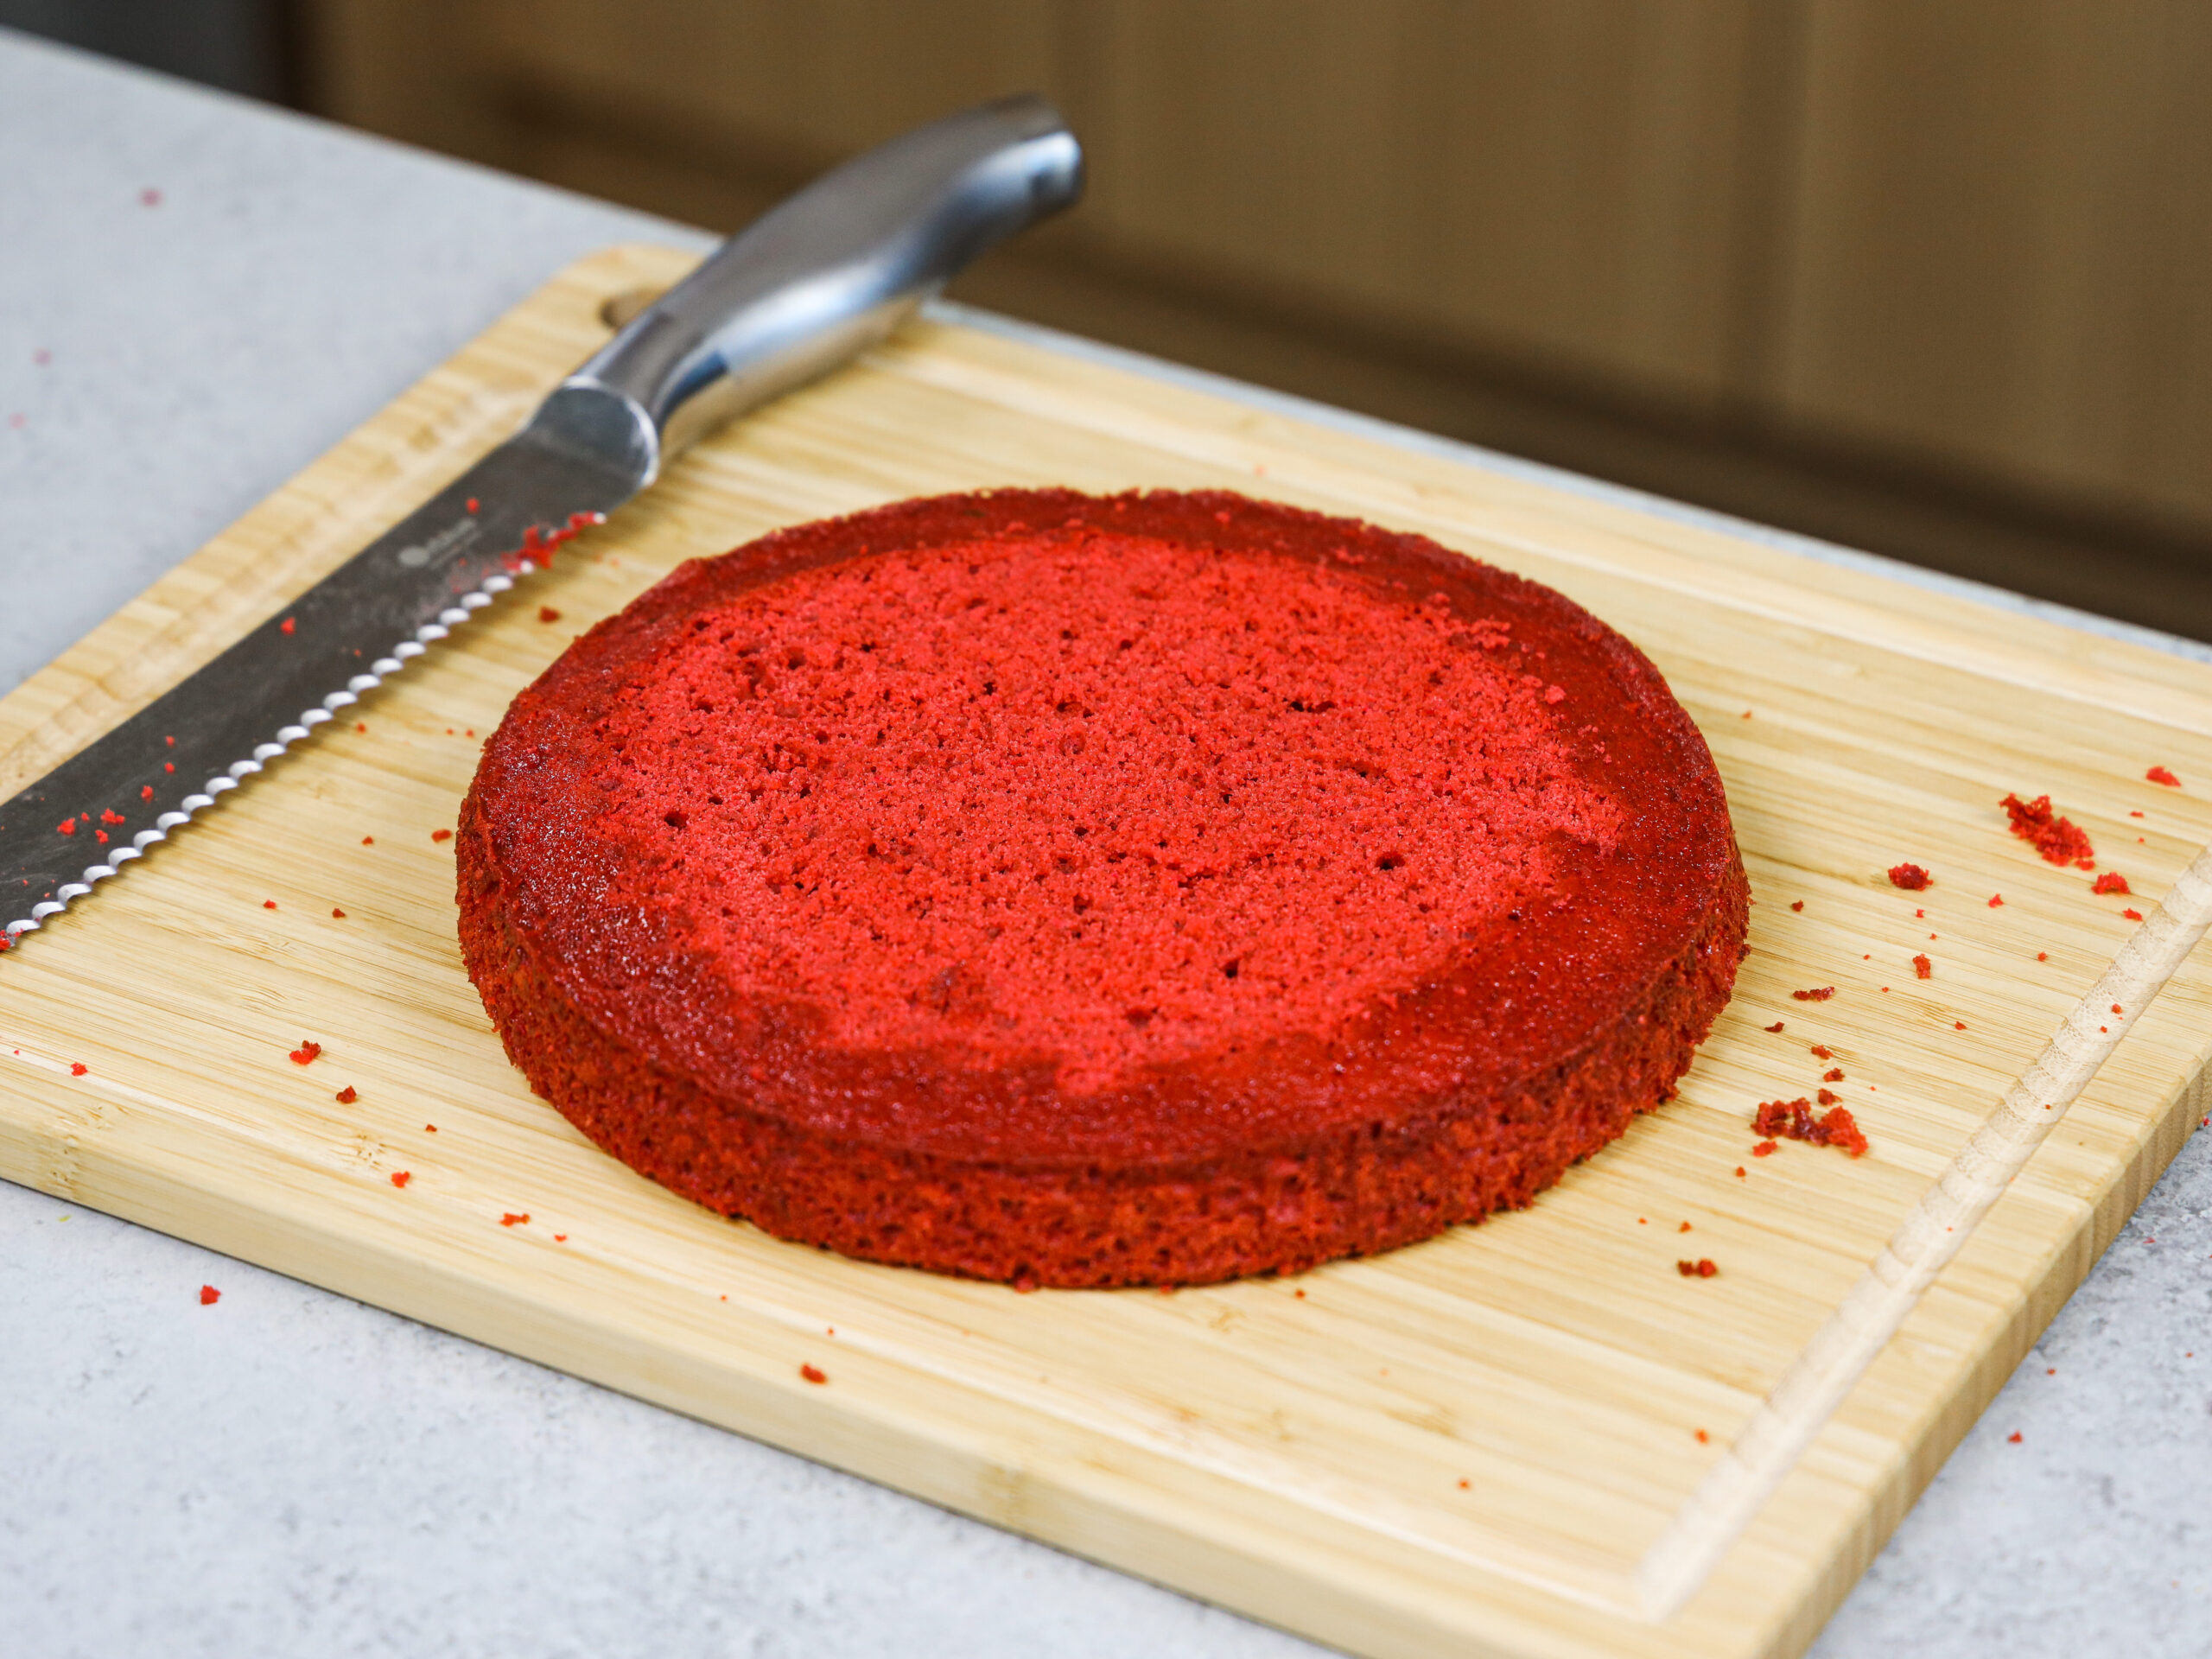
- Level the top of the cake layers with a serrated knife once they’ve fully cooled. It’ll make the cake a lot easier to stack.
- Chill the cake layers in the freezer for about 20 minutes before assembling the cake. It makes it so much easier to stack and frost them!
- Use gel food coloring to create brightly colored cake layers. It works best because it doesn’t throw off the consistency of the batter or give it a bitter taste.
Making This Layered Red Velvet Cake in Advance and Storage Tips
I highly recommend making the components of this cake in stages. It breaks the process up and makes it so much more approachable!
The cake layers can be made in advance and frozen. They taste just as great when they’re frozen as when they’re fresh, I promise!
You can make the frosting ahead of time or save any leftover frosting! It can be stored in an airtight container in the fridge for up to 2 weeks or in the freezer for a month.
Be sure to give the frosting a good stir once it thaws to get the consistency nice and smooth again.
A frosted cake can last in the fridge for up to a week or in the freezer for up to a month. The buttercream locks in all the moisture, keeping the cake fresh and delicious!
If you cut into the cake and have leftovers, use any remaining frosting to cover the cut section to keep it moist and store in the fridge for up to a week.
Let Me Know What You Think
If you make this 5-layer red velvet cake, I’d love to hear what you think! Please leave a rating and comment below with your thoughts.
Don’t forget to tag me @chelsweets and use #chelsweets on social media so I can see your amazing creations!
5-Layer Red Velvet Cake
Equipment
- Greaseproof Cake Board or a Flat Plate
Ingredients
Red Velvet Cake Batter
- 5 cups cake flour 600g
- 3 1/2 cups granulated sugar 700g
- 1/4 cup unsweetened cocoa powder, sifted (not Dutch-processed or dark) 25g
- 2 tsp baking soda 12g
- 1 tsp fine salt 6g
- 2 1/2 cups buttermilk, room temperature 600g
- 1 cup (2 sticks) unsalted butter, melted and cooled 226g
- 1 cup vegetable or canola oil 240g
- 4 large eggs, room temperature 224g
- 1 Tbsp vanilla extract or vanilla bean paste 16g
- 2 tsp instant coffee, dissolved in 1 Tbsp warm water
- 2 tsp white vinegar 8g
- 2 tsp red gel food coloring or 2 Tbsp liquid food coloring
Cream Cheese Buttercream Frosting
- 1 1/2 cups (3 sticks) unsalted butter, room temperature 339g
- 1 1/2 cups (12 oz) full-fat cream cheese, room temperature 339g
- 1 Tbsp vanilla extract or vanilla bean paste 12ml
- 1 tsp fine salt 6g
- 10 cups powdered sugar 1250g
Instructions
Red Velvet Cake
- Preheat your oven to 350°F/175°C. Grease five 8-inch cake pans with non-stick baking spray and line the bottoms with parchment paper. Set aside. If you don't have 5 cake pans, the batter can sit at room temperature for a few hours. Bake as many layers at a time as you can at a time.
- In a medium bowl, whisk together 5 cups cake flour, 3 1/2 cups granulated sugar, 1/4 cup unsweetened cocoa powder, 2 tsp baking soda, and 1 tsp fine salt. Set aside.
- In a separate, very large bowl, whisk 2 1/2 cups buttermilk, 1 cup vegetable or canola oil, 1 cup (2 sticks) melted and cooled unsalted butter, 4 large eggs, 1 Tbsp vanilla extract or vanilla bean paste, 2 tsp of instant coffee, dissolved in 1 Tbsp warm water, 2 tsp white vinegar, and 2 tsp red gel food coloring (or 2 Tbsp liquid food coloring). Mix on low speed until combined. The mixture may look broken at this stage, but it will come together once the dry ingredients are added.
- Slowly mix the dry ingredients into the wet ingredients at a low speed in two additions. Mix until just combined and no visible streaks of flour remain.
- Divide the batter evenly between the prepared pans, about 2 1/2 cups or 540g per pan.
- Bake for 23-26 minutes, or until a toothpick inserted in the center of the cake comes out with a few moist crumbs.
- Remove the pans from the oven and let them cool for 30 minutes. Run a small offset spatula around the edges of the pans, then carefully flip the cakes out and transfer them to a wire rack to cool completely.
- Level the top of the cake layers with a serrated knife once they've fully cooled. It'll make the cake a lot easier to stack. If you're making the cake layers in advance, wrap them tightly in plastic wrap and freeze at this stage.
Cream Cheese Buttercream Frosting
- While the cake layers bake and cool, make the cream cheese buttercream frosting. Beat 1 1/2 cups of butter and 1 1/2 cups of cream cheese on a medium-high speed for a couple of minutes with a paddle attachment. The mixture should look light, fluffy, and smooth.
- Mix in 1 Tbsp vanilla and 1 tsp fine salt on a low speed until the ingredients are combined.
- Gradually mix in 10 cups of powdered sugar on a low speed. If the frosting is too thick, add in some heavy cream or milk (1 Tbsp at a time). If the frosting is too thin, add in more powdered sugar (1/4 cup at a time).
- Cover the cream cheese frosting with a piece of plastic wrap to prevent a crust from forming and set aside.
Red Velvet Cake Assembly
- Once the cake layers have cooled fully, it's time to assemble the cake. Stack and frost cake layers on a greaseproof cake board using a dab of frosting to help stick the first cake layer to the board.
- Add an even layer of cream cheese buttercream between each cake layer. For reference, I add about 1 1/2 cups of frosting per layer.
- Spread a thin coat of frosting around the cake to fully cover the cake layers. This helps lock in any crumbs and will give you a really beautiful finished look. If the layers start to slide around as you do this, you can either pop the cake in the freezer for about 15 minutes to help chill the frosting between the layers or insert a wooden dowel or thick plastic straw in the middle of the cake to help keep them in place. Smooth the frosting using a bench scraper or large offset spatula, then chill the cake in the fridge (30 minutes) or freezer (10 minutes) until the frosting is firm to the touch.
- Cover the cake in a second, thicker layer of frosting and use a large offset spatula or the back of a spoon to give the frosting a textured look, then enjoy!
Video
Notes
Making This Red Velvet Layer Cake in Different Sizes
One batch of batter is about 2700g or a little over 13 cups, so I add about 540g to each of my cake pans when using 5, 8-inch cake pans. You can also use one batch of batter to make 4, 8-inch cake layers. Bake time will be a few minutes longer. One batch can also make a half (13×18-inch) sheet cake. Bake at 350°F/175°C for 30-35 minutes, or until a toothpick inserted in the center comes out with a few moist crumbs. If you want to make a tiered cake with this recipe, check out my cake batter calculator to see how many batches of batter you’ll need. If you want to make red velvet cupcakes, bake them at 350°F/175°C for 18-20 minutes. One batch of batter will make about 4 dozen cupcakes (yield will vary based on the size of your liners). You can also use my red velvet cupcake recipe if you want to make a dozen.Tips for Making the Best Red Velvet Layer Cake
- Ingredients at room temperature mix together better! Set out any cold ingredients ahead of time.
- Properly measure your flour (spoon into the cup measure, then level). Or better yet, use a kitchen scale to measure your dry ingredients.
- Mix the cake batter just until the ingredients are incorporated, once you add in the flour. This will ensure your cake layers are tender and fluffy.
- Use a scale to weigh your cake pans as you fill them. It will make your cake layers bake to the same height and bake more evenly.
- Level the room temperature or thawed cake layers with a serrated knife to make them easier to stack.
- Chill the cake layers in the freezer for about 20 minutes before assembling the cake. It makes it so much easier to stack and frost them!
- Use gel food coloring to create brightly colored cake layers. It works best because it doesn’t throw off the consistency of the batter or give it a bitter taste.
Making This Layered Red Velvet Cake in Advance and Storage Tips
I highly recommend making the components of this cake in stages. It breaks the process up and makes it so much more approachable! The cake layers can be made in advance and frozen. They taste just as great when they’re frozen as when they’re fresh, I promise! You can make the frosting ahead of time or save any leftover frosting! It can be stored in an airtight container in the fridge for up to 2 weeks. Be sure to give the frosting a good stir once it thaws to get the consistency nice and smooth again. A frosted cake can last in the fridge for up to a week or in the freezer for up to a month. The buttercream locks in all the moisture, keeping the cake fresh and delicious! If you cut into the cake and have leftovers, use any remaining frosting to cover the cut section to keep it moist and store in the fridge for up to a week.Nutrition
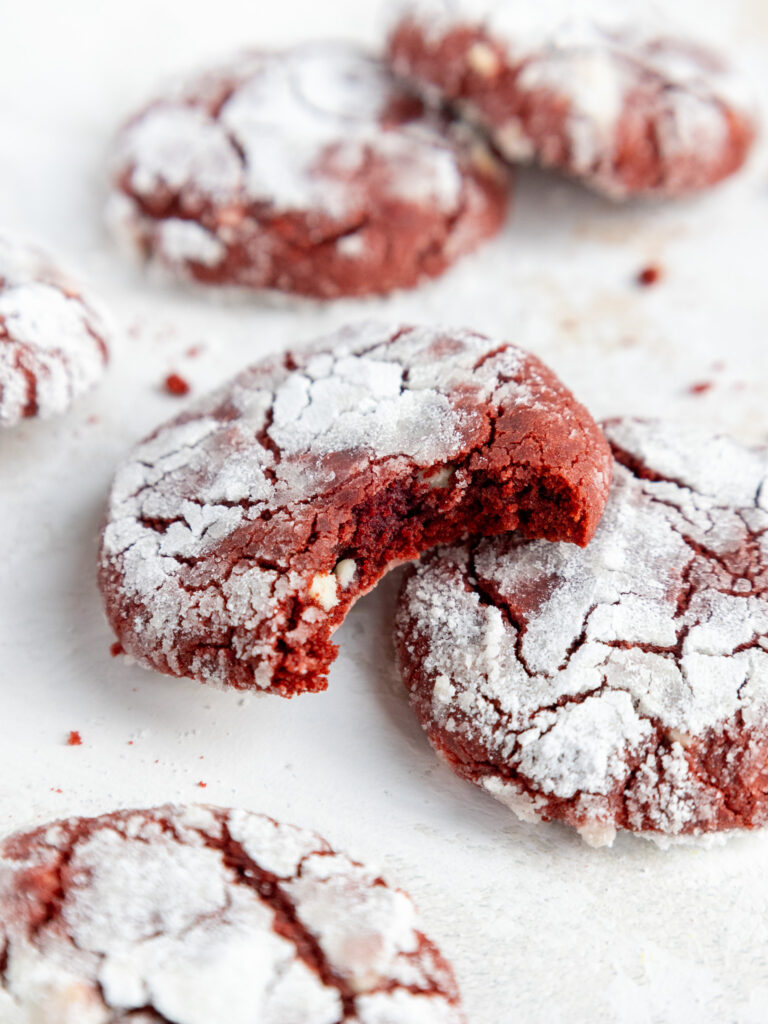
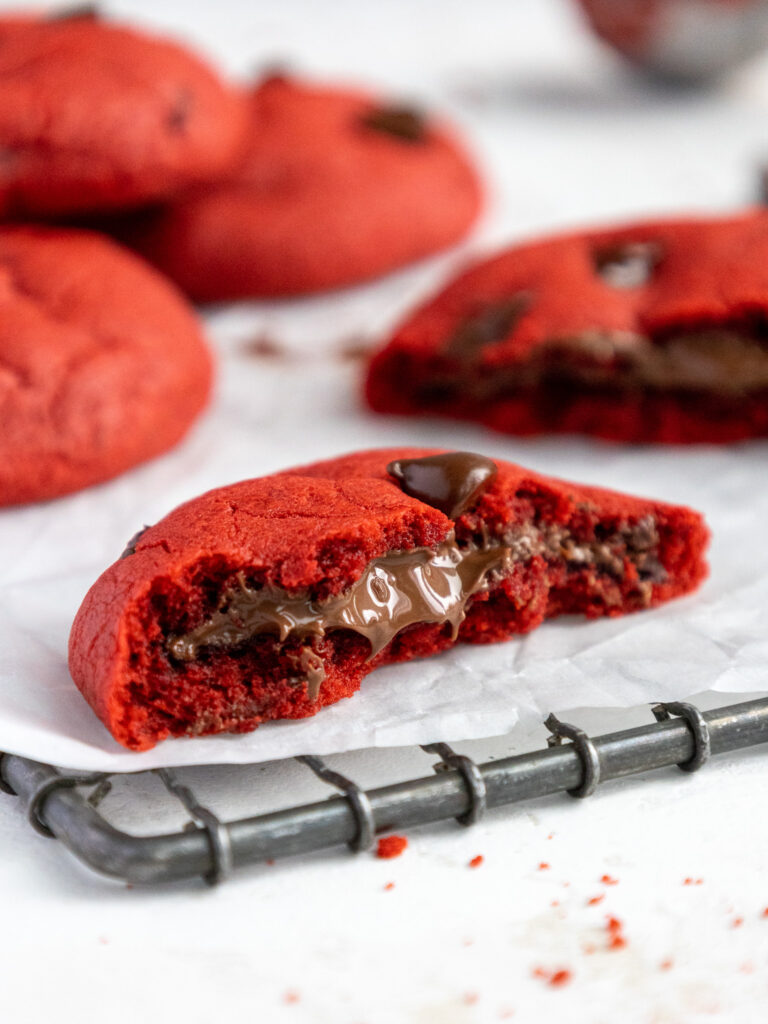
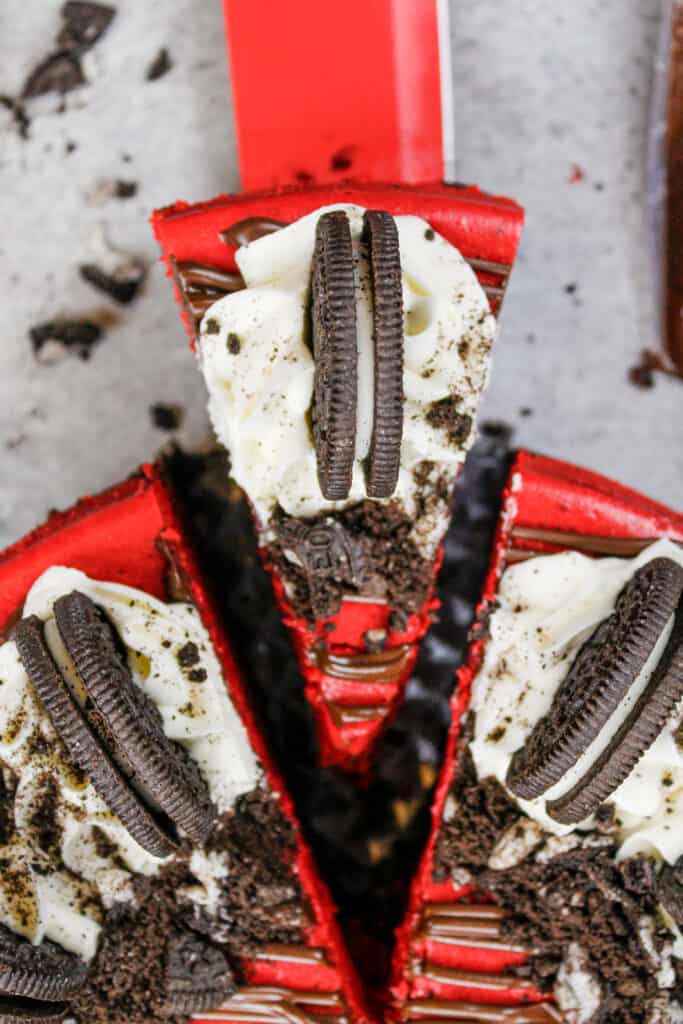
Other Recipes You Might Like:
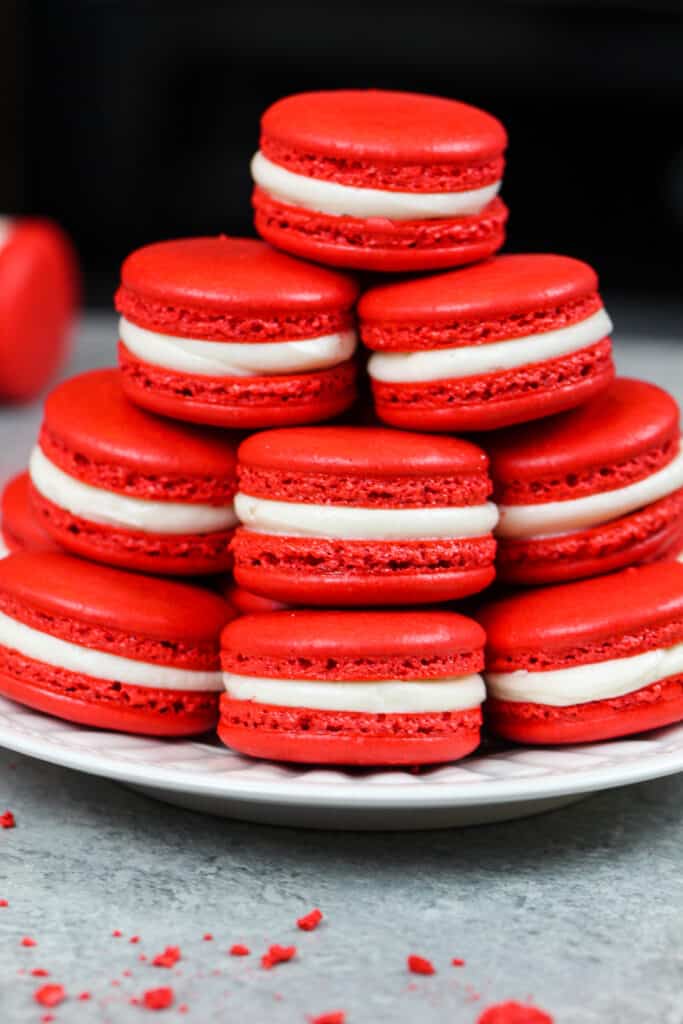
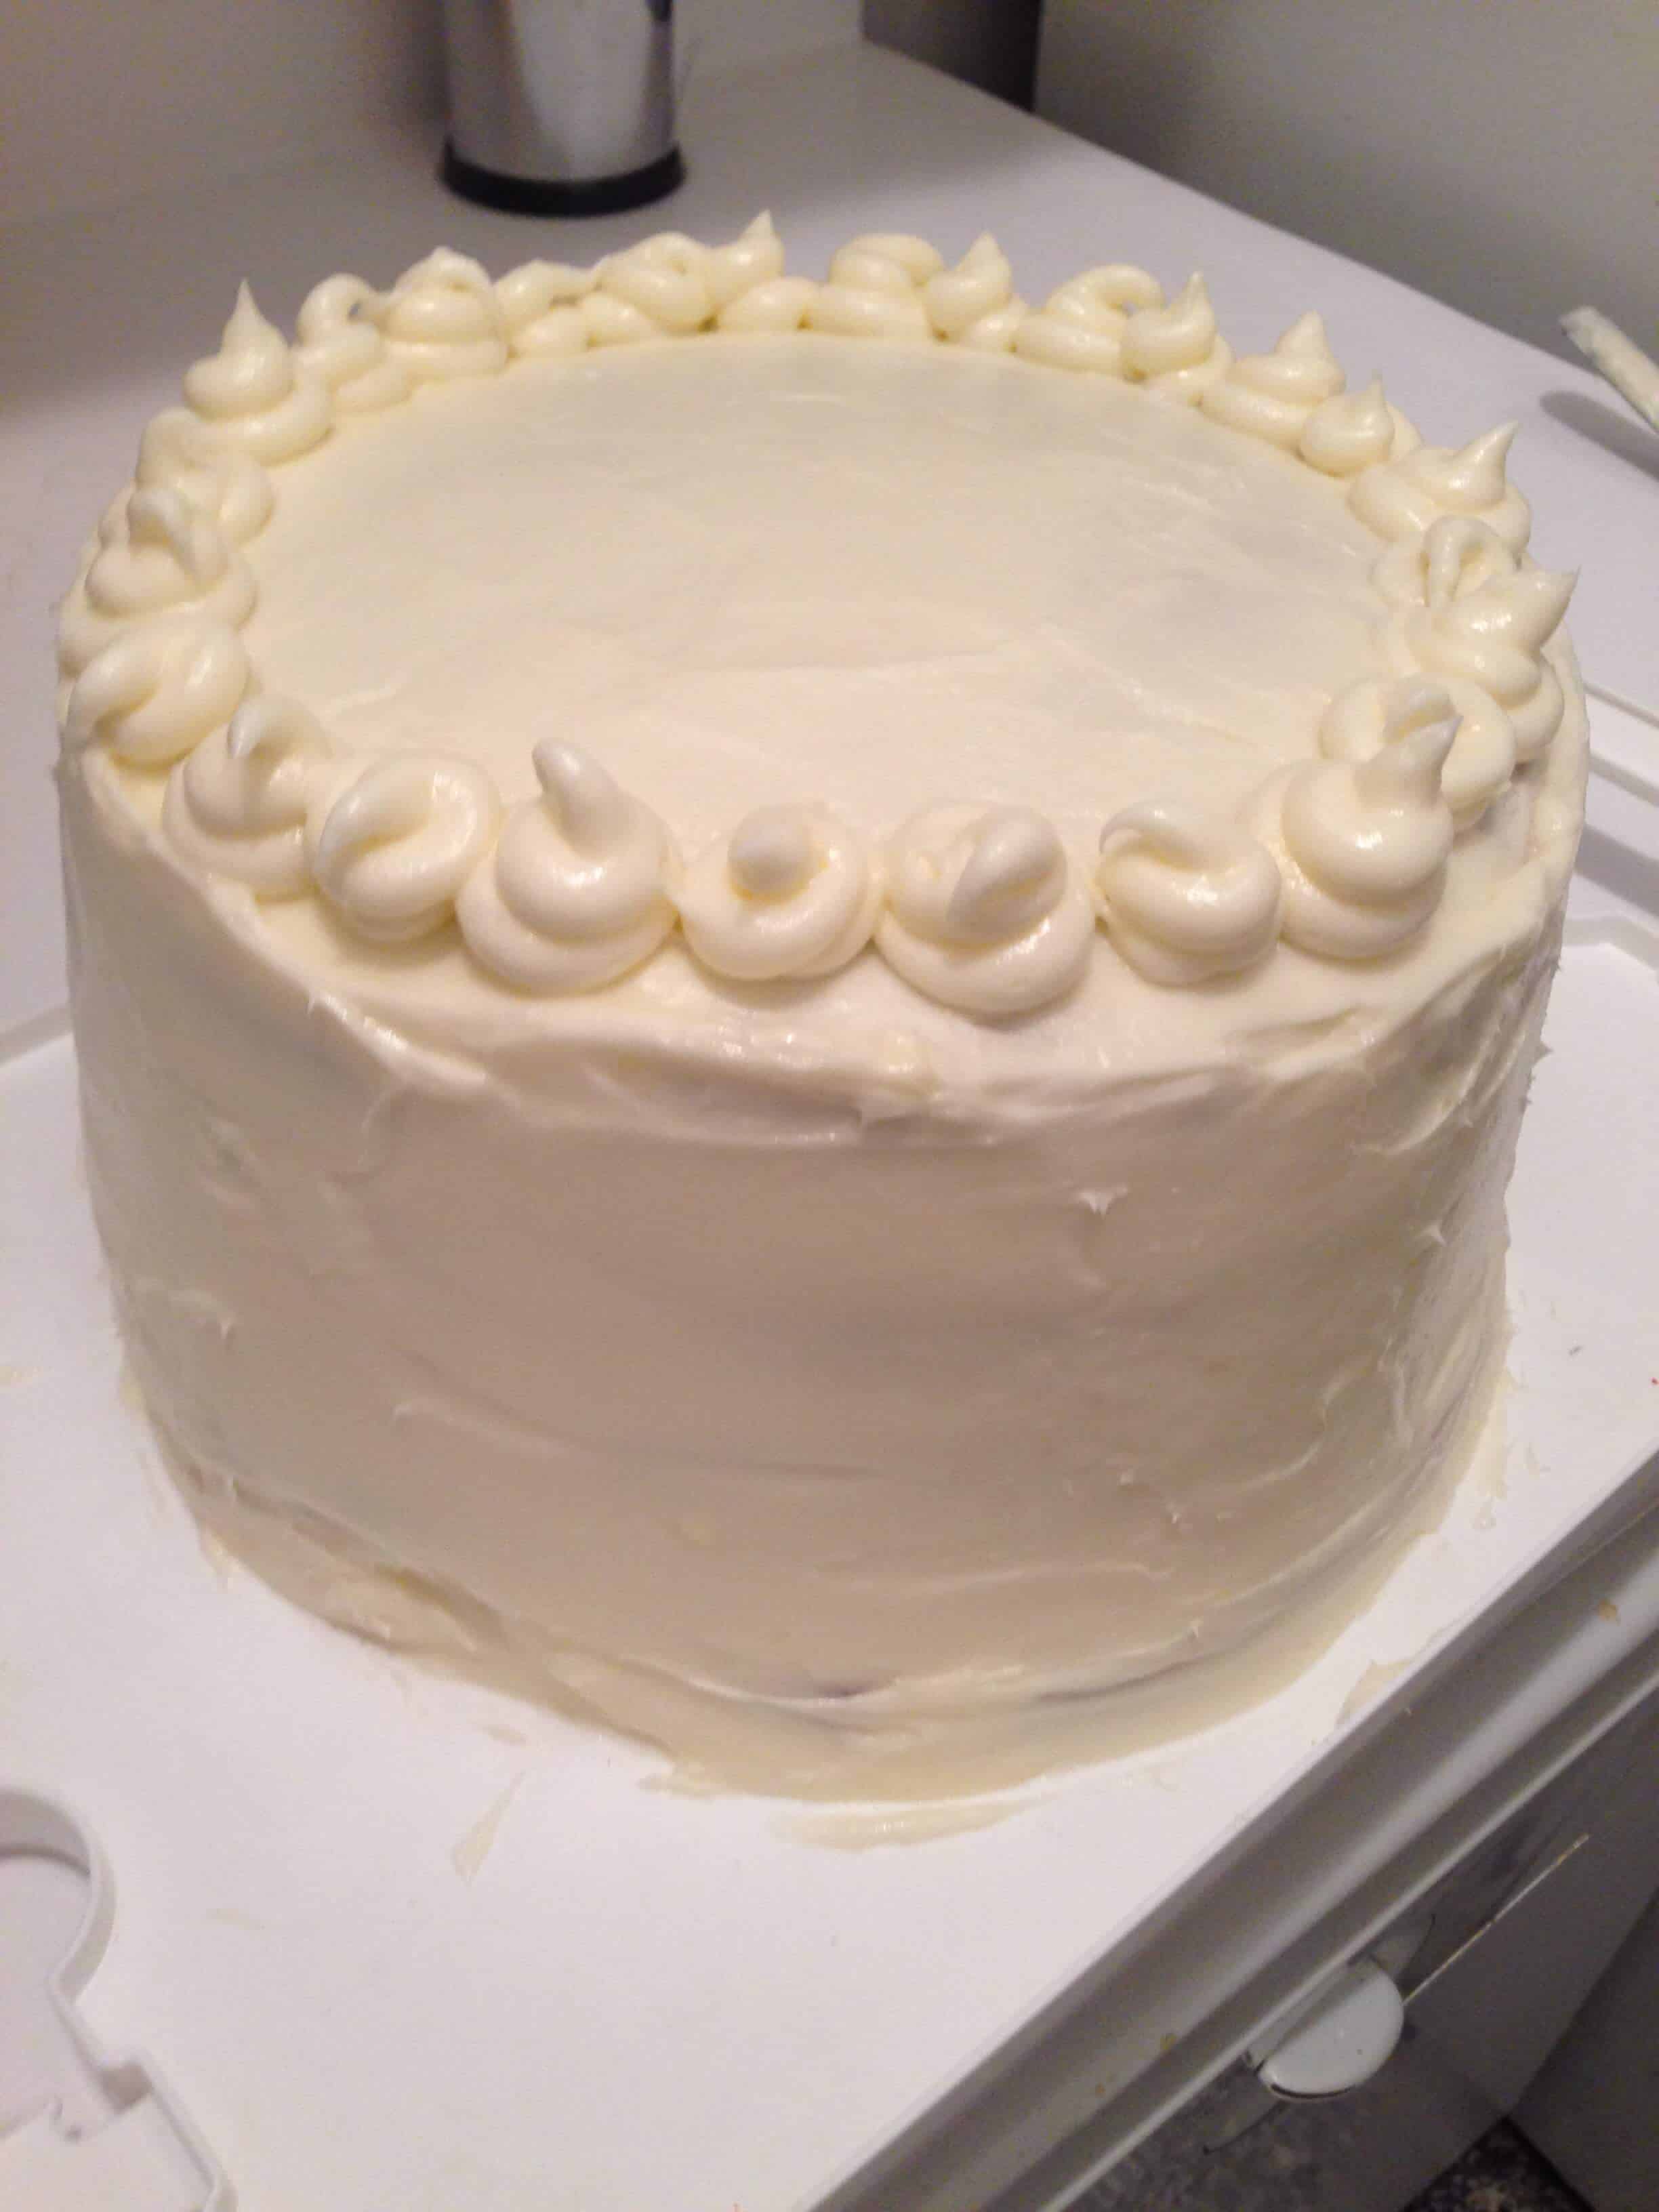
For a walk down memory lane, below are some of the original pictures of this recipe from 2013!

Sorry, yes!! 1/2 teaspoon, good catch 🙂
Can I substitute butter for the oil to make the layers more stackable/sturdy? I’m making a beer can cake and I don’t want it to bulge out the sides. Thanks!
If you use butter it will be more sturdy, but it will change the texture and taste of the cake <3
Hey what is the coffee in this recipe
do u make a recipe for just a regular cinnamon roll with glaze
can you make this recipe into cupcakes ?!
You can for this recipe 🙂
Whats cake flour????????????. I don’t think I have ever seen ut ?
It’s basically a finer flour! You can actually substitute a mixture of flour and cornstarch if you can’t find it at your grocery store, but most grocery stores carry it 🙂
What size pans did you use? Thank you:)
These thinner layers were made with 8 inch cake pans 🙂
If i’m using this recipe to make a tiered cake (one 6″ tier, one 8″ tier) and I guesstimate about 3 layers in each tier, would 2 batches of this be good? Or would that be too tall/short? Would you recommend more than 3 layers per tier or is that a good amount?
I think three layers per tier will turn out great, and 2 batches should be great for a tiered cake that size 🙂
Do you think I could use blue and violet to make a BLUE velvet cake with this same recipe?
325* for 30 min in 4 9″ cake pans 2 cups of batter
Hello, I want to make this recipe into cupcakes, with this recipe for frosting, would it be stabilized enough to frost with?
@Kimberly Cahill, mine are not oily. That’s one reason why red velvet is not a favorite cake. But, this one has become one! Maybe use canola oil. This cake is a hit! And, yes, add the baking powder.
Hey Chelsea! I’d like to make this for the top tier of my cake. It would be 3 layers of 4in size pans. Would I be able to quarter the recipe you think? – Sammi Jo
Hi Sammi Jo,
I think we messaged about this on IG!! I hope it turns out great 🙂
I was just wondering why I can’t use Dutch processed cocoa powder? I just bought it for the first time over the standard. Does it do something weird to the cake?
Thanks so much!!
Hi Emily,
The main problem in this recipe is that it’s so much darker than regular cocoa! The layers will be a deeper / less bright shade of red. You can use it and they should bake up ok, but the color won’t be quite the same. Hope that helps, happy baking!
I made this one and the smaller version. Both times the cake sunk in the middle and cooked like a donut ? this has never happened to me before . What could I be doing wrong. I’ve made it both times according to the recipe.
Hi Andrea,
I’m so sorry to hear that! There can be a ton of reasons why cake layers sink in the middle, so let’s troubleshoot together! What type of pans are you using? Are they light colored metal? Are they the same size that the recipe calls for?
I walk through a bunch of different reasons why cake layers sink in the middle here: https://chelsweets.com/why-do-cakes-sink-in-the-middle/
Hopefully we’ll be able to figure out what’s going on together!
We are to use both cake flour & AP flour?
This is an amazing recipe. In the past, I used this recipe and it was a hit. Recently, because I am older now and prone to forget ingredients I have used a popular self-rising flour (WL) with the same success.
@Chelsweets, hey girl! It’d be great if you would update this recipe to add the baking powder. I wonder how many people, including me, have missed the baking powder. You’re my go to for recipes and I’m so disappointed. Put the cakes in the oven and came back to the recipe to find this comment. You also didn’t include when to add the coffee, which I’m assuming is with the rest of the wet. Might want to add that as well.
Hi Jo,
I totally get how frustrating that must’ve been mid-bake. I actually updated this recipe last month, and the new version intentionally doesn’t include baking powder. It’s been reworked for a slightly different texture, so that older comment from 2015 is from a previous version and doesn’t apply anymore (I wish I could remove outdated ones like that!).
As for the coffee—you’re spot on! It should be added with the wet ingredients, and I’ll double check the instructions to make sure that part is totally clear. I so appreciate you flagging this, and I’m really grateful you’re baking along with me! Happy baking 🙂
Hello Can I use RED VELVET BAKERY EMULSIÓN insted of the Red Gel coloring? Or is going to change the taste? Thank you
Hi Karina,
Yes, you can use red velvet bakery emulsion instead of red gel food coloring, but it will definitely add flavor as well as color. Most red velvet emulsions have a subtle hint of vanilla or chocolate, and sometimes a bit of tartness or almond, depending on the brand.
If you’re okay with a slight flavor boost (which can actually complement red velvet beautifully!), then go for it! Just keep in mind that the color payoff might be a bit softer than with gel food coloring, so you may need to use a little more to get that deep red hue. Hope that helps, happy baking!
You definitely need to updated your recipe to include the 1/2 tsp baking powder. Thats a lot of ingenious to throw out!
Hi Staci,
I am confused, this recipe doesn’t use baking powder, which is why it isn’t included in the ingredients list or the instructions. This recipe was updated earlier this year, and has been tested multiple times by different people and is accurate. Hope that helps clear up an confusion!
Double Verifying the 2 Tablespoons of vanilla extract.. 1 in the cake and another tablespoon in the icing… Is this correct? I’ve never in my life of baking seen this much vanilla extract used.
Hi Lisa,
I am very heavy handed when it comes to vanilla extract in my baking! I make my own and love adding it generously to my recipes, but you can always add less if you prefer/based on your preferences. Hope that helps, happy baking!
Hi Chelsey,
I am planning too bake this for my niece’s birthday. Can I use only vegetable oil instead of melted butter? Will it change the texure of cake? Also I see many comments that their cake sunk. Am worried. Kindly help me.
What was the height of each cake layer when you baked 8 inch cake?