
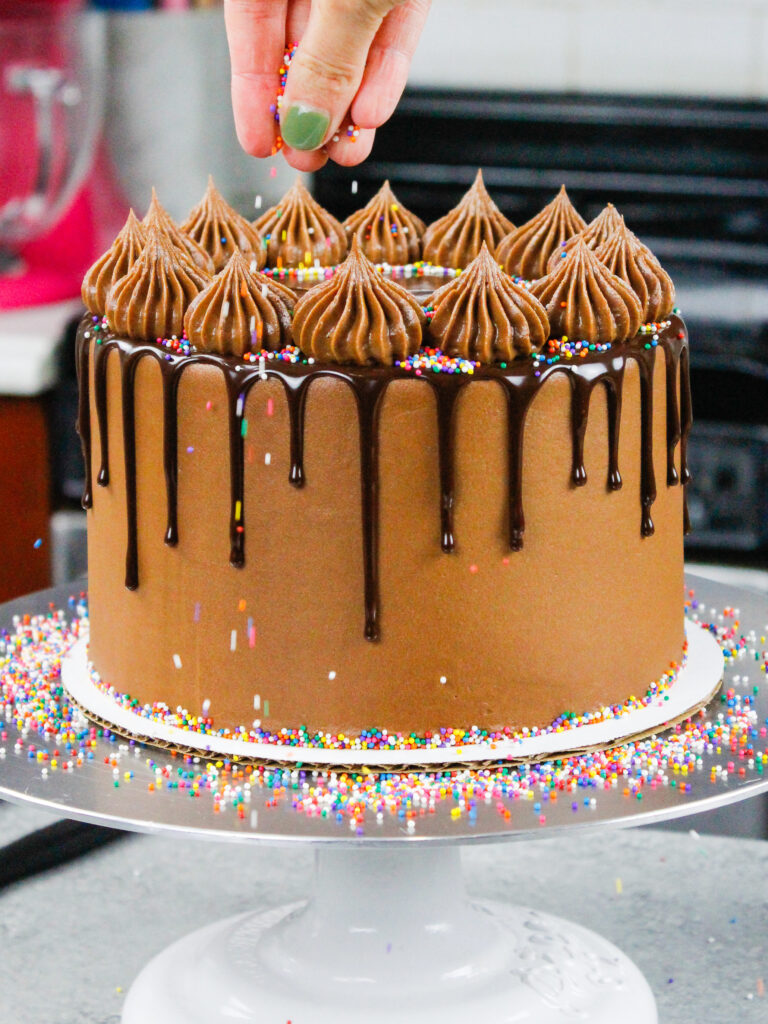
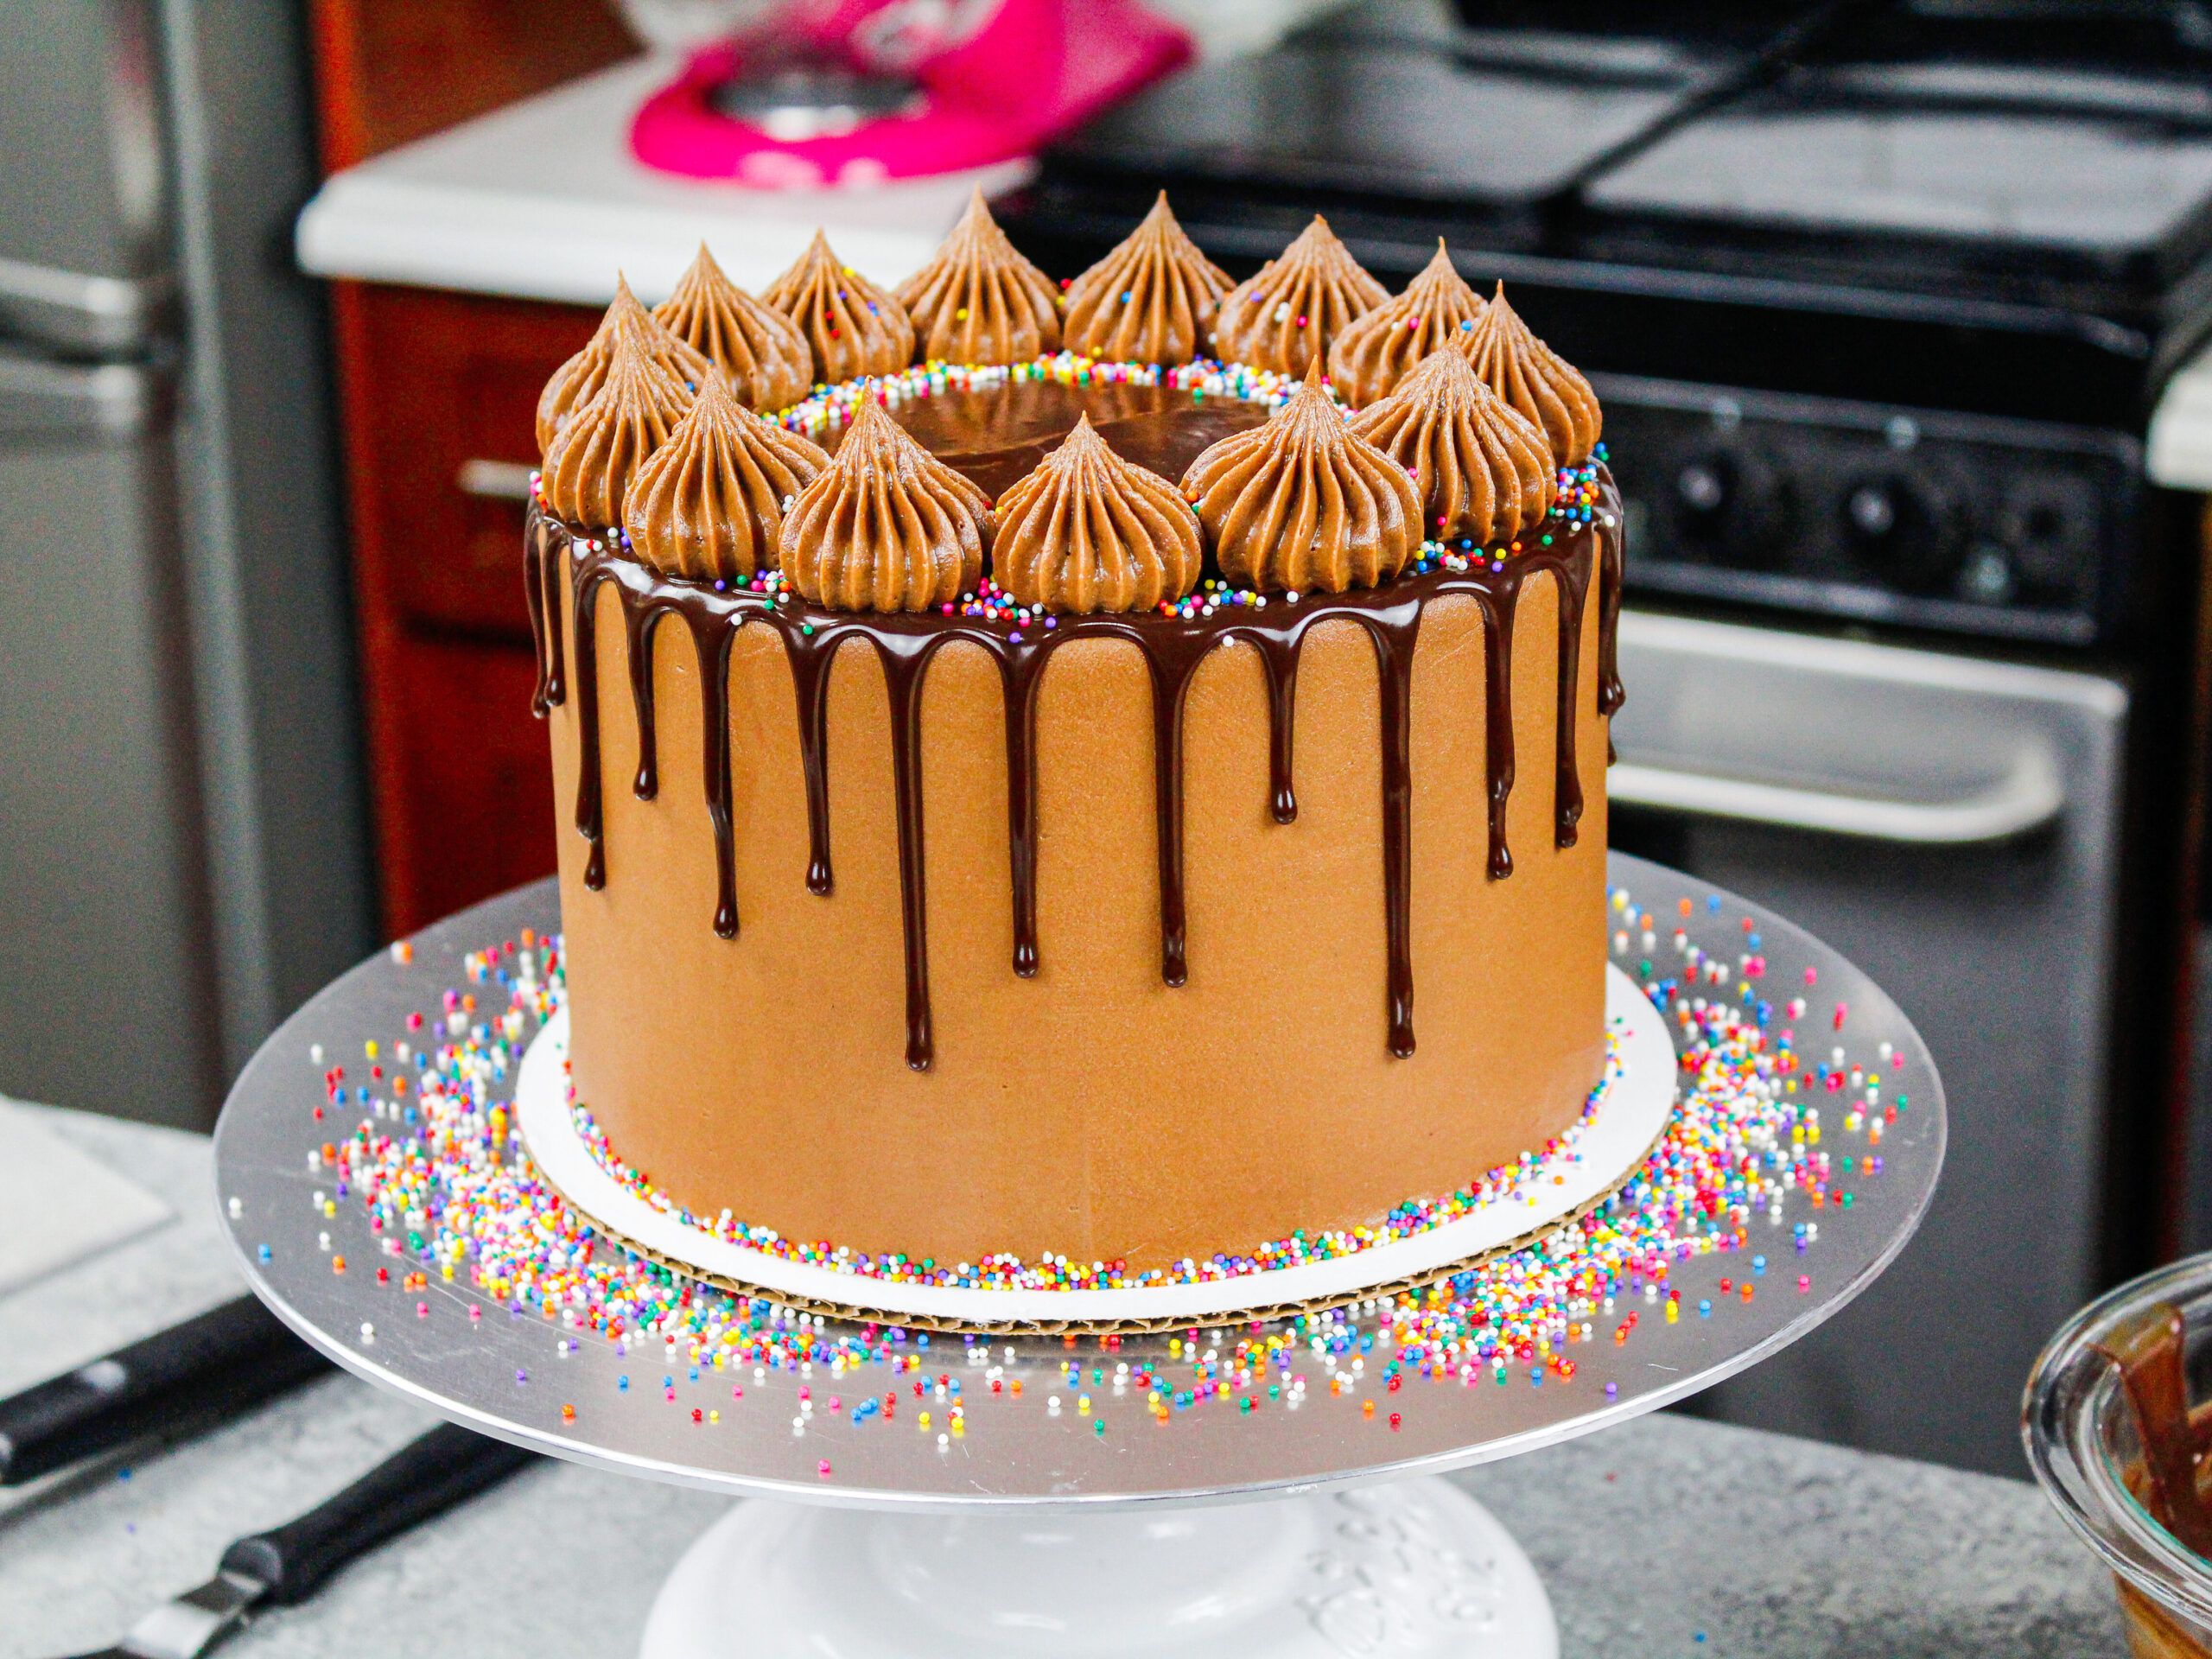
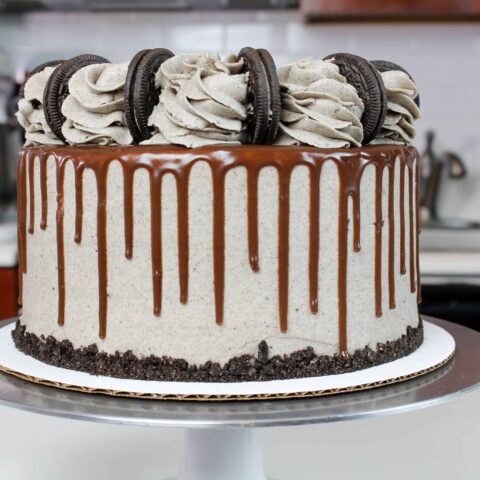
Chocolate Drip Cake
This chocolate drip cake tutorial shows you exactly how to make perfect chocolate ganache drips that don’t run to the bottom of your cake.
You’ll learn the simple 2-ingredient drip ratio, how to test drips, and the best timing for adding them to a chilled buttercream cake.
This Recipe At a Glance
- Best for: Buttercream cakes (not fondant)
- Drip ingredients: Semi-sweet chocolate + heavy cream
- Time: ~10 minutes for ganache + ~ 1 hr to bake and chill the cake
- Tools: Spoon, squirt bottle, or piping bag
- Key success step: Chill the cake + do a test drip
How Do I Make Chocolate Drips for a Cake?
Just because chocolate drip cakes are beautiful doesn’t mean they have to be complicated. Let’s start by discussing the most basic part of a chocolate drip, the ingredients that it’s made with!
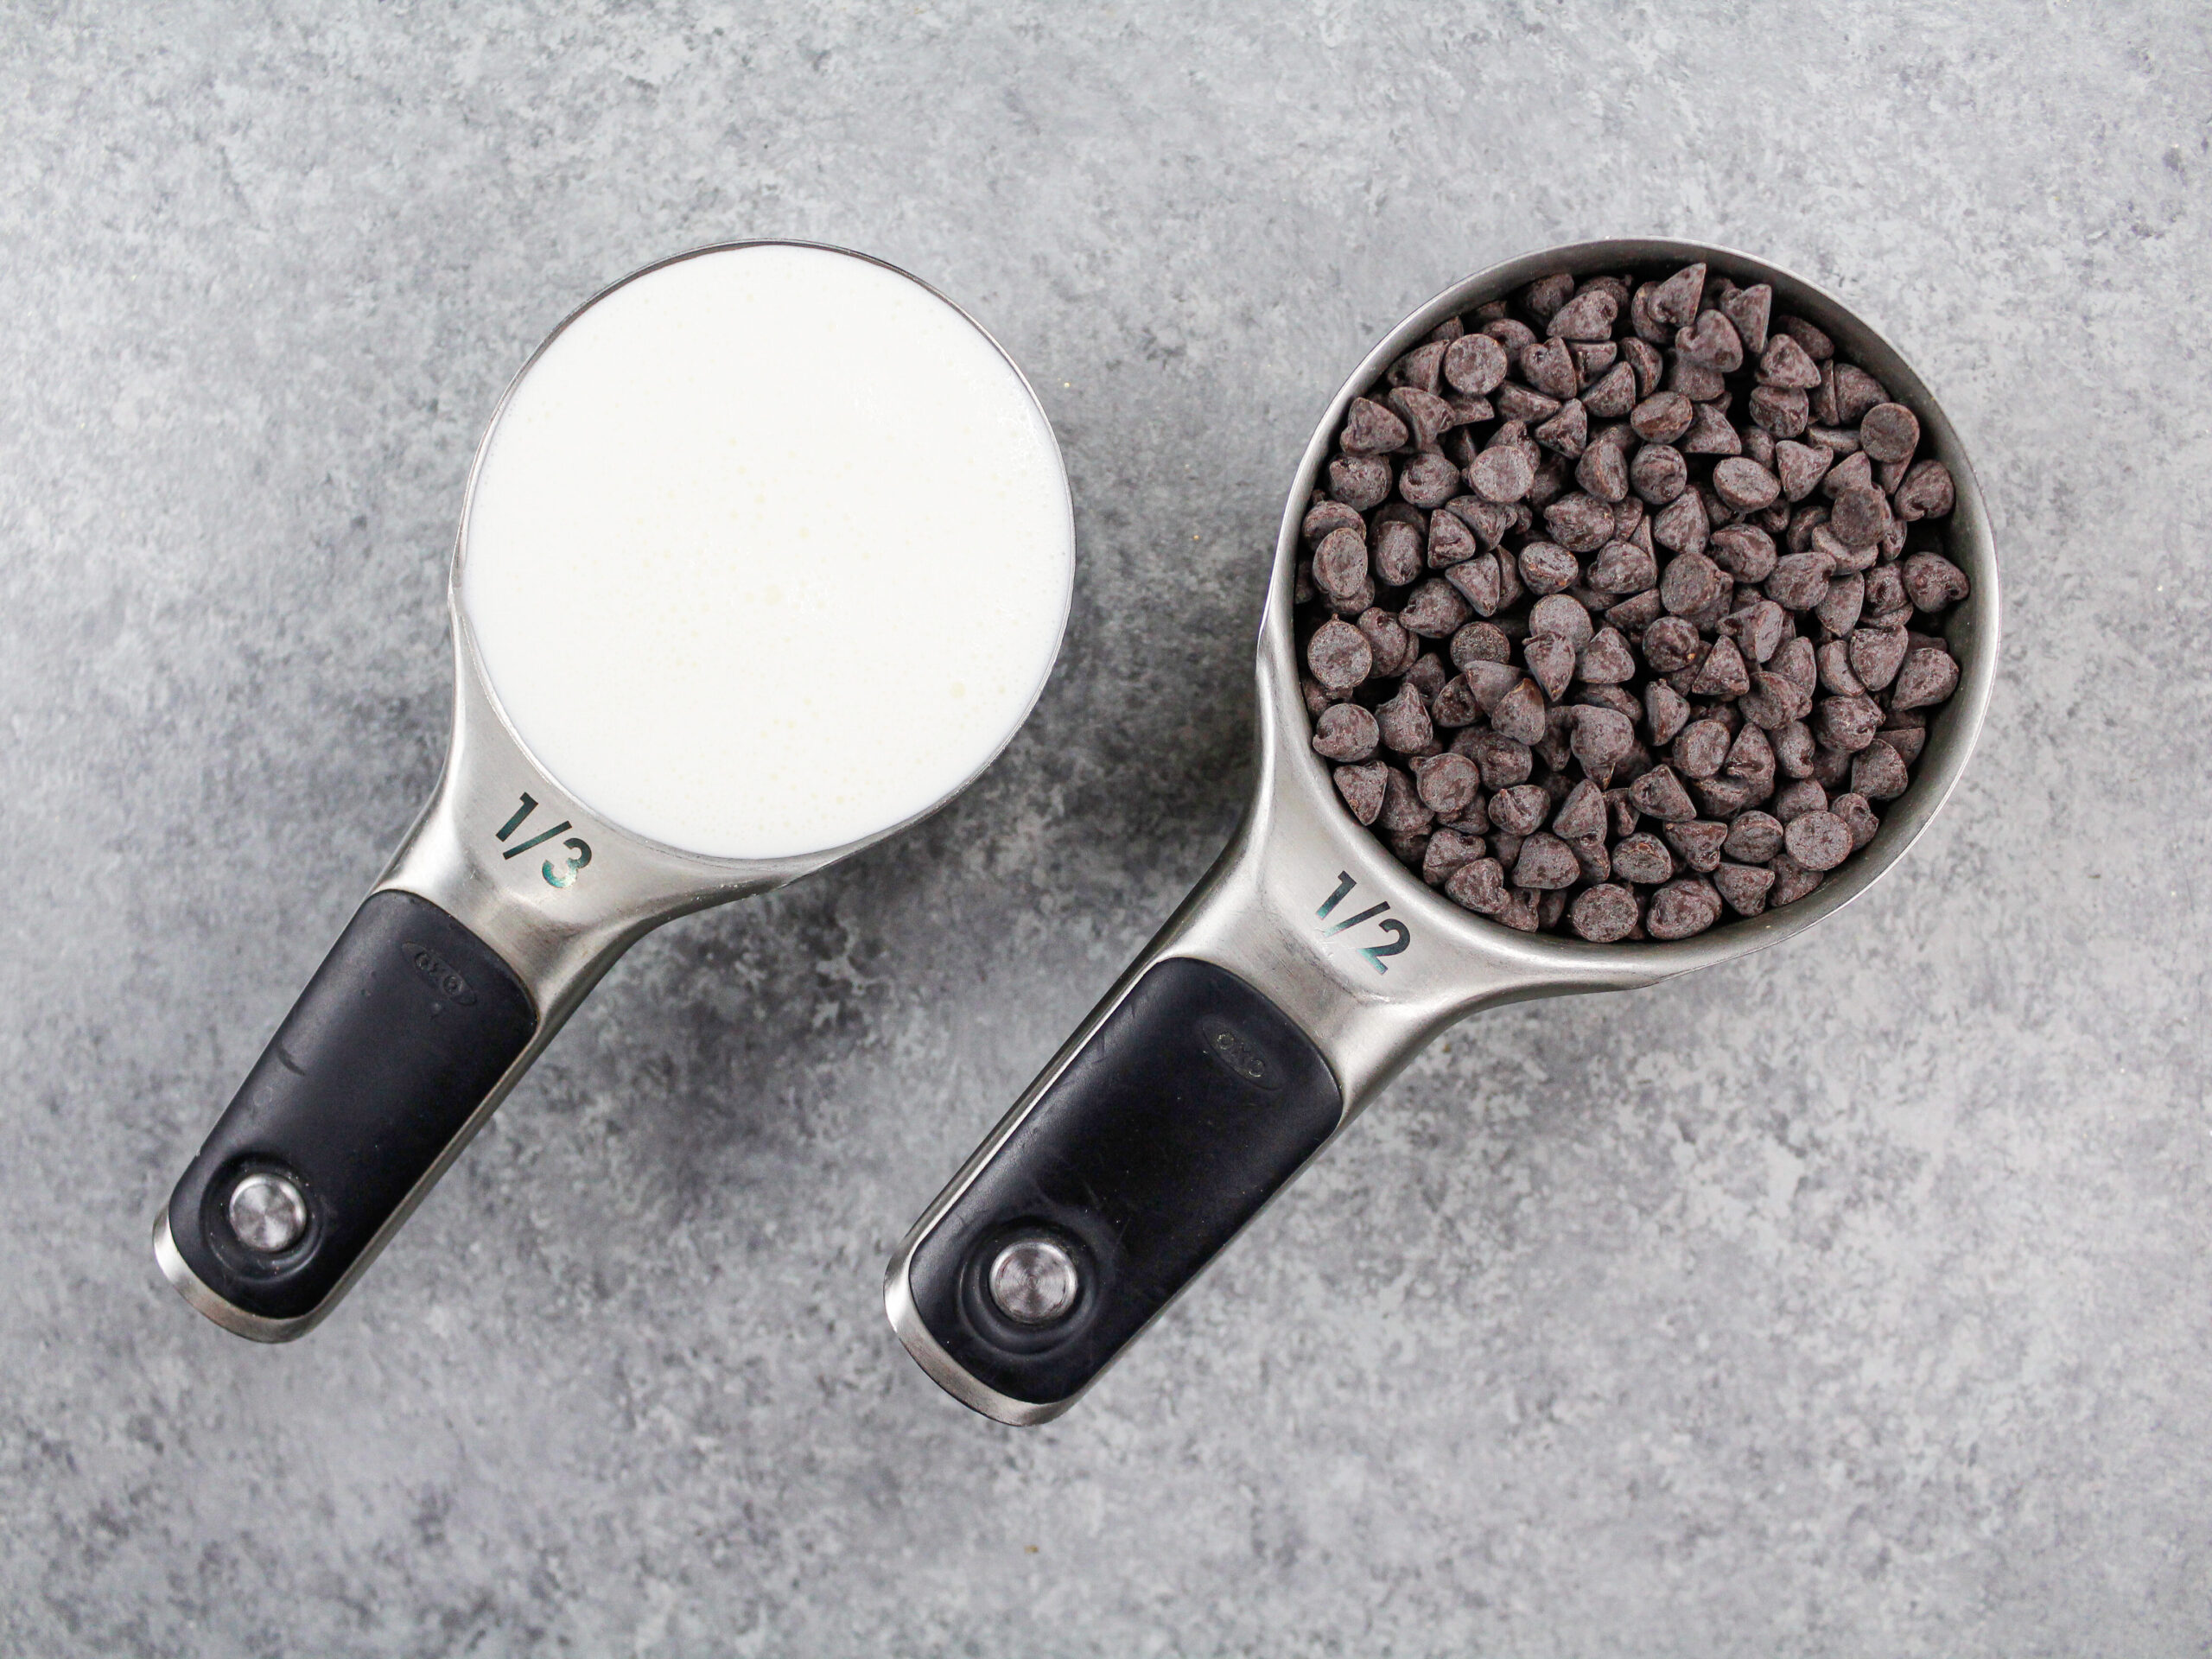
Believe it or not, it’s made with only two ingredients. All you need is a half-cup of semi-sweet chocolate chips and some heavy cream.
If you can’t find heavy cream in your grocery store, you can also use heavy whipping cream.
Sadly, you can’t use regular milk in place of the heavy cream in this chocolate drip recipe. Heavy cream has 36-38% milk fat. If you use regular milk, the mixture will be too thin.
To make this recipe, you simply heat up the cream until it’s steaming, then pour it over the chocolate chips.

After letting them sit for a minute to melt, give them a quick stir. And just like that, you have silky smooth chocolate ganache.
It’s a pretty quick process! The challenging part of making a drip cake is actually adding the drips to the cake.
What Type of Chocolate Chips Should I Use?
I find this recipe turns out best with semi-sweet chocolate chips, but you can use milk or dark chocolate chips if that’s what you have on hand.
Different types of chocolate have different amounts of cocoa butter in them, which impacts their consistency once they’re melted down.
You may have noticed that dark chocolate seems thinner than milk or white chocolate when melted.
If you want to use dark chocolate, I recommend adding an extra tablespoon of chocolate chips to help thicken the mixture slightly to prevent runaway drips.
If you use milk chocolate, I suggest adding an extra 2 teaspoons of heavy cream to make it fluid enough to easily add drips around your cake.
These are general guidelines that should work with most types of chocolate, but different brands do have different cocoa percentages! So, make additional adjustments as needed as you perform the test drips (more on that below!).
How Do I Add Drips to a Cake?
There are two common ways to add drips to a cake. Most people use either a spoon or a plastic squirt bottle.
Some people prefer one method over the other. I recommend using whatever method you feel most comfortable with.
Adding Drips Using a Spoon
One way you can add chocolate drips to a cake is with a spoon. The best thing about this method is that you don’t need any special tools. I think everyone has a spoon in their kitchen!!
Take 1-2 teaspoons of chocolate ganache in your spoon and carefully pour it over the edge of a chilled buttercream cake.
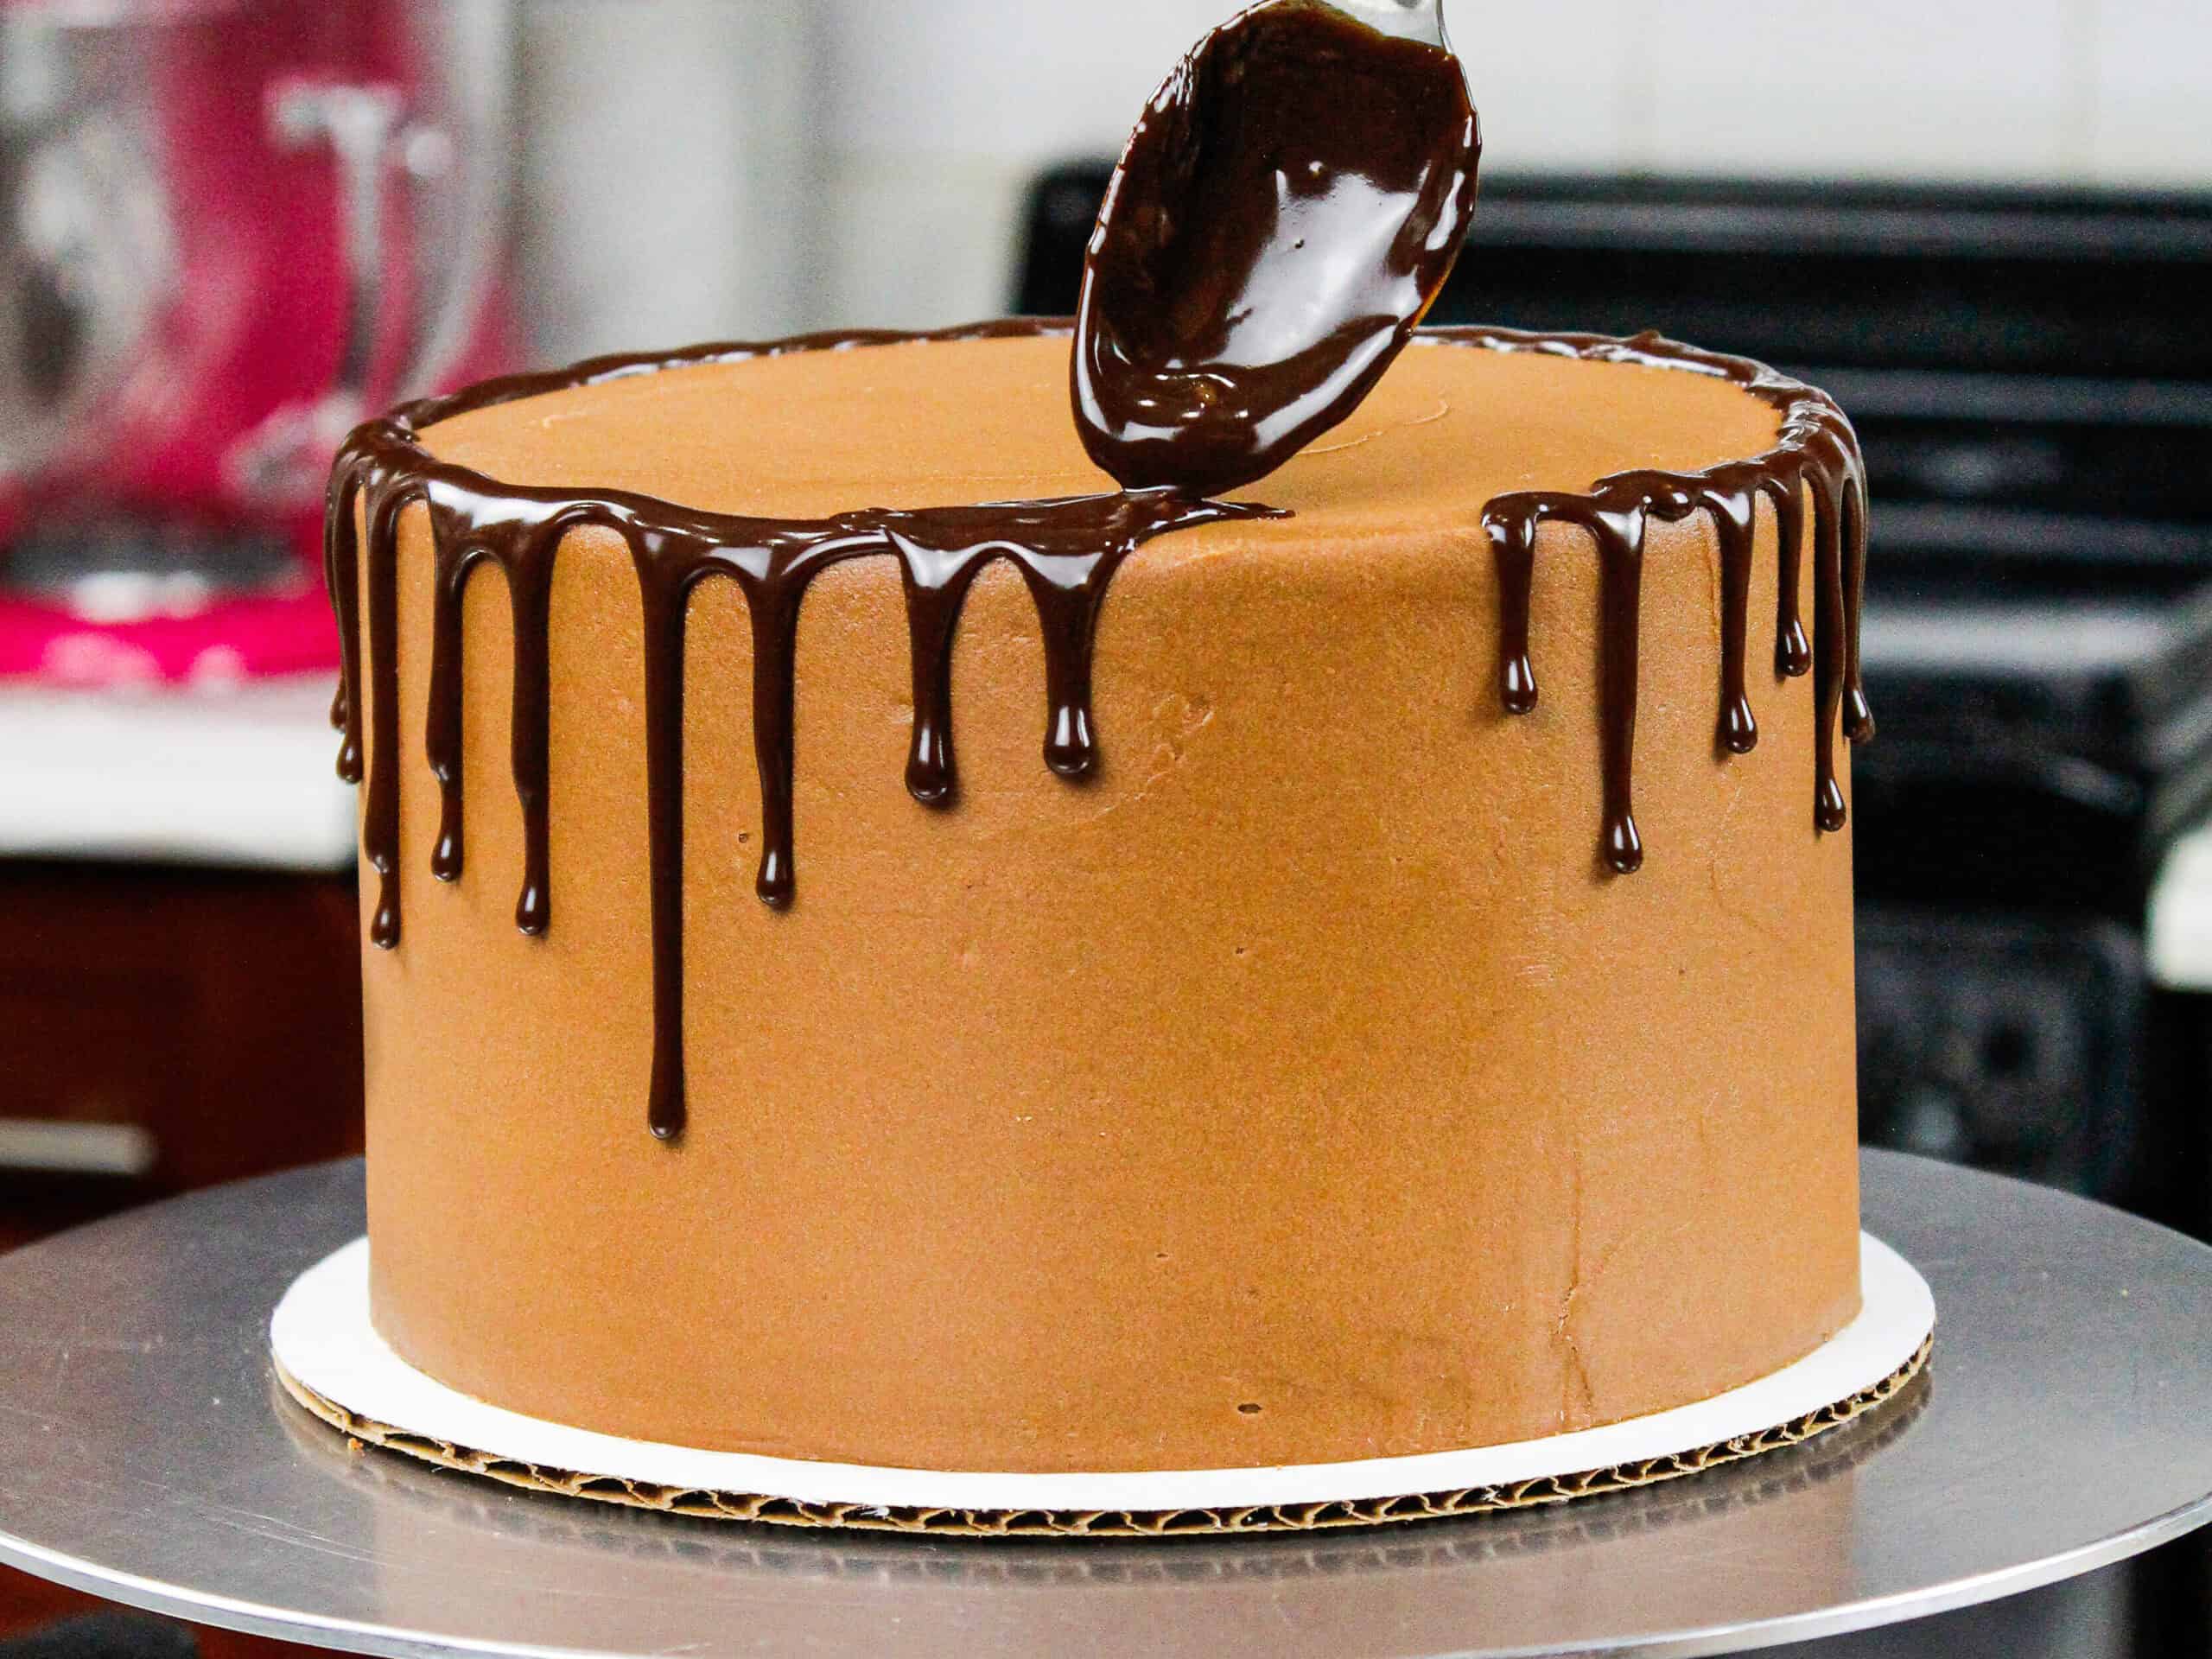
I recommend scraping the bottom of your spoon against the bowl each time you scoop up a bit of ganache.
Adding Drips Using a Squirt Bottle
The second way you can add drips to a cake is with a plastic bottle. Once the chocolate ganache is made, carefully pour it into a plastic squirt bottle.
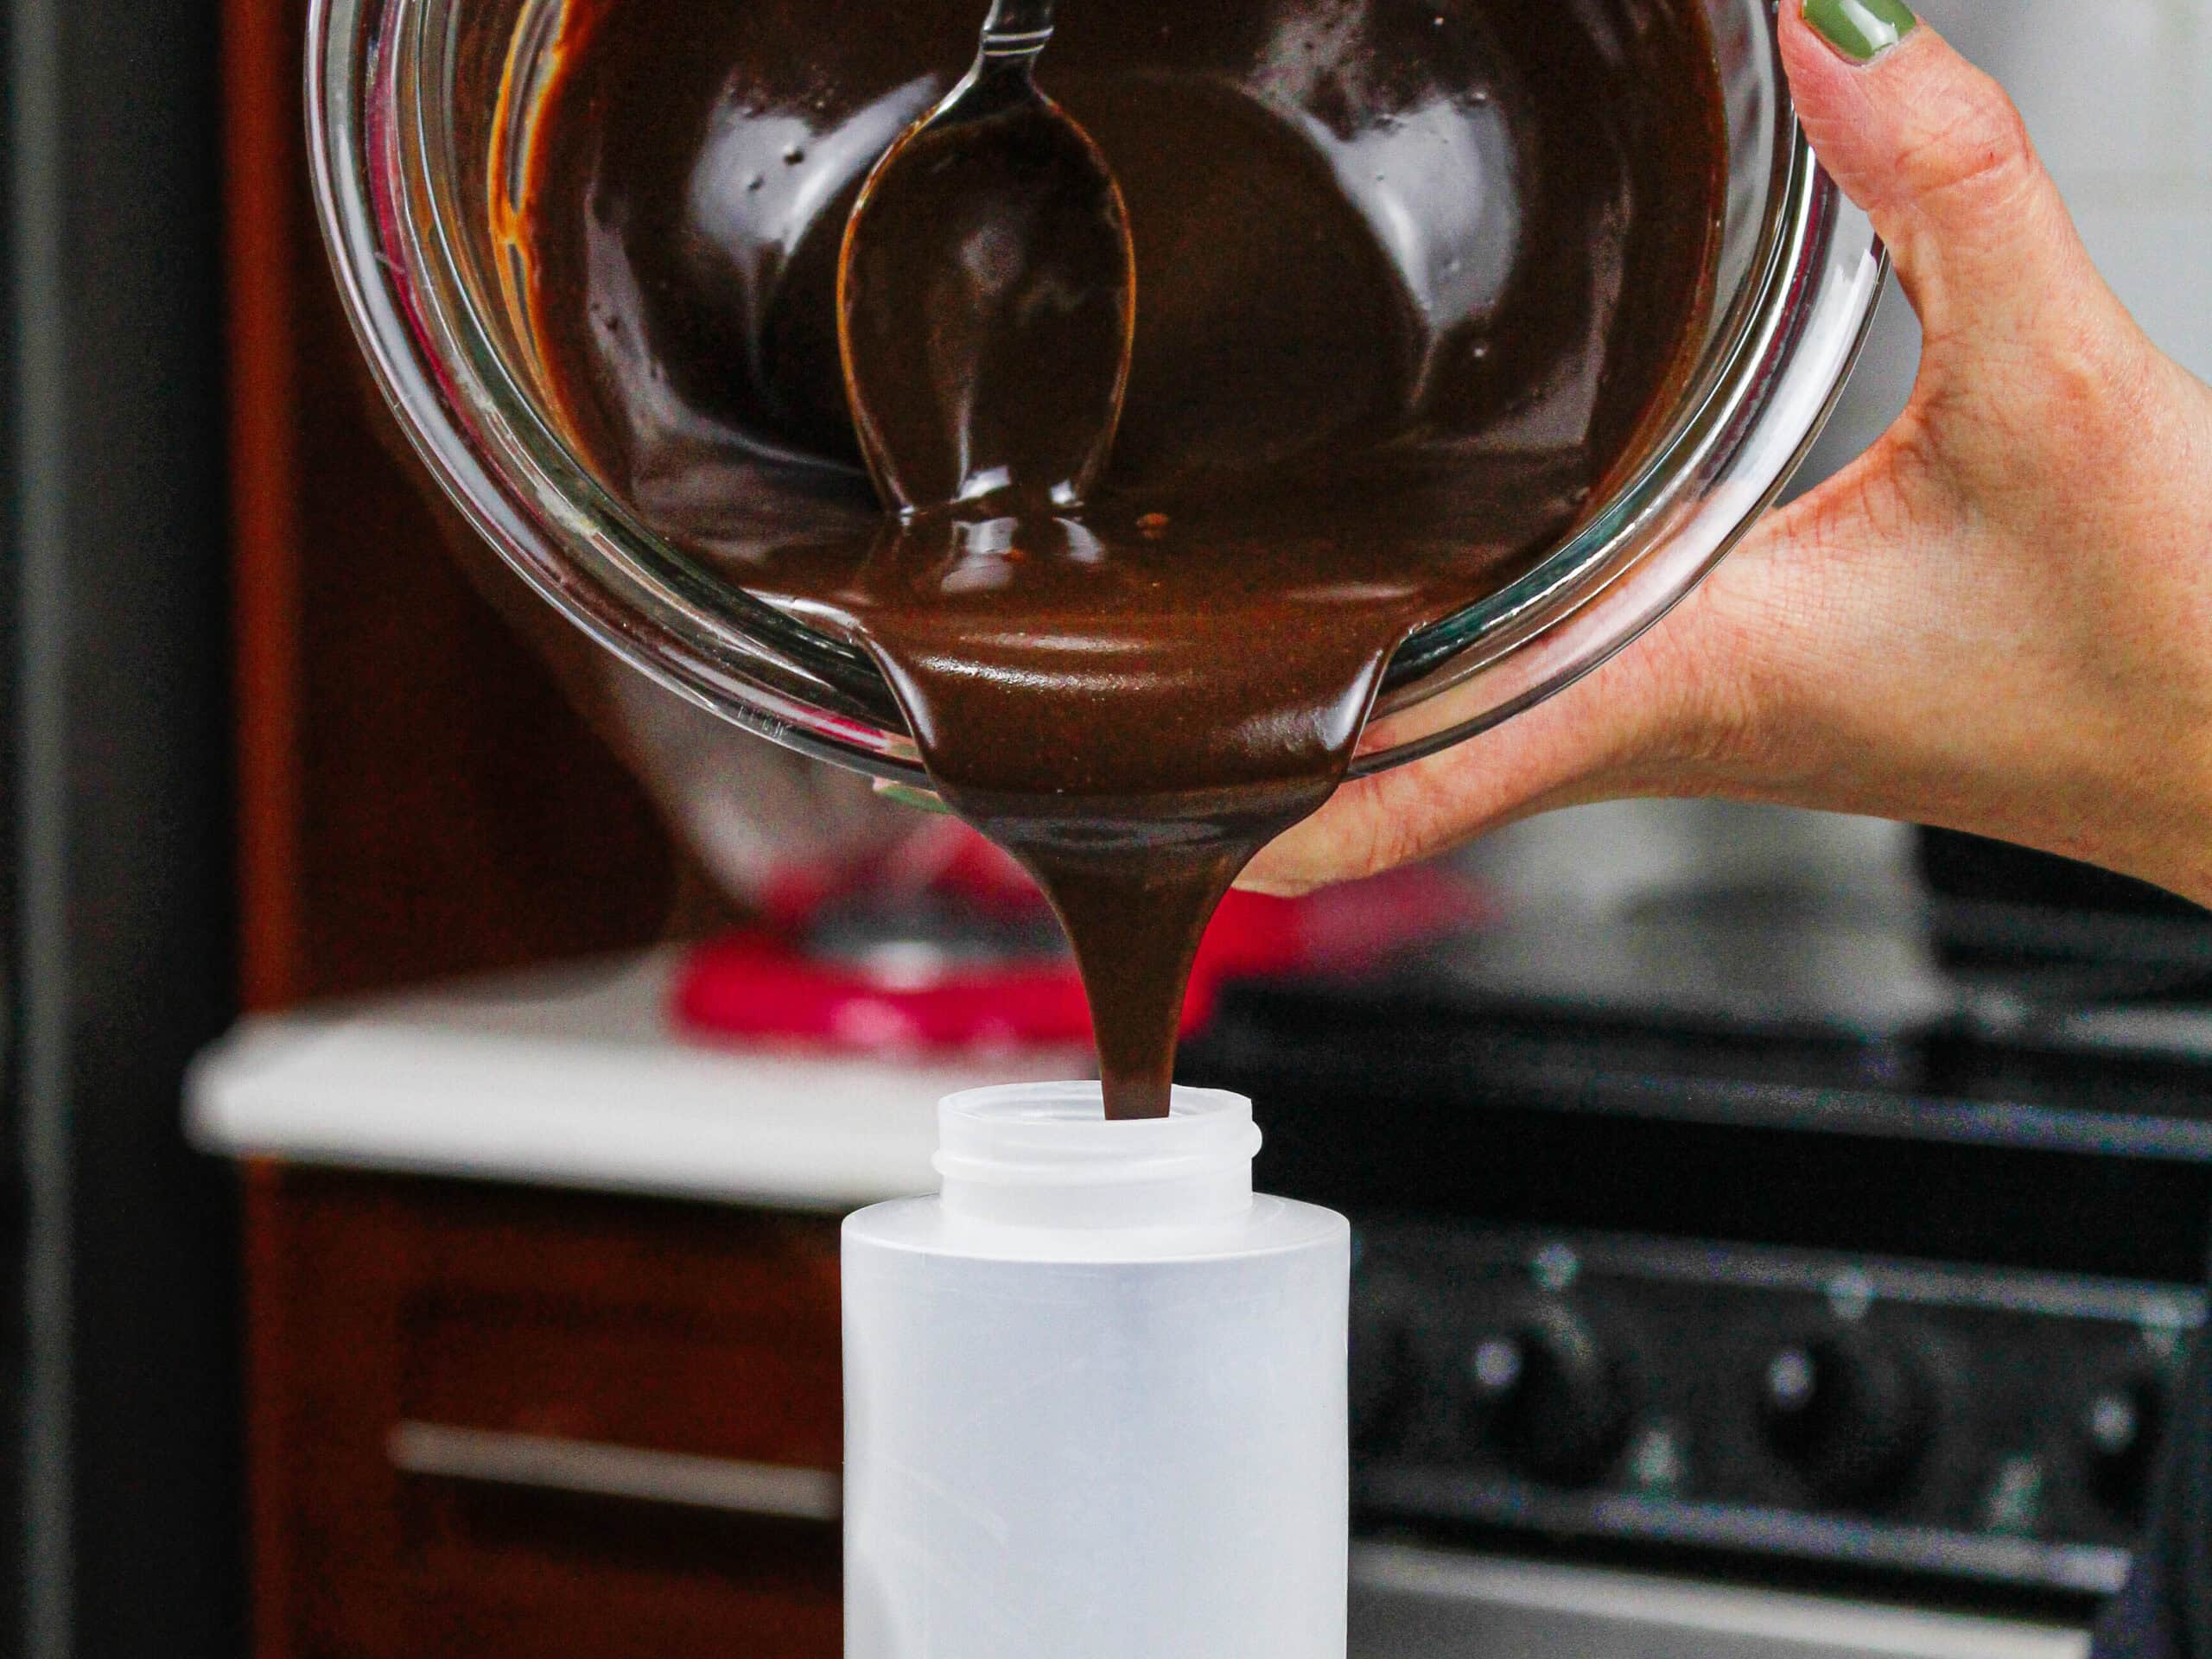
Not everyone has these on hand, but they’re easy to find online.
You can also place your ganache in a small piping bag if you don’t have a bottle.

Leftover chocolate ganache can last in the fridge for up to a month.
To reuse leftover ganache, pop the bottle into the microwave and reheat in 10-second intervals until it’s fluid again and looks like it’s the right consistency.
Tips For Adding Drips to a Cake
Whatever look you chose for your drip cake, I have two very important steps I recommend following to make sure you get the look you’re after.
Tip #1: Chill Your Cake
My first tip is to only add drips to a chilled cake! I mean THOROUGHLY chilled. Crumb coat your cake, then smooth on a second coat of buttercream and chill the cake until the frosting is firm to the touch.
This can take up to 30 minutes in the fridge, or about 10 minutes in the freezer.
Chilling your cake will help your drips stay in place once they’re added and help prevent them from running down too far.
Tip #2: Make A Test Drip
My second tip is to make a test drip. You can do this on your chilled cake, or even the side of a tall cup if you want a little extra practice.

Take your ganache and make a couple of drips on your cake. Let them flow and sit for a couple of minutes. See what they look like and how far they ran down the side of the cake.
Once you’re happy with how they look, you can add the drips to your cake.
Tips for Making the Best Chocolate Drip Cake
- Use this drip recipe on any type of chilled buttercream cake.
- Don’t add this chocolate drip to a cake covered in fondant. It can do weird things to the fondant and create a goopy mess.
- I prefer using mini semi-sweet chocolate chips, but any type of chocolate chip (or finely chopped chocolate bar) will work. See my notes above about using different types of chocolate.
- Be sure to use heavy cream or heavy whipping cream! You need the high-fat content to create the right consistency in this recipe. Milk cannot be used in place of the cream.
- To make a vegan version of this chocolate ganache drip, use coconut cream and dark chocolate.
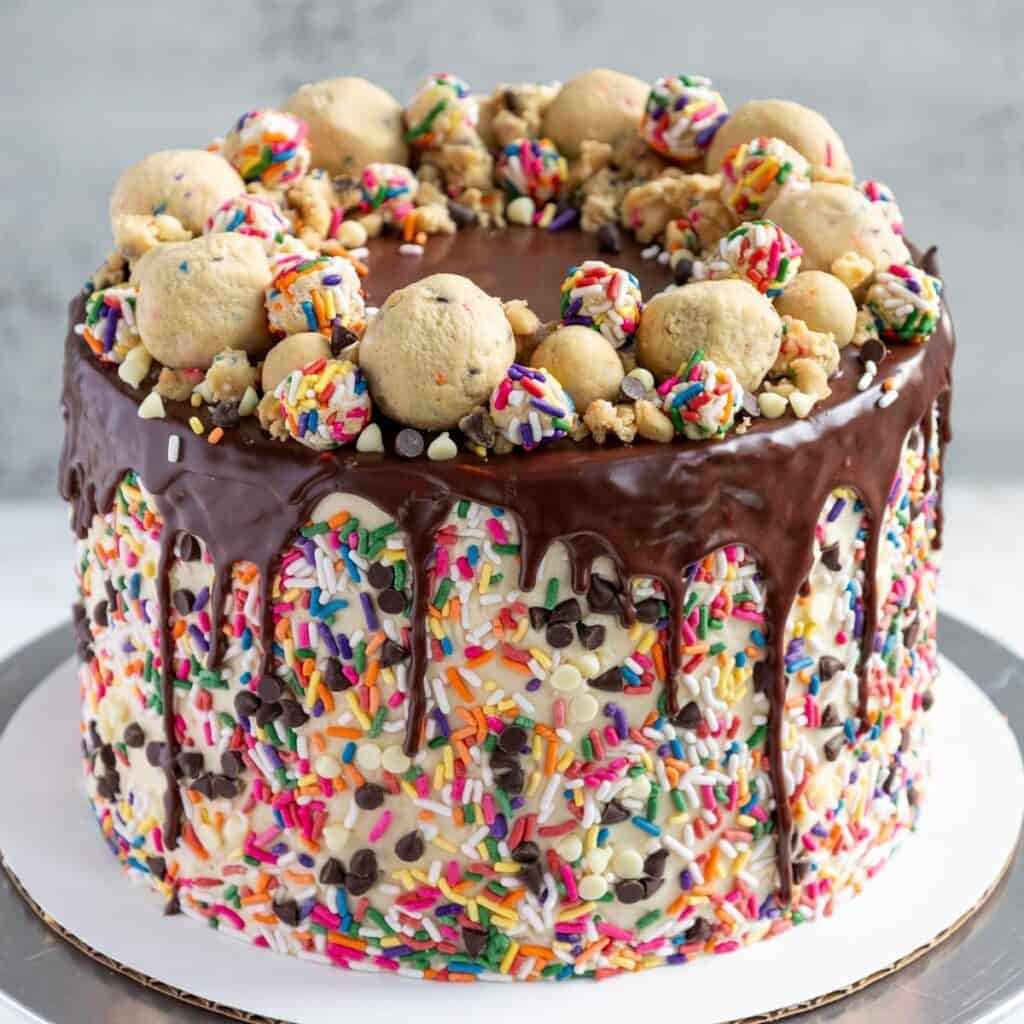
- If you want to make a cake with colorful drips, try my colorful drip cake recipe.
- If you’re more of a visual learner, check out my detailed video tutorial.
Troubleshooting
Why did my drip run all the way down the cake?
Your ganache is too warm or too thin.
- Chill the cake until the buttercream is firm to the touch before dripping.
- Let ganache cool until it’s slightly warm, not hot.
- Do a test drip first and adjust:
- Too thin: cool longer or add a bit more chocolate
- Too thick: warm for a few seconds or add a tiny splash of cream
Why are my drips too short or too thick?
Your ganache is too cool or too thick.
- Warm it in very short bursts (a few seconds at a time).
- If needed, add 1 teaspoon of cream and stir well.
Why is my ganache grainy or separated?
This usually happens if the cream wasn’t hot enough, the chocolate didn’t fully melt, or it got overheated later.
- Let the hot cream and chocolate sit 1-2 minutes, then stir slowly until smooth.
- If it looks separated, keep stirring gently. Often it comes back together.
Why does my chocolate cake taste “weird”?
This is usually from old baking powder or a strong-tasting leavener.
- Replace baking powder/soda if it’s been open a long time.
- If you’re sensitive to it, try aluminum-free baking powder.
Why is my cake crumbly when I frost it?
Very moist chocolate cakes can be delicate.
- Chill or freeze the layers briefly before stacking.
- Do a crumb coat, then chill before your final coat.
Why is my buttercream darker or thicker than yours?
Totally normal, cocoa brands vary.
- Darker cocoa = deeper color and sometimes thicker frosting.
- Add cream 1 teaspoon at a time to loosen if needed.
Frequently Asked Questions
What size cake pans are you using?
This recipe is written for three 8-inch pans.
Do I need to double the frosting for a 3-layer 8-inch cake?
Usually no, but if you want extra frosting for thick layers and swirls, make 1.5x.
Can I use a fancy chocolate (like Callebaut) for the drip?
Yes, but it may drip thinner because of higher cocoa butter. Start with the same ratio, then adjust by using slightly less cream or letting it cool longer before dripping.
Can I use the drip on whipped cream frosting?
You can if the cake is very well chilled and your ganache isn’t hot. Expect drips to run a bit farther than on buttercream.
Can I use milk instead of heavy cream?
Sadly, milk is too thin. Heavy cream (or heavy whipping cream) gives ganache the right drip consistency.
Making This Drip Cake in Advance & Storage Tips
- Make the chocolate ganache drip ahead of time or save leftovers! Once it’s made, wrap the bowl with plastic wrap or cover the top of the plastic bottle and store it in the fridge for up to a month.
- To use chilled ganache, heat the bottle or bowl in the microwave for 10-second intervals until it reaches the right consistency
- Use leftover ganache to top cupcakes, cookies, or even ice cream!
Share Your Creations with Me!
If you try this chocolate drip cake recipe, please tag me @chelsweets and use #chelsweets so that I can see your amazing creations!
And don’t forget to leave a rating and comment below.
Chocolate Drip Cake
Ingredients
Moist Chocolate Cake Recipe
- 2 cups all-purpose flour 260g
- 2 cups granulated sugar 400g
- 3/4 cup unsweetened cocoa powder, sifted 60g
- 2 tsp baking powder 8g
- 1 1/2 tsp baking soda 9g
- 1 tsp fine salt 6g
- 1 cup hot water 240g
- 1 cup full-fat sour cream, room temperature 255g
- 1/2 cup vegetable or canola oil 120g
- 2 tsp vanilla extract or vanilla bean paste 8g
- 2 large eggs, room temperature 112g
Chocolate Buttercream Frosting
- 2 cups (4 sticks) unsalted butter, room temperature 454g or 1 lb.
- 1 cup sifted, unsweetened baking cocoa 80g
- 1 tsp vanilla extract or vanilla bean paste 4g
- 1/2 tsp fine salt 3g
- 5 cups powdered sugar 625g
- 1/2 cup heavy whipping cream, room temperature 120g
- 1 1/3 cups semi-sweet chocolate chips, melted and cooled 240g
Chocolate Drip
- 1/2 cup semi-sweet chocolate chips 95g
- 1/3 cup heavy whipping cream, room temperature 80g
Instructions
Chocolate Cake Layers
- Preheat oven to 350 degrees Fahrenheit. Grease and line 3 8-inch cake pans with parchment paper. Set aside.
- Sift the dry ingredients (flour, sugar, cocoa powder, baking powder, baking soda, and salt) into a large bowl.
- Pour in the hot water, sour cream, oil, vanilla, and eggs into a separate bowl and whisk together until fully incorporated.
- Mix the wet ingredients into the dry ingredients just until they're incorporated into the batter. The batter will be on the thin side, but that’s the consistency you're after.
- Divide the batter evenly between the prepared cake pans, and bake for 23-26 minutes or until a toothpick comes out with a few moist crumbs.
- Remove the cake layers from the oven and let them cool in the pans for about 10 minutes. Gently run an offset spatula around the rim of the cake pans to loosen them, then flip them into wire racks to finish cooling.
- Once cooled, use a serrated knife to level the top of each cake layer.
Chocolate Buttercream Frosting
- Beat the butter on a medium speed for 30 seconds with a paddle attachment until smooth.
- Add in the sifted cocoa, vanilla extract, and salt, and mix on low until the ingredients are fully incorporated.
- Slowly add in the powdered sugar. Halfway through, add the heavy cream to make the frosting easier to mix.
- Mix in the cooled, melted semi-sweet chocolate on a low speed until the ingredients are fully incorporated and the desired consistency is reached. Cover with plastic wrap to prevent crusting and set aside.
Chocolate Ganache Drip
- Place the semi-sweet chocolate chips in a heatproof bowl and set aside.
- Heat the heavy cream in a heatproof bowl in the microwave for 45 seconds to 1 minute, until it's steaming and just starting to bubble. If you don’t have a microwave or prefer to use the stove top, you can heat the cream over medium heat in a pan until it begins to simmer. Remove from heat.
- Gently pour the heavy cream over the chocolate, making sure it's fully covered with cream. Allow the mixture to sit for 1-2 minutes.
- Stir slowly until the cream and chocolate are fully combined and the mixture is smooth.
- Set aside to cool for about 10 minutes, until the mixture is just slightly warm to the touch.
Assembling this Chocolate Drip Cake
- Stack and frost cake layers on a greaseproof cake board with a dab of chocolate buttercream to help stick the first cake layer to the board.
- Spread an even layer of chocolate buttercream on top of each cake layer as you stack them with a large offset spatula.
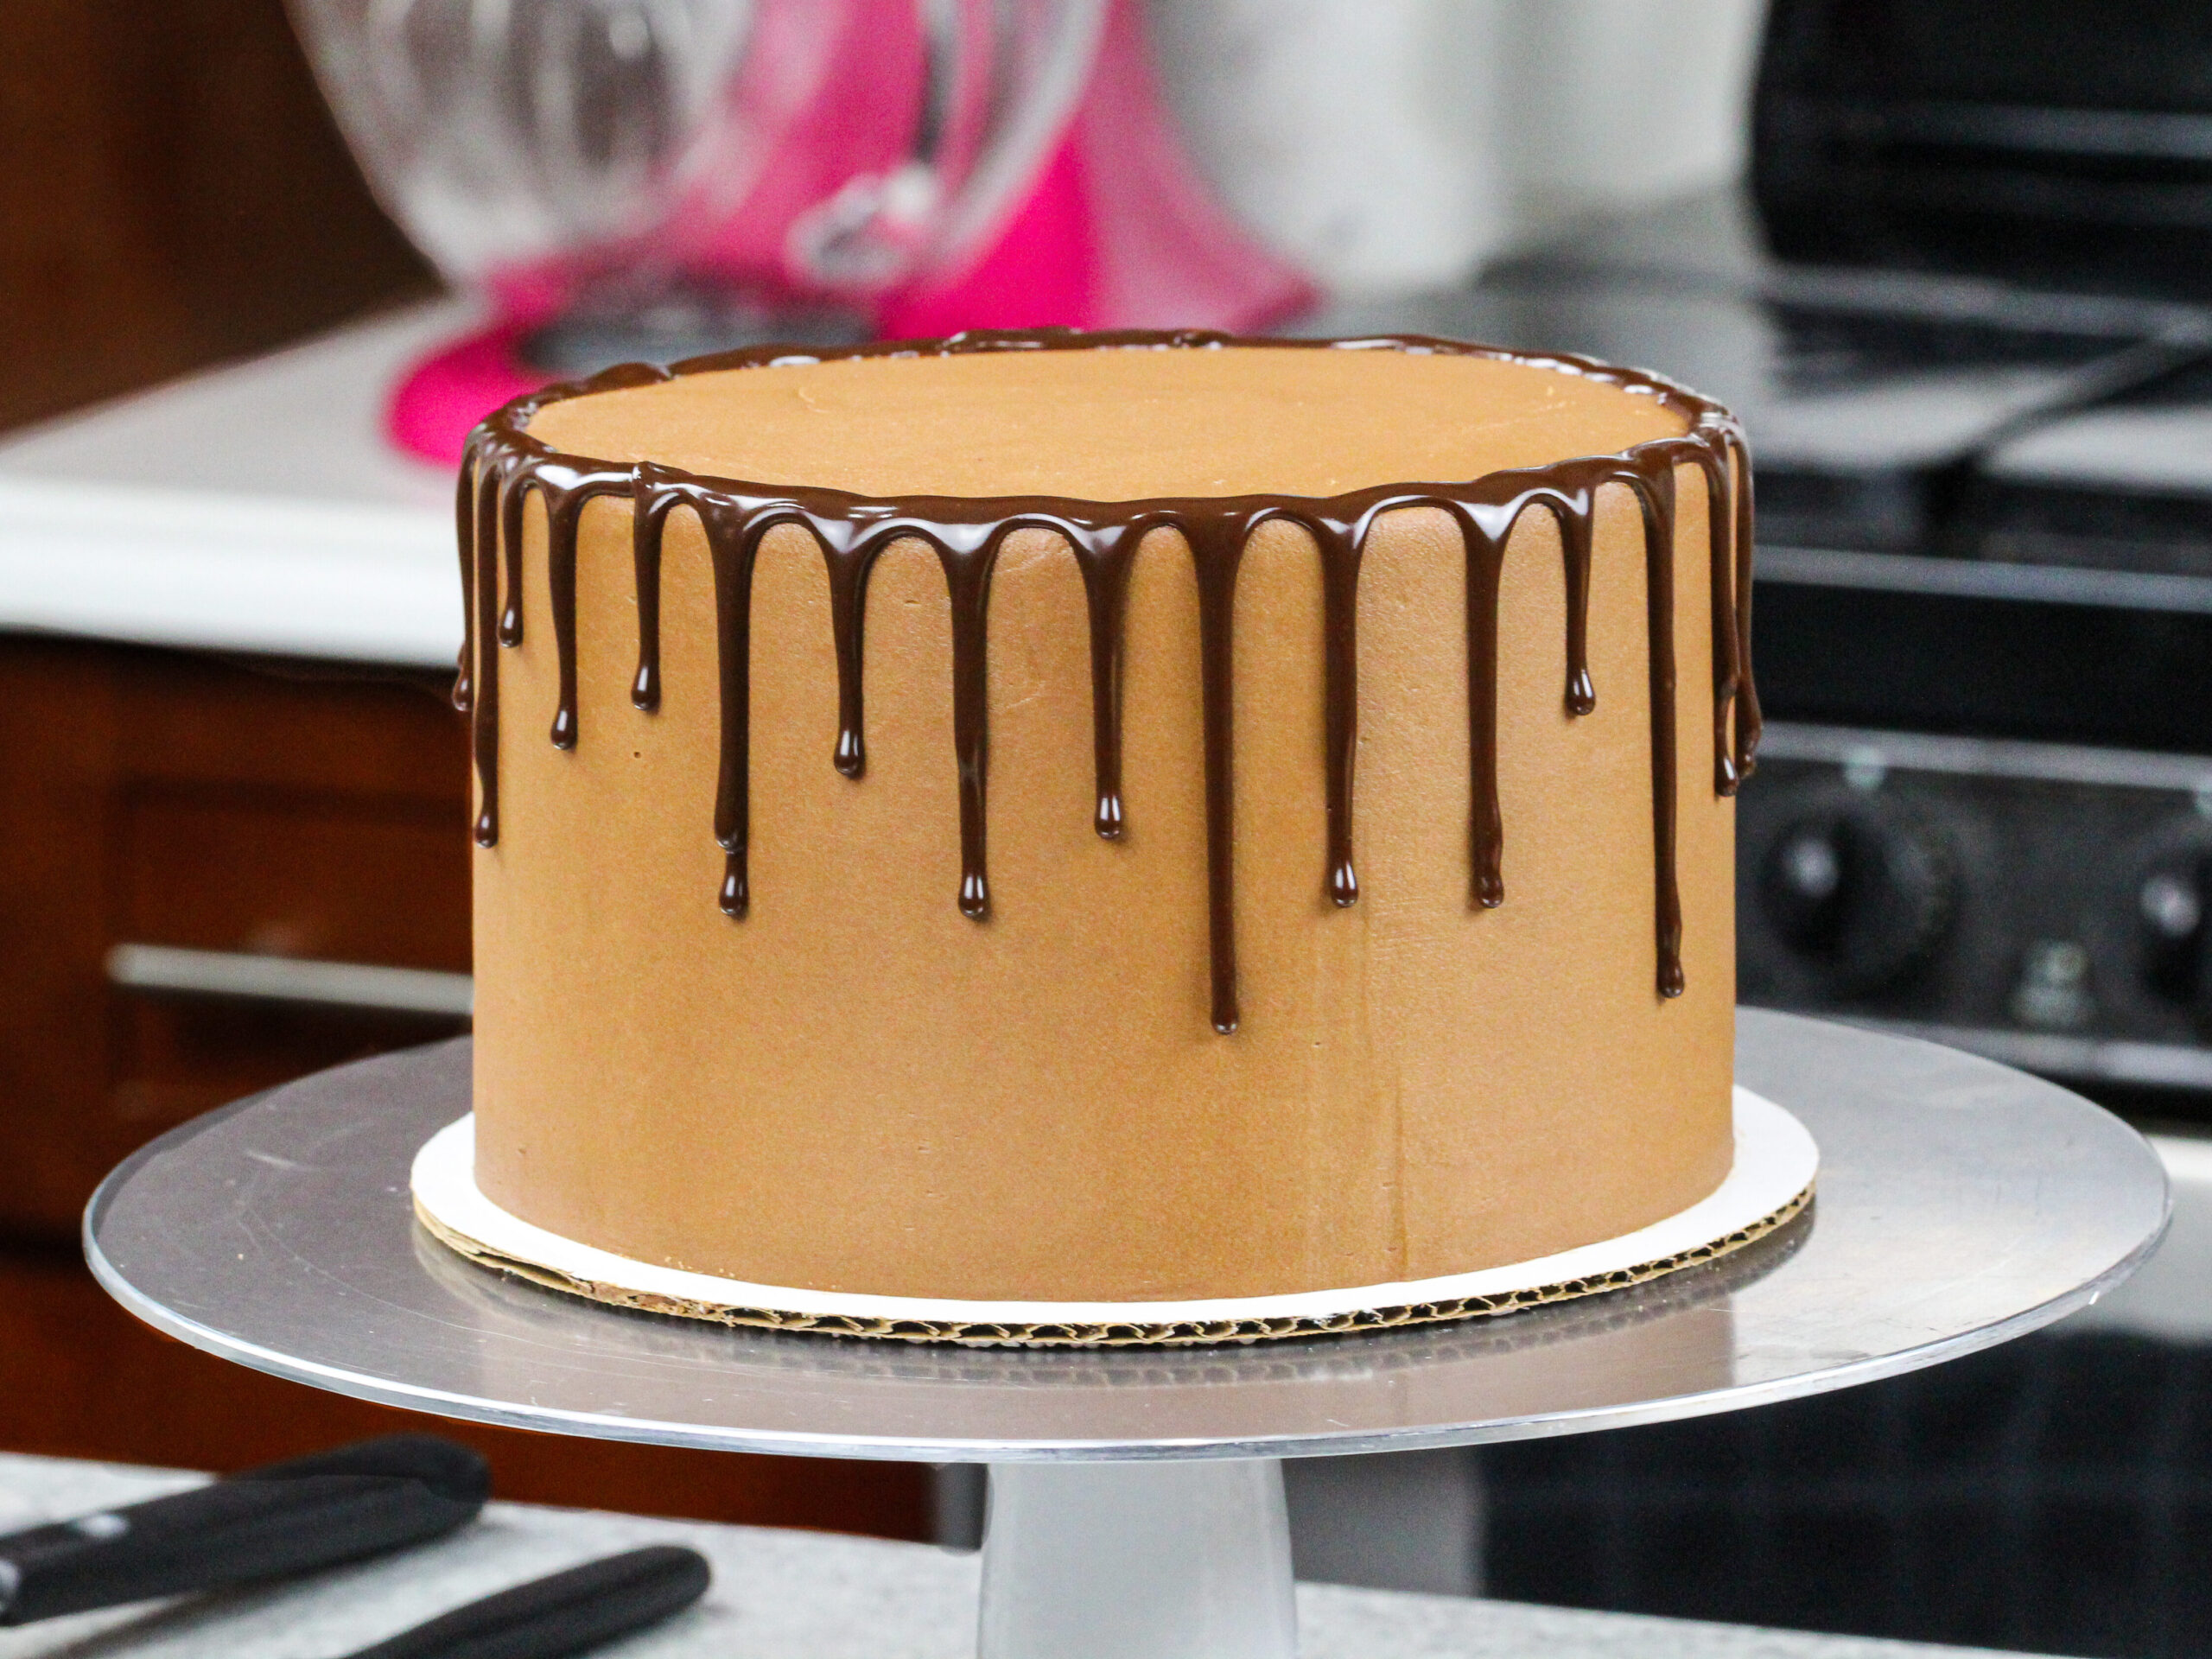
- Cover the cake in a thin coat of chocolate buttercream. Smooth using a benchscraper, then chill the cake in the fridge (20 minutes) or freezer (10 minutes) until the buttercream is firm to the touch.
- Add a second, thicker layer of chocolate buttercream to the cake, and smooth using a bench scraper. Chill the cake in the fridge (20 minutes) or freezer (10 minutes) one more time until the buttercream is firm to the touch.
- Then make a test drip with your ganache to see if it's the right consistency (more detail on that in the post above). Once it's the right consistency, add the drips to the chilled cake using a plastic squirt bottle or spoon.
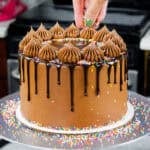
- Then decorate as desired! I like to use the leftover buttercream to pipe swirls on top of the cake with a large French piping tip (an Ateco 869).
Video
Notes
My Tips for Making the Best Chocolate Drip Cake
- Use this drip recipe on any type of buttercream cake as long as it’s chilled.
- I prefer using mini semi-sweet chocolate chips, but any type of chocolate chip (or finely chopped chocolate bar) will work. See my notes above about using different types of chocolate.
- Be sure to use heavy cream or heavy whipping cream! You need the high-fat content to create the right consistency in this recipe. Milk cannot be used in place of the cream.
- To make a vegan version of this chocolate ganache drip, use coconut cream and dark chocolate.
- If you want to make a cake with colorful drips, try my colorful drip cake recipe.
Making A Drip Cake in Advance & Storage Tips
- Make this chocolate ganache drip recipe ahead of time or save leftovers! Once it’s made, wrap the bowl with plastic wrap or cover the top of the plastic bottle and store it in the fridge for up to a month.
- To use chilled ganache, heat the bottle or bowl in the microwave for 10-second intervals until it reaches the right consistency
- Use leftover ganache to top cupcakes, cookies, or even ice cream!
- Make your cake layers in advance and freeze them. It breaks the process up and makes it more approachable.
- Make your frosting ahead of time, too, or save any leftover frosting! It can be stored in an airtight container in the fridge for up to a month, or in the freezer for up to 3 months. Be sure to give it a good stir once it thaws to get the consistency nice and smooth again.
- A frosted cake can last in the fridge for up to a week, or in the freezer for up to a month. The buttercream locks in all the moisture, keeping the cake fresh and delicious!
Nutrition
Other Recipes You Might Like:
What kind of baking powder do you use? I tried making the chocolate cake but it had a weird taste to it, I’m thinking it’s the baking powder. I was going to buy some aluminum free baking powder to see if that helps.
What size of pans the witht and depth?
how much sour cream do I add? in the instructions it says to add sour cream but it doesn’t say anything about it in the ingrediants.
Just made this cake and the flavors are great! The cake was very crumbly, wondering if I needed to do something different to make it hold together better? Also my buttercream was much darker and thicker than pictured, what adjustments should I make?
Thanks for this recipe ma it really helpful
Hi,
I can’t wait to make this cake!
What size pans do you use?
If I want to make a 3 layer 8-inch cake should I double the frosting recipe?
Thank you!
Hello ,can I use Callebaut chocolate for drip & the measurements will remain same for the drip as it has more cocoa butter in it .
Thank you
Hi Tanu,
That is a great question! If you use Callebaut you may want to use a tiny bit less heavy cream, but not much less! Maybe a Tablespoon less. You also could just let it cool a bit more before adding it around the cake to help it thicken a bit more before adding it. Either of those options should work. Happy baking!
Ca.n i use butter milk in place of sour cream?
Hi Betty,
Great question! You can use buttermilk in place of the sour cream in this recipe. Hope that helps, happy baking!
This is the best recipe!!!
I am an amateur baker and i made this cake twice in 2months (for two special occasions) and it came out PERFECT both times.
The cake is so moist, crummy, tastes AWESOME!!! Very rich and very fulfilling. Everyone was amazed at how delicious the cake was and how good a baker am I!! LOL They all thought i am a seasoned baker!! Little did they know….
ALL credit goes to Chesweets!!
THANK YOU for an awesome recipe and making me a “star baker”!!
That’s what my husband calls me now.. ?
Hi Ag,
Omg this made my whole day!! I’m so happy to hear the cake turned out perfectly both times — and on special occasions, no less! The “star baker” title is well deserved (your husband clearly knows what’s up!!). Honestly, it means the world to know my recipe could help you feel confident and celebrated in the kitchen. Thank you for sharing this and for baking with so much love <3
Would this chocolate drip work on a whipped cream frosting base (whipped heavy cream, powdered sugar, vanilla extract)?
Hi Aishah,
I haven’t tested it, but as long as the ganache wasn’t too hot and cake whipped cream cake was thoroughly chilled I think it should work!? It might run a bit farther down than it would on buttercream, but I think you could just add less and the drips would look good. If you try it, let me know how it turns out!