
Cakesicles
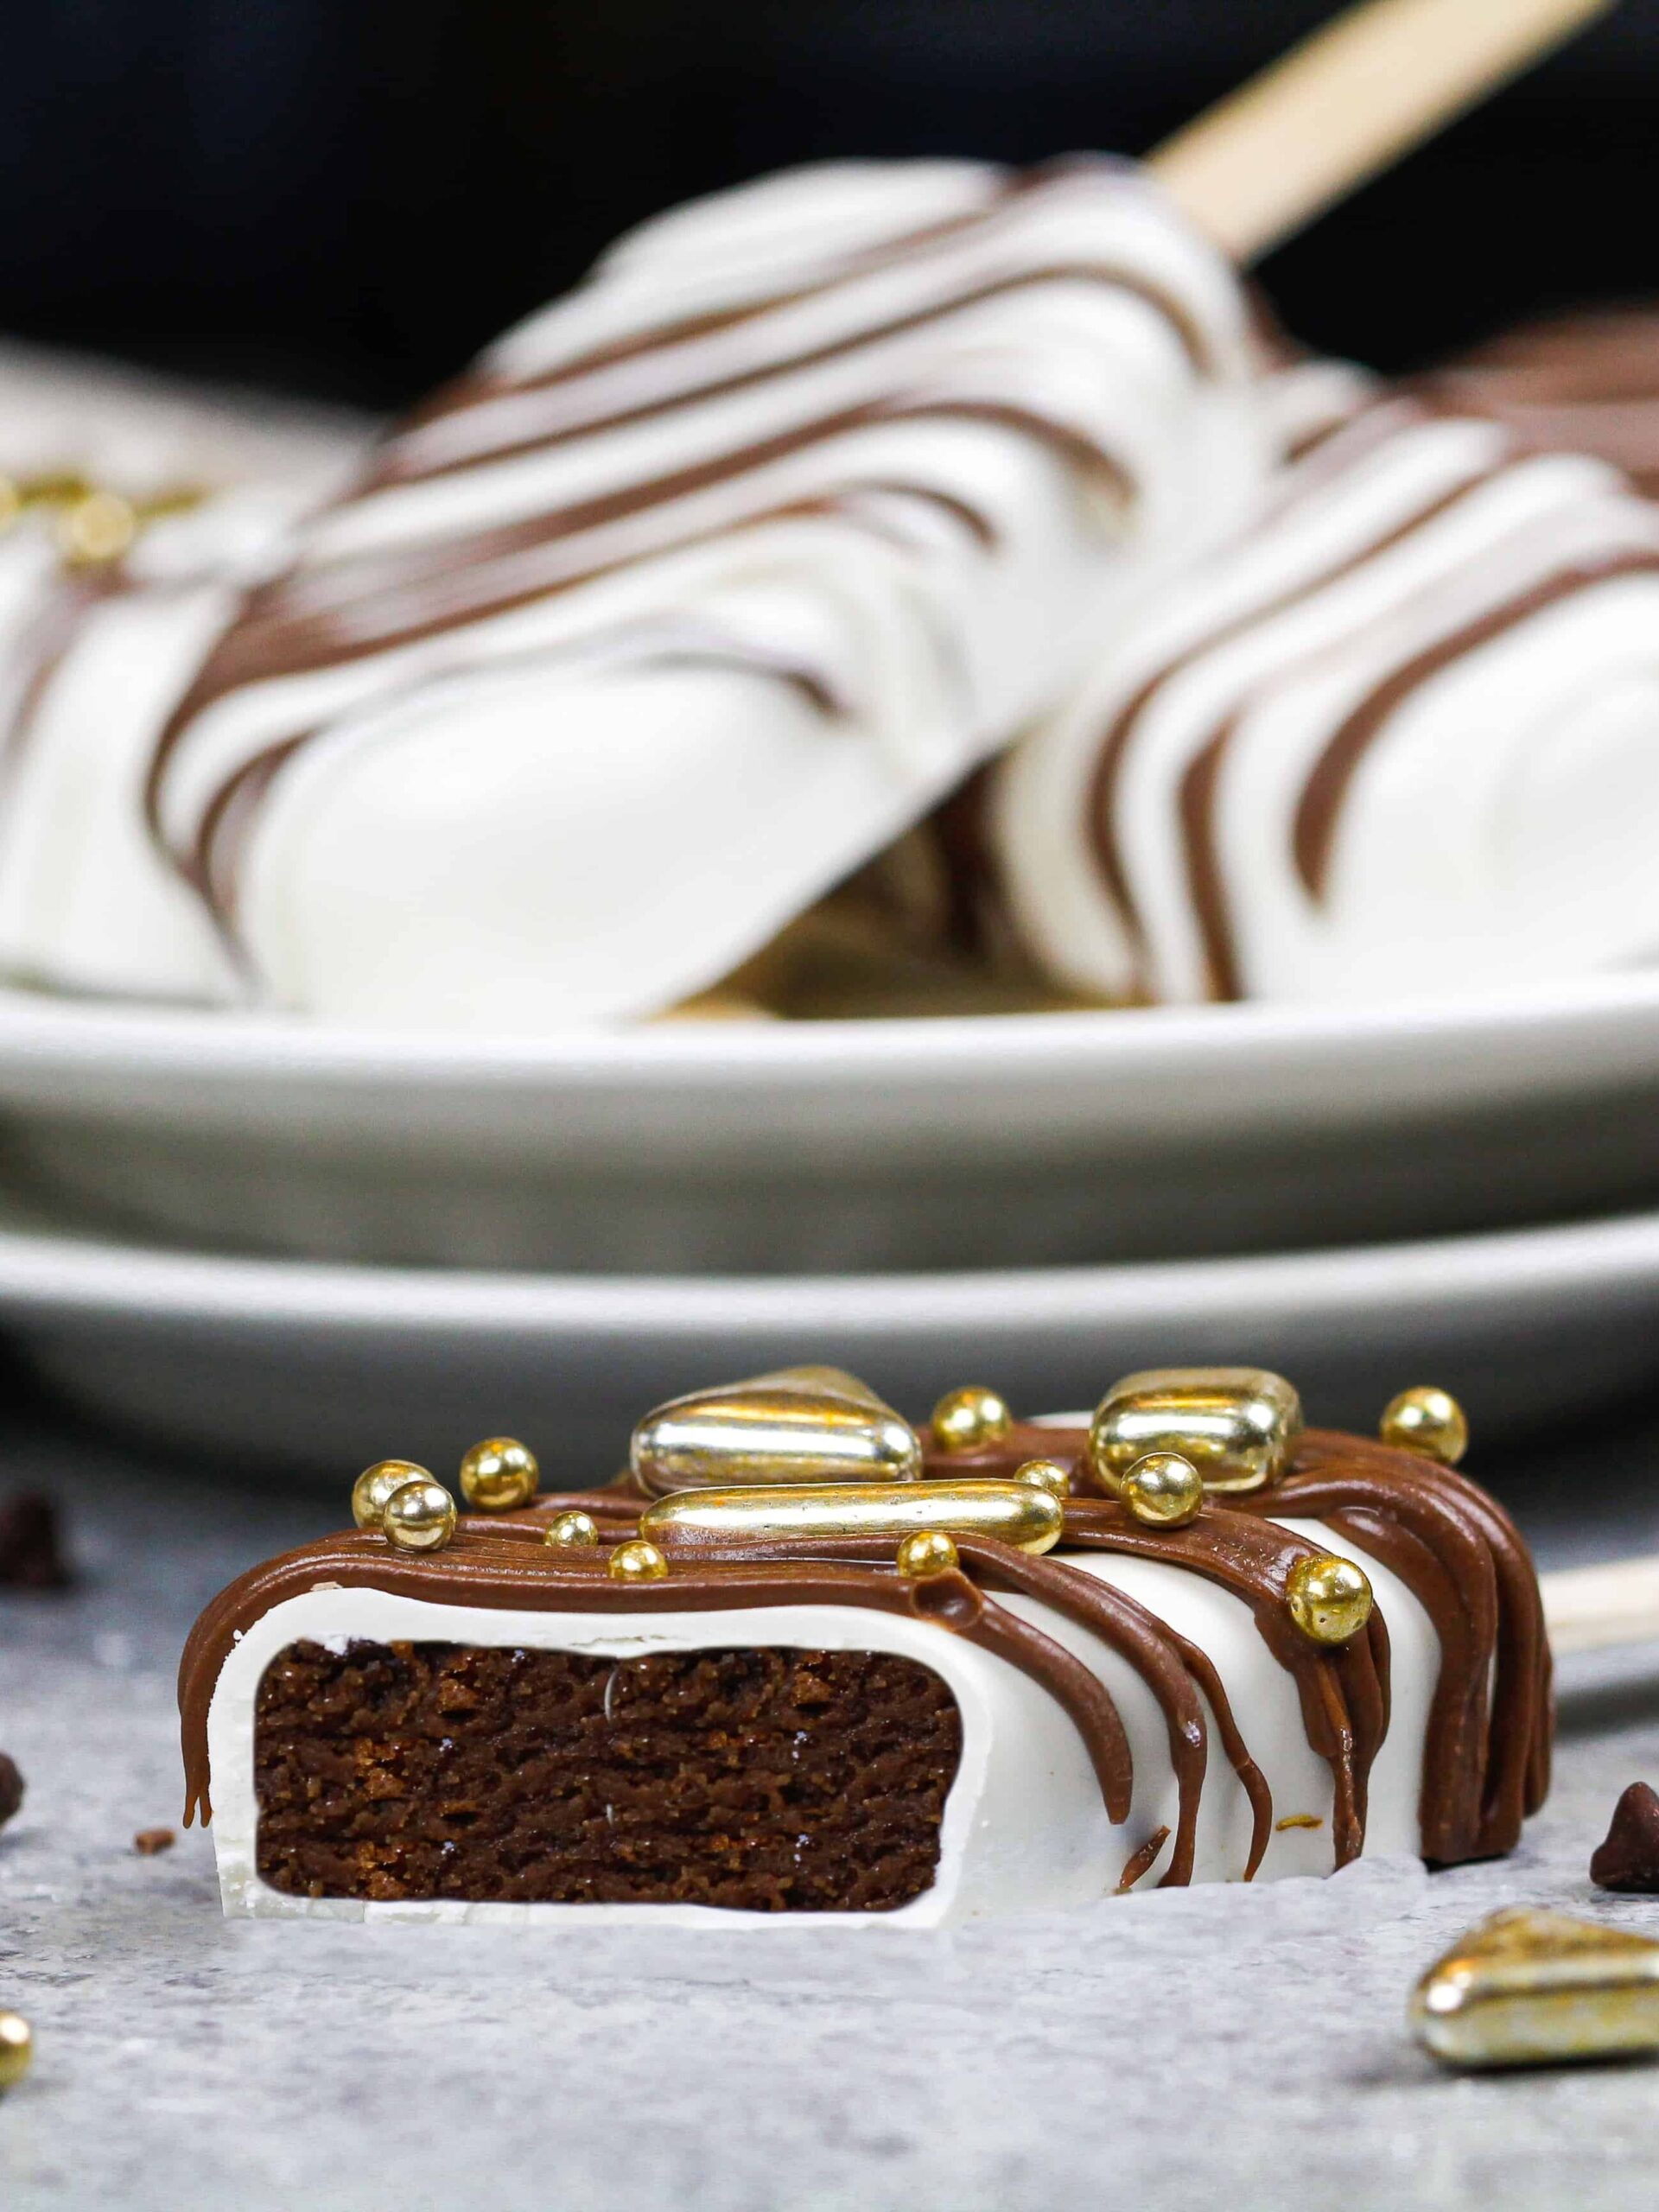
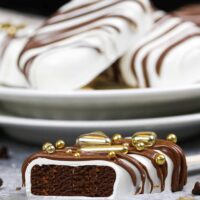
Cakesicles are one of my favorite ways to use leftover cake layers and frosting. They look like old-school popsicles but are really chocolate-covered little cakes on sticks!
While they might seem difficult to make at first glance, I promise they’re a lot easier than you might think.
What are Cakesicles?
Cakesicles are kind of like a larger cousin of cake pops, except they’re way easier to make. I also think they’re a lot more satisfying to eat.
They’re made by tempering chocolate in a microwave, painting it into a silicone mold, and filling it with a mixture of cake and frosting.
Because you’re using a silicone mold, there’s no need to shape or roll the filling like when you make cake pops. The silicone mold and chocolate coating guarantee your cakesicles will have a perfect shape.
Can I Use Candy Melts to Make Cakesicles?
While I highly recommend using good-quality chocolate, you can use candy melts to make these cakesicles.
The biggest difference when using candy melts instead of chocolate is that you don’t need to worry about heating your candy melts a certain way or to a certain temperature.
They’re made with palm oil instead of cocoa butter, so they don’t need to be tempered and will set firmly as they cool, no matter what.
All you have to do is melt them at a medium-high heat (power level 7 out of 10) in 15-second intervals, stirring between each trip to the microwave. Repeat until they’re fully melted and you’re good to go!
Another positive about using candy melts is that they’re super white in color. If you want to make bright white cakesicles, white candy melts work great.
The Best Way to Make Cakesicles
Learn everything you need to know about how to make cakesicles / cake popsicles like a pro below!
I’ve tried a lot of different methods, and making them this way is definitely the easiest and best way, in my opinion.
This step-by-step recipe and video tutorial show exactly how to make gorgeous & delicious cakesicles.
Step 1: Melt Your Chocolate or Candy Melts
Place your finely chopped chocolate (white, milk, semi-sweet, or dark) or candy melts in a large heatproof bowl.
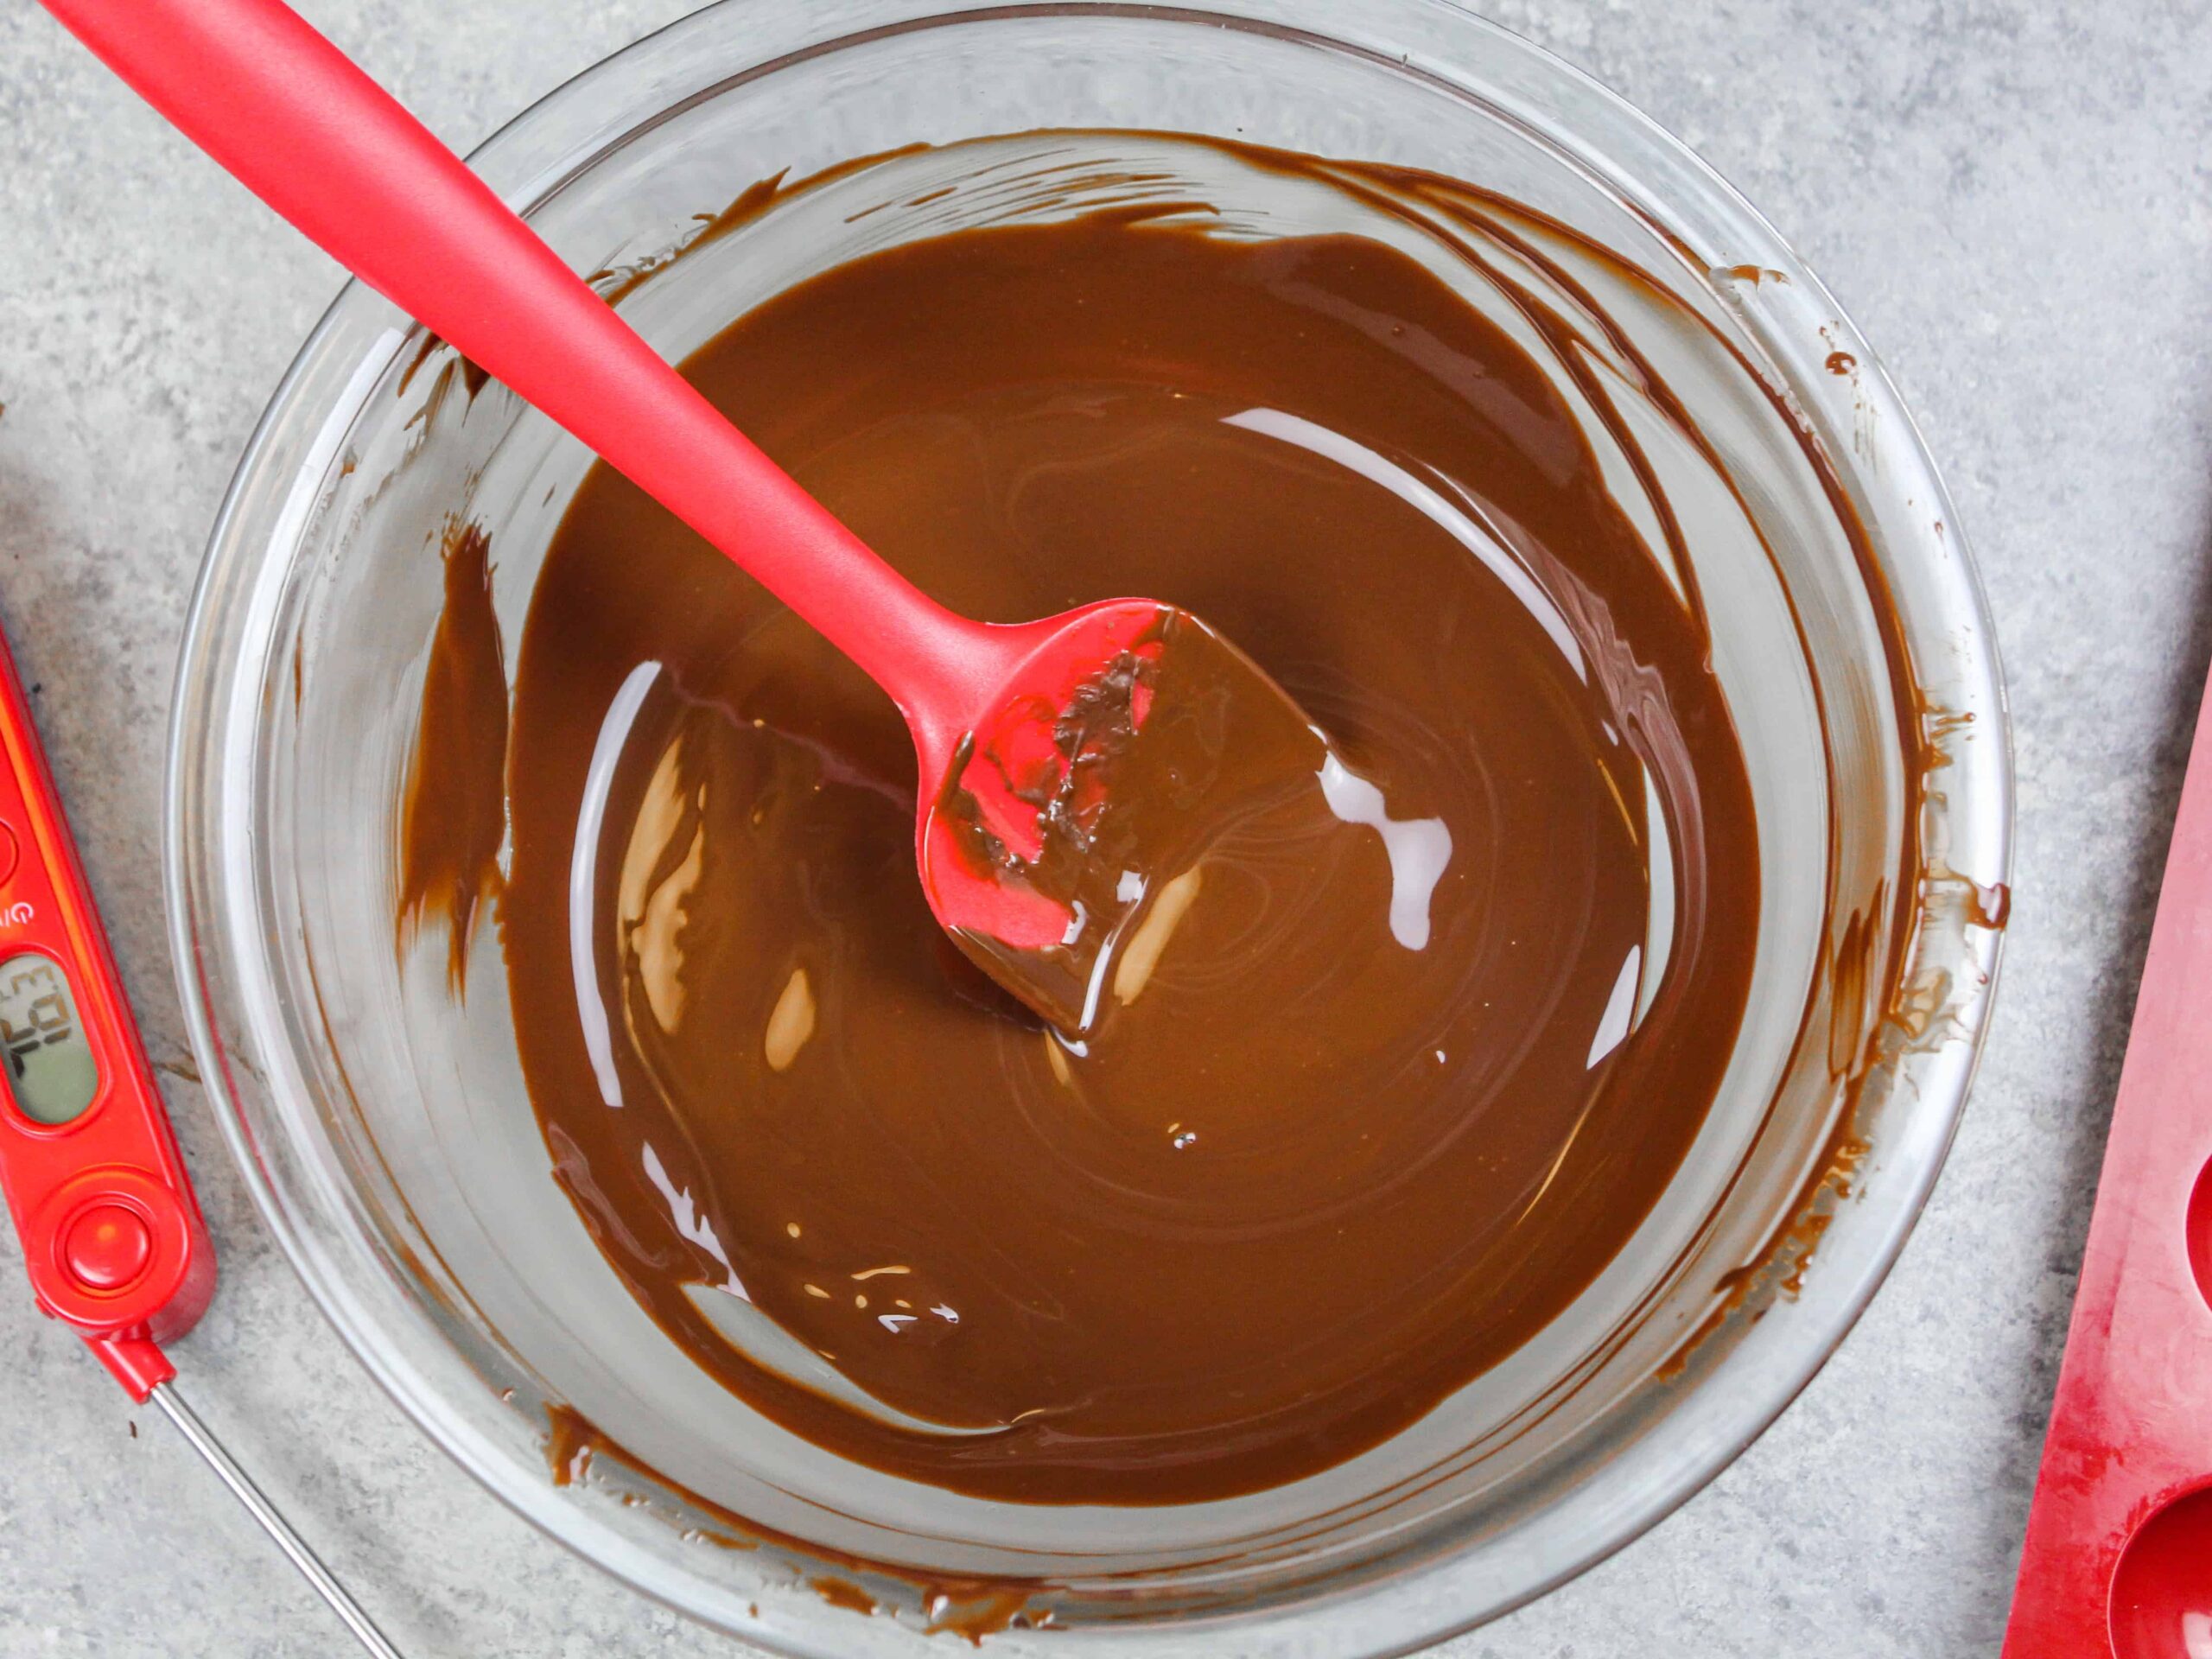
Heat for 30 seconds at a medium-high heat (I do a power level 7 out of 10), then remove from the microwave and stir the chocolate.
If you don’t have a microwave, you can also use a double boiler.
It won’t be melted much yet, but this helps make sure the chocolate is evenly heated and that certain areas don’t overheat/overcook.
Heat for an additional 15 seconds on medium-high power and stir again.
If you’re using chocolate, check the temperature of the chocolate with your food thermometer between intervals and make sure it doesn’t go above 90 F / 32 C.
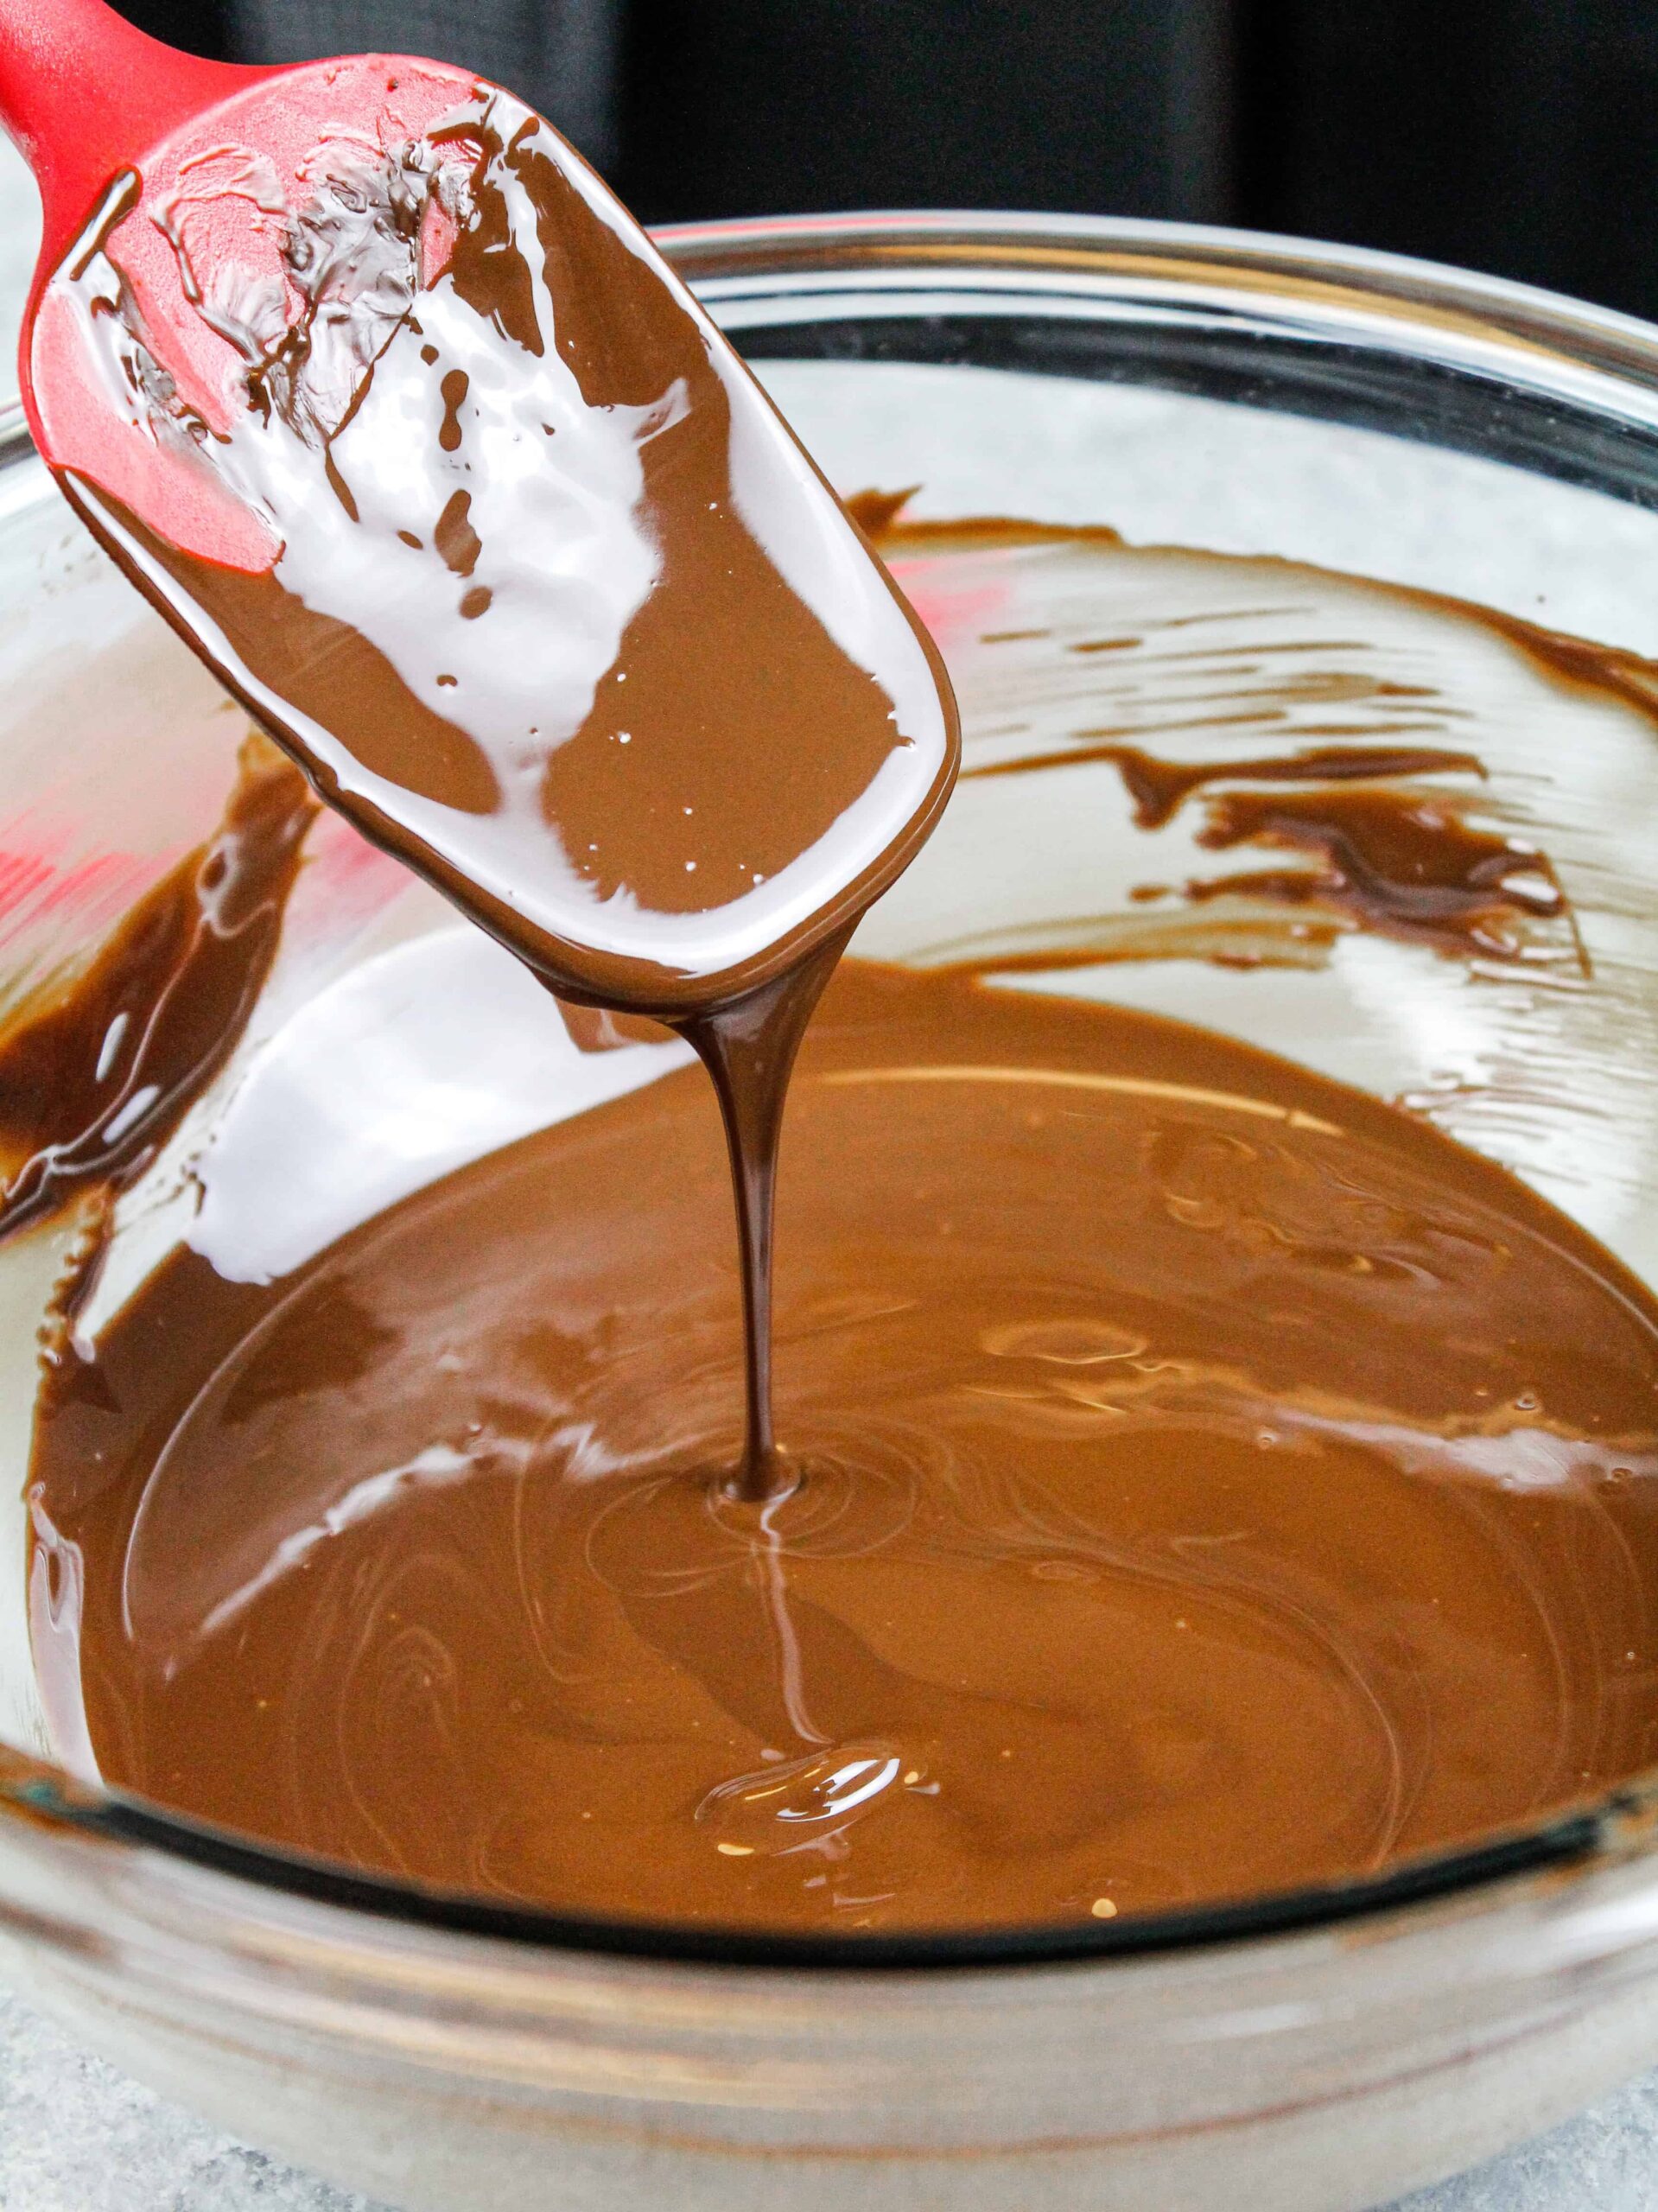
Repeat until the chocolate is mostly (but not fully) melted. Let it sit for a minute, then give the chocolate one more stir to make sure it’s nice and smooth.
Step #2: Paint Your Silicone Mold with Melted Chocolate
Use a clean / food-safe paint brush to brush an even layer of chocolate all around the mold.
Quickly insert a popsicle stick in and out of the mold to keep the opening free of chocolate.
Chill the mold in the fridge (or freezer if you’re using candy melts) for about 3 minutes or until the chocolate is firm to the touch.
Paint on a second layer of melted chocolate, being sure to add a little extra around the rim of each mold. Reinsert the popsicle stick again and remove.
The extra layer of chocolate will make the cakesicles easier to remove from the silicone mold and help prevent them from breaking or cracking.
Chill in the fridge or freezer again until the chocolate has set.
Step #3: Fill and Seal Your Cakesicles
Fill each cavity with about 1 Tbsp of cake mixture. Press it down to make sure there are no air bubbles.
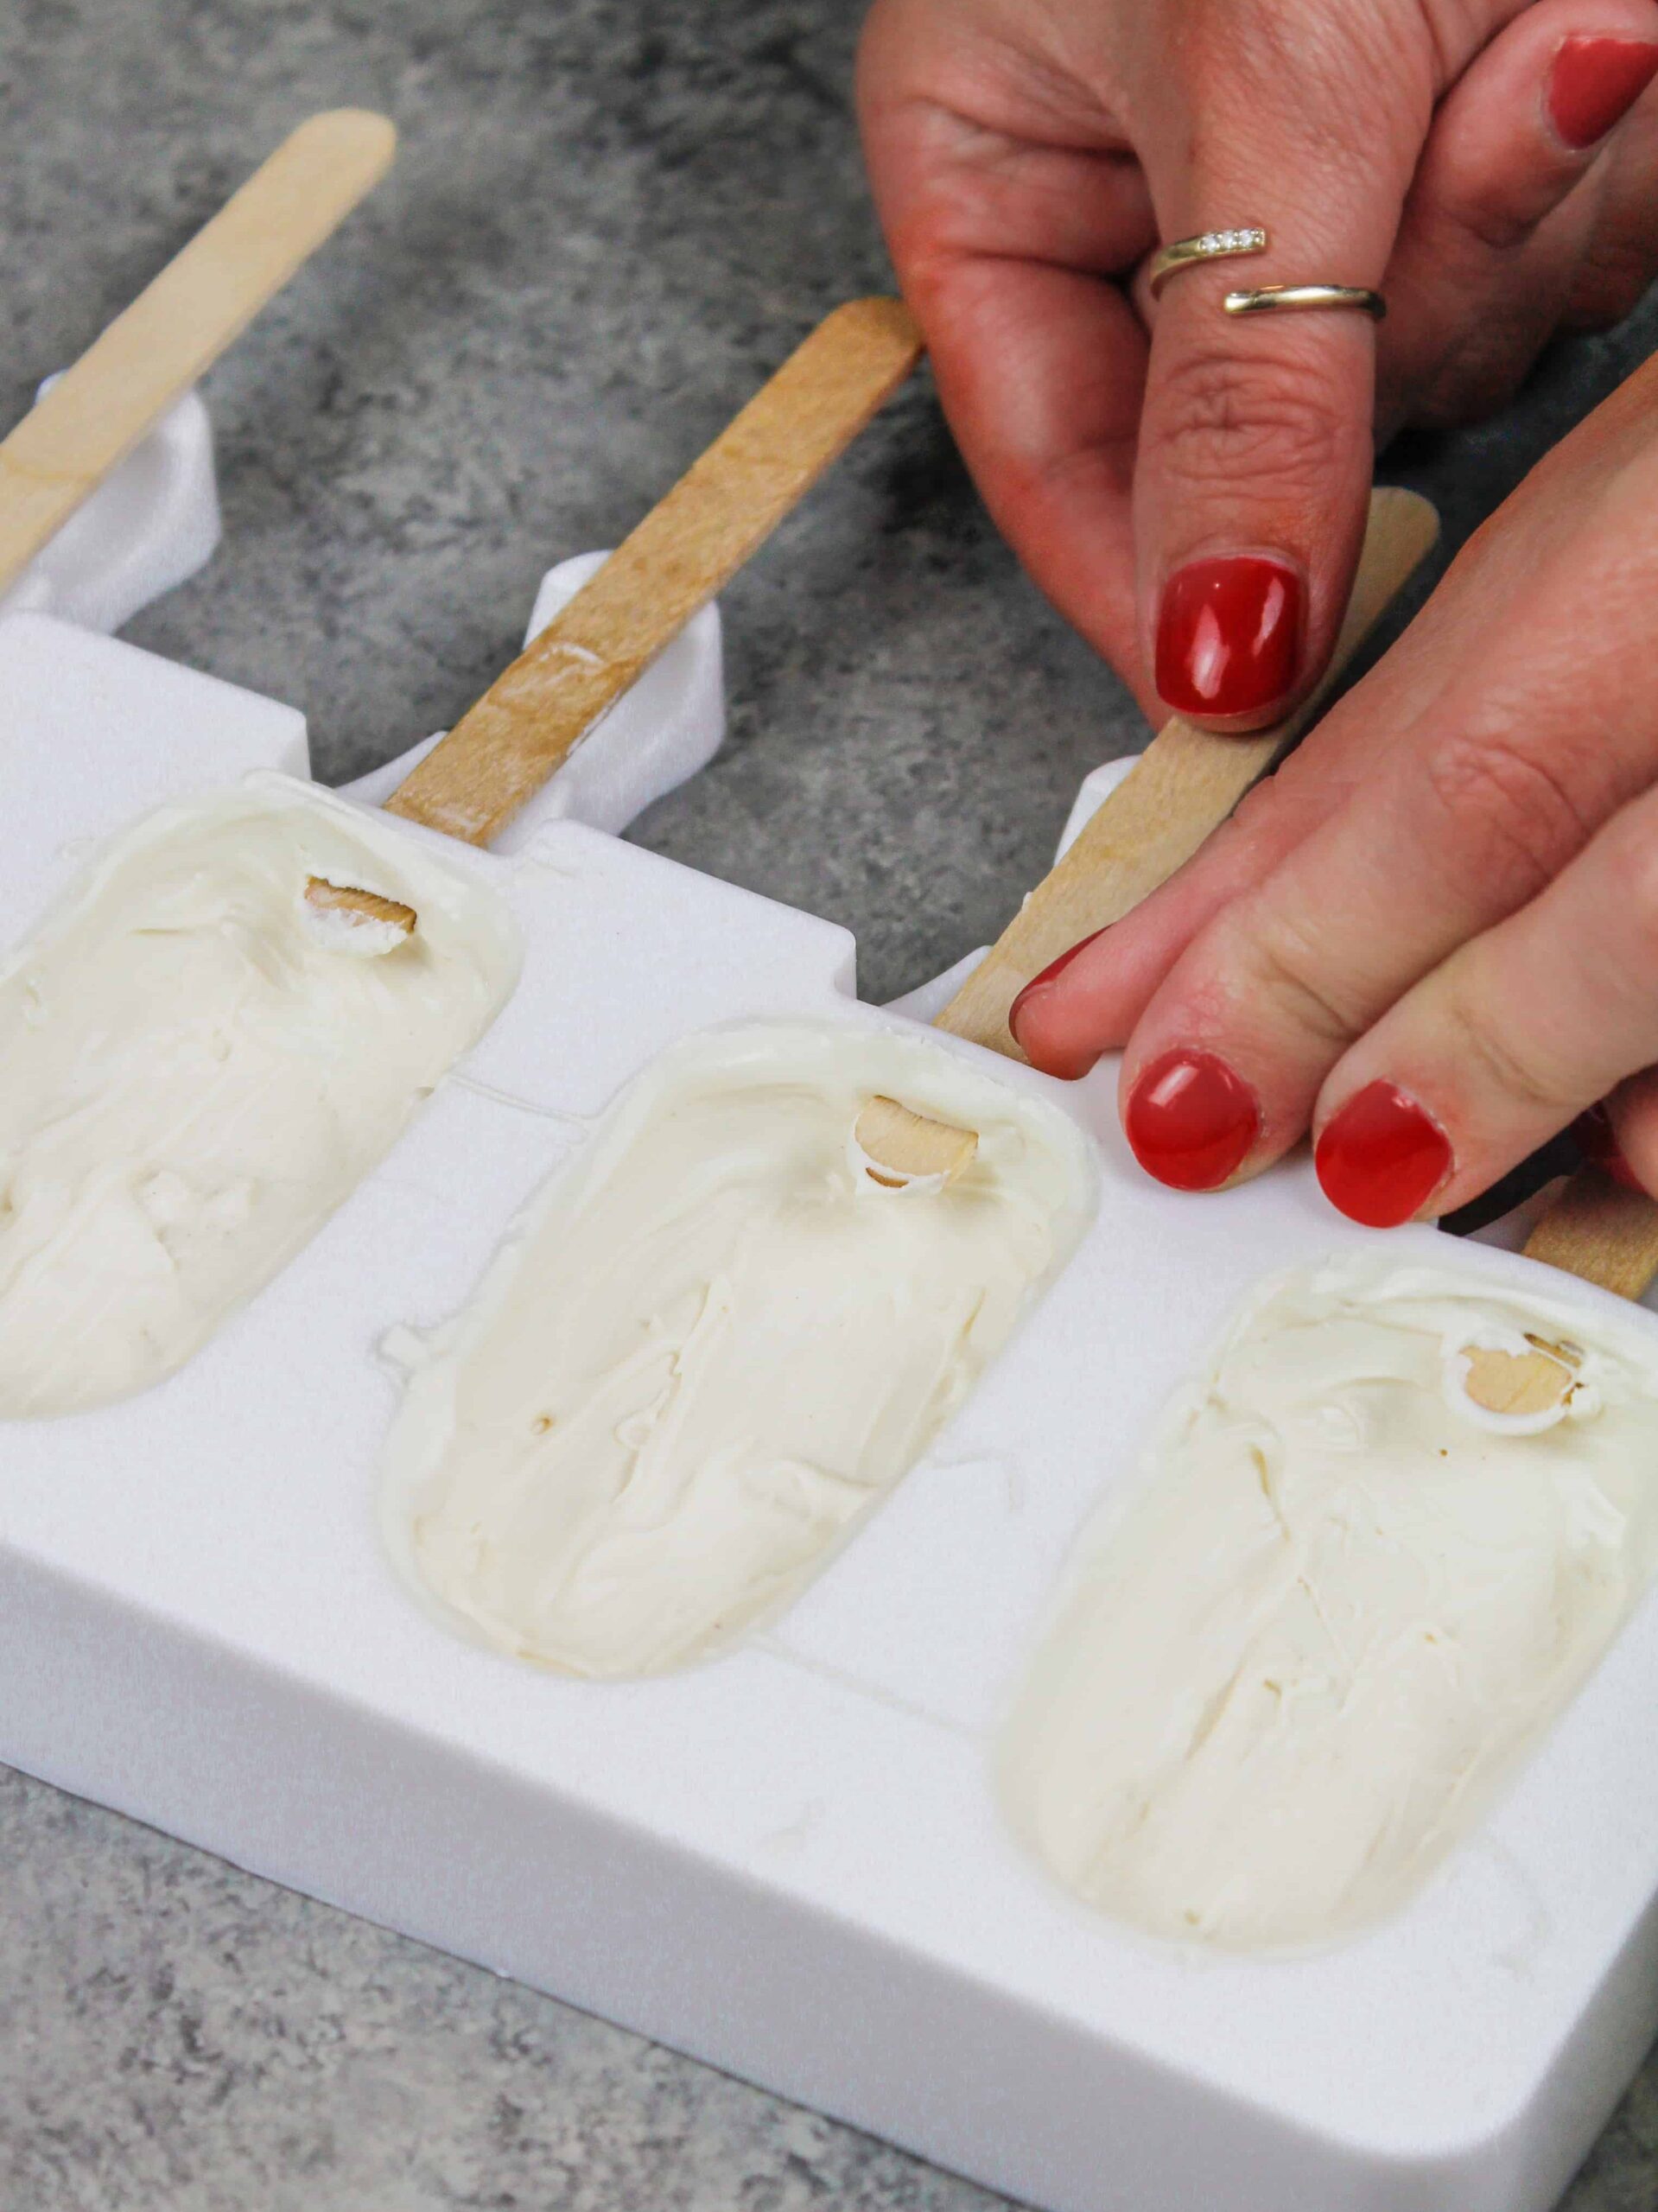
Insert the popsicle sticks into the molds, then top each mold with about 1 Tbsp of additional chocolate.
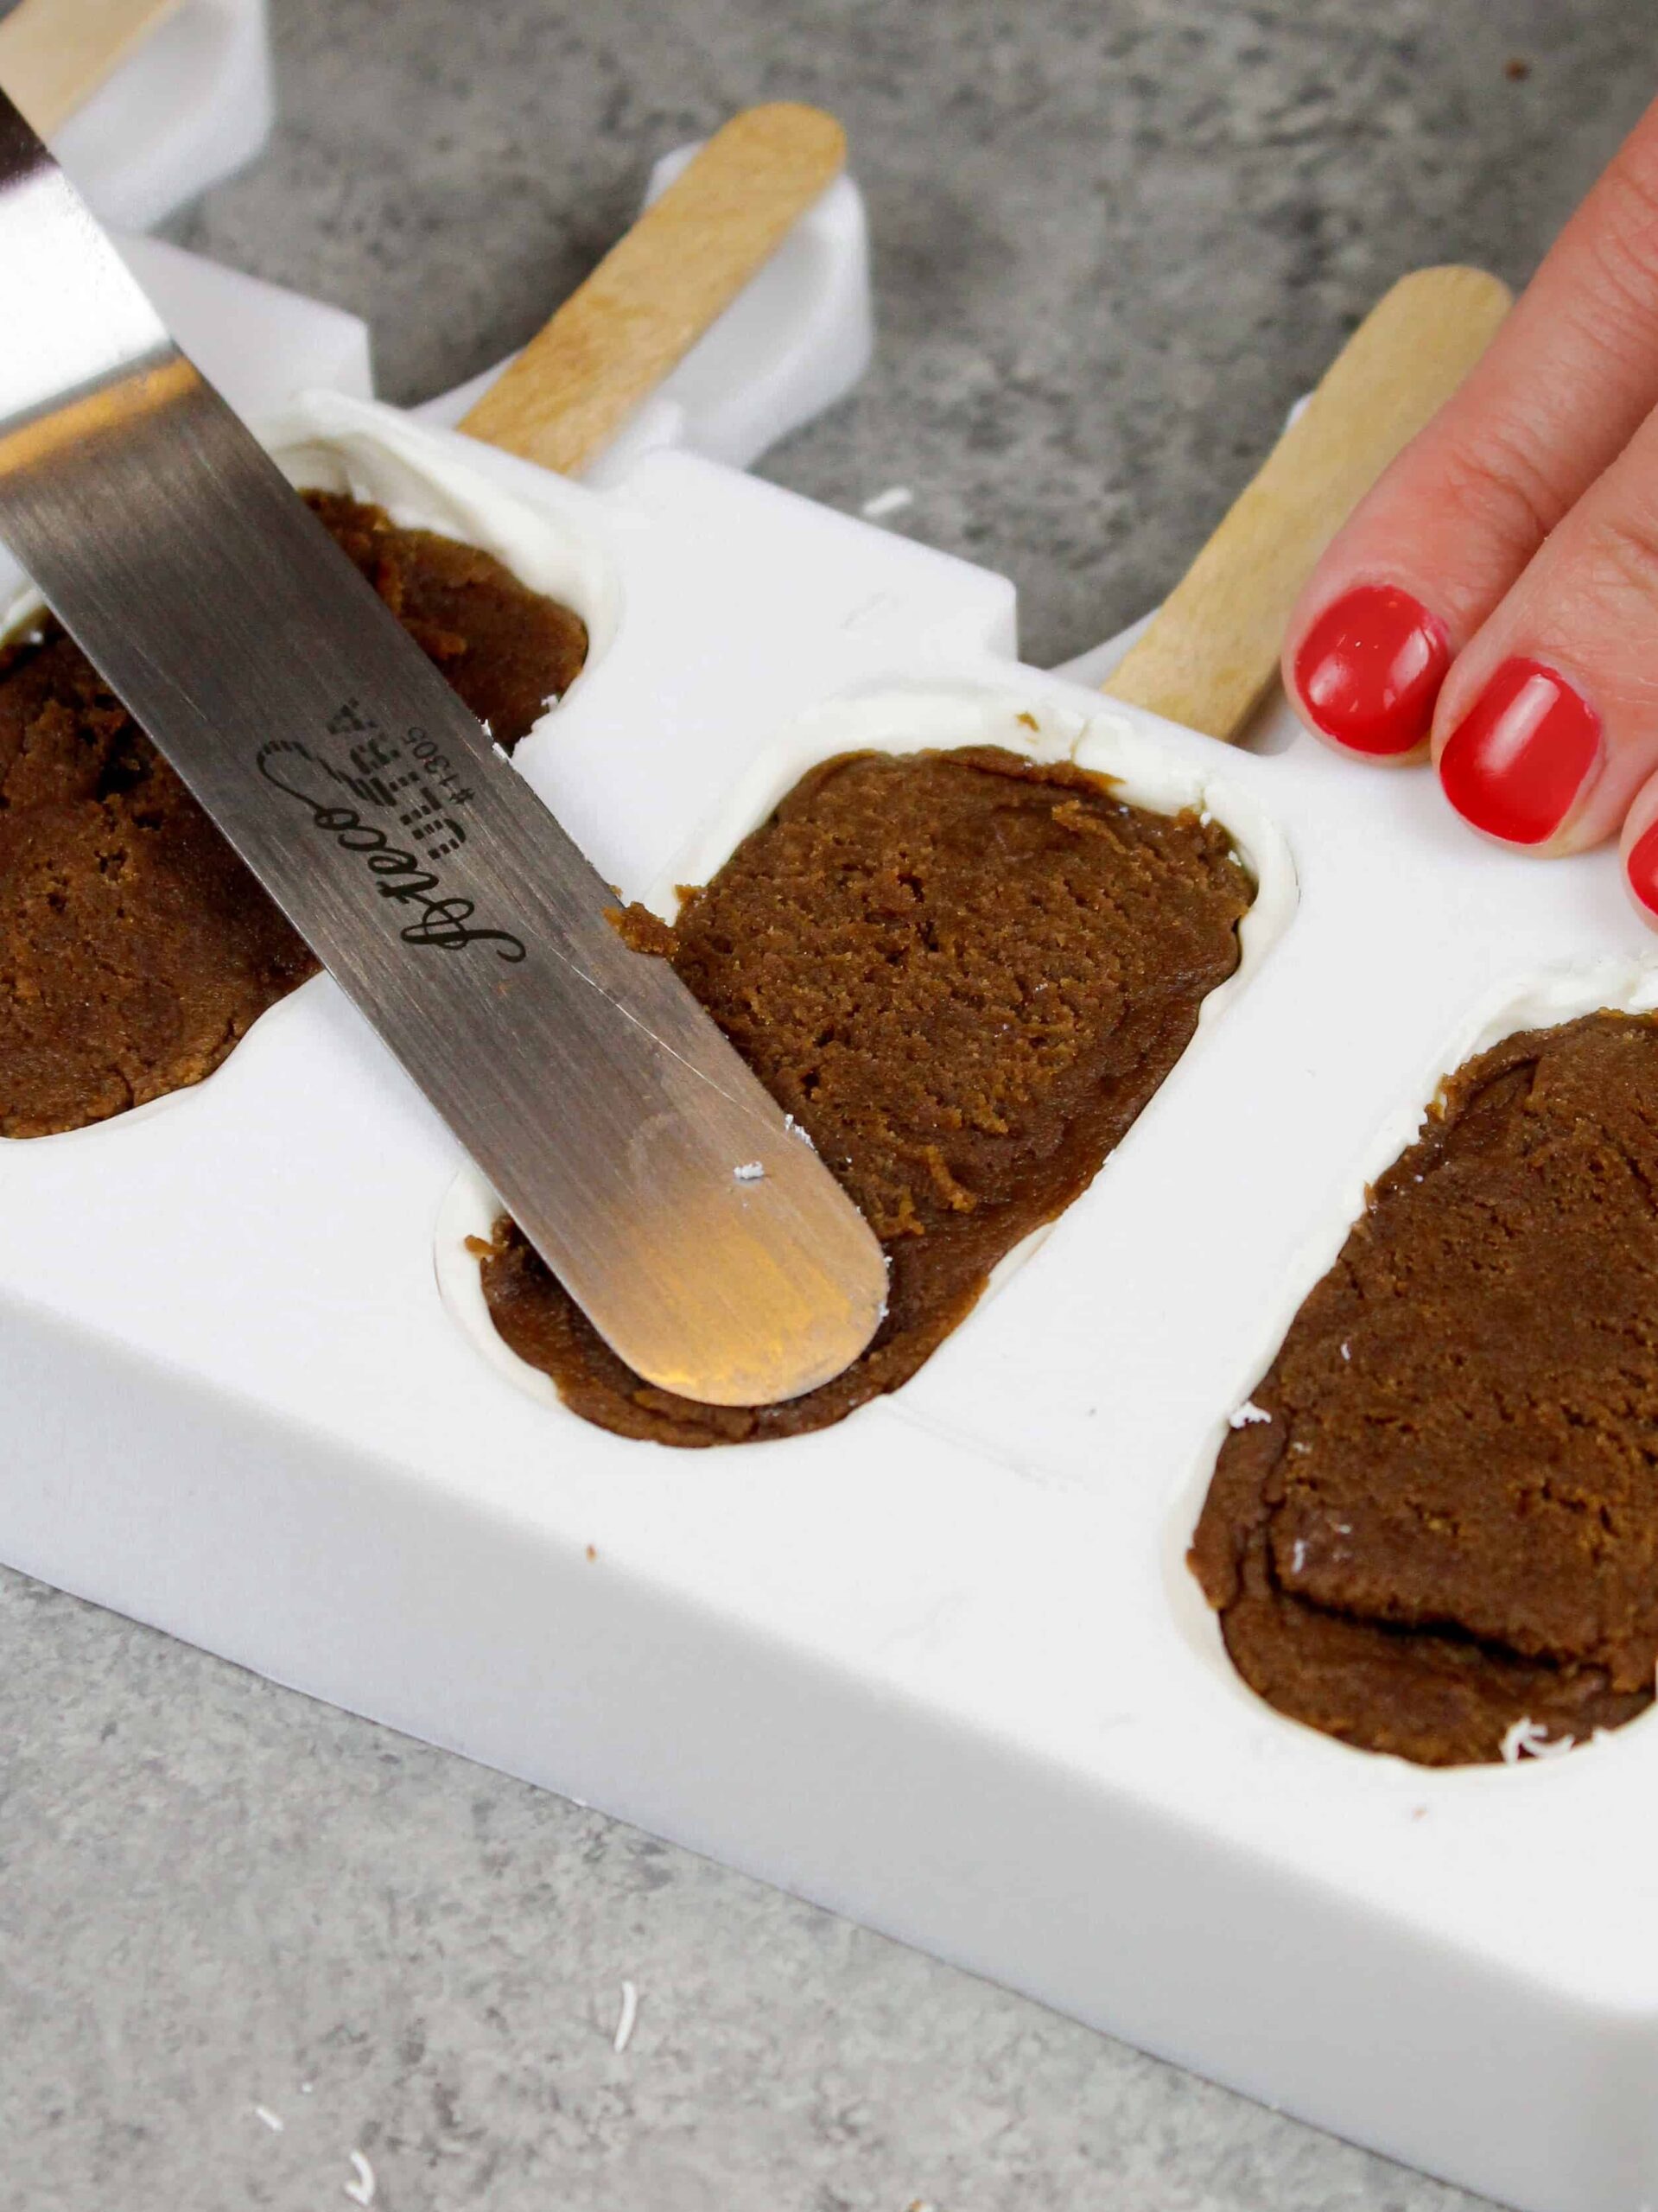
Smooth using an offset spatula, then refrigerate until firm to the touch. Carefully unmold the cakesicles, then decorate as desired.
Tips for Making The Best Cakesicles
To make sure your cakesicles turn out as wonderful as possible, I recommend following these tips.
Tip #1: Use Good Quality Chocolate
Be sure to use good-quality chocolate. You can use semi-sweet, milk, dark, or white chocolate. Candy melts will work too, but I just don’t think they taste as good!
While you can use any type of chocolate, be sure it’s either couverture chocolate or comes in a bar. If you don’t have time to order some good-quality couverture chocolate online, don’t worry!
Most grocery stores carry chocolate bars that are 65% cocoa or more, which can be used to make these cakesicles too. Just be sure to double-check the package to make sure it contains cocoa butter.
I strongly advise against using chocolate chips because they contain stabilizers that make them harder to melt down and difficult to temper.
Tip #2: Use Whatever Silicone Cakesicle Mold You Have
The silicone mold I used makes small cakesicles that are about 2.5″ long. However, you can use a larger mold or a differently shaped mold if you want!
I like making smaller cakesicles because they’re about the size of 2 cake pops. Larger cake pops seem like too big of a treat to me!
If you use a larger mold, the steps will all be the same, but you might need to adjust the amount of filling you use.
Tip #3: Melt Your Chocolate Slowly to Temper It
Tempering chocolate might sound intimidating, but I promise it’s not! Tempering chocolate just means we’re slowly heating and melting it to help it be as strong and shiny as possible.
Tempering your chocolate will allow you to easily pop your cakesicles out of the mold, and it gives them a beautifully shiny, finished look.
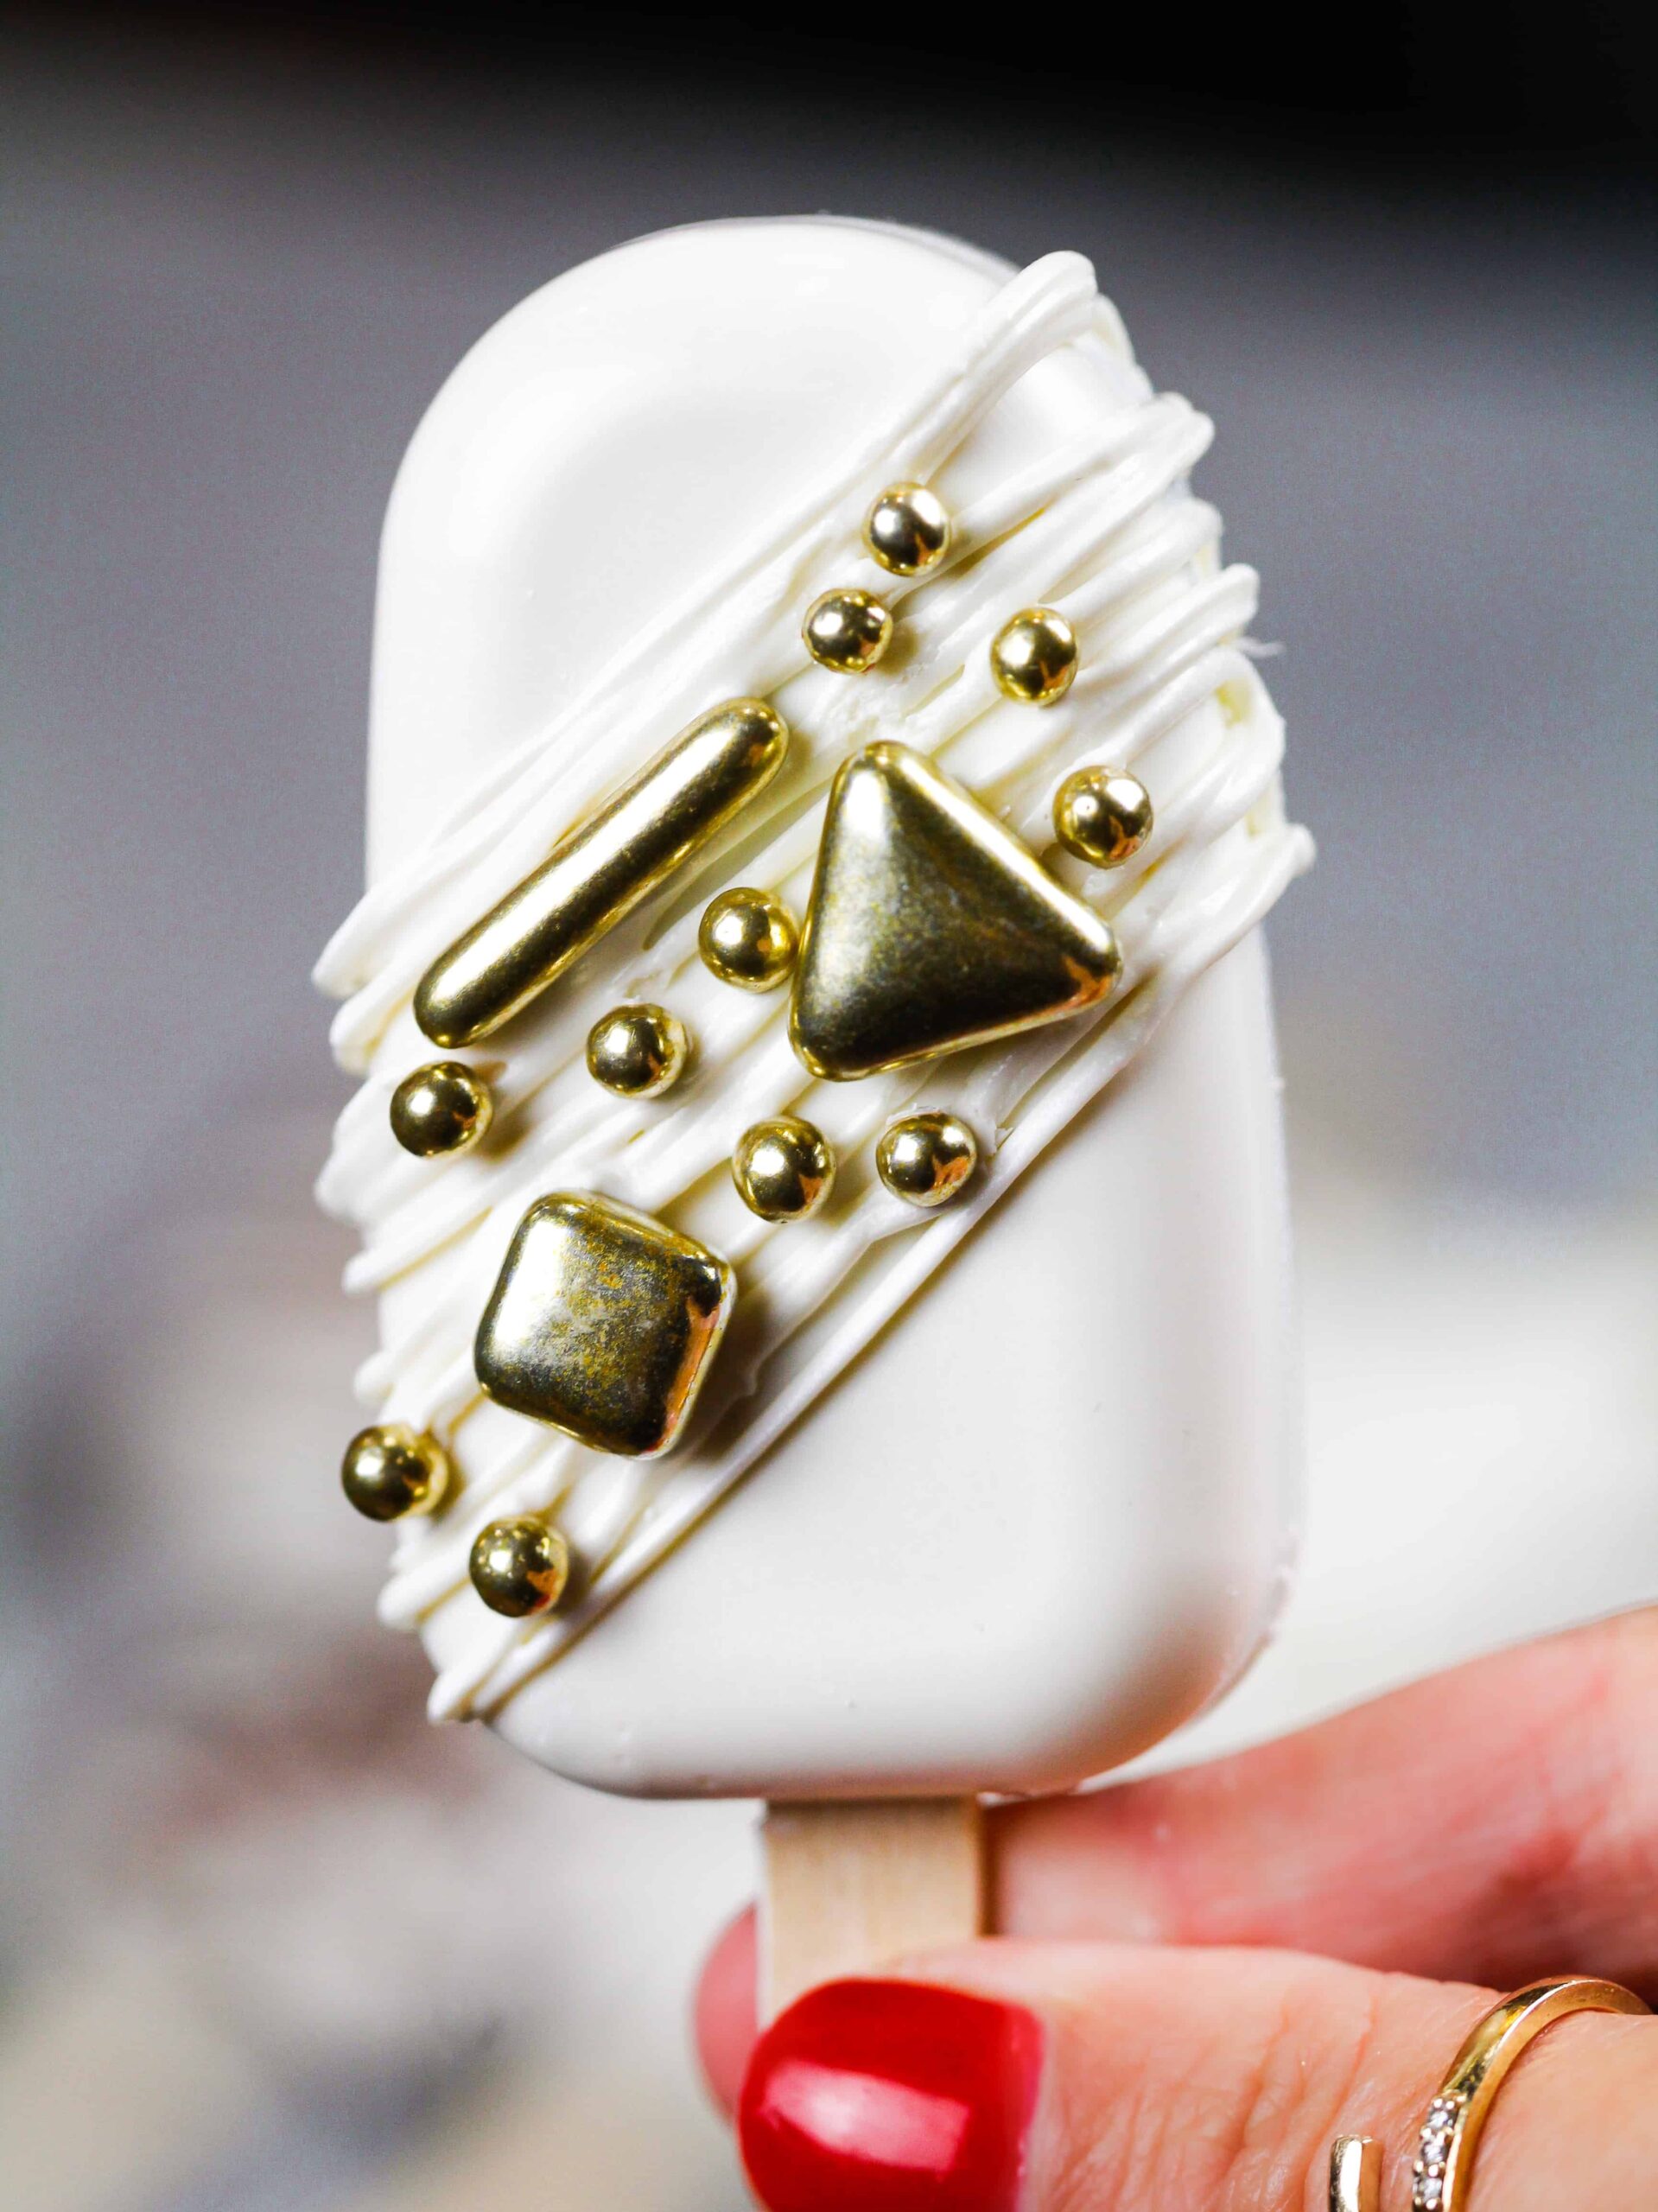
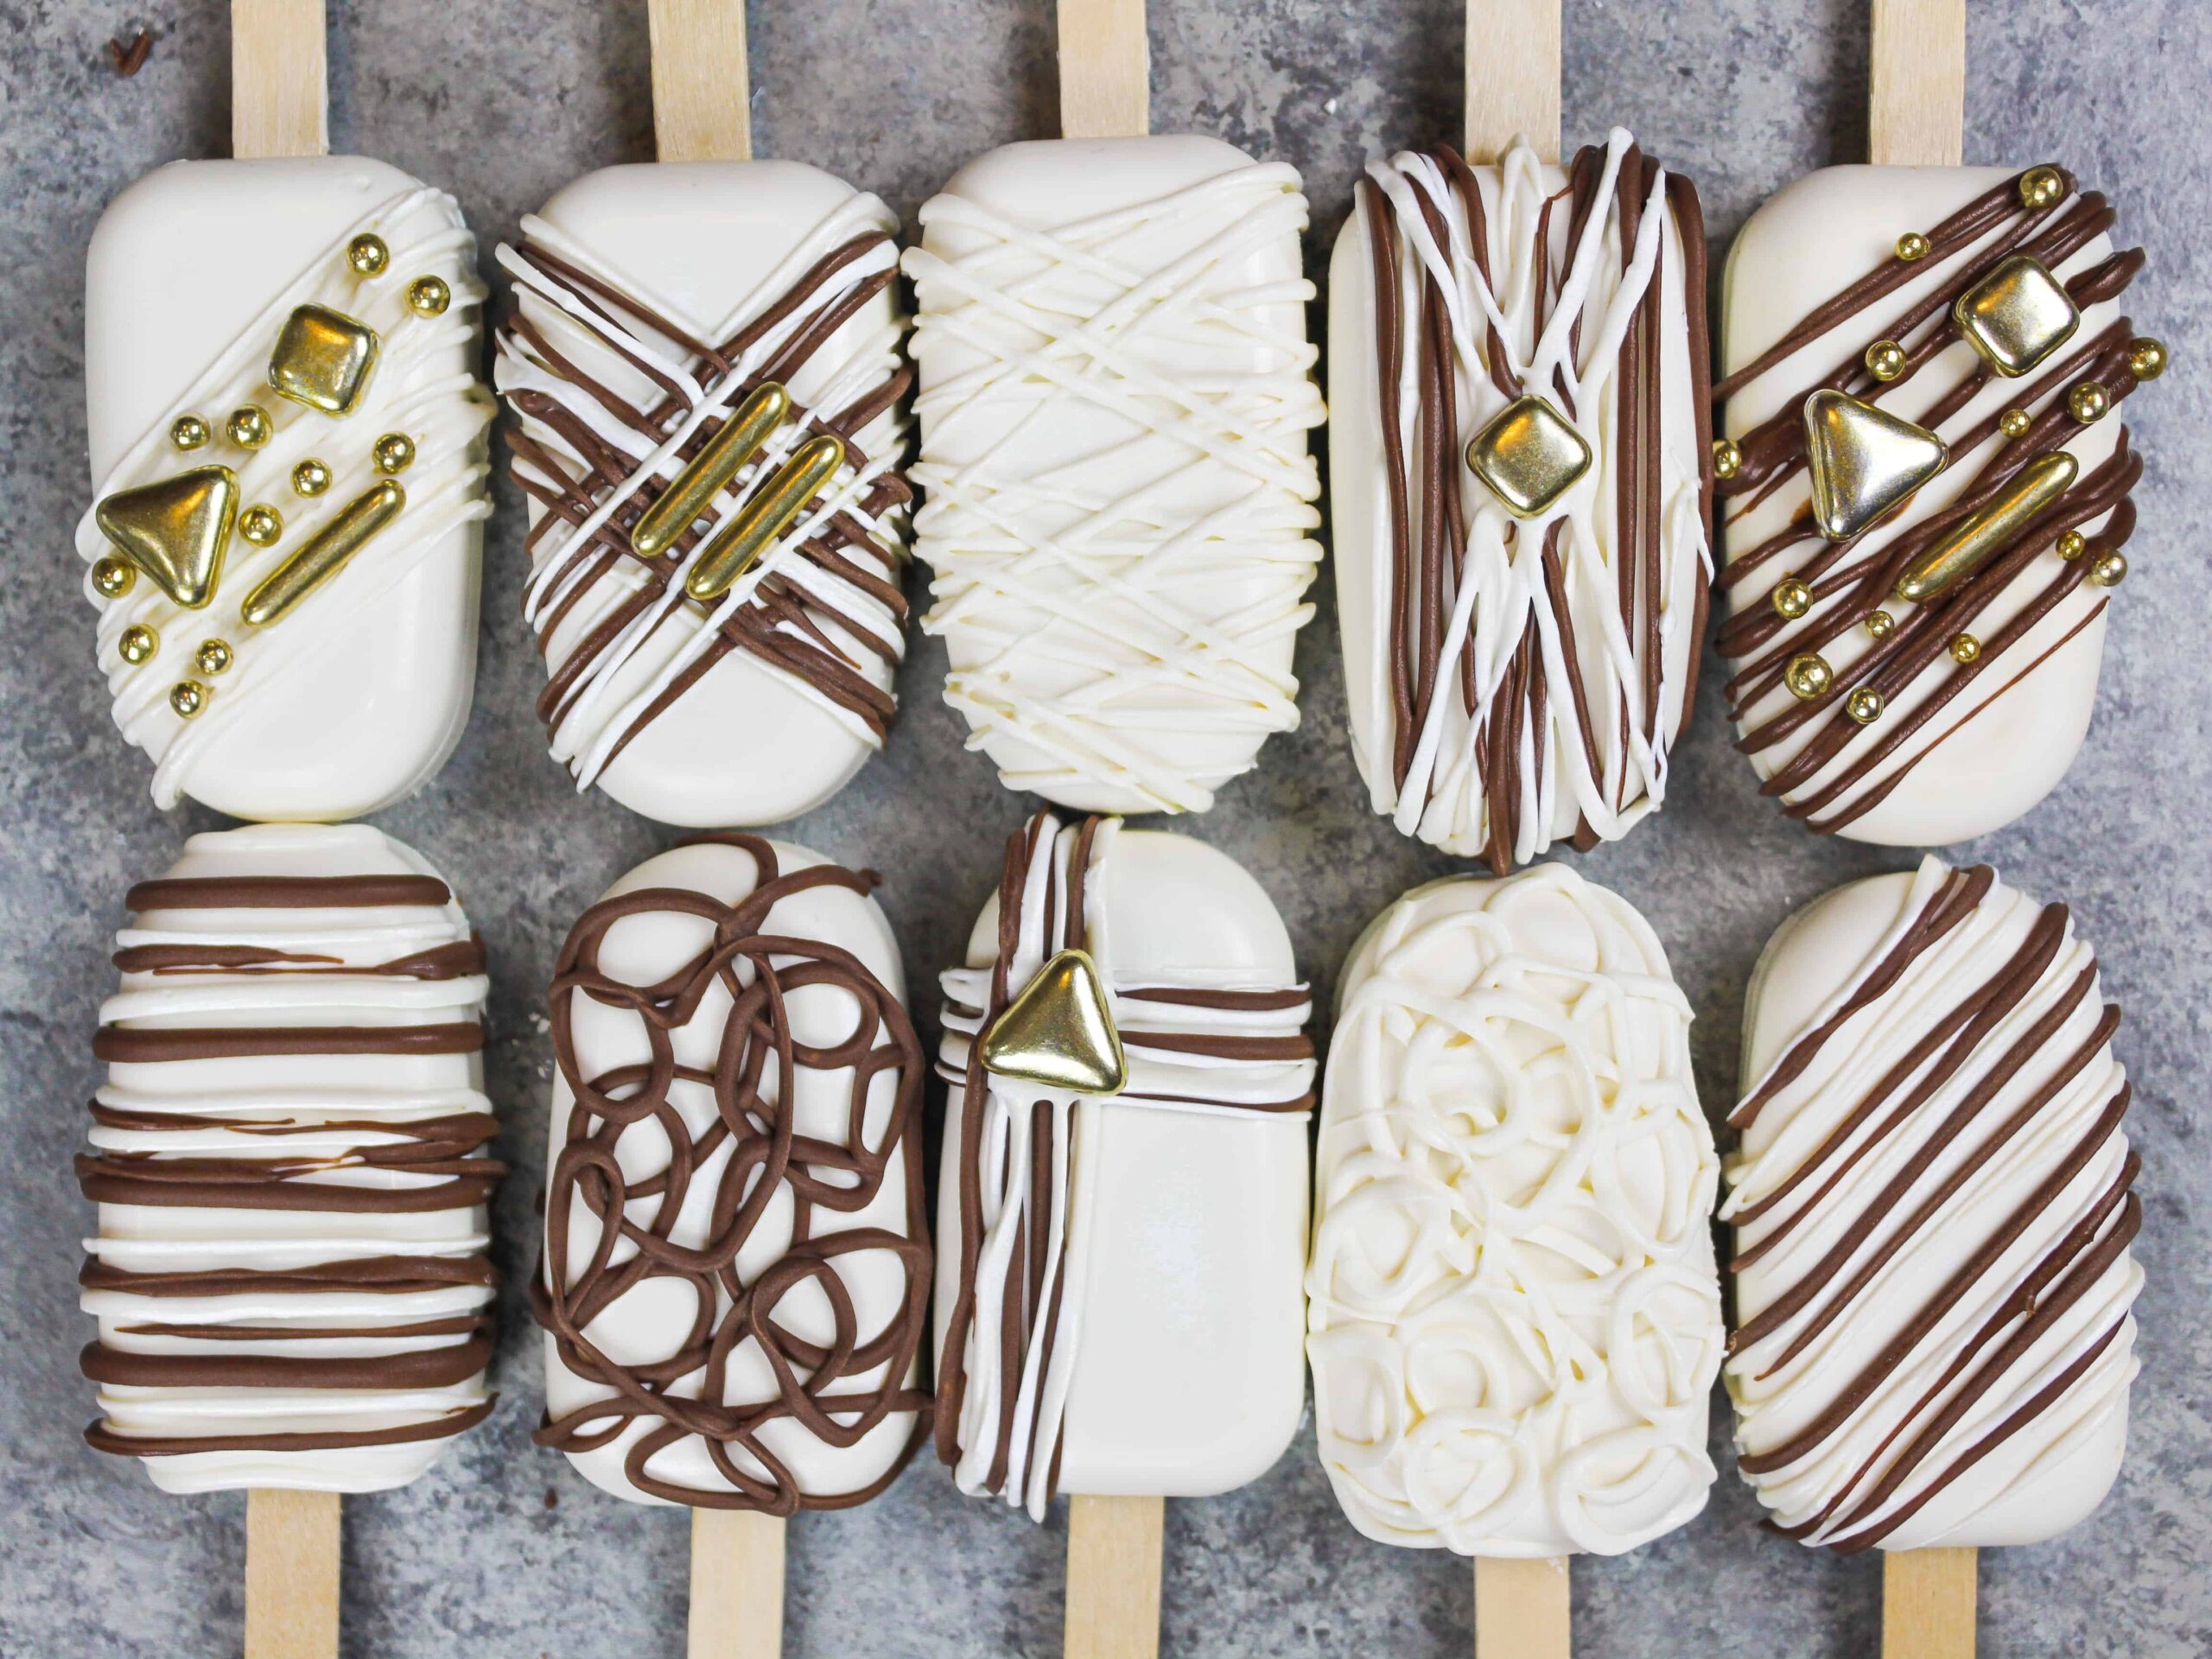
How Should I Decorate My Cakesicles?
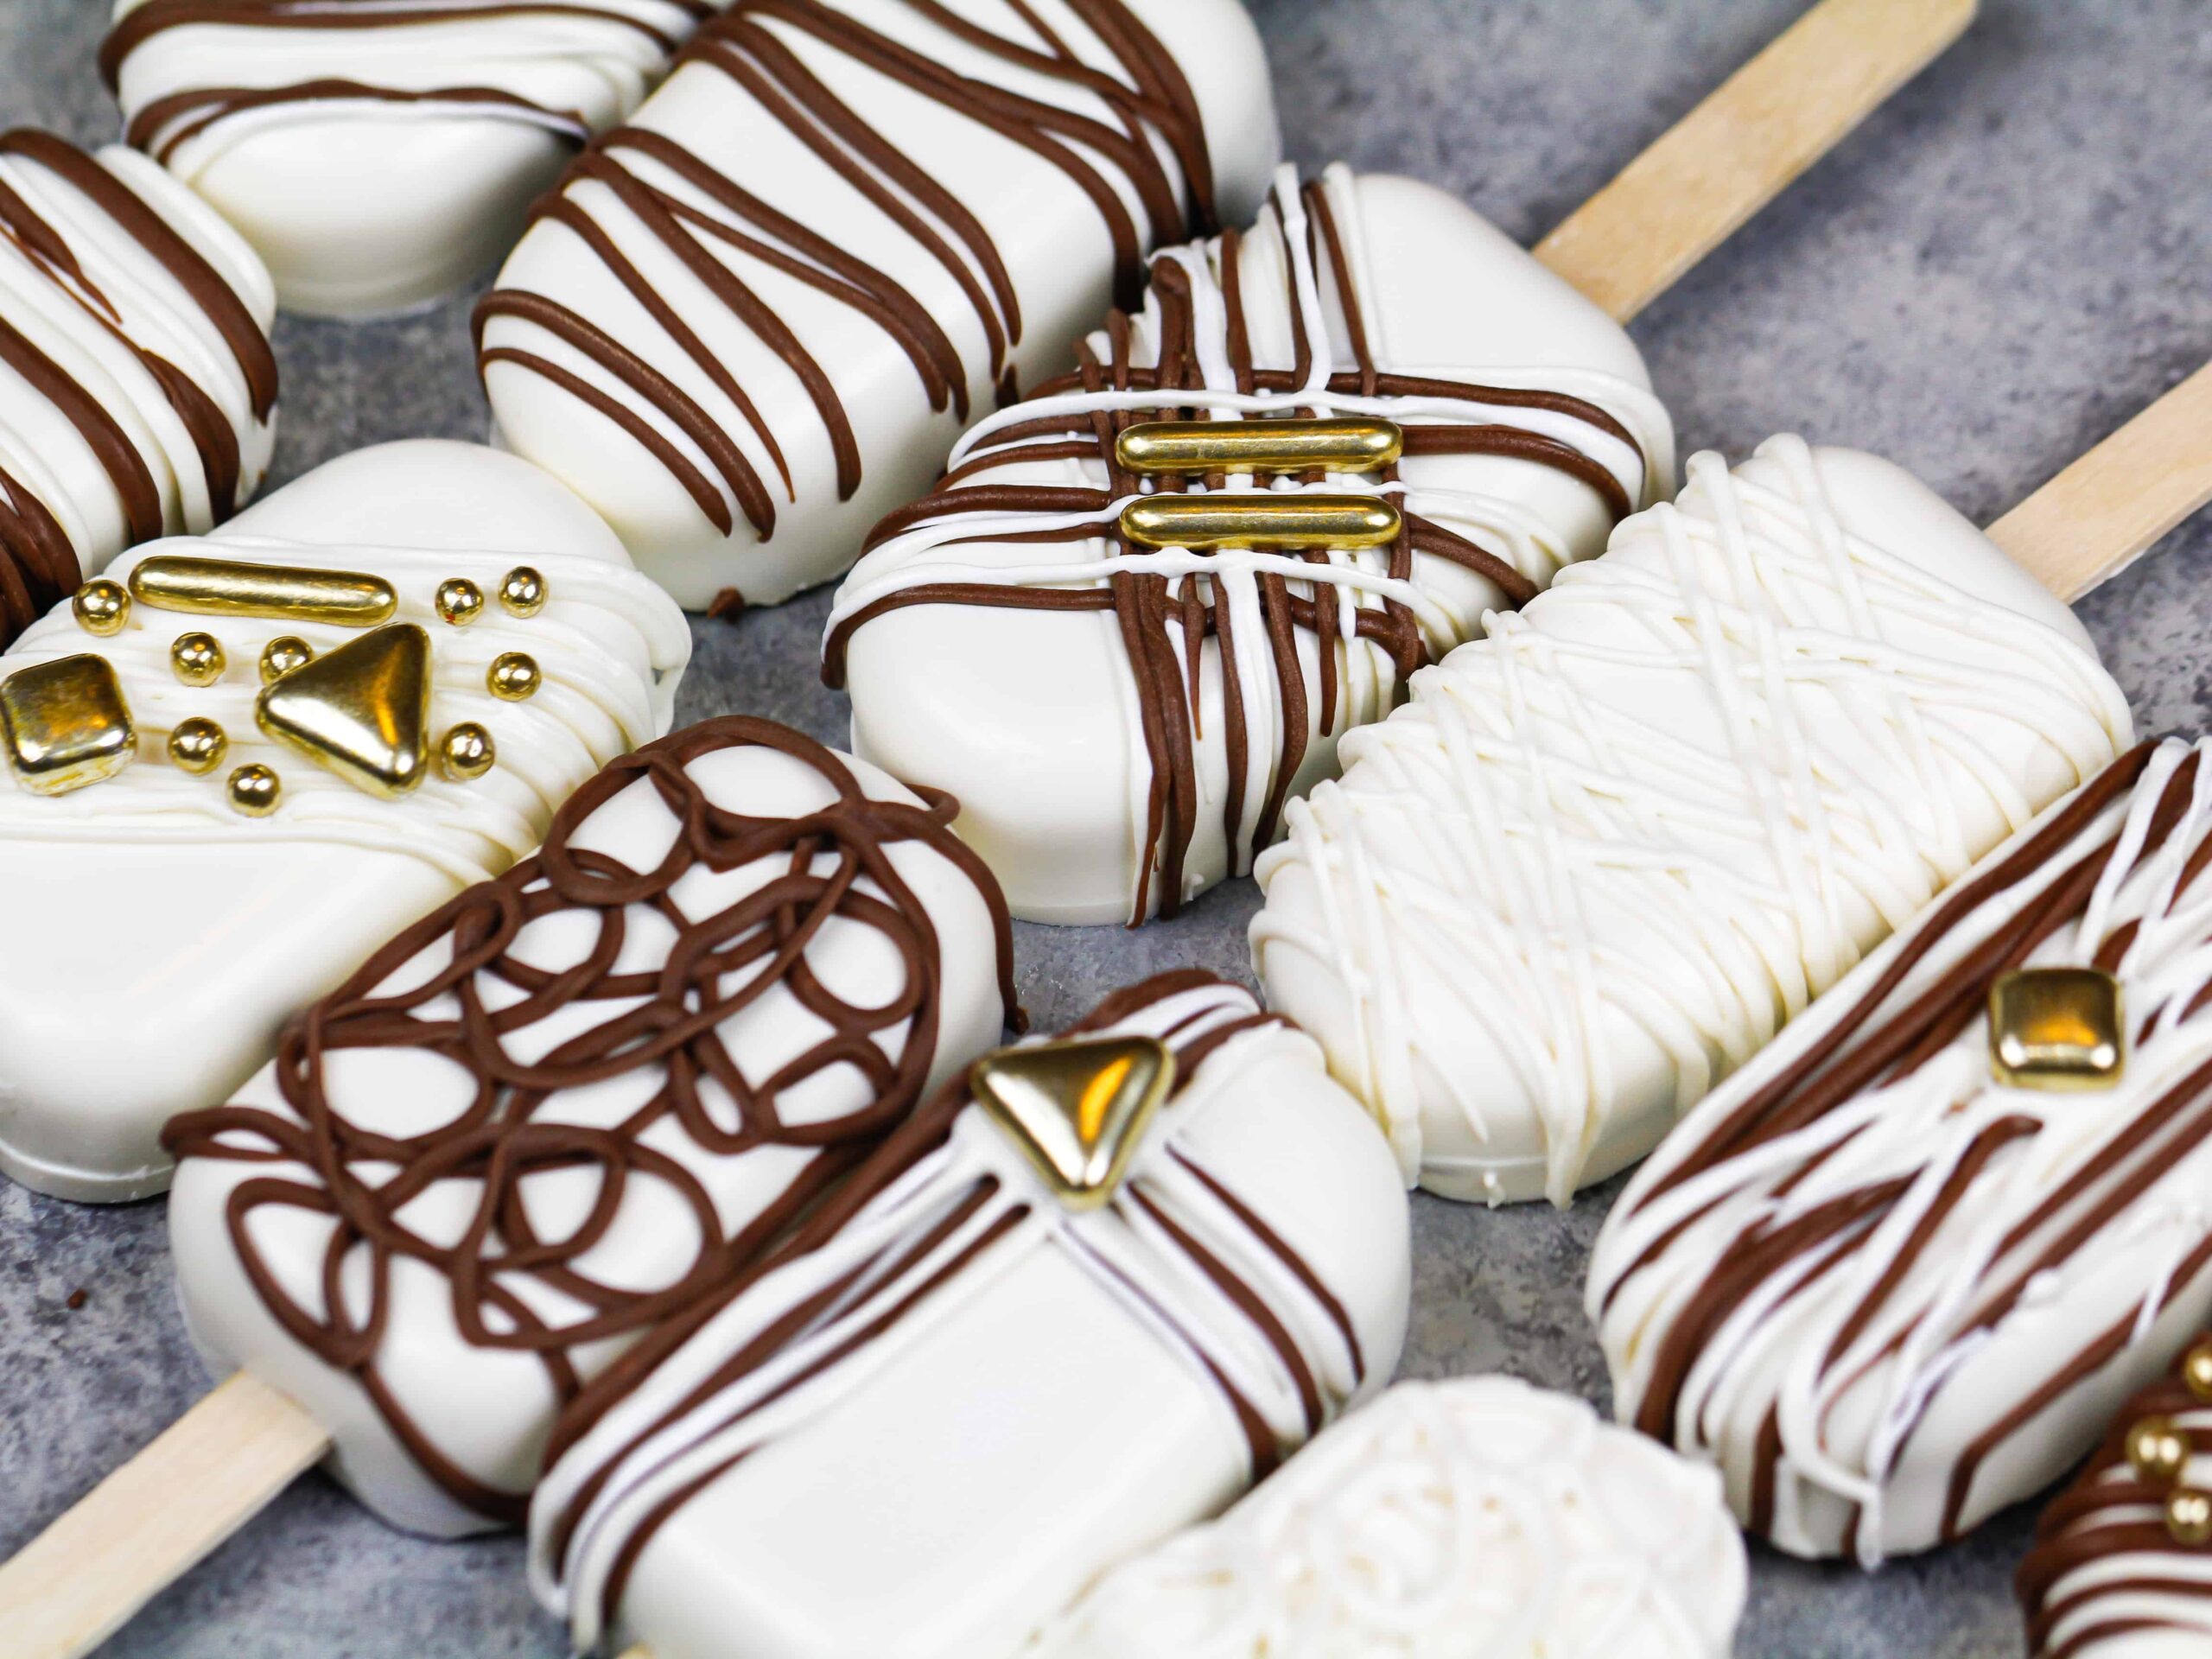
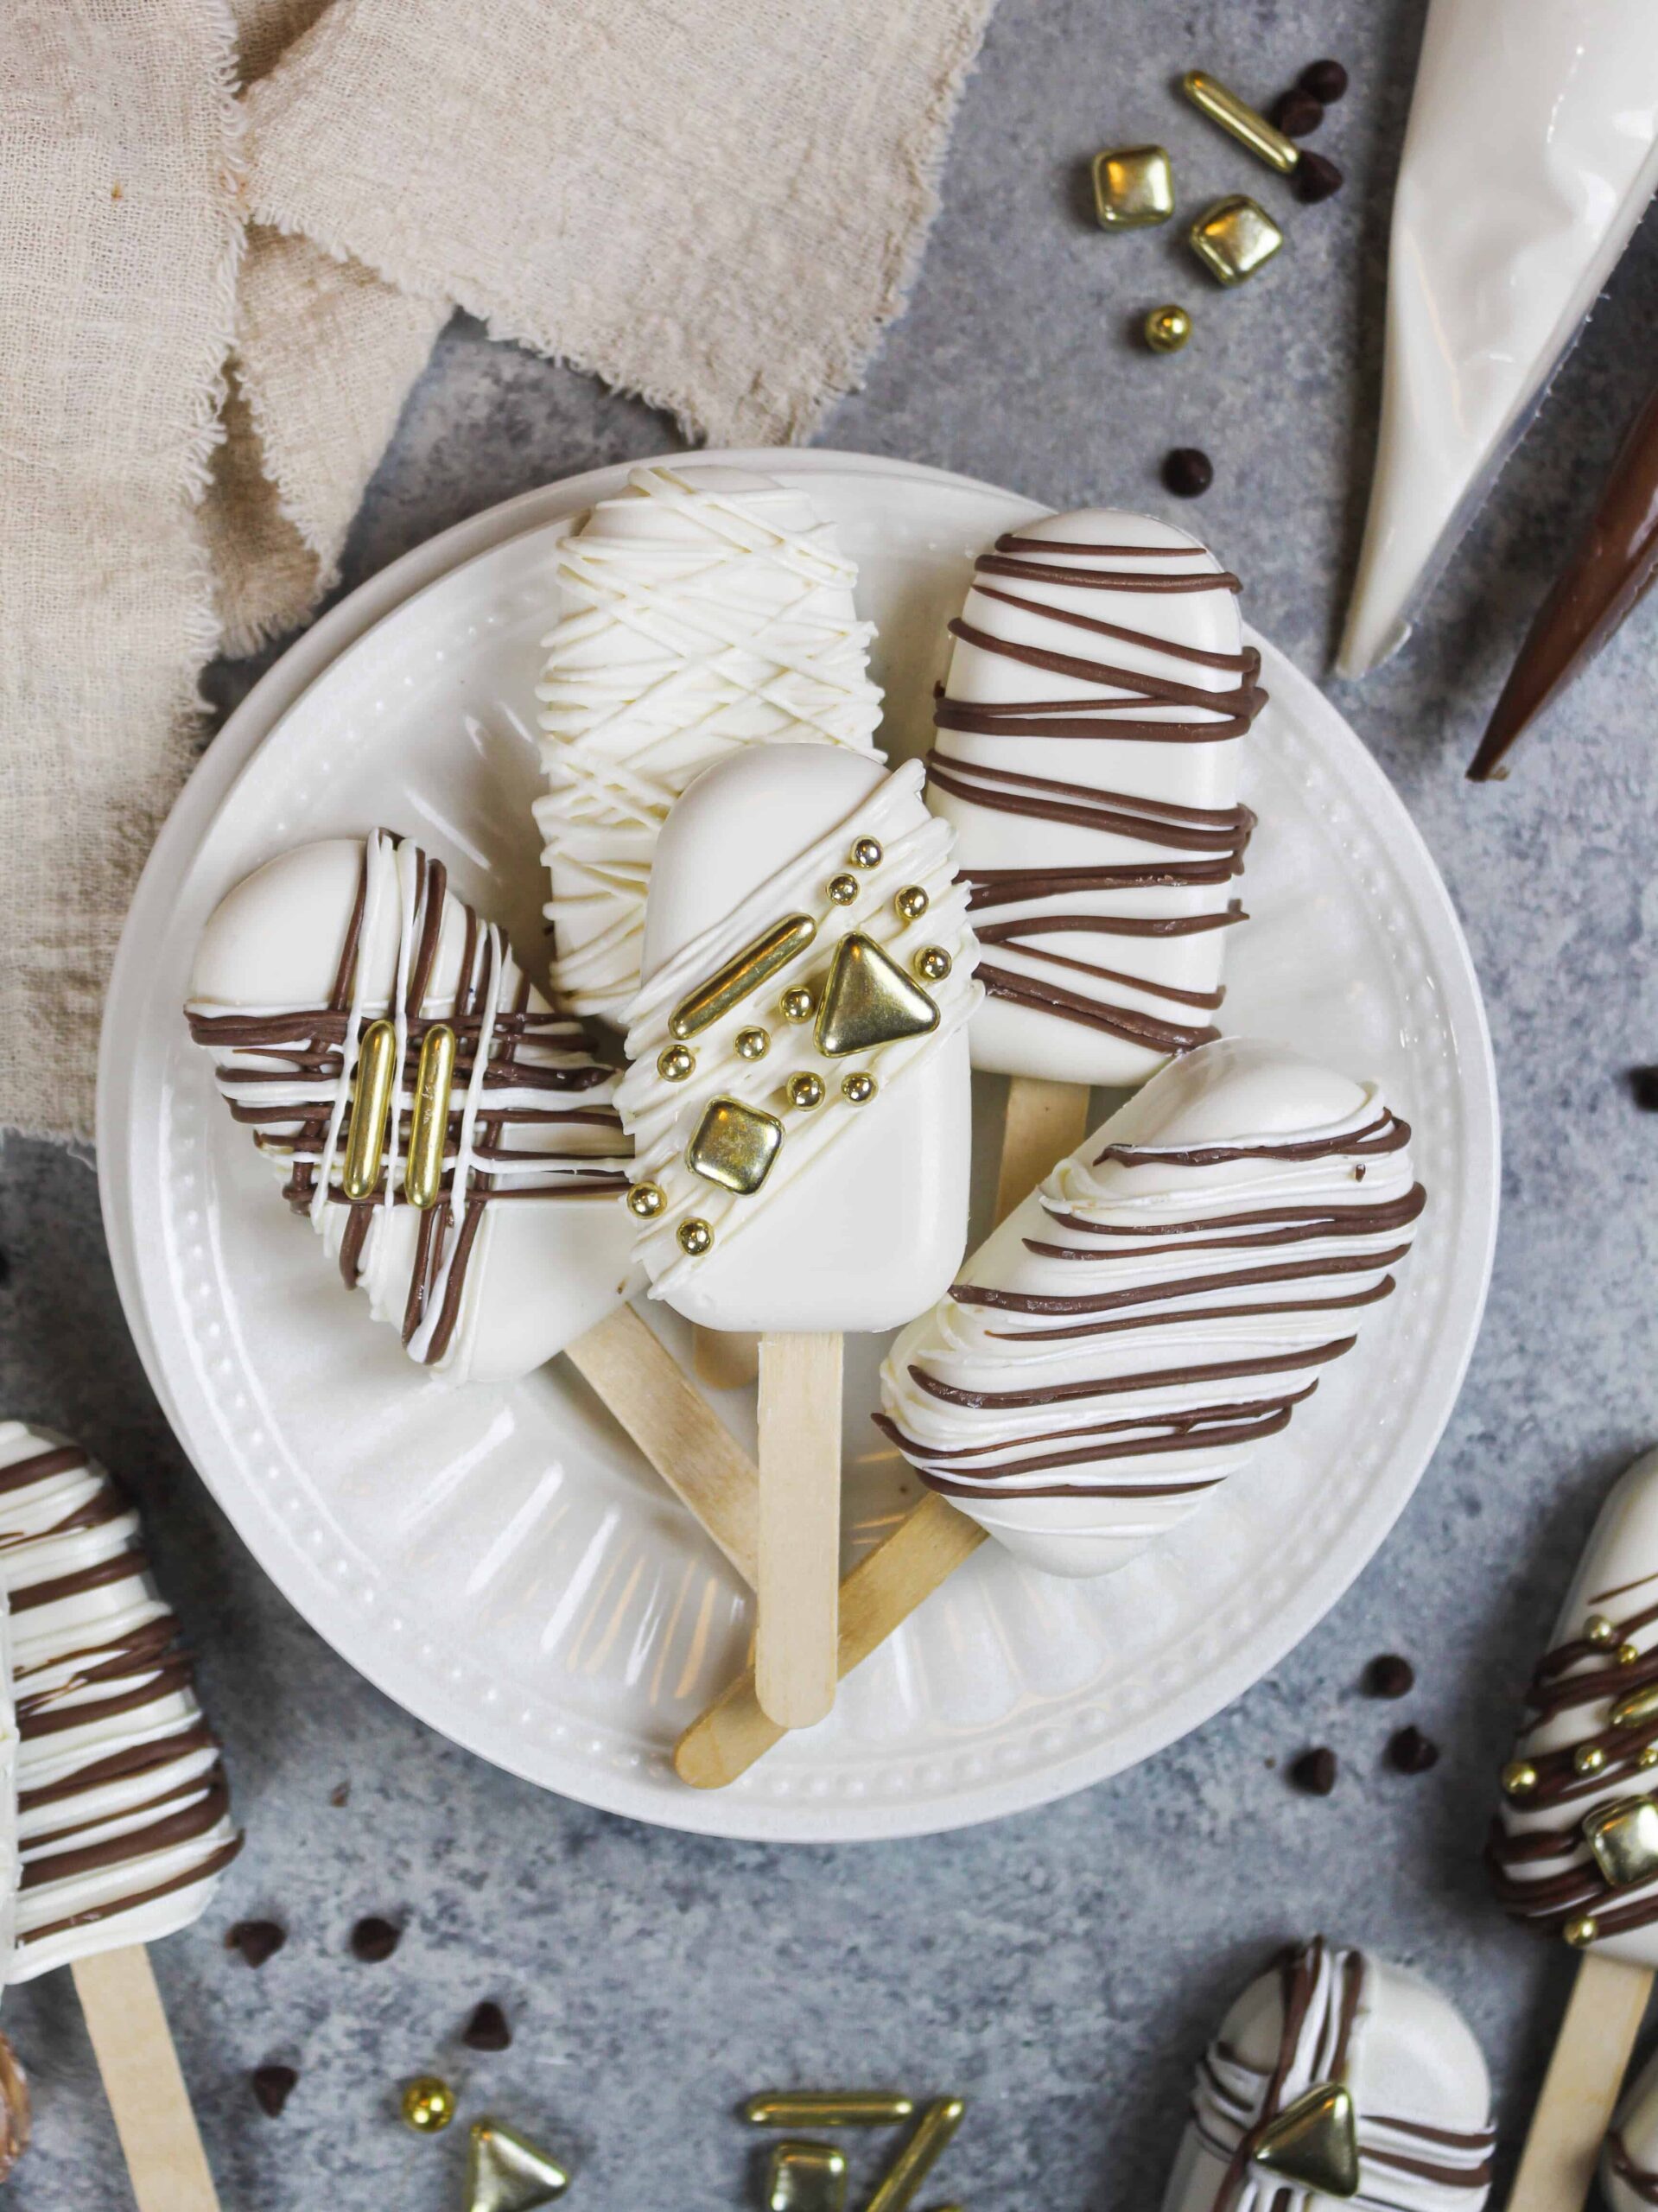
Once your cakesicles are made, it’s finally time for the best part, the decoration!
I am a big fan of drizzling extra melted chocolate or colorful candy melts over my cakesicles. Another fun way to decorate your cakesicles is to add some pretty sprinkles or a dusting of edible glitter.
The sky is really the limit, so feel free to get creative and have fun with it!
Recipe Yield
While you might think all cakesicle molds are similar in size, you’d be surprised! They range from a couple of inches in length to up to 4 inches.
With that in mind, the yield this recipe makes will vary based on the size of the mold you use.
Making These Cakesicles in Advance
If stored in an airtight container or in individual plastic wrap, these cakesicles last:
- up to 3 days at room temperature
- 1 week in the fridge
- up to 1 month in the freezer
My one word of caution about refrigerating or freezing the cakesicles is that they can experience condensation as they thaw to room temperature.
This can cause certain decorations to run or bleed, so be mindful of this and wrap each cakesicle individually if possible.
If you do freeze your cakesicles, move them to the fridge the day before you plan to bring them to room temperature.
This minimizes the temperature shock and can help prevent the chocolate from cracking.

Let Me Know What You Think!
If you make this recipe for cakesicles, I’d love to hear what you think! Please leave a rating and comment below.
And don’t forget to tag me @chelsweets and use #chelsweets so that I can see your amazing creations on social media.
Cakesicles
Ingredients
Cakesicle Filling
- One 6-inch cake layer
- 1 Tbsp buttercream frosting
Cakesicle Coating
Equipment
Instructions
Cakesicle Filling
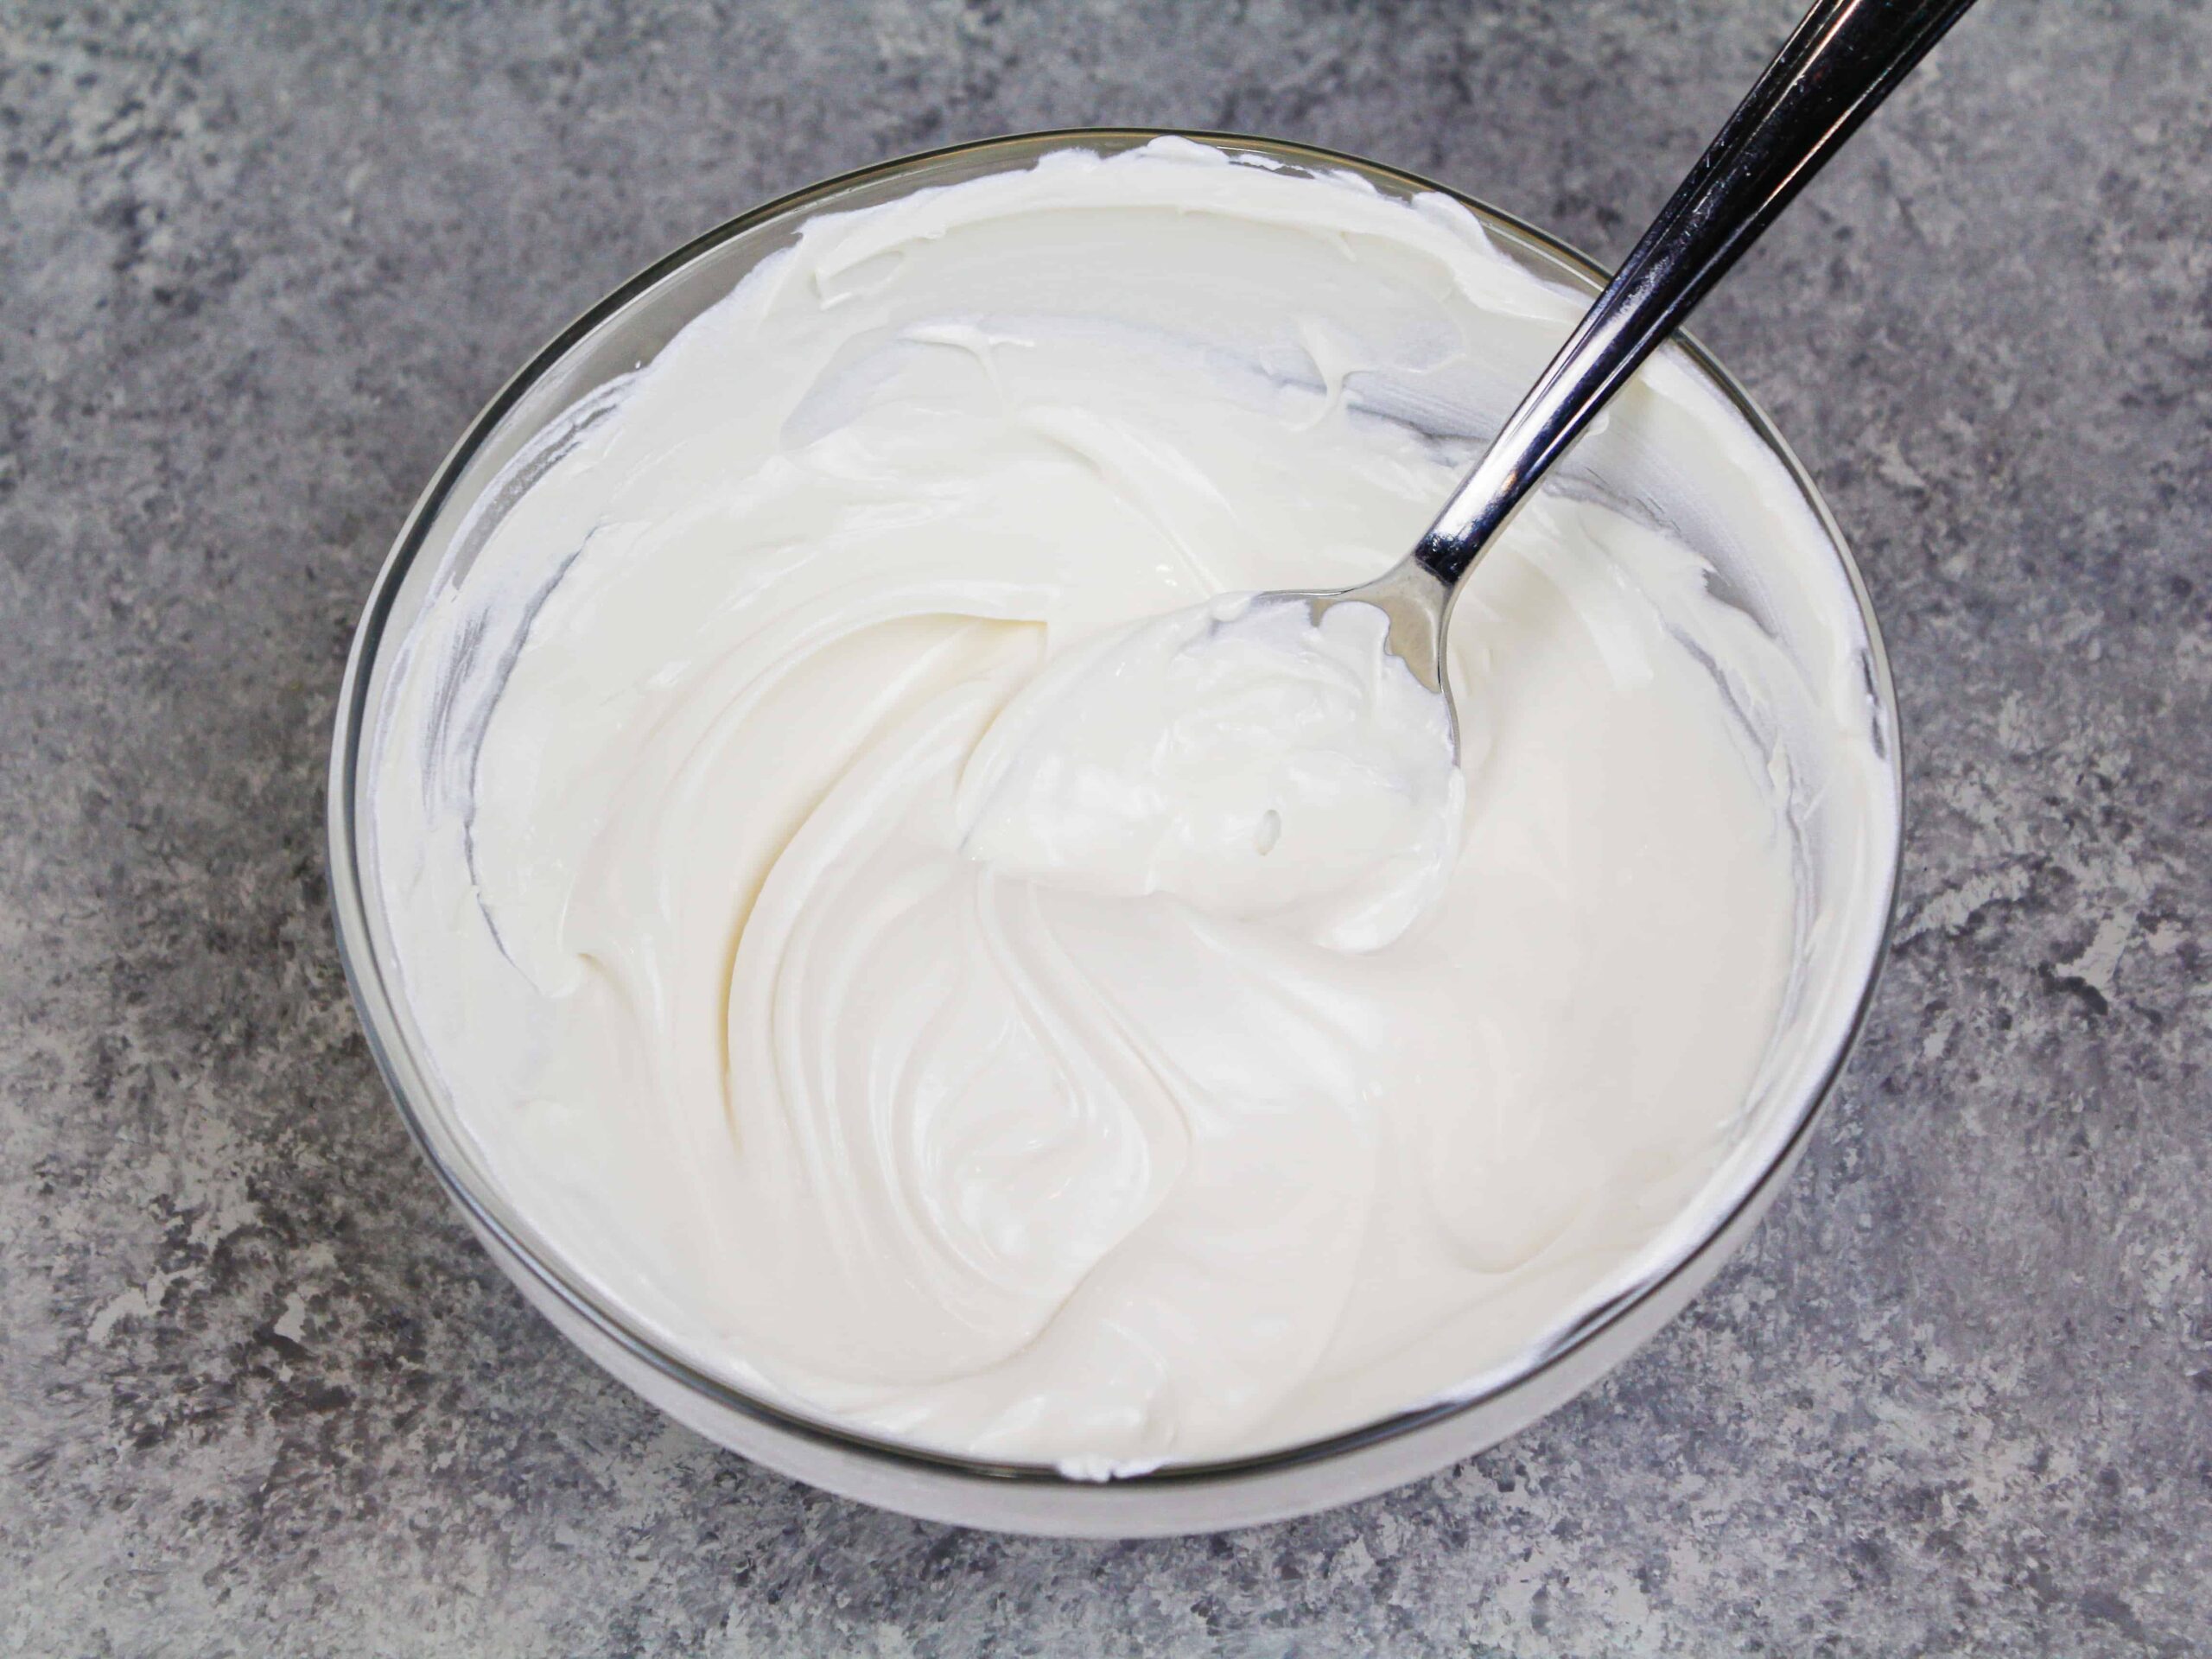
- Break the cake layer into large chunks and place it in the bowl of a stand mixer.
- Mix on a medium speed with a paddle attachment to break down the cake. If you don't have an electric mixer this can also be done by hand.
- Mix in 1 Tbsp of frosting until the cake mixture has a texture similar to play dough. It should be soft and pliable but not greasy. If your cake mixture hasn't come together yet add more frosting 1 tsp at a time until it does. Cover and set aside.
Cakesicle Coating
- Place the finely chopped chocolate (white, milk, semi-sweet or dark) or candy melts in a large heatproof bowl.
- Heat for 30 seconds at a medium high-heat (I do a power level 7 out of 10). If you don't have a microwave you can also use a double boiler.
- Remove from the microwave and stir the chocolate. It won't be melted much yet, but this helps make sure the chocolate is evenly heated and that certain areas don't overheat/overcook.
- Heat for an additional 15 seconds on medium-high power and stir again. If you're using chocolate, check the temperature of the chocolate with your food thermometer between intervals and make sure it doesn't go above 90 F / 32 C.
- Repeat until the chocolate is mostly (but not fully melted). Let it sit for a minute, then give the chocolate one more stir to make sure it's nice and smooth.
- Use a clean / food-safe paint brush to brush an even layer of melted chocolate or melted candy melts all around the mold.
- Immediately insert a popsicle stick in and out of the mold to keep the opening free of chocolate.
- Chill the mold in the fridge (or freezer if you're using candy melts) for about 3 minutes or until the chocolate is firm to the touch.
- Paint on a second layer of melted chocolate, being sure to add a little extra chocolate around the edge of each cavity. Insert and remove a popsicle stick again.
- Refrigerate for another 3 minutes (or freeze if you're using candy melts) until the chocolate is firm to the touch.
Filling These Cakesicles
- Press the cake mixture into a chocolate-lined cavity, filling it 1/8 inch below the edge of the silicone mold.
- Insert the popsicle sticks into the molds, then top each mold with additional chocolate and smooth using an offset spatula. Repeat with the remaining molds.
- Refrigerate until the chocolate is firm to the touch (2-3 minutes), then carefully remove the cakesicles from the mold and decorate as desired.
Video
Notes
Recipe Yield
While you might think all cakesicle molds are pretty similar in size, you'd be surprised! They range from a couple inches in length to up to 4 inches in length. With that in mind the yield this recipe makes will vary based on the size of mold you use.Making These Cakesicles in Advance
If stored in an airtight container or individual wrapped, these cakesicles last:- up to 3 days at room temperature
- up to 1 week in the fridge
- up to 1 month in the freezer
Nutrition
Other Recipes You Might Like:

Thanks Chelsea! I recently made these with your vanilla buttermilk cake and they turned out great. One question during the process was whether or not to trim the cake? I did and it was great but fairly crumbly
You mentioned wrapping them individually if freezing – what would you wrap them in?
How much frosting would you recommend if I made a box cake? 9×13 pan or 2 8/9 inch round cake pans?
Hey! my question will seem stupid, but what is the recipe for making a biscuit directly for this dessert? and also the recipe for the cream with which I have to mix the biscuit. Thank you!
Sir, give more in-depth information on this “Recipe Yield” topic in the next blog. I am very interested to know this.
Hi! If I’m just making the cake bit and not decorating them until the day of use, How long can I freeze the actually cake pop for? Thank you
What can I substitute the buttercream for besides marshmallow frosting??
Hi Peri,
Any type of buttercream can be used to make these cakesicles. This includes, American, Swiss, Italian, or Russian! You need a little buttercream to help bind the cake together and give it the right texture. If you don’t want to make frosting you could also use a tablespoon of store-bought frosting. Hope that helps, happy baking!
The buttercream frosting can be homemade or what brand do you recommend?
About the chocolate what brand do you recommend.
Hi Ana,
I almost always have leftover buttercream from other projects, so I usually just use that!! Sadly I don’t have a good recommendation for different brands of buttercream, I’m so sorry!
Can I make these from leftover cupcakes as well?
Hi Sarah,
Great question, you totally can! Leftover cupcakes also make delicious cakesicles 🙂 Happy baking!
Hi. I am making 85 for a wedding. Any idea how long it should take.
@Julie, I noticed that your question hasn’t been answered yet so I thought I would give you my input.
I’m making cupcakes and cake sickles for a baby shower in 3 weeks.
I saw that you can make them ahead of time and refrigerate or freeze them by storing/wrapping them right.
I will be freezing the ones I make for a week or two.
Hi Sandy,
Thank you for sharing!! I feel like I must have missed Julie’s comment was I was out on mat leave. Apologies!! You can store them in an airtight container in the fridge for up to a week, or in the fridge for up to 2 months!! Hope that helps, happy baking 🙂
Hi Chelsea, If you are using leftover cake how much would you recommend per tablespoon of buttercream? i hate throwing away cake off cuts & thought I’d use them for caksicles & cake pops 🙂
Hi Janette,
I love that you’re repurposing your cake scraps—cake pops and cakesicles are such a fun (and delicious!) way to use them up!
As a general rule of thumb, I recommend starting with about 1 tablespoon of buttercream per 1 cup of cake crumbs. Mix it together and see how it feels—you’re looking for a texture that holds its shape when you press it, but isn’t too wet or sticky. You can always add a tiny bit more buttercream if it’s still too crumbly!
Let me know how they turn out—I bet they’re going to be so cute (and tasty)!
Curious if you have a link for your cakesicle mold(s). Im new to cakesicles and trying to figure out what is best size. Also, why is painting the chocolate in the mold better than dipping the cakesicle into the melted chocolate?
Hi Teresa,
Absolutely, these are the ones I used: https://amzn.to/44BI9qI
And welcome to the cakesicle world — it’s such a fun one to play in!
As for size, most beginners (and honestly even pros!) tend to love the medium-sized silicone cakesicle molds — the ones that hold about 2 to 3 tablespoons of filling (typically labeled around 3.5″ long). They’re just the right size to decorate easily, hold their shape, and still be a satisfying treat without being too big. If you’re making them for a party or kids, the smaller mini molds can also be super cute and more manageable.
Now, about painting the chocolate into the mold vs. dipping — painting the chocolate into the mold is preferred for a few reasons:
– Cleaner edges: Brushing or spooning the chocolate into the mold helps you control the coverage and makes for a smoother, more professional look once popped out.
– Less cracking: Dipping a soft, filled cakesicle into warm chocolate can sometimes cause the chocolate to crack or fall apart. Painting it into the mold gives the shell time to set before filling, so it’s sturdier.
– Better consistency: You get a nice, even shell that wraps fully around the filling and seals it in — especially important if you’re adding sprinkles or decorations.
Hope that helps, happy baking!
Hi! Curious if you have a new reco for chocolate as it seems the link no longer works? Looking to make some with dark chocolate too if you have a reco! So many mixed reviews on everything out there ?
So sorry about that Olivia! Here’s the updated link for the white chocolate bars I use: https://amzn.to/3JCOHgX
You can also use white chocolate melts! For dark chocolate, I’d use these: https://amzn.to/4oUHDvq
Hope that helps and that these turn out great 🙂