
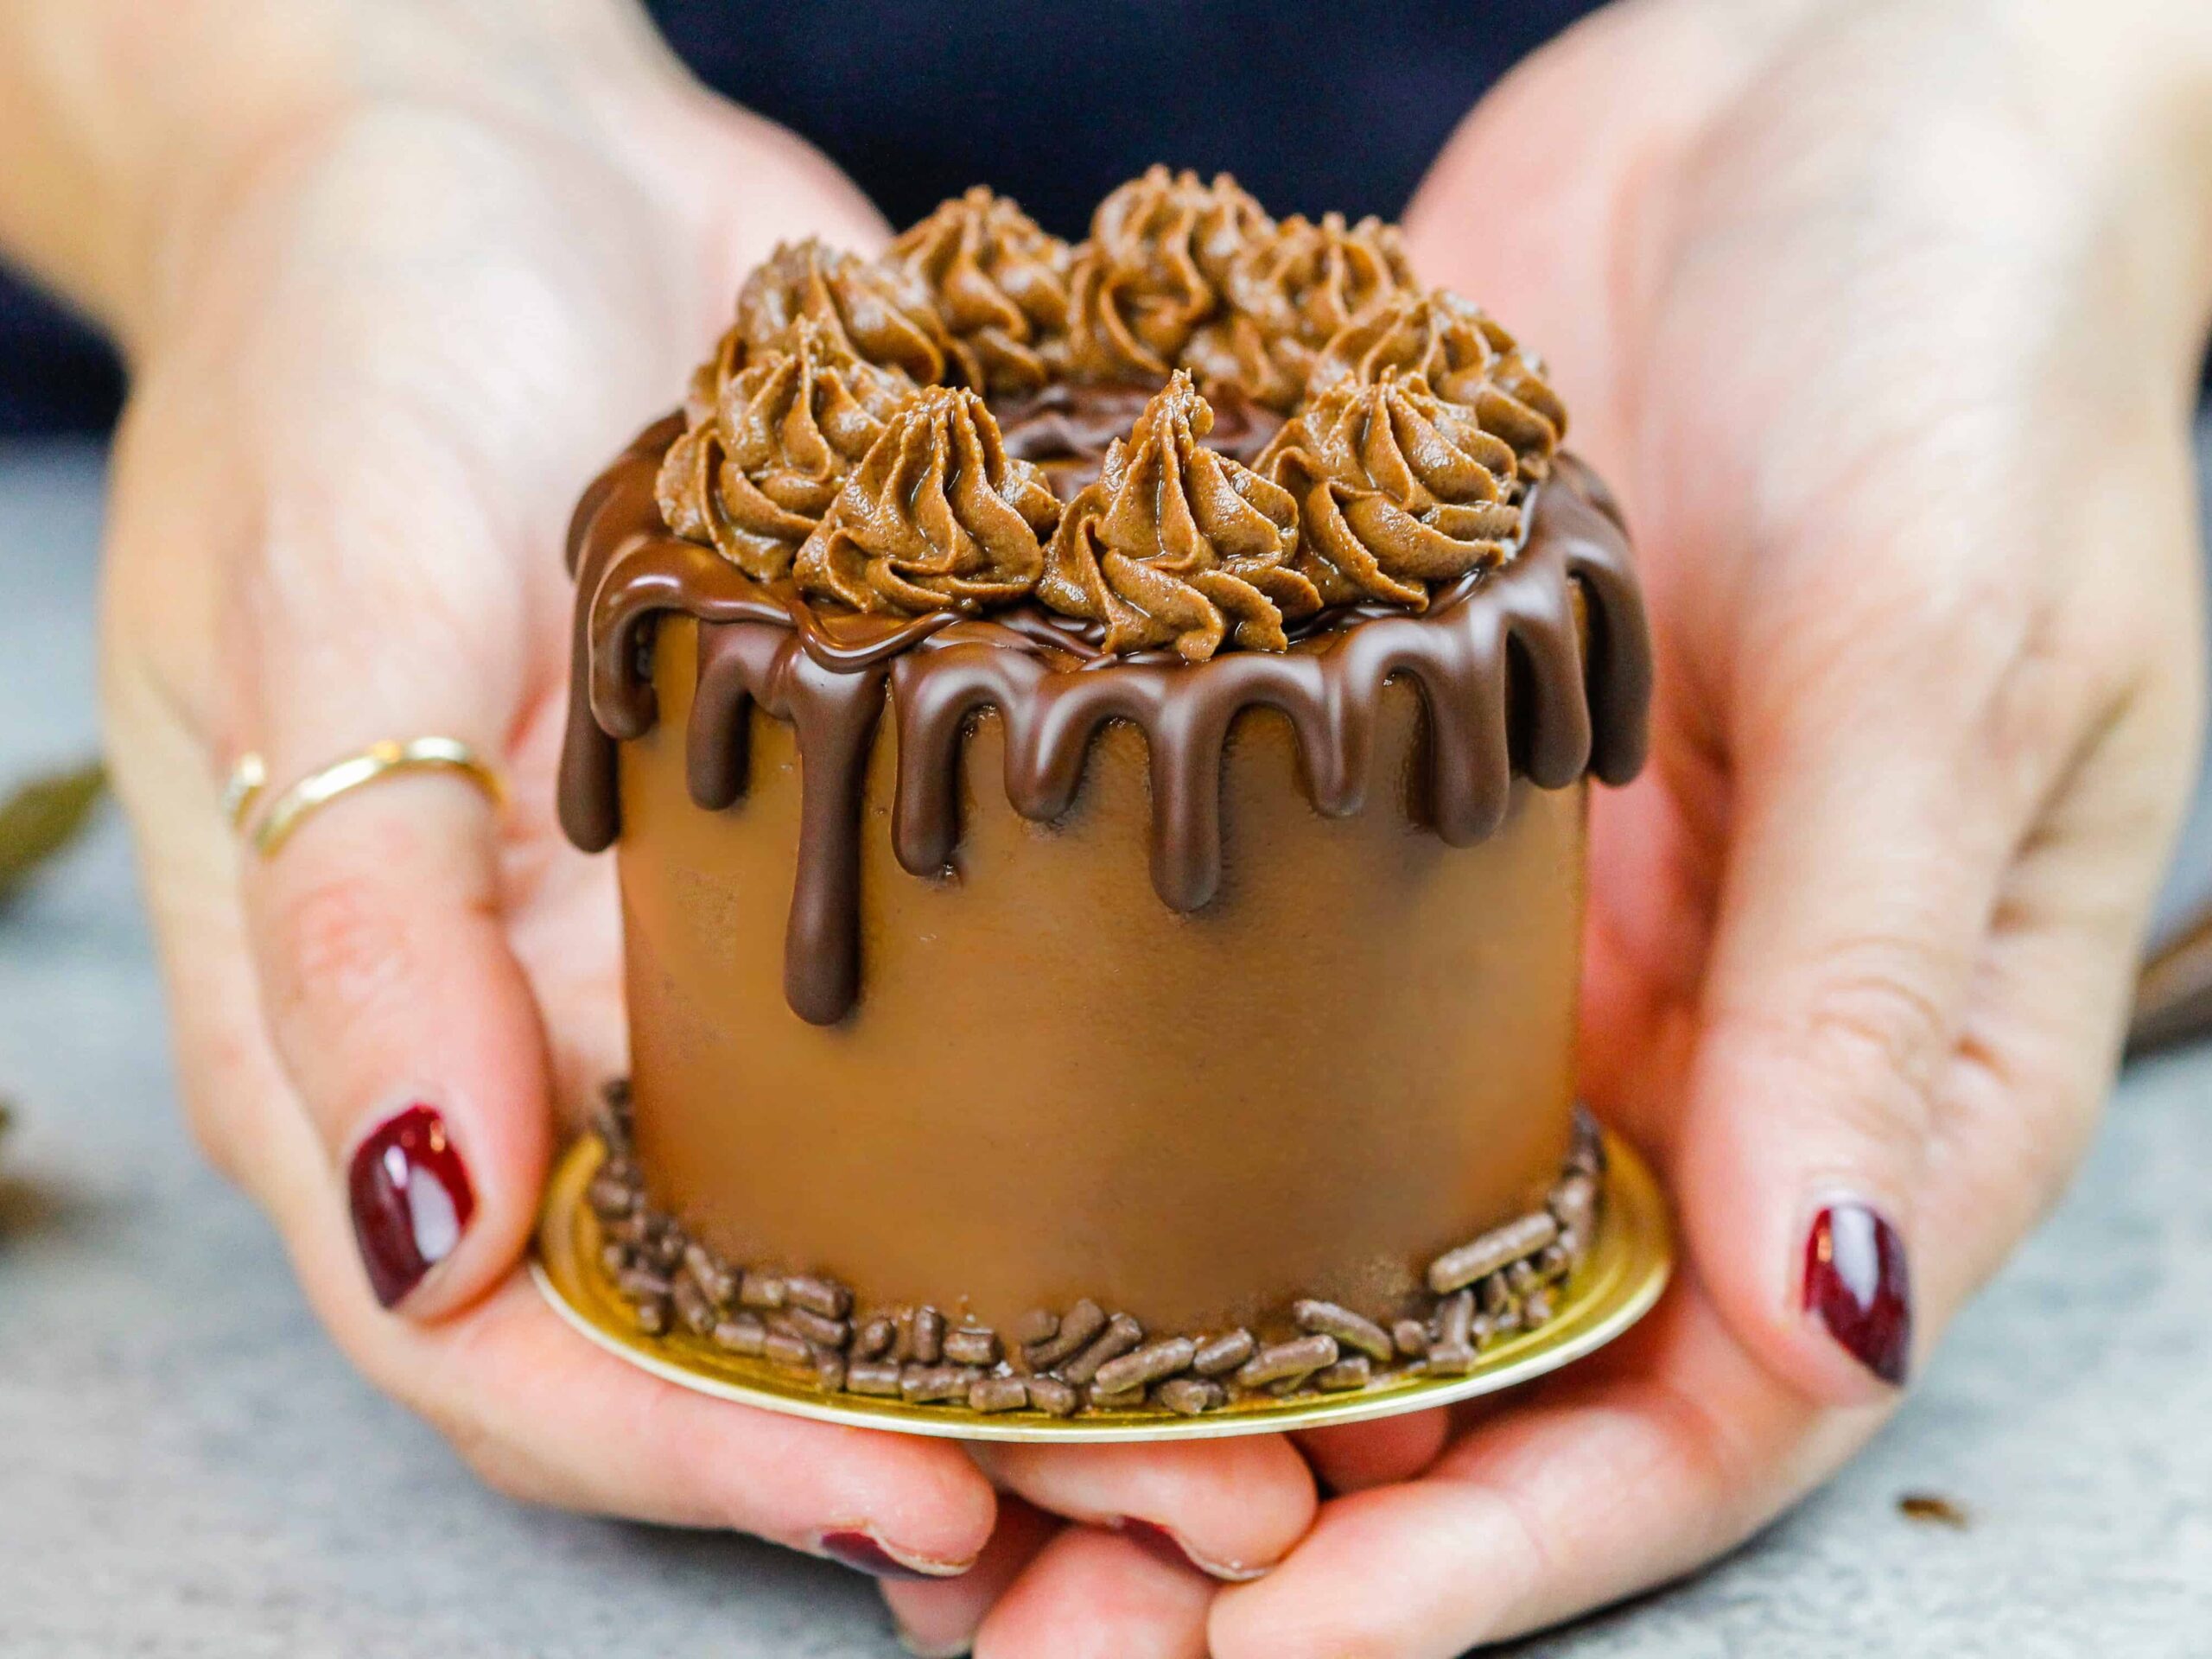
Mini Chocolate Cake
I love making big layer cakes but sometimes I just want to make a little something sweet. That’s where this mini chocolate cake recipe comes in.
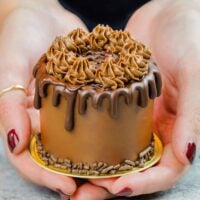
I love it because it lets you get your baking fix and allows you to have some fun with the decoration.
This recipe makes 2 adorable mini chocolate cakes and would be great for a date night at home.
The cake batter is based on my chocolate buttermilk cake recipe. However, it has a few modifications that allow you to make it by hand!
I wanted this recipe to be easy peasy, so that you can easily whip it up whenever you want to make something special for dessert.
How Much Batter Does this Mini Chocolate Cake Recipe Make?
One batch of this mini chocolate cake recipe makes one 6-inch cake layer.
After baking and cooling my little 6-inch cake layer I cut four 2 1/2 inch rounds from it using circle cutters. Each little cake will have 2 cake layers.
This recipe can also be used to make cupcakes! One batch makes enough batter to make 4-6 cupcakes.
If you go the cupcake route, bake them in a preheated 350 degree Fahrenheit oven for 17-19 minutes.
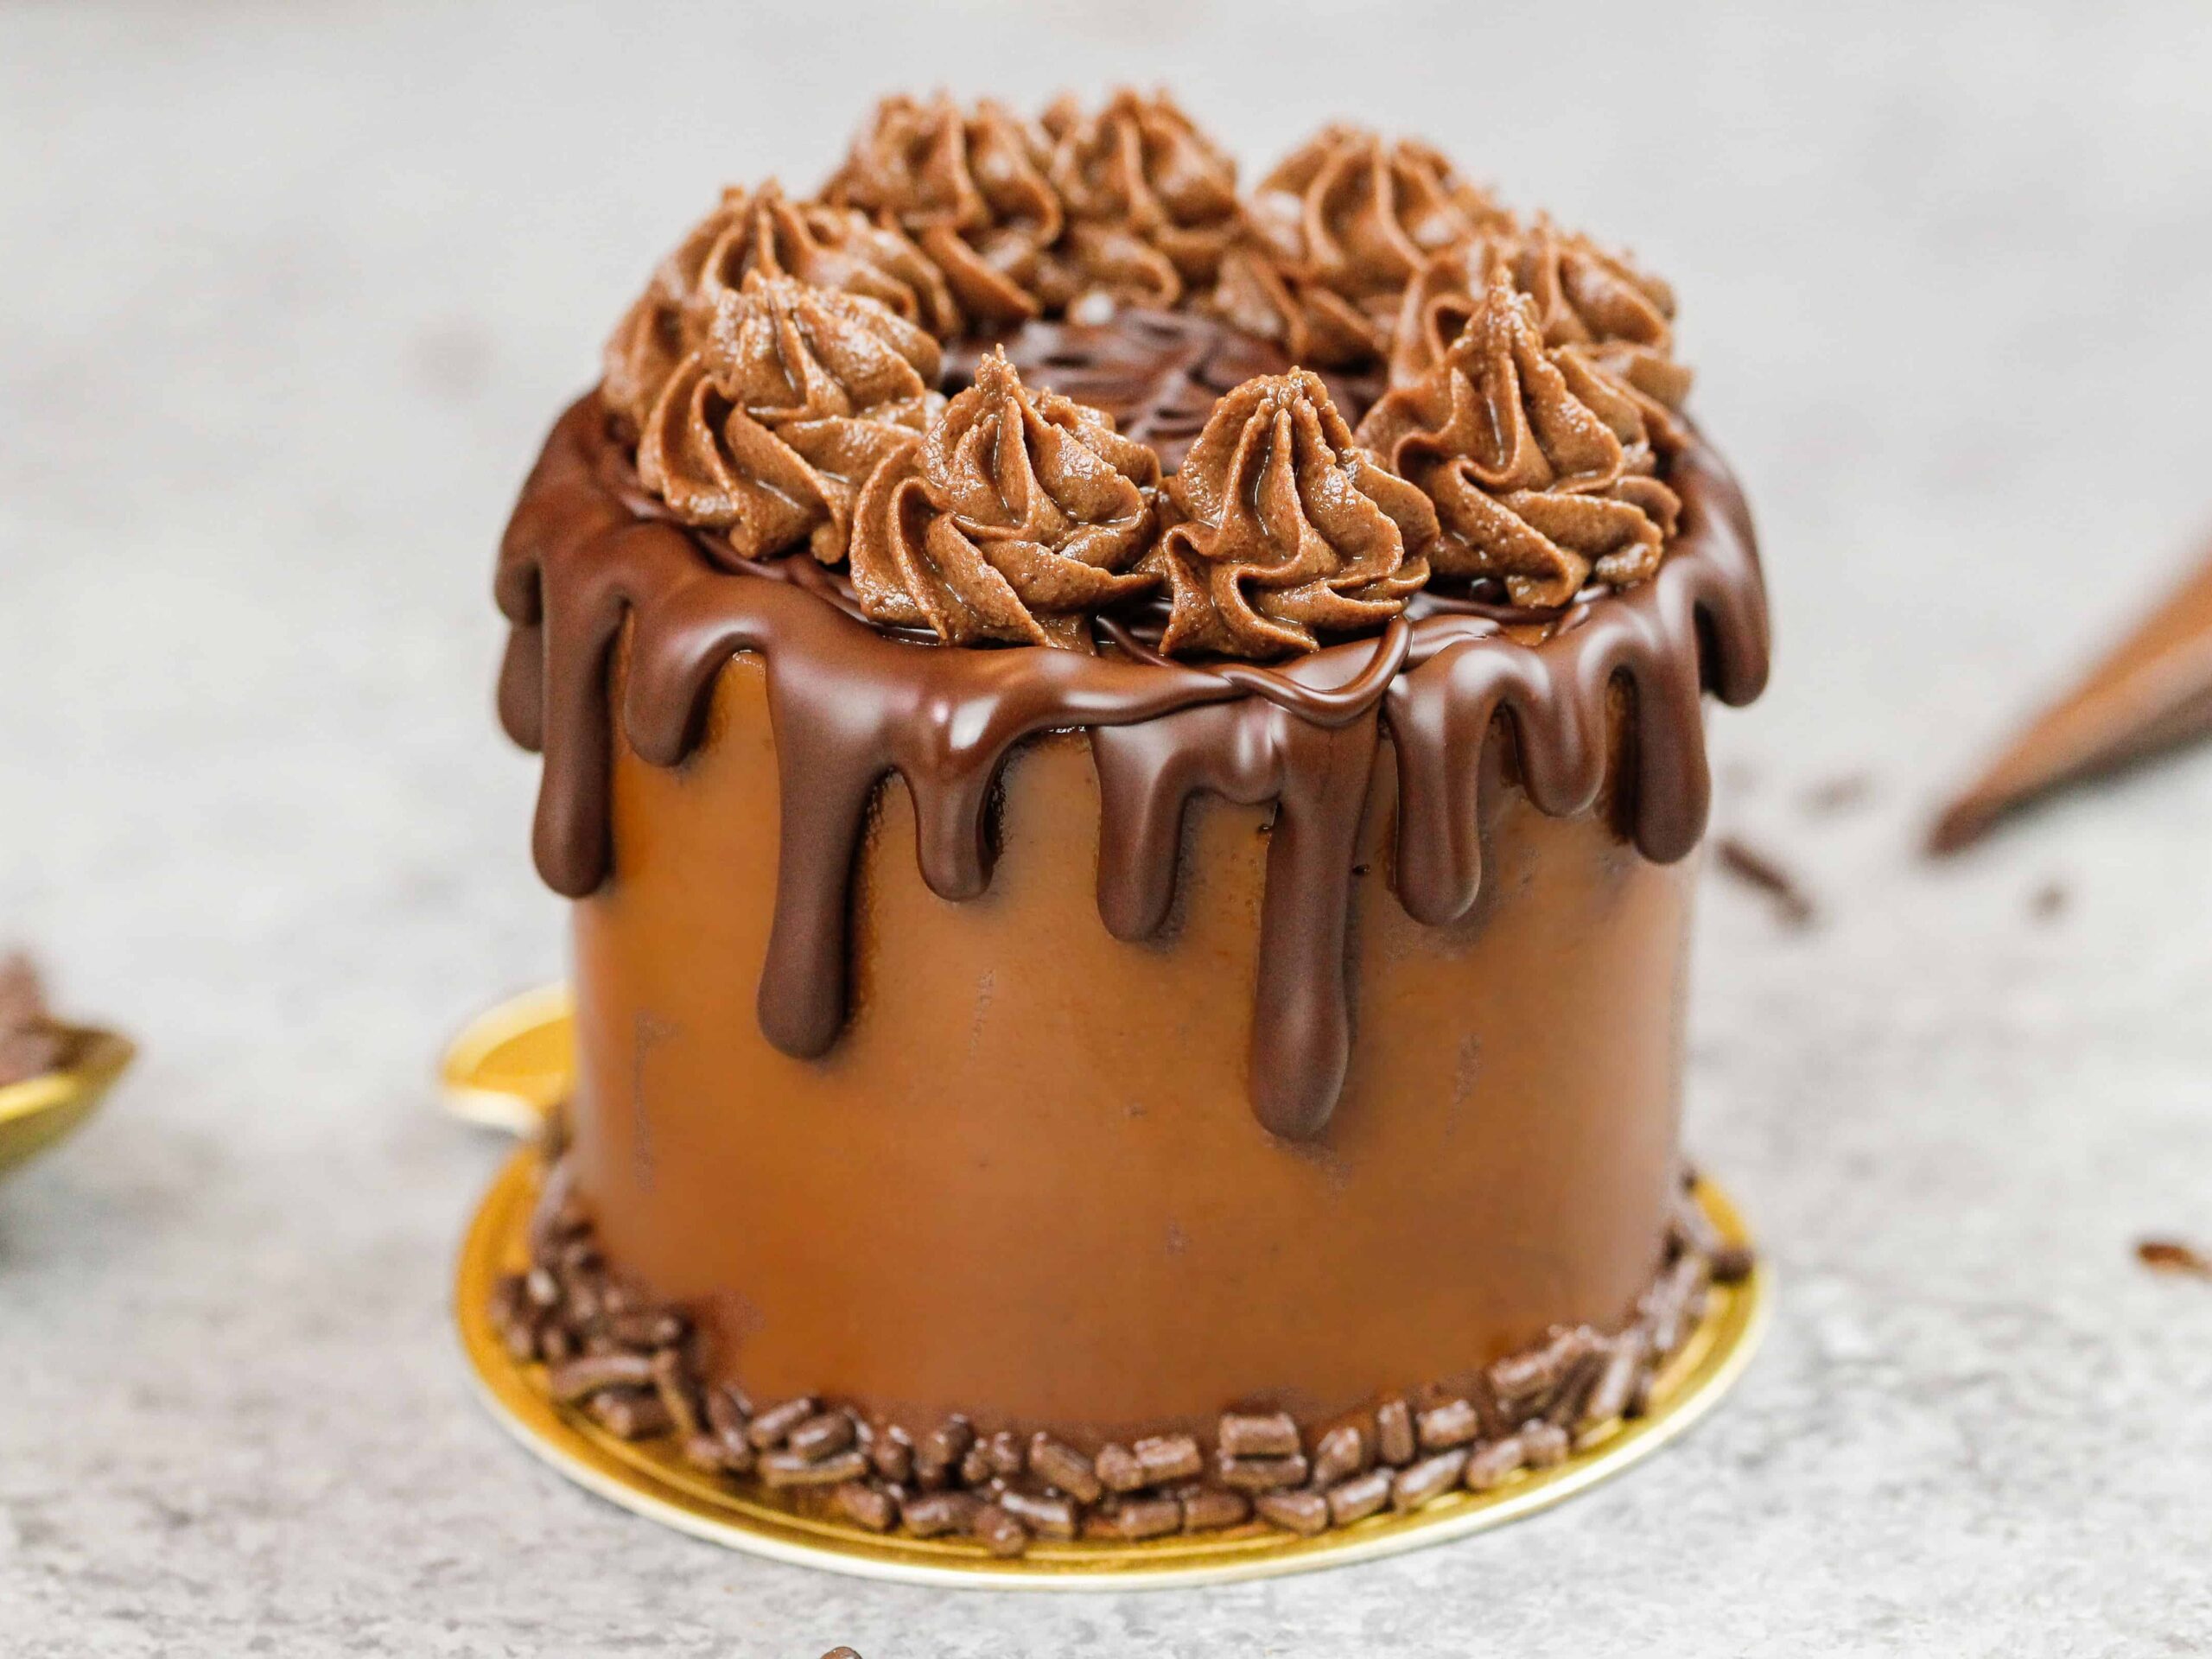
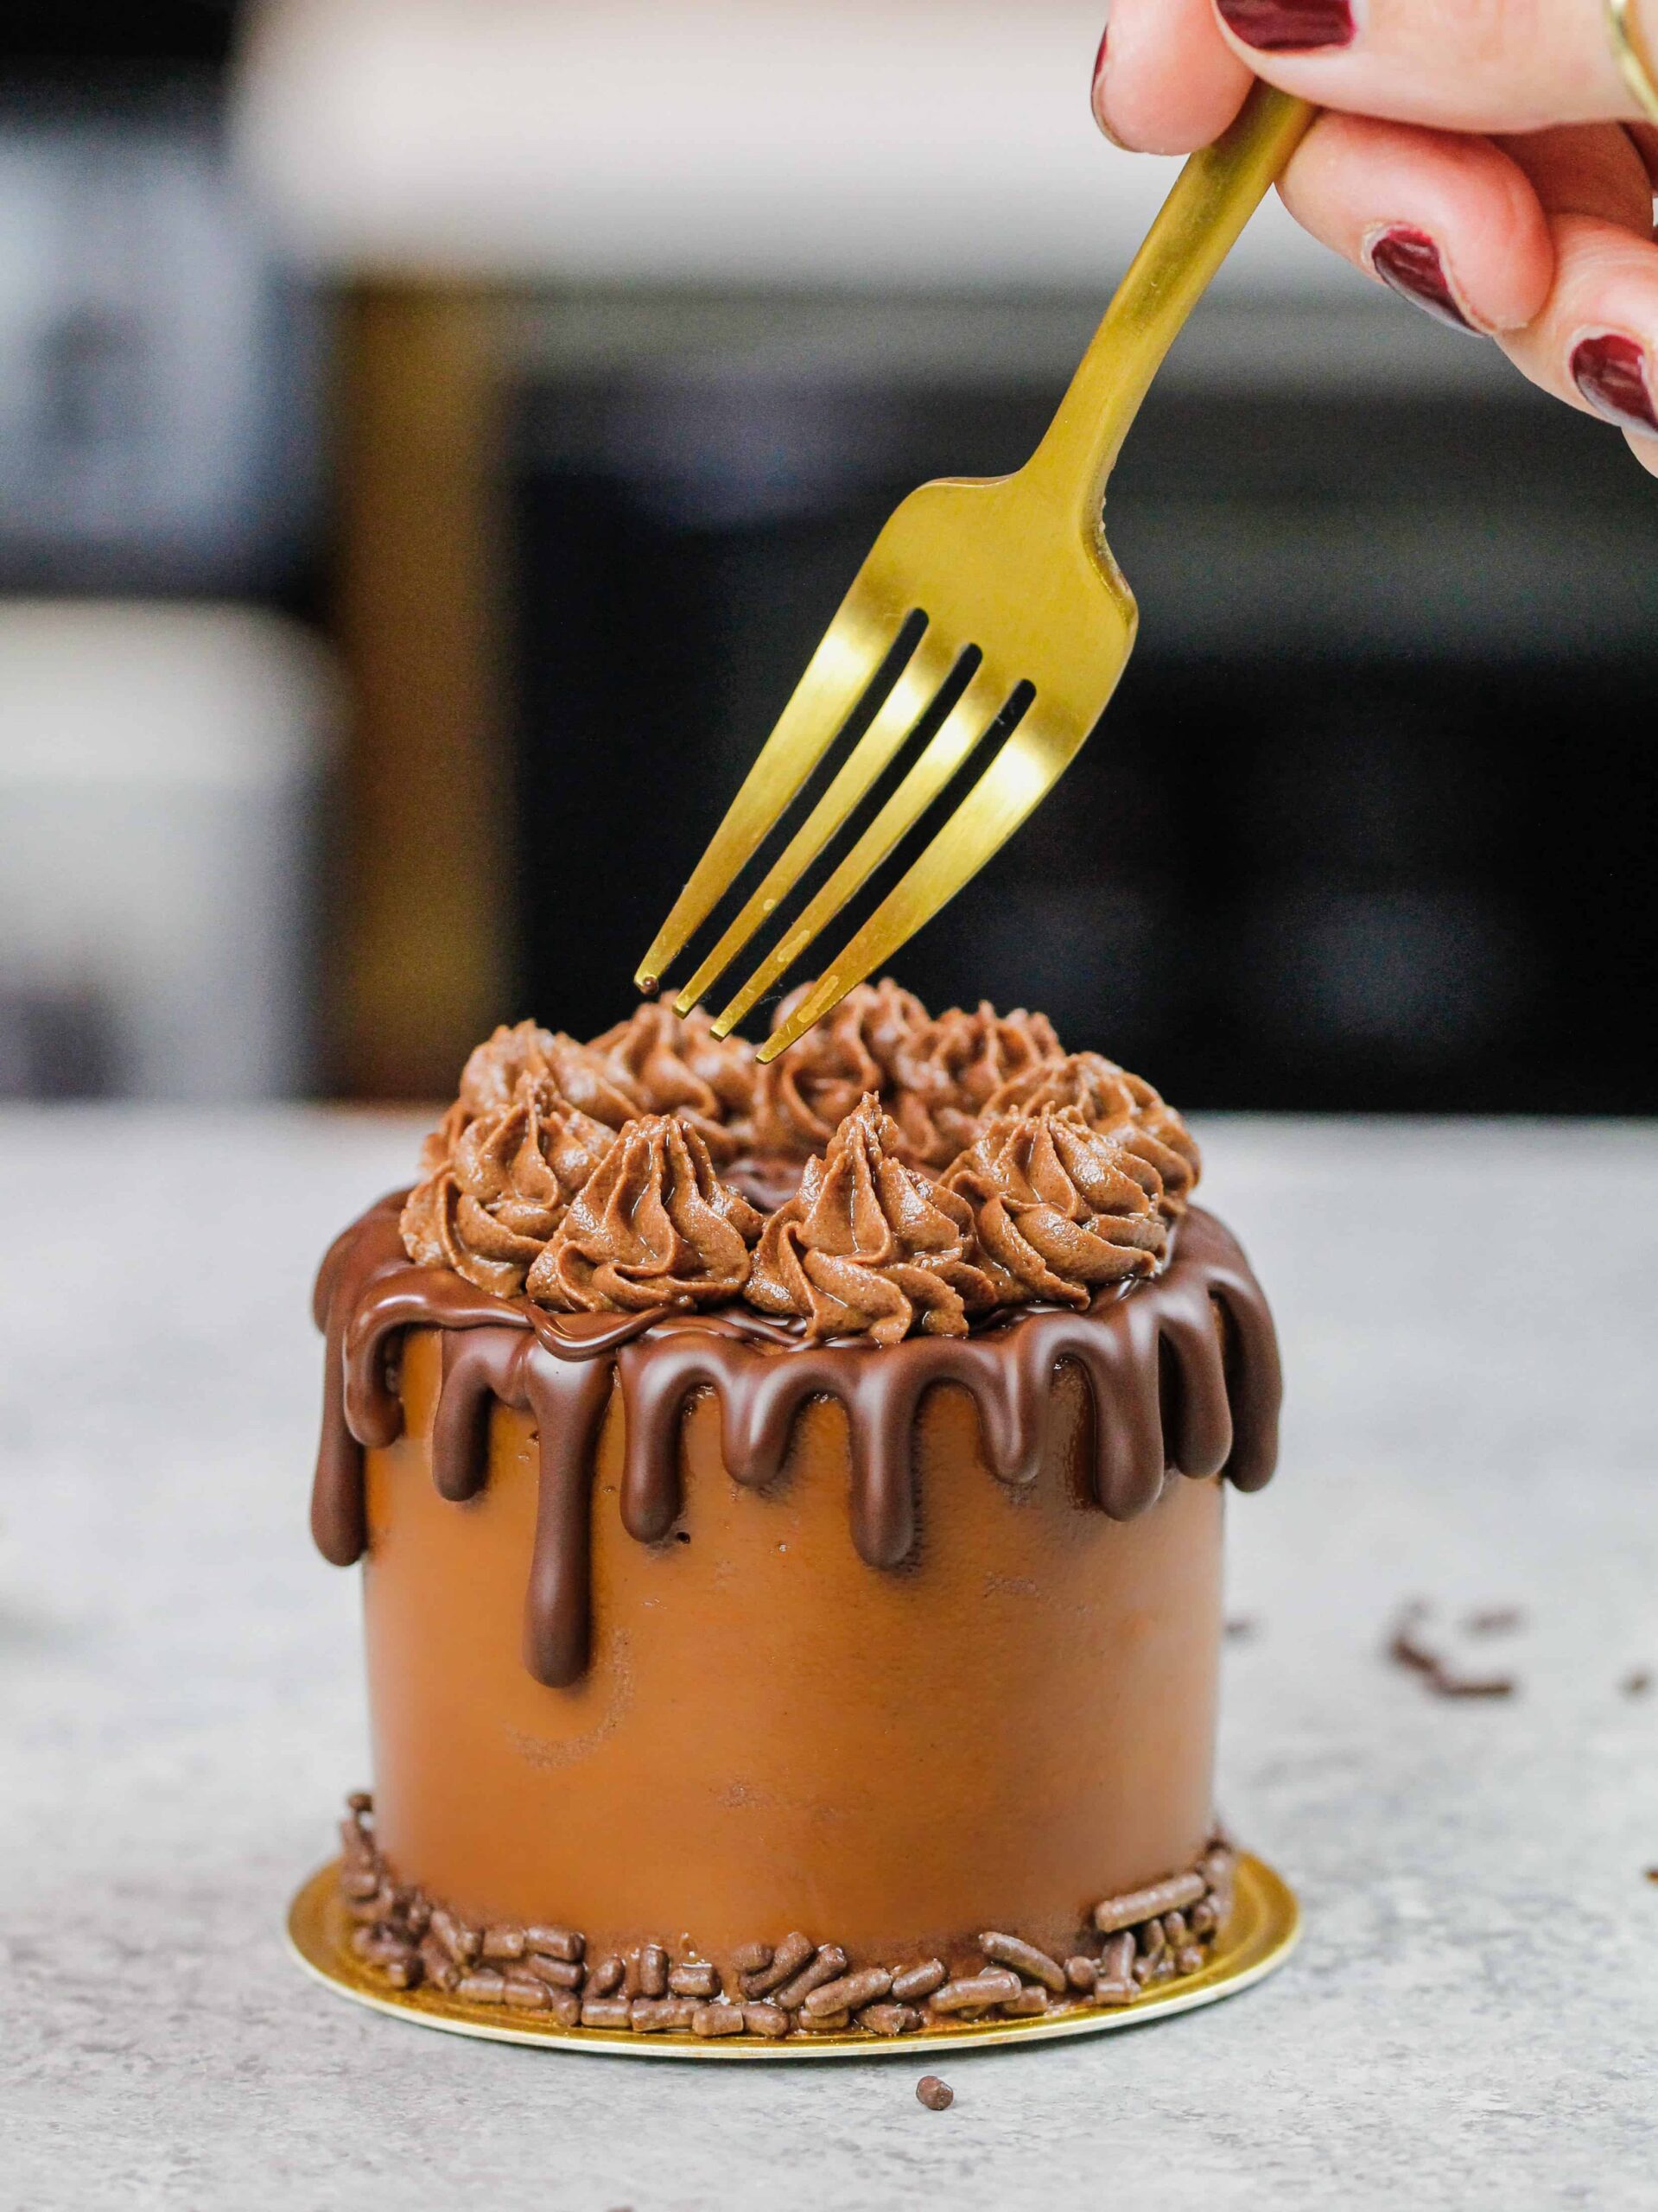
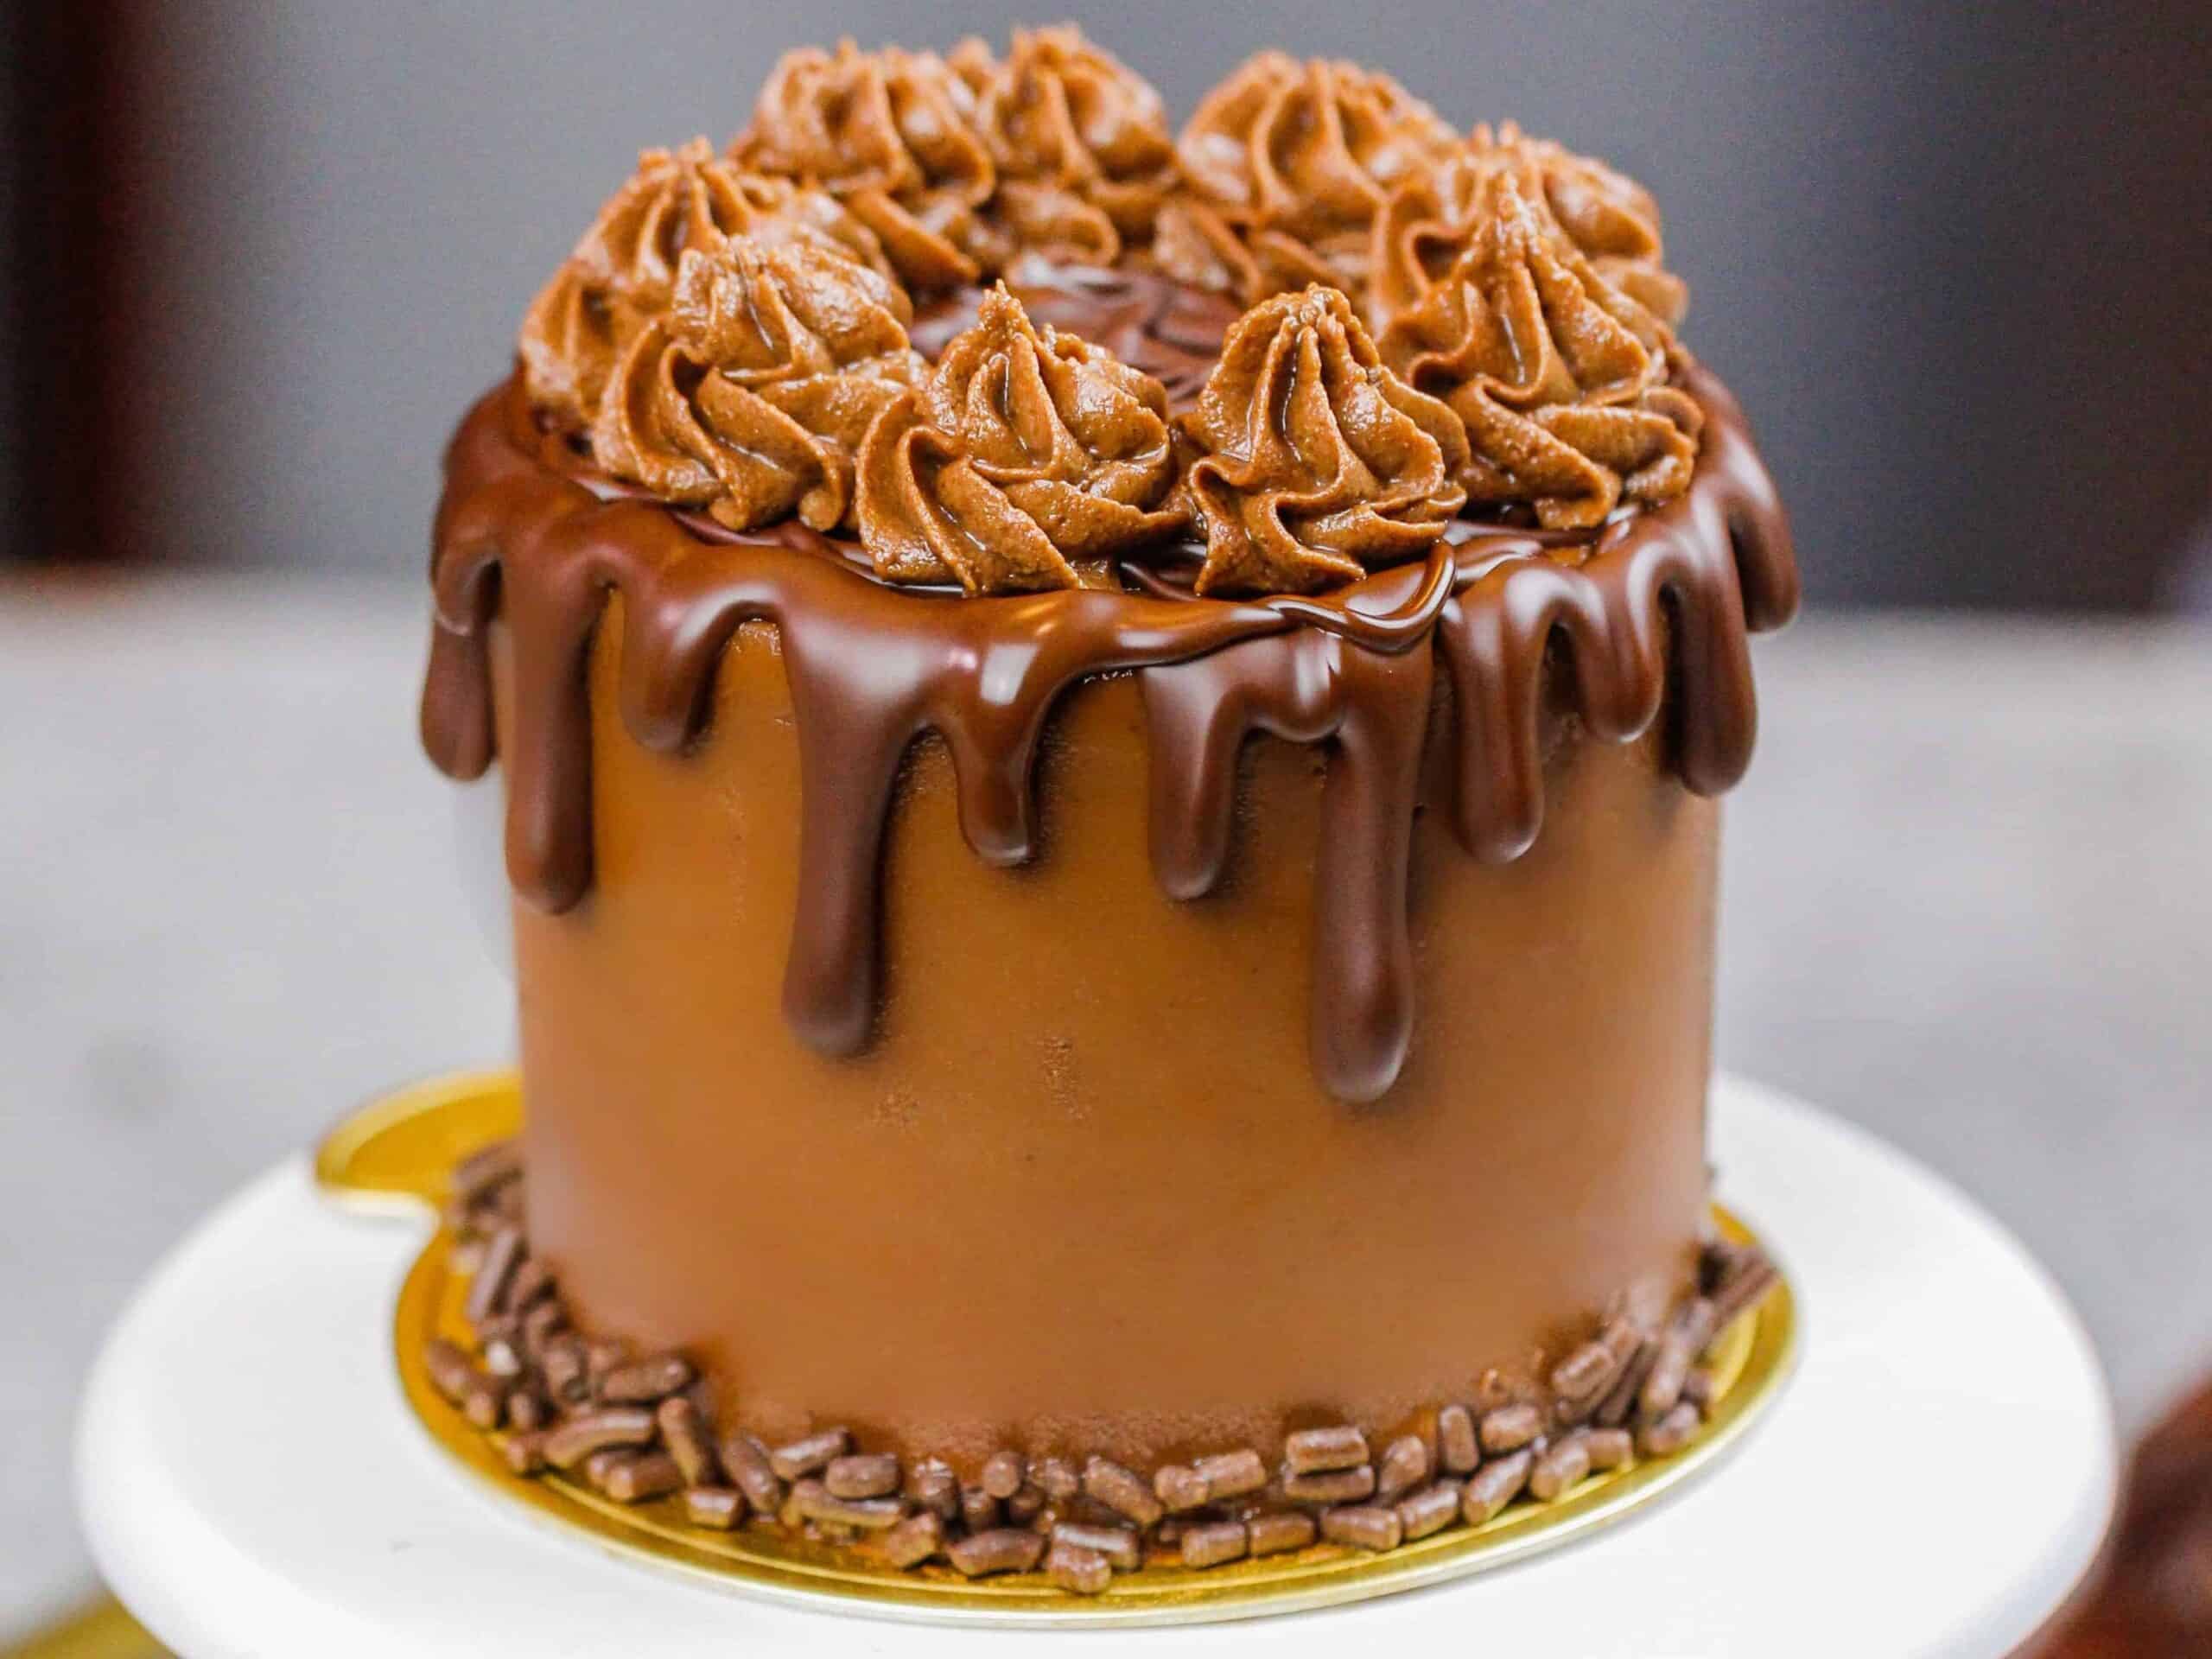
Decorating This Mini Chocolate Cake
I challenged myself to decorate this mini chocolate cake without a spinning cake stand! I wanted to see what styles and decorations are doable if you don’t have tons of baking tools on hand.
The easiest style was a textured look with a small offset spatula or the back of a spoon.
If you’re after a more classic look, you can use a spinning cake stand to smooth with a bench scraper and add some buttercream swirls like I did!
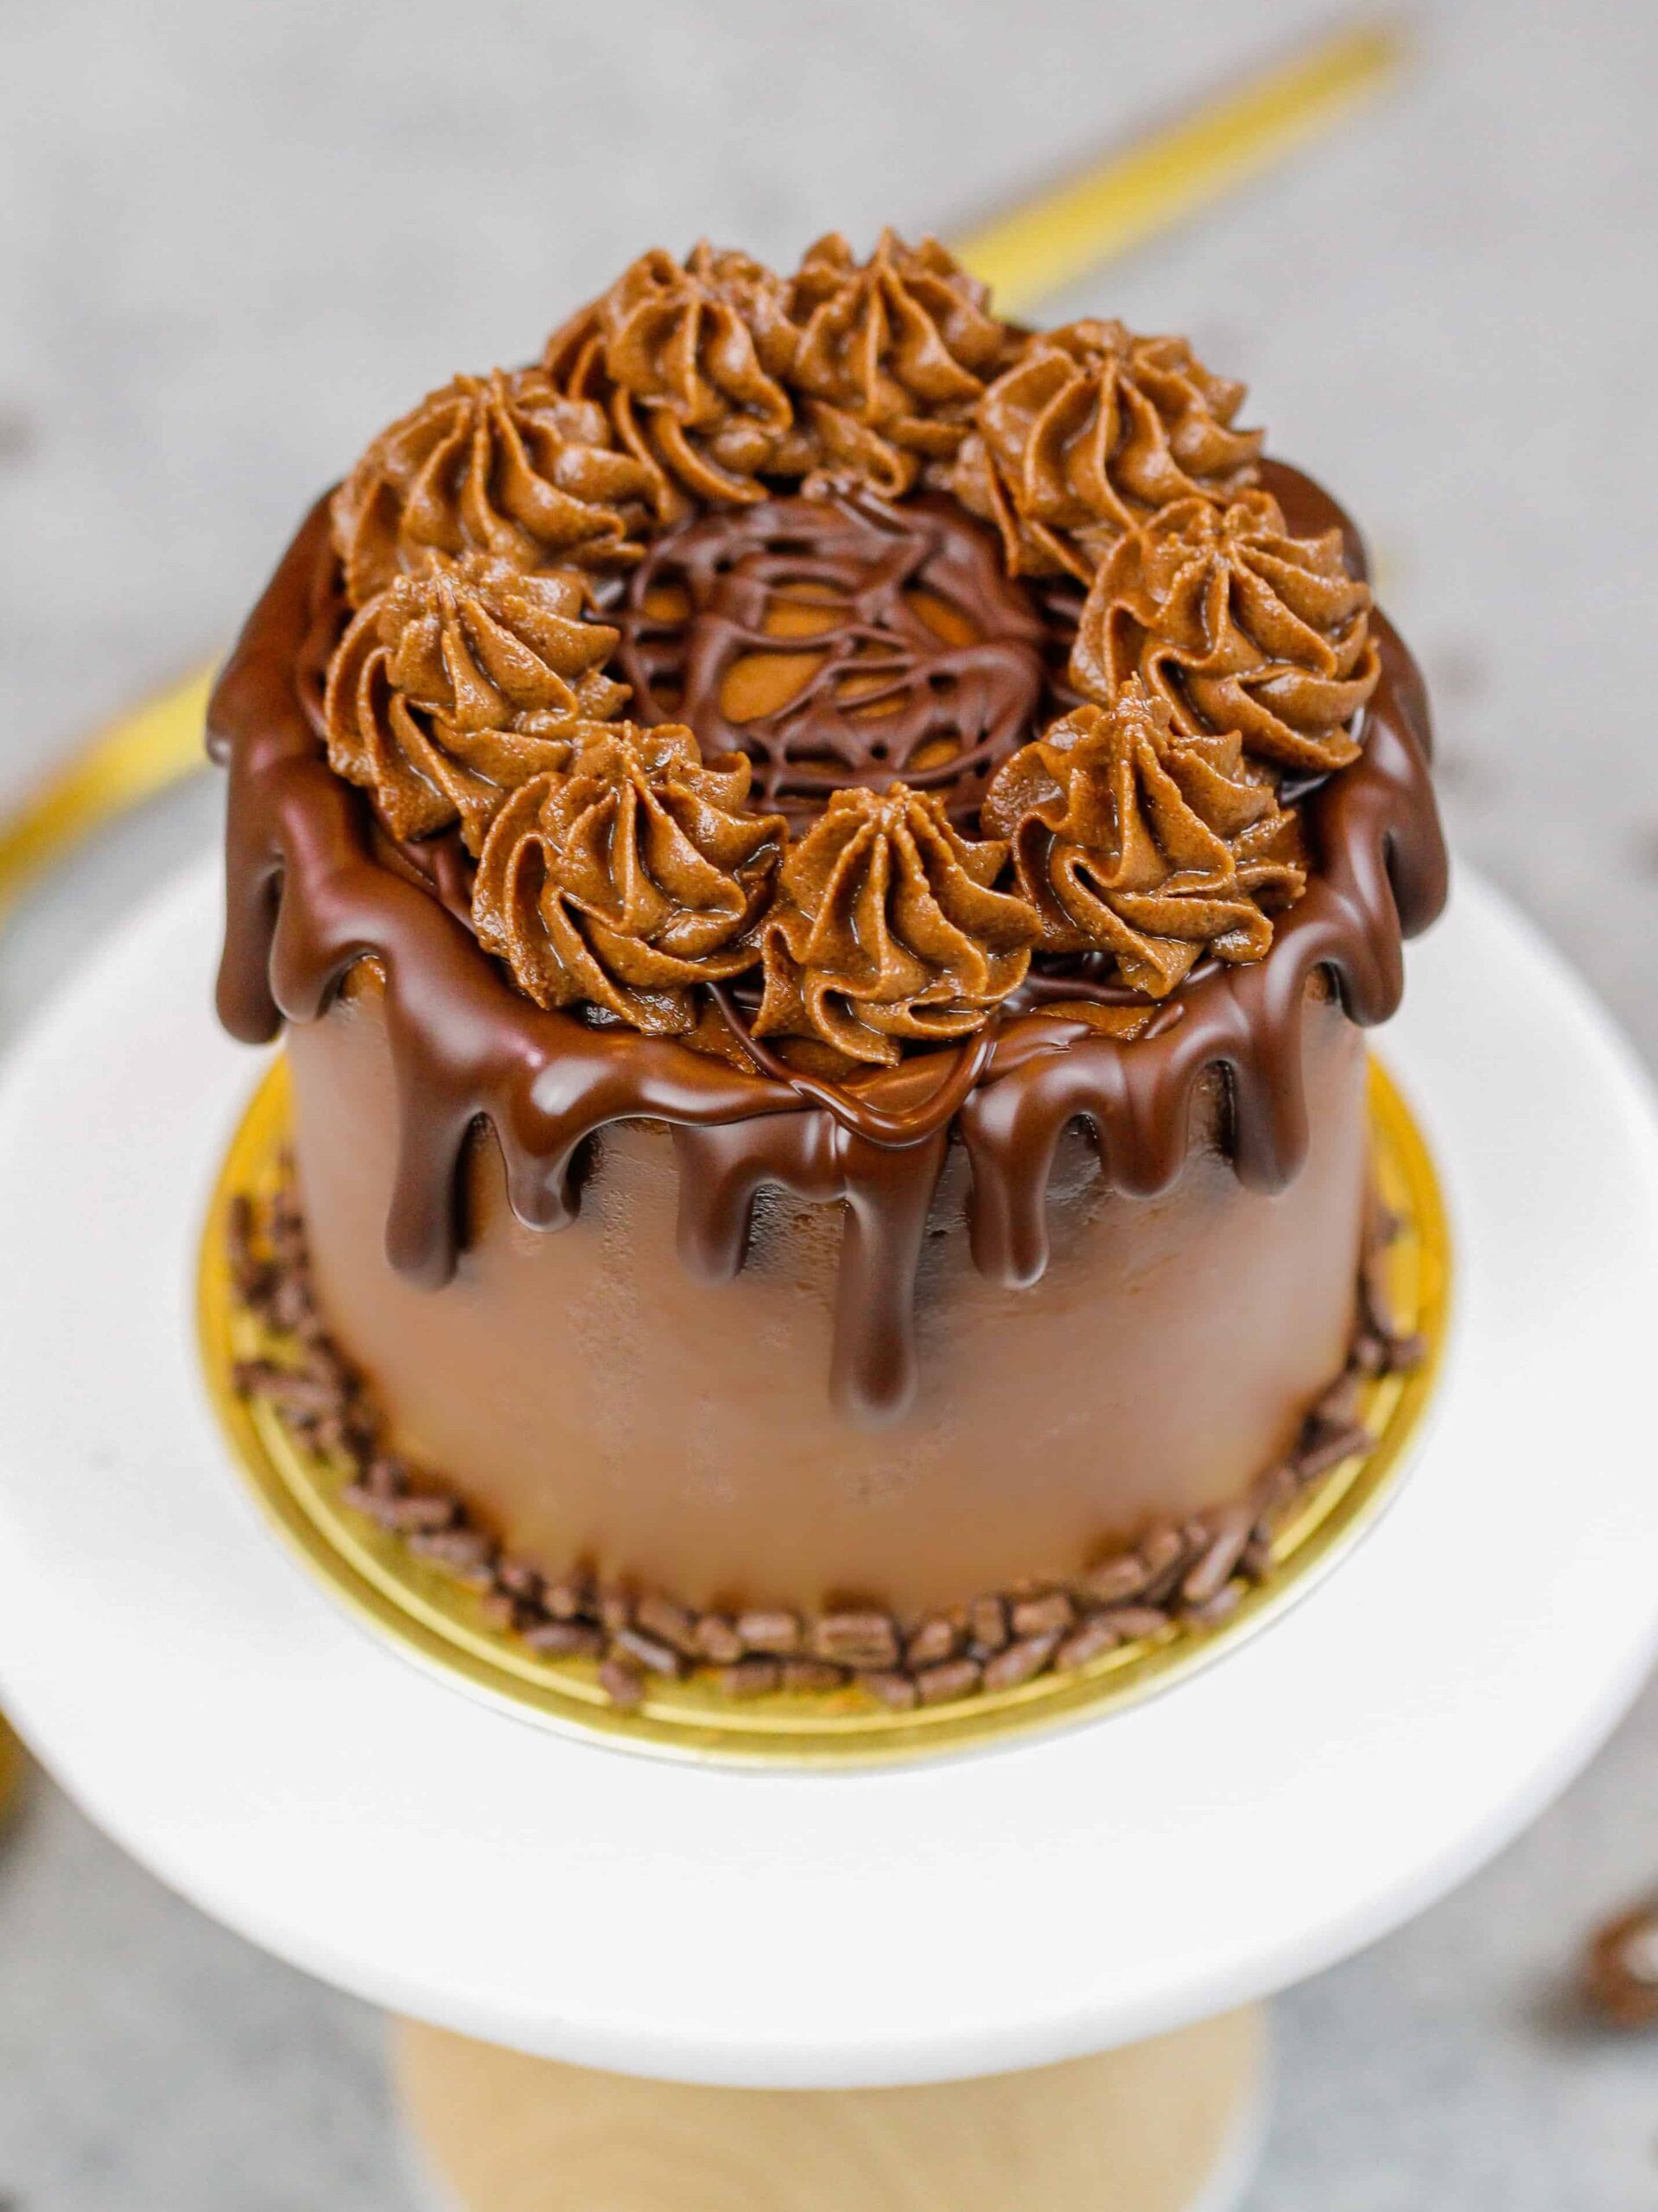
I also melted some dark chocolate and added some drips around my cake after I chilled it.
Mini Chocolate Cake Ingredient Swaps & Variations
While I love making this mini chocolate cake following the recipe below, I know you might not have all the ingredients on hand.
Or if you have food allergies or restrictions, I’ve got you covered.
Below are some swaps and substitutions that you can make:
- All-Purpose Flour – This recipe works best with all-purpose flour, but you can use gluten-free flour or cake flour if needed.
- Granulated Sugar – I do not recommend reducing the amount of sugar or changing the type of sugar. It will change the texture of the cake.
- Unsweetened Cocoa Powder – I prefer using regular baking cocoa, but you can also use Dutch-processed or black cocoa powder.
- Salted Butter – If you only have unsalted butter on hand, use it in place of the salted butter and add 1/4 tsp of salt. You can also use vegan butter in its place!
- Egg White – You can also use 2 Tbsp of egg whites from a carton.
- Buttermilk – You can also use full-fat yogurt, sour cream, whole milk, or an alternative yogurt or milk (almond, soy, oat) if you’re dairy-free.
Making a Gluten-Free Mini Chocolate Cake
You can swap in your favorite gluten-free flour blend cup for cup in this mini chocolate cake recipe!
I personally prefer King Arthur’s gluten-free flour blend, and find that 1 cup of GF flour weighs about 120 grams.
In addition to swapping the flour, there are two additional steps you need to take when making this mini cake gluten-free.
Gluten Free Baking Tip #1: Over-mix Your Batter
The first step is to vigorously whisk your batter for a few minutes once it’s made. This helps give your cake layer structure.
I know this goes against everything you’ve ever heard about baking, but over-mixing your batter is key when making anything gluten-free. It helps the cake rise better as it bakes and gives it a more tender crumb.
Gluten Free Baking Tip #2: Let Your Batter Rest
The second step I recommend is letting your batter rest for about 30 minutes before baking your cake layer.
Gluten-free flour blends can have a hard time absorbing moisture and fats. Letting the batter sit before baking it gives the flour more time to absorb all that goodness.
This helps thicken the batter and prevents your cake layer from having a gritty texture.
Tips for Making the Best Mini Chocolate Cake
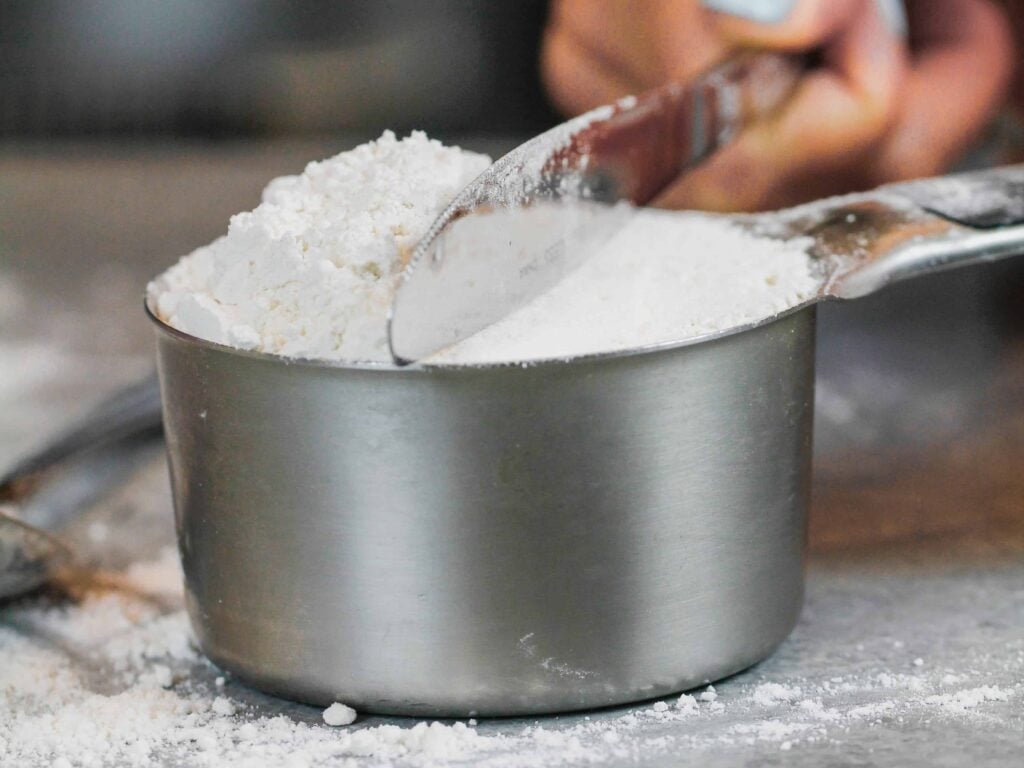
- Properly measure your flour (spoon into the cup measure, then level) or use a kitchen scale to measure your dry ingredients.
- Use a serrated knife to level your cake layer once it’s fully cooled. This makes it easier to assemble and frost your cake.
- Chill your little cake rounds in the freezer for about 10 minutes before assembling the cake. It makes it much easier to stack and frost.
- Use a wooden skewer to help keep your cake layers in place as you frost them.
- Mix your cake batter just until the ingredients are incorporated. This will ensure your cake is tender and fluffy (unless you’re making a GF version!).
Making This Mini Chocolate Cake in Advance and Storage Tips
Make your cake layer in advance and freeze it. This breaks the process up and allows you to have more fun when it’s time to decorate the cake.
You can also make your frosting ahead of time or save any leftover frosting! It can be stored in an airtight container in the fridge for up to a month or in the freezer for up to 3 months. Be sure to give it a good stir once it thaws to get the consistency nice and smooth again.
A mini cake can last in the fridge for a week or in the freezer for a month. The buttercream locks in all the moisture, keeping the cake fresh and delicious!
If you cut into the cake and have leftovers, use any remaining frosting to cover the cut section. This keeps it moist and stores in the fridge for up to a week.
Let Me Know What You Think!
If you try my mini chocolate cake recipe, I’d love to hear what you think of it! Please leave a rating and comment below.
Tag me @chelsweets and use the #chelsweets on social media so that I can see your amazing creations!
Mini Chocolate Cake
Ingredients
Mini Chocolate Cake Recipe
- 1/3 cup all-purpose flour 43g
- 1/2 cup granulated sugar 100g
- 2 Tbsp unsweetened cocoa powder, sifted 10g
- 1/2 tsp baking powder 2g
- 1/4 cup salted butter, melted 56g
- 1 egg white, room temperature 30g
- 1/4 cup buttermilk, room temperature 60g
- 1/2 tsp vanilla extract or vanilla bean paste 2g
Chocolate Buttercream Frosting
- 1/2 cup salted butter, room temperature 113g
- 1 tsp vanilla extract or vanilla bean paste 4g
- 1/4 cup unsweetened baking cocoa 20g
- 1 1/2 cups powdered sugar 188g
- 1 Tbsp heavy cream or milk, room temperature 15g
Helpful Tools & Equipment
Instructions
Mini Chocolate Cake:
- Preheat oven to 350°F/175°C. Line one 6" round pan with a parchment round and grease with non-stick baking spray.
- Mix together 1/3 cup flour, 1/2 cup sugar, 2 Tbsp cocoa powder and 1/2 tsp baking powder with a whisk until combined.
- Mix 1/4 cup melted and cooled butter and 1 egg white into the dry ingredients and whisk until combined. The batter will be thick.
- Add 1/4 cup buttermilk and 1/2 tsp vanilla extract. Mix until combined, and scrape the sides and bottom of the bowl with a rubber spatula to make sure everything is properly mixed together.
- Pour the batter into the prepared cake pan and bake for 25-30 minutes or until a toothpick comes out with a few moist crumbs.
- Allow the pan to cool for 10 minutes, then run an offset spatula around perimeter of the pan to separate the cake from the pan. Flip the pan onto a wire rack and the cake layer cool fully.
- Use a serrated knife to level the top of the layers, then cut out 4 small rounds of cake using a 2 1/2 inch circle cutter. The leftover bits of cake can be used to make cake pops or cake balls.
Chocolate Buttercream Frosting:
- While the cake layer bakes and cools, make the chocolate buttercream frosting.
- Beat 1/2 cup butter on a medium high speed for 30 seconds with a whisk attachment or hand mixer until smooth and lighter in color.
- Mix in 1 tsp vanilla extract and 1/4 cup baking cocoa on a low speed.
- Slowly mix in 1 1/2 cups of powdered sugar on a low speed.
- Once you've added in all the powdered sugar, add 1 Tbsp heavy cream or milk to make the frosting easier to mix.
- Continue to mix on low speed for a couple minutes until the desired consistency is reached.
- If the frosting is too thick, add in additional cream (1 tsp at a time). If the frosting is too thin, add in more powdered sugar (quarter of a cup at a time).
- Place the frosting in a small piping bag and set aside.
To Assemble This Mini Chocolate Cake:
- Stack and frost the mini chocolate cake layers on a small dessert board or plate using a dab of frosting to help stick the first cake layer to the board.
- Add an even layer of chocolate buttercream between the cake layers with a small offset spatula.
- Spread a thin coat of frosting around the cake, fully cover the cake layers.
- Smooth using a bench scraper or acetate sheet then chill the cake in the fridge (10 minutes) or freezer (5 minutes) until the frosting is firm to the touch.
- Add a second, thicker layer of frosting to the cake, then decorate as desired! I melted some dark chocolate to add drips around the chilled cake and added some chocolate sprinkles around the base.
Video
Notes
Nutrition
Other Recipes You Might Like:
Yum – I’m going to make this today. My smallest cake recipe makes two 6” layers or 14 cupcakes, which is still too much sometimes. This one is PERFECT
Delicious cake. I didn’t have buttermilk so I used heavy cream – not sure if that changed anything but it was delicious. Wish I could attach a photo. So cute
This was really good, I have made it a couple of times now (the gluten-free version). It is the best chocolate cake AND icing I have had since being GF. I doubled it last time in order to make some extra cupcakes and it worked perfectly!
I always loved baking.. and now slowly started making cakes.
Tried this recipe and it was so delicious ?..
I was searching for small recipes so that I can learn baking and this one was perfect.
Thank you…
Hi Chelsea! I love following you and your wonderful recipes! I’m preparing to make this cute mini chocolate cake and have a couple of questions…
1. Can vegetable oil be substituted for butter? If so how much oil do you recommend?
2. Can these cakes be baked in 4in cake pans? If so approximately how many 4in cake pans will this batter fill and what baking time do you recommend?
Thank you for your time!
Bianca
Hi Chelsea!
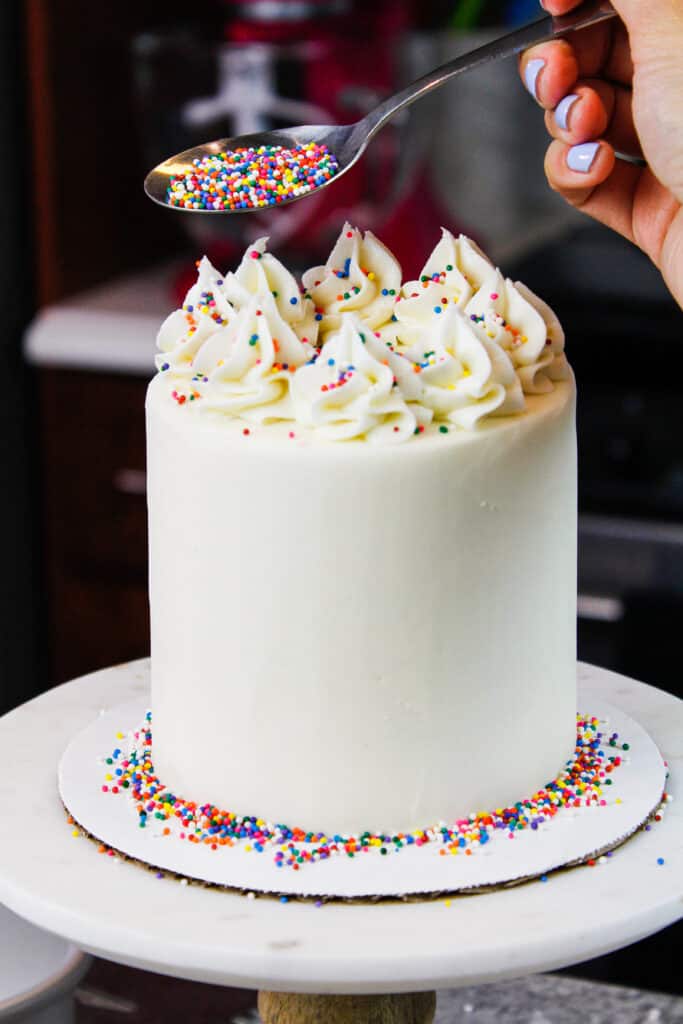
I would love to try this mini cake recipe but with vanilla. How can I do that?
Hi! I want to make this recipe, but I do not have a 6 inch cake pan. Is there another pan that I could use?
Hi Chelsea! Would you recommend using 4inch cake pans for this recipe to make 1 4inch cake?