
Brown Butter Rice Krispie Treats
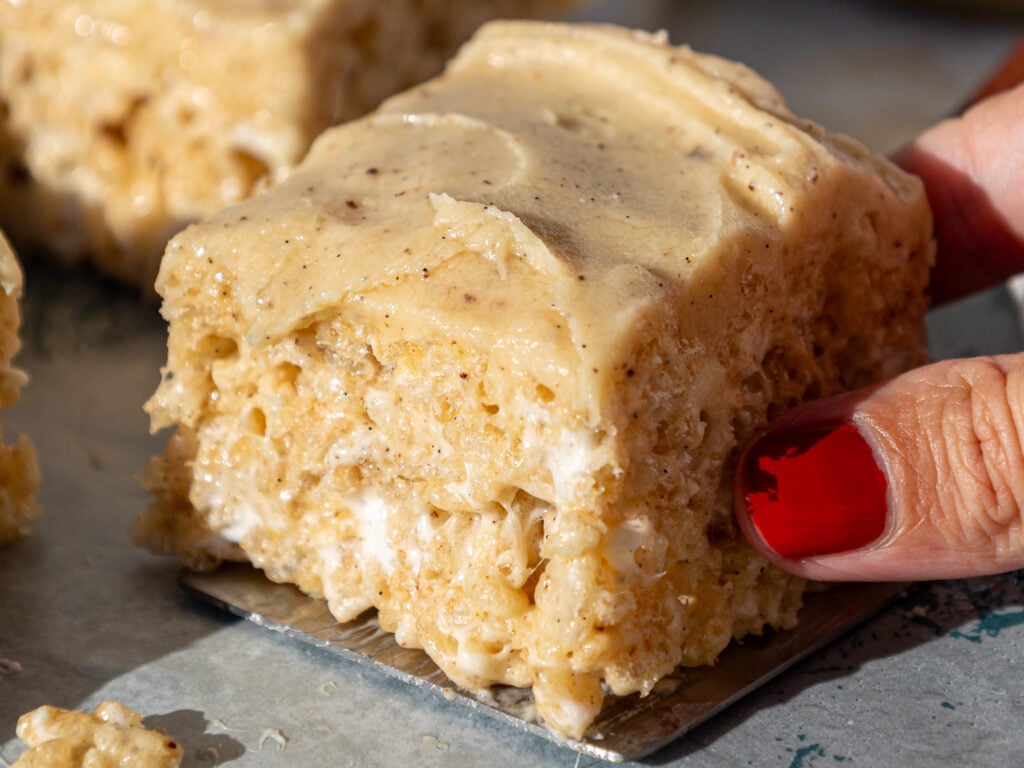
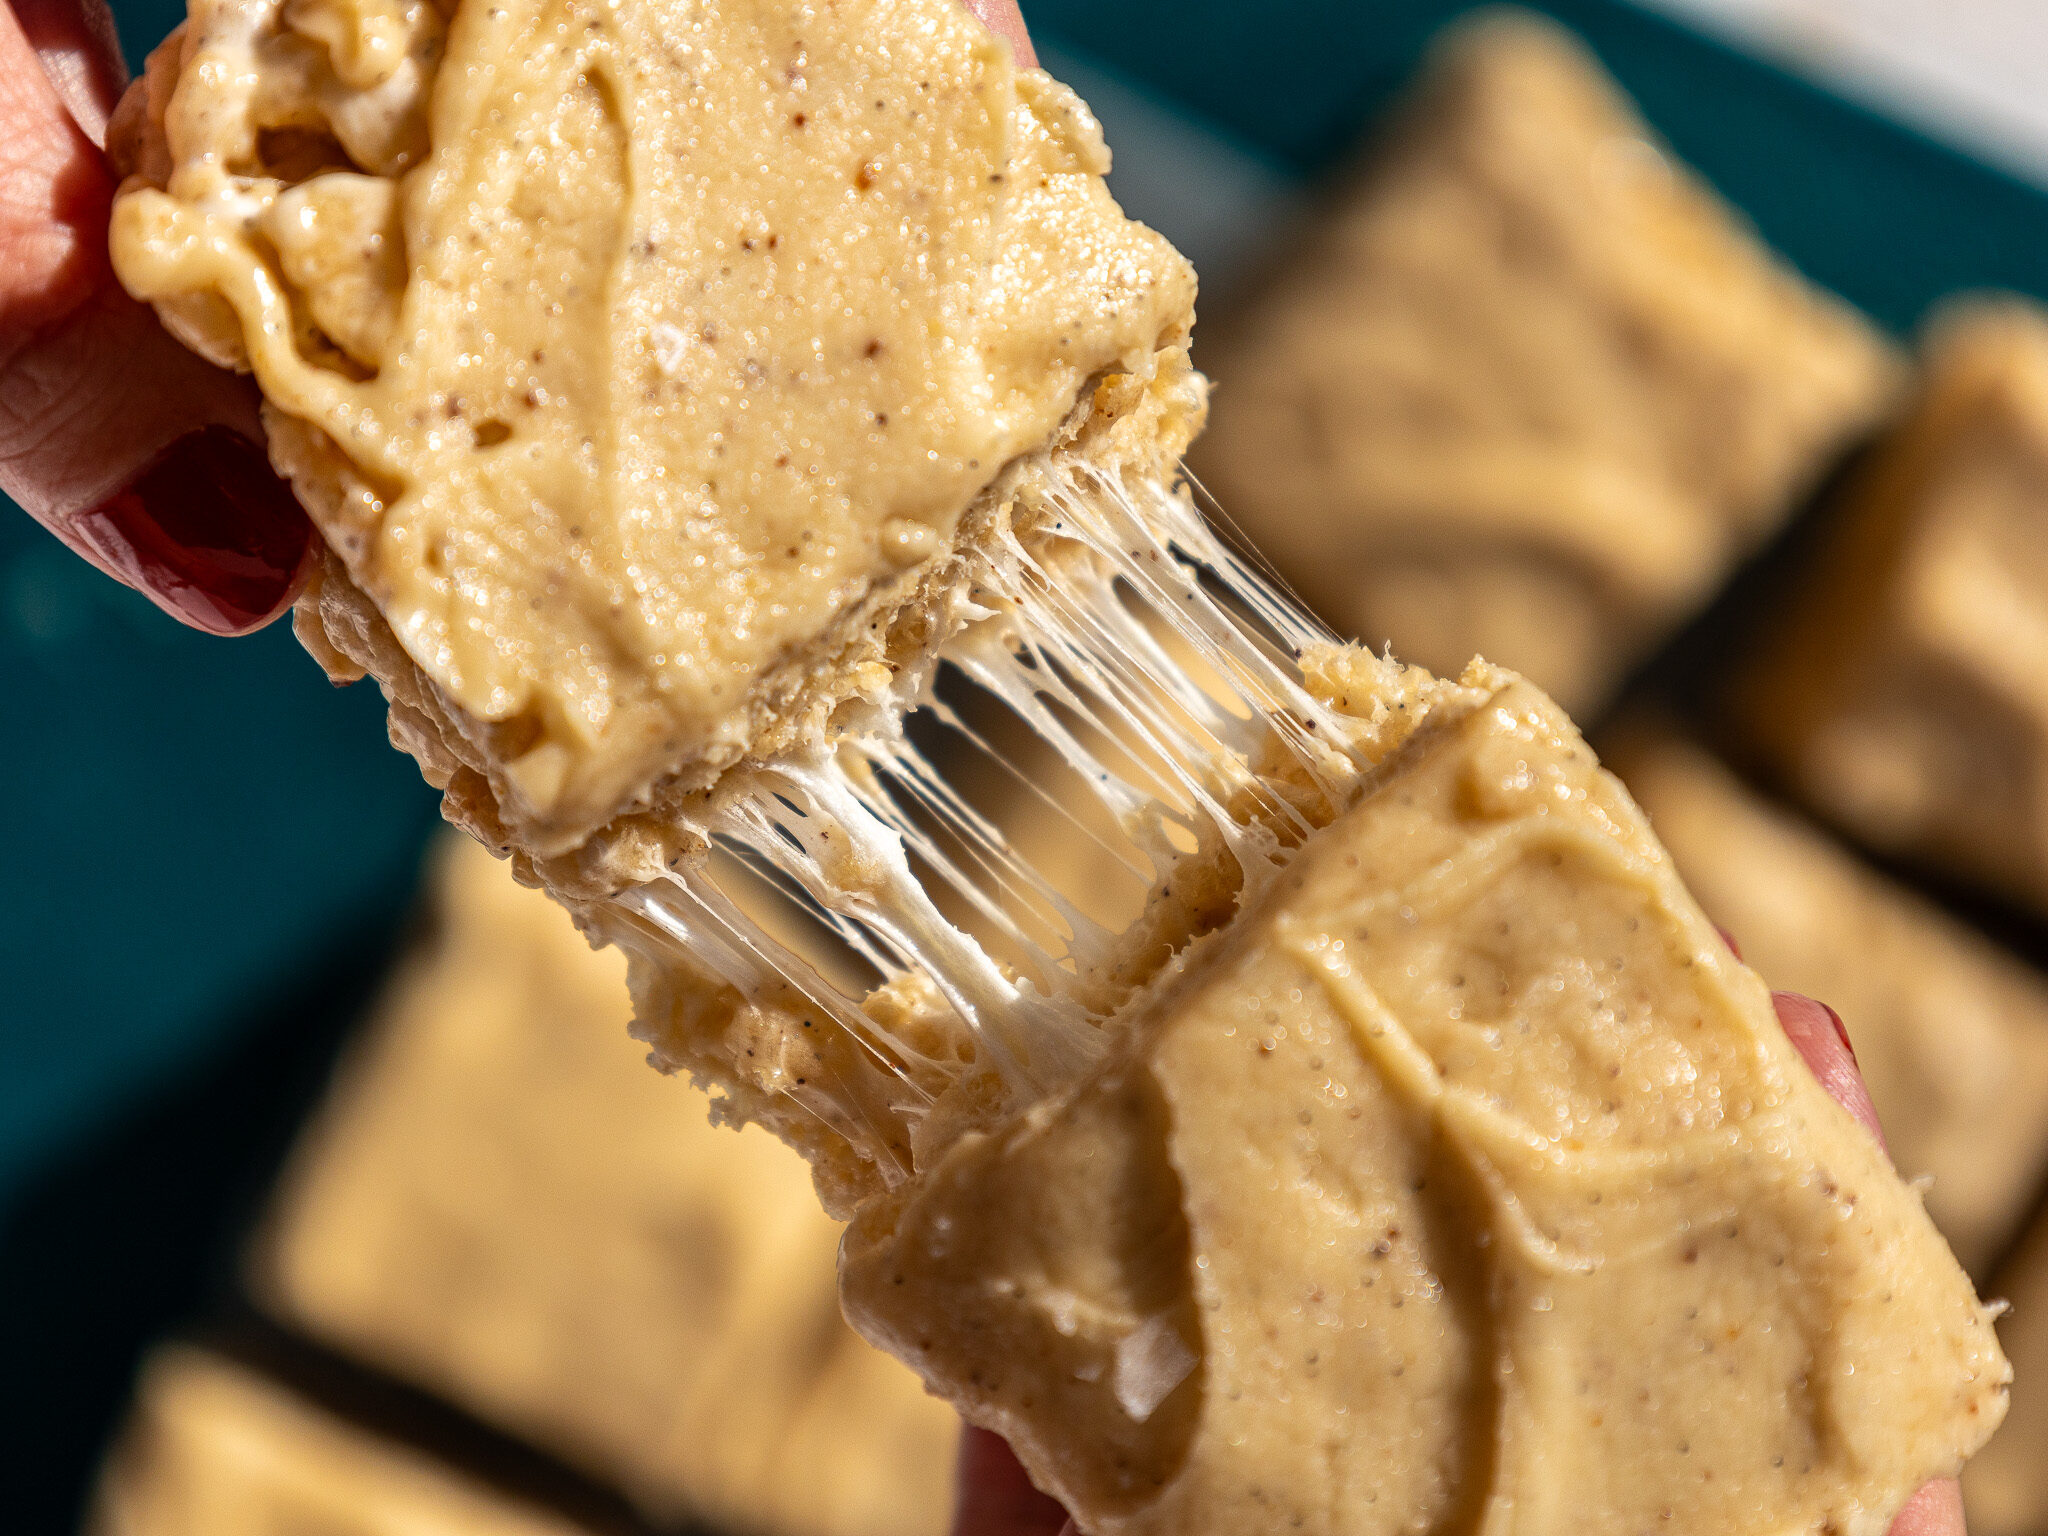
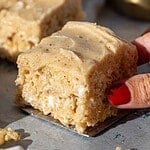
These brown butter rice krispie treats are the perfect Fall spin on a classic! With toasty, nutty brown butter, gooey marshmallows, and brown butter icing, they are absolutely delish.
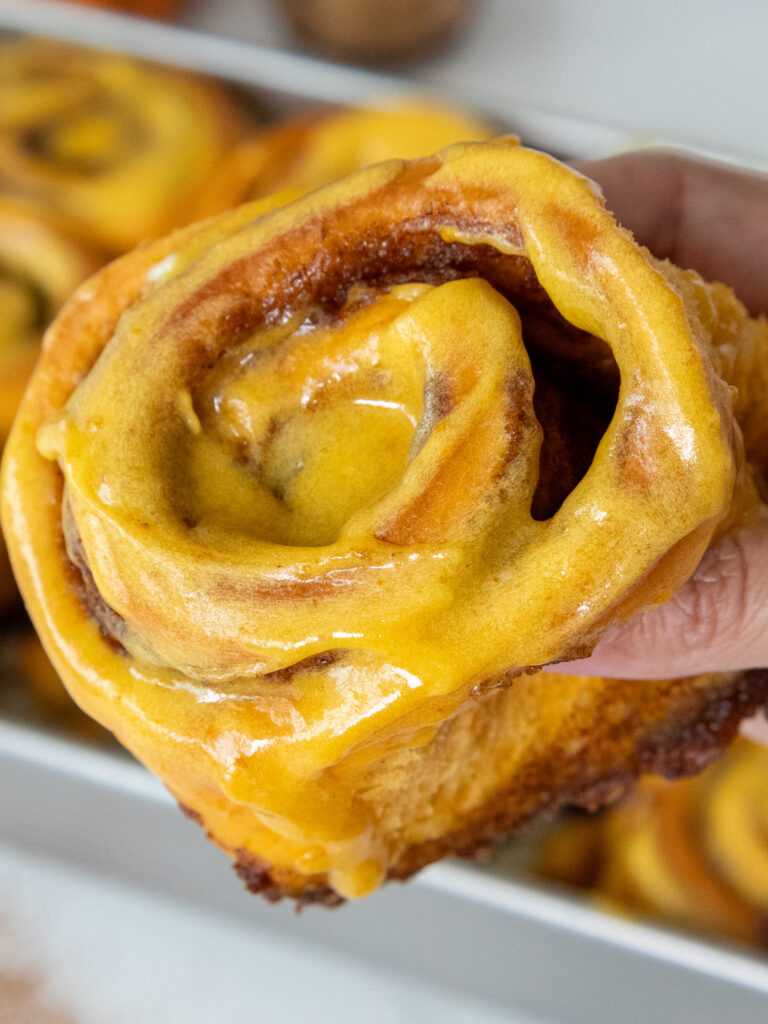
I mean, just look at all those perfect little flecks of toasted brown butter!
How to Make These Brown Butter Rice Krispie Treats
Let’s walk through this recipe together to make sure it turns out as amazing as possible.
Don’t worry, making rice krispie treats is just as simple as you remember. These just have one extra step – browning the butter!
Step 1: Brown the Butter
The first step is to brown the butter for both the rice krispies and the frosting. Get a heat-proof bowl out to pour the butter into once it’s done being browned. Set aside.
Place 1 cup of unsalted butter in a large, light-colored pan over medium heat. Stir the butter the entire time with a rubber spatula to keep it moving.
Once melted, the butter will begin to foam and sizzle around the edges. Keep stirring!! The butter should turn golden brown after 5–6 minutes and be topped with a foamy layer of bubbles.
Shortly after this, the foam should kind of fade away, and the milk solids at the bottom of the pan will be a perfectly toasted brown. It should have a strong, nutty aroma.
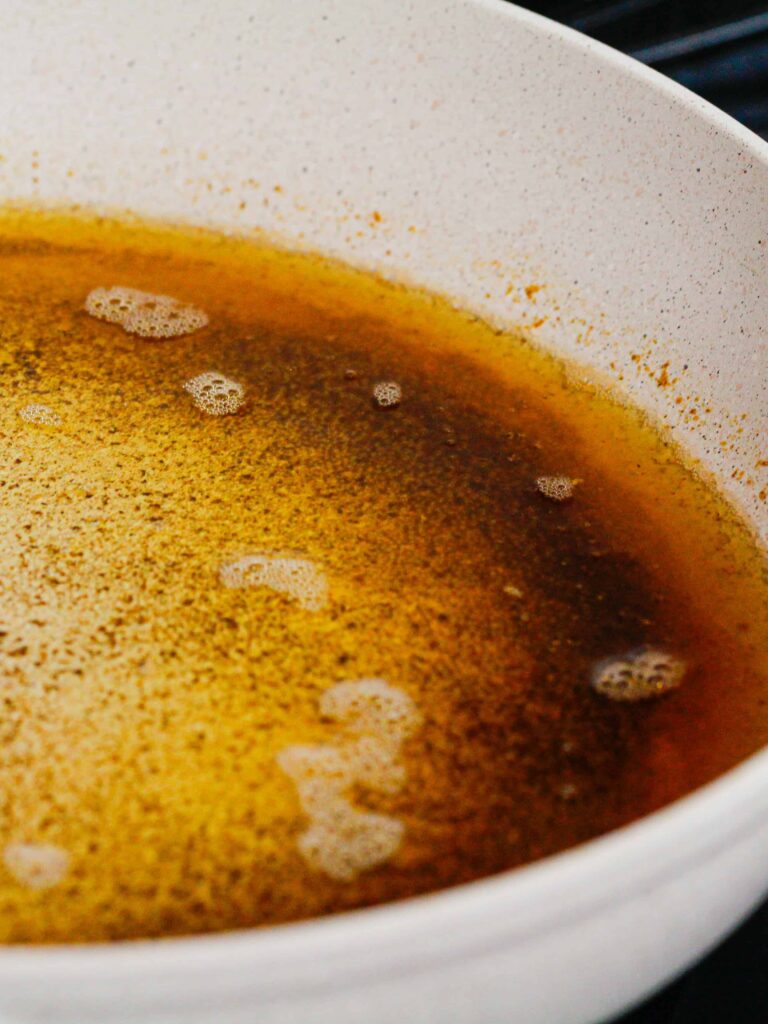
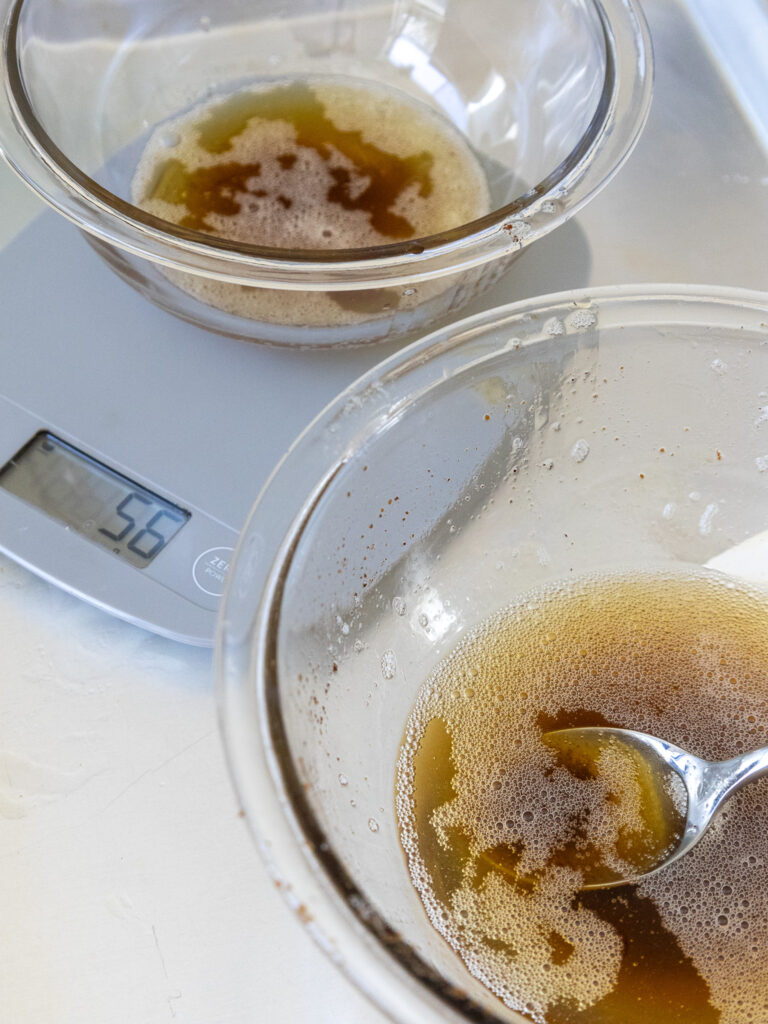
Immediately remove the pan from heat and pour the butter into a heatproof bowl to stop the cooking process. If left in the hot pan, the milk solids will burn. It can happen in a flash, trust me!!
Pour 1/2 cup (113g) of brown butter into a separate, small bowl to make the frosting later (make sure it has both liquid brown butter and some of the toasted milk solids). Set aside.
Step 2: Make the Brown Butter Rice Krispies
Before we get started on the rice krispies, prepare the pan! Things get sticky fast, so doing this first is important.
I used a square 8×8-inch cake pan, which will yield 16 treats. However, you can use any square pan you have on hand.
In a large pot or Dutch oven, stir together 1/2 cup of warm brown butter and 12 oz. of marshmallows over medium heat.
Stir with a rubber spatula until they’re completely smooth. Then add in the vanilla extract and salt.
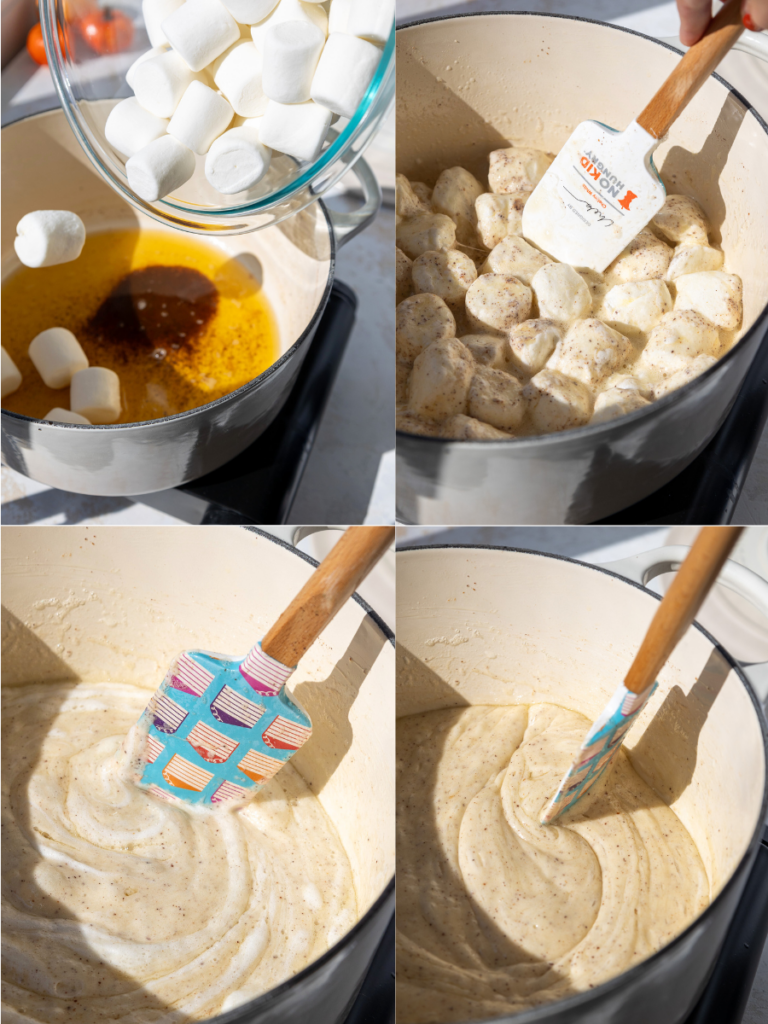
Remove the pot from the stove and add half the cereal. Fold it into the melted marshmallows with a spatula. Once combined, fold in the rest of the cereal.
The cereal should be fully coated with the marshmallow mixture at this point.
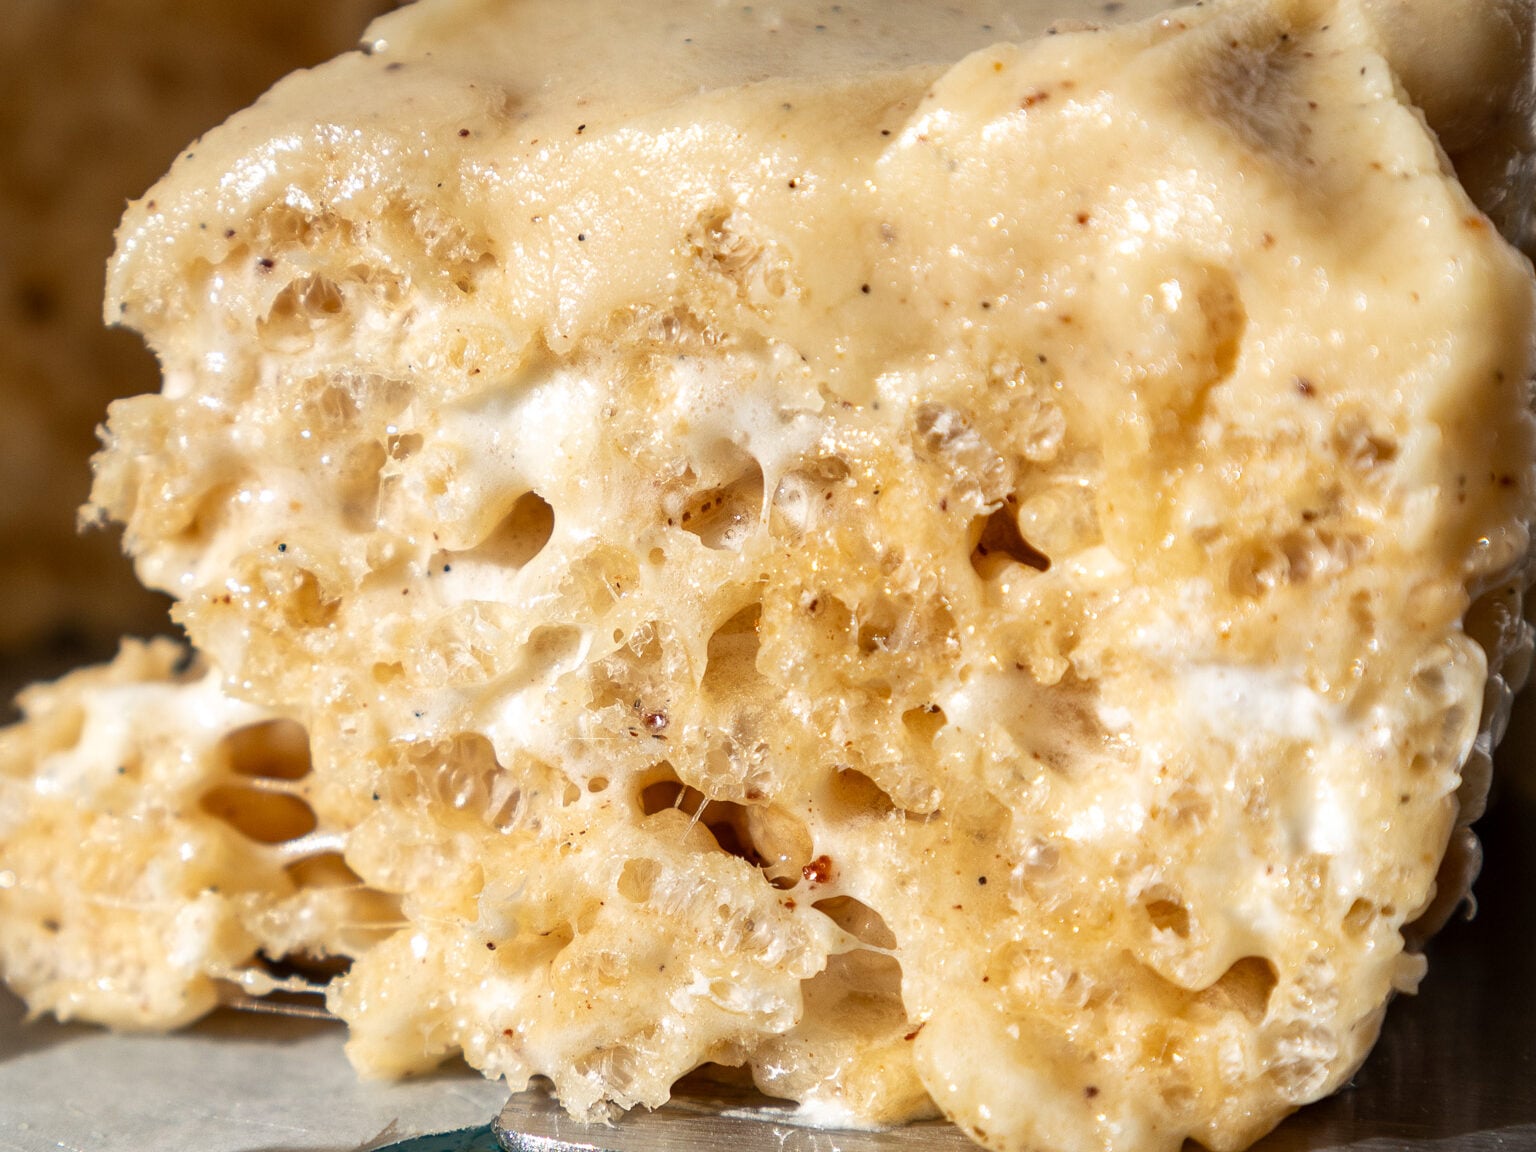
Once the cereal is mixed in, I like to stir in an additional cup of mini marshmallows.
This is optional, but I feel it gives these rice krispies an added bit of texture and looks great when you serve them!
Quickly scoop the mixture into the prepared pan. Use a rubber spatula or offset spatula to gently press the mixture into an even layer.
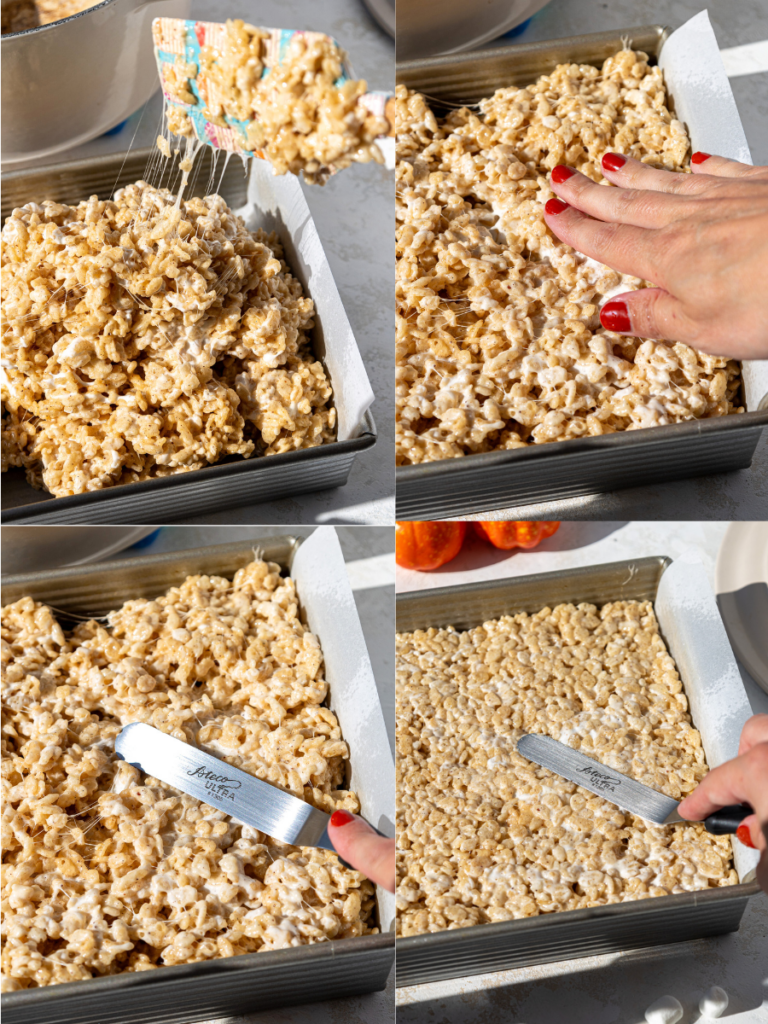
You don’t want to press down too firmly, or you’ll end up with dense rice krispies – and we want these to be fluffy and light when you bite into them!
Step 3: Make the Brown Butter Frosting
The last step is to make the brown butter frosting.
Add 1 cup of powdered sugar, 1 tsp vanilla, and 1/4 tsp fine salt into the bowl that already has 1/2 cup of brown butter in it.
It’s ok if the brown butter is still liquid/hasn’t fully cooled to room temperature yet. Stir the ingredients together with a spoon or spatula until combined.
This can get a bit messy, so mix slowly and take your time incorporating the powdered sugar. Scrape the sides and bottom of the bowl as needed.
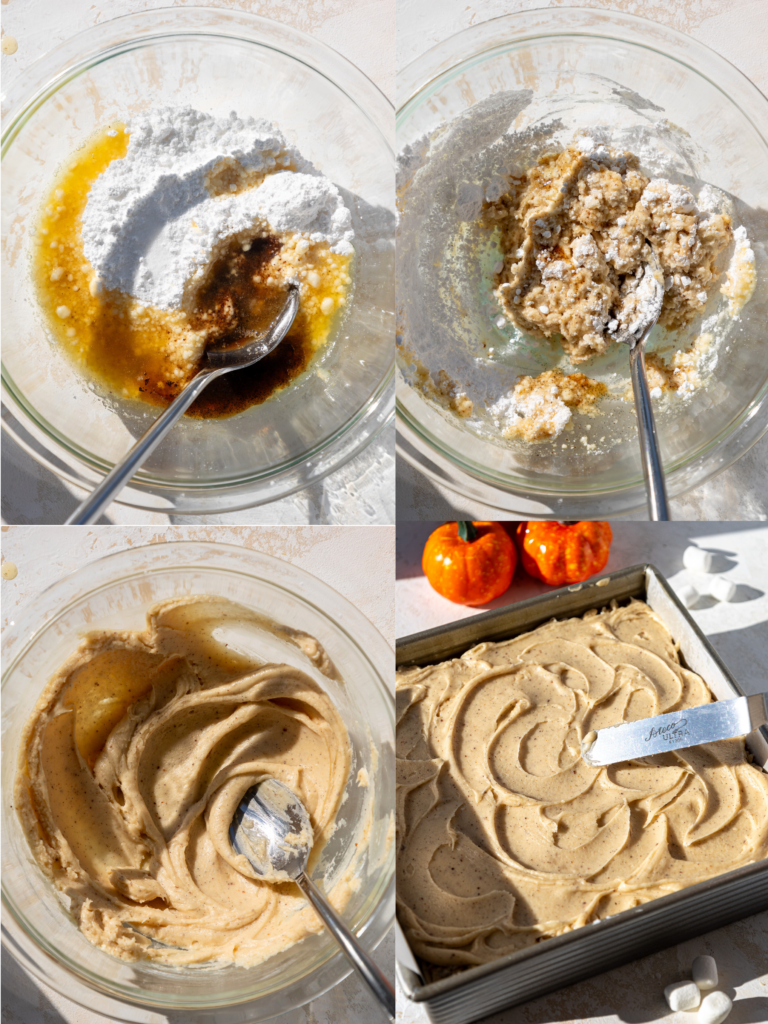
If the frosting seems too thick or won’t come together, add milk or heavy cream 1 tsp at a time until the frosting has the right consistency.
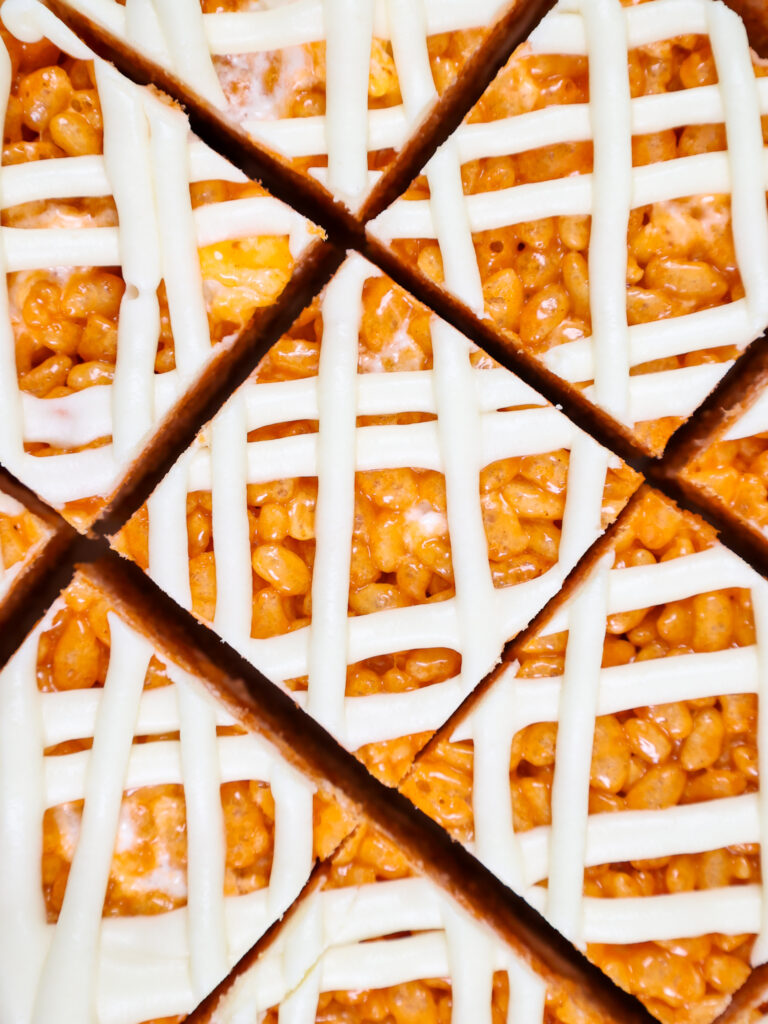
Spread the frosting over the cooled rice krispies, then add a sprinkle of flaky salt, cut them into squares, and enjoy.
Tips for Making the Best Brown Butter Krispie Treats
- Prepare your pan before you melt the marshmallows! Things will get sticky quickly.
- Mini marshmallows melt more quickly! I recommend using them if you can find them.
- Add the rice krispies in two additions. This will make it easier to mix together.
- Let your treats cool for at least 15 minutes before frosting, cutting, and serving.
Making These Brown Butter Rice Krispies Treats in Advance
I’m usually a “fresh is best” kind of girl when it comes to baked goods, but these literally taste exactly the same/just as good the next day! So feel free to make them ahead of time if it will make life easier.
They can be stored in an airtight container at room temperature for up to 2 days, or in the fridge for up to 5 days.
You can also freeze them in an airtight container for up to six weeks.
Let Me Know What You Think!
If you try this recipe for brown butter rice krispie treats, I’d love to hear what you think of it! Let me know your thoughts by sharing a comment and rating below.
Don’t forget to tag me @chelsweets and use #chelsweets so that I can see your delicious creations on social media!
Brown Butter Rice Krispie Treats
Ingredients
Brown Butter
- 1 cup unsalted butter 226g
Brown Butter Rice Krispie Treats
- 1/2 cup brown butter – made above 113g
- 12 oz. or about 7 cups mini or regular sized marshmallows 340g
- 1 Tbsp vanilla extract or vanilla bean paste 12g
- 1/2 tsp fine salt
- 6 cups puffed rice cereal 160g
- 1 cup mini marshmallows – optional
- Non-stick cooking spray, as needed
Brown Butter Frosting
- 1/2 cup brown butter, room temperature – made above 113g
- 1 cup powdered sugar 125g
- 1 tsp vanilla extract or vanilla bean paste 4g
- 1/4 tsp fine salt
- 2 tsp milk of your choice or heavy cream – optional/if needed 10g
Topping
Instructions
Brown Butter
- The first step is to brown the butter for both the rice krispies and the frosting. Get a heat-proof bowl out to pour the butter into once it's done being browned. Set aside.
- Place 1 cup of unsalted butter in a large, light-colored pan (to make it easier to see) over medium heat. Stir the butter the entire time with a rubber spatula to prevent the milk solids from burning!
- Once melted, the butter will begin to foam and sizzle around the edges. Keep stirring!! The butter should turn golden brown after 5–6 minutes and be topped with a foamy layer of bubbles. Shortly after this, the foam should kind of fade away, and the milk solids at the bottom of the pan will be a perfectly toasted brown. It should have a strong, nutty aroma.
- Immediately remove the pan from heat and pour the butter into a heatproof bowl to stop the cooking process. If left in the hot pan, the milk solids will burn. It can happen in a flash, trust me!!
- Pour or spoon 1/2 cup (113g) of brown butter into a separate small bowl to make the frosting later (make sure it has both liquid brown butter and some of the toasted milk solids). Set aside.
Brown Butter Rice Krispies
- Line a square, 8-inch pan with parchment paper. Set aside.
- In a large pot or Dutch oven, stir together 1/2 cup of warm brown butter and 12 oz. of marshmallows over medium heat. Once the marshmallows have melted and are smooth, turn the heat off. Mix in 1 Tbsp vanilla and 1/2 tsp fine salt.
- Remove the pot from the stove and stir in 6 cups of puffed rice cereal in two additions. Stir until the cereal is fully coated.
- If desired, mix in 1 cup of additional mini marshmallows at this stage. This will give these rice krispies an added bit of texture and a fun look when you cut them.
- Scoop the mixture into the prepared pan. Use a rubber spatula or offset spatula to gently press the mixture into an even layer. You don't want to press down too firmly, or you'll end up with dense rice krispies – and we want to these to be fluffy and light when you bite into them! Set aside to cool.
Brown Butter Frosting
- The last step is to make the brown butter frosting. Add 1 cup of powdered sugar, 1 tsp vanilla, and 1/4 tsp fine salt into the bowl that already has 1/2 cup of brown butter in it. It's ok if the brown butter is still liquid/hasn't fully cooled to room temperature yet.
- Stir the ingredients together with a spoon or spatula until combined. This part can be a bit messy, so mix slowly and take your time incorporating the powdered sugar. Scrape the sides and bottom of the bowl as needed. If the frosting seems too thick or won't come together, add milk or cream 1 tsp at a time until it has the right consistency.
- Spread the frosting over the cooled rice krispies, then add a sprinkle of flaky sea salt, cut them into squares, and enjoy.
Video
Notes
Can I Double This Recipe?
Short answer, yes! If you want to make more rice krispies, double the recipe and press them into a rectangular 9×13″ pan.Tips for Making the Best Brown Butter Rice Krispie Treats
- Prepare the pan before you melt down the marshmallows! Things will get sticky quickly.
- Mini marshmallows melt down quicker! I recommend using them if you can find them.
- Add the rice krispies in two additions to make it easier to mix together.
- Let your treats cool for at least 15 minutes before frosting, cutting, and serving.
Hi, recipe for the treats states 1/2 teaspoon of salt, but the instructions call for 1/4 teaspoon; wouldn’t want to add too much or too little ?
@Ada,
It looks like it’s 1/2 tsp for the rice crispy and 1/4 for the icing
I’ll never make Rice Krispy Treats any other way! These came out soo good! The brown butter and the frosting really take the flavor up a notch from a typical Rice Krispy Treat! The recipe was very easy to follow.
these were insane. Like, I’ve never had anything so decadent!!! I could eat the whole pan!
omg yessss!! I am so happy to hear you love this recipe as much as I do 🙂 Thank you for sharing Carolyn!
Best rice krispie treats ever! Thank you for the recipe!
These taste delicious! However, I had trouble with the frosting for some reason. I measured all of the ingredients and mixed together, and it just became a greasy, grainy mess. I even weighed the brown butter to be accurate. I tried letting it cool a little bit and then using a hand mixer, but it still didn’t come together and I ended up frosting them anyway, and the butter is separating out from the rest of the frosting, making them look really greasy. I’m sure my family will still eat them, but I’m wondering what I did wrong so I can fix it for next time.
So sorry to hear that Natalie!! I think it just needed to cool a bit longer. In the future you can try popping it in the fridge for a bit to help it thicken up, then re-mix it and it should come together. Hope that helps for next time, happy baking!
@Chelsweets,
Thanks! Making them again today so I’ll let the butter cool longer. They are so yummy!!!
@Chelsweets,
Like @natalie, I’m having trouble when it comes to frosting. I have made these twice and while they taste amazing my frosting always seems to break even if everything is room temp. I know the recipe calls for 2 tsp milk or cream but I don’t see the dairy in picture or video. Could that be my problem?
@natalie, did you ever get it worked out?
Hi Layne,
I am so sorry to hear that! I did end up having to add milk or cream because the frosting was just too thick without it, but you can absolutely try making the frosting without it and see if that helps!
Even though you think all brown butter would be exactly the same one it’s cooked down, the amount of water that evaporates during the process can vary a ton based on the type of pan you use the type of butter and how hot you heat it, and all of those factors can have an impact on how much water content the brown butter has. And I think this is what’s causing your frosting to break! I added an note to the recipe card to make the milk optional/if needed, so hopefully this will help in the future!
Made for game day and my family LOVED them!
So happy to hear that Jenn!!! 🙂 Thank you for sharing!!
Very simple recipe and ABSOLUTELY DELICIOUS!?
Yessssss!!! Aren’t they so good?!?! Thanks for sharing Melanie 🙂
Made these today and I definitely could have browned my butter more but still tastes delicious! I low key panicked and didn’t want to burn the butter.
No I totally get that, browning the butter can be so stressful!! and there’s nothing worse than burning it!! Glad to hear they turned out great though 🙂 Thanks for sharing Makelle!!