
Berry Trifle Recipe
I don’t want to spend hours in my hot kitchen as the summer heat really starts to set in. That’s where trifles come in…or more specifically this berry trifle.
We just got back from a long weekend in Key West and I wanted to whip up something quick and easy for the Fourth of July. To say I’ve been having a hard time getting back in the swing of things would be an understatement.
Sometimes I forget trifles exist because I get so caught up in my world of layer cakes.
But trifles are seriously the perfect summer dessert. They’re are packed with light fillings and fruit and are always so refreshing.
What Is a Trifle?
To be honest, I had to google the full-blown definition of a trifle. I know that trifles involve bits of cake, whipped cream, and berries. However, I wasn’t quite sure about the rest. I also didn’t know the proper order of the layers.
After a bit of sleuthing (thank you wikipedia), I learned that traditional English trifles are usually built with a base of sponge cake or ladyfingers, soaked in sherry or fortified wine.
Custard, fruit, and jam are layered on top of the cake, and sometimes topped with whipped cream.
Most trifles these days are made a bit differently though! There also are about a million variations out there, from lemon to chocolate.
Keeping Things Simple: How I Like To Make Trifles
The best part about trifles is that you can fill them with whatever you want, and build them in whatever order you like.
I chose to use vanilla pudding instead of custard in this berry trifle to keep things simple.
In my opinion the best part of a trifle is that it’s easy to make. However, if you want to make your entire trifle from scratch, here is a great custard recipe.
I also decided to skip the sherry. Most sponge cakes need additional moisture of some sort, whether it’s from a soak of simple syrup, or sherry!
My trifle recipe uses my vanilla layer cake recipe, which is already plenty moist. It’s a butter cake, which has a wonderful texture. Adding additional liquid to it just isn’t necessary.
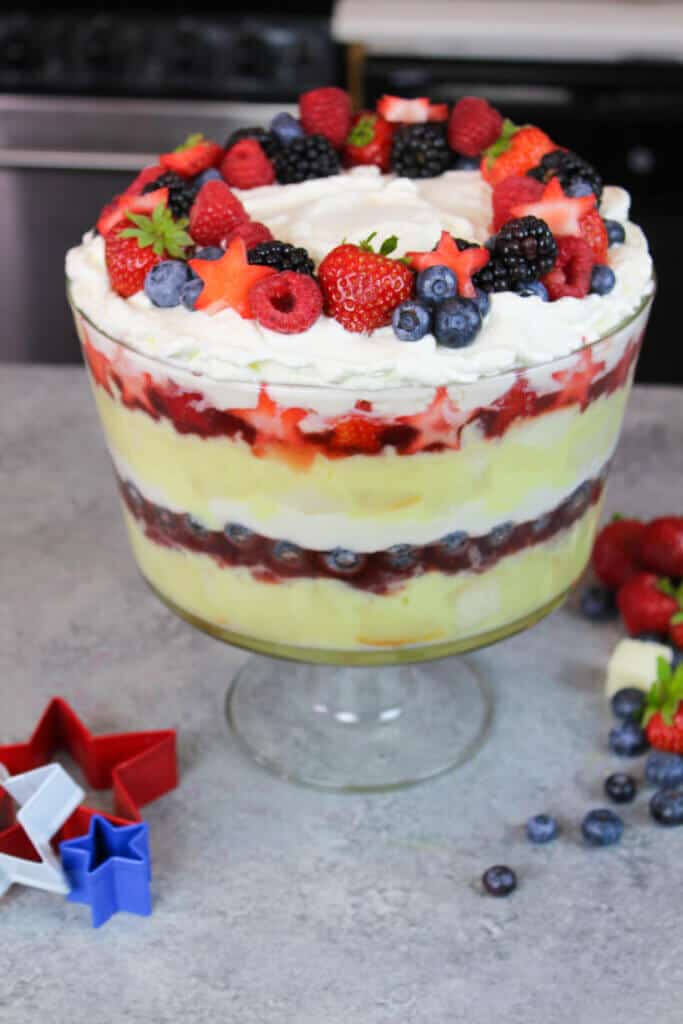
The Perfect Summer Dessert
When you’re able to pile your fillings into a trifle dish, you don’t have to worry about frosting or decorating your dessert.
As long as you create even layers of filling, your trifle will be a work of art by the time you finish.
This concept is still totally foreign to me. Once I assemble a cake, I usually still have hours of work ahead of me.
But berry trifles? They’re done in a jiff. All you have to do is bake the cake, and gather your ingredients and fillings.
Then make some beautiful layers in your trifle dish, throw some fresh berries on top, and you’re all done.
Trifles are also great make ahead desserts and can easily be made in advance. Just be sure to fully cover the trifle with plastic wrap to make sure it’s protected in your fridge.
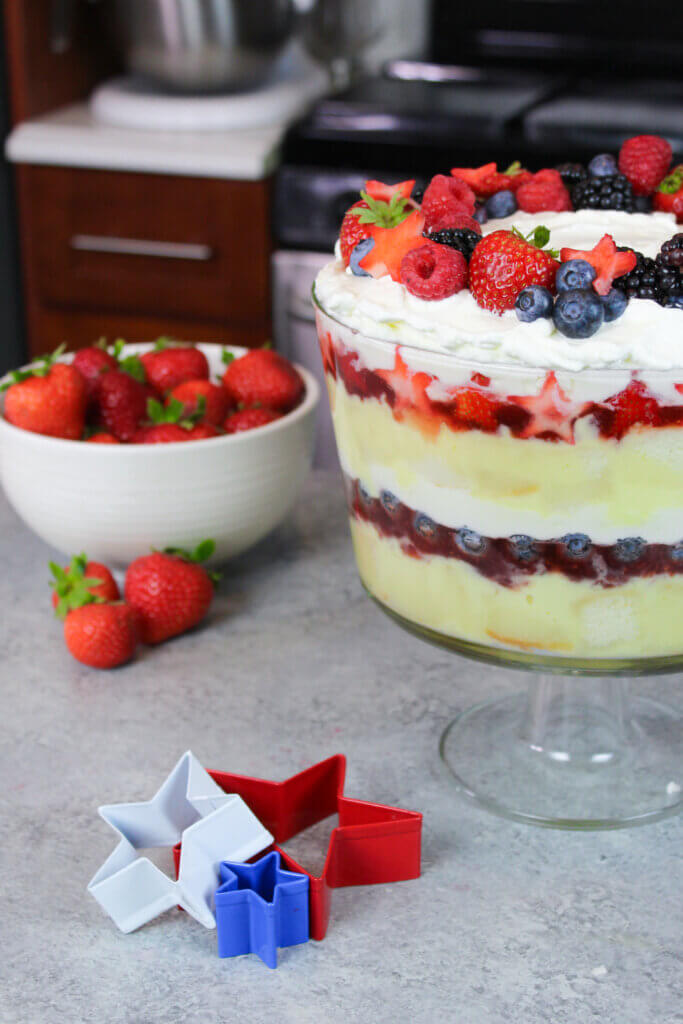
My Trick To Make A Patriotic Berry Trifle
Berry trifles already seem a bit patriotic in nature.
The reds and blues of the berries, layered with white whipped cream remind me of the American flag!
However, I wanted to really get the point across! I used a small star cookie cutter to create some strawberry stars.
If you don’t have any on hand or don’t want the hassle, you can also use sliced strawberries.
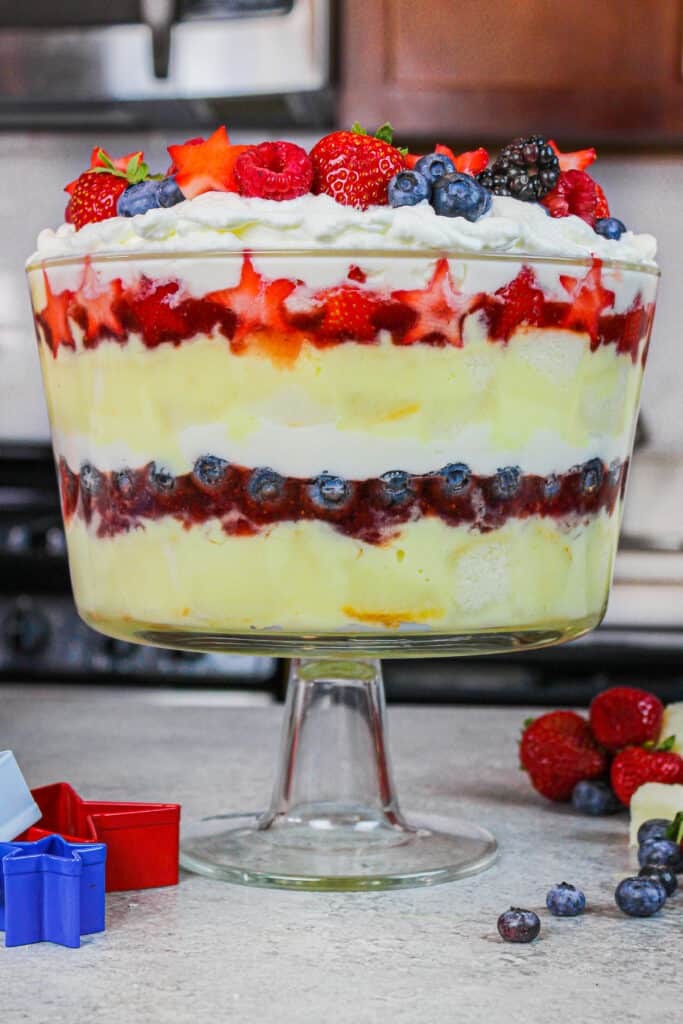
The first layer of fruit in my trifle is made with blueberries. The second layer is made with the star of the show (no pun intended), my cut out strawberries.

I alternated the direction of the strawberries as I added them. The seeds of the strawberries showed on half, and the inside of the strawberry showed on the other half.
Sadly the seed-side strawberries didn’t stand out as much as I had hoped. They were a bit curved since they are cut from the sides of the strawberry.
If I were to remake this berry trifle, I’d recommend orienting the strawberries in the same direction, with the inside of the strawberries placed against the bowl.
Tips For Making The Best Mixed Berry Trifle:
- Cut your cake into equal sized squares to make it easy to create even layers in your trifle
- Carefully spoon and smooth your layers of pudding and whipped cream with an offset spatula to give your trifle a gorgeous finished look
- Add the pudding before it’s fully set, so that it can really fill between the cake bits and be absorbed by them.
- I used a ton of jam in this trifle because I love jam. However, if you can adjust the amount of jam you use to match your preferences.
- I recommend making your whipped cream from scratch. It only takes a few minutes to make and tastes so much better than store bought whipped cream.
- Use whatever berries or fruit are in season and accessible! This trifle would also taste great with raspberries, blackberries, marionberries, or even huckleberries.
Making This Berry Trifle In Advance & Storage Tips:
- Make this trifle in advance to make life easier! It can easily be made a day or two before an event or party. Just be sure to tightly wrap the trifle container with plastic wrap to keep it fresh.
- Leftover trifle can be stored in the fridge for up to 3 days if tightly wrapped with plastic wrap. After that the whipped cream and fruit will start to spoil.
- You can also make the cake layers up to two weeks in advance and freeze them, then assembled the trifle the day of.
Other Recipes You Might Like
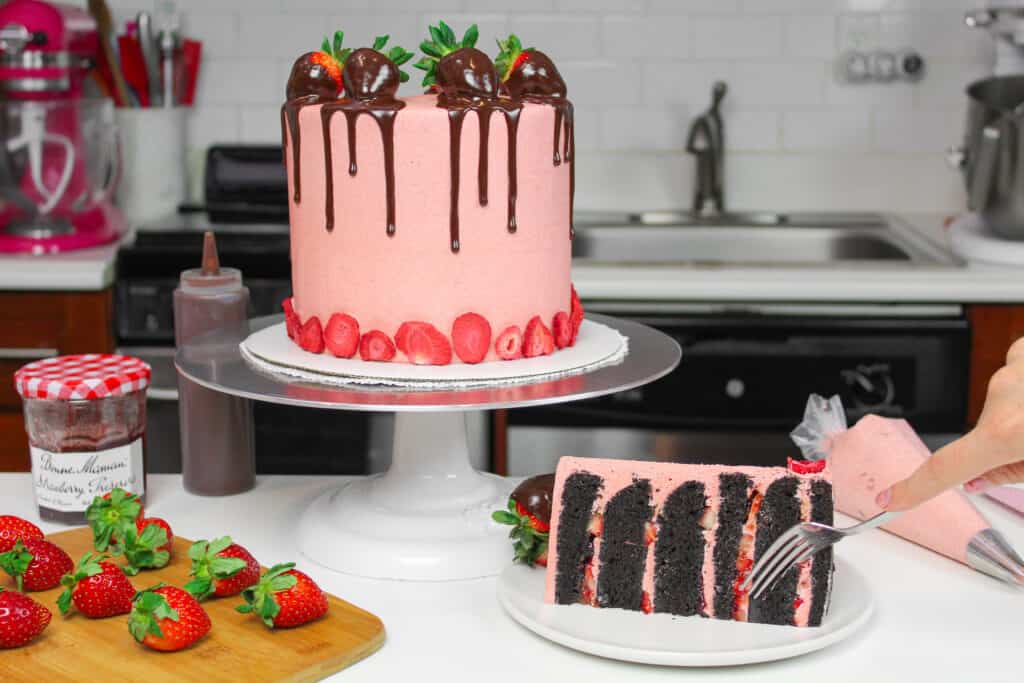
Dark Chocolate Strawberry Cake
https://chelsweets.com/2020/01/30/dark-chocolate-strawberry-cake/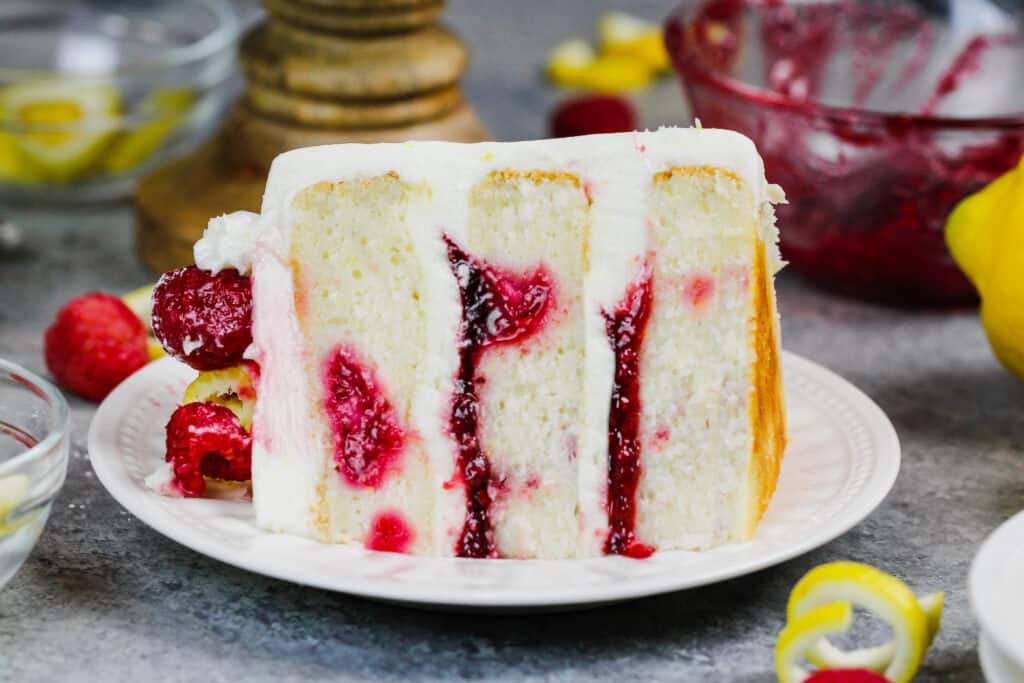
Lemon Raspberry Cake
https://chelsweets.com/2014/06/06/lemon-raspberry-birthday-cake/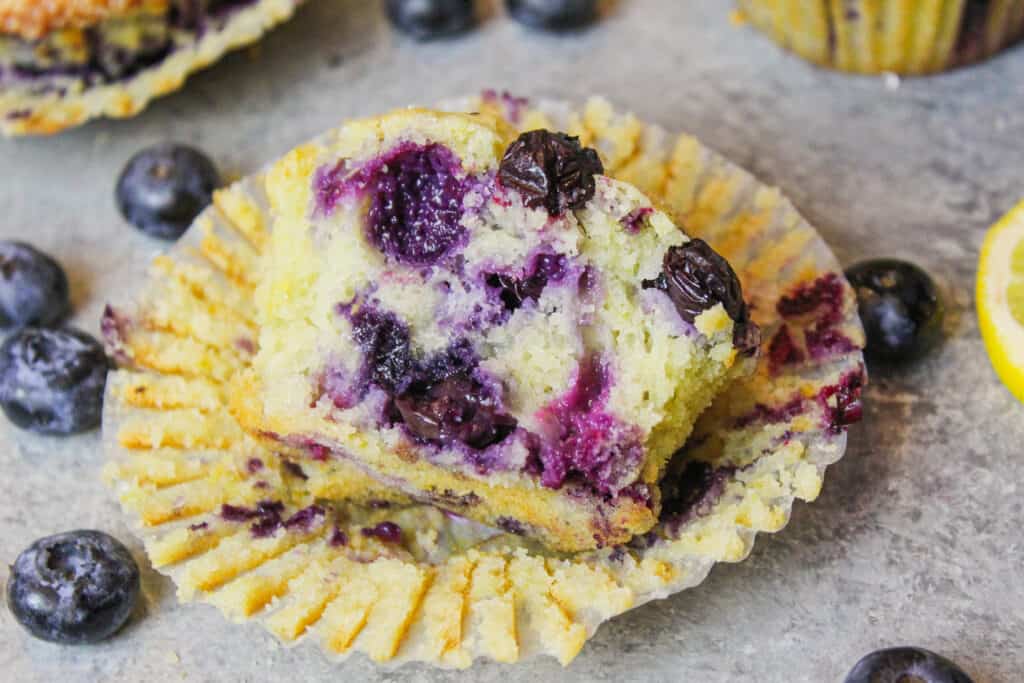
Lemon Blueberry Muffins
https://chelsweets.com/2020/05/07/lemon-blueberry-muffins-with-yogurt/
Berry Angel Food Cake
https://chelsweets.com/2020/06/16/layered-angel-food-cake/
Let Me Know What You Think!
If you try this berry trifle recipe, please tag me @chelsweets. Also use the #chelsweets so that I can see your baking!

Berry Trifle
Ingredients
Vanilla Sheet Cake
- 2 cups + 2 Tbsp all-purpose flour 276 grams
- 2 cups granulated sugar 400 grams
- 1 1/2 tsp baking powder 6 grams
- 1/2 tsp fine salt 3 grams
- 2/3 cup unsalted butter, room temperature 150 grams – 1 and 1/3 sticks
- 2/3 cup large egg whites, room temperature or about 5 egg whites (185 grams)
- 1 cup buttermilk, room temperature 240 grams
- 1 tsp vanilla extract or vanilla bean paste 4 grams
- 1 Tbsp vegetable or canola oil 14 grams
Vanilla Pudding Filling
- 2 packages vanilla pudding powder cook and serve, 4.6 oz. size
- 4 cups whole milk 980 grams
Vanilla Whipped Cream
- 1/4 cup granulated sugar 60 grams
- 2 cups heavy whipping cream, room temperature or whipping cream (460 grams)
- 1 tsp vanilla extract or vanilla bean paste 3 grams
Additional Ingredients
- 2 jars strawberry jam 16 oz. size
- 1 large container strawberries 16 oz. container
- 1 pint fresh blueberries
- blackberries and raspberries for garnish
- small star shaped cookie cutter optional
Instructions
Vanilla Cake Layers:
- Preheat oven to 350°F. Line one half sheet pan (9 x 13 inches) with parchment paper, and grease with non-stick cooking spray.
- in a large bowl or bowl of a stand mixer, mix together 2 cups + 2 Tbsp all purpose flour, 2 cups sugar, 1 1/2 tsp baking powder, and 1/2 tsp salt on a low speed until combined. You can use either a stand mixer or a hand mixer.
- Mix in 2/3 cup unsalted butter slowly into the dry mix on a low speed. Continue to mix until no large chunks of butter remain and the mixture becomes crumbly.
- Pour in 2/3 cup egg whites and mix on low until just incorporated. Mix in 1 cup of buttermilk in two installments, on a low speed. Scrape down the sides of the bowl with a rubber spatula.
- Add in 1 tsp vanilla extract and 1 Tbsp vegetable oil and mix at a low speed until fully incorporated.
- Place two flower nails upside down in the cake pan, spread apart evenly. This will help the cake bake more quickly and evenly.
- Pour the batter into the prepared cake pan.
- Bake for 30-32 minutes or until a toothpick comes out with a few moist crumbs. Allow the pans to cool for 10 minutes, then run an offset spatula around perimeter of the pan to separate the cake from the pan.
- Place sheet cake in the freezer for 30 minutes to accelerate the cooling process. Once the layers are fully cooled, carefully flip the pan and remove the layers.
- Use a serrated knife to trim away any caramelization and cut the cake into 1 inch cubes.
Vanilla Pudding Filling:
- While the cake bakes and cools, make the vanilla pudding.
- Pour two 4.6 oz. packages of vanilla pudding mix into a large, heat proof bowl and set aside.
- Heat 4 cups of whole milk over a medium high heat in a large saucepan.
- Once the milk starts to boil, pour it in the bowl with the pudding mix and whisk until smooth.
- Cover with saran wrap and place in the fridge to cool.
Vanilla Whipped Cream:
- Next make the vanilla whipped cream.
- In a chilled metal bowl, add in 2 cups of heavy cream, 1/4 cup granulated sugar, and 1 tsp vanilla extract.
- Beat on medium high speed with a whisk attachment.
- Beat for 3-4 minutes until medium peaks form. While doing this I like to stop the mixer and check the consistency several times to ensure I don’t over whip the cream! If you over whip it, it will slowly start to turn into butter and separate, and you won’t be able to salvage it.
- Keep your eye on your mixer during this process!!! Whipped cream can go from the perfect consistency to over whipped in a matter of seconds.
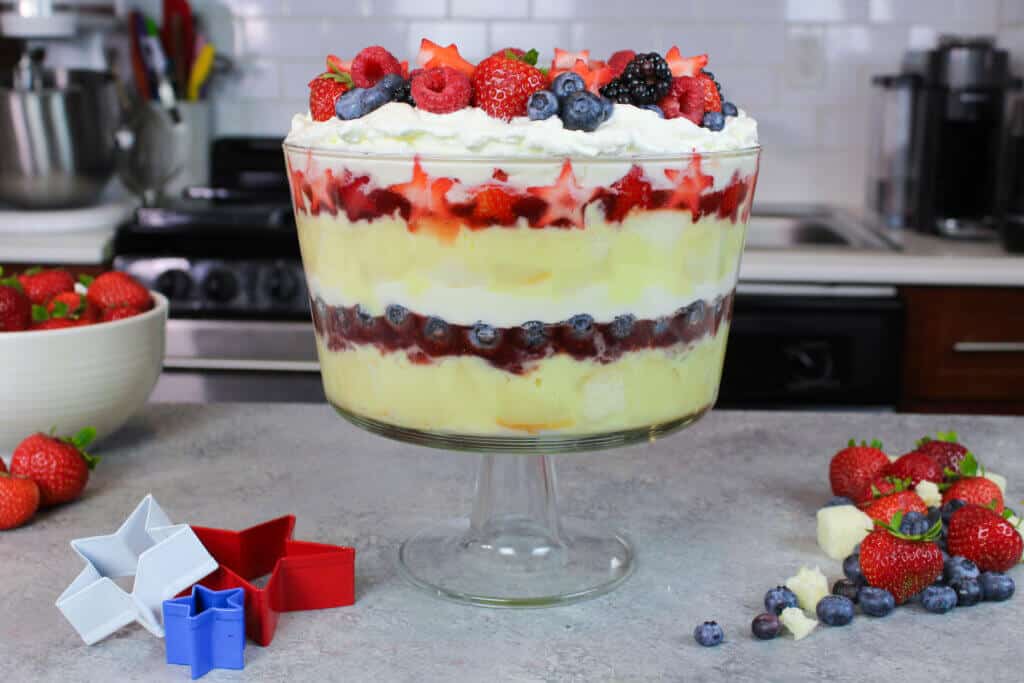
To Assemble The Cake:
- Place cubes of cake into the bottom of a trifle dish, fully covering the bottom.
- Add an even layer of vanilla pudding over the cake bits, using half the pudding mix.
- Carefully spread strawberry jam on top of the pudding, using one of the jars of jam.
- Create a layer of blueberries, and line the edge of the bowl completely with berries.
- Top with half of the whipped cream, spreading with an offset spatula to create an even layer.
- Repeat with remaining ingredients, but use strawberry slices in place of blueberries.
- Add a garnish of fresh berries to the top of the trifle, and enjoy!
Video
Notes
Tips For Making The Best Mixed Berry Trifle:
- Add the pudding before it’s fully set, so that it can really fill between the cake bits and be absorbed by them.
- I used a ton of jam in this trifle because I love jam. However, if you can adjust the amount of jam you use to match your preferences.
- Cut your cake into equal sized squares to make it easy to create even layers in your trifle
- Carefully spoon and smooth your layers of pudding and whipped cream with an offset spatula to give your trifle a gorgeous finished look
- I recommend making your whipped cream from scratch. It only takes a few minutes to make and tastes so much better than store bought whipped cream.
- Use whatever berries or fruit are in season and accessible! This trifle would also taste great with raspberries, blackberries, marionberries, or even huckleberries.
Making This Berry Trifle In Advance & Storage Tips:
- Make this trifle in advance to make life easier! It can easily be made a day or two before an event or party. Just be sure to tightly wrap the trifle container with plastic wrap to keep it fresh.
- Leftover trifle can be stored in the fridge for up to 3 days if tightly wrapped with plastic wrap. After that the whipped cream and fruit will start to spoil.
- You can also make the cake layers up to two weeks in advance and freeze them, then assembled the trifle the day of.
I can’t wait to try this! Going to make it tomorrow. How do you recommend serving this?
So happy to hear that!! It’s delicious 🙂 I usually use a big spoon, and try to carefully lift spoon up the sides of the trifle dish to keep the layers in tact! It’s easier to serve if it’s chilled, so the pudding and whipped cream are a bit stiffer than they would be at room temp Hope that helps, happy baking Paige!
Is there anything you can replace the butter with?
Hi Nicole,
For sure! You can use vegan butter sticks or vegetable shortening <3