
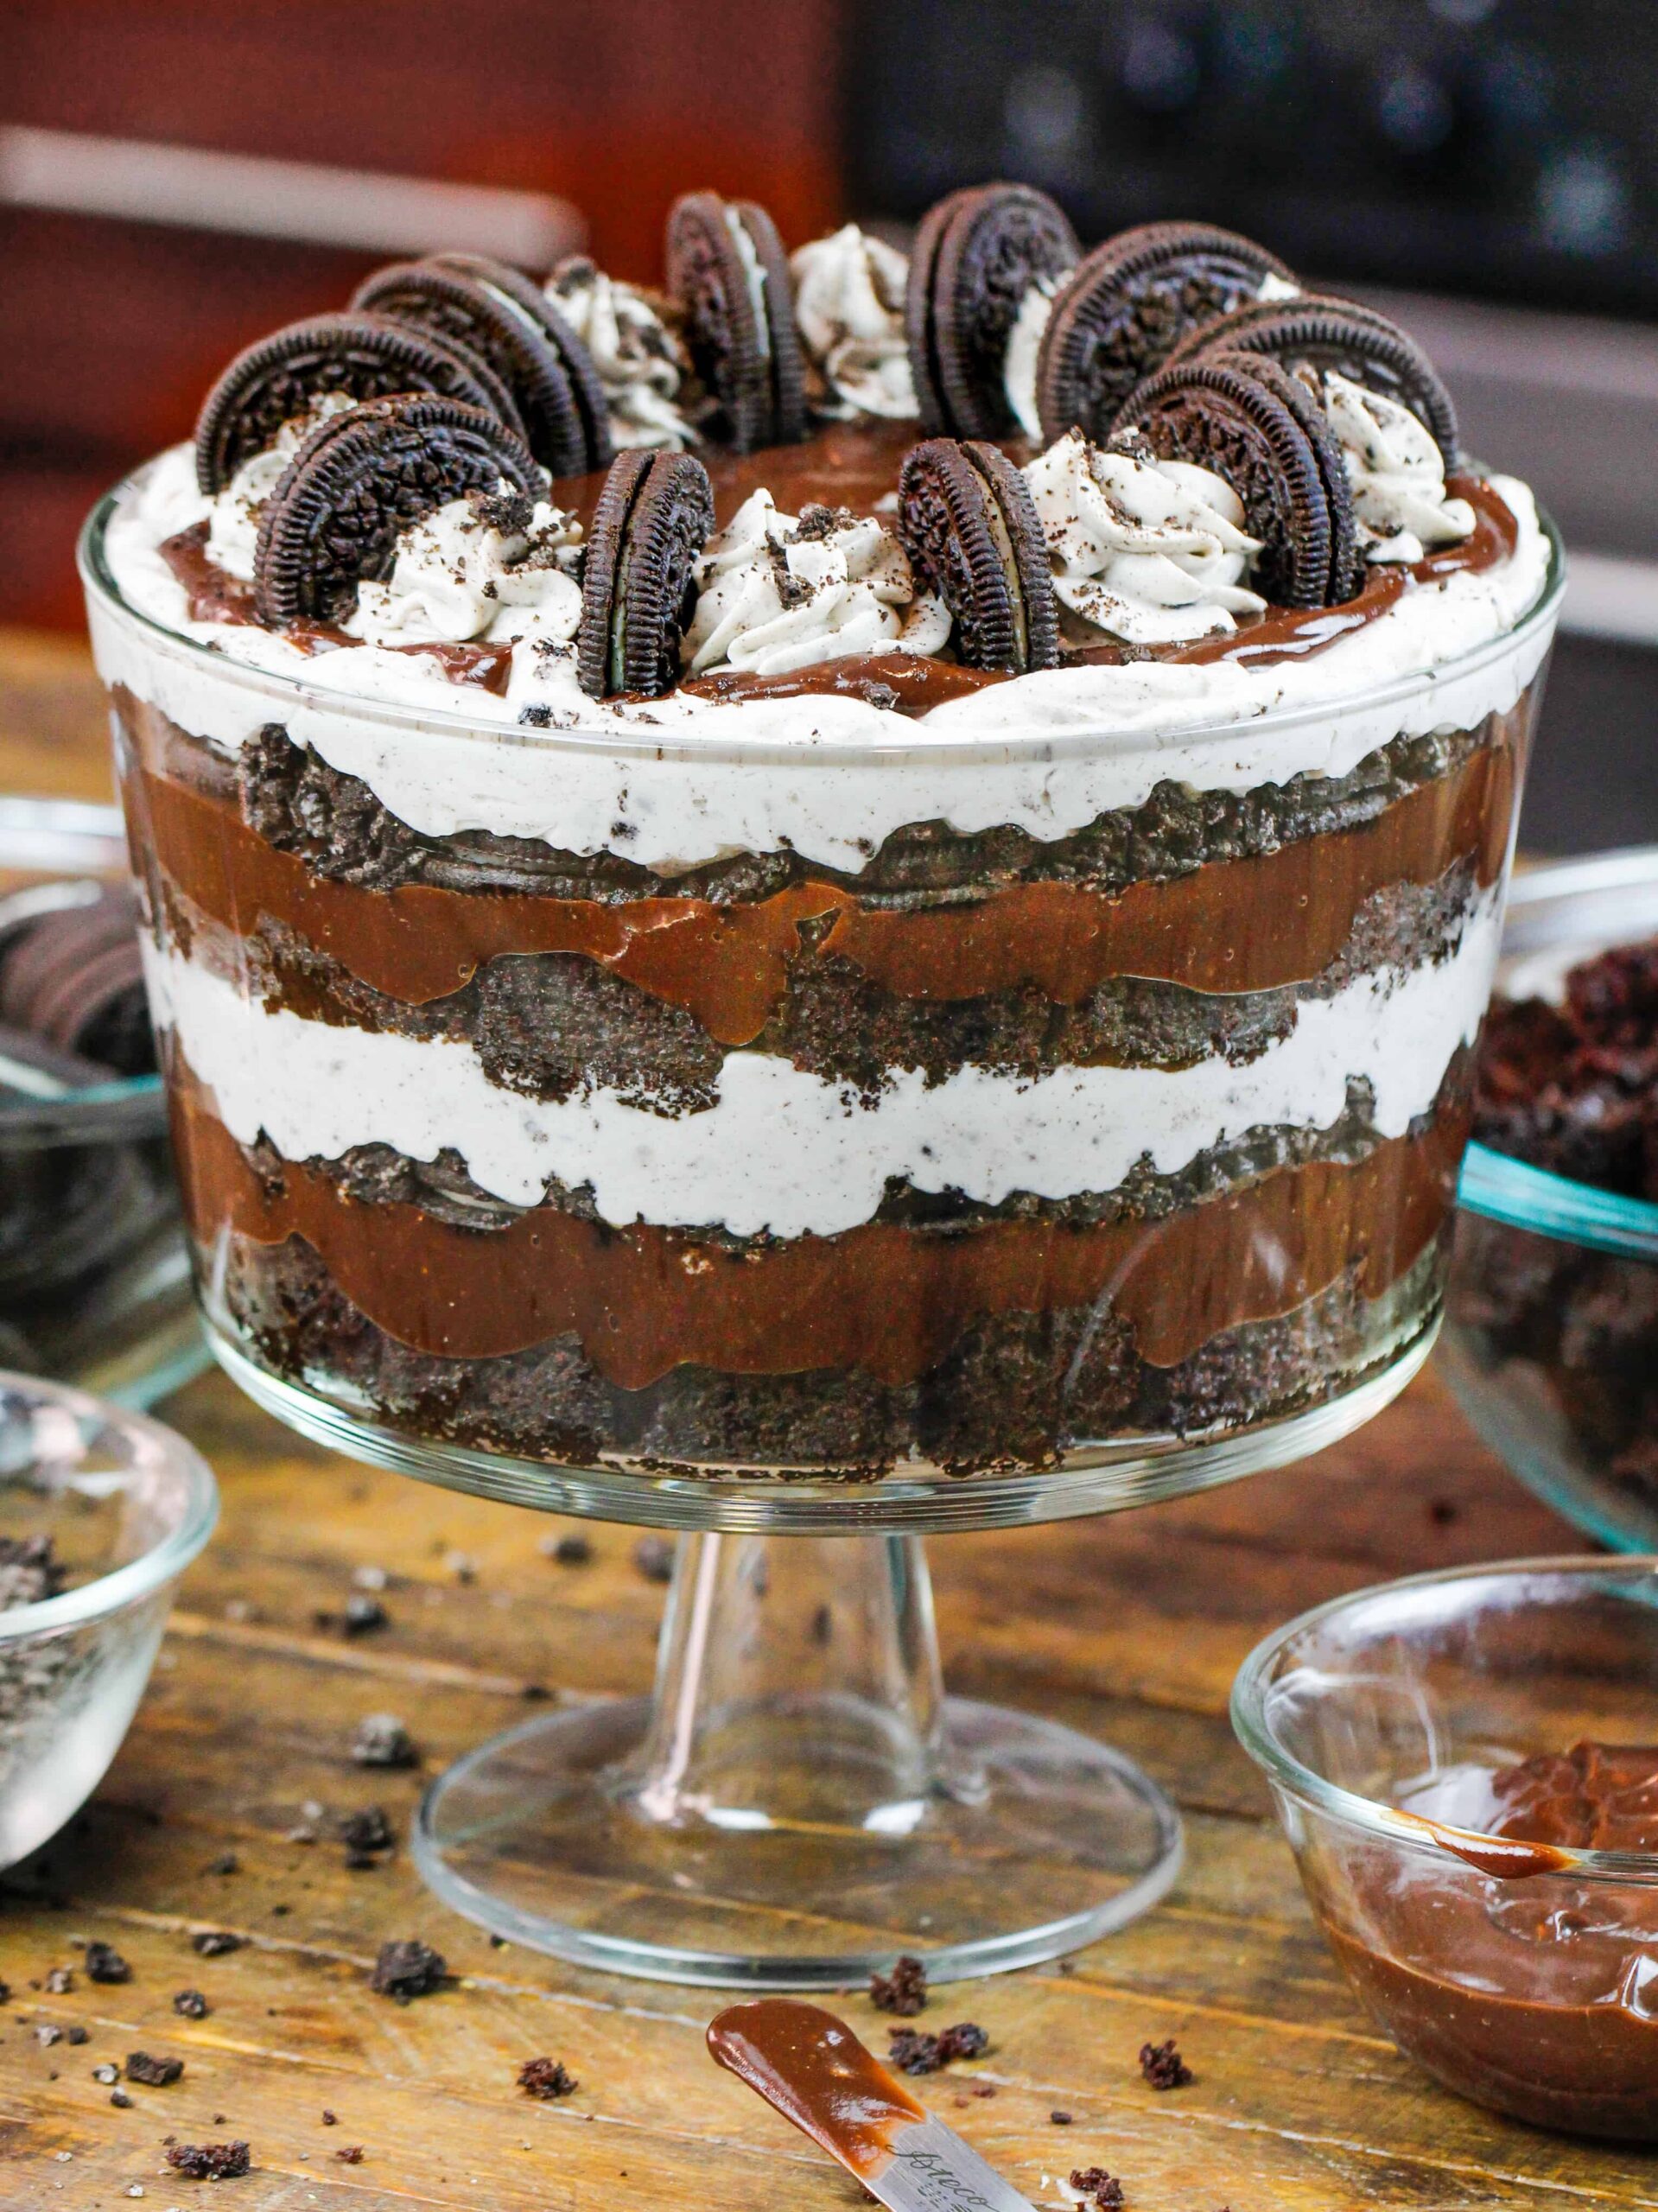
Oreo Trifle
As the summer heat really starts to set in, I try to avoid spending too much time in my kitchen. That’s where trifles come in…or more specifically this Oreo trifle.
Sometimes I forget trifles exist because I get so caught up in my world of layer cakes.
What Is a Trifle?
To be honest, I had to Google the proper definition of a trifle. I knew that trifles usually involve bits of cake, whipped cream, and some type of fruit.
However, I wasn’t quite sure about the rest. I also didn’t know the proper order of the layers.
After a bit of sleuthing (thank you Wikipedia), I learned that traditional English trifles are made with sponge cake or ladyfingers soaked in sherry or fortified wine.
Custard, fruit, and jam are then layered on top of the cake, and sometimes topped with whipped cream.
Most trifles these days are made a bit differently though! There also are about a million variations out there, from red velvet to mixed berry.
Keeping Things Simple: How I Like To Make Trifles
The best part about trifles is that you can fill them with whatever you want and build them how you like.
I chose to use chocolate pudding instead of custard in this Oreo trifle to keep things simple.
In my opinion the best part of a trifle is that it’s easy to make. However, if you want to make your entire trifle from scratch, here is a great custard recipe.
I also decided to skip the sherry. Most sponge cakes need additional moisture of some sort, whether it’s from a soak of simple syrup, or sherry!
My Oreo trifle recipe uses a half batch of my chocolate sheet cake recipe, which is already plenty moist.
I find that the pudding kind of soaks into the bits of cake, so there’s definitely no need to add any additional liquid.
The Perfect Make Ahead Dessert
Trifles are great make ahead desserts and can easily be made in advance.
Just be sure to fully cover the trifle with plastic wrap to make sure it’s protected in your fridge.
I also recommend waiting to decorate the top until the day you plan to serve it! This ensures the whipped cream will keep its shape and the Oreo garnish will stay crispy.
Swaps & Substitutions:
This Oreo trifle recipe uses quite a few ingredients, and I know you might not have them all on hand.
Or if you have food allergies or restrictions, I’ve got you covered. Below are some swaps and substitutions that you can make:
- All Purpose Flour – This recipe turns out best with AP flour, but you can use a gluten free flour blend (be sure to also follow my tips below) or cake flour if that’s all you have on hand.
- Granulated Sugar – I do not recommend reducing the amount of sugar or changing the type of sugar, as it will change the texture of the cake.
- Buttermilk – You can also use full fat yogurt, additional sour cream, whole milk, or an alternative yogurt or milk (almond, soy, oat) if you’re dairy free.
- Sour cream – You can also use full fat yogurt, additional buttermilk, whole milk, or an alternative yogurt or milk (almond, soy, oat) if you’re dairy free.
- Instant Espresso or Coffee – This ingredient is optional, so if you hate coffee, you can omit it. However, you can’t really taste the coffee once the cake is baked! I just like adding a bit of coffee because it enhances the chocolate flavor.
- Vegetable Oil – You can use any flavorless oil in this recipe. Canola or sunflower oil would work great!
- Heavy Cream – If you want to make vegan whipped cream, you can use coconut cream in place of the heavy cream in this recipe.
Tips For Making The Best Oreo Trifle
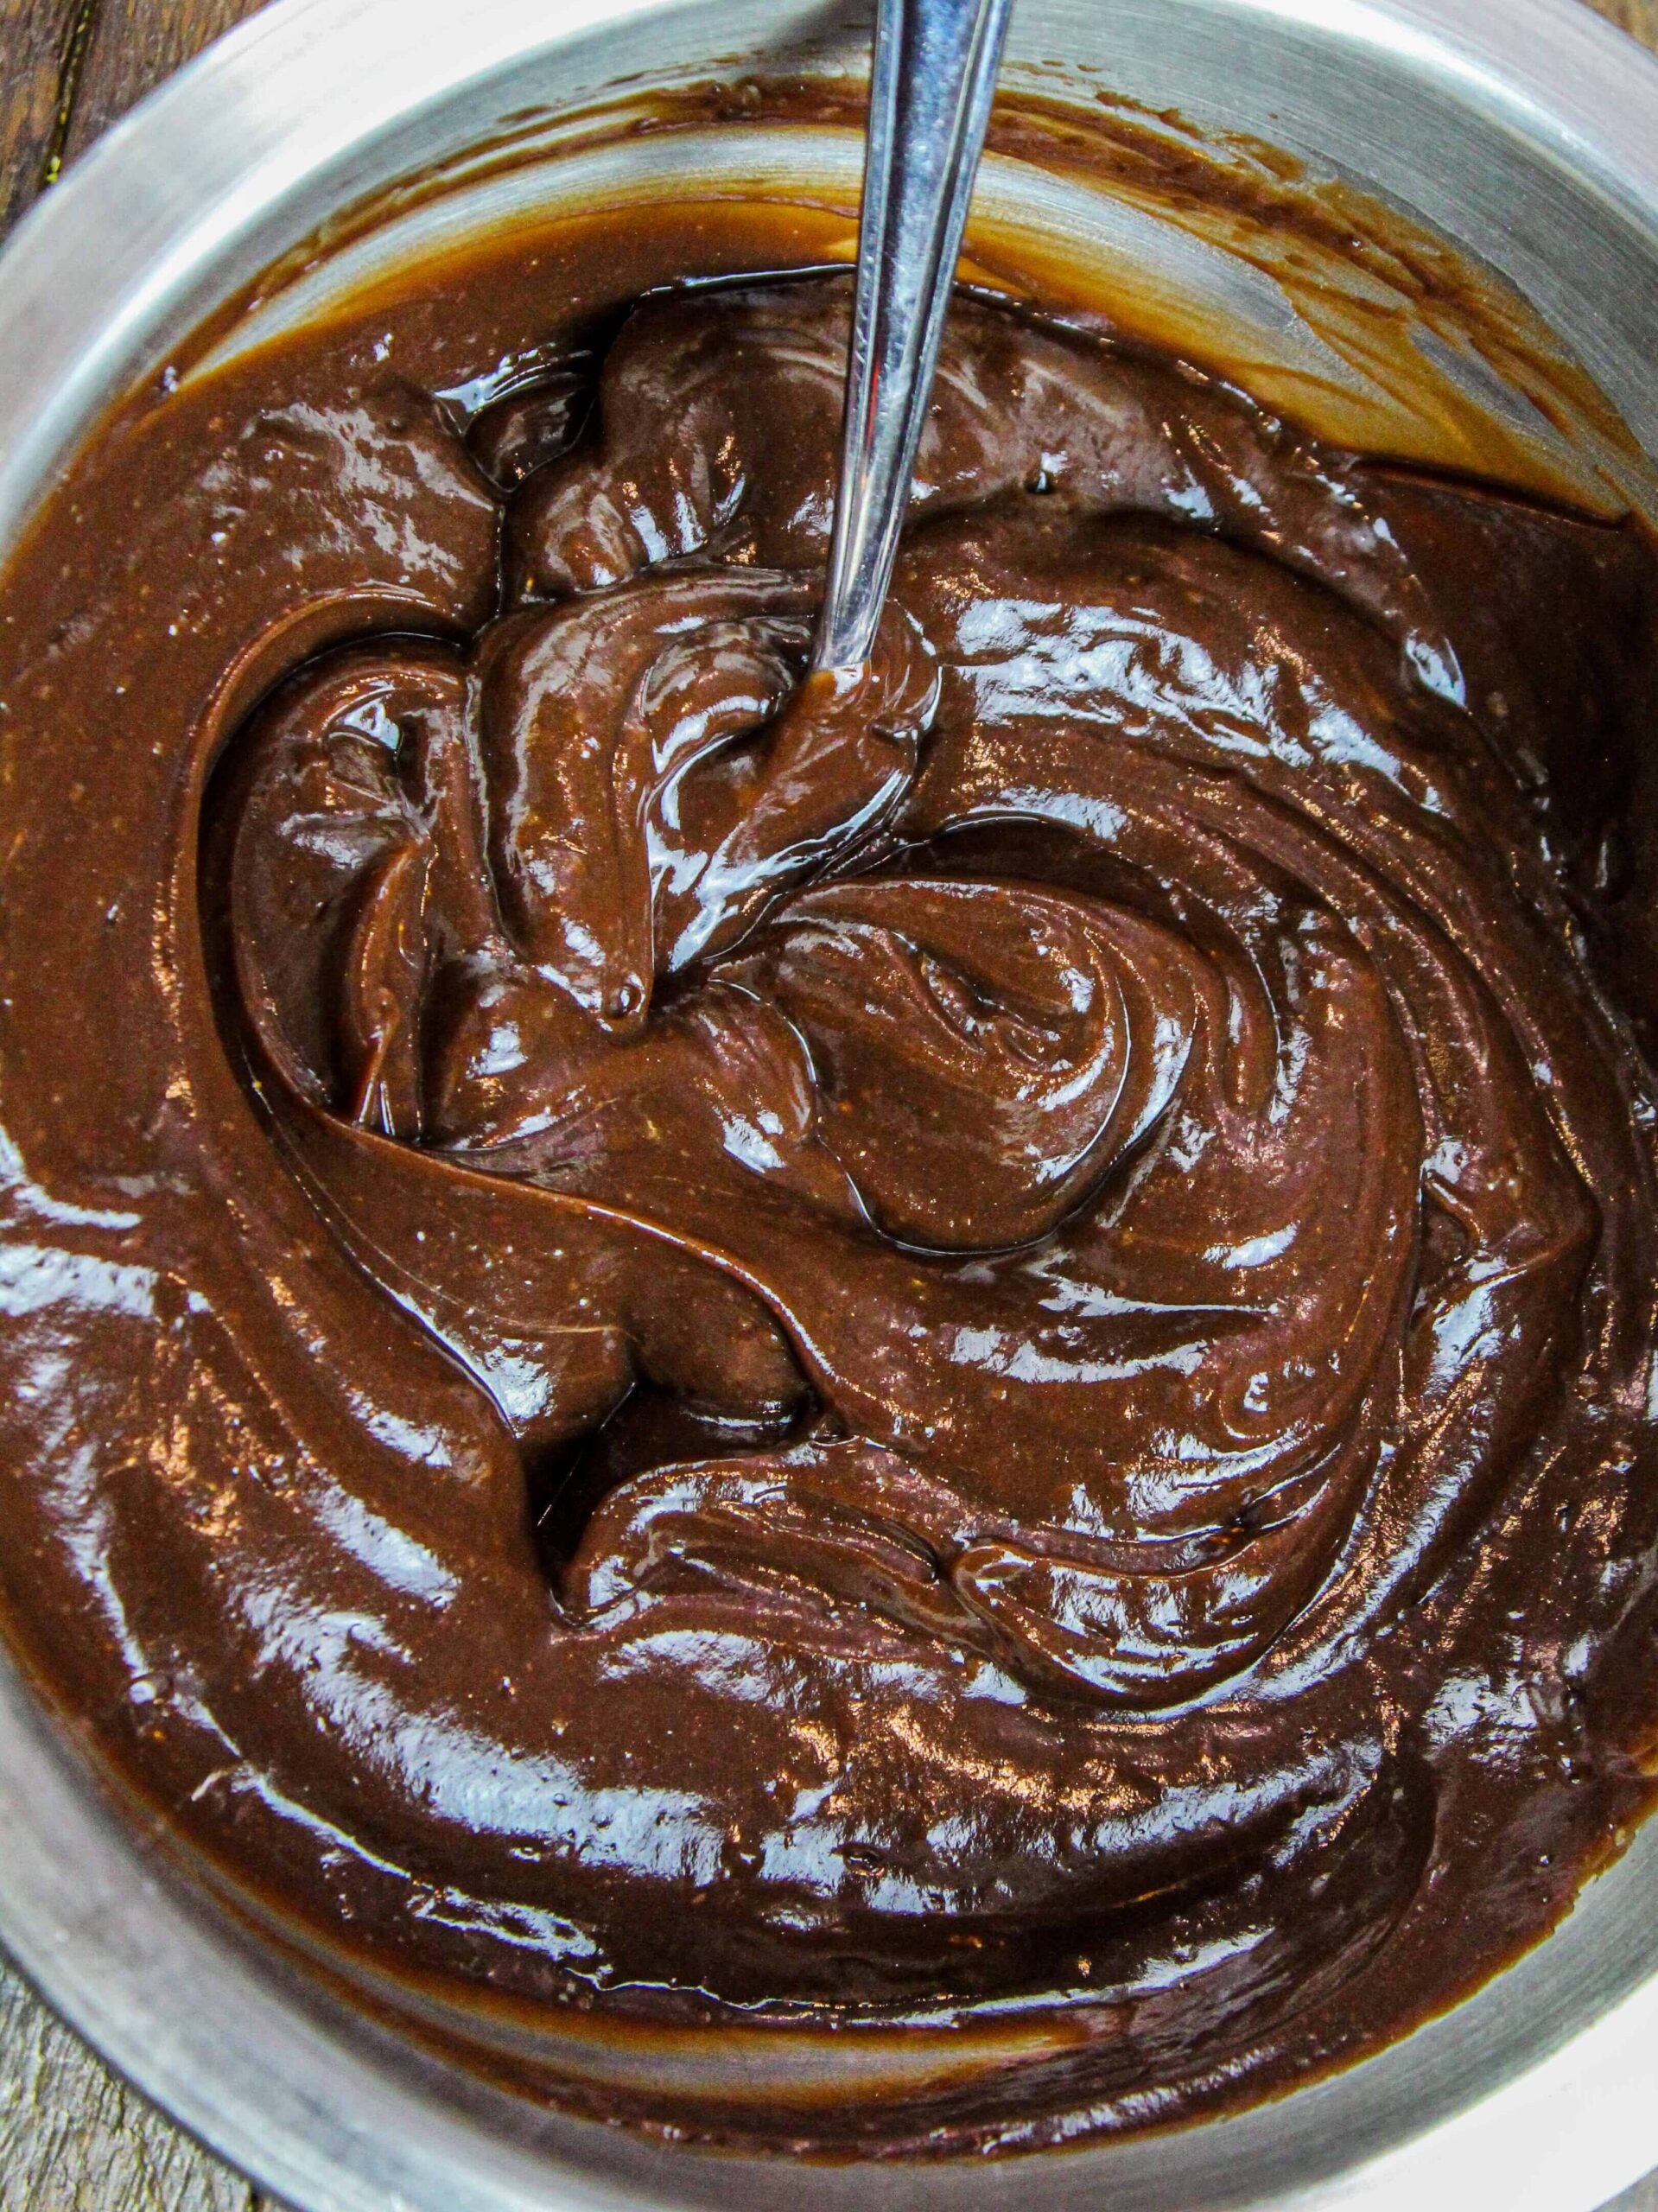
- Add the pudding before it’s fully set, so that it can really fill in between the cake bits and be absorbed by them.
- Cut your cake into equal-sized squares to make it easy to create even layers in your trifle
- Carefully spoon and smooth your layers of pudding and whipped cream with an offset spatula to give your trifle a gorgeous finished look
- I recommend making your whipped cream from scratch. It only takes a few minutes to make and tastes so much better than store-bought whipped cream.
- Use whatever Oreo flavor is your favorite! This trifle would taste great with just about any flavor, including peanut butter, birthday cake, or even double chocolate Oreos!
Making This Oreo Trifle In Advance & Storage Tips
Make this trifle in advance to make life easier! It can easily be made a day or two before an event or party. Just be sure to tightly wrap the trifle container with plastic wrap to keep it fresh.
Wait to decorate the top or add a cookie garnish until right before you plan to serve it.
Leftover trifle can be stored in the fridge for up to 3 days if tightly wrapped with plastic wrap. After that, the whipped cream will lose its shape.
You can also make the sheet cake up to two weeks in advance and freeze it, then cut it up and assemble the trifle the day of.
Using Different-Sized Trifle Dishes
The quantities in this recipe are based on a trifle dish that is 8 inches in diameter.
You can also make individual trifles in stemless wine glasses, for easy serving! This recipe feeds about 30 people, so you may want to cut it in half if you plan to make individual trifle cups.
The amount of ingredients you need will vary based on the size of your trifle dish. Please adjust as needed 🙂
Let Me Know What You Think!
If you try this Oreo trifle recipe, I’d love to hear what you think! Please leave a comment and rating below.
And don’t forget to tag me @chelsweets and use #chelsweets so that I can see your delicious creations!
Oreo Trifle
Ingredients
Chocolate Sheet Cake
- 1 1/2 cups all-purpose flour 190g
- 1 1/3 cup granulated sugar 266g
- 1/4 cup unsweetened cocoa powder, sifted 25g
- 3/4 tsp baking powder 3g
- 1 1/2 tsp baking soda 9g
- 1/2 tsp fine salt 2g
- 3/4 cup hot water 180g
- 1 1/2 tsp instant espresso or coffee 3g
- 1/2 cup buttermilk, room temperature 120g
- 1/3 cup vegetable or canola oil 75g
- 1/4 cup full-fat sour cream, room temperature 64g
- 2 large eggs, room temperature 112g
- 1 tsp vanilla extract or vanilla bean paste 4g
Chocolate Pudding
- 2 3.9 oz packages of instant chocolate pudding
- 4 cups whole milk 980g
Oreo Whipped Cream
- 1 cup (8 oz) block full-fat cream cheese, cold 226g
- 1 cup powdered sugar 125g
- 1 tsp vanilla extract or vanilla bean paste 4g
- 2 cups heavy whipping cream, cold 480g
- 2/3 cup crushed Oreos 66g
Additional Ingredients
- 3 cups chopped Oreos 300g
- 14 whole Oreos garnish
Instructions
Chocolate Sheet Cake:
- Preheat oven to 325°F/162°F. Line a 9×13-inch (quarter sheet) pan with parchment paper and spray with nonstick spray.
- Place two flower nails in the center of the pan with the flat side resting flat against the cake pan. Make sure they are a few inches apart and spray thoroughly with non-stick spray too.
- In a large bowl, whisk together 1 1/2 cups of all-purpose flour, 1 1/3 cups granulated sugar, 1/4 cup cocoa, 3/4 tsp baking powder, 1 1/2 tsp baking soda, and 1/2 tsp salt.
- In a separate bowl, stir together 3/4 cup hot water and 1 1/2 tsp instant coffee or espresso powder.
- Add 1/2 cup buttermilk, 1/3 cup vegetable oil, 1/4 cup sour cream, 2 large eggs, and 1 tsp vanilla extract into the coffee mixture and whisk together until smooth.
- Add half of the dry ingredients into the wet ingredients and whisk together until just combined.
- Add in the rest of the dry mixture and whisk until just combined.
- Pour the batter into the prepared sheet pan. Reposition the flower nails so that they’re evenly spaced across the pan.
- Bang the pan on your counter a couple times to remove any air bubbles, then bake for 32-37 minutes. Rotate your pan halfway through to help the cake bake evenly.
- Let the cake cool in the pan for about 15 minutes, then carefully remove it from the pan onto a wire rack to finish cooling.
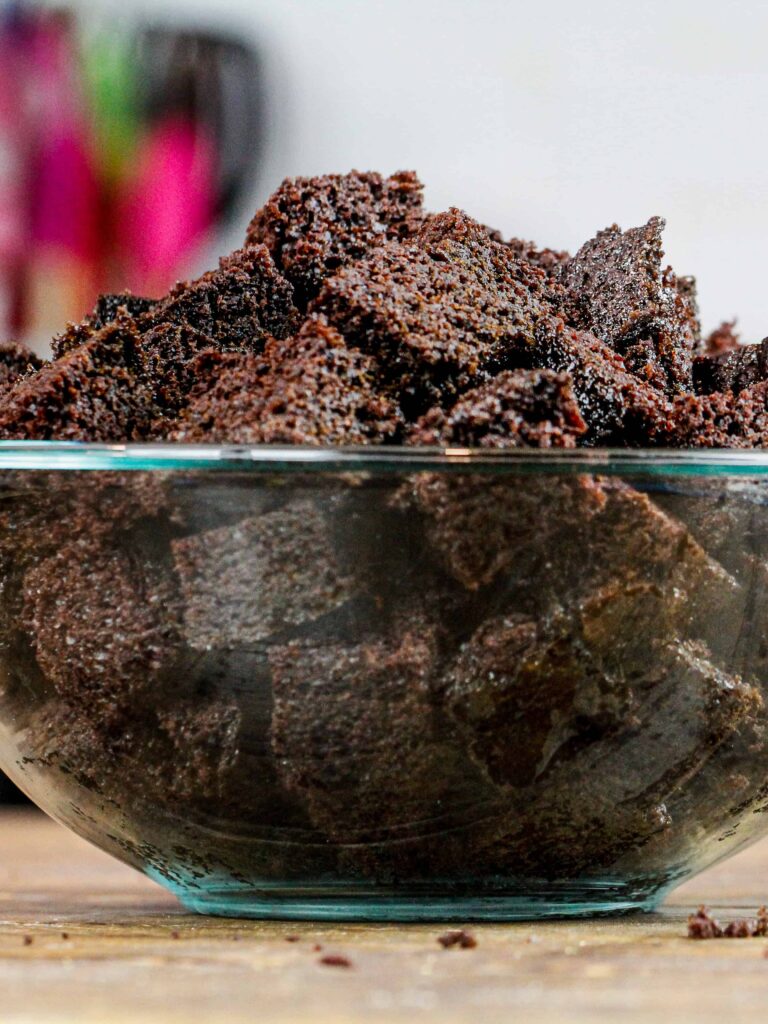
- Use a serrated knife to cut the cake into 1-inch cubes.
Chocolate Pudding:
- While the cake bakes and cools, make the chocolate pudding.
- Pour two 3.9 oz. packages of instant chocolate pudding mix into a large bowl.
- Add 4 cups of cold milk into the bowl and whisk until smooth.
- Cover with plastic wrap and place in the fridge to set.
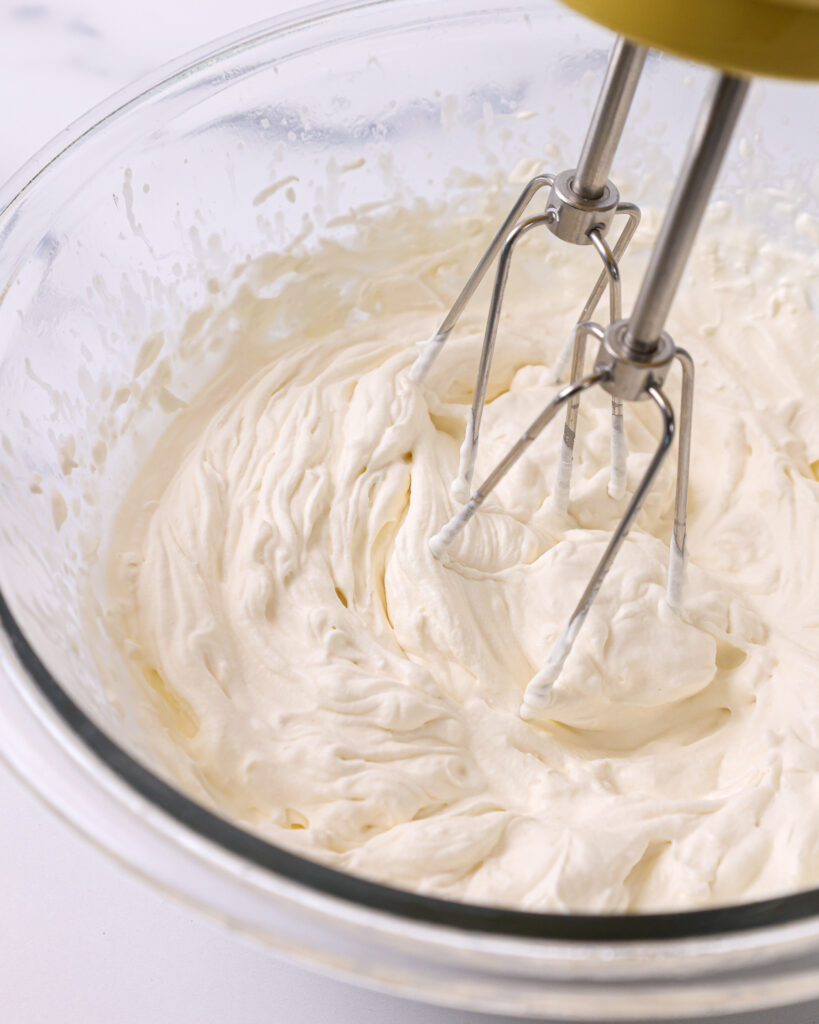
Stabilized Oreo Whipped Cream:
- Next make the stabilized Oreo whipped cream.
- I recommend making the whipped cream right before you assemble your trifle for best results and maximum fluffiness.
- Place 1 cup (8 oz. block) of cold cream cheese into a mixing bowl and mix on a medium speed until smooth.
- Add in 1 cup of powdered sugar and mix on low at first to avoid powdered sugar clouds / explosions. Increase the speed to medium-high once the powdered sugar is incorporated and mix for about 1 minute. Scrape the bowl with a rubber spatula as needed throughout this process.
- Add in 1 tsp of vanilla extract, then turn the mixer to a medium high speed and gradually pour in 2 cups of cold heavy cream. I like to do this in 4 additions and focus on pouring the heavy cream down the side of the bowl to prevent splattering.
- As soon as you've finished adding the heavy cream, pour in 2/3 cup crushed Oreos.
- The whipped cream should thicken and take shape shortly after this (mine usually does within about 30 seconds of mixing in the heavy cream). Take care not to over-mix your whipped cream frosting!! It will become soupy and sadly you won't be able to fix it.
- Once the whipped cream is able to keep its shape and form a nice peak, cover it with plastic wrap and refrigerate it until you're ready to use it.
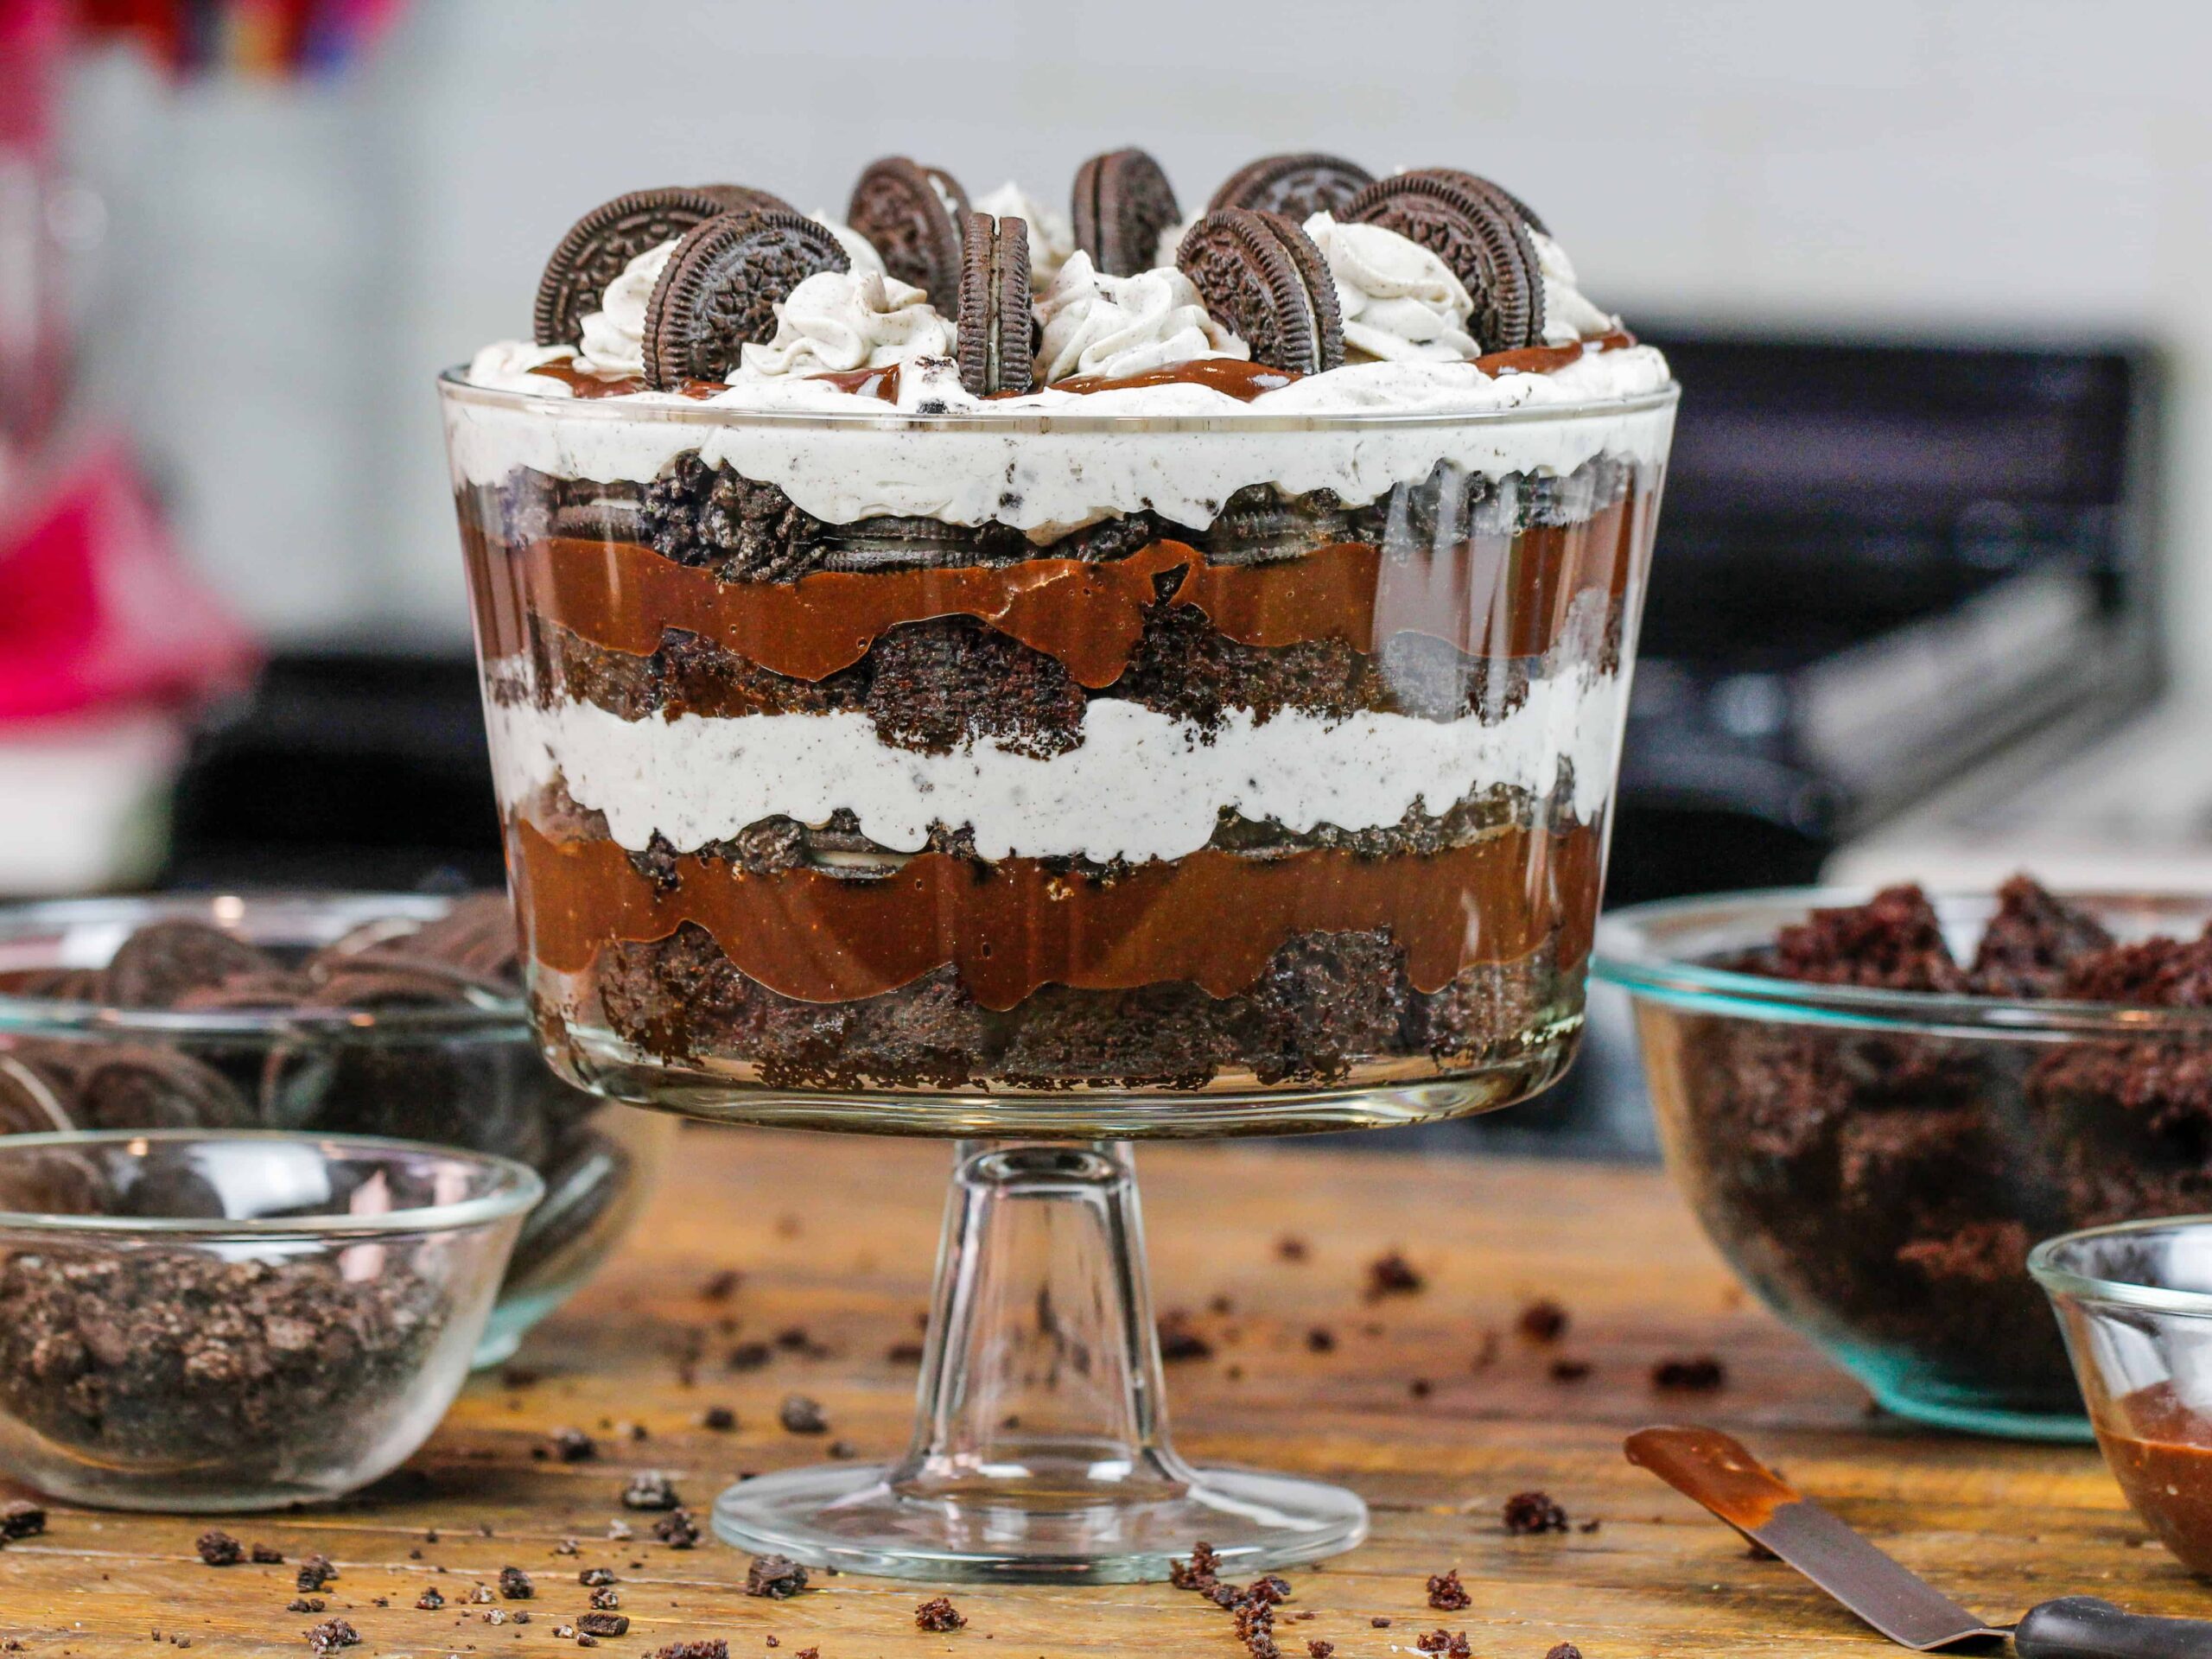
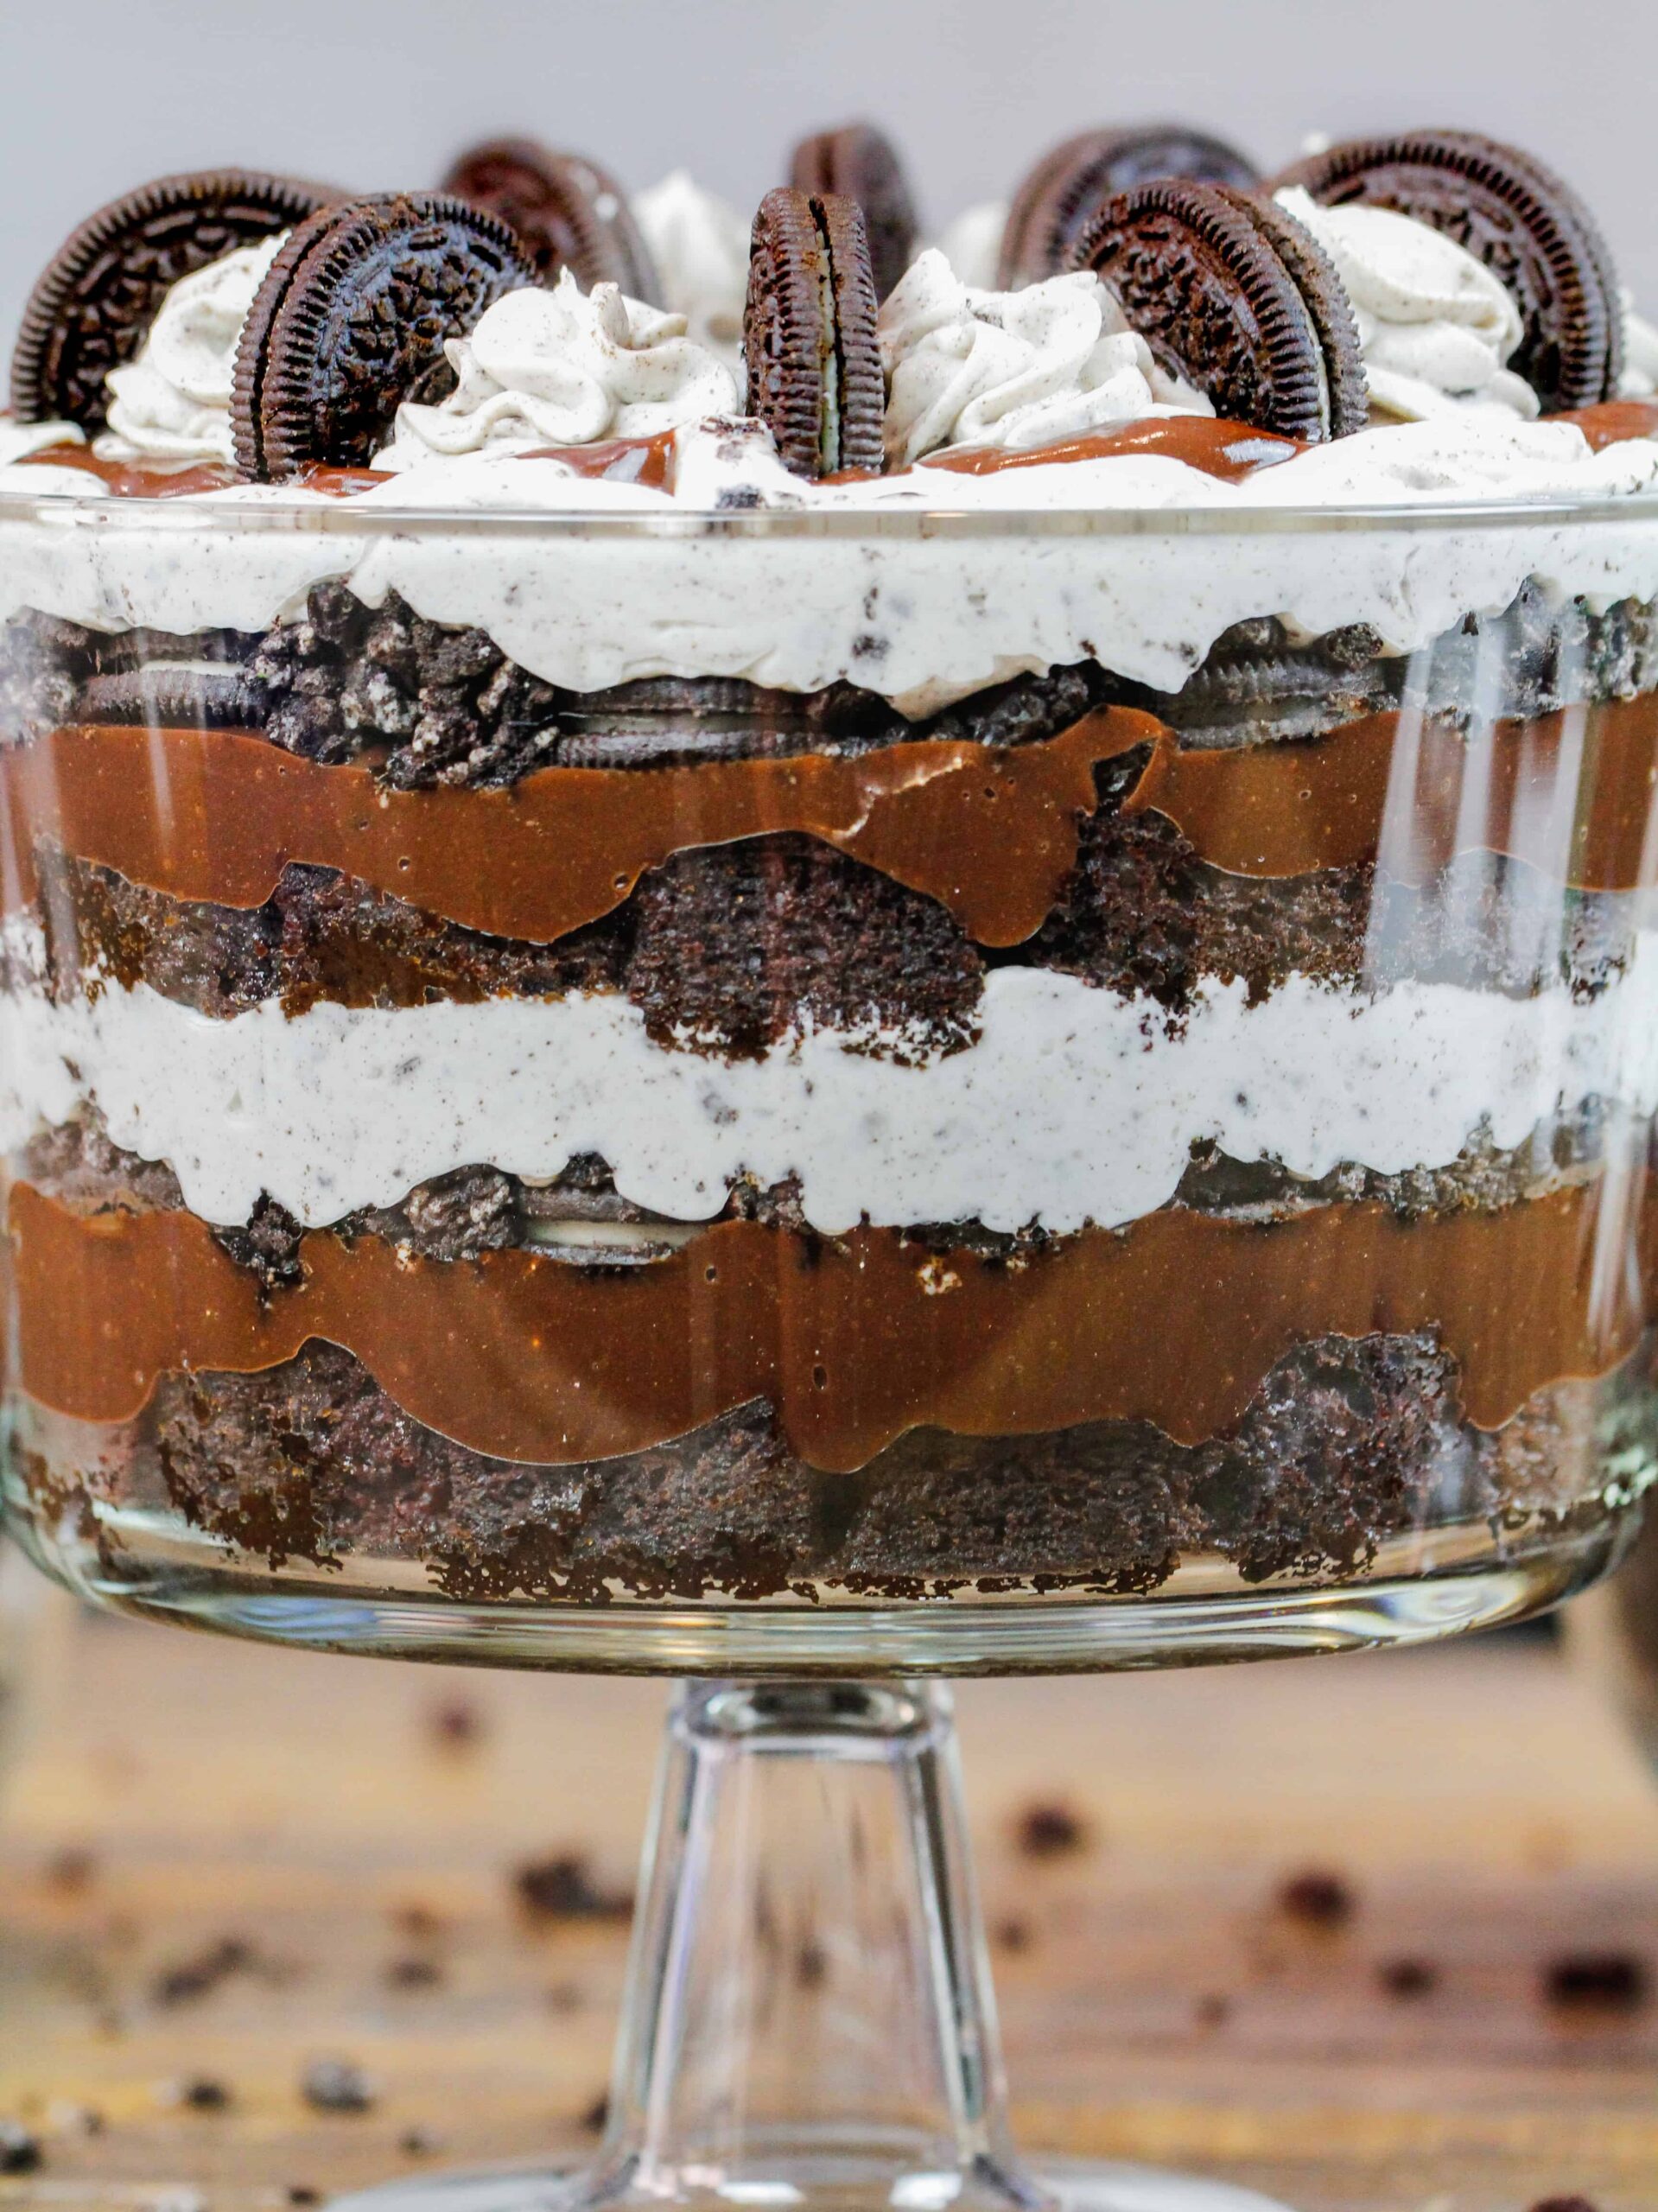
Assembling this Oreo Trifle:
- Place about half of the cubes of chocolate cake into the bottom of a trifle dish, fully covering the bottom.
- Add an even layer of chocolate pudding over the cake bits, using about half the pudding mix.
- Create the next layer using 1 cup of whole or crushed Oreos.
- Top with 1/2 of the whipped cream and use an offset spatula to create an even layer.
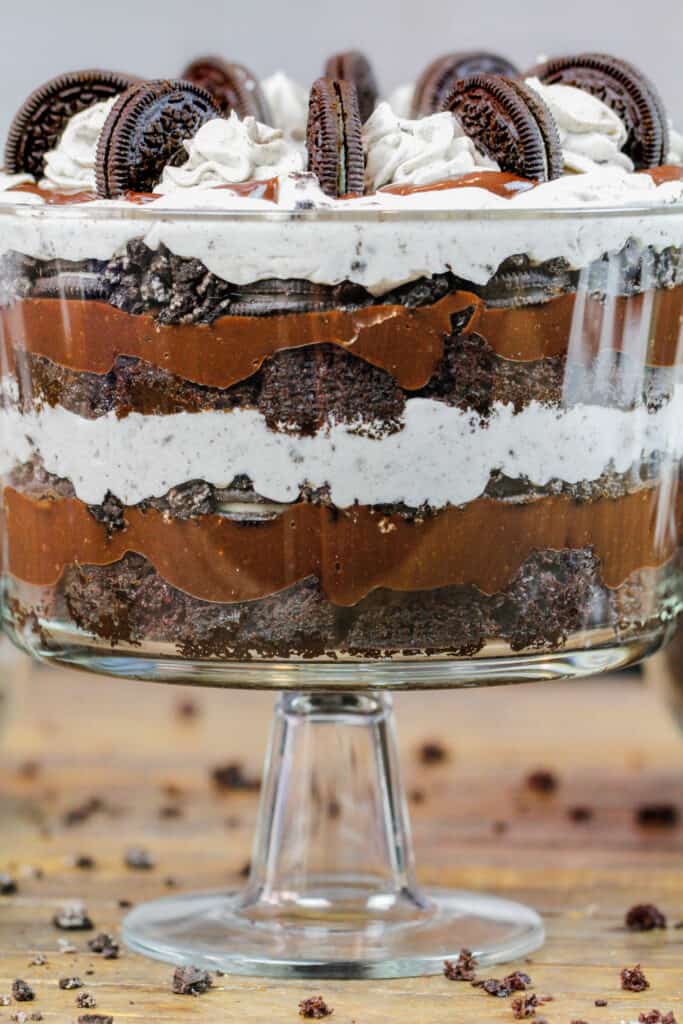
- Repeat with remaining ingredients to create an additional layer of ingredients.
- Add a garnish of whole Oreos and dollops of Oreo whipped cream to the top of the trifle and enjoy!
Video
Notes
Tips For Making the Best Oreo Trifle:
- Add the pudding before it's fully set so that it can really fill between the cake bits and be absorbed by them.
- Cut your cake into equal sized squares to make it easy to create even layers in your trifle
- Carefully spoon and smooth your layers of pudding and whipped cream with an offset spatula to give your trifle a gorgeous finished look
- I recommend making your whipped cream from scratch. It only takes a few minutes to make and tastes so much better than store bought whipped cream.
- Use whatever flavor of Oreos are your favorite! This trifle would taste great with just about any flavor, including peanut butter, birthday cake, or even double chocolate Oreos!
Making this Oreo Trifle In Advance & Storage Tips:
- Make this trifle in advance to make life easier! It can easily be made a day or two before an event or party. Just be sure to tightly wrap the trifle container with plastic wrap to keep it fresh.
- Leftover trifle can be stored in the fridge for up to 3 days if tightly wrapped with plastic wrap. After that the whipped cream will lose its shape.
- You can also make the sheet cake up to two weeks in advance and freeze it, then cut it up and assemble the trifle the day of.
Using Different Sized Trifle Dishes
The quantities in this recipe are based on a trifle dish that is 8 inches in diameter. You can also make individual trifles in stemless wine glasses, for easy serving! This recipe feeds about 30 people, so you may want to cut it in half if you plan to make individual trifle cups. The amount of ingredients you need will vary based on the size of your trifle dish. Please adjust as needed 🙂Nutrition
Other Recipes You Might Like:
Hey chelsea.
I love your videos.
I have a request.
Can you please make a Stranger Things themed cake without fondant.Please!
Have you seen the Friends Thanksgiving episode where Rachel makes a trifle??Season 6 episode 9 you will love it!!
Sorry Chelsea, but no, just no. This is an affront to the revered Trifle.
@Miss McDermott,
? I kept thinking my mother would be saying that. It looks like a very delicious, damp and rich chocolate dessert, but it’s definitely not trifle. In fact my mother always said if you used Jello vanilla pudding mix instead of scratch custard, or at the very least, Bird’s dessert, it wasn’t really trifle, either. And she made all the the sandwich layers with ladyfingers or poundcake slices spread with raspberry jam and cut into tiny cubes, and included cherry plum Danish dessert layers in the best ones, and fresh fruit, and always topped with whipped cream, maraschino cherries and silver shot that near broke my teeth. It was a true labor of love.
But this chocolate dessert, if called something like Chocolate Decadence, would tickle any chocolate lover’s fancy, I think.
I loved this!!! Easy and the best part lots of chocolate!!!
Where does the buttermilk come in?
I made this gluten free for my husband for Valentine’s Day (celebrating the new GF Oreos). It was SUPER tasty! Especially that frosting – that’s a keeper for sure!
I had an issue with the texture of the cake coming out odd. I used your exact temp and measurements (with 1:1 GF flour). I’m wondering if maybe I over mixed the batter… I would make it again and be more careful about the mixing.
Omg! I made this for my man for Father’s day! Oh my word it was amazing! Definitely a cheat day kinda dessert!
Why do the instructions mention Peanut Butter, but there is not mention is the ingredients?
So sorry about the Stephanie! That was a typo and the recipe card has been updated <3 Thank you for letting me know!