
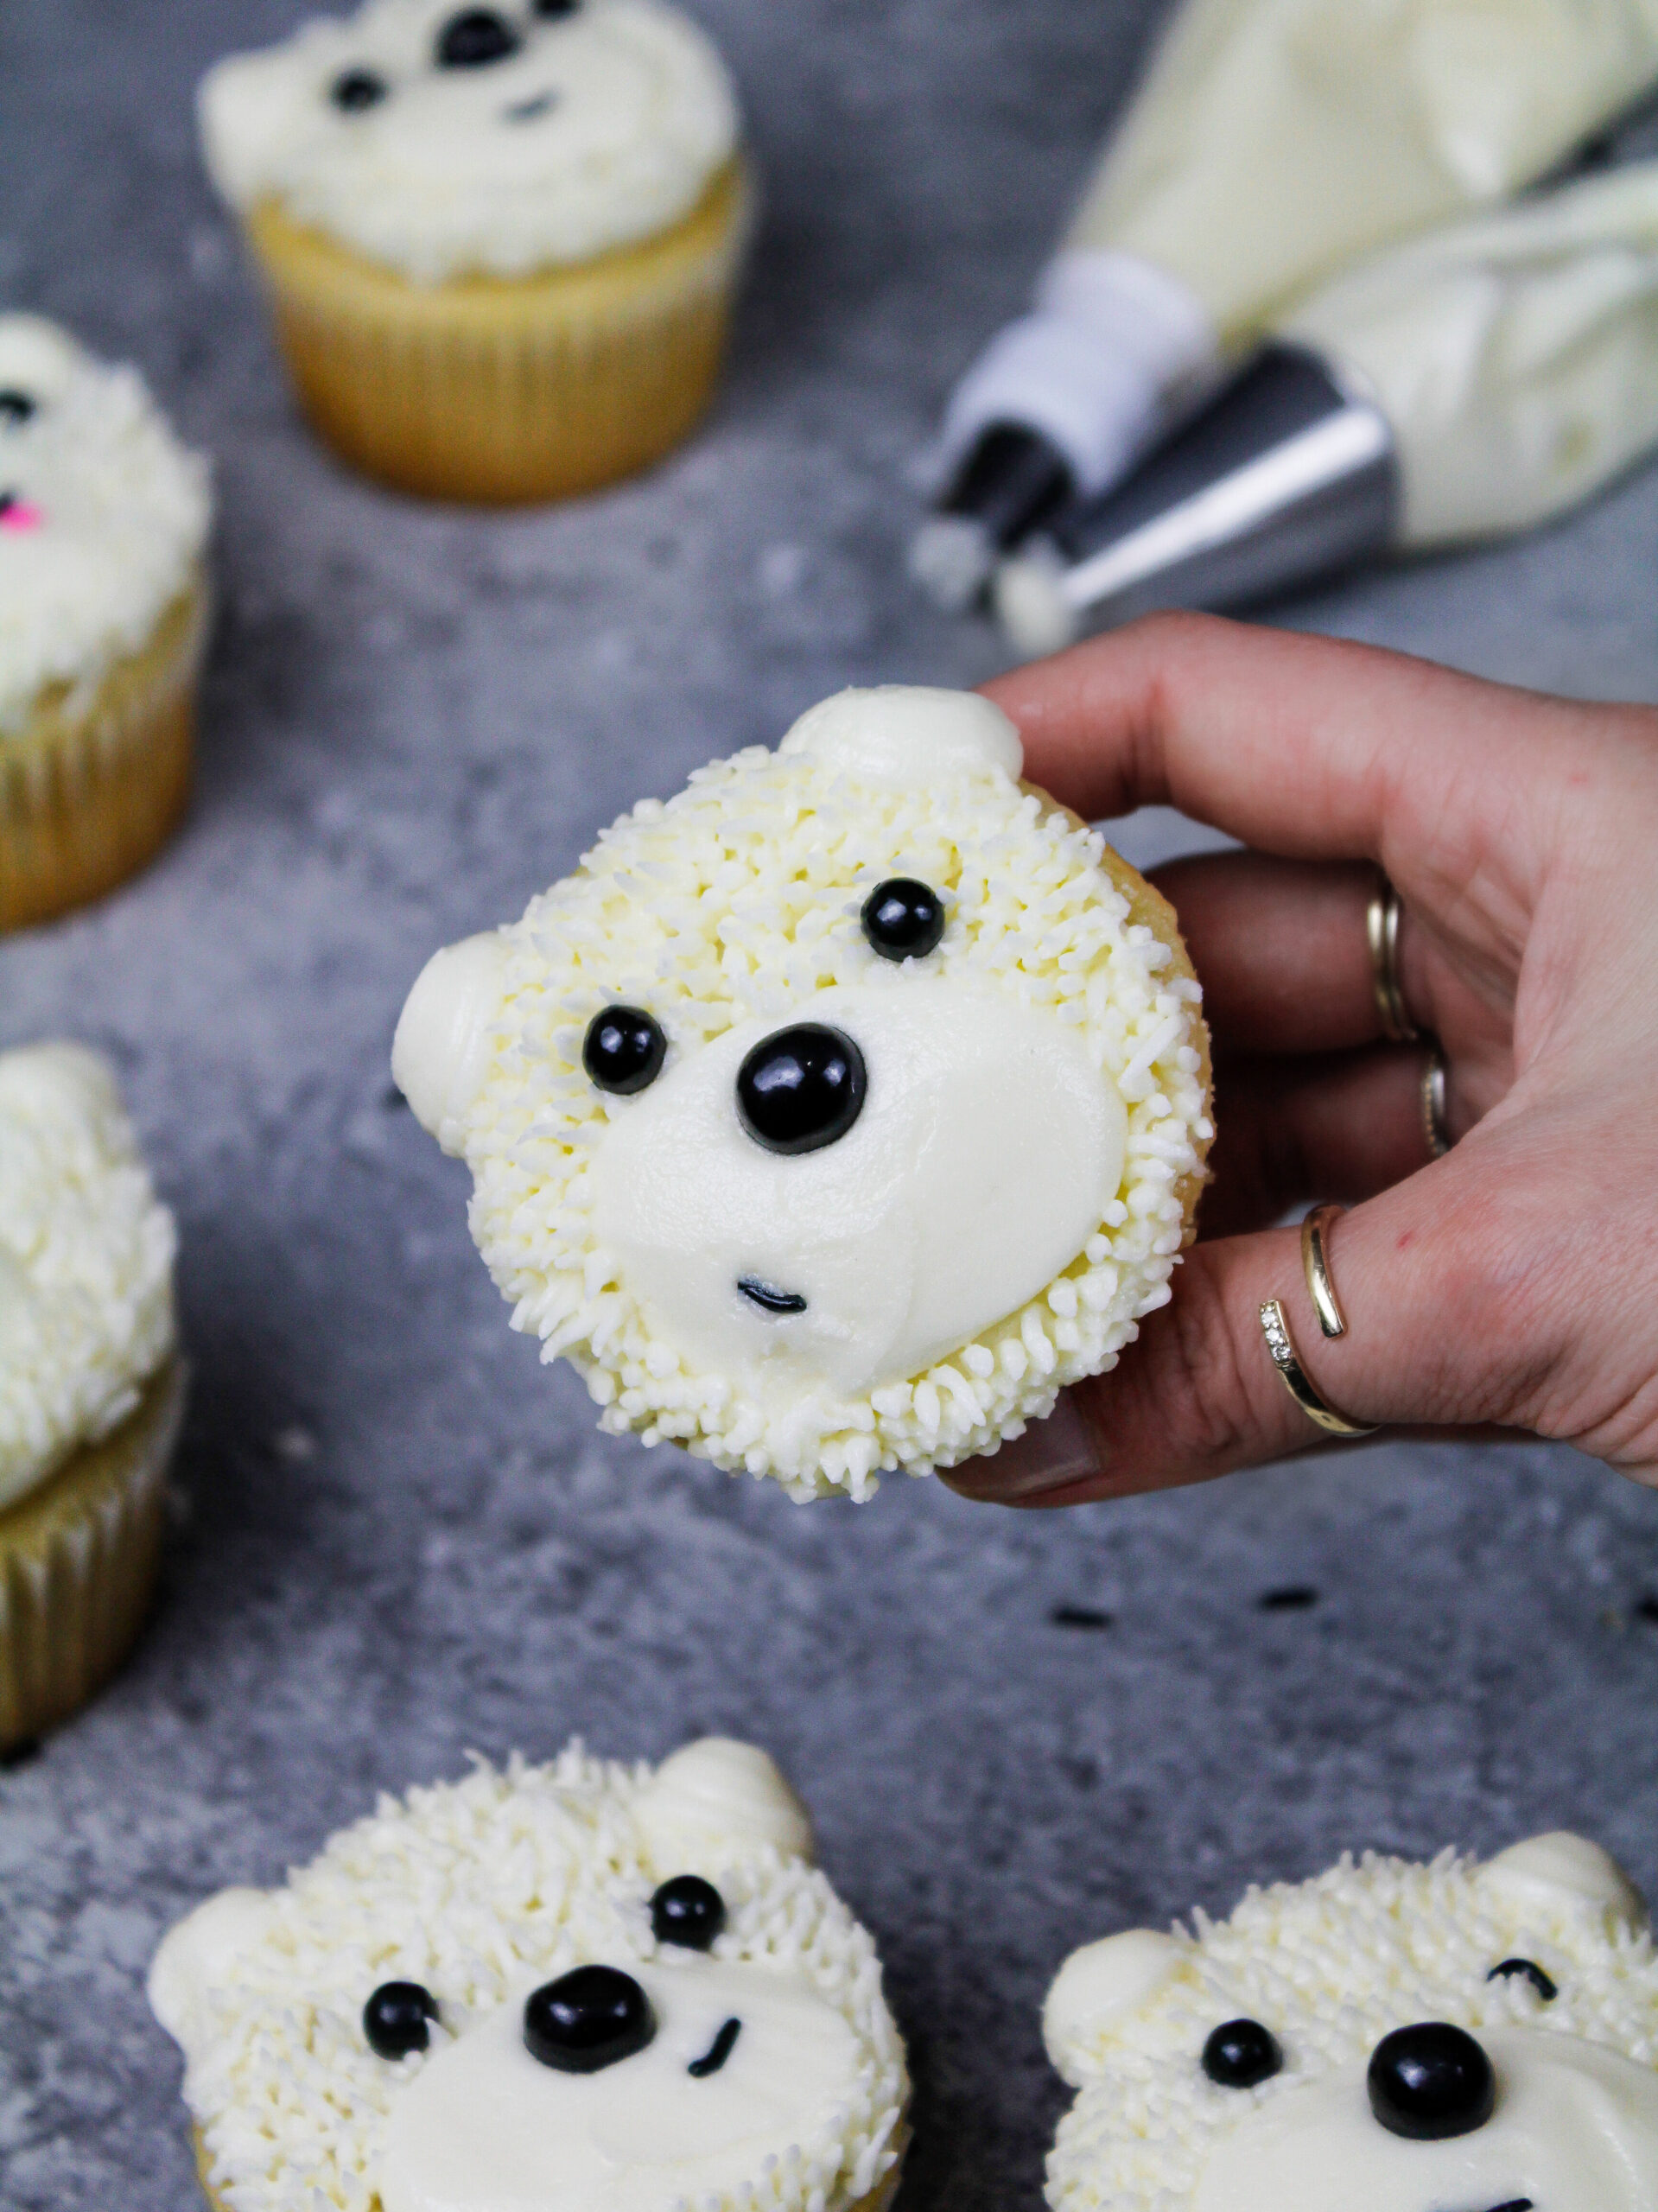
Polar Bear Cupcakes
I usually make a mini cake of each cake in my animal cake series, but this week I’m mixing things up and making cupcakes! These polar bear cupcakes are inspired by my polar bear cake.
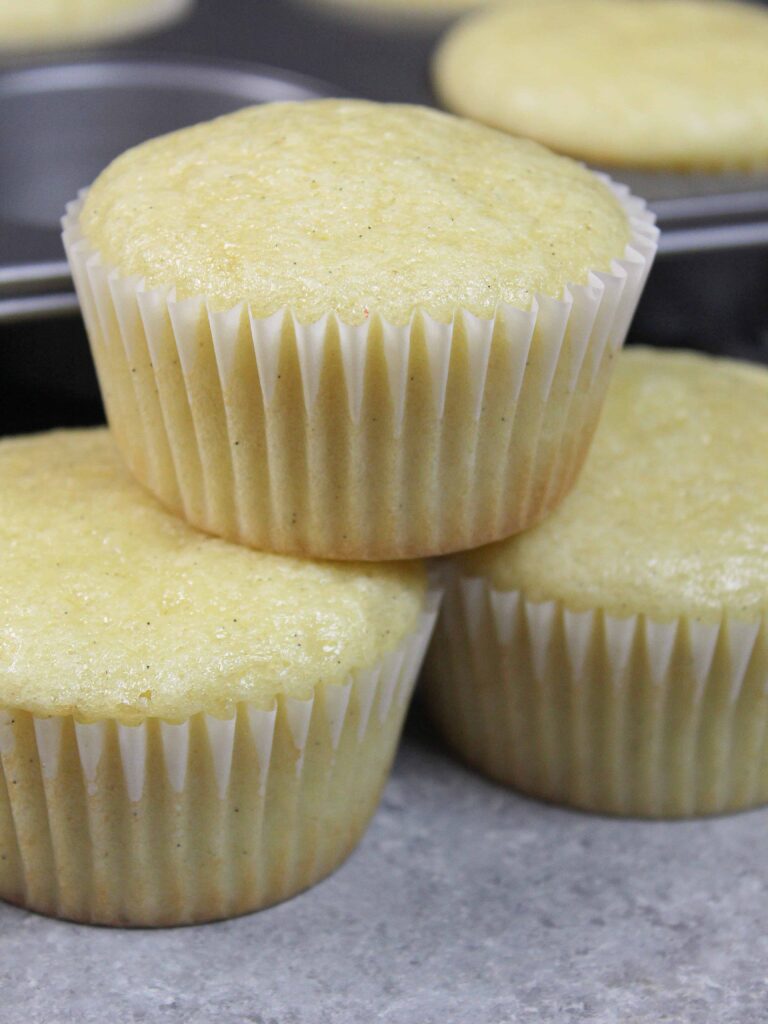
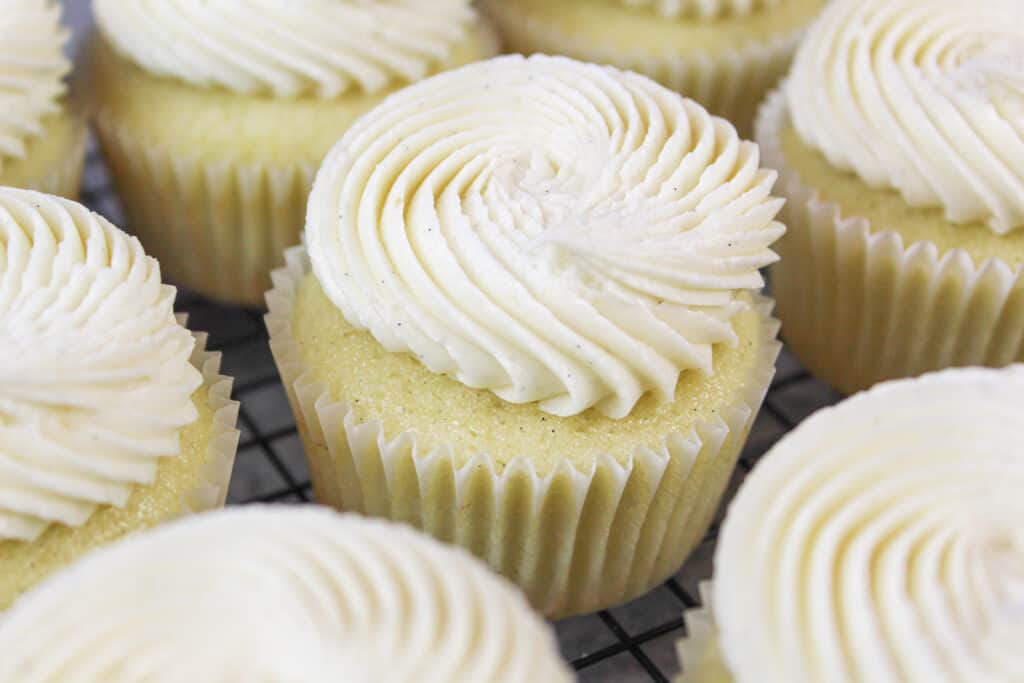
They’re made with my almond cupcake recipe, which is one of my favorites!
It uses the perfect amount of almond extract and sour cream to create well-balanced, absolutely delicious white almond cupcakes.
How to Make these Adorable Polar Bear Cupcakes
Let’s walk through each step that goes into decorating these polar bear cupcakes!
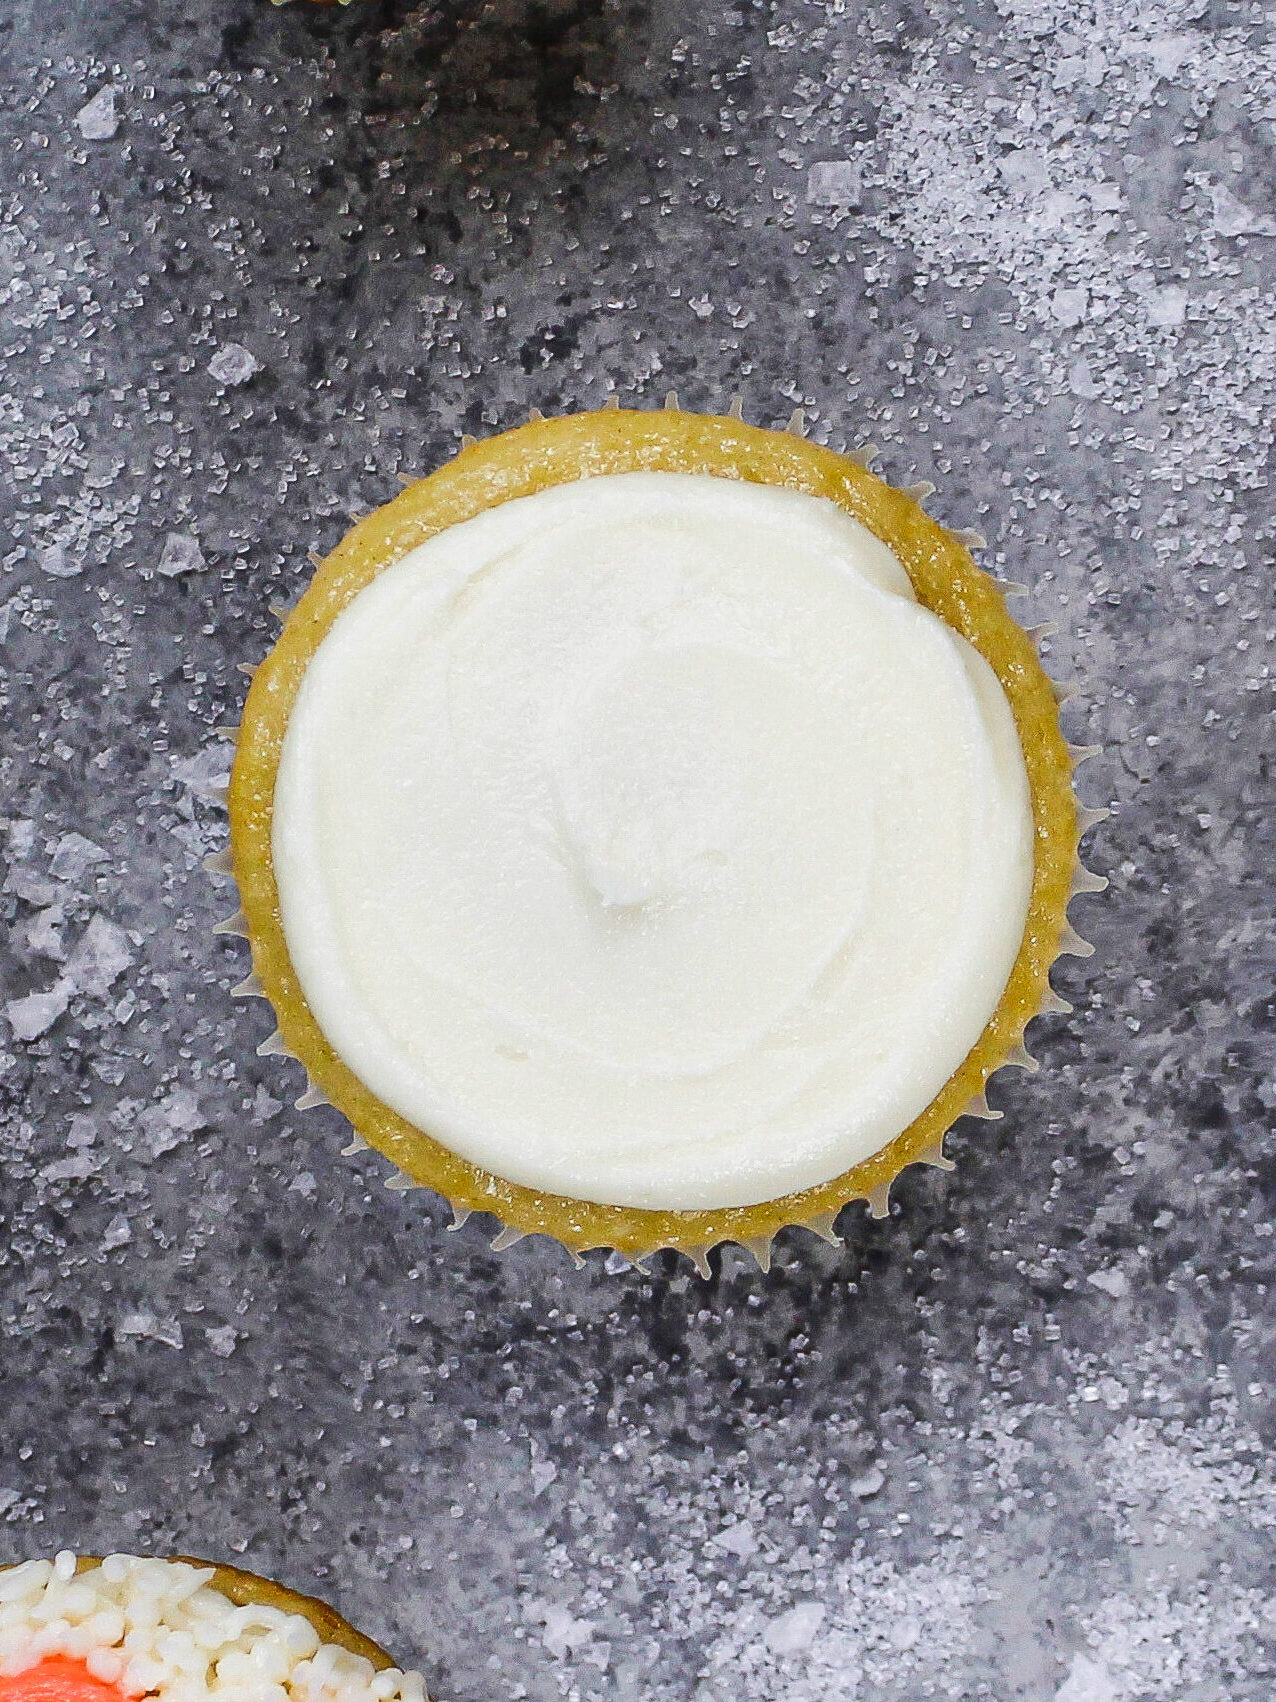
Step 1: Cover the Top of Each Cupcake with Frosting
It’s important that you cover to the top of each cupcake with a thin layer of buttercream before piping on the fur!
This base of frosting will give you full coverage and prevent any plain bits of cupcake from peeking through the buttercream fur you’ll pipe in step 3.
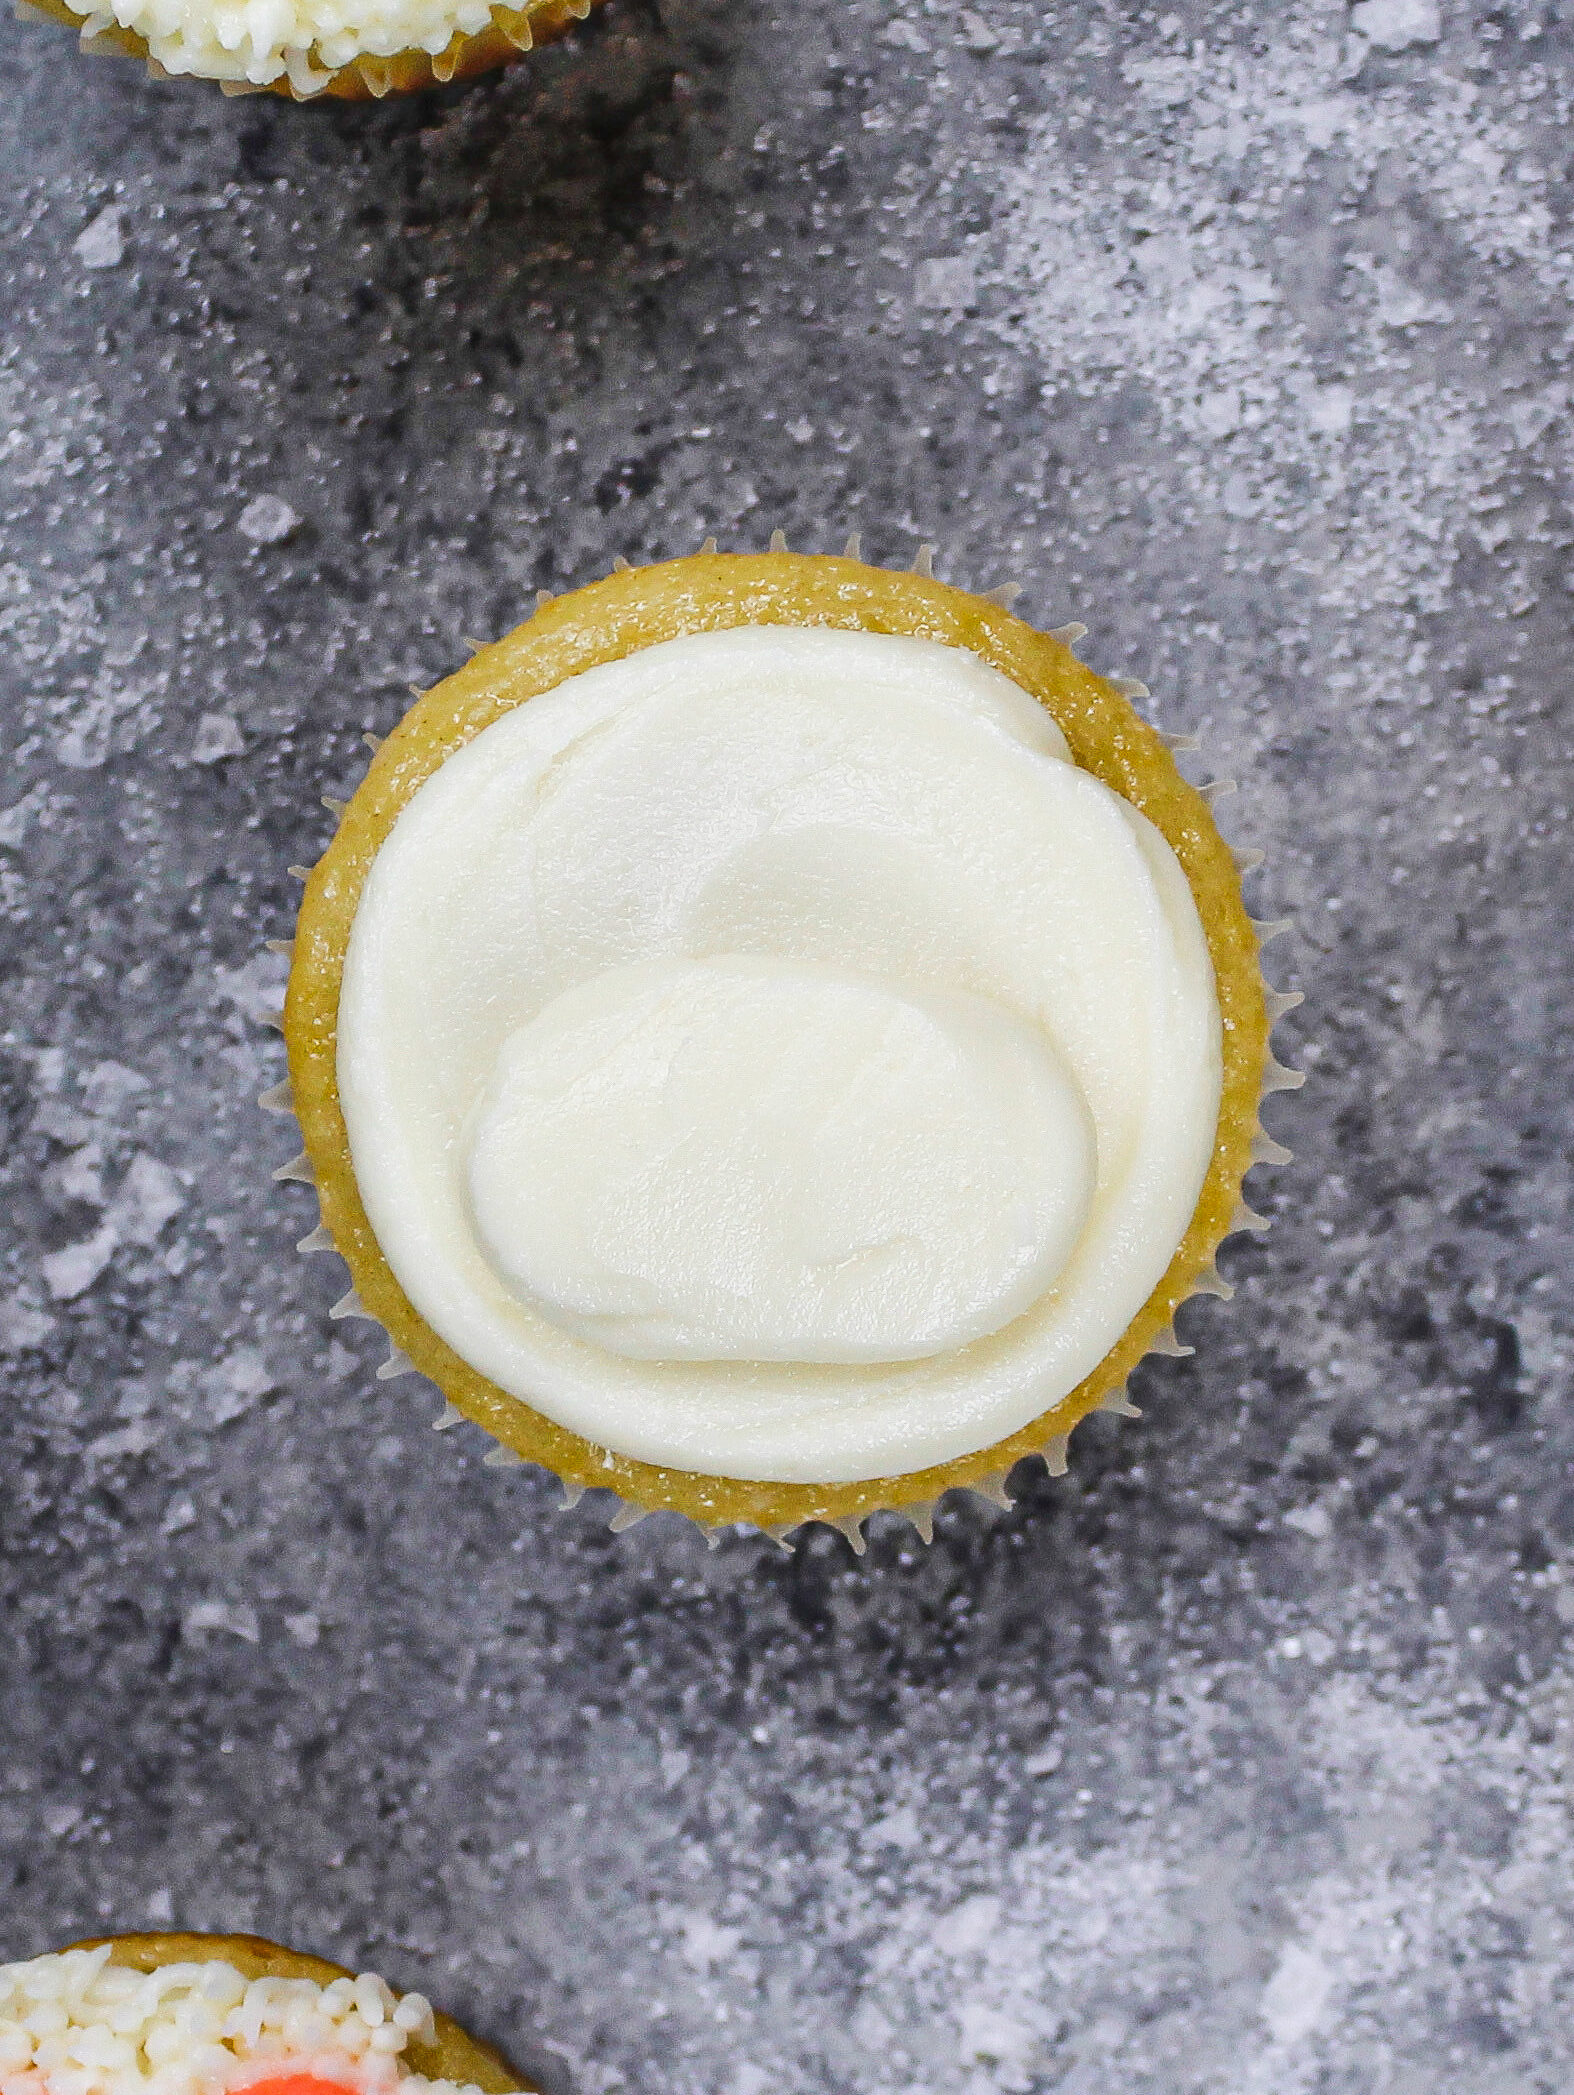
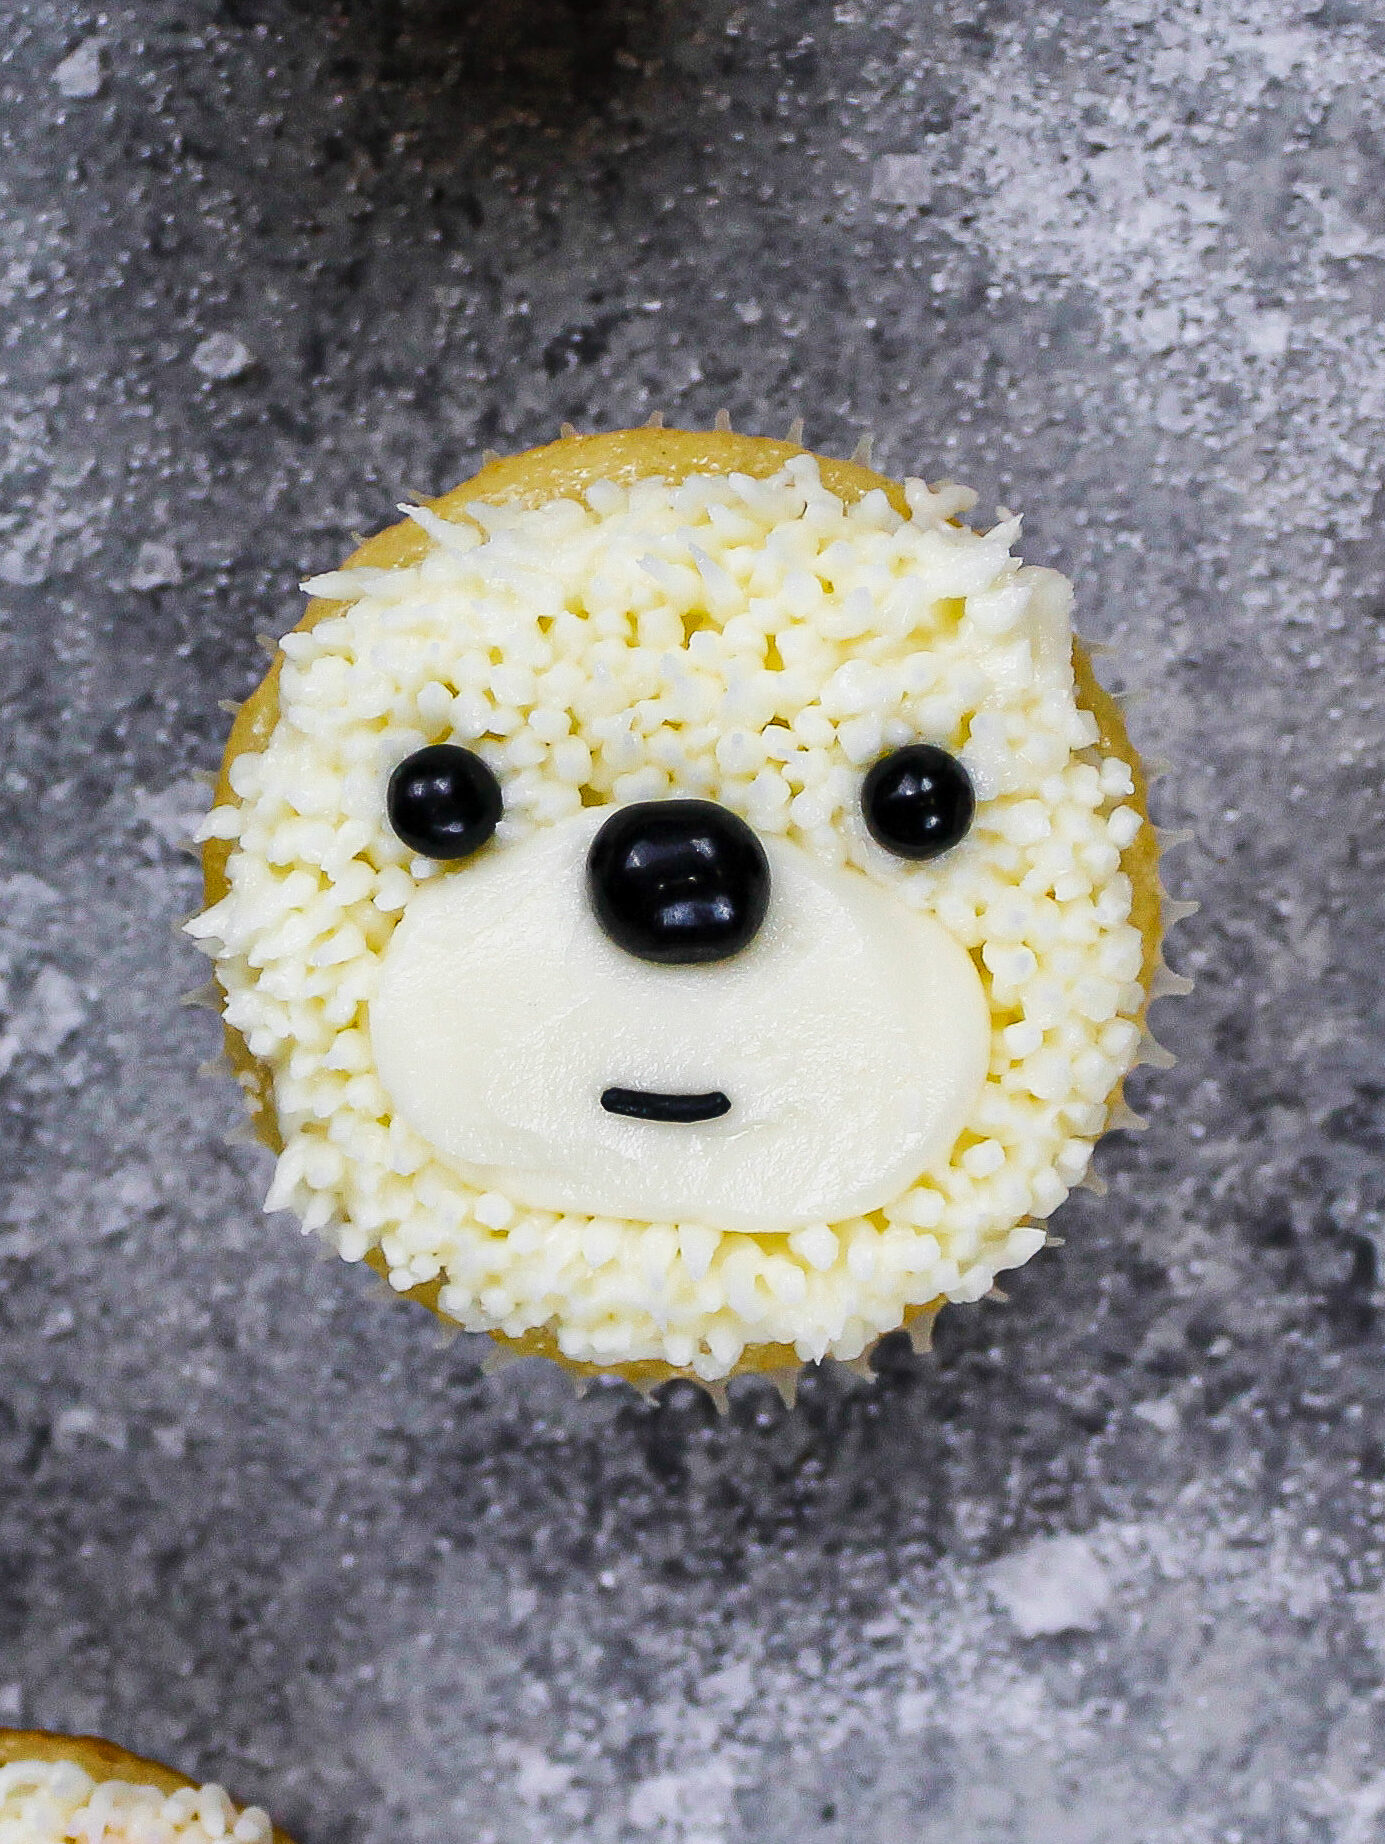
Step 2: Pipe on the Muzzle
Use a round piping tip to pipe a small oval on the bottom of third or each cupcake. Smooth any lines with a small offset spatula or butter knife.
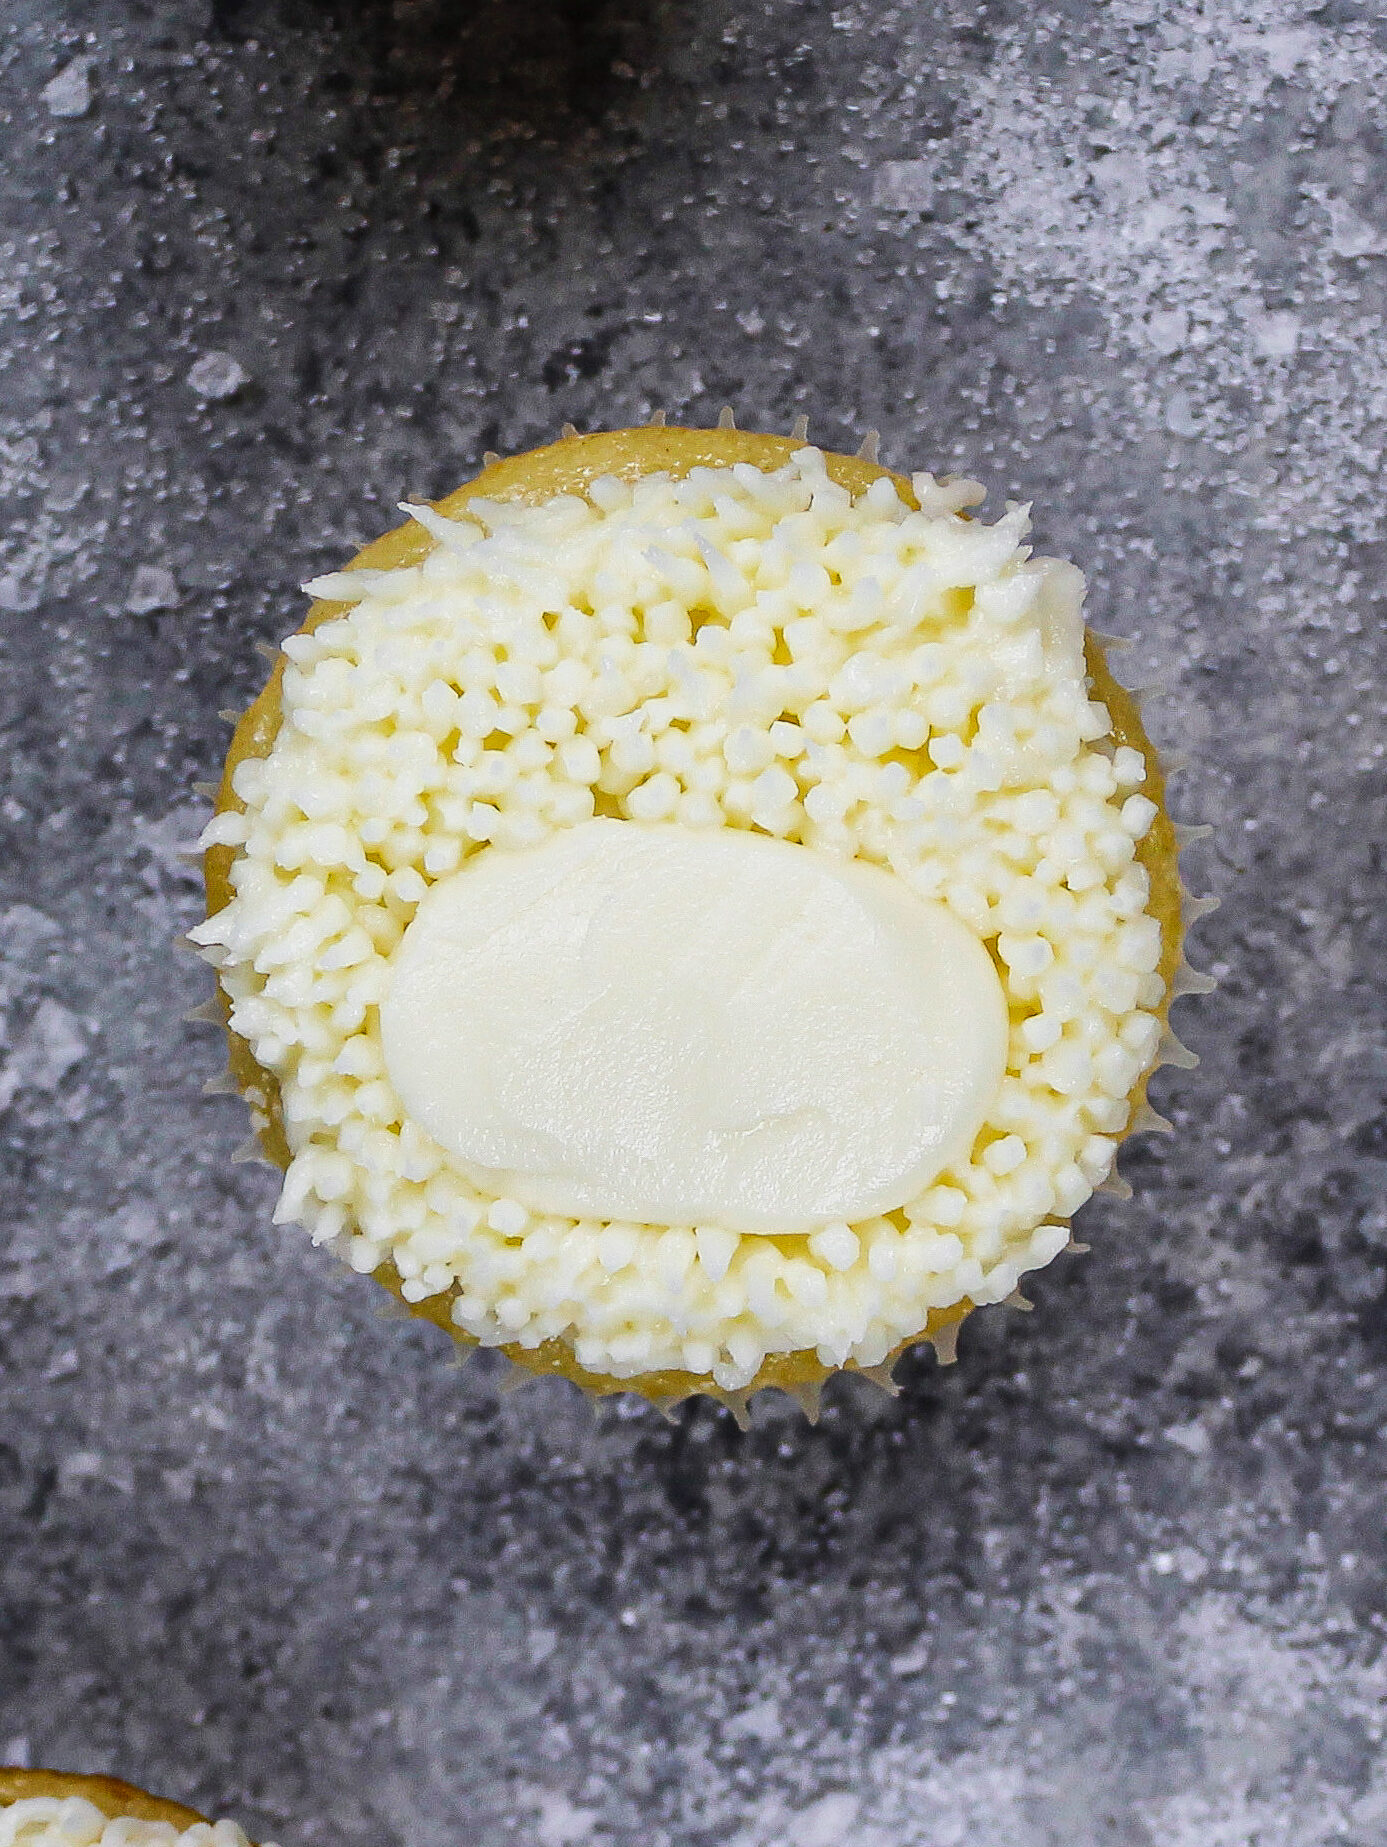
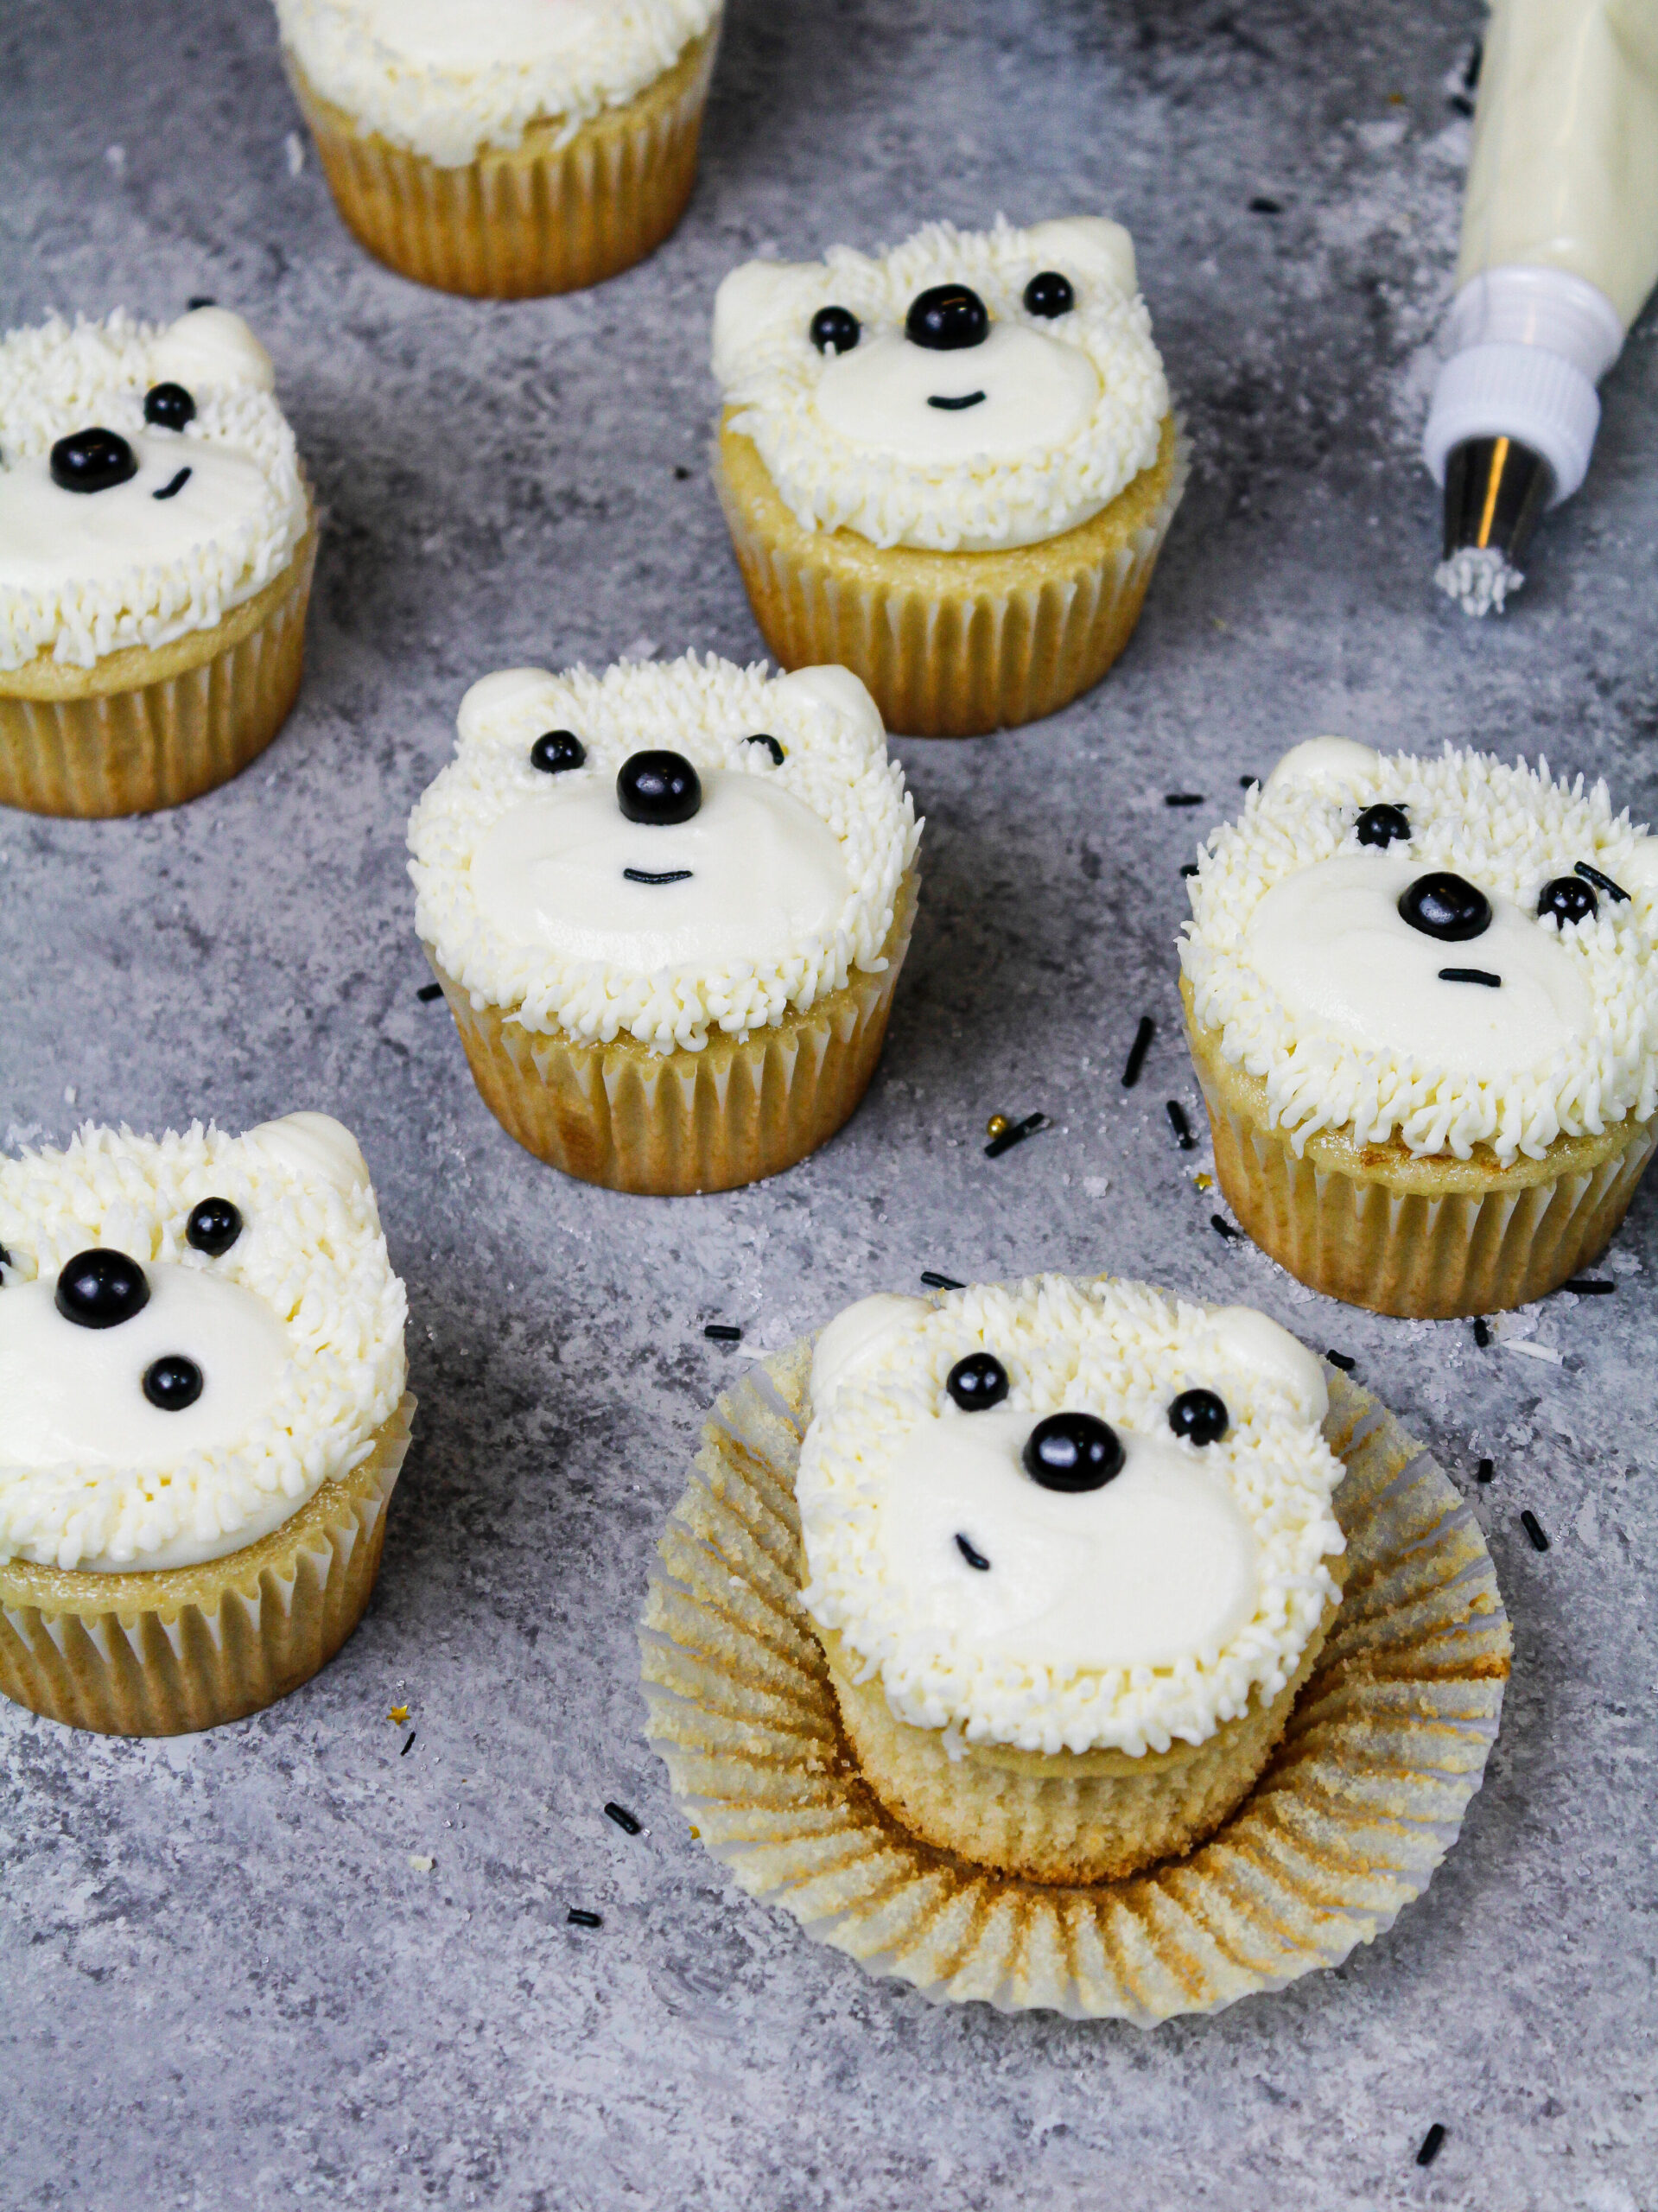
Step 3: Add the Polar Bear’s Fur
Switch to a small grass piping tip and pipe buttercream fur around the mound, fully covering the top of the cupcake.
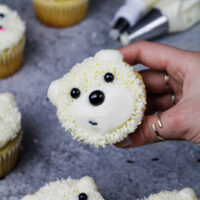
Step 4: Use Black Sprinkles to Make the Polar Bear’s Face
Place a large black sprinkle at the top of the mound to be the polar bear’s nose, and two smaller round sprinkles above the mound to look like the eyes.
Use a long, thin sprinkle to make the polar bear’s mouth.
If you don’t have black sprinkles like this, I suggest rolling out small balls with black fondant to create the polar bear’s face.
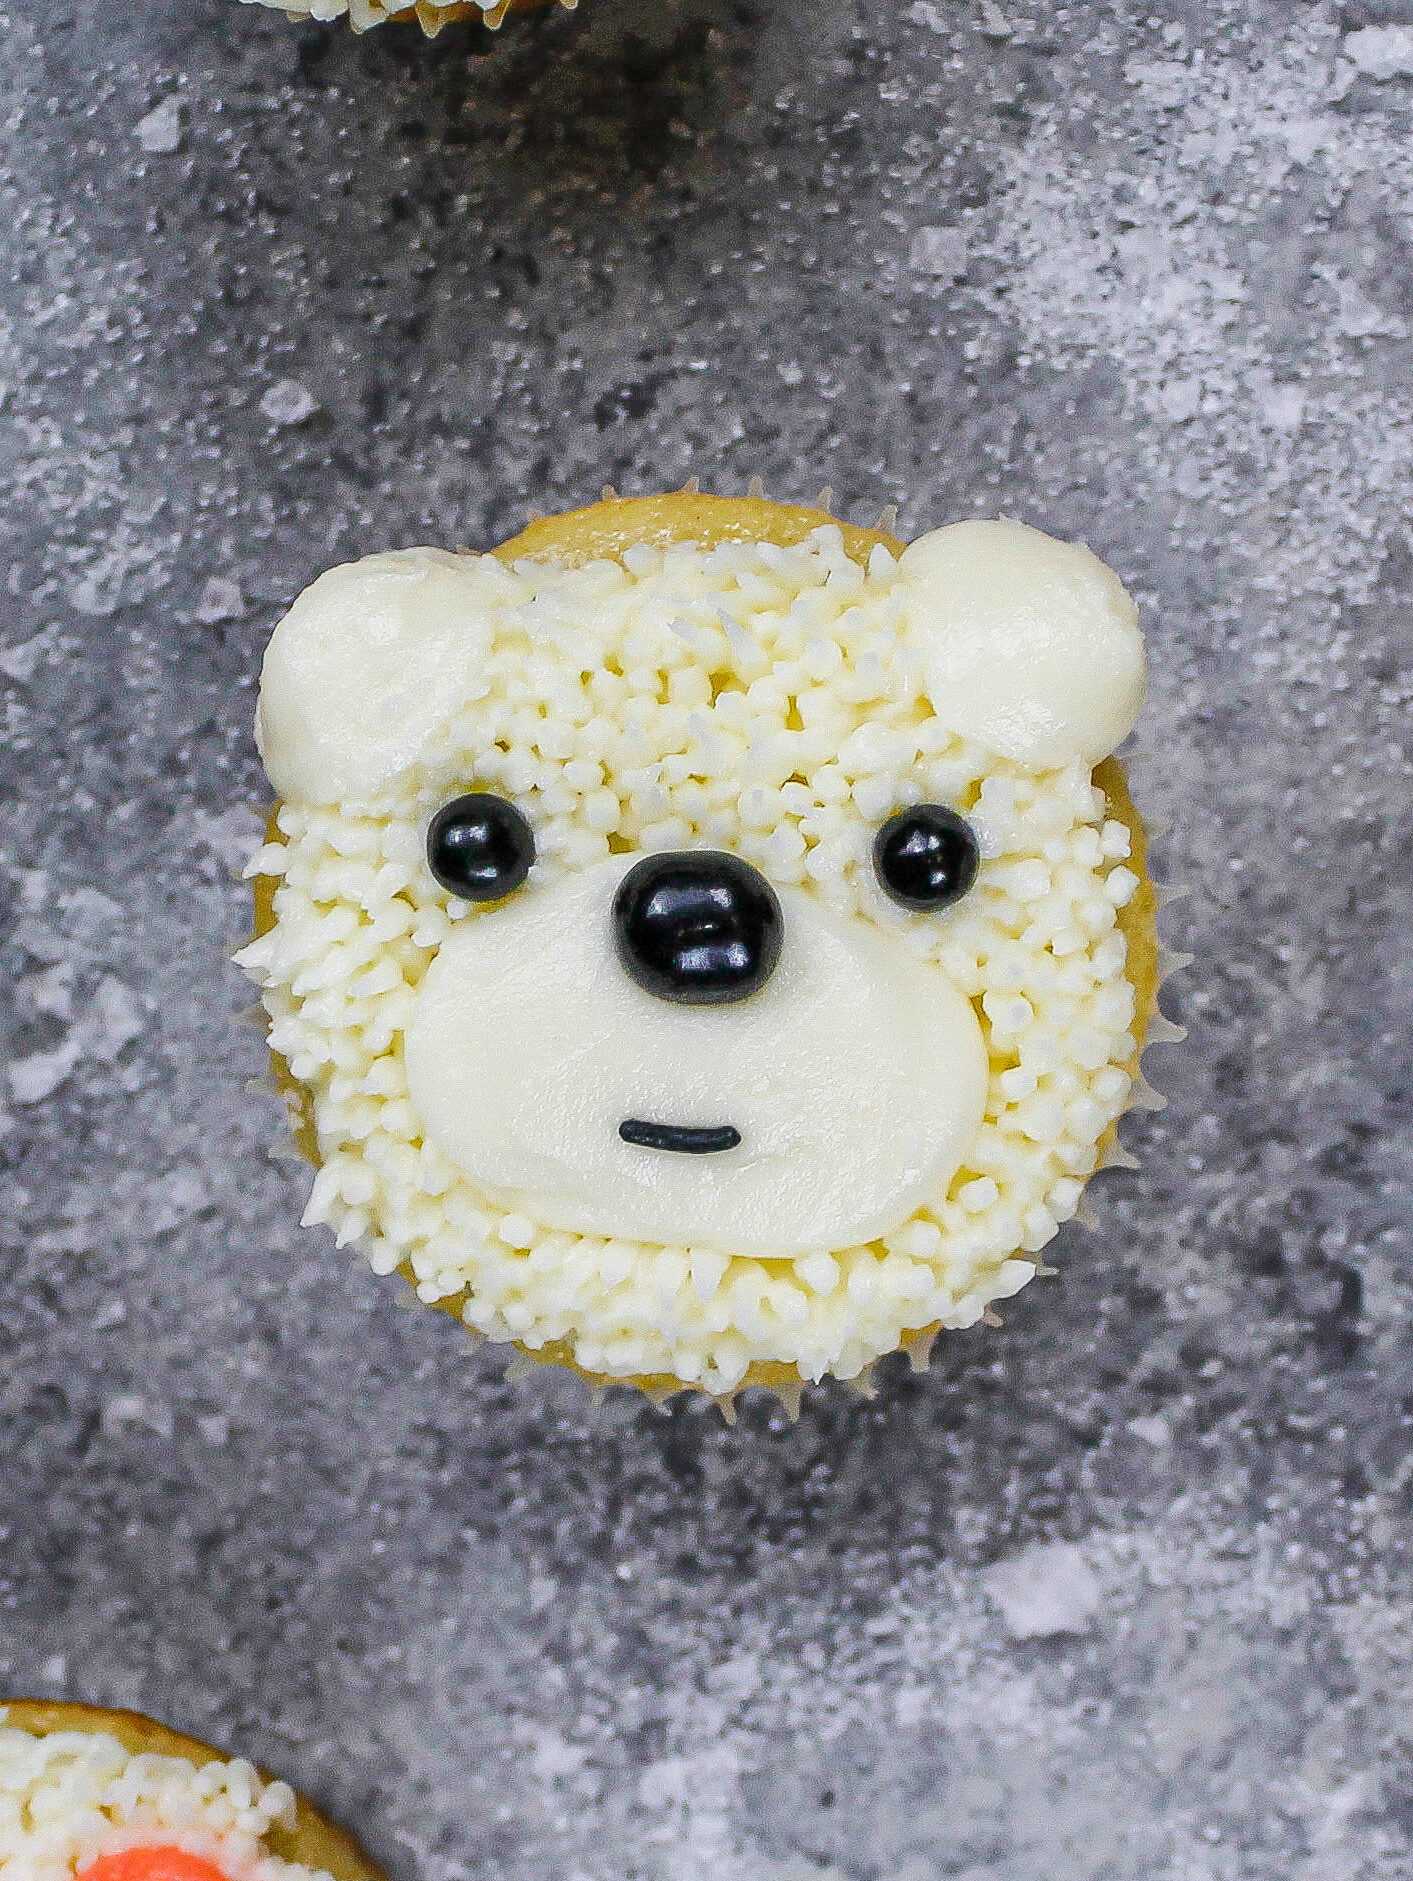
Step 5: Add on the Ears
Pipe two small dollops of white buttercream along the top edge of the cupcake with the round piping tip to be the polar bears ears.
Substitutions & Swaps in these Polar Bear Cupcakes
While I love this recipe just the way it is, I know some of you might not have all these ingredients on hand!
Below are some swaps and substitutions that can be made in this recipe:
- All Purpose Flour – This recipe turns out best with AP flour! However, you can use a gluten free flour blend or cake flour if needed.
- Granulated Sugar – I do not recommend reducing the amount of sugar or changing the type of sugar- it will change the texture of the cupcakes.
- Sour Cream – You can also use full fat yogurt, buttermilk, whole milk, or an alternative yogurt or milk (almond, soy, oat) if you’re dairy free.
- 1 Large Egg – If you don’t have eggs on hand or have an egg allergy, use an egg replacer like this or 1/4 cup of unsweetened applesauce.
- Vegetable Oil – You can use any flavorless oil in this recipe, so canola or even sunflower oil would work great! I advise against olive oil, as it doesn’t taste great with the almond extract.
- Almond Extract – Other extracts can also be used in place of the almond extract like coconut, hazelnut, or even pistachio.
- Unsalted Butter – You can use salted butter in place of the unsalted butter in this recipe if needed. Just be sure to omit the salt that this frosting recipe calls for. You can also use vegan butter in its place!
- Heavy Cream – Whole milk or alternative milk (soy, almond, oat) will work in this frosting if that’s what you have on hand.
Tips for Making the Best Polar Bear Cupcakes
- Use a cookie scoop to easily fill your cupcake liners.
- Be sure to use high quality almond extract in this recipe since it is the main flavoring.
- Ingredients at room temp mix together better. Set any cold ingredients ahead of time.
- Bang your cupcake pan on the counter before putting it in the oven. This brings any air bubbles that are trapped in the batter to the surface.
- This is an American buttercream frosting, so it will crust as it sits out and is exposed to air! Either cover the frosting with plastic wrap if it’s made in advance, or immediately place it into your piping bags.
Making These Polar Bear Cupcakes in Advance & Storage Tips
Make your cupcakes in advance! If stored unfrosted in an airtight container, they can last for 2 days at room temp, up to a week in the fridge, or up to 3 months in the freezer.
Make your frosting ahead of time too or save any leftover frosting! Store it in an airtight container in the fridge for up to a month or the freezer for 3 months. Be sure to give it a good stir once it thaws to get the consistency nice and smooth again.
Frosted cupcakes can sit at room temperature overnight or in the fridge for up to 5 days in an airtight container. However, I find frosting them right before serving is best.

Let Me Know What You Think!
If you make these polar bear cupcakes, I’d love to hear what you think! Please leave a rating below.
Also tag me @chelsweets and use the #chelsweets so that I can see your amazing creations on social media!
Other Posts You Might Like:
Polar Bear Cupcakes
Ingredients
White Almond Cupcakes:
- 1 1/4 cup all-purpose flour 150g
- 1 cup granulated sugar 200g
- 1 1/2 tsp baking powder 6g
- 1/2 tsp fine salt 3g
- 1/2 cup full-fat sour cream, room temperature 125g
- 1/2 cup water 120g
- 1 large egg, room temperature 56g
- 1/4 cup vegetable or canola oil 56g
- 1 tsp vanilla extract or vanilla bean paste 4g
- 1 1/2 tsp almond extract 6g
Vanilla Almond Buttercream:
- 1/2 cup unsalted butter, room temperature 113g
- 3/4 tsp almond extract 3g
- 1/2 tsp vanilla extract or vanilla bean paste 2g
- 1/4 tsp fine salt 1g
- 1 3/4 cup powdered sugar 220g
- 1 Tbsp heavy cream or milk, room temperature 15g
Additional Tools / Equipment
Instructions
White Almond Cupcakes:
- Preheat oven to 350°F / 175°C and place 12 cupcake liners in muffin pans.
- Sift 1 1/4 cups flour, 1 cup sugar, 1 ½ tsp baking powder and 1/2 tsp salt together into a medium sized bowl. Set aside.
- Pour in the 1/2 cup sour cream, 1/2 cup water, 1 large egg, 1/4 cup vegetable oil, 1 tsp vanilla extract, and 1 1/2 tsp almond extract into a separate, large bowl and whisk together until combined.
- Fold the dry ingredients into the wet ingredients with a rubber spatula. Mix until the ingredients are just combined, and you can’t see any streaks of flour.
- Fill the cupcake liners about 3/4 full. Bake for 18-20 minutes, or until a toothpick comes out clean.
- Let the cupcakes cool for 5 minutes before moving them to a cooling rack to finish cooling. If you want to accelerate the cooling process, pop the pan into your freezer for about 30 minutes.
Almond Buttercream Frosting:
- Beat 1/2 cup of unsalted butter on a medium speed for 30 seconds with stand mixer or hand mixer until smooth.
- Add in 3/4 tsp almond extract, 1/2 tsp vanilla extract, and 1/4 tsp salt. Beat on low until the ingredients are incorporated.
- Slowly mix in 1 3/4 cups of powdered sugar on a low speed. Halfway through add 1 Tbsp of heavy cream of milk to make the frosting easier to mix.
- Once fully mixed, if the frosting seems too thick, add in additional cream or milk (1 tsp at a time). If the frosting is too thin, add in more powdered sugar (quarter of a cup at a time).
- Mix on a low speed for a few minutes to make the frosting super smooth.
- Place half the buttercream in a piping bag fit with a small grass tip, and the other half in a separate bag fit with a round piping tip. NOTE: If you have a coupler that fits both piping tips you can place all the frosting in one large piping bag.
Decorating these Polar Bear Cupcakes:
- Use the piping bag fit with a round piping tip to cover the entire top of the cupcake with a thin layer of buttercream.
- Use the same piping tip to pipe a small oval on the bottom of third or each cupcake. Smooth the frosting with a small offset spatula.
- Switch to a small grass piping tip and pipe buttercream fur around the mound, fully covering the rest of the cupcake.
- Place a large black sprinkle at the top of the mound to be the polar bear's nose, and two smaller round sprinkles above the mound to look like the eyes. Use a long, thin sprinkle to make the polar bear's mouth. If you don't have black sprinkles like this, I suggest rolling out small balls with black fondant to create the polar bear's face.
- Pipe two small dollops of white buttercream along the top edge of the cupcake with the round piping tip to be the polar bears ears.
- Repeat with remaining cupcakes! Feel free to get creative with each polar bear's facial expression and give them a little personality.
- Then enjoy! These cupcakes taste best fresh, but frosted cupcakes can sit out at room temperature for 2 days in an airtight container or be stored in the fridge for up to 5 days.
Video
Notes
Tips for Making the Best Polar Bear Cupcakes:
- Use a cookie scoop to easily fill your cupcake liners.
- Be sure to use high quality almond extract in this recipe since it is the main flavoring!
- Ingredients at room temp mix together better! Set any cold ingredients ahead of time.
- Bang your cupcake pan on the counter before putting it in the oven. This brings any air bubbles that are trapped in the batter to the surface.
- This is an American buttercream frosting, so it will crust as it sits out and is exposed to air! Be sure to either cover the frosting with plastic wrap if it's made in advance, or immediately place it into your piping bags.
Polar Bear Cupcake Variations:
- You can also get creative with the type of extract you use! This recipe would also be great with coconut extract, hazelnut extract, or even pistachio extract! Use the same quantity of any of these extracts in place of the almond extract in this recipe.
- To make eggless, dairy free polar bear cupcakes, use an alternative dairy milk to replace the heavy cream (almond, oat, or soy), dairy free yogurt (almond, oat, or soy) in place of the sour cream, vegan butter sticks to replace the butter, and an egg replacer like this.
- To make gluten free polar bear cupcakes, swap in your favorite gluten free flour blend for the AP flour this recipe calls for and be sure to over-mix your batter and let it sit for at least 30 minutes before baking for best results.
Looks amazing!
Which size piping tip did you use for the ‘small grass piping tip’? The link returns an error. I tried these with a Wilton 233 but they definitely didn’t look like yours! So I’m just wondering if its user error, or you had a different tip?