
Pine Cone Brownies
These pine cone brownies are such a fun, whimsical Fall dessert! The brownie centers are soft and fudgy, and they have an amazing crunch thanks to the chocolate cereal.
These are inspired by Sheri Wilson!! I saw her make these last year and knew they’d be perfect for my Thanksgiving treat boxes this year.

How to Make These Pine Cone Brownies
Let’s walk through each step of this recipe to make sure it turns out as amazing as possible!
I’ve also shared a video on how to make them in the recipe card at the bottom of this post.
Step 1: Make the Brownie Batter
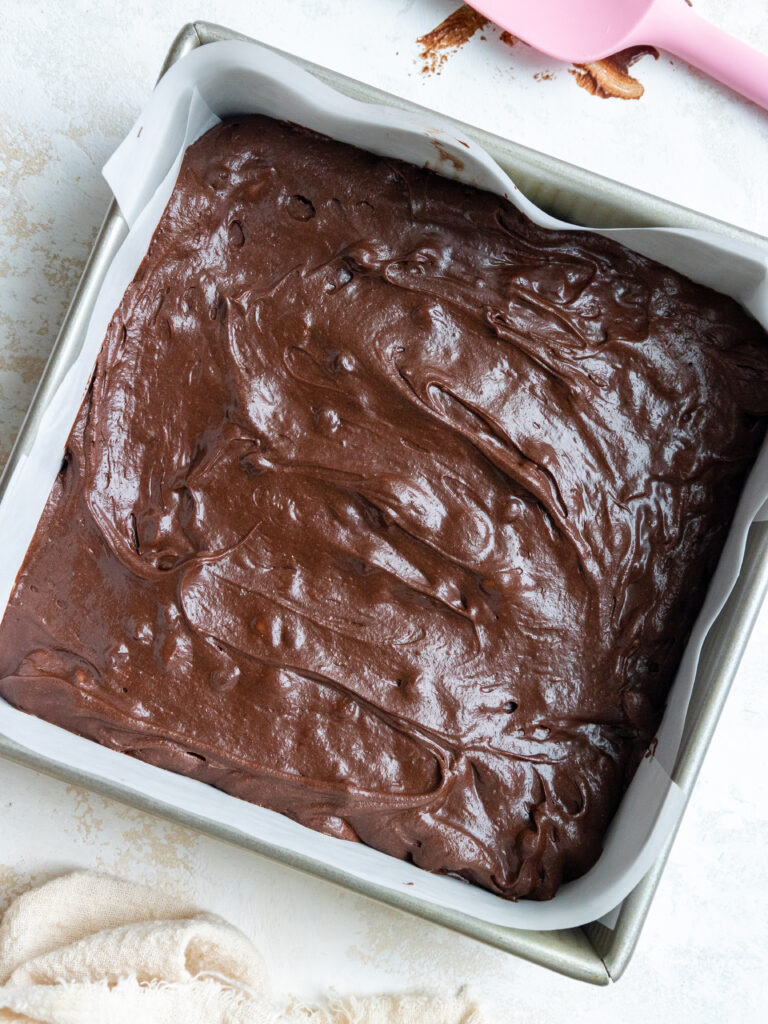
Preheat oven to 350°F/175°C and line an 8×8-inch metal baking pan with parchment paper. Set aside.
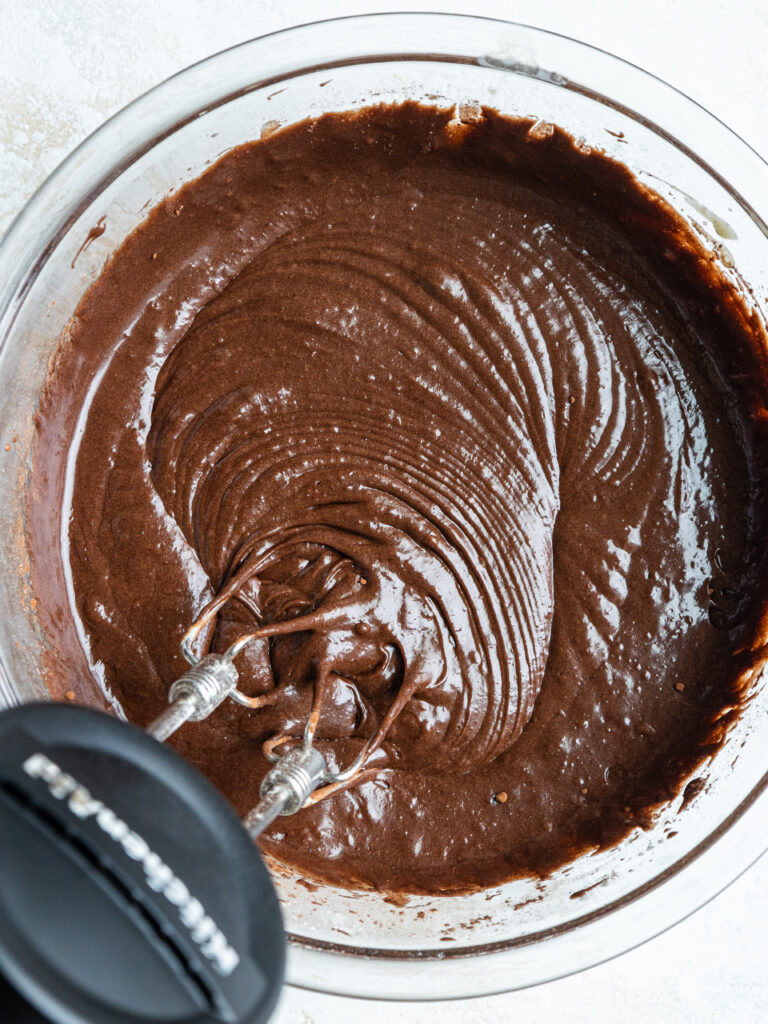
Place 2 large eggs, 1/2 cup of granulated sugar, and 1/2 cup of brown sugar in a large bowl and mix on high for 1 minute with a hand or stand mixer. The mixture should get lighter in color and look creamy.
Mix in 1/2 cup melted and cooled butter (it should still be liquid, just not hot to the touch) and 2 tsp vanilla on a medium speed until combined.
Whisk 1/2 cup all-purpose flour, 1/3 cup cocoa powder, 1/4 tsp fine salt, and 1/4 tsp baking powder into the egg mixture.
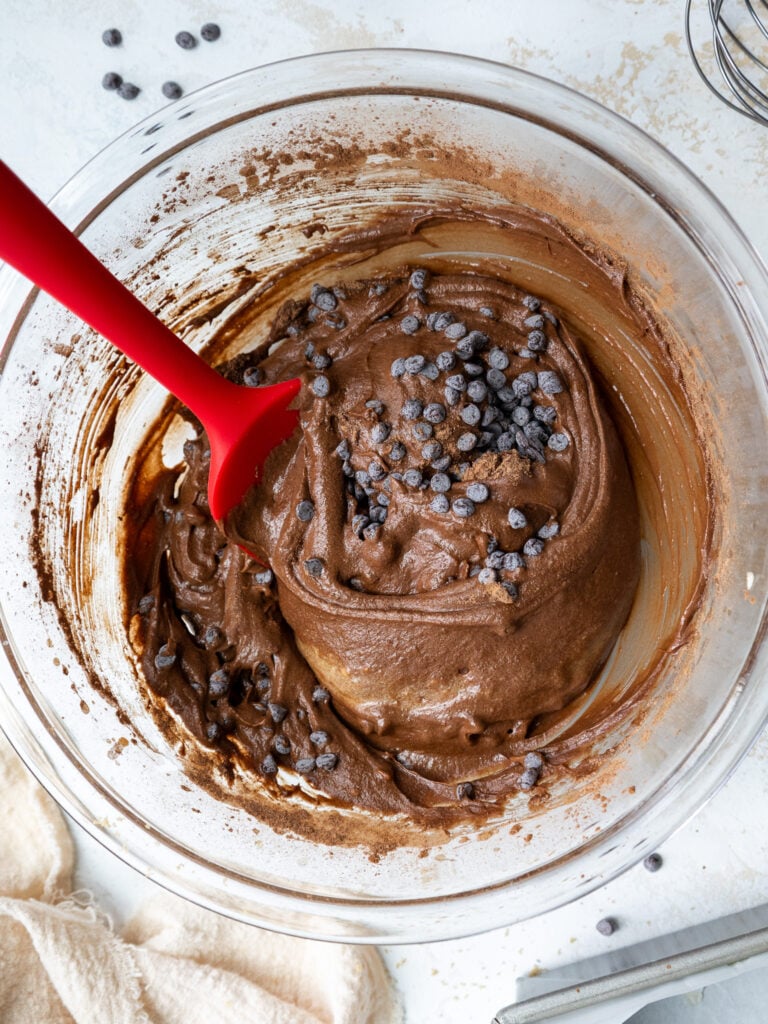
Fold the dry ingredients into the wet ingredients with a rubber spatula.
Step 2: Bake the Brownies
Pour batter into the prepared pan and spread it into an even layer. Bake for 22-25 minutes or until a toothpick comes out mostly clean. In my oven, the sweet spot is 23 minutes, but every oven bakes a bit differently!
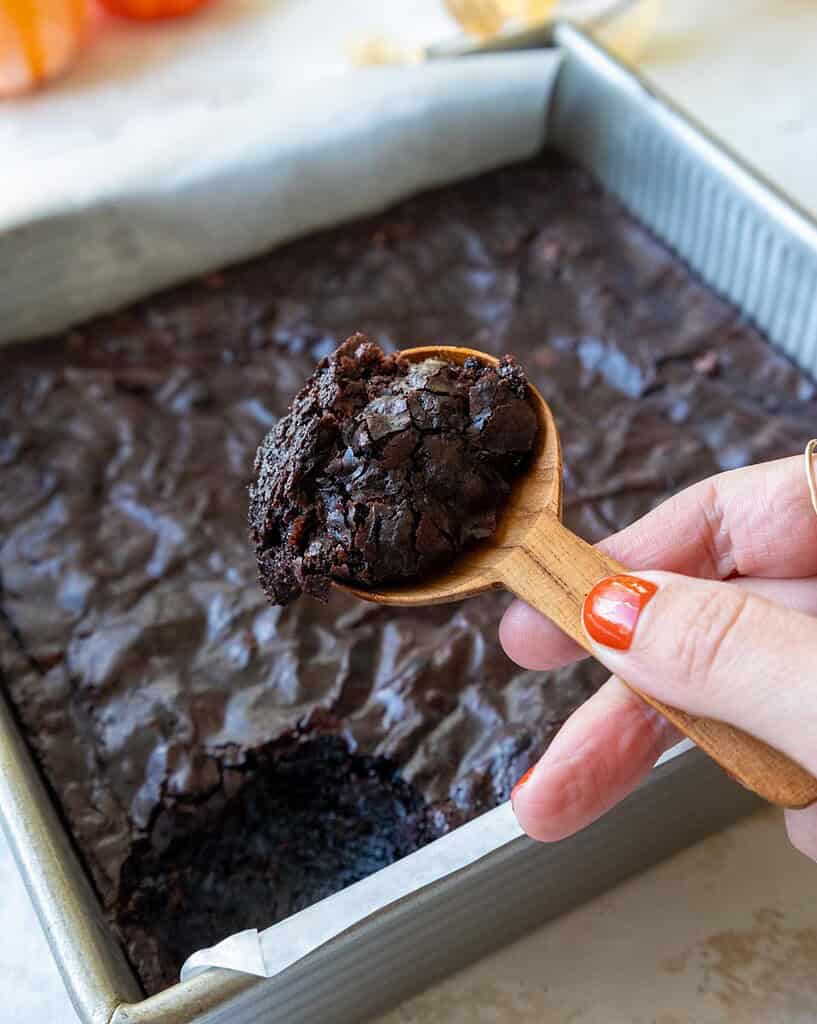
Set on a wire rack to cool fully before topping. If you want to accelerate the process, place the pan in the freezer for 30 minutes.
Step 3: Decorate the Pine Cone Brownies
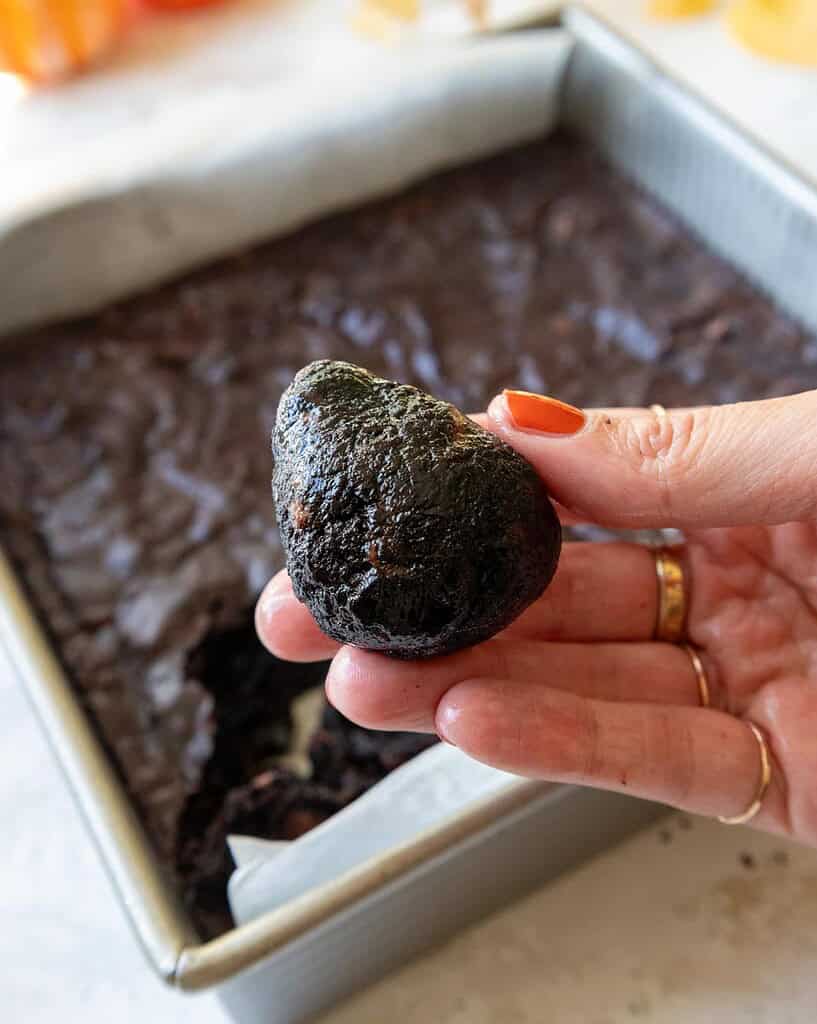
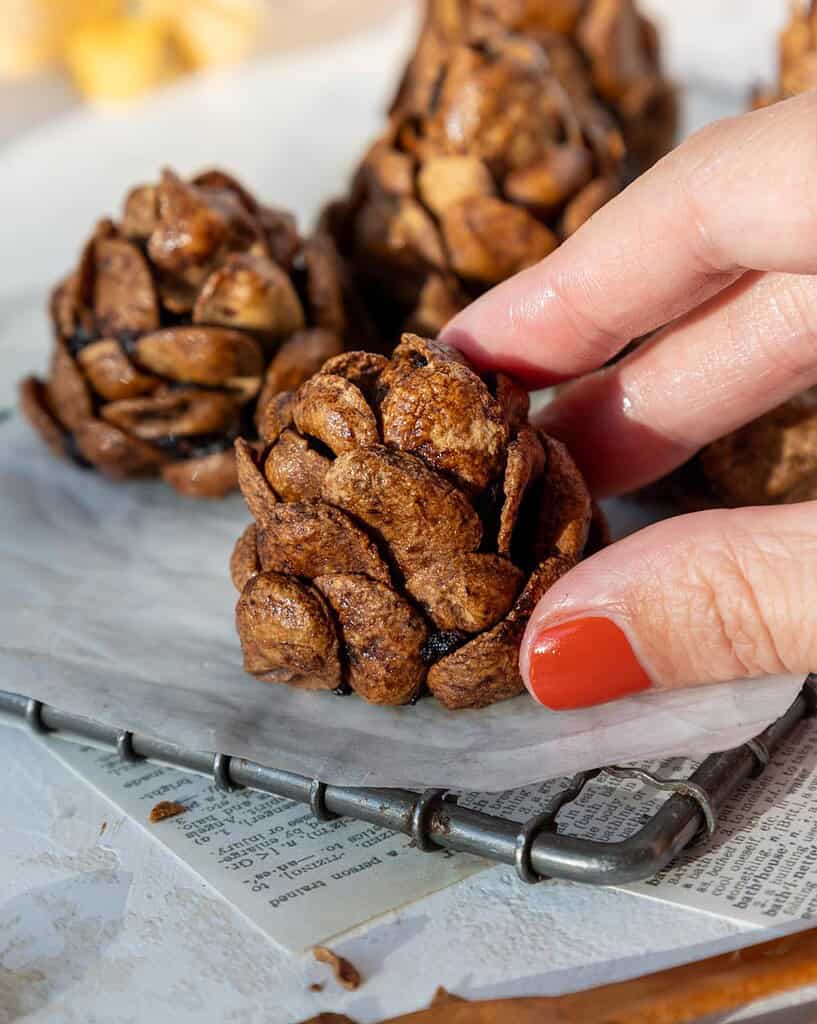
Use a cookie scoop or spoon to scoop out about 2 Tbsp of cooled brownie and roll it into a ball in your hands. Then shape it into a rounded cone to look like the center of a pine cone (see pics below).
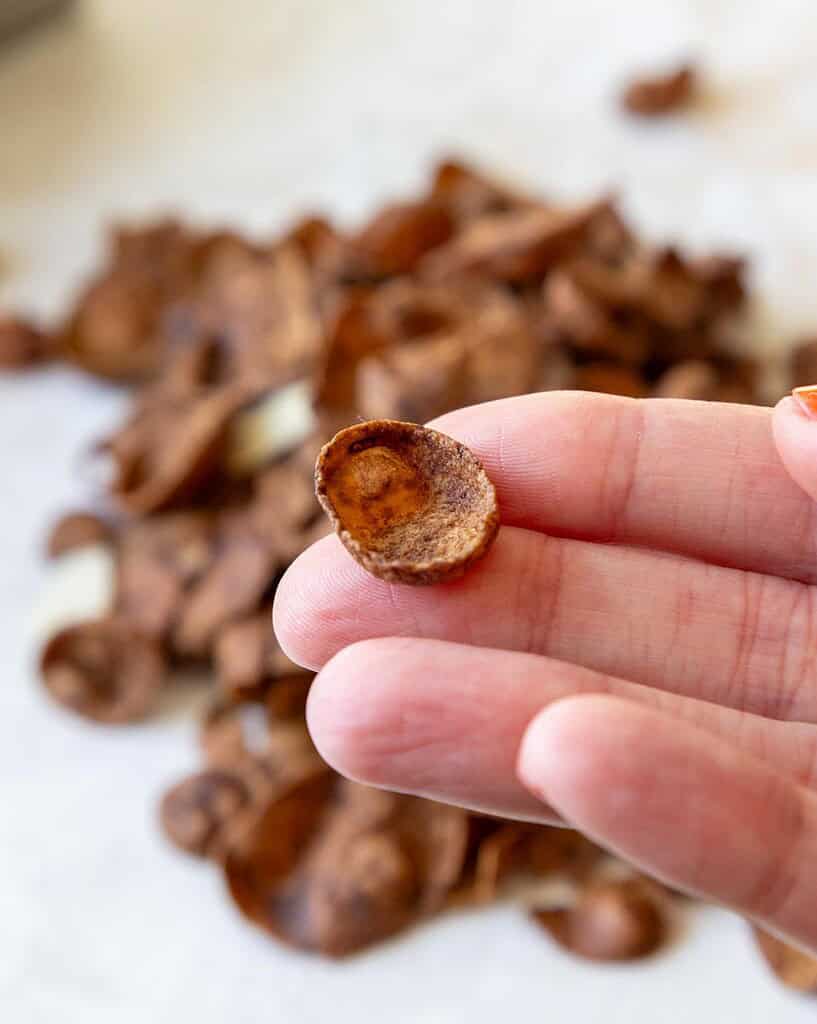
I also recommend sifting through the cereal at this point to pick out the best pieces for each little acorn. Some of the pieces will be broken or just not the right shape for this project!
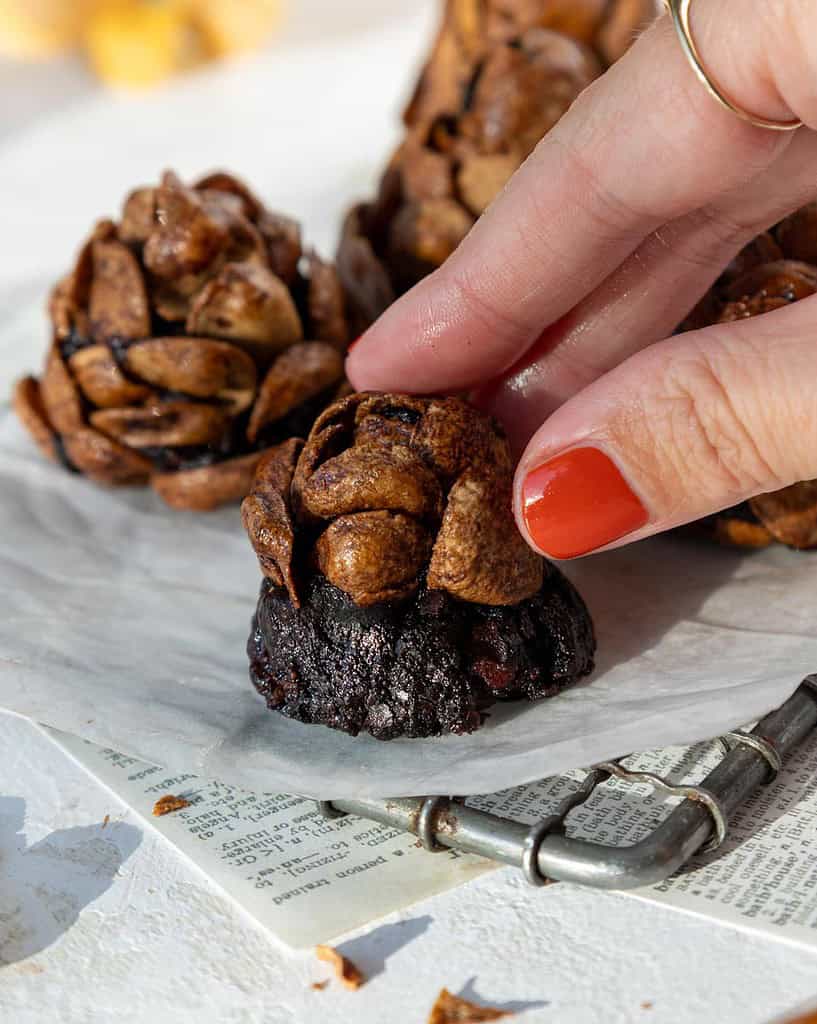
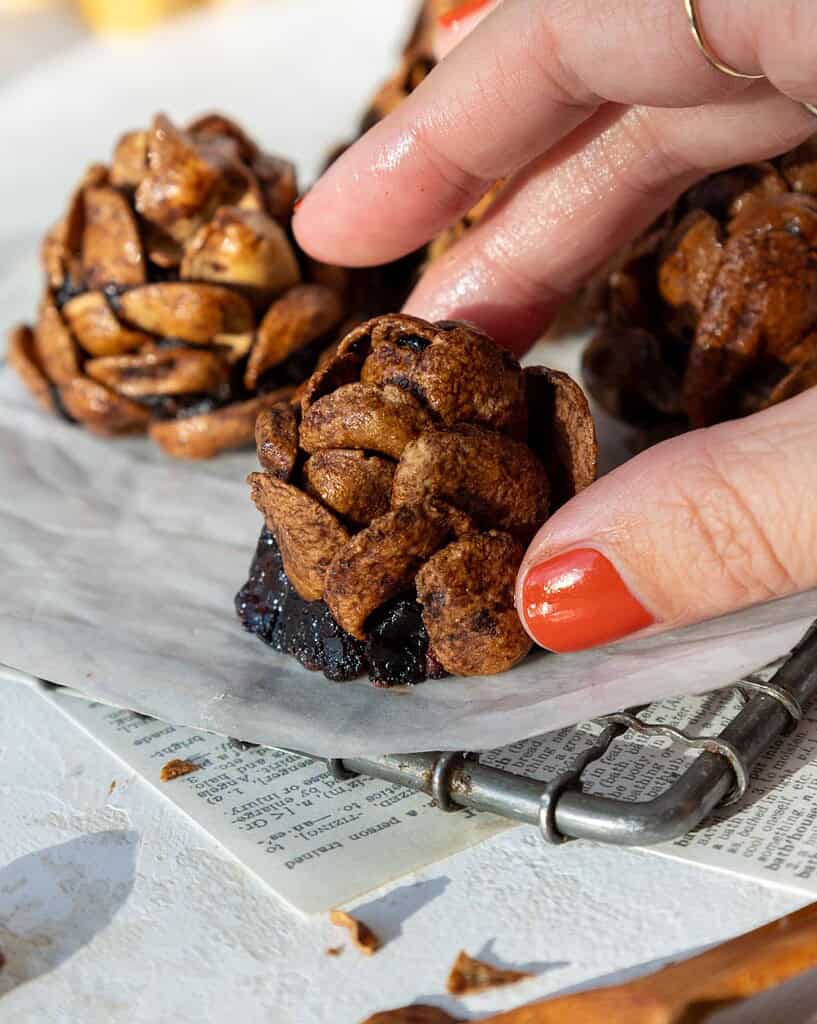
Press the chocolate cereal into the pine cone, starting at the top and working your way down in rings to look like the outside of a pine cone.
Repeat this process until you’ve used up all the brownies.
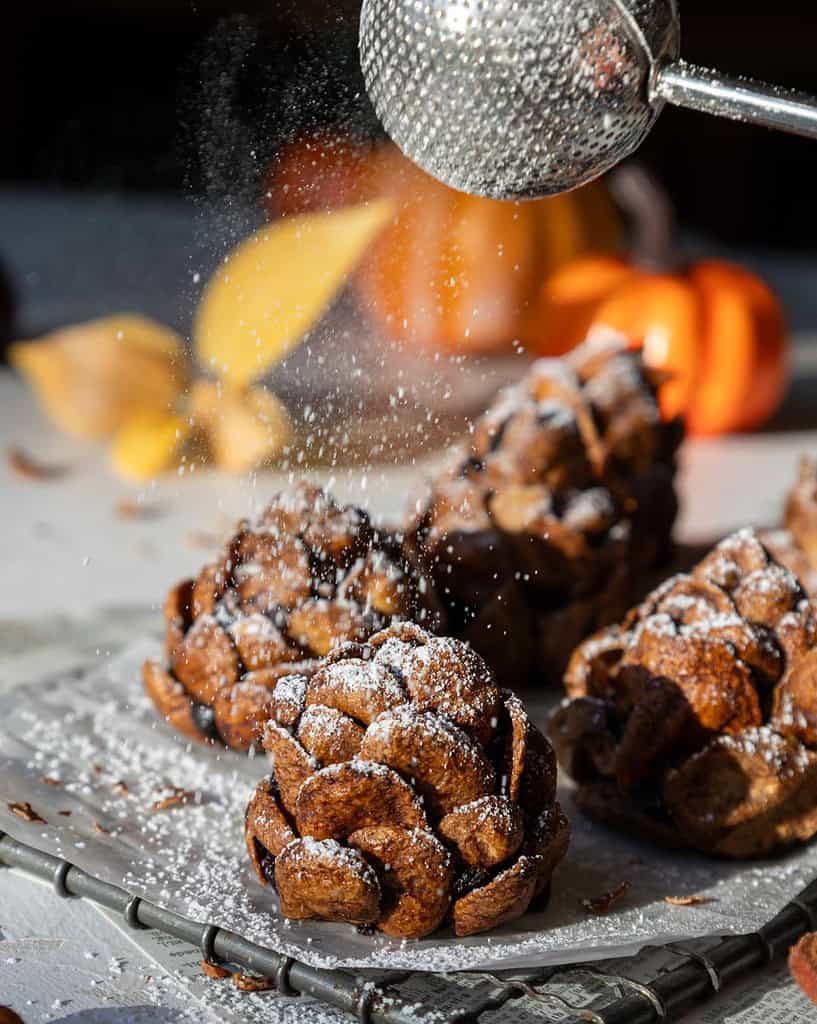
Dust with powdered sugar, then enjoy! These can be kept at room temperature for 3 days, in the fridge for up to a week, or in the freezer for 2 months if stored in an airtight container.
Substitutions & Swaps
This recipe uses quite a few ingredients, and I know you might not have all of them on hand. Or if you have food allergies or restrictions, I’ve got you covered.
Below are some swaps and substitutions that can be made in this recipe.
- Large Eggs – If you have an egg allergy, you can use 2 flaxseed eggs instead.
- Granulated Sugar – The mix of granulated and brown sugar gives these brownies a crispy top and a wonderful flavor. However, you can use all granulated sugar if needed.
- Brown Sugar – The mix of granulated and brown sugar gives these brownies a crispy top and a wonderful flavor. However, you can use all brown sugar if that’s all you have on hand.
- Unsalted Butter – You can use salted butter and omit the salt if needed.
- Vanilla Extract – The vanilla extract adds an extra little oomph of flavor and helps enhance the chocolate in these brownies. However, if you don’t have any, you can omit this ingredient.
- All-Purpose Flour – You can use a gluten-free flour blend in place of the all-purpose flour in this recipe. Just be sure to use a good blend like King Arthur’s GF flour.
- Baking Cocoa Powder – Use unsweetened baking cocoa in this recipe! Dutch-processed or regular baking cocoa both work great.
- Premier Protein Chocolate Cereal – This is the cheapest cereal option in the US for this project that I’ve been able to find ($5/box), but the pieces are not super uniformly shaped, and you really have to search to find pieces of cereal that are the right size. I’ve seen some creators in Europe use Chocapic, which seems like it’s easier to make these with, but it’s $17 to buy a box here in the US.
Making These Pine Cone Brownies in Advance
These brownies can be stored at room temperature for up to 3 days or in the fridge for up to a week. Store them in an airtight container or cover the pan tightly with plastic wrap and foil to keep it fresh.
You can also freeze decorated brownie pine cones for up to 2 months in an airtight container.
Or you can wait to decorate them and freeze the sheet of brownies. Once they’re baked and cooled, remove them from the pan, then freeze the entire sheet of brownies until it’s firm to the touch (about 1 hour). Wrap the brownies in a couple of layers of plastic wrap and then foil.
When you’re ready to make the pine cones from the frozen brownies, place them in the fridge overnight, then unwrap and decorate them the following day.
How to Make the Best Pine Cone Brownies
- Be sure the ingredients are at room temperature. It helps them mix together better.
- Properly measure your flour! I like to use a scale, but the fluff and level method works great too.
- Bake these brownies in a metal pan, not a glass pan! Glass gets hotter than metal pans. If you have to bake these in a glass pan, bake them at 325°F.
- Don’t over-bake your brownies!! Unlike cake layers, a toothpick inserted into the center won’t come out clean when they’re done. You’ll know they’re done when the edges have risen, and the center is still a tiny bit wiggly.
- Chill your brownies fully before forming the pine cones. It will make them much easier to handle.
- Decorating these takes a while, so give yourself plenty of time when you make them.
Let Me Know What You Think!
If you try this recipe for pine cone brownies, I’d love to hear what you think of it! Please leave a rating and comment below.

Pine Cone Brownies
Ingredients
Brownie Batter
- 2 large eggs, room temperature 112g
- 1/2 cup granulated sugar 100g
- 1/2 cup packed light brown sugar 100g
- 1/2 cup unsalted butter, melted and cooled 113g
- 2 tsp vanilla extract or vanilla bean paste 8g
- 1/2 cup all-purpose flour 65g
- 1/3 cup unsweetened baking cocoa 33g
- 1/4 tsp fine salt
- 1/4 tsp baking powder >1g
Pine Cone Decorations
- 6 cups Shell shaped hocolate cereal (I used premier protein)
- 1/4 cup powdered sugar (for dusting)
Instructions
- Preheat oven to 350°F/175°C and line an 8×8-inch metal baking pan with parchment paper. Set aside.
- Place 2 large eggs, 1/2 cup of granulated sugar, and 1/2 cup of brown sugar in a large bowl and mix on high for 1 minute with a hand or stand mixer. The mixture should get lighter in color and look creamy.
- Mix in 1/2 cup melted and cooled butter (it should still be liquid, just not hot to the touch) and 2 tsp vanilla on a medium speed until combined.
- Whisk 1/2 cup all-purpose flour, 1/3 cup cocoa powder, 1/4 tsp fine salt, and 1/4 tsp baking powder into the egg mixture.
- Fold the dry ingredients into the wet ingredients with a rubber spatula.
- Pour batter into the prepared pan and spread it into an even layer. Bake for 22-25 minutes or until a toothpick comes out mostly clean. In my oven, the sweet spot is 23 minutes, but every oven bakes a bit differently!
- Set on a wire rack to cool fully before topping. If you want to accelerate the process, place the pan in the freezer for 30 minutes.
Pine Cone Garnish
- Use a cookie scoop or spoon to scoop out about 2 Tbsp of cooled brownie and roll it into a ball in your hands. Then shape it into a rounded cone to look like the center of a pine cone (see pictures above).
- Press the chocolate cereal into the pine cone, starting at the top and working your way down in rings to look like the outside of a pine cone. Repeat this process until you've used up all the brownies.
- Dust with powdered sugar, then enjoy! These can be kept at room temperature for 3 days, in the fridge for up to a week, or in the freezer for 2 months if stored in an airtight container.
Video
Notes
Making These Pine Cone Brownies in Advance
These brownies can be stored at room temperature for up to 3 days or in the fridge for up to a week. Store them in an airtight container or cover the pan tightly with plastic wrap and foil to keep it fresh. You can also freeze decorated brownie pine cones for up to 2 months in an airtight container. Or you can wait to decorate them and freeze the sheet of brownies. Once they’re baked and cooled, remove them from the pan, then freeze the entire sheet of brownies until it’s firm to the touch (about 1 hour). Wrap the brownies in a couple of layers of plastic wrap and then foil. When you’re ready to make the pine cones from the frozen brownies, place them in the fridge overnight, then unwrap and decorate them the following day.How to Make the Best Pine Cone Brownies
- Be sure the ingredients are at room temperature. It helps them mix together better.
- Properly measure your flour! I like to use a scale, but the fluff and level method works great too.
- Bake these brownies in a metal pan, not a glass pan! Glass gets hotter than metal pans. If you have to bake these in a glass pan, bake them at 325°F.
- Don’t over-bake your brownies!! Unlike cake layers, a toothpick inserted into the center won’t come out clean when they’re done. You’ll know they’re done when the edges have risen, and the center is still a tiny bit wiggly.
- Chill your brownies fully before forming the pine cones. It will make them much easier to handle.
- Decorating these takes a while, so give yourself plenty of time when you make them.
Nutrition
Other Recipes You Might Enjoy:


Hi, if placing the cereal on the brownie, would it still stay crunchy or become soggy?
Hi Linda,
Great question! The cereal I used and that I recommend you use is suppppppper crunchy, like almost hard crunchy, and it kept it’s crunch for several days after I made the little pine cones. So if you use the same cereal and brownie recipe as me, it should stay crunchy!