
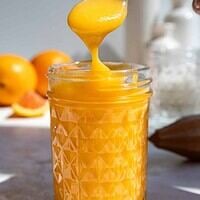
Orange Curd
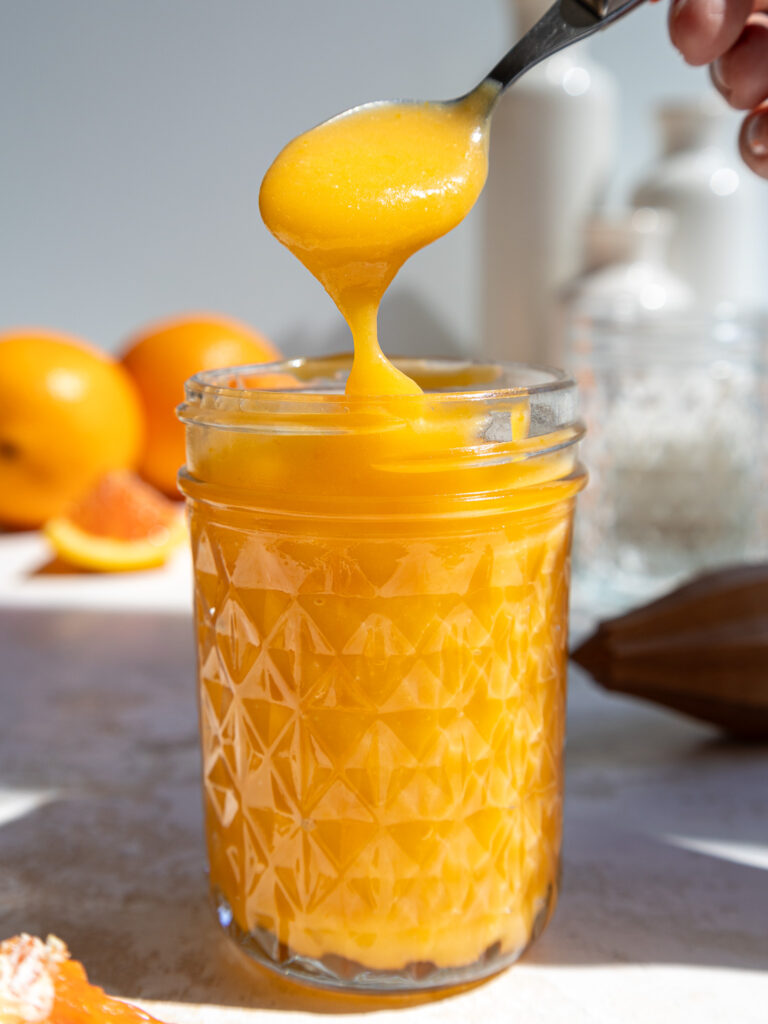
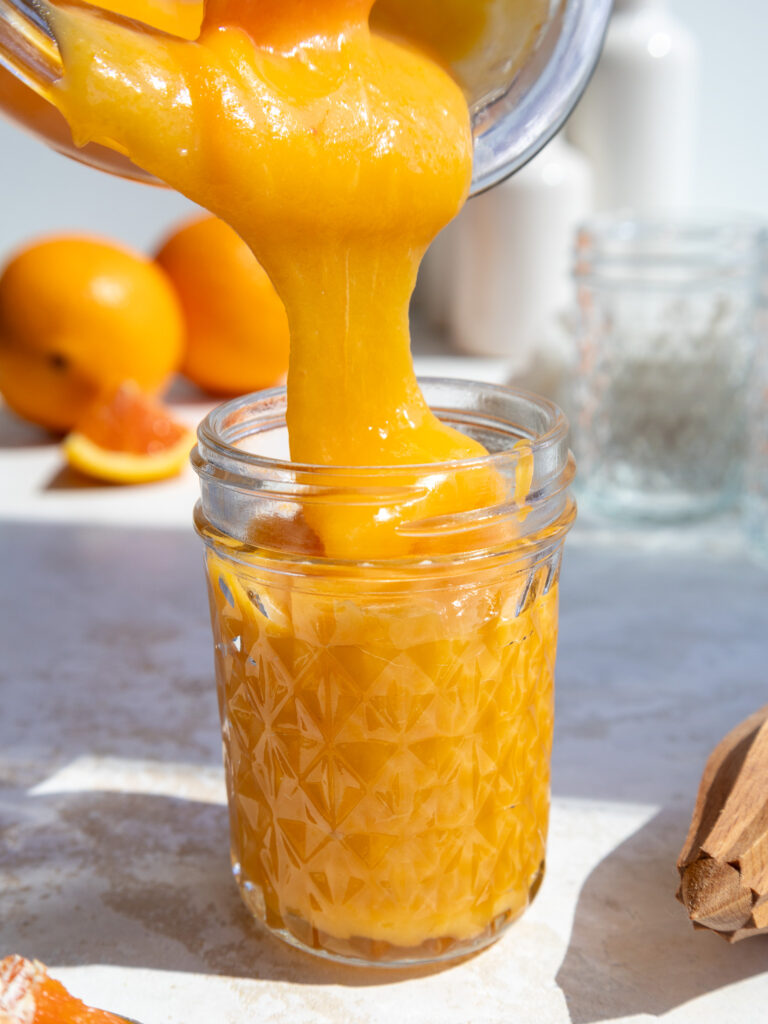
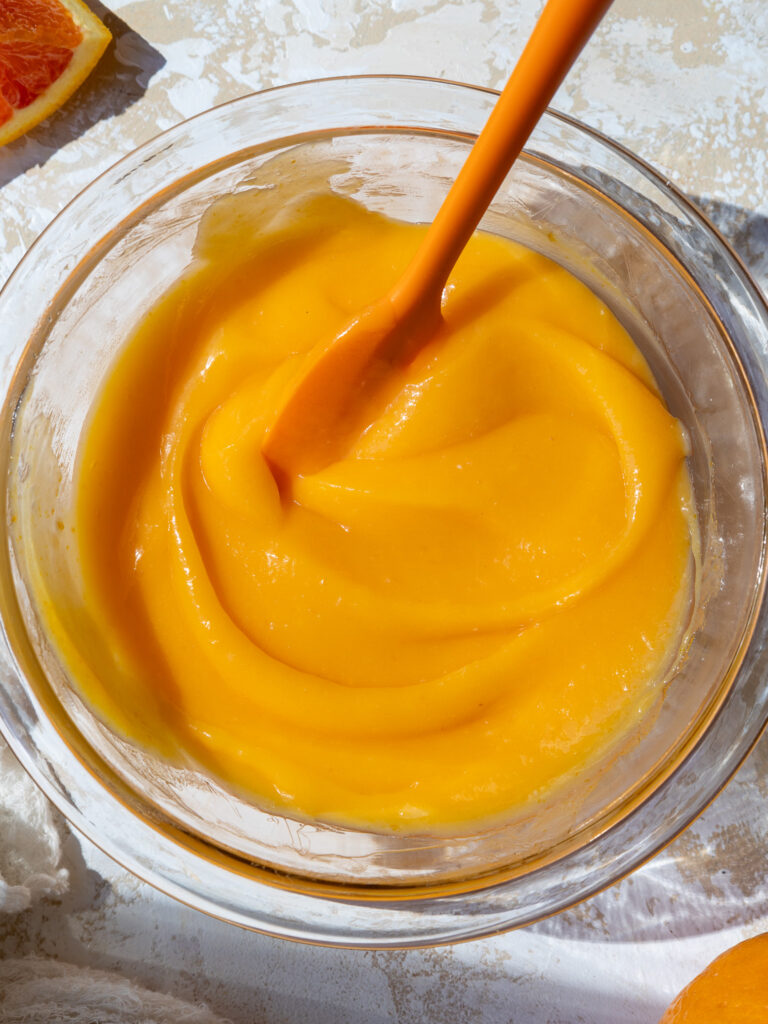
This orange curd is so easy to make and is absolutely delicious! It has a rich, silky texture that’s perfectly balanced with a bright citrus flavor.
How to Make This Orange Curd Recipe
To make sure this recipe turns out as amazing as possible, let’s walk through each step together! I’ve also included a video tutorial of the process below.
I figured it might be helpful to know what tools I use too, so I’ve shared a list below.
Not all of these are mandatory, but they make the process a lot easier. If you don’t have all these things on hand, feel free to improvise and work with what you have.
One quick thing to note! When making the orange curd, it’s best to use a saucepan that’s ceramic as opposed to metal. Some metal pans can give the curd a metallic taste.
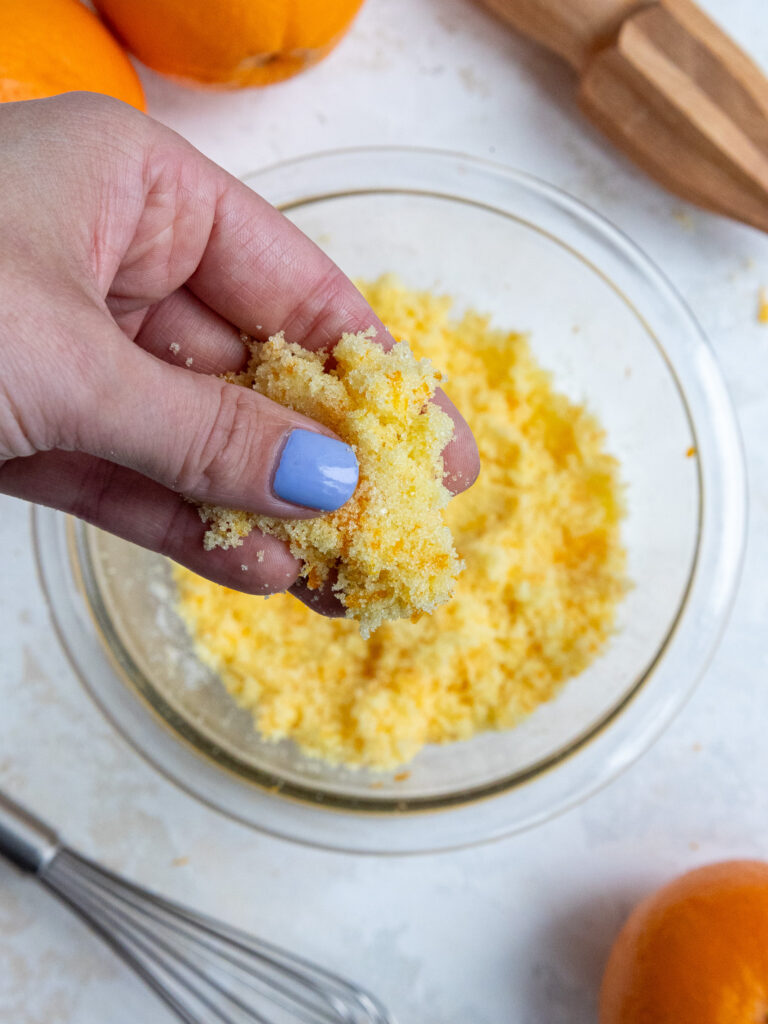
Step 1: Massage the Orange Zest into the Sugar
Add the granulated sugar and orange zest to a bowl. Use your fingertips to massage the zest into the sugar to help release the oil in the zest.
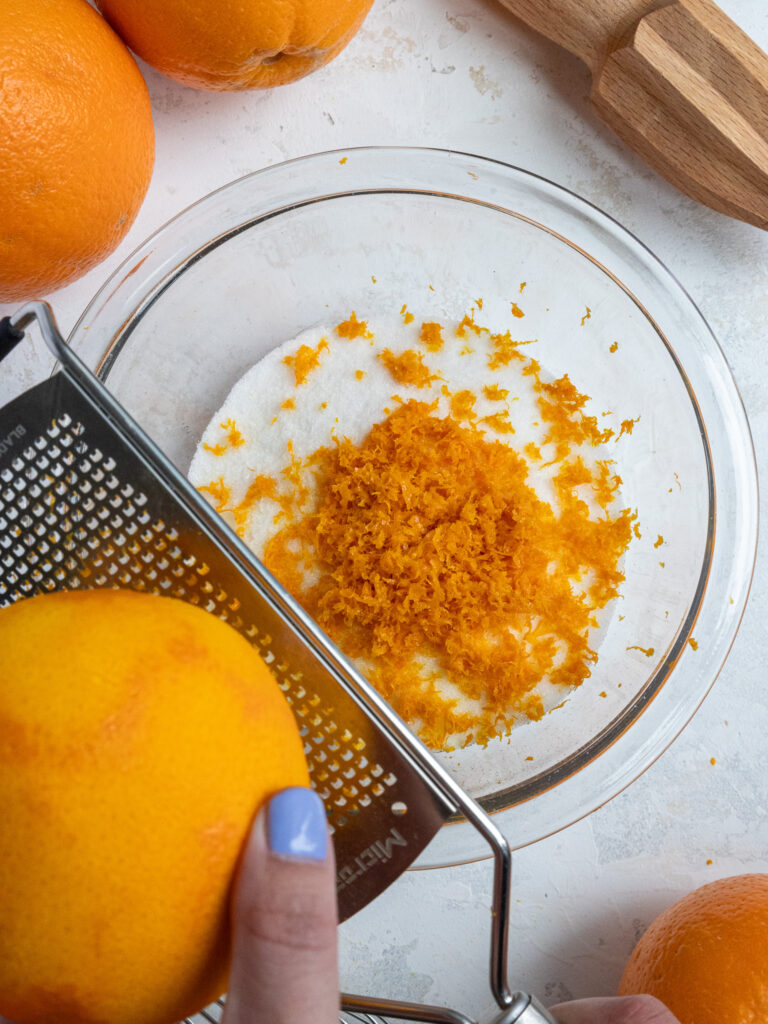
You should be able to smell the oils being incorporated into the sugar.
This gives this orange curd a bright, citrusy flavor that won’t cook off.
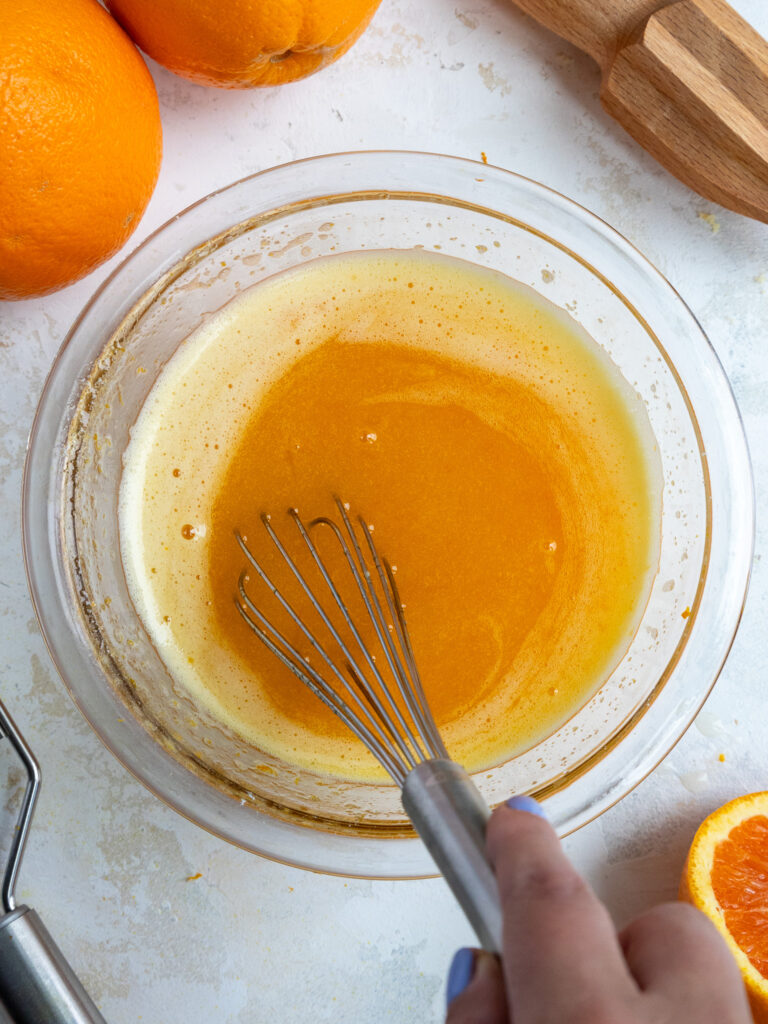
Step 2: Mix in the Remaining Wet Ingredients
Add in the egg yolks and whisk the mixture together until combined. Then mix in the freshly squeezed orange juice and fine salt.
Step 3: Cook the Orange Curd
Cook on medium-low heat, stirring constantly with a rubber spatula or wooden spoon until the mixture thickens.
This usually takes me 20-25 minutes (it can vary a lot based on the type and size of pan you use!).
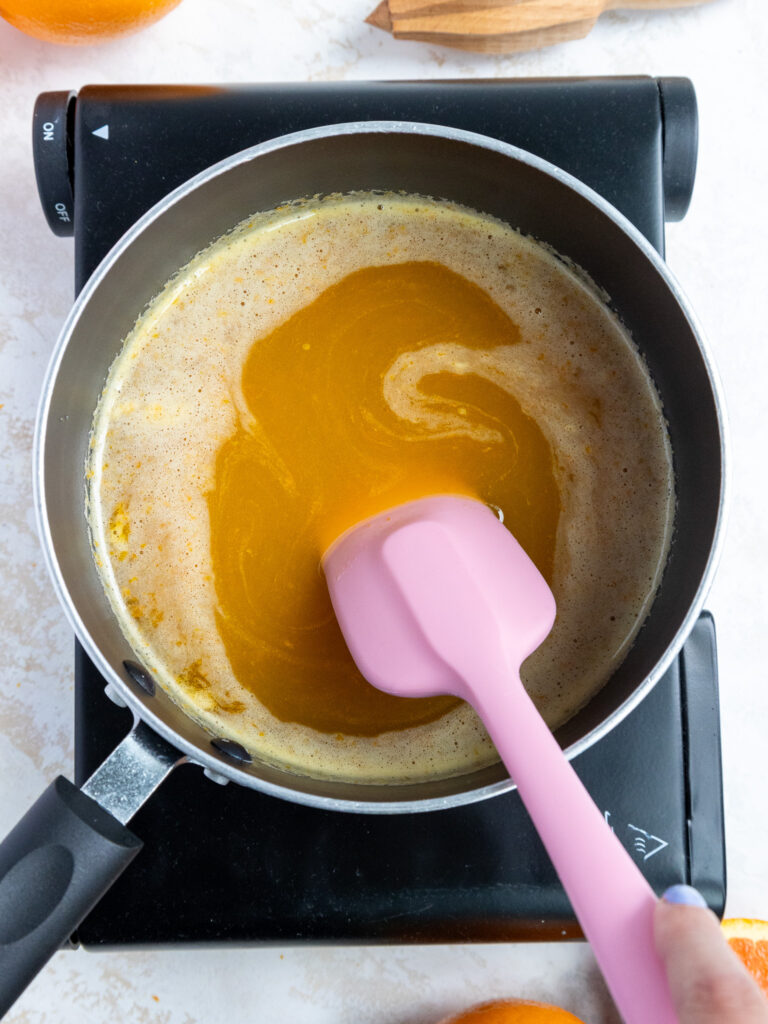
In the first 10-15 minutes, it won’t seem like much is happening, but it’ll start to thicken slowly after that, I promise! It should be thick enough to coat the back of a spoon once it’s ready.
Remove the pan from heat, then add in the cold butter that’s been cut into smaller pieces.
Mix until the butter is fully melted, and the ingredients are combined.
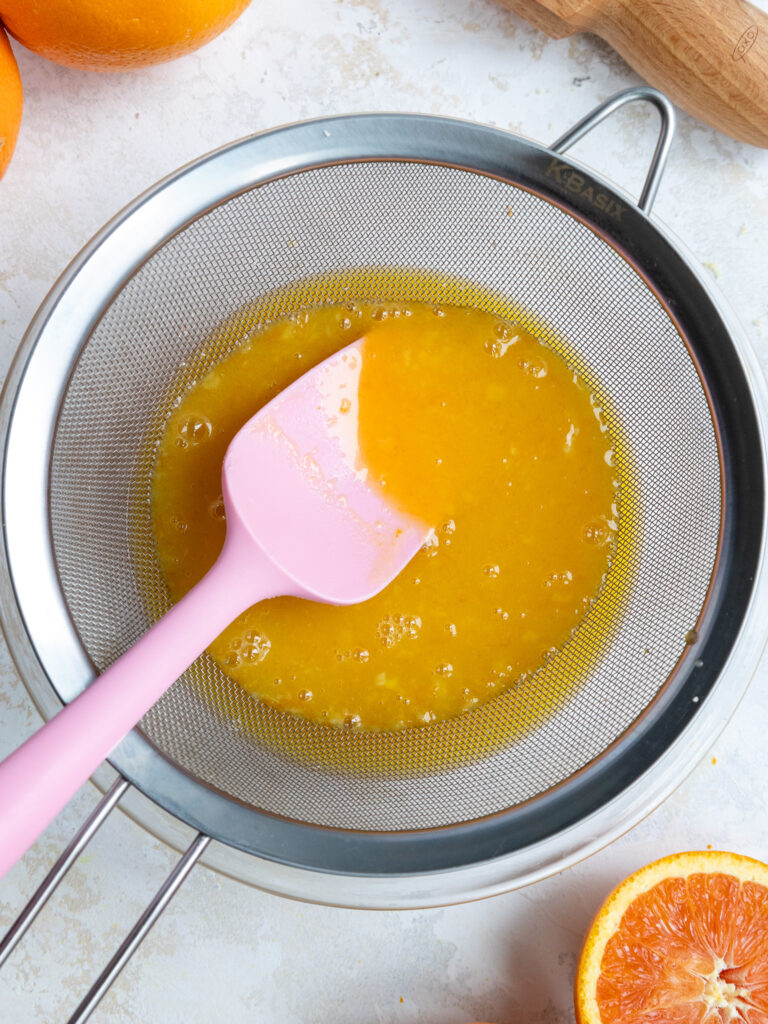
Step 4: Strain and Cool
Then pour the orange curd through a fine mesh strainer into a separate bowl to remove any bits of cooked egg, chunks of zest, or orange seeds. This gives it a perfectly smooth texture!
Place the orange curd in the fridge to cool before using it.
If you make the curd in advance, cover it flush with plastic wrap to prevent it from forming a skin and store it in the fridge for up to 2 weeks.
Substitutions and Swaps
This recipe uses a few different ingredients, and I know you might not have them all on hand. Or if you have food allergies or restrictions, I’ve got you covered.
Below are some swaps and substitutions that can be made in this recipe.
- Granulated Sugar – You can reduce or increase the amount of sugar by a tablespoon or two if you want to adjust the sweetness, but I don’t recommend changing it more than that.
- Fresh Orange Juice & Zest – These are an absolute must in this recipe. I don’t recommend substituting it with bottled orange juice or orange extract. I prefer using Cara Cara oranges for their color and flavor, but you can use whatever oranges you can find – naval, Valencia, or even blood oranges!
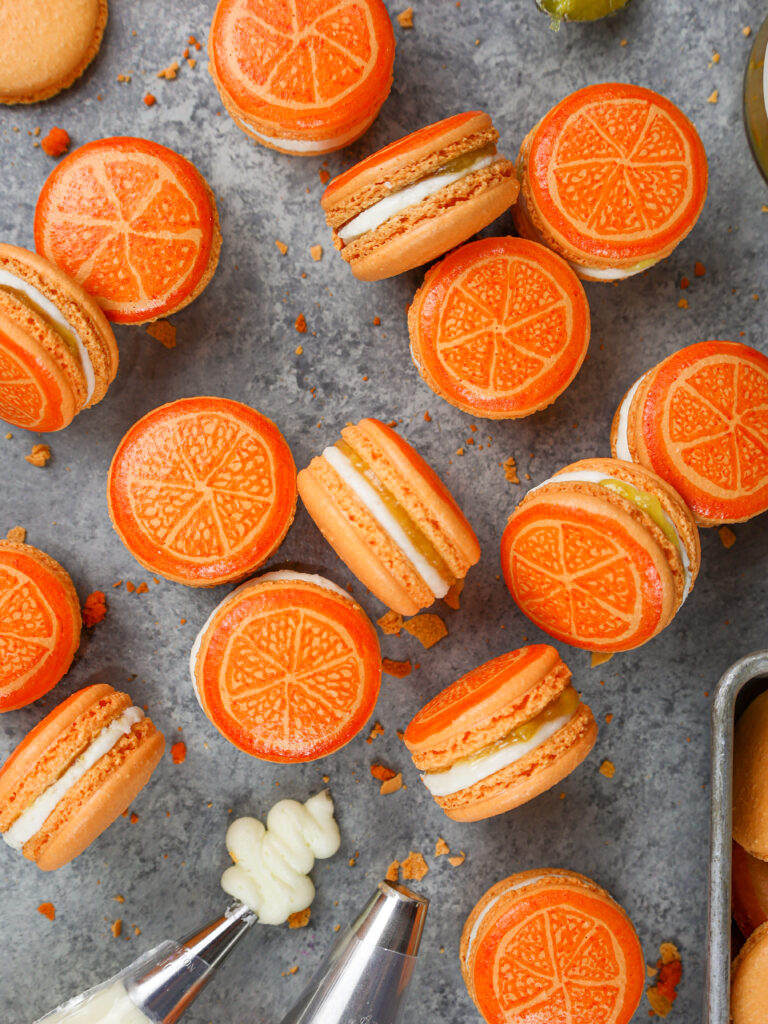
- Egg yolks – I usually save my egg yolks after I make macarons, but if you don’t have any leftover yolks to use up you can use 3 large eggs in place of the egg yolks in this recipe.
- Unsalted Butter – If you only have salted butter on hand, you can use it in place of the unsalted butter in this recipe. Just be sure to omit the salt that this recipe calls for. You can also use vegan butter in its place (and also omit the salt)!
How Much Orange Curd Does This Recipe Make?
One batch of this recipe makes a little over 1 1/4 cups of orange curd.
This recipe can be cut in half, in thirds, or doubled as needed. Note that the cook time will change based on the size of the batch.
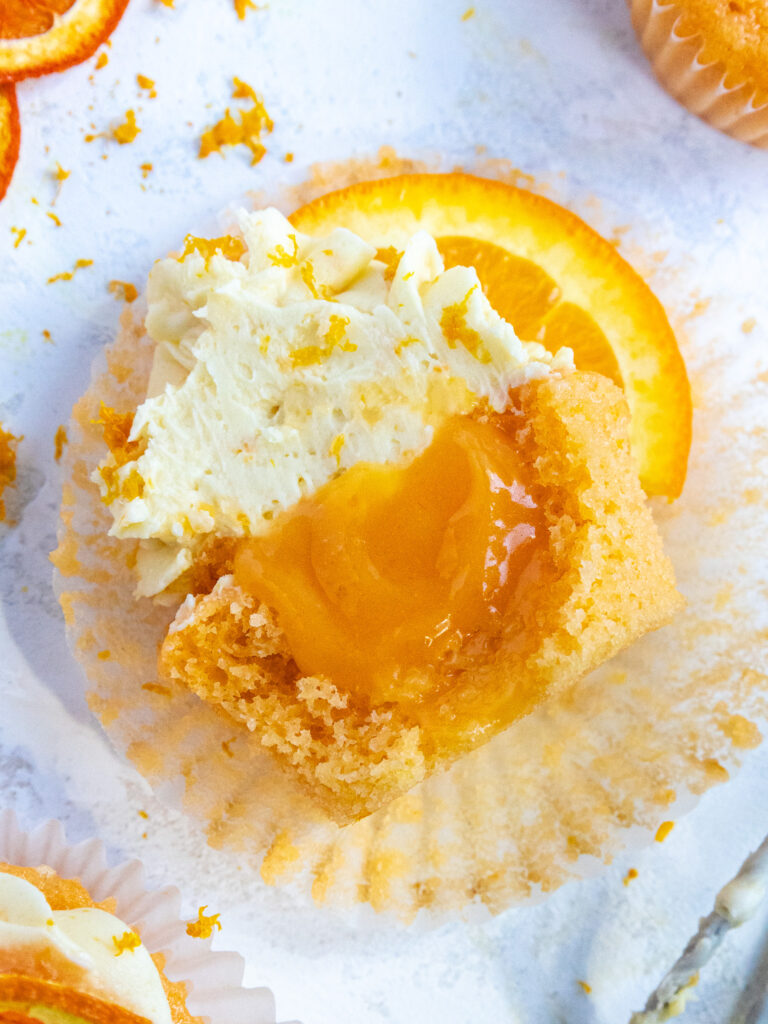
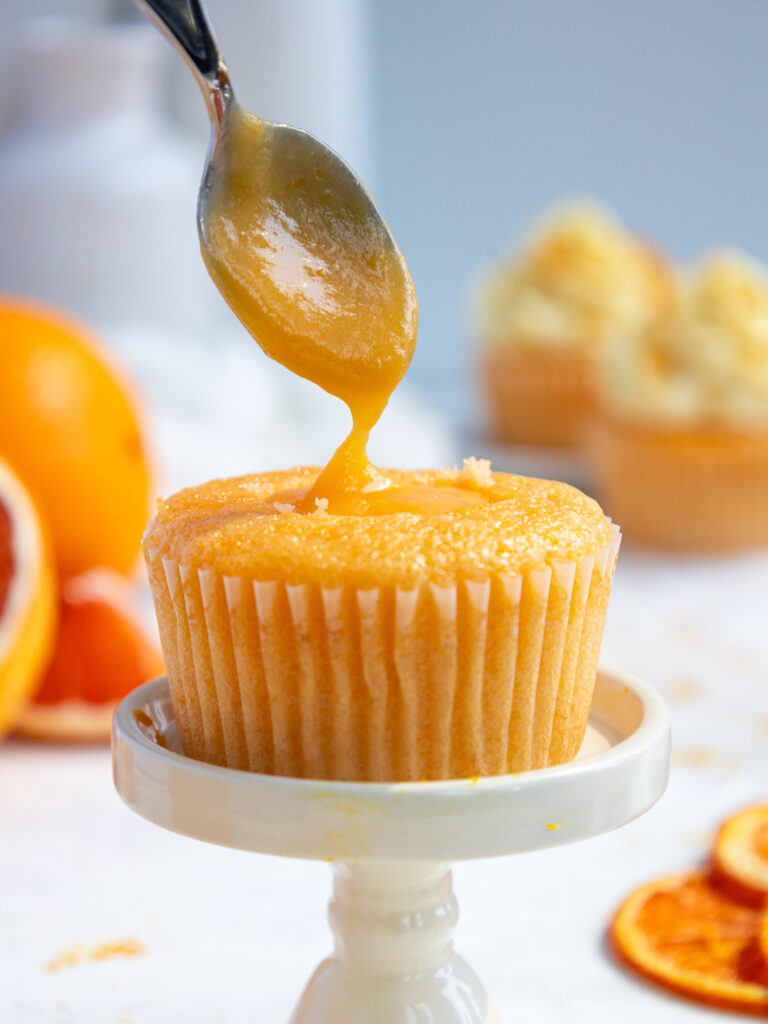
What Desserts Can I Fill with Orange Curd?
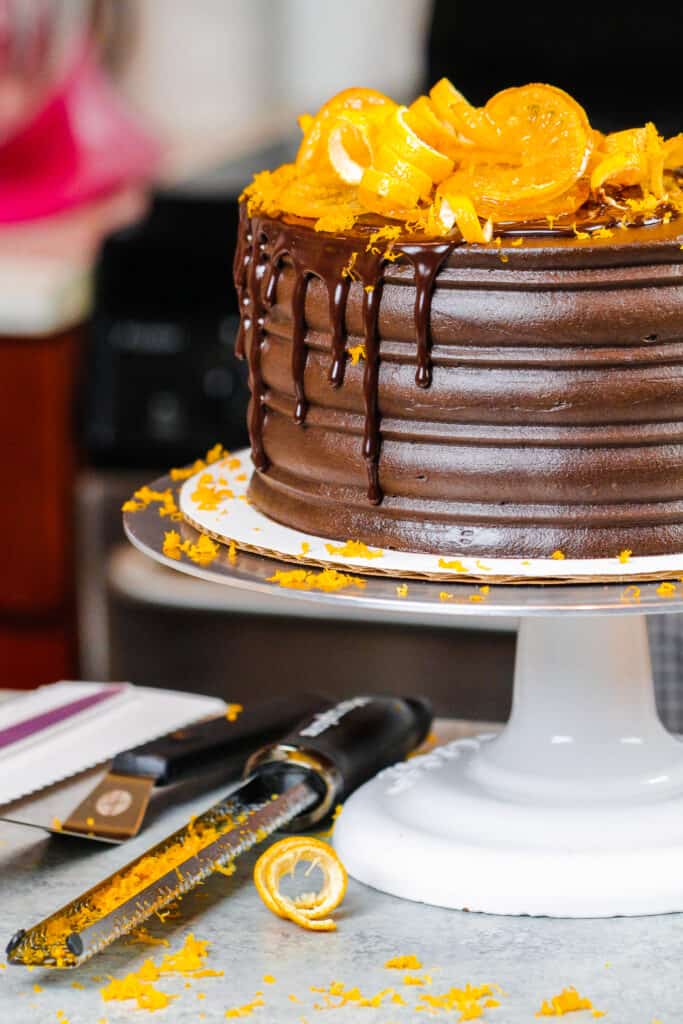
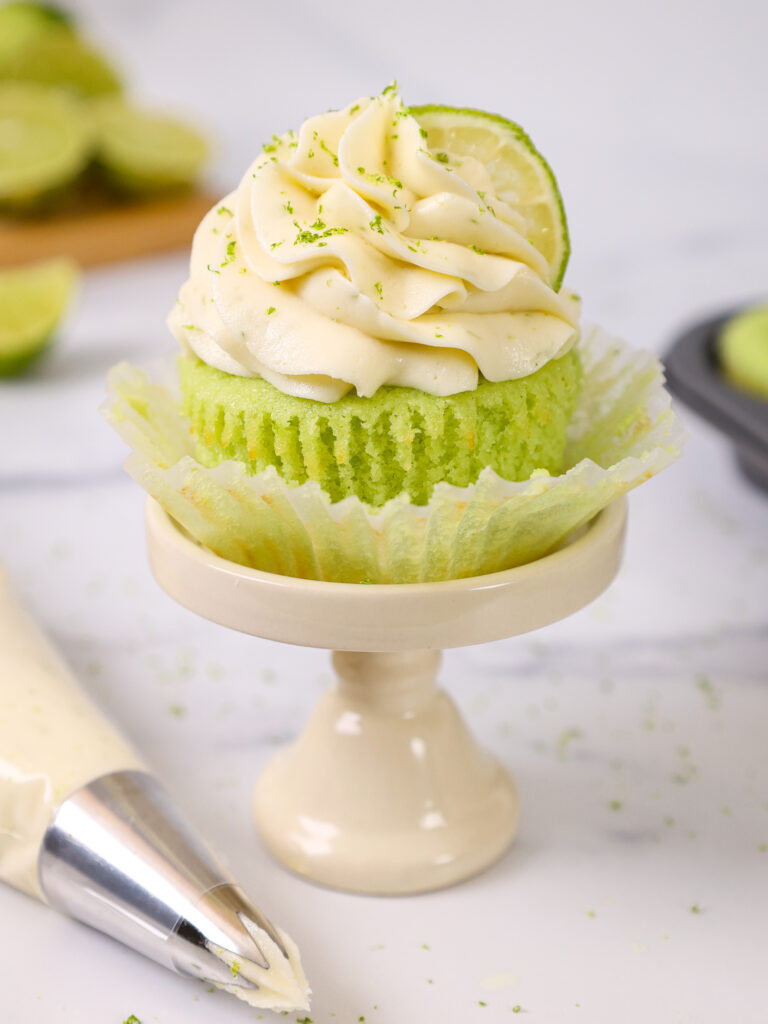
The sky is the limit when it comes to how you can use this orange curd.
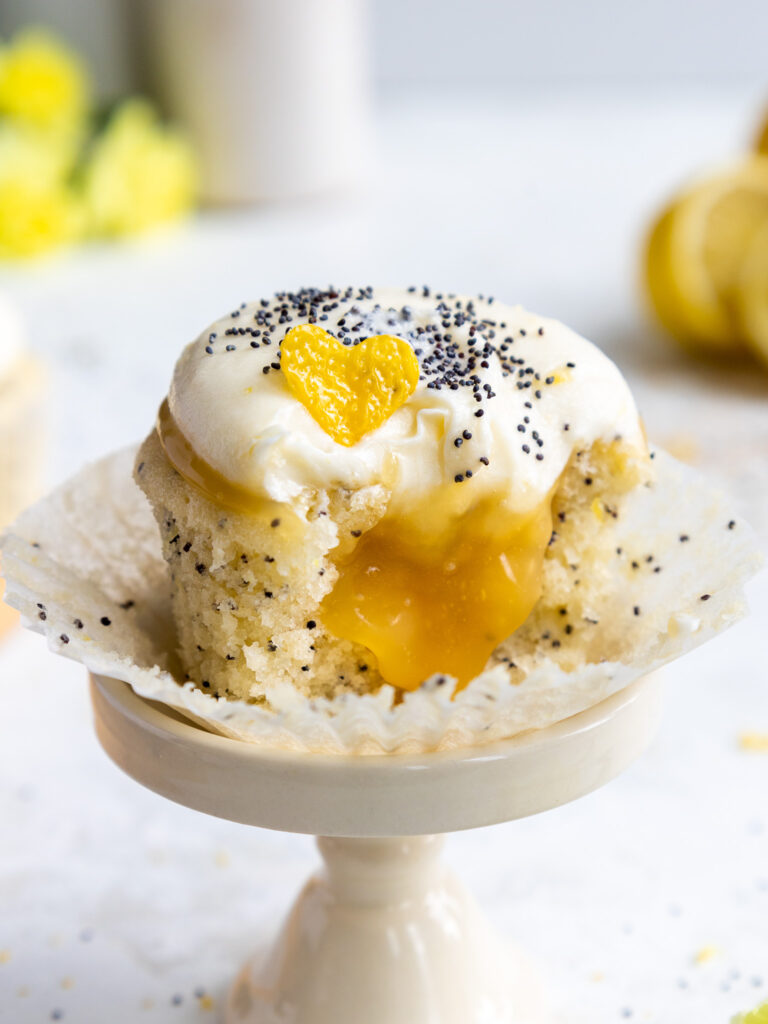
I personally love to use it to fill cakes, cupcakes, and macarons, but it would taste delicious on ice cream, pies, or even cookies!
Tips for Making the Best Orange Curd:
- Massage the orange zest into the sugar, it helps release the oil in the zest and gives this orange curd an amazing flavor!
- If you don’t have leftover egg yolks to use up, you can use 3 large whole eggs in place of the egg yolks.
- Use yolks from brown eggs if possible! They have a deeper yellow color and will naturally give the orange curd a brighter orange color.
- Stir the mixture continuously as it cooks over the stovetop with a rubber spatula or wooden spoon to prevent the eggs from cooking through and to prevent the mixture at the bottom of the pan from burning.
- Pour the orange curd through a fine mesh strainer once it’s done cooking to remove any bits of cooked egg, zest, or orange seeds. This will give it a perfectly smooth texture.
- Use Cara Cara or blood oranges to give the orange curd a stronger, naturally orange color.
- Let the orange curd cool fully and thicken before using it to fill desserts.
Making This Orange Curd in Advance and Storage Tips
The orange curd can be made up to 2 weeks in advance and stored in the fridge.
You can also freeze this orange curd for up to a month. Transfer it to the fridge to let it gradually thaw before using it.

Let Me Know What You Think!
If you make this orange curd recipe, I’d love to hear what you think of it! Let me know by leaving a rating and comment below.
Tag me @chelsweets and use #chelsweets if you share on social media so that I can see your amazing creations.
Other Recipes You Might Like:
Orange Curd
Ingredients
Orange Curd
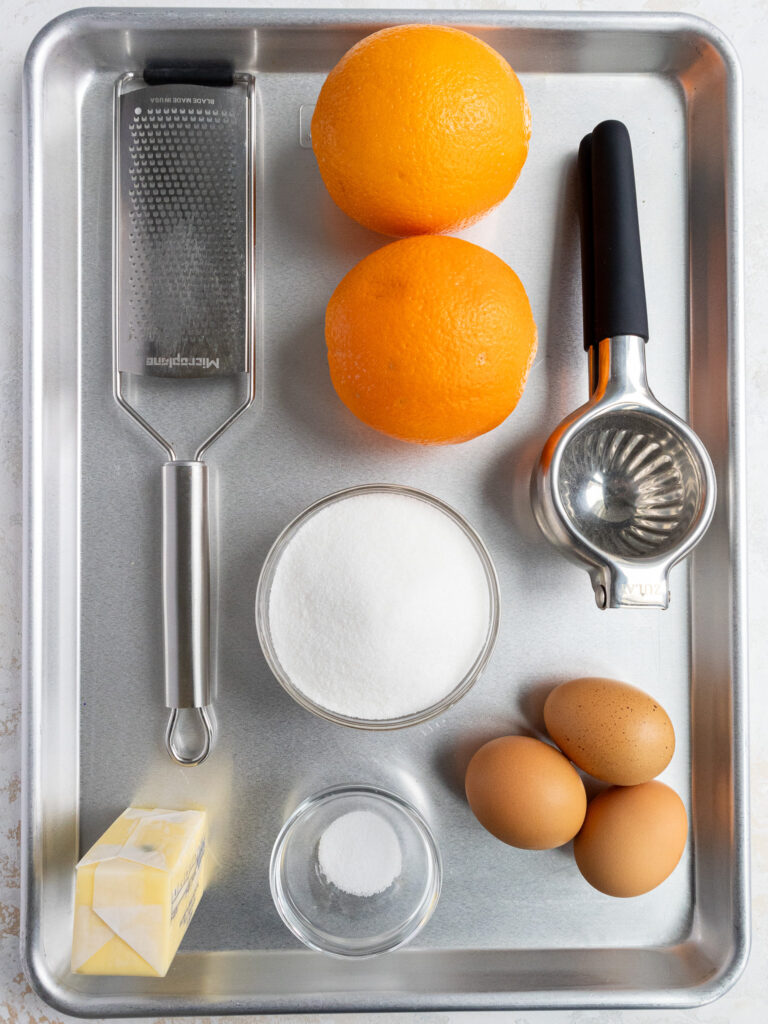
- 2/3 cup granulated sugar 133g
- 3 Tbsp orange zest – zest of 2 large oranges 15g
- 6 large egg yolks or 3 large eggs 165g
- 1/2 cup freshly squeezed orange juice – juice of 2 large oranges; preferably Cara Cara oranges 120g
- 1/2 tsp fine salt 3g
- 1/2 cup (1 stick) unsalted butter, cold and cut into 1 Tbsp pieces 113g
Instructions
Orange Curd
- Add 2/3 cup of sugar into a saucepan. One quick thing to note! When making the orange curd, it's best to use a saucepan that's ceramic as opposed to metal. Some metal pans can give the curd a metallic taste.
- Zest 2 large oranges into the saucepan and massage the zest into the sugar with your fingertips. This helps release the oil in the zest and gives this curd a bright, citrusy flavor.
- Add in 6 egg yolks or 3 large eggs and whisk the mixture together until the ingredients are combined. Then mix in 1/2 cup of freshly squeezed orange juice and 1/2 tsp salt.
- Cook on medium-low heat, stirring constantly with a rubber spatula or wooden spoon until the mixture thickens. This usually takes me 20-25 minutes (it can vary a lot based on the type and size of pan you use!). In the first 10-15 minutes, it won't seem like much is happening, but it'll start to thicken slowly after that, I promise! It should be thick enough to coat the back of a spoon once it's ready.
- Remove the pan from heat, then add 1/2 cup of cold butter that's been cut into small pieces. Mix until the butter is fully melted, and the ingredients are combined.
- Then pour the orange curd through a fine mesh strainer into a separate bowl to remove any bits of cooked egg, zest, or orange seeds. This gives it a perfectly smooth texture! Don't forget to scrape the bottom of the sieve to make sure you don't waste any of the orange curd.
- Place the orange curd in the fridge to cool and thicken before using it. If you make this recipe in advance, cover it flush with plastic wrap to prevent it from forming a skin and store it in the fridge for up to two weeks.
Video
Notes
Substitutions and Swaps
If you need to make any substitutions or swaps in this recipe, please check out the section on ingredient substitutions in the post above.How Much Orange Curd Does This Recipe Make?
One batch of this recipe makes a little over 1 1/4 cups of orange curd. This recipe can be cut in half, in thirds, or doubled as needed. Note that the cook time will change based on the size of the batch.Tips for Making the Best Orange Curd:
- Massage the orange zest into the sugar with your fingertips. It helps release the oil in the zest and gives this orange curd an amazing flavor!
- If you don't have leftover egg yolks to use up, you can use 3 large whole eggs in place of the egg yolks.
- Stir the mixture continuously as it cooks over the stovetop to prevent the eggs from cooking through and to prevent the mixture at the bottom of the pan from burning.
- Use yolks from brown eggs if possible! They have a deeper yellow color and will naturally give the orange curd a brighter color.
- Pour the orange curd through a fine mesh strainer once it's done cooking to remove any bits of cooked egg, zest, or orange seeds. This will give it a perfectly smooth texture.
- Use Cara Cara or blood oranges to give the orange curd a stronger, naturally orange color.
- Let the orange curd cool fully and thicken before using it to fill desserts.
Good but much too sweet for my liking.Next time,I will use less sugar.
I used Seville oranges to make this so found the amount of sugar to be spot on. If using sweeter oranges, I would cut back.
Appreciate you feedback Anita! Thanks for sharing 🙂
The insane amount of sugar makes this taste like nothing but sugar… It’s also almost impossible to get 3 tablespoons of orange zest. Unless you sit there for hours, I would suggest cutting down on the zest and the sugar. It also takes nowhere near 25 minutes. It’ll take about 10 minutes tops.
The ingredient list says room temperature butter, but the instructions say cold butter. Can you clarify?
Apologies for the confusion! It actually will turn out either way, but I updated the recipe to use cold butter to speed up the overall process/remove any wait time for the butter to come to room temperature. Hope that helps for the future, happy baking Emily!
I’m very curious as to in the tips why advice on egg shell color is given to determine yolk color?
Hi Amy,
Great question! And you’re absolutely right to be curious—because the color of an eggshell doesn’t actually determine the yolk color. What matters most for yolk color is the chicken’s diet, not the shell!
That said, some tips or general advice might mention eggshell color as a loose shortcut, since chickens that lay brown eggs are often pasture-raised or fed diets richer in things like marigold petals or alfalfa, which can lead to darker, more vibrant yolks. But it’s not a rule—just a correlation that can happen depending on farming practices.
If you’re looking for deep golden yolks, your best bet is to look for eggs labeled pasture-raised or from local farmers who let their hens forage. Those bright yolks often have more flavor too!
First I used Cara Cara oranges. The curd was excellent. Full of flavour and so smooth. Thickened up nicely in fridge. I didn’t add or delete anything, yet my curd was ready believe it or not in 5 min. Thought I’ve done something wrong! so did cook for a little longer.
I’m wondering if the slight change I made in prep made the difference. Due to a slight disability in hand I’m always looking for easier ways to do things. I have a small food processor that is just amazing. I pop sugar and zest into it, zap a few times. then add rest of ingredients. Give it a good zap then pour into pot and start cooking. This should work for anyone who finds it difficult to rub the sugar and zest together.
Now this tip was shared with me. I freeze limes and lemons. whole. Trust me they zest so much easier. Let defrost then squeeze.. Again game changer, you’ll get far more juice out the defrosted fruits. One draw back is you cannot use to candy or as a garnish.
Many thanks for testing and posting this quick easy and delicious recipe.
Hi Pam,
Thank you so much for sharing all of this!! I’m so happy to hear you loved the curd and that the Cara Cara oranges worked so well in it. And yes, it can sometimes come together pretty quickly depending on your stovetop, pan, and how warm the mixture is when it starts cooking, so that doesn’t necessarily mean anything went wrong.
I also really appreciate you sharing your prep shortcuts, using a small food processor for the sugar and zest is such a smart idea, especially if rubbing them together by hand is tricky. And that citrus freezing tip is so interesting too!! I could totally see how that would make zesting easier and help release more juice once thawed. Thank you again for taking the time to leave such a thoughtful and helpful comment 🙂