
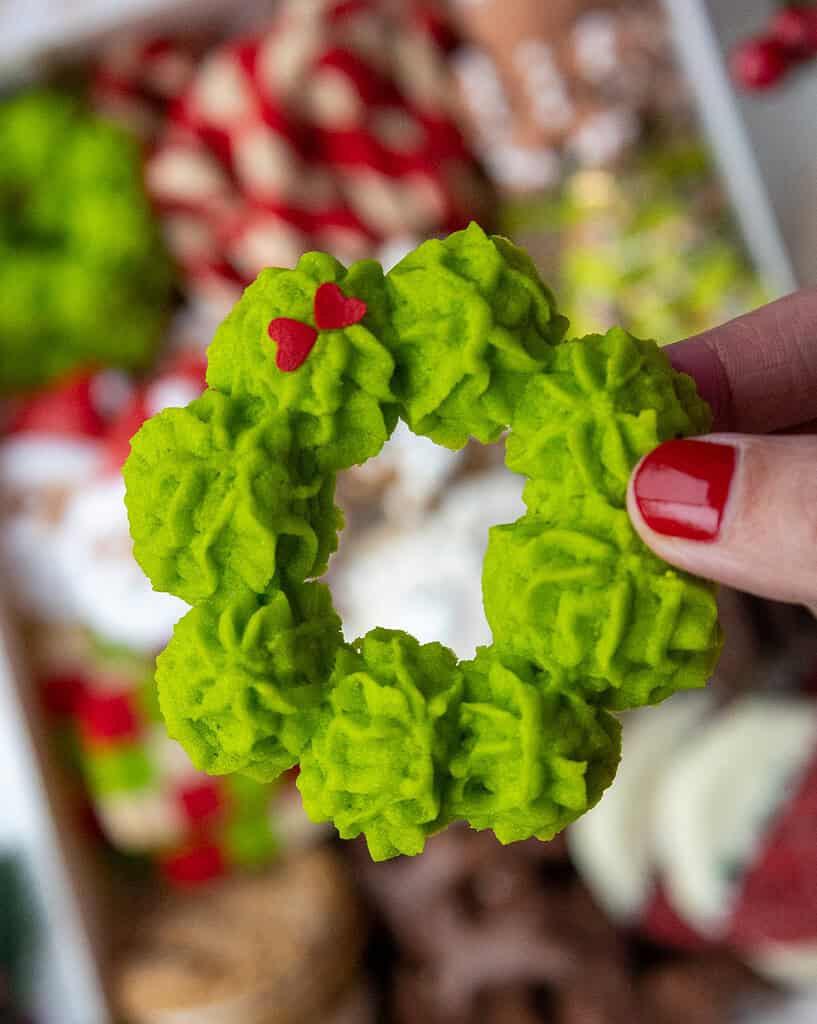
Christmas Wreath Cookies
These festive Christmas wreath cookies are perfect for the holidays. They bake up tender, buttery, and with a hint of almond that really elevates their flavor. And getting to pipe the dough makes them so much fun to make!
Wreath Cookie Ingredients & Substitutions
While I love this recipe just the way it is, I know you might not have all these ingredients on hand! Or you might have food restrictions or allergies.
Below are some swaps and variations that can be made in this recipe.
- Unsalted Butter – If you only have salted butter, you can use it and omit the salt that this recipe calls for. You can also use vegan butter.
- Granulated Sugar – This recipe turns out best with granulated sugar. I wouldn’t recommend changing the amount or type of sugar, as it will impact the spread of the cookies.
- All-Purpose Flour – You can use a gluten-free flour blend if needed in place of the AP flour in this recipe.
- Almond Extract – I love this recipe with almond extract, but you can use vanilla or another extract in place of it if needed.
- Green Gel Food Coloring – I prefer using neon green gel food coloring, but regular green gel food coloring can be used, too. If you need to use liquid food coloring, use 1 Tbsp.
How Many Cookies Does This Recipe Make?
This recipe makes about 21 2-inch cookies. The yield can vary a lot based on the size and height of the cookies, along with the piping tip that you use.
Can I Make These Cookies In Advance?
Piped and unbaked cookie dough can be stored on the baking sheet and covered with plastic wrap or foil in the refrigerator for up to 2 days before being baked.
Piped and unbaked cookie dough can also be frozen for up to 2 months. The cookies can be baked straight from the freezer, but will need a couple of extra minutes of bake time.
Baked and dipped cookies can also be frozen for up to 2 months.
Tips for Making the Best Christmas Wreath Cookies
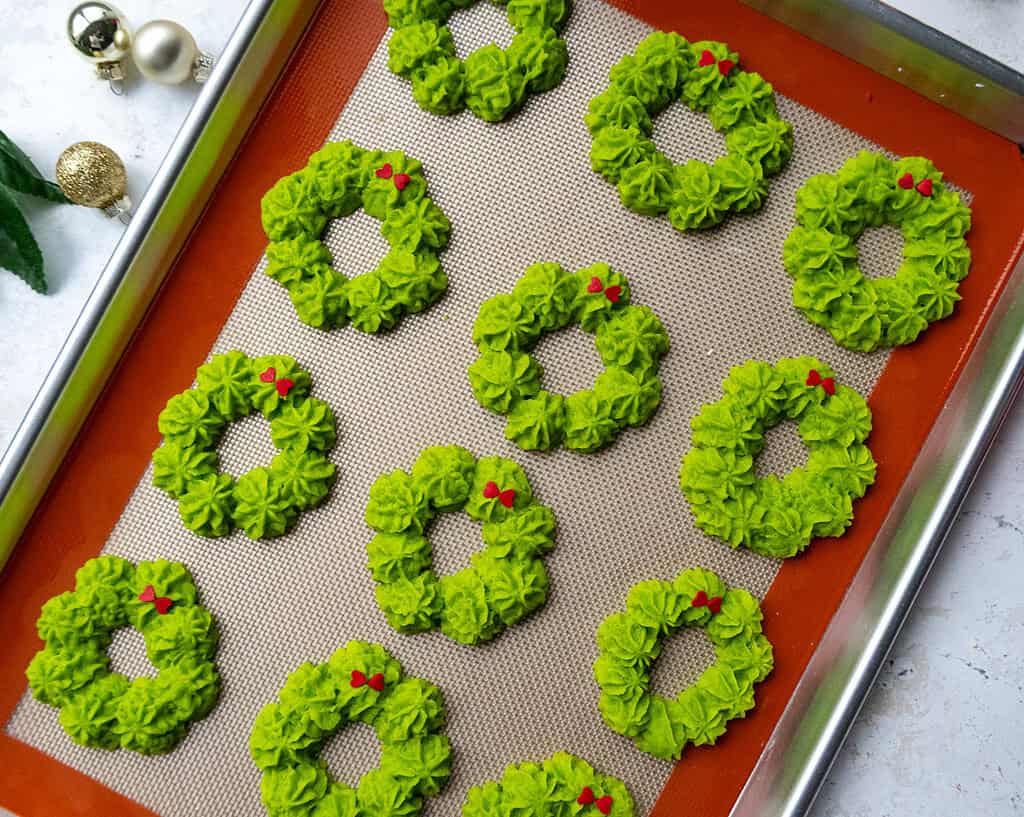
- Space your cookies about 2 inches apart before baking them. They will spread as they bake.
- If you mess up piping a cookie, don’t worry! You can always scoop the dough back into the bag and try again.
- This dough is THICK! It will take a lot of hand strength to pipe the cookies, so give your hand a break when needed. While it might seem hard to pipe, keep in mind that the firmer the dough, the better it will keep its shape.
- Don’t over-bake your cookies! They’re done as soon as the edges are just beginning to brown.
- Pipe the cookies to be similar in size to help the cookies bake evenly.
Let Me Know What You Think!
If you make these Christmas wreath cookies, I’d love to hear your thoughts! Please leave a rating and comment below.
Or if you share on social media, be sure to tag me @chelsweets and use #chelsweets so I can see your delicious creations!

Christmas Wreath Cookies
Equipment
Ingredients
Wreath Butter Cookies
- 1 cup unsalted butter, room temperature 226g
- 3/4 cup granulated sugar 150g
- 1 Tbsp vanilla extract or vanilla bean paste 15g
- 2 tsp almond extract 10g
- 1 tsp Neon green gel food coloring
- 1 large egg, room temperature 56g
- 2 1/4 cups all-purpose flour – fluffed, spooned & leveled 290g
- 1 tsp fine salt 6g
Decorations – Optional
- 42 heart-shaped sprinkles
Instructions
Wreath Butter Cookies
- Before you start on the batter, make room in your refrigerator or freezer for baking sheets! The piped cookies will need to chill in the fridge for at least 30 minutes or in the freezer for 15 minutes before being baked. Sadly the dough can't be chilled before it's piped or else it'll be too thick to pipe.
- Line 2 large baking sheets with parchment paper or silicone baking mats. Set aside.
- In a large bowl, using a handheld mixer or a stand mixer fitted with a paddle attachment, beat 1 cup of room temperature butter and 3/4 cup granulated sugar together on medium-high speed for a couple of minutes until it looks light and fluffy.
- Add 1 large egg, 1 Tbsp vanilla extract or vanilla bean paste, 2 tsp almond extract, and 1 tsp neon green gel food coloring. Beat at a medium-high speed until combined. Scrape the sides and bottom of the bowl with a rubber spatula as needed.
- Mix in 2 1/4 cups of flour (it's important the flour is properly measured! Make sure it's fluffed, spooned into the measuring cup, then leveled, or use a kitchen scale) and 1 tsp fine salt on a low speed until mostly combined, then increase the speed to medium-high and beat until completely combined, smooth, and thick but still pipeable.
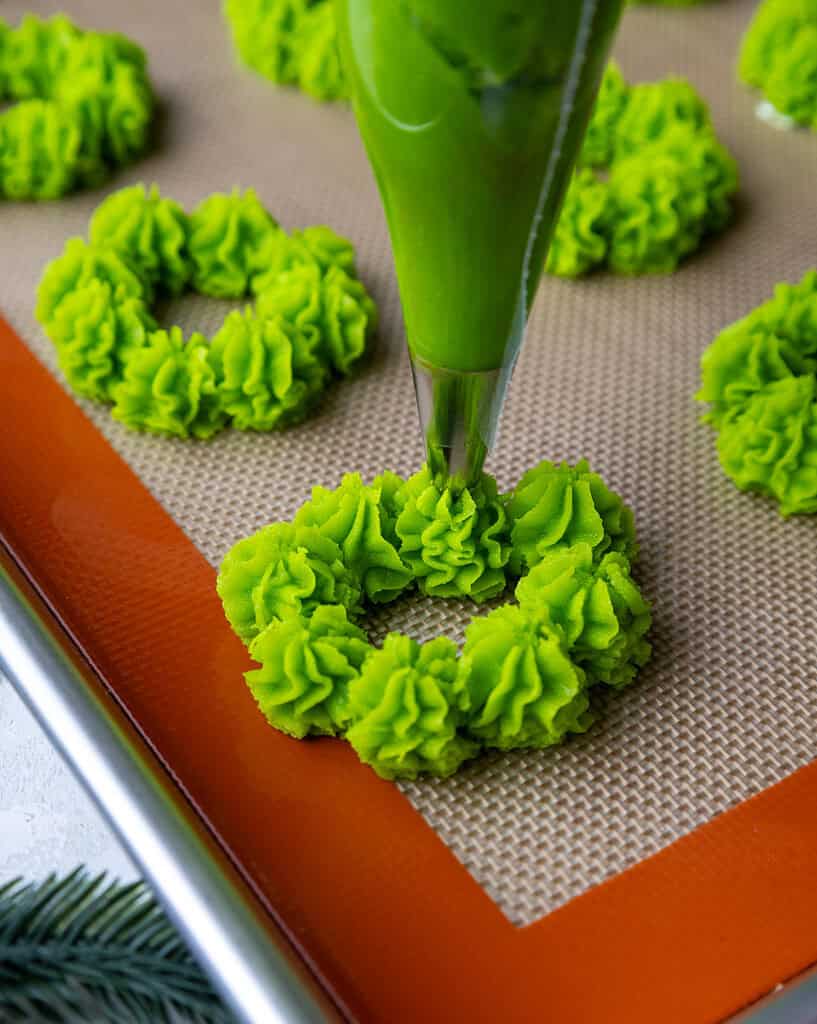
- Fit a large piping bag with a French piping tip, closed star tip. Before we fill the entire bag, we're going to test the consistency of the dough and make sure it's right. Scoop about 1/2 cup of dough into the bag, and try to pipe a wreath. If you're able to successfully, scoop the rest of the dough into the bag and seal the top with a rubber band or clip. It takes a bit of hand strength, but the thicker the dough is, the better it will keep its shape as it bakes! However, if the dough is too thick to pipe, scoop it back into the bowl of dough and mix in a teaspoon of milk. Repeat as needed until the dough is pipeable.
- Pipe 2-inch wreaths on the prepared baking sheets, spacing them about 2 inches apart. I piped mine by making dollops of dough in a circle. I piped one circle of dough, then piped another on top of it to give the cookies some nice height and help them keep their shape. You can reference the video in this recipe card to see the process more clearly. Take your time as you do this and give your hand a break between trays. Then press two heart-shaped sprinkles into the top of each wreath to look like a bow.
- Place the baking sheets in the refrigerator for at least 30 minutes or the freezer for 15 minutes. While the dough chills, preheat the oven to 350°/175°C.
- Once the oven is fully preheated, bake one tray of cookies at a time on the middle rack of your oven for 15-16 minutes or just before the edges start to brown. If you use less dough to pipe each cookie, your bake time may be shorter, so keep a close eye on these as they bake, or bake one cookie on a tray as a test batch before you bake them all. The cookies will spread a tiny bit as they bake, but should still keep their shape.
- Remove the cookies from the oven and let them cool on the baking sheet for 10 minutes before transferring them to a wire rack to finish cooling. These cookies can be stored in an airtight container at room temperature for up to 5 days or in the refrigerator for 1 week.
Video
Notes
How Many Cookies Does This Recipe Make?
This recipe makes about 21 2-inch cookies. The yield can vary a lot based on the size and height of the cookies, along with the piping tip that you use.Can I Make These Cookies In Advance?
Piped and unbaked cookie dough can be stored on the baking sheet and covered with plastic wrap or foil in the refrigerator for up to 2 days before being baked. Pipe and unbaked cookie dough can also be frozen for up to 2 months. The cookies can be baked straight from the freezer, but will need a couple of extra minutes of bake time. Baked cookies can also be frozen for up to 2 months.Nutrition
Other Recipes You Might Like:


did not hold shape.
Hi Zoey,
So sorry to hear that! When I did my recipe testing, they held their shape quite well! Did you make any substitutions to the recipe by chance? Because the dough has no leavening agents, it should hold its shape. Did you pipe them into wreaths, or did you try making a different shape? Hopefully we’ll be able to figure out what happened!
15 mins was waaaay too long for baking, they were pretty crispy by that point. Did a batch at 8 mins, that was better, but still lost shape. Did a third from frozen at 8 mins, better but still losing shape. I don’t know what I did wrong. They are so pretty freshly piped.
Hi Holly,
So sorry to hear that! Have you tested the temp of your oven? Have you run into anything like this while baking other recipes?
The bake time and shape is also heavily influenced by how high you pipe the dough. I piped my wreaths about 1 1/2 cm high, which is why they take a bit to bake. Is there a chance you piped yours with less dough? Hopefully we’ll be able to figure out what happened!
Impossible to pipe! But I set the piping bag (in another bag) in hot water for a few seconds and that helped out greatly. The dough did NOT want to stick to parchment. Wish I had silicone baking mats! So instead of wreaths I made Christmas trees. They took 11 minutes in my oven. Most held their shape and a few spread.
So sorry to hear that Maddie! Using hot water is a great work around though for making it easier to pipe. It really is a tradeoff between how stiff the dough is and how well the cookies keep their shape. You can add a little bit of milk to the dough next time if you want it to be easier to pipe, but the cookies will likely spread a bit more if you do.
Out of curiosity, how did you measure the flour? Hopefully we’ll be able to what happened!
These are amazing!
Made sure to follow directions clearly, and didn’t skip the freezing section. Mine aren’t as perky as the picture, but are still adorable wreaths. And they taste sooo good. Will definitely be adding them to my yearly Christmas cookies. Thank you so much!
Hi Kendel,
Yessss!! I’m so happy to hear they turned out great 🙂 Thank you for sharing, happy holidays!
The dough was super hard to pipe, but they made fun cookies. If you’re weighing ingredients, DO NOT FOLLOW 6g of salt!! Waaay too much salt for this recipe!! Kiddo had fun decorating them!
Hi Naomi,
Happy to hear you loved this recipe! The dough is difficult to pipe, but that’s what allows the cookies to keep their shape!
Out of curiosity, what type of salt are you using? I use fine salt, like table salt! If you’re using a larger type of salt like kosher salt, the weight would be different. Hope that helps for next time, happy baking!
Followed the recipe to a T, these were a NIGHTMARE to pipe omg. They refused to stick to the parchment, i had to use scissors to cut them off after piping as the dough would not break.
They also spread when cooked after only 10minutes in the oven so lost the beautiful piped shape i fought so hard for ?
Love most of your recipes so would defo try this again, but maybe make them muuuuch smaller so they have barely any time to spread in the oven?
The flour notes were also a bit confusing i didn’t know if i should be packing the flour into my cup and then levelling or giving it a shake to ensure it was level which is what i did
Hi Tina,
I’m so sorry to hear that! It sounds like there was too much flour if the dough was that stiff and wasn’t sticking to the parchment paper. You definitely do NOT want to pack the flour into the measuring cup (I have notes about how to properly measure the flour in both the ingredients list and the instructions in the recipe card).
To properly measure flour, start by fluffing it in the container with a spoon or whisk to loosen it up. Flour naturally settles and compacts over time, and scooping straight from the bag packs in too much. Next, lightly spoon the flour into your measuring cup until it’s overflowing, being careful not to tap or shake the cup as you go. Once it’s filled, use the back of a knife or a straight edge to level it off so it’s even with the top of the cup. Avoid scooping the flour directly with the measuring cup or packing it down, as that can add significantly more flour than intended and lead to dry or dense baked goods. For the most accurate and consistent results, using a kitchen scale and measuring flour by weight is best, but the spoon-and-level method works very well when using volume measurements.
This is how flour should always be measured when baking 🙂 I hope you give this recipe another try and that they are easier next time!
In regards to the spreading, did you chill them before baking them? Are you baking them on the middle oven of your rack?
Made this to complete my grandson’s preschool teacher cookie tin and, let me just say they were delicious!! They looked beautiful; a little hand workout but, so worth it!
I am so happy to hear that!! They def are a hand work out, but I agree, totally worth it 🙂 Thanks for sharing!!
Beautiful piped but came out flat 🙁 will try again hopefully they’ll stay!
These turned out so cute and were definitely the prettiest cookie in my cookie box!
Yesssss!!! I love that!! They are so pretty 🙂