
April Showers Cake
My friend Taryn (also know as @missladyfinger) and I joined forces again to create this adorable, spring-themed cake. When we were trying to come up with an idea, we both loved the concept of an April Showers-themed cake!
April Showers Cake Design
We were inspired by all the rain we’ve been getting in New York lately, and wanted that to be the inspiration of this collaboration! Taryn painted an amazing rainy design on our nails, which I used as inspiration for this spring cake idea.
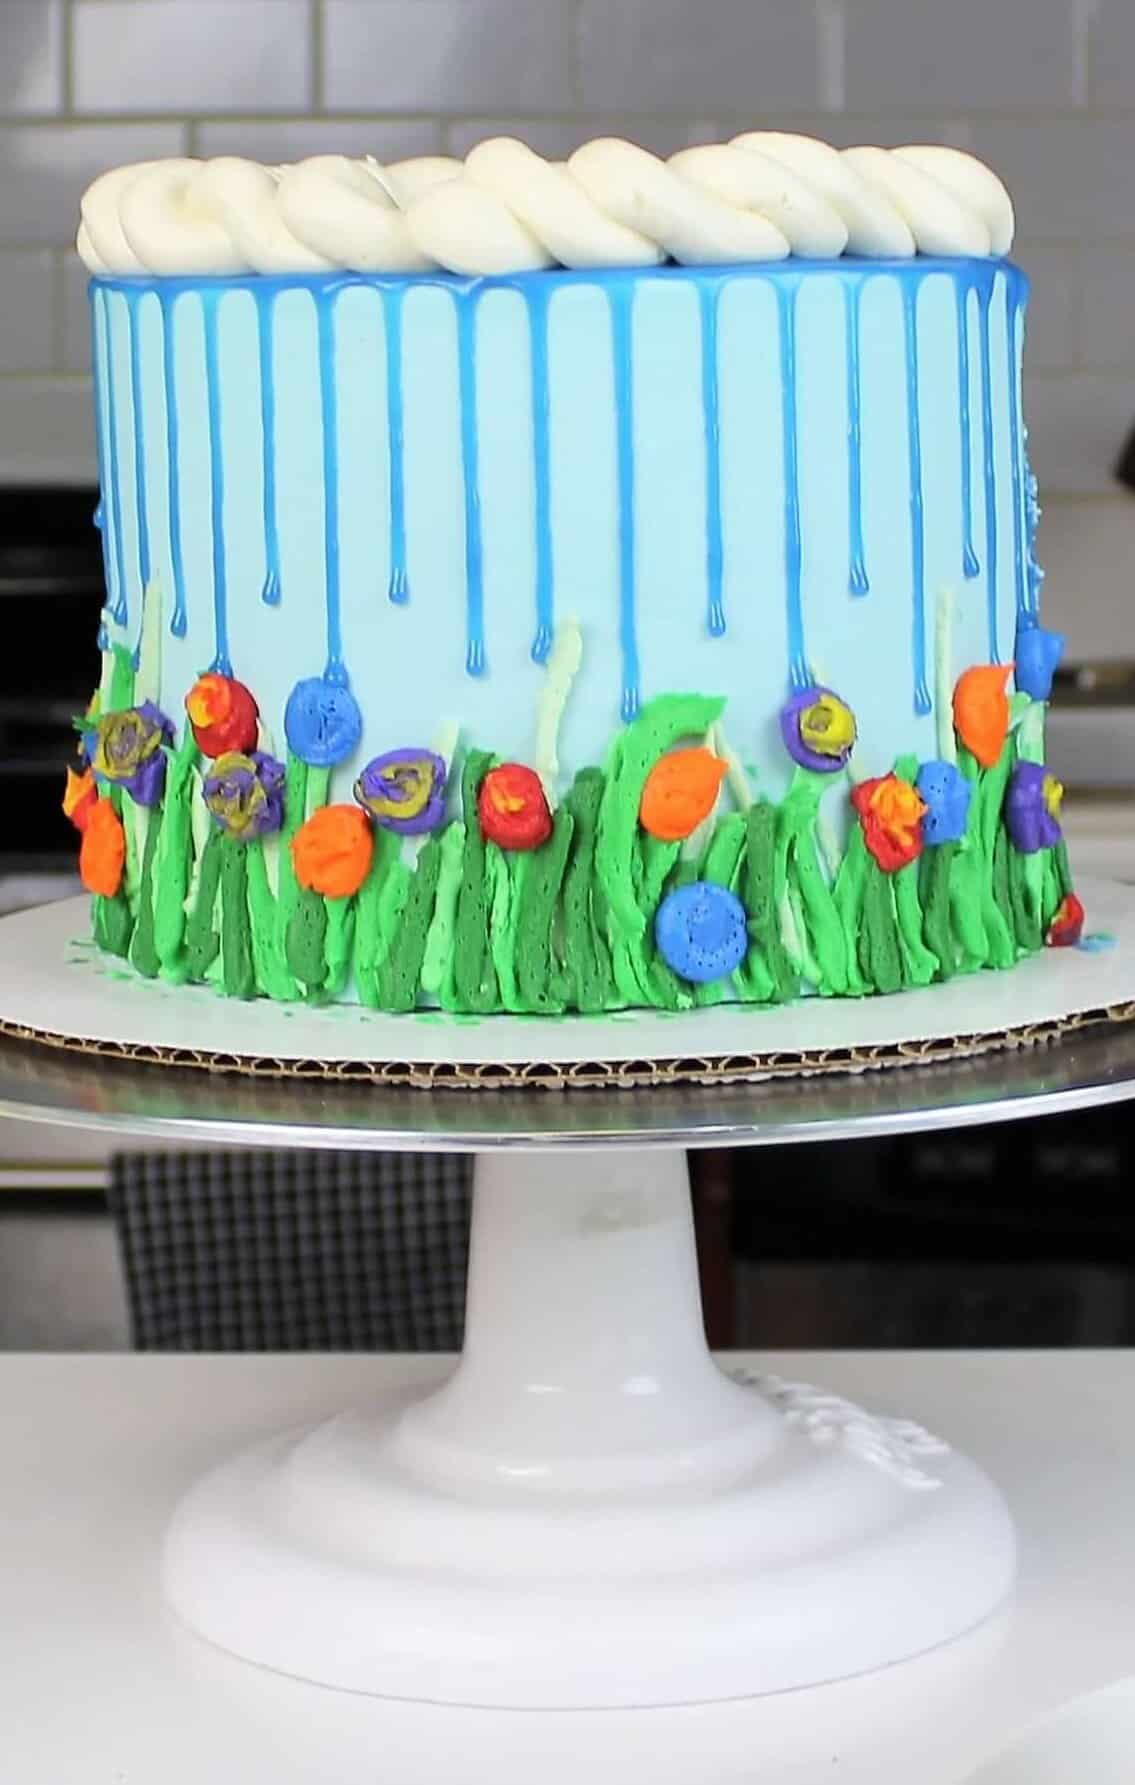
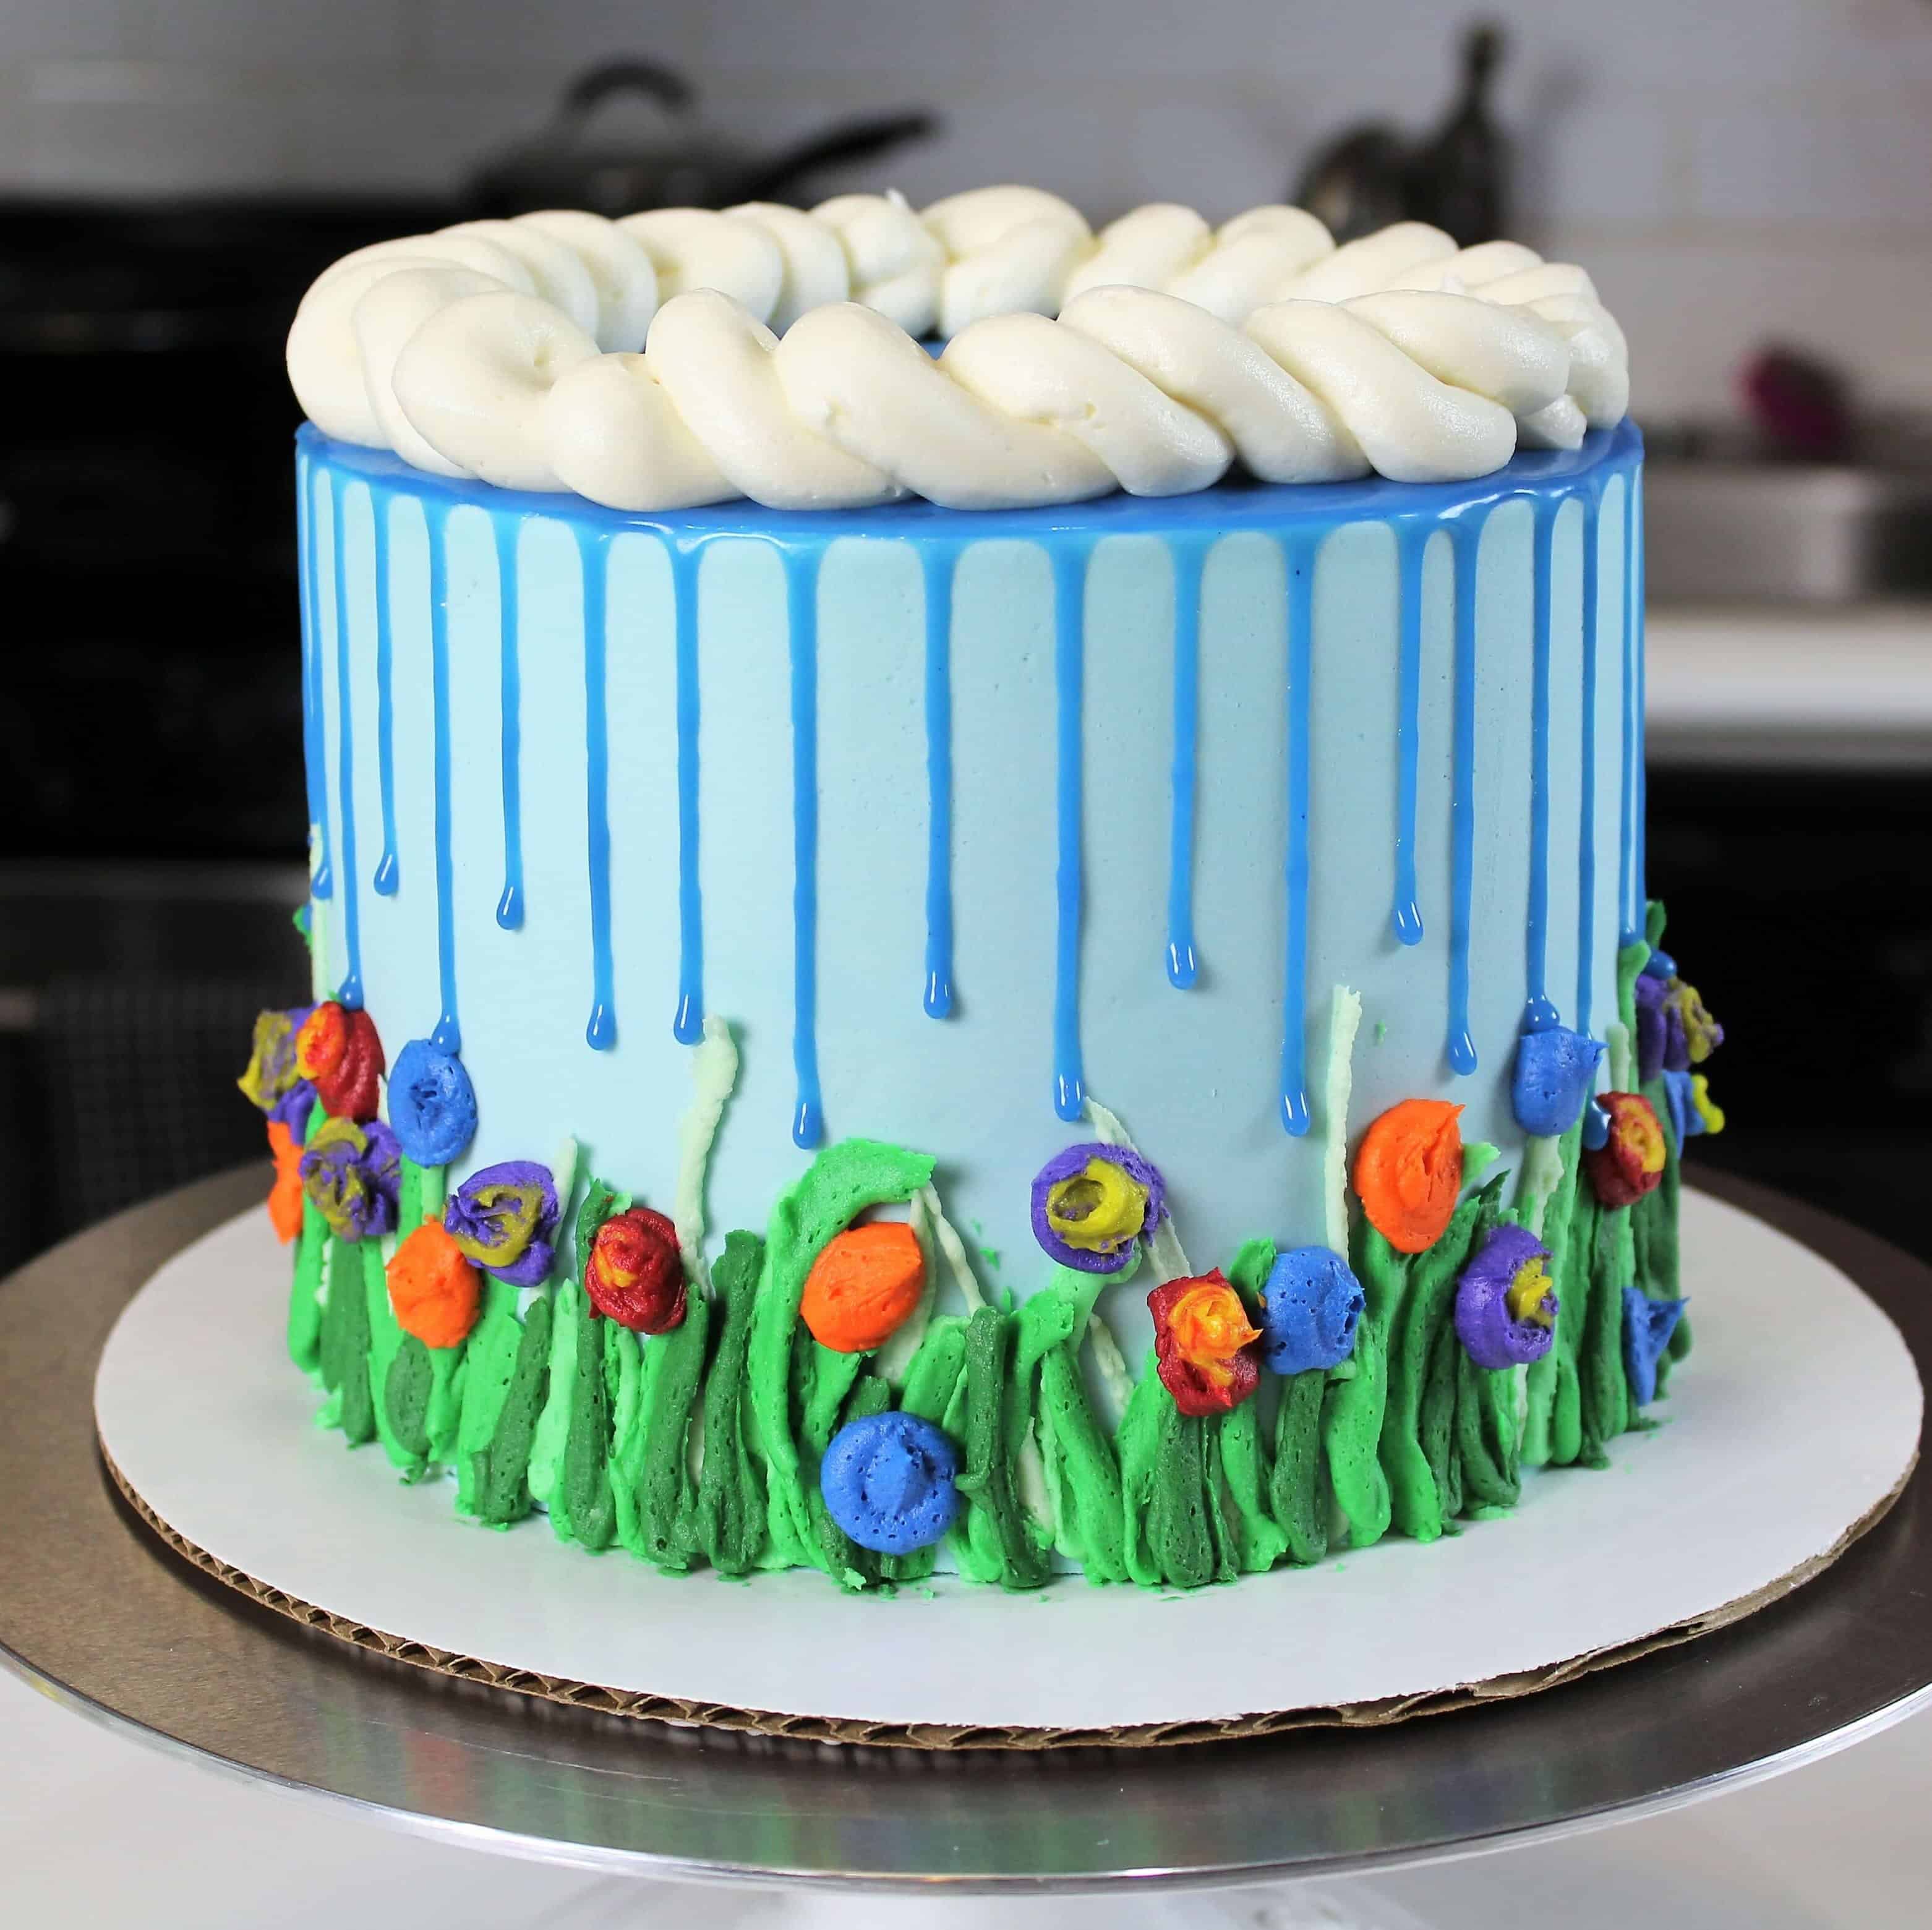
This spring themed cake is made with marbled blue cake layers, and is decorated with buttercream flowers! I couldn’t resist adding on a blue ganache drip to look like rain. The cake is topped with a fluffy white buttercream cloud boarder.
Coloring The Cake Layers And Buttercream
It only seemed fitting to make this cake with marbled blue cake layers! I used my favorite vanilla layer cake recipe, which is incredibly easy to make. This cake recipe uses buttermilk, which makes the layers super moist.
To color my cake layers and buttercream, I simply used gel food coloring! Liquid food coloring can work too, but you won’t be able to get as strong of a color.
You also can throw off the consistency of the cake batter or frosting if you add too much liquid food coloring. Gel food coloring is incredibly concentrated, so it allows you to use less.
Creating That Rainy Day Drip Effect
What was my favorite part of this spring themed cake? The blue drips!! I could not get over the way they look just like rain drops.
I use my colorful drip recipe to create this spring-themed, rainy drip look. It’s made using just three ingredients.
All you need is some heavy cream, white chocolate, and blue food coloring.
To make sure you nail this drip look, it’s imperative that you chill your cake, and do a test drip. This helps ensure your ganache is the right temperature.
For all of the visual learners out there, you can also check out my detailed drip cake tutorial for more tips.
Share Your Creations With Me!
Nothing makes me happier than when I get emails or DMs with photos of your amazing cakes. Please don’t hesitate to reach out to me with your triumphs, or questions <3
If you try this April showers cake recipe, please tag me @chelsweets. Also use the #chelsweets so that I can see your amazing creations!
April Showers Cake
Ingredients
Blue Vanilla Cake Recipe
- 3 cups all-purpose flour 390 grams
- 3 cups granulated sugar 600 grams
- 2 1/2 tsp baking powder 10 grams
- 1 tsp fine salt 5 grams
- 1 cup unsalted butter, room temperature 226 grams – 2 sticks
- 2 tsp. vanilla extract or vanilla bean paste 9 grams
- 1 cup large egg whites, room temperature or about 7 egg whites (244 grams)
- 1 1/2 cups buttermilk, room temperature 360 grams
- 1/8 cup vegetable or canola oil 28 grams
- blue gel food coloring
Vanilla Buttercream Frosting
- 2 cups unsalted butter, room temperature 434 grams
- 7 cups powdered sugar 907 grams – or a 2lb bag
- 1/2 tsp fine salt 3 grams
- 2 Tbsp heavy whipping cream, room temperature or whipping cream (30 grams)
- 1 Tbsp vanilla extract or vanilla bean paste 12 grams
- Blue, green, purple, yellow, orange, and red gel food coloring
Blue White Chocolate Drip Recipe
- 1/3 cup heavy whipping cream, room temperature 77 grams
- 1 cup mini white chocolate chips 175 grams
- blue gel food coloring
Instructions
Blue Marbled Cake Layers:
- Preheat oven to 350°F. Line four, seven-inch pans with parchment rounds, and grease with non-stick cooking spray.
- Mix together all dry ingredients (flour, baking powder, sugar, and salt) in a stand mixer with a paddle until fully combined.
- Mix chunks of room-temperature butter slowly into the dry mix, on a low speed. Continue to mix until no large chunks of butter remain, and the mixture becomes crumbly.
- Pour in egg whites, and mix on low until just incorporated. Mix in the buttermilk in two installments, on a low speed. Add in vanilla and oil, and mix at a low speed until fully incorporated. Scrape down the sides of the bowl with a spatula, then beat on low speed for about 15 seconds.
- Pour half of the batter into a separate bowl, and color blue with gel food coloring.
- Alternate spoonfuls of the uncolored cake batter and the blue batter into the prepared cake pans. Once the batter has been evenly split between the pans, use a butter knife or offset spatula to swirl the batter together in each pan.
- Bake for 34-36 minutes (or until a skewer comes out clean). Allow to cool for 10 minutes, then run an offset spatula around perimeter of the pan to separate the cake from the pan. Place cake layers into the freezer for 45 minutes, to accelerate the cooling process.
Vanilla Buttercream Frosting:
- Beat the butter on a medium speed for 30 seconds with a paddle attachment, until smooth. Slowly add in the powdered sugar, 1 cup at a time. Alternate with small splashes of cream.
- Once fully mixed, add in the vanilla and salt, and beat on low until the ingredients are fully incorporated, and the desired consistency is reached.
- If the frosting is too thick, add in additional cream (1 teaspoon at a time). If the frosting is too thin, add in more powdered sugar (quarter of a cup at a time).
- Wait to color the buttercream with gel food coloring until you’ve filled and crumb coated the cake. The white buttercream will create a beautiful contrast against the blue cake layers.
Blue White Chocolate Ganache Drips:
- Heat heavy cream in a heat-proof bowl in the microwave for 45 seconds, until it’s just beginning to bubble. Gently pour white chocolate chips into the heavy cream, making sure they are fully covered with cream. Allow mixture to sit for 1 minute.
- Stir slowly until the cream and white chocolate are combined. Some bits of chocolate may not be fully melted yet. Heat the mixture again for 20 seconds, and stir. Repeat as necessary until all the chocolate bits are fully melted and incorporated.
- Add in the blue gel food coloring, if desired. Allow it to cool until desired viscosity is reached (barely warm to the touch).
- If it seems too thin or thick, you can add a touch more chocolate chips or heavy cream! The type of cream and white chocolate that you use can affect the consistency, so feel free to adjust as needed.
To Assemble The Cake:
- Stack and frost cake layers on a greaseproof cake board, using a dab of frosting to help stick the first cake layer to the board.
- Add an even layer of buttercream between each cake layer.
- Apply a thin coat of frosting around the the cake, to fully cover the cake layers. Smooth using a bench scraper, then chill the cake in the fridge (10 minutes) or freezer (5 minutes) until the frosting is firm to the touch.
- Place about 3 cups of frosting into a separate bowl and color blue.
- Add a second, thicker layer of blue frosting to the cake, and smooth using a bench scraper.
- Place 1 1/2 cups of white frosting into a piping bag fitted with a large round tip. Set aside.
- Color 1 cup of the remaining frosting green, and then color the rest yellow, orange, red, and purple. Place the colored frosting in to small piping bags, cut with a small opening (less than 1 cm)
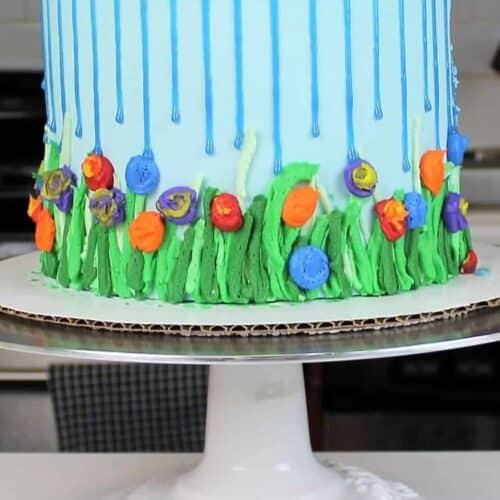
- Pipe green lines around the base of the cake, to look like tall grass. Pipe colorful circles of the red, orange, and yellow frosting around the top of the “grass” to look like wild flowers.
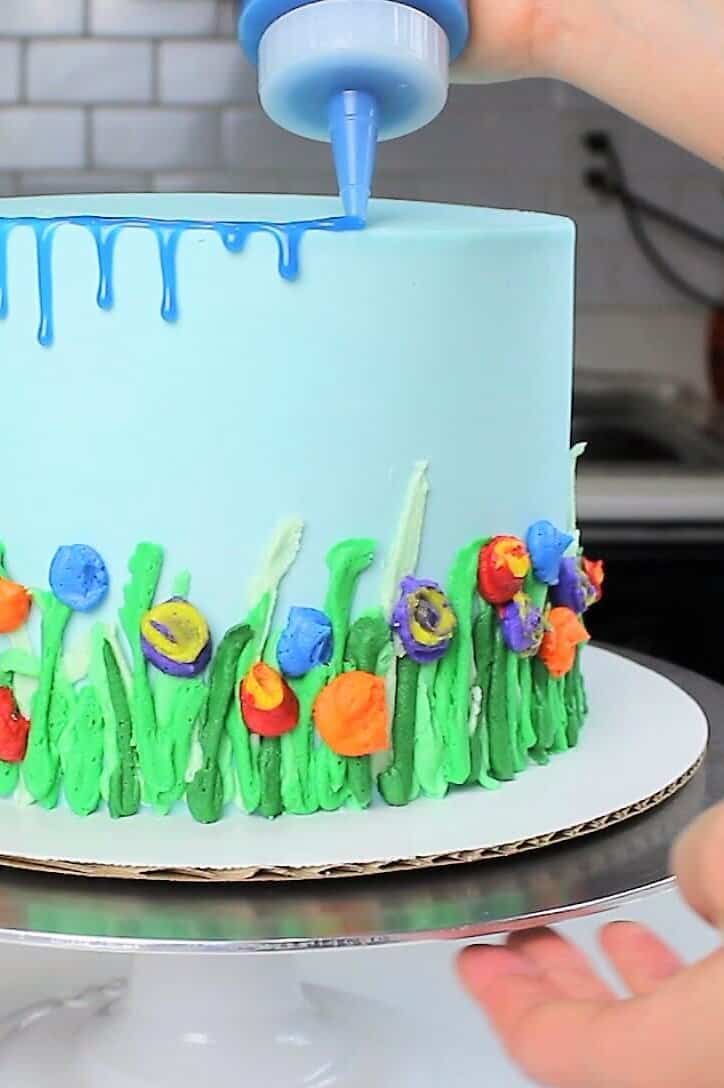
- Add the blue drips to the cake using a plastic squirt bottle.
- Then decorate the top perimeter of the cake with a white buttercream boarded, to look like clouds.
Can you easily half the cake recipe?
Yupp!!
Cupcakes? Is this recipe easy to make cupcakes with?
No! This cake recipe bakes really flat, to make perfect layers for stacking. It therefore also makes extremely flat cupcakes. I have a different vanilla cupcake recipe up that I recommend instead!
Do you use all-purpose flour?
yup!
I had so much fun making this! Thank you for sharing your recipe!
no problem! happy to hear that 🙂
This is such a pretty cake. I am going to try it but modified for a baby shower (boy).
Thanks! And that’s a great idea 🙂
Would it make a difference if I used whole eggs instead of just egg whites?
I’ve made it a few times now and absolutely love it but I’m wasting lots of eggs!
it does change the texture, and taste slightly! I recommend using the egg whites you can get in a carton! That’s what I do 🙂
Can i make this with handmixer in a wire whisk? I don’t have a standmixer with paddle attachment though. Hope to hear from you. Love your cakes! ????? hearts from P.I. ?
yes you can! 🙂
I’m gluten free, and I’ve been following your wonderful cake recipes for a few months now. I’m curious to if I could easily switch out the flour for a cup for cup gluten free flour.
I’ve never tried, but usually it’s slightly more complicated than that, as gluten free flour is usually a finer texture than regular all purpose flour :/
Why do you use egg whites only?
It’s a somewhat dense cake, and egg whites help make it a bit lighter! I use egg whites from the carton. It’s way easier, and that way I don’t have to waste yolks!
I loved the flowers and the grass on the sides of the cake. I used it on a cake I made.
It looks fabulous.
I wish I could share a pic here but I can’t figure out how.
aw thank you! and I’m so happy to hear that! Sadly you can’t share photos here, but you can totally tag me in your creation on social media (i’m on FB, instagram, and YT)!! Or you can always email me a picture <3
This cake looks like a beautiful impressionist painting! Could you tell me what tips you used to create the grass and flowers?
Aw thank you Sonja! Surprisingly I didn’t use any frosting tips, I just snipped small openings (about 1/2 a cm) for each of my piping bags <3
woww!!!!!The flowers on the cake looks fabulosss!!!!!
I wish you had a photo of the cut cake, so I could see the layers inside.