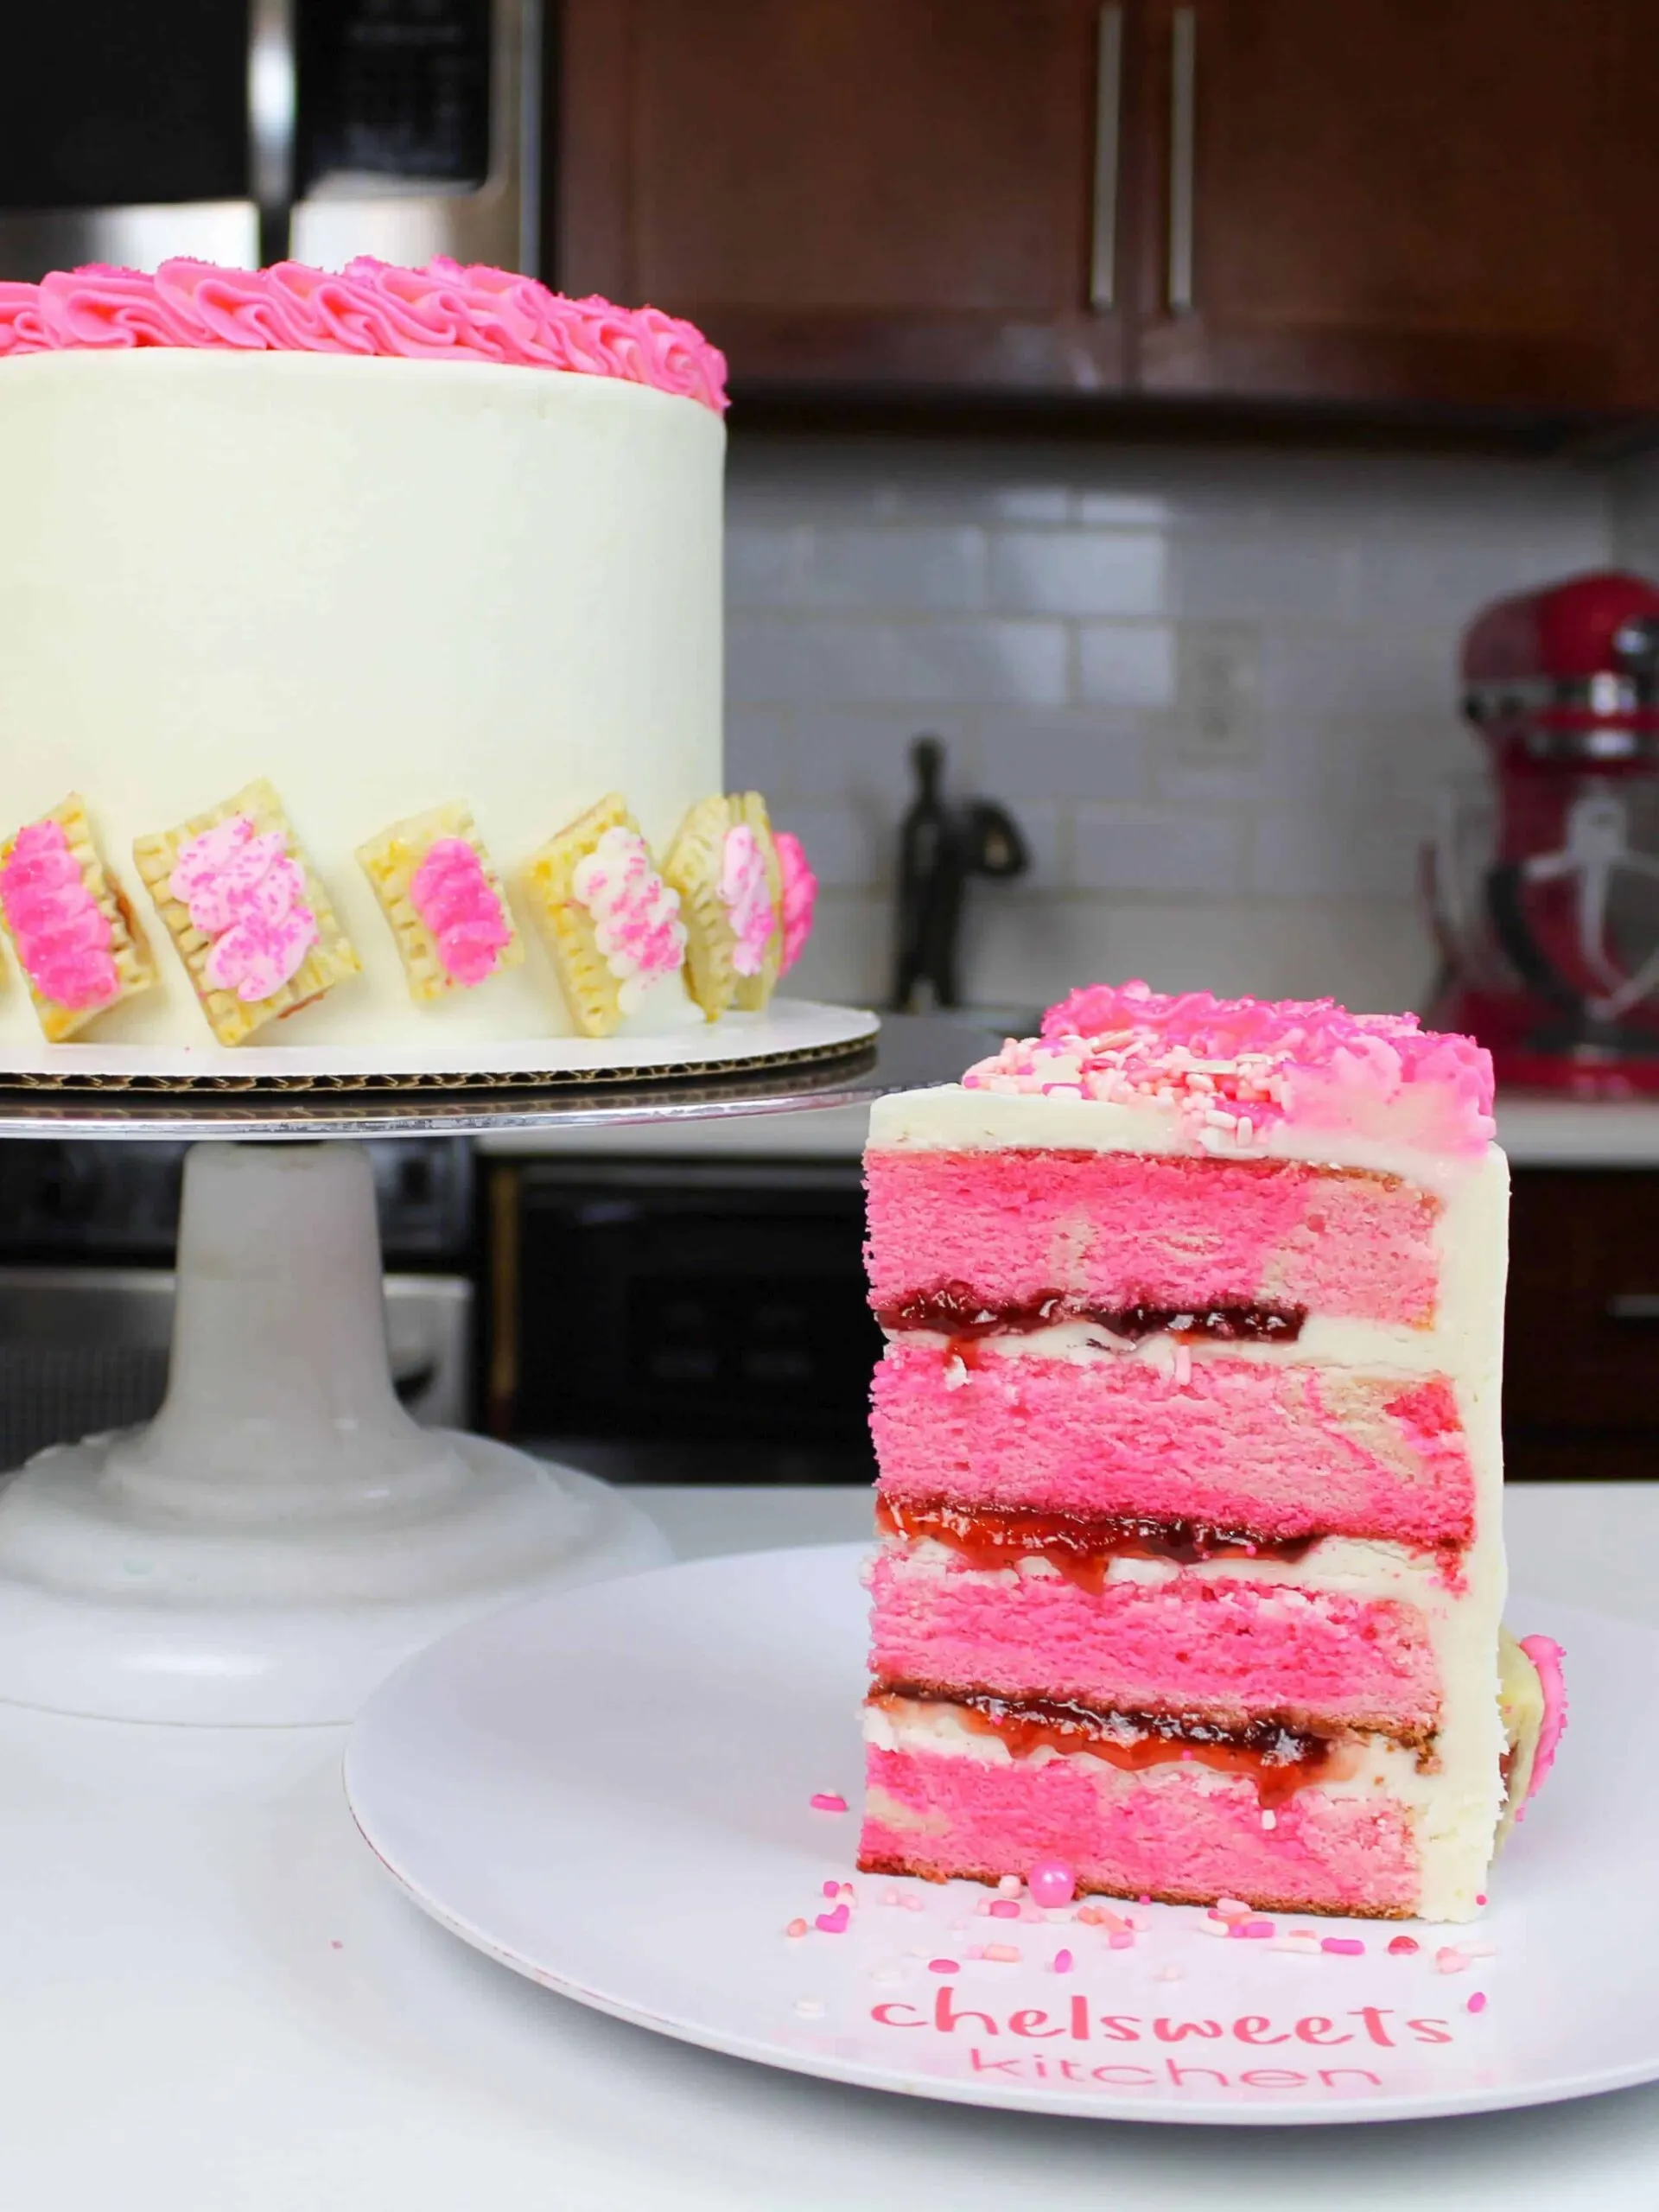
I contribute footage of a few cakes each month to the Food Network to share across their social channels. This strawberry PopTart cake was definitely my favorite one this month, and it was so fun I wanted to share the recipe.
The best part of this cake? The adorable mini strawberry Pop-Tarts used to decorate the base of the cake.

The good news is that they’re just as simple to make as they are cute.
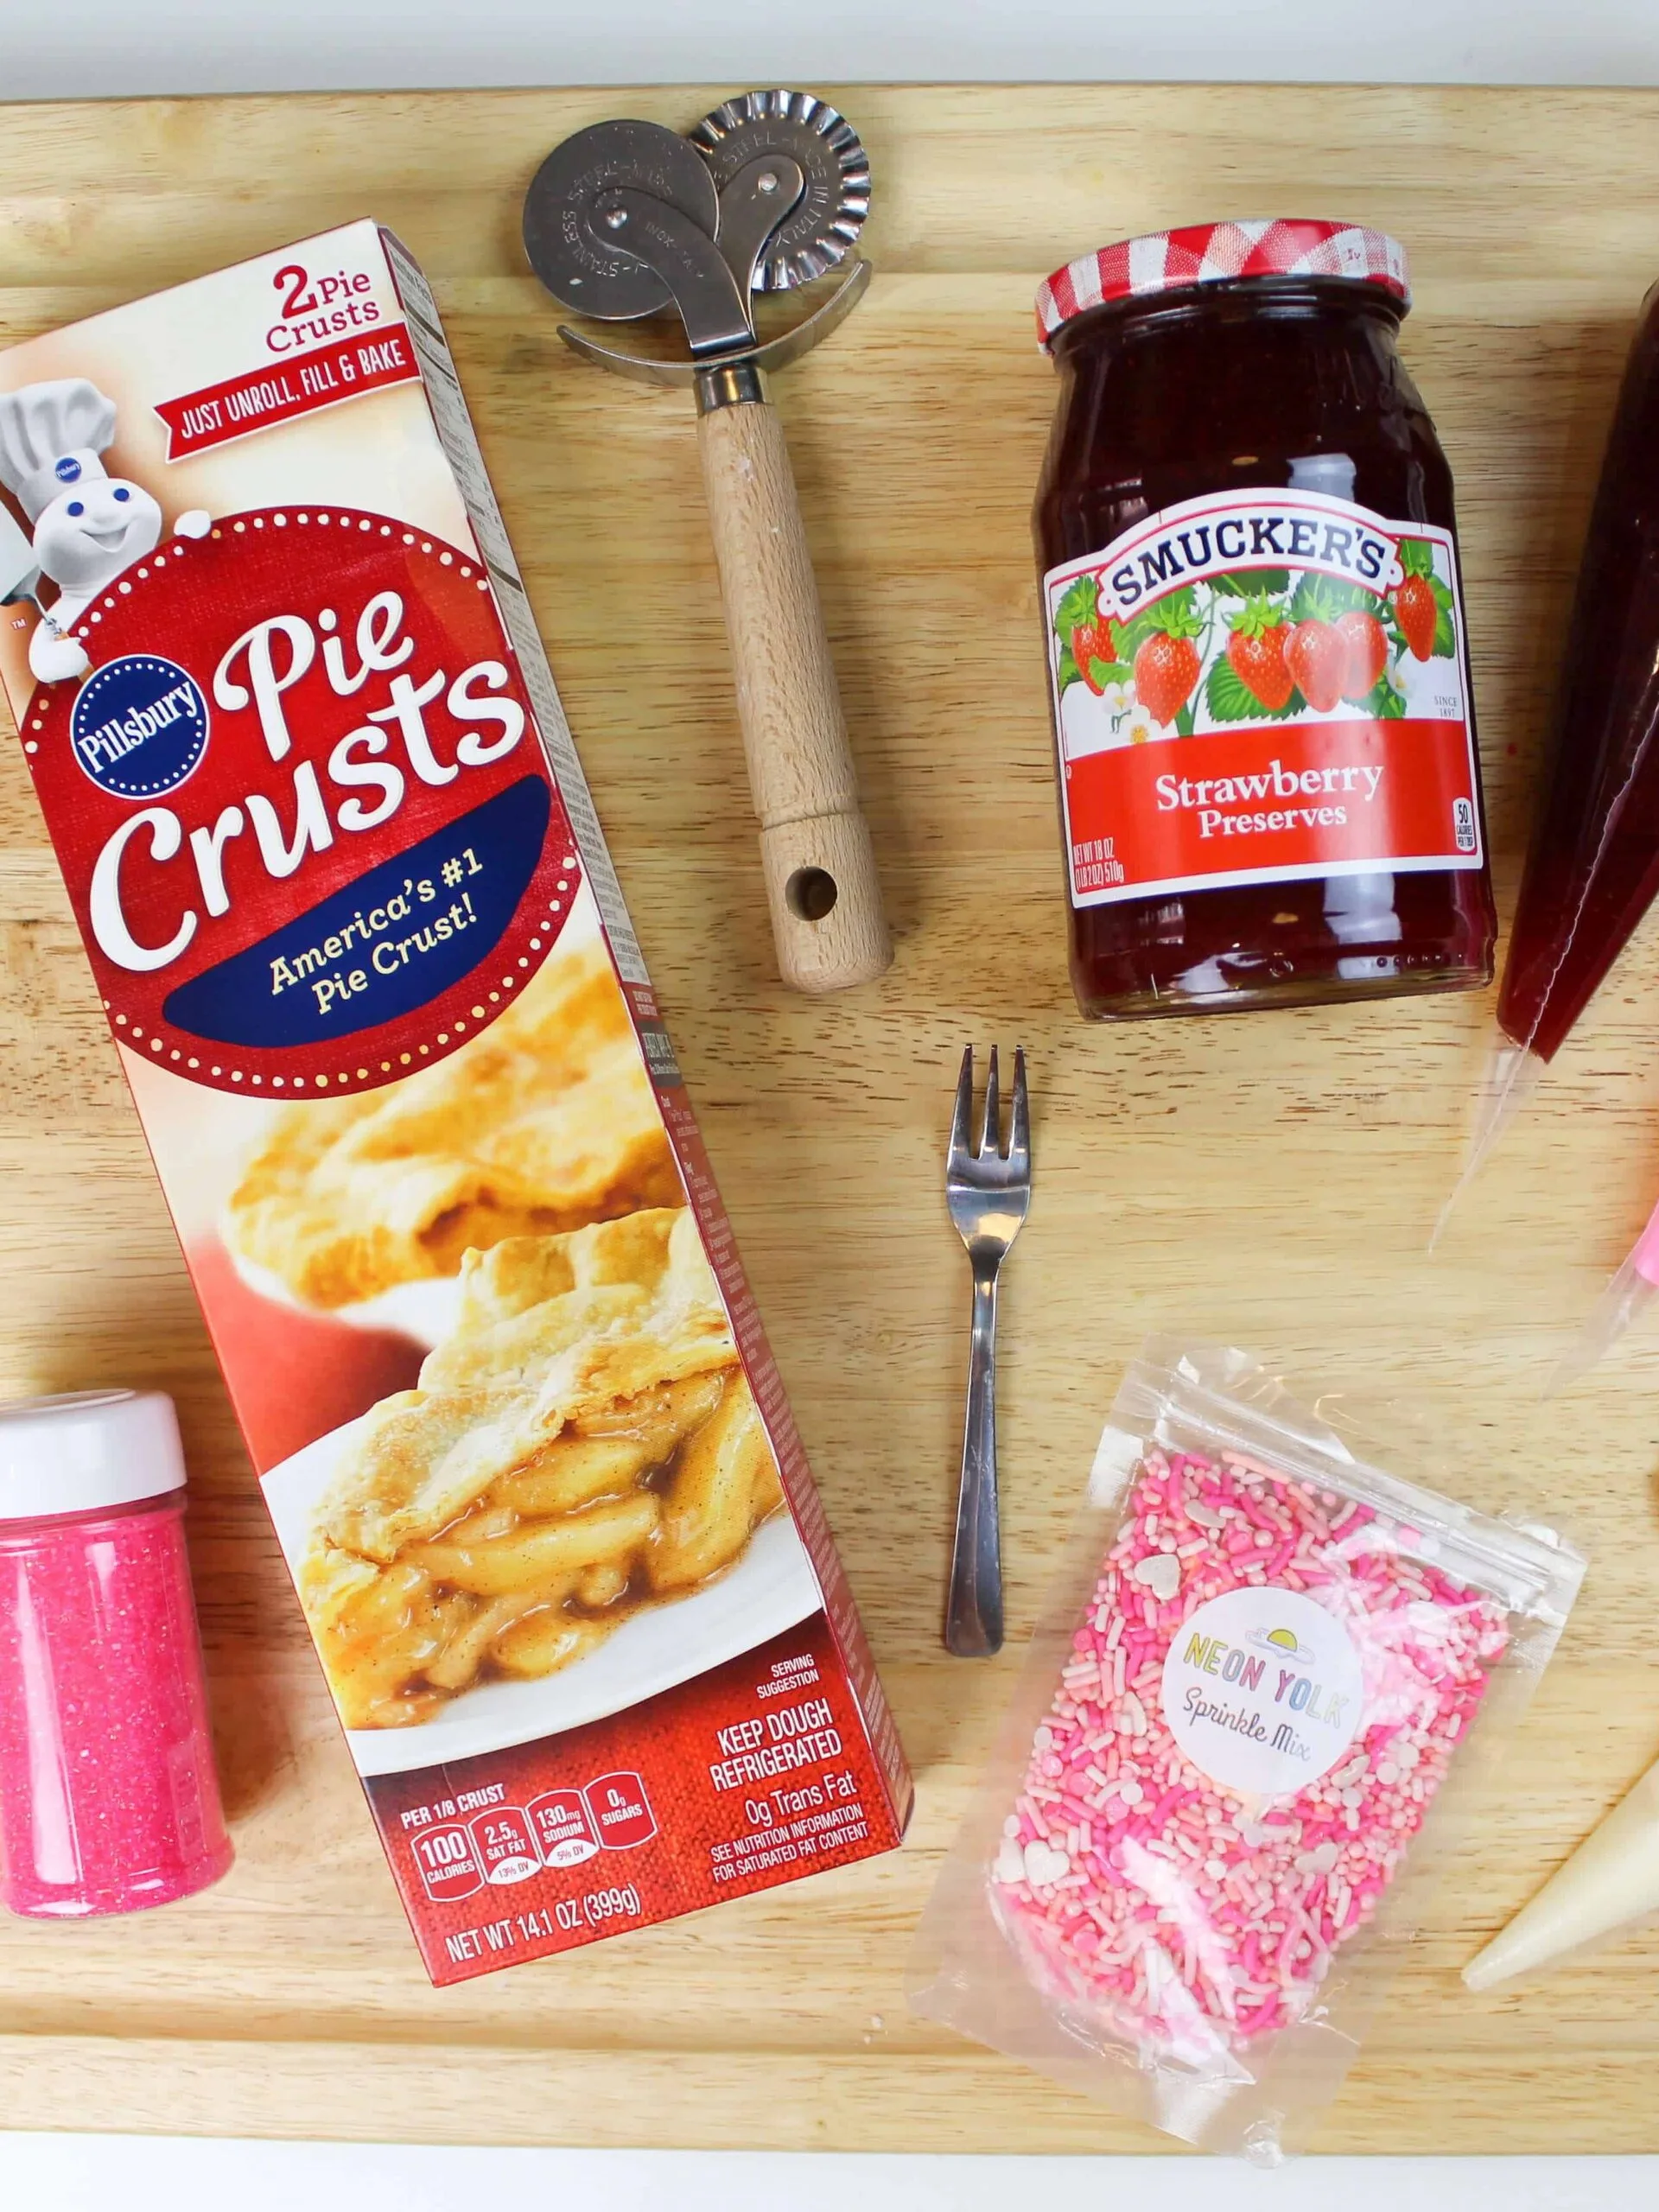
They’re made using store bought pie crusts, strawberry jam, an egg wash, and some colorful buttercream and sprinkles.
If you wanted to fully make them from scratch, you totally can! But since cakes are already such a labor of love, I like to not get too crazy with the decorations.
Strawberry Poptart Cake Recipe
This cake is made with my favorite layer cake recipe and buttercream recipe, plus some strawberry jam and pink gel food coloring. The recipes used include:
- 1 batch of my layer cake recipe (used to bake 4, 7-inch cake layers) + pink gel food coloring to create swirled layers
- 1.5 batches of my American buttercream
- 1 jar of your favorite strawberry jam (for both the mini Pop-Tarts filling and cake filling)
- 1 package of ready-made pie crust + 1 egg (to create mini Pop-Tarts)
Step 1: Make the Pink Swirled Cake Layers
Begin by making the cake layers and buttercream, as directed in the above recipes.
The layers will take a bit of time to bake and cool, so I recommend making them first (or even a day in advance).
Remove the cake layers from the oven and let them cool in the pans for about 10 minutes.
Gently run an offset spatula around the rim of the cake pans to loosen them, then flip them into wire racks to finish cooling.
Once cooled, use a serrated knife to level the top of each cake layer.
If you’re making these in advance, you can wrap and freeze them at this point.
Step 2: Make the Mini Strawberry Poptarts
Next, make the mini Pop-Tarts. Preheat the oven to 350 F / 175 C.
Roll out one of the pie crusts. use a ruler and knife to score the dough to create rectangles that are 1 inch by 1.25 inches.
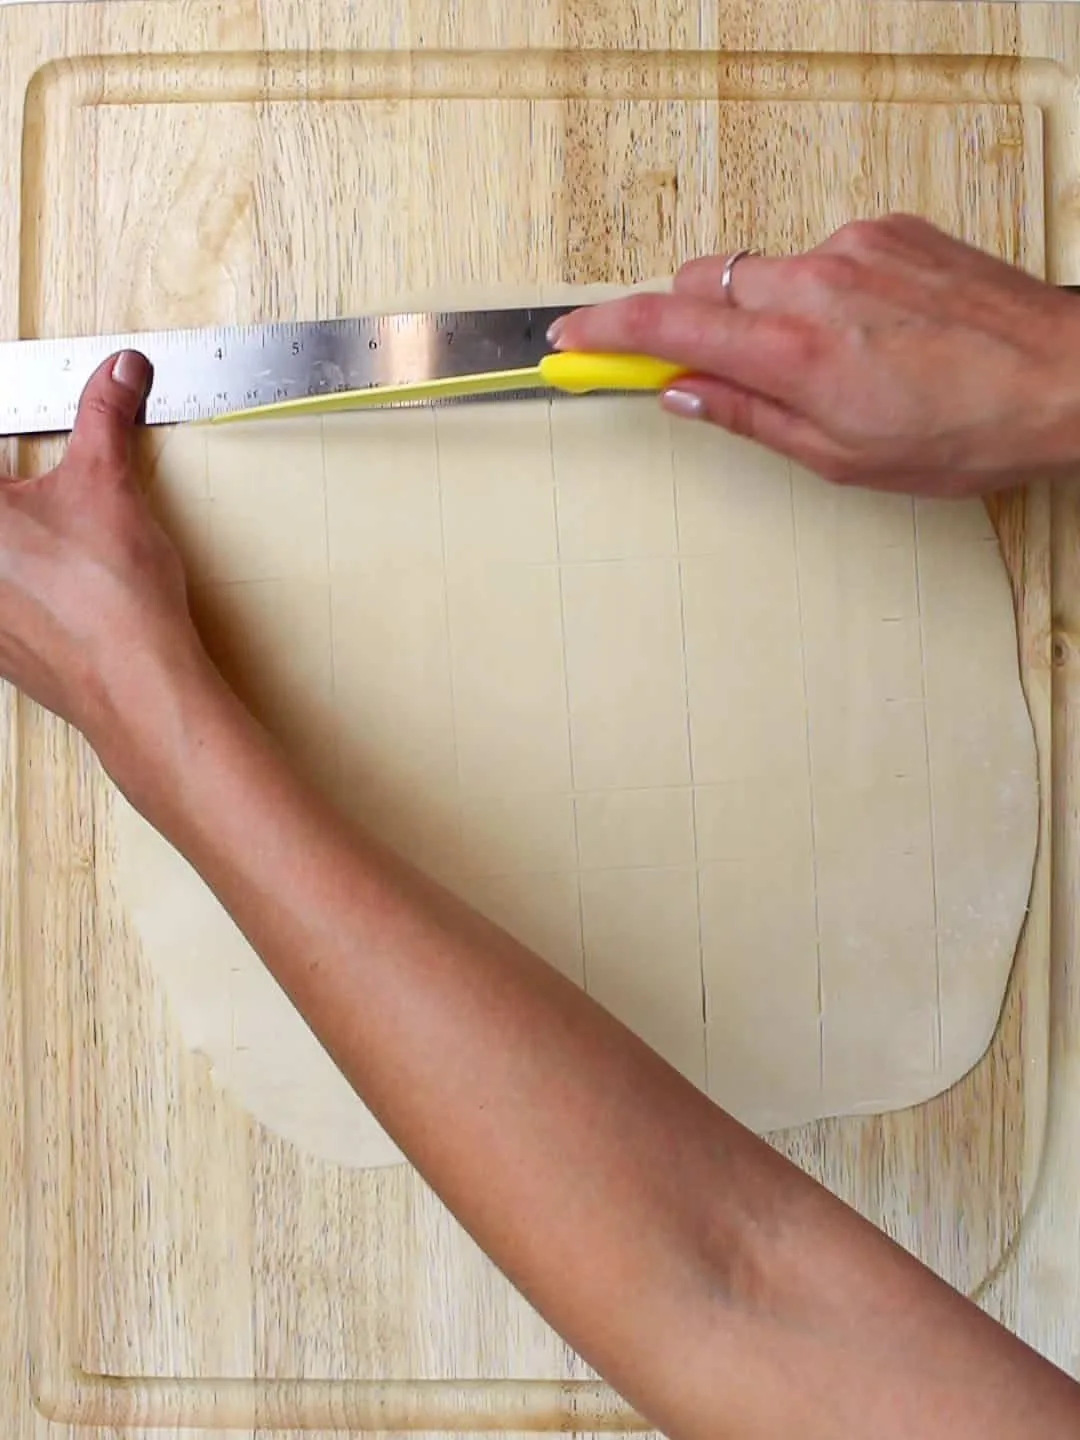
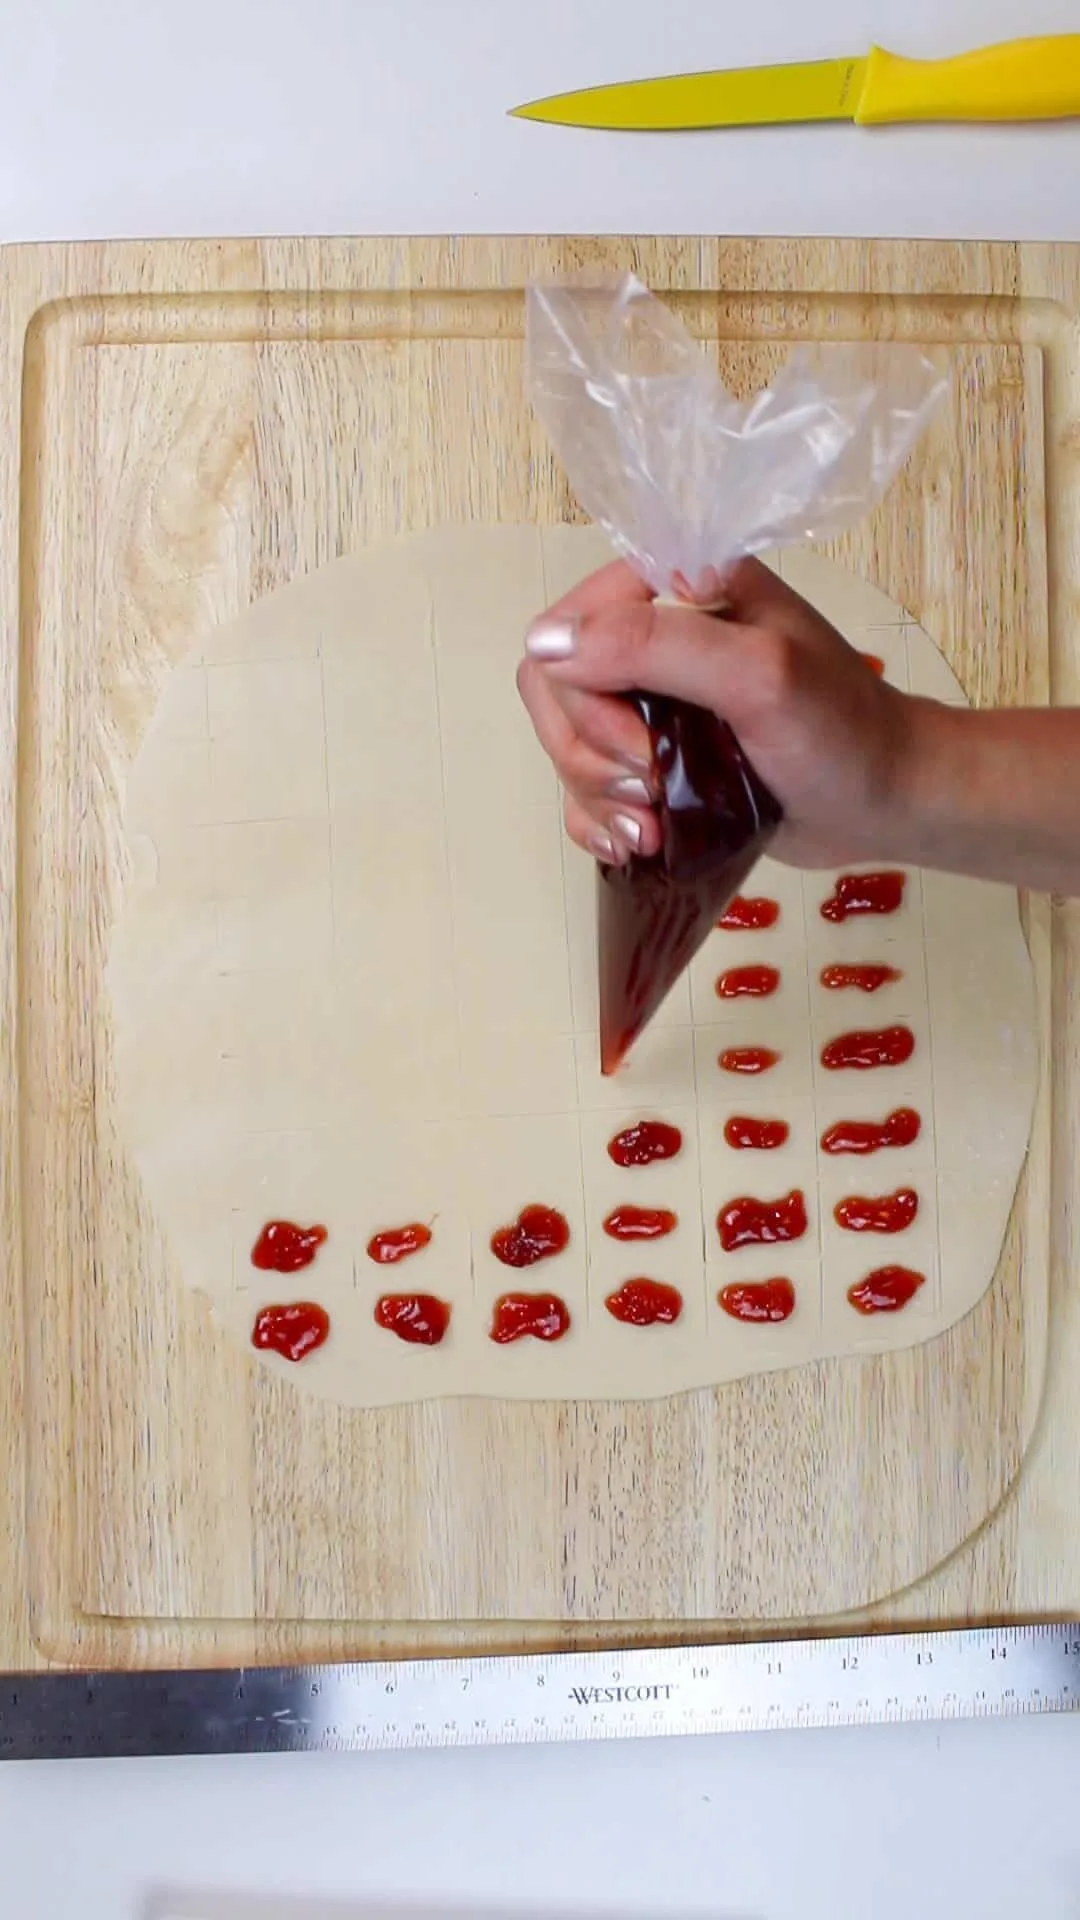
Put about 1/2 a cup of strawberry jam into a piping bag. Cut a small opening at the base of the bag that’s less than 1 cm. Carefully pipe a thin line of filling into the center of each rectangle.
While you may be tempted to add a ton of filling to each little Pop-Tart, it will make the crimping process so much harder! Extra filling will ooze out the sides of the Pop-Tarts as they bake.
A few of mine were overfilled and they exploded in the oven (don’t say I didn’t warn you :P).
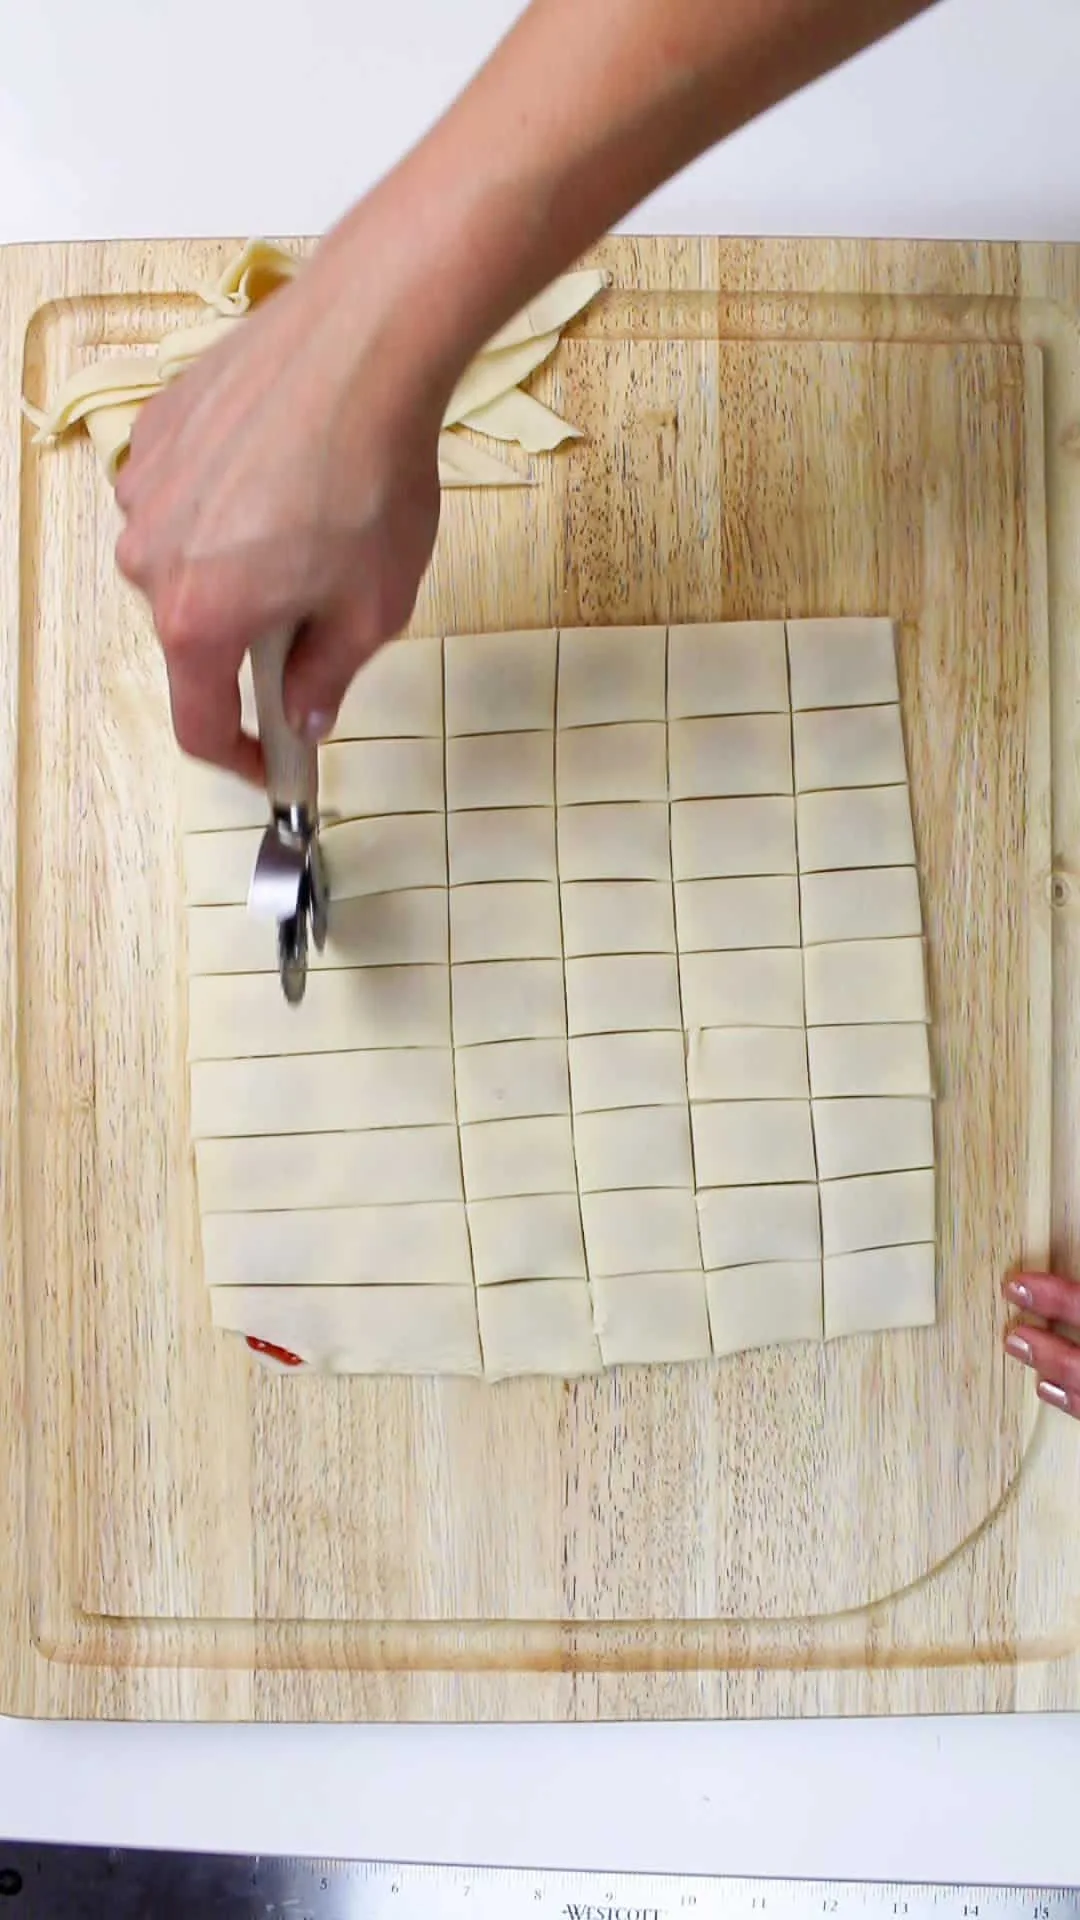
Next, unroll the second pie crust, and place on top of the jam lined pie crust.
Carefully use a ruler to remark the rectangles. You should be able to see the jam through the pie crust and use it as a guide.
Use a pastry cutter and ruler to cut out the rectangles.
Carefully lift each Pop-Tart and crimp the sides using a fork. The pieces will slide a bit due to the filling, so have a gently touch as you do this.
Then poke a few holes on top of each poptart to help them rise and let air escape as they bake.
I had a mini fork on hand which worked perfectly for this! If you don’t have one, use the smallest fork you have.
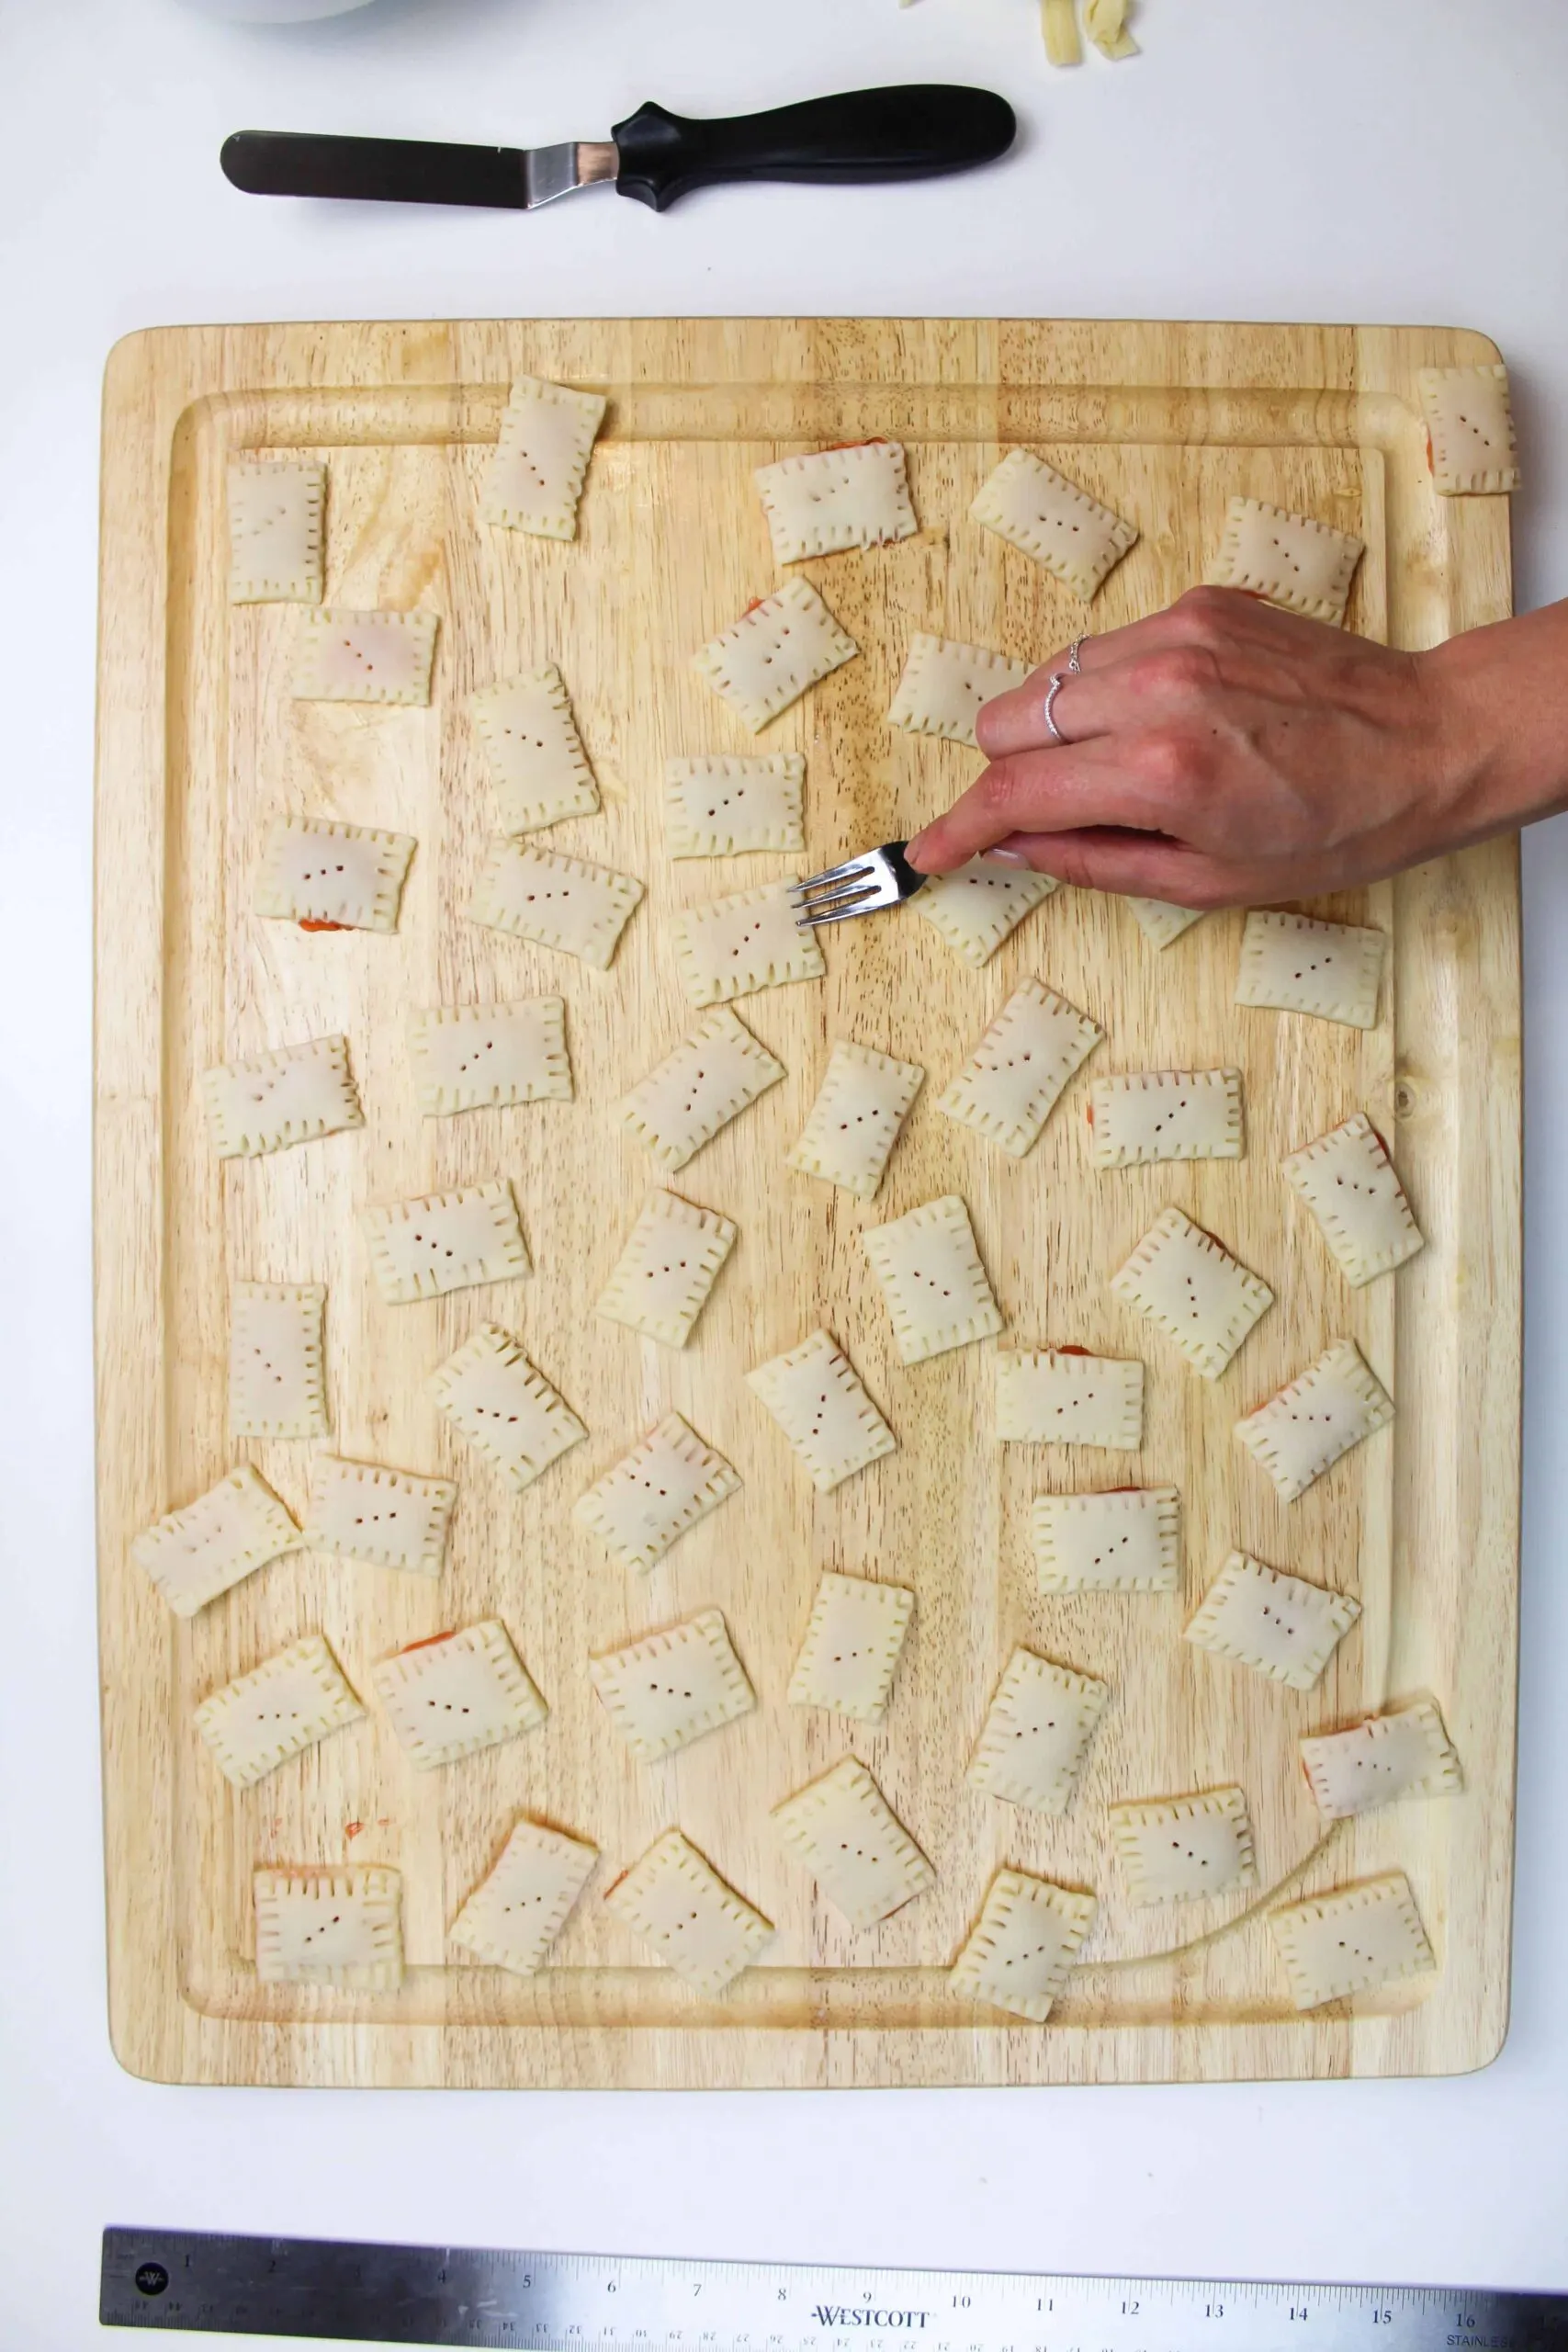
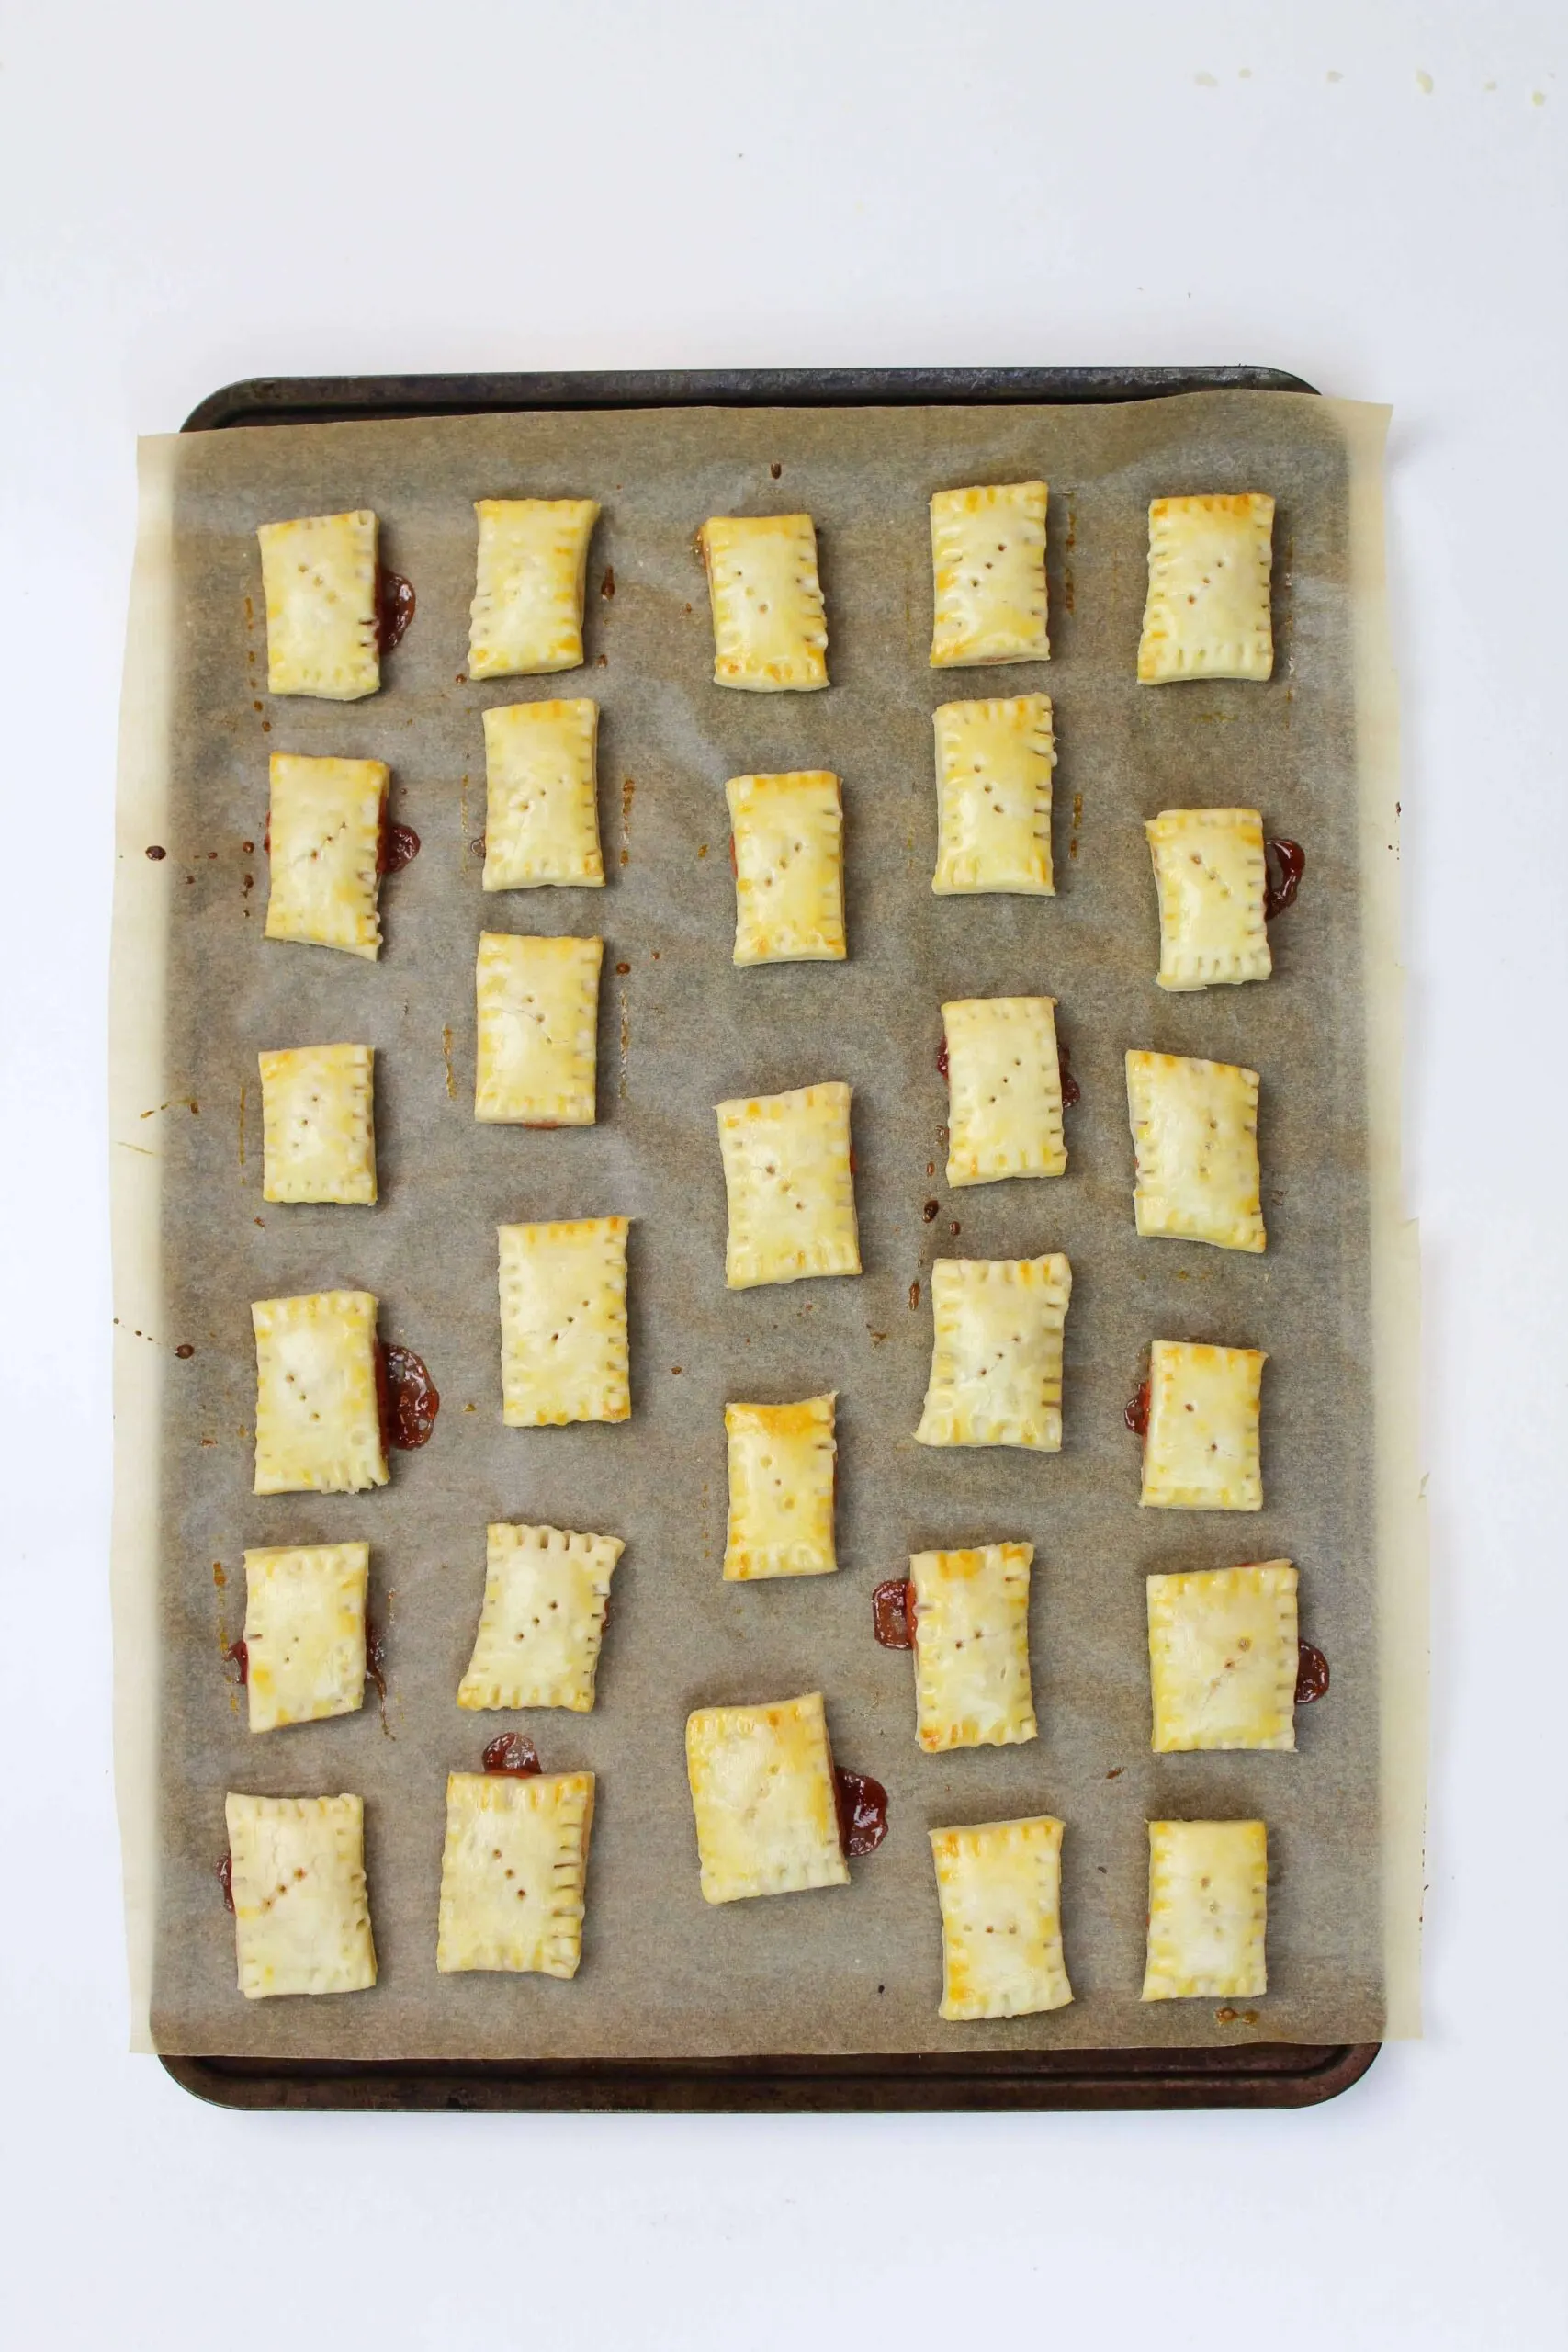
Transfer the Pop-Tarts onto a parchment paper lined baking sheet.
Beat together one egg and 1 tbsp of milk. Use a pastry brush to paint a thin layer of egg wash onto each Pop-Tart. Bake in the oven for 15-17 minutes, or until golden brown.
I was convinced these would bake up faster, but it took some time for them to become golden brown and baked through.
Slide the parchment paper onto a cooling rack, and allow the Pop-Tarts to cool (at least 30 minutes).
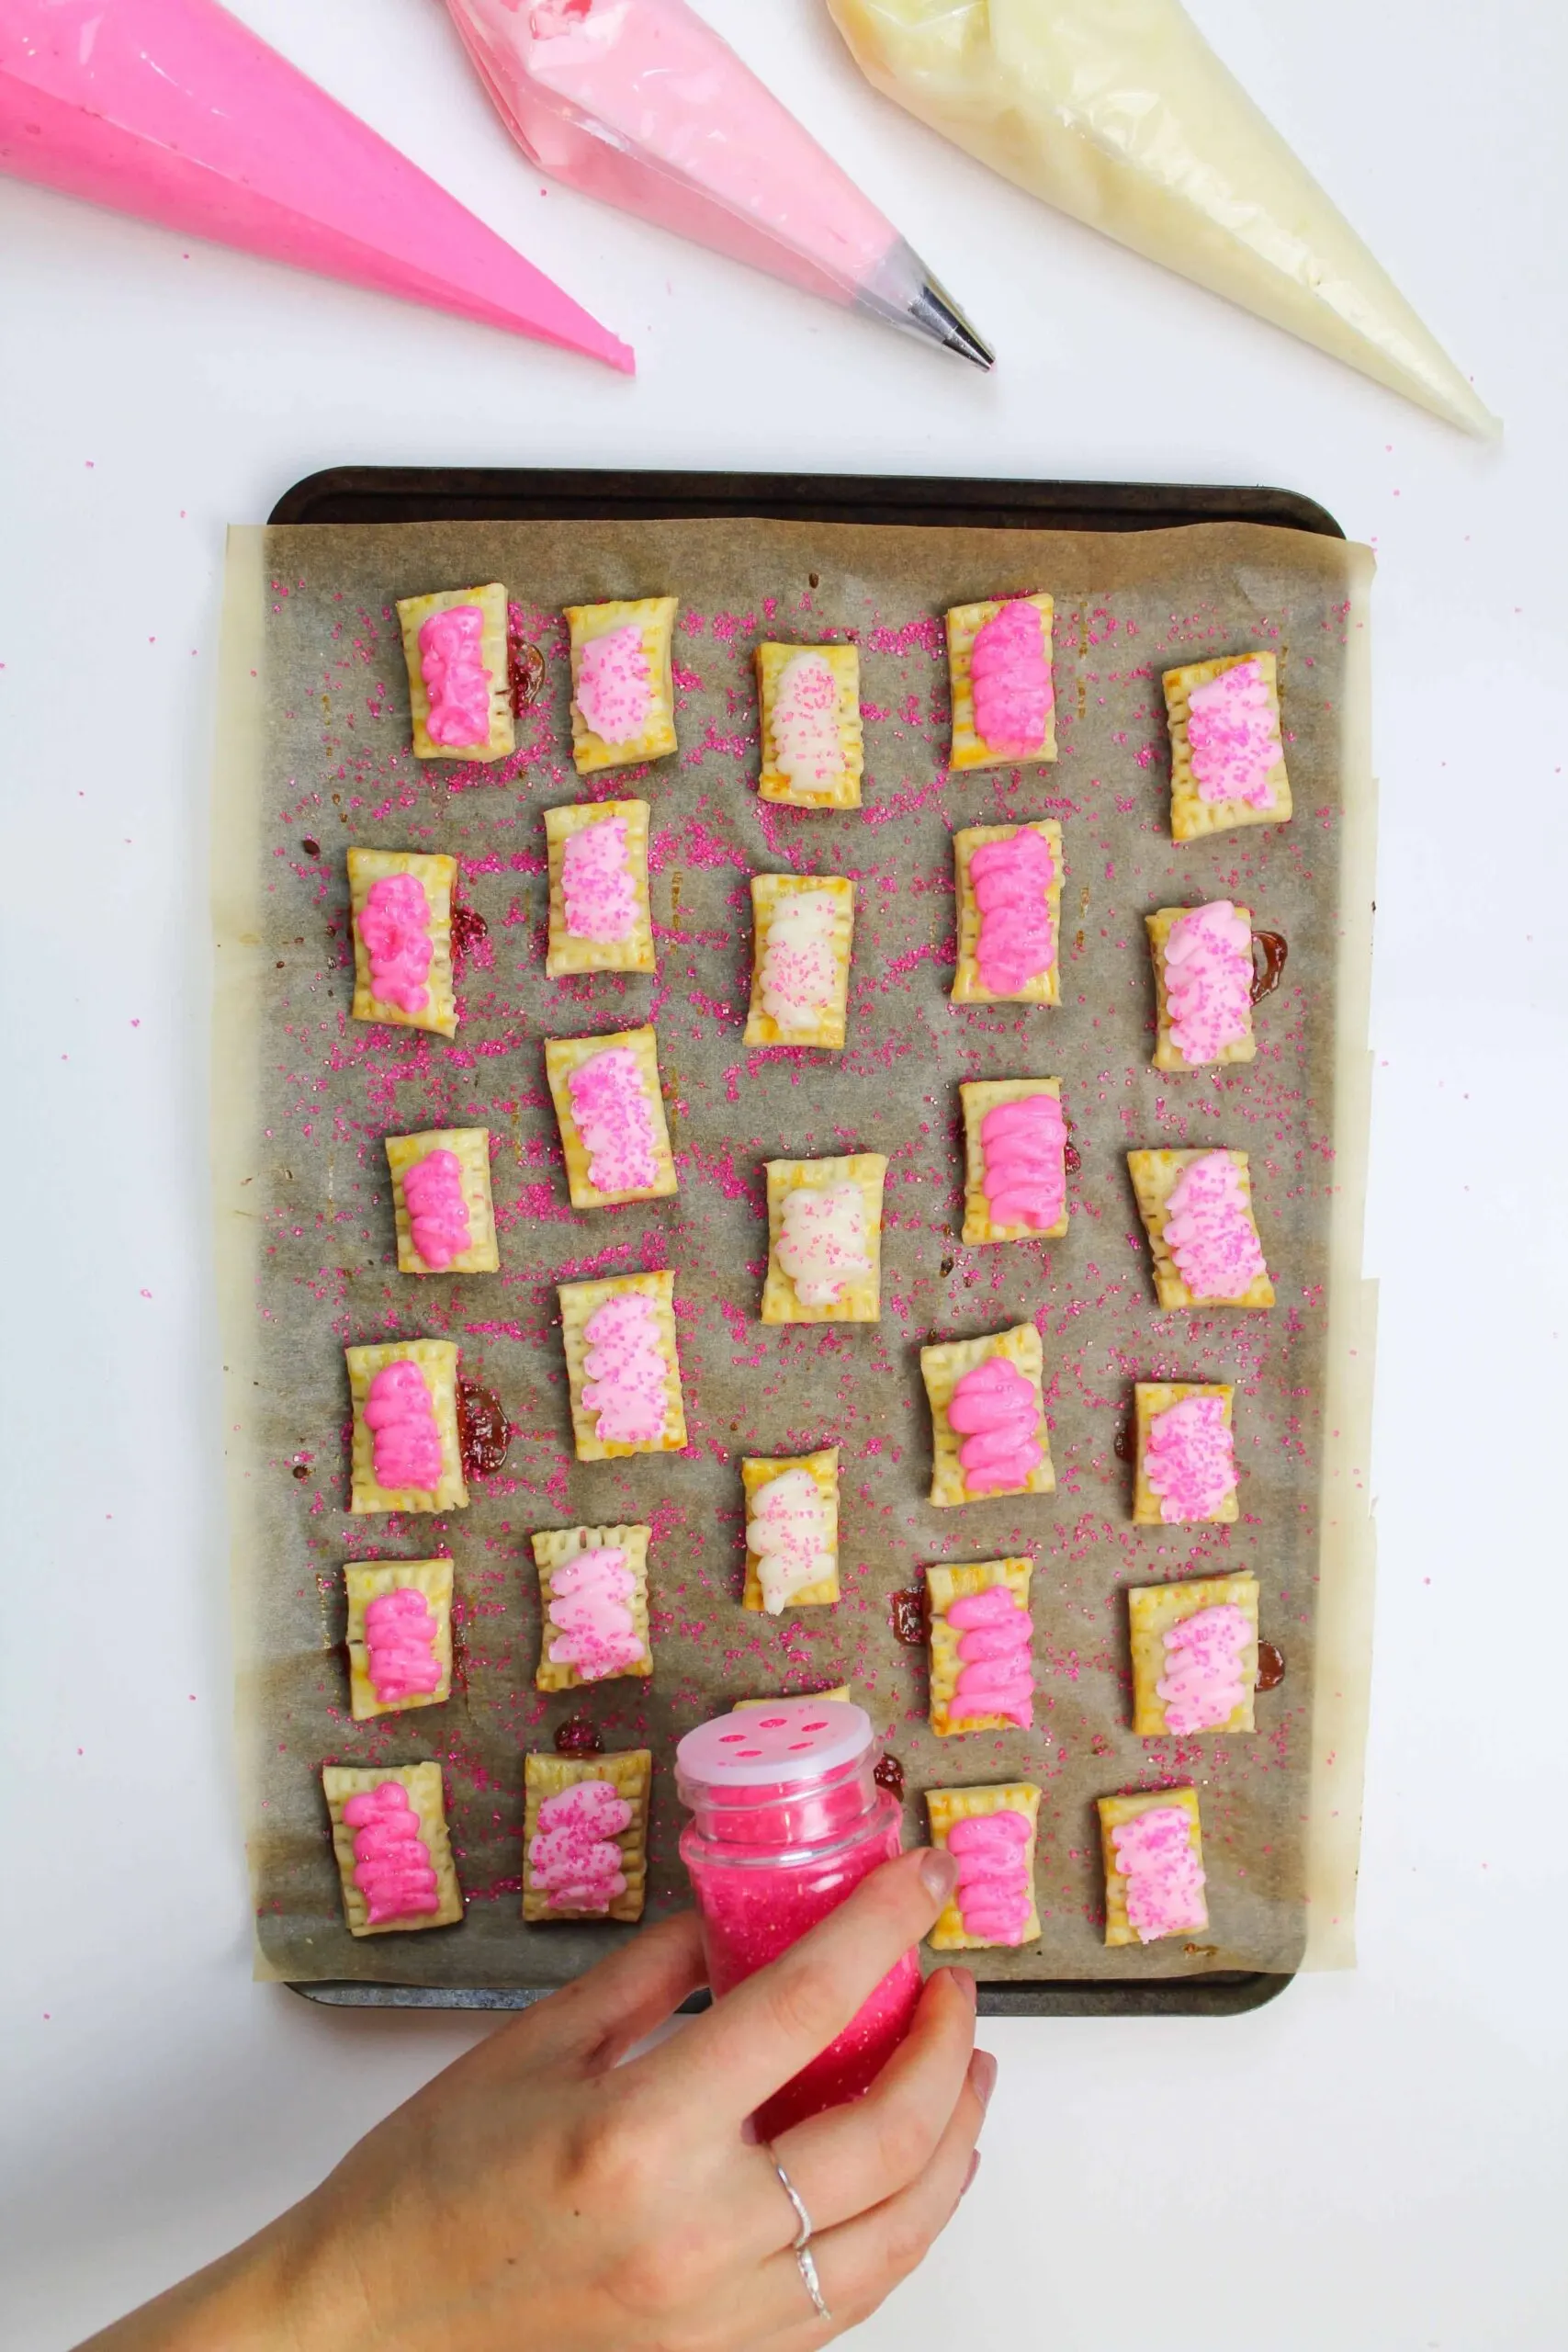
Once they fully cooled, pipe buttercream onto each Pop-Tart, and top with sprinkles of your choice.
I colored a tiny but of my buttercream light and hot pink, and piped the different colors onto my Pop-Tarts. I also chose to use hot pink sanding sugar as my sprinkles.
Step 3: Assemble This Strawberry Poptart Cake
Once the Pop-tarts are ready, it’s time to assemble the cake.
Smooth a thin layer of buttercream on top of each layer.
Pipe a ring of vanilla buttercream around the edge of the layer to create a frosting dam, then spread a layer of strawberry jam inside the vanilla frosting.
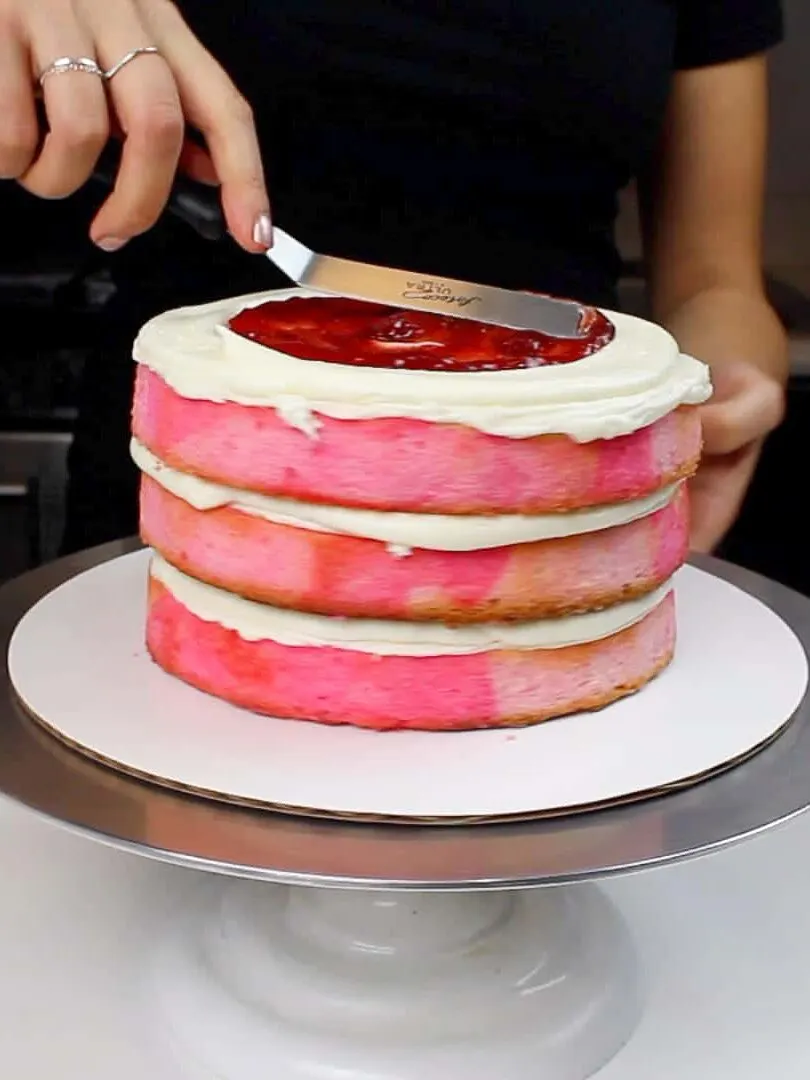
Repeat this process with all remaining cake layers. Cover the cake in a thin layer of vanilla frosting (crumb coat) to trap any run-away crumbs.
Chill the cake in the freezer or fridge for about 5 minutes, until the buttercream is firm to the touch.
Next, add a thicker, second layer of vanilla buttercream. Use a bench scraper to smooth the sides of the cake.
You can see a full tutorial on how to frost a cake with smooth sides here. Use a small offset spatula to smooth the top of the cake.
Step 4: Frost & Decorate the Cake
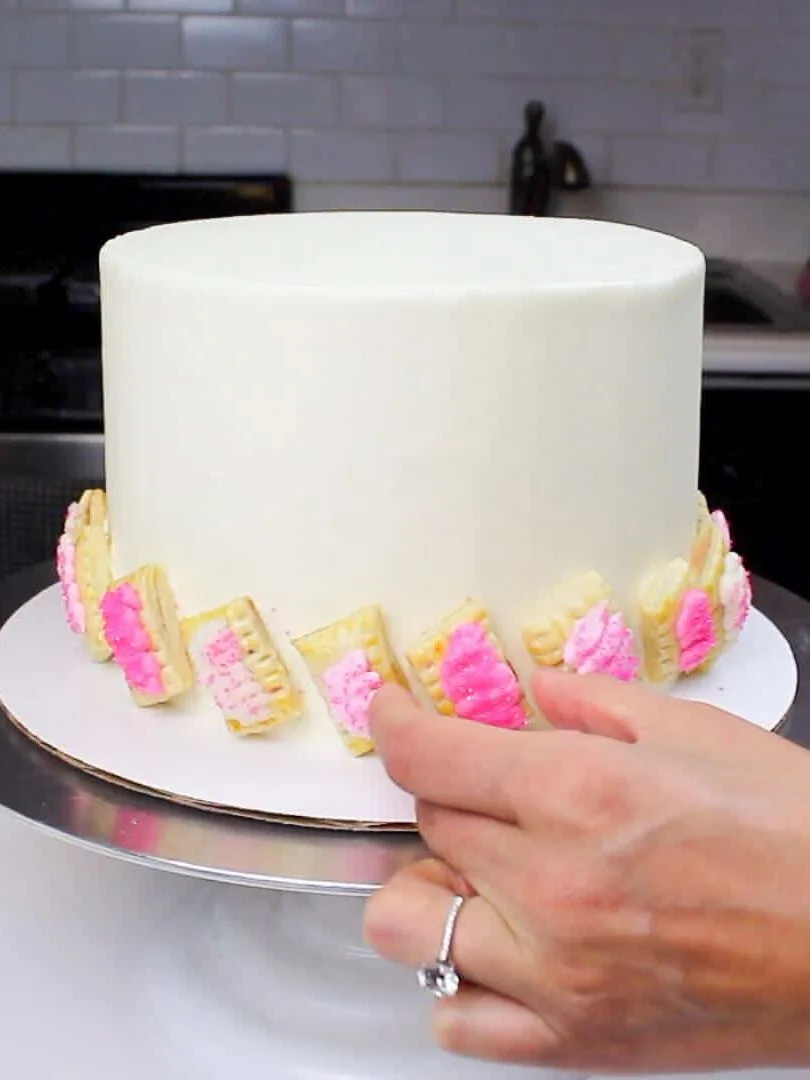
Pipe a bit of buttercream on the back of each Pop-tart, then gently press them around the bottom of the cake.
Repeat this process, alternating the colored Pop-Tarts, until the entire base is covered.
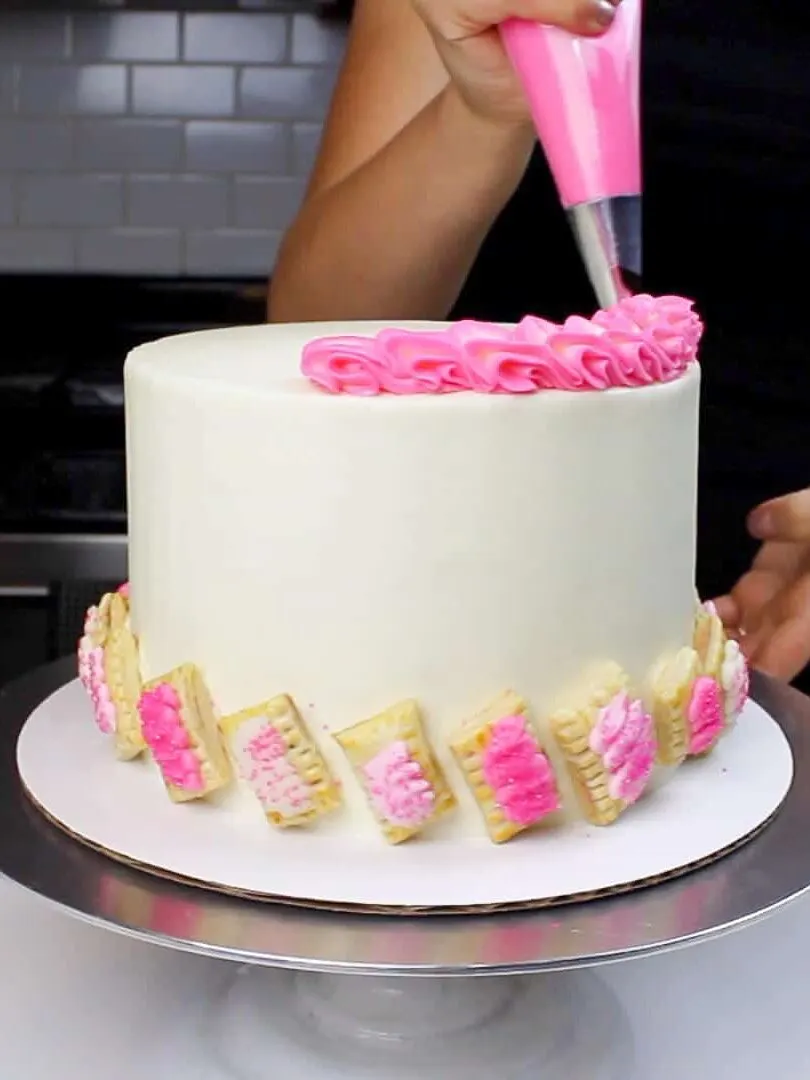
Color the remaining buttercream pink using gel food coloring. Then pipe a border around the top of the cake using your favorite frosting tip (I used a Wilton 1M).
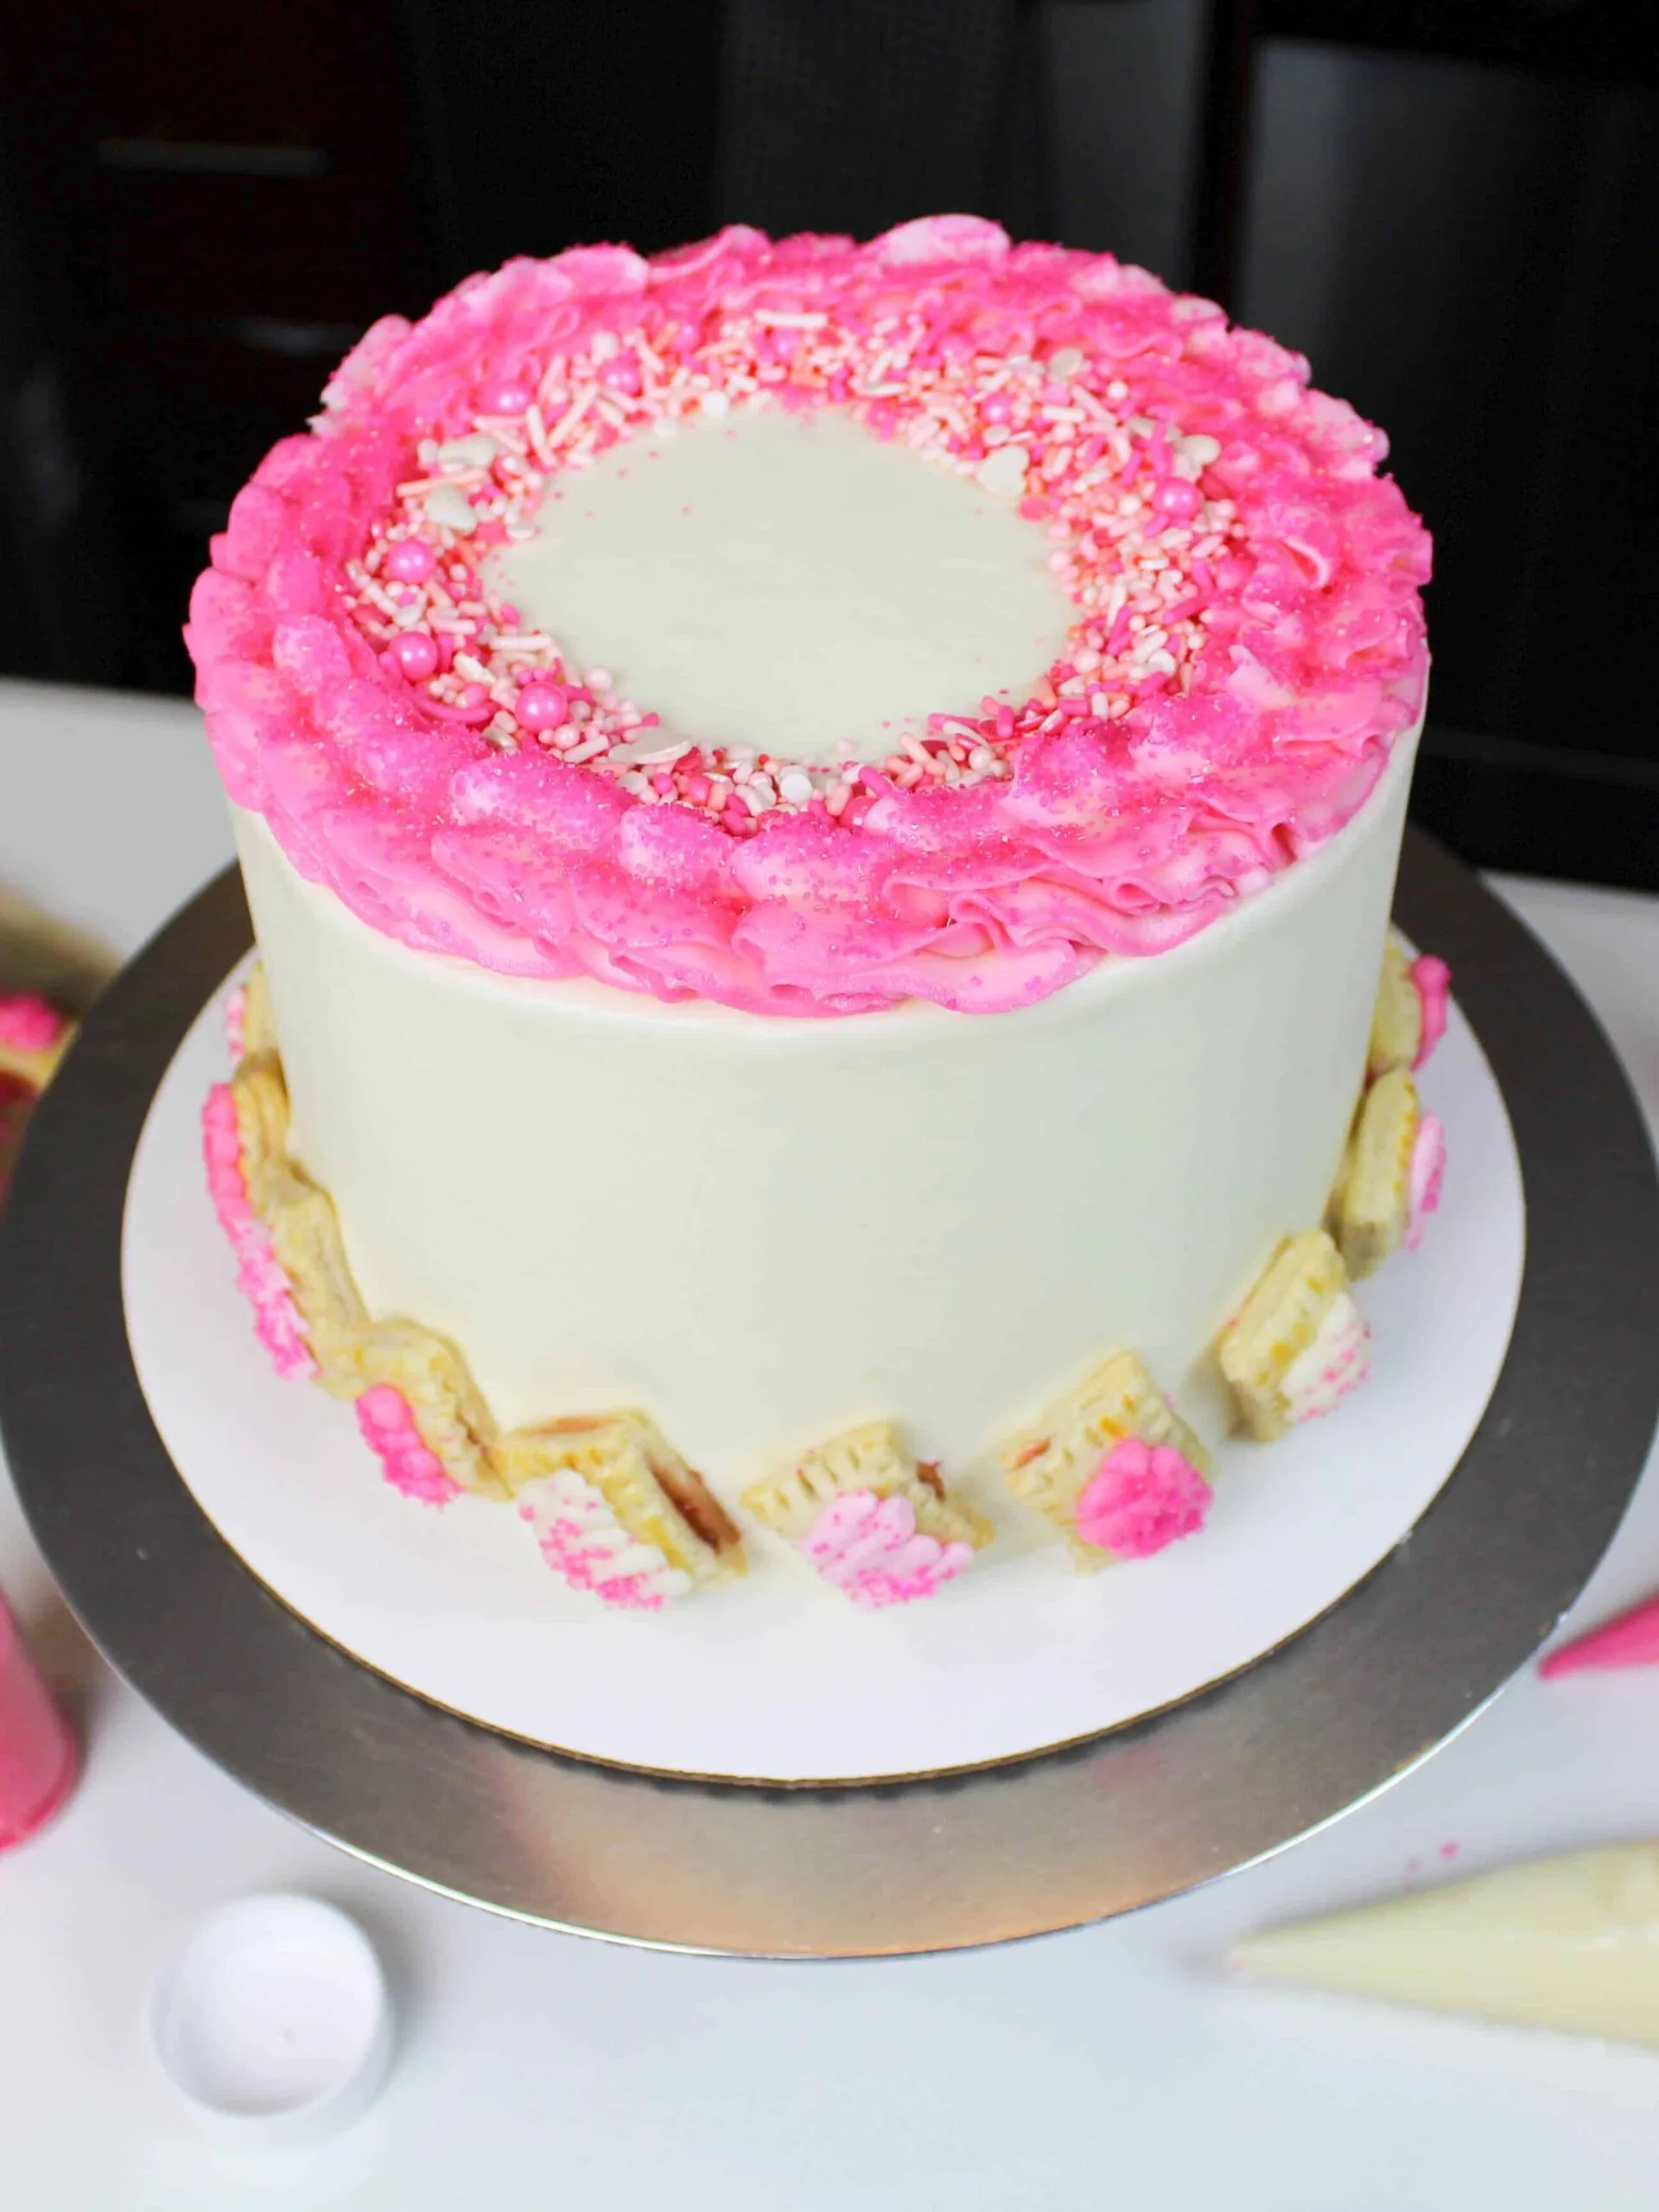
If desired, add a pink sprinkle blend to the top of the cake, around the border. I love using Neon Yolk sprinkle blends!
They make the cutest blends, and use them on my cakes whenever I can.
Then it’s time to cut into the cake and try it! I am a sucker for anything with strawberry jam, so I loved this cake.
I also could not stop eating the leftover Pop-Tarts! They were addicting.
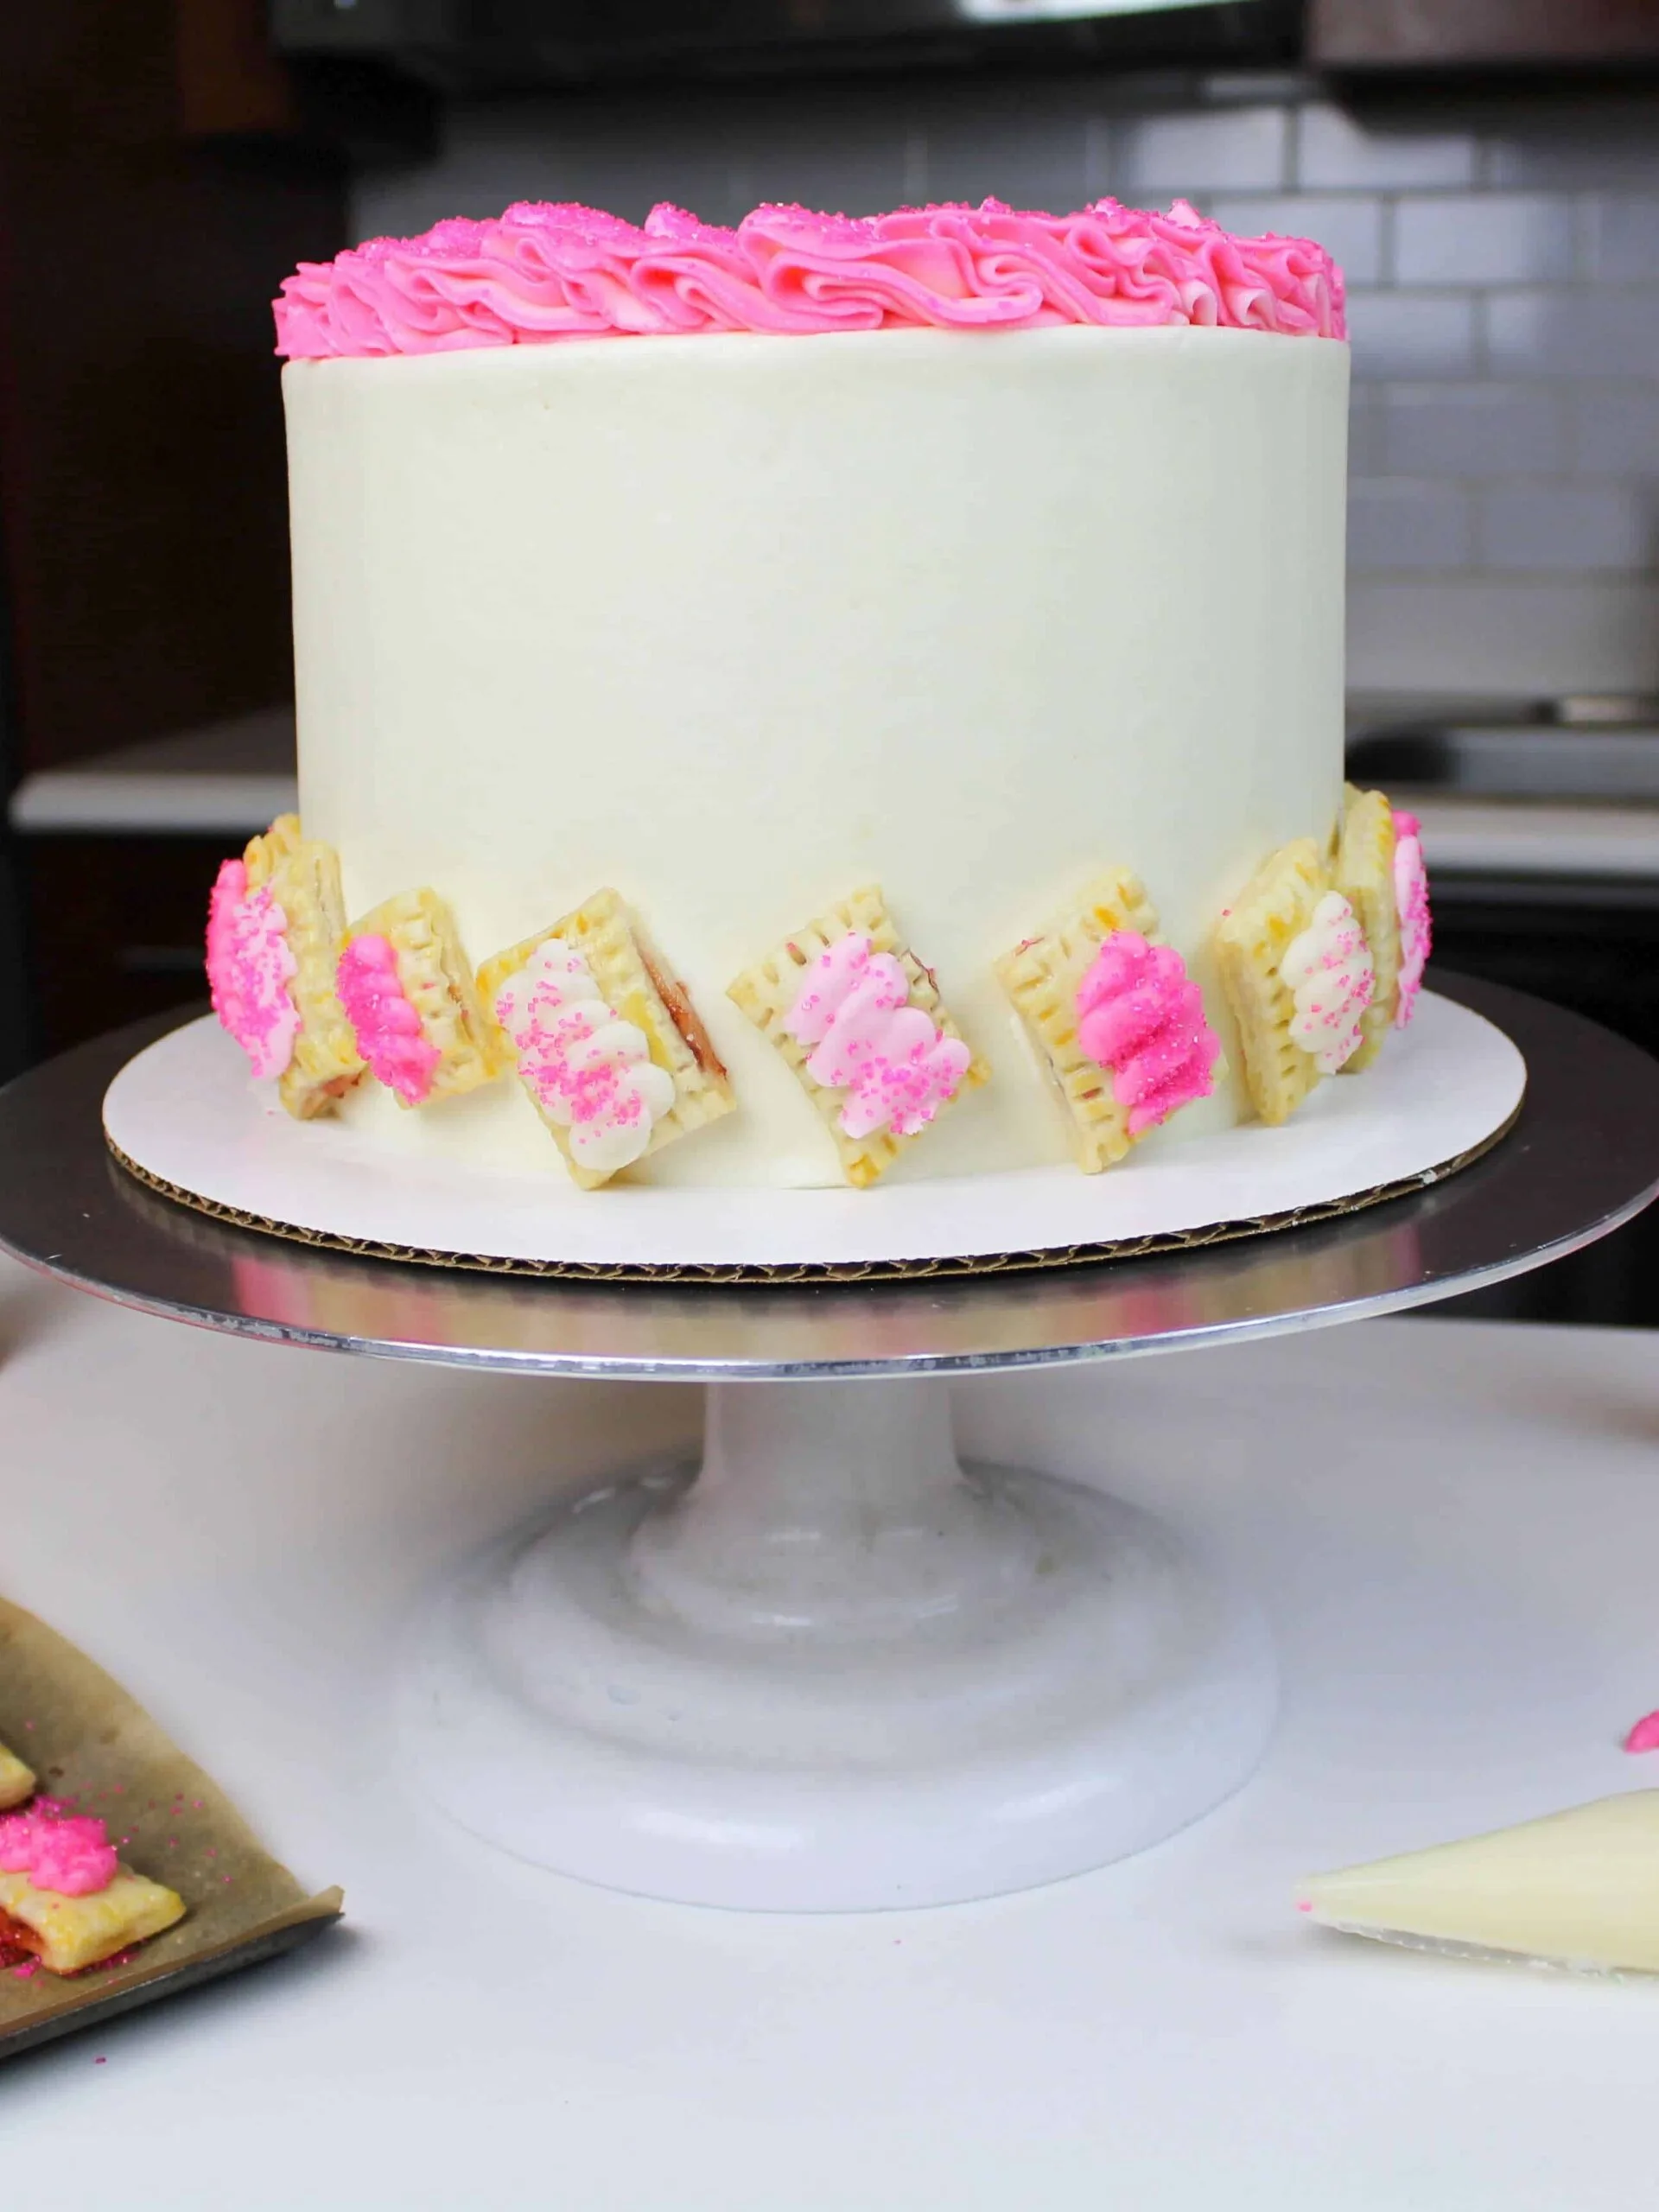
This strawberry poptart cake feeds between 16-20 people, depending on how large of slices you cut.

Venus
Monday 16th of September 2019
How to make a good buttercream frosting. I watched your videos on how to but my buttercream always ends up runny. Thank you.
Chelsweets
Saturday 21st of September 2019
I'd recommend making sure your butter is at room temperature, and to maybe add less heavy cream to the frosting!
Kristen
Saturday 27th of April 2019
Did you keep the cake at room temperature or in fridge?
Chelsweets
Monday 6th of May 2019
depends on how long it'll be sitting until you eat it! I usually leave it out if I plan to eat it within a few hours, or will refrigerate it if I don't plan to eat it anytime soon!
Tanya Bisso
Thursday 25th of April 2019
How many ounces is the neonyolk sprinkle bag?
Chelsweets
Saturday 27th of April 2019
It's the 4 oz bag!
Jasmin Davis
Monday 21st of January 2019
Hi chels, would amy filling work in general to add filling in between amy cake layer? Jam, preserves, or even make own filling?
Chelsweets
Tuesday 22nd of January 2019
yup! As long as it's thick enough not to bake out of them, any fruit base should work!
Diana Murray
Wednesday 10th of October 2018
Hello - I’m unable to find your black buttercream recipe. Can you please email to me. Thank you!
Chelsweets
Monday 15th of October 2018
i don't know you email address, so I can't email it you! But here is the link:
https://chelsweets.com/2017/10/10/how-to-make-black-frosting/
hope that helps!