
Sheet Pan Cookies
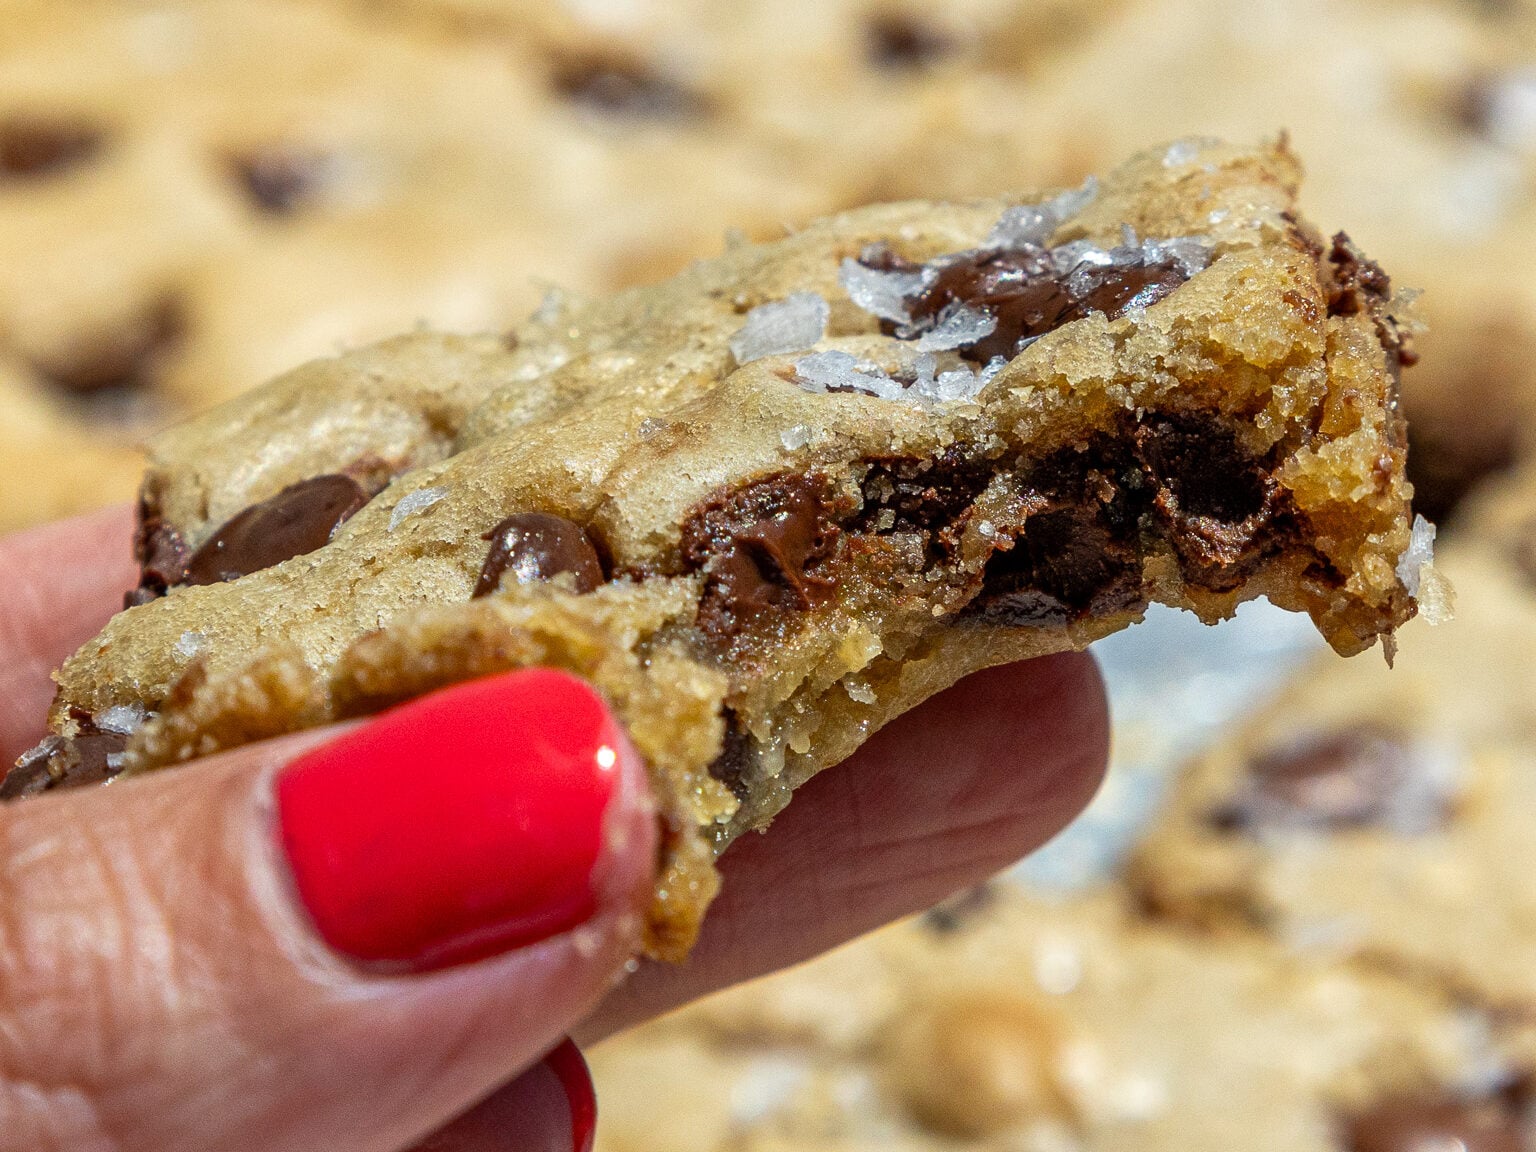
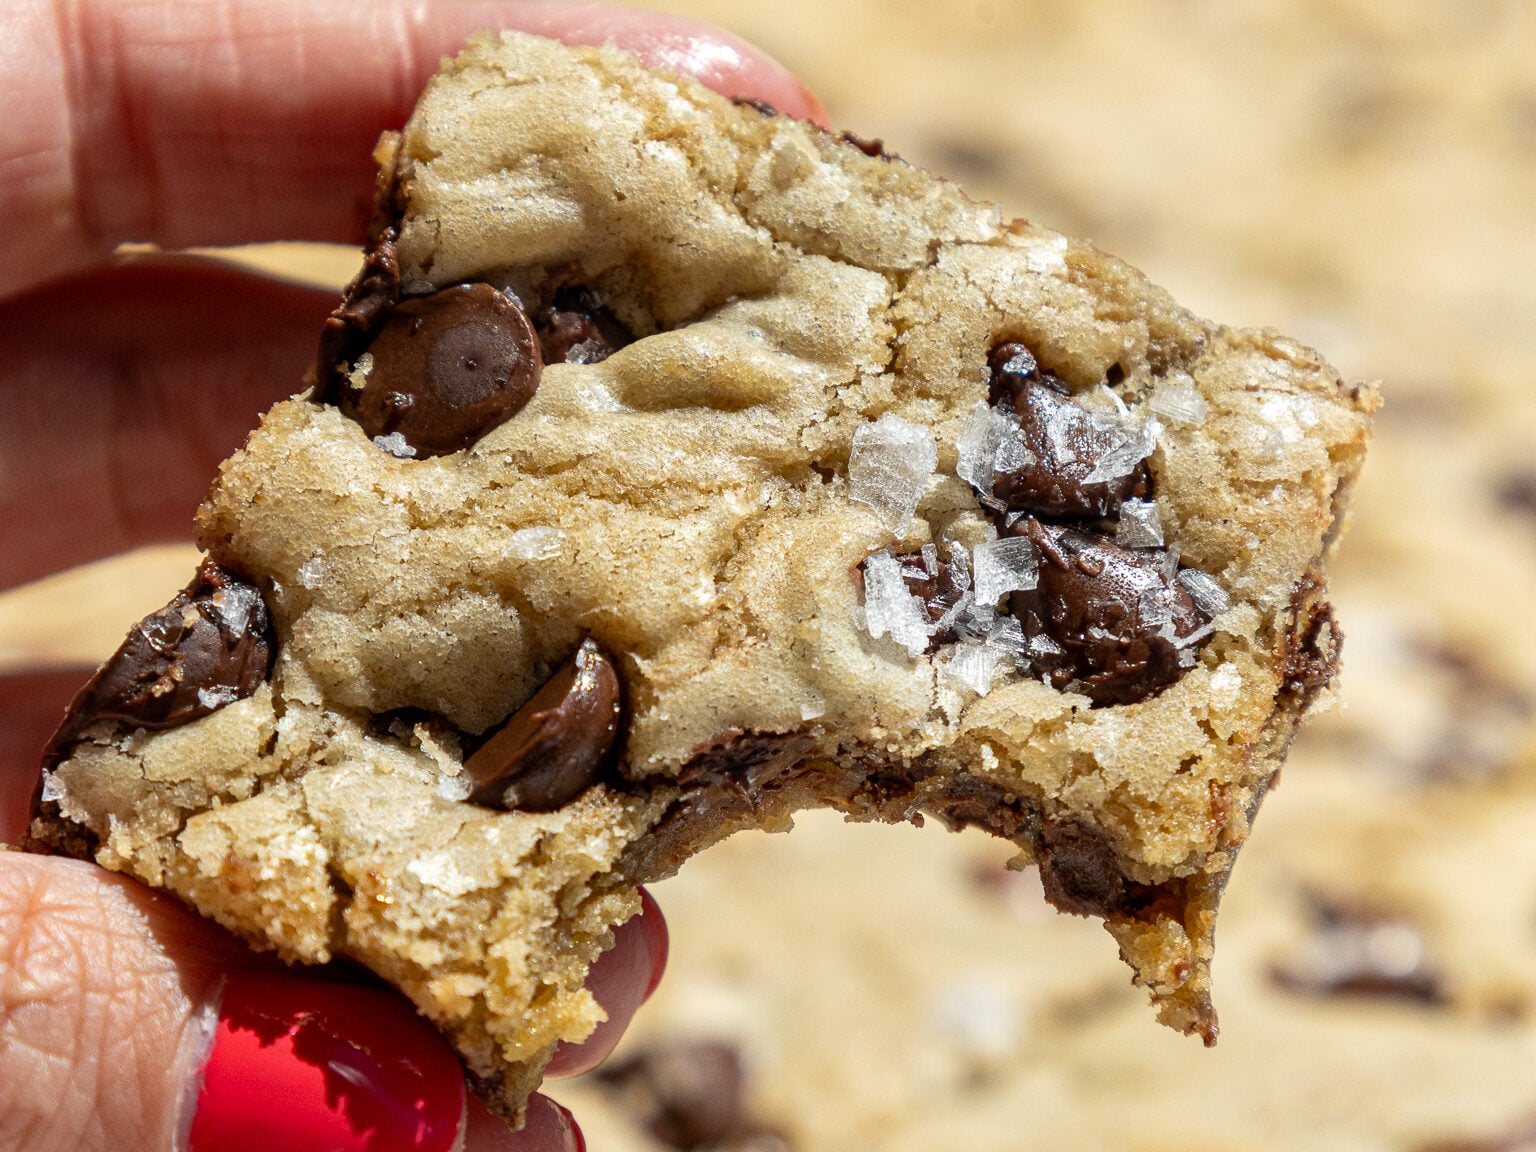
These sheet pan cookies are studded with chocolate chips and bake up with soft, chewy centers and golden, crispy tops.
They’re the perfect way to satisfy your cookie craving and feed a crowd.
How to Make These Sheet Pan Cookies
Let’s walk through each step of this recipe to make sure it turns out as amazing as possible.
I’ve also shared a video tutorial in the recipe card at the bottom of this post.
Step 1: Melt & Cool the Butter While Prepping
Start by melting the butter. Place the unsalted butter in a large, microwave-safe bowl and cover it with a paper towel (trust me, there is nothing worse than butter exploding all over your microwave!).
Heat in 30-second intervals at half power until it’s fully melted, then set aside. I like to let my butter sit for about 10 minutes once it’s melted to cool down a bit. This prevents the butter from melting the chocolate chips as you spread out the dough.

While the butter cools, preheat the oven to 350°F/175°C, and grease and line a 13×18-inch half-sheet pan with parchment paper.
Step 2: Whisk together the Wet Ingredients
Then add the packed brown sugar and granulated sugar into the melted and cooled butter (it should still be liquid, but not hot to the touch).
Whisk the ingredients together by hand for about a minute, or use an electric hand mixer and mix on a medium-low speed, until the mixture is smooth and no lumps remain.
If you notice any lumps of brown sugar, use a fork to break them up.

It should become lighter in color as it’s mixed.
Then mix in the eggs and vanilla extract. Stir until fully incorporated.

Step 3: Mix in the Dry Ingredients
Pour the dry ingredients into the butter/sugar mixture and fold the ingredients together with a rubber spatula until no visible streaks of flour remain.
Scrape the bowl’s sides and bottom as needed to ensure everything gets properly mixed together.
The dough will be soft/sticky, but that’s how it’s supposed to be.

Then fold in the chocolate chips or chunks of your choice (save some to sprinkle over the top of the bars).
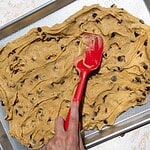
Scoop the dough into the prepared pan and spread it into an even layer using a rubber spatula or offset spatula. Sprinkle the remaining 1/2 cup of chocolate chips on top of the dough.

Step 4: Bake the Sheet Pan Cookies
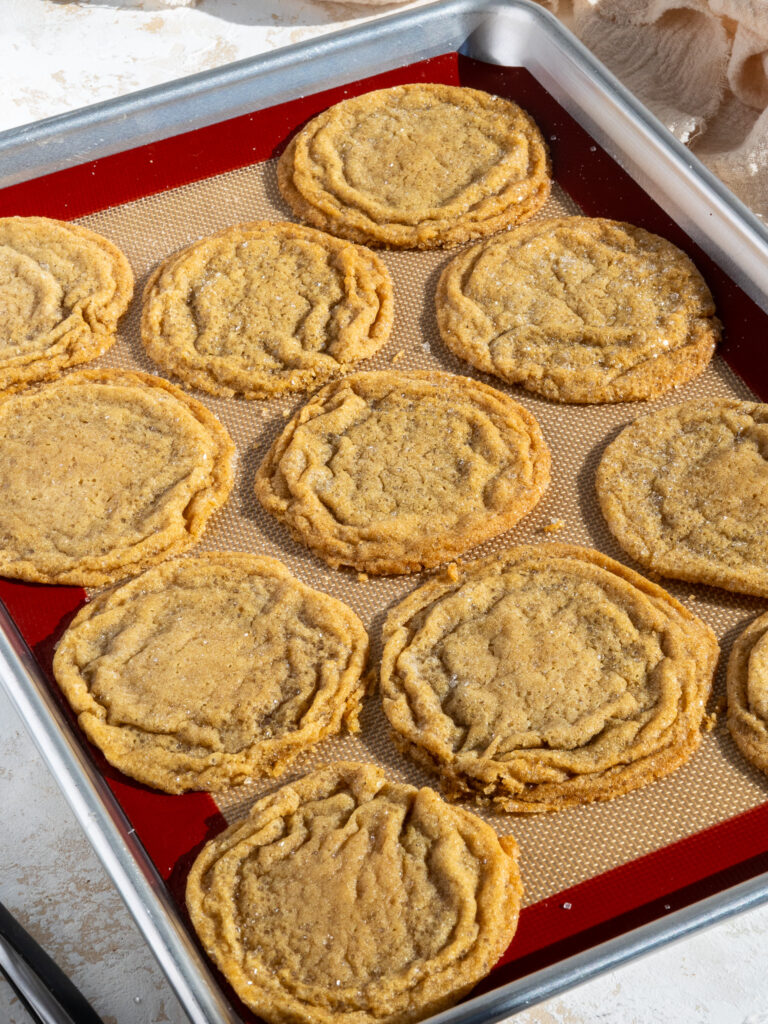
Bake the tray for 22-25 minutes, and rotate the pan halfway through to help it bake evenly. The cookie sheet is ready when the edges just start to brown but the centers still look slightly under-baked.
The cookies will continue to bake on the sheet and firm up once removed from the oven, so it’s always best to err on the side of under-baked!
Place the cookie sheet on a wire rack to cool fully. I like to add a garnish of flaky sea salt while the cookies are still warm.
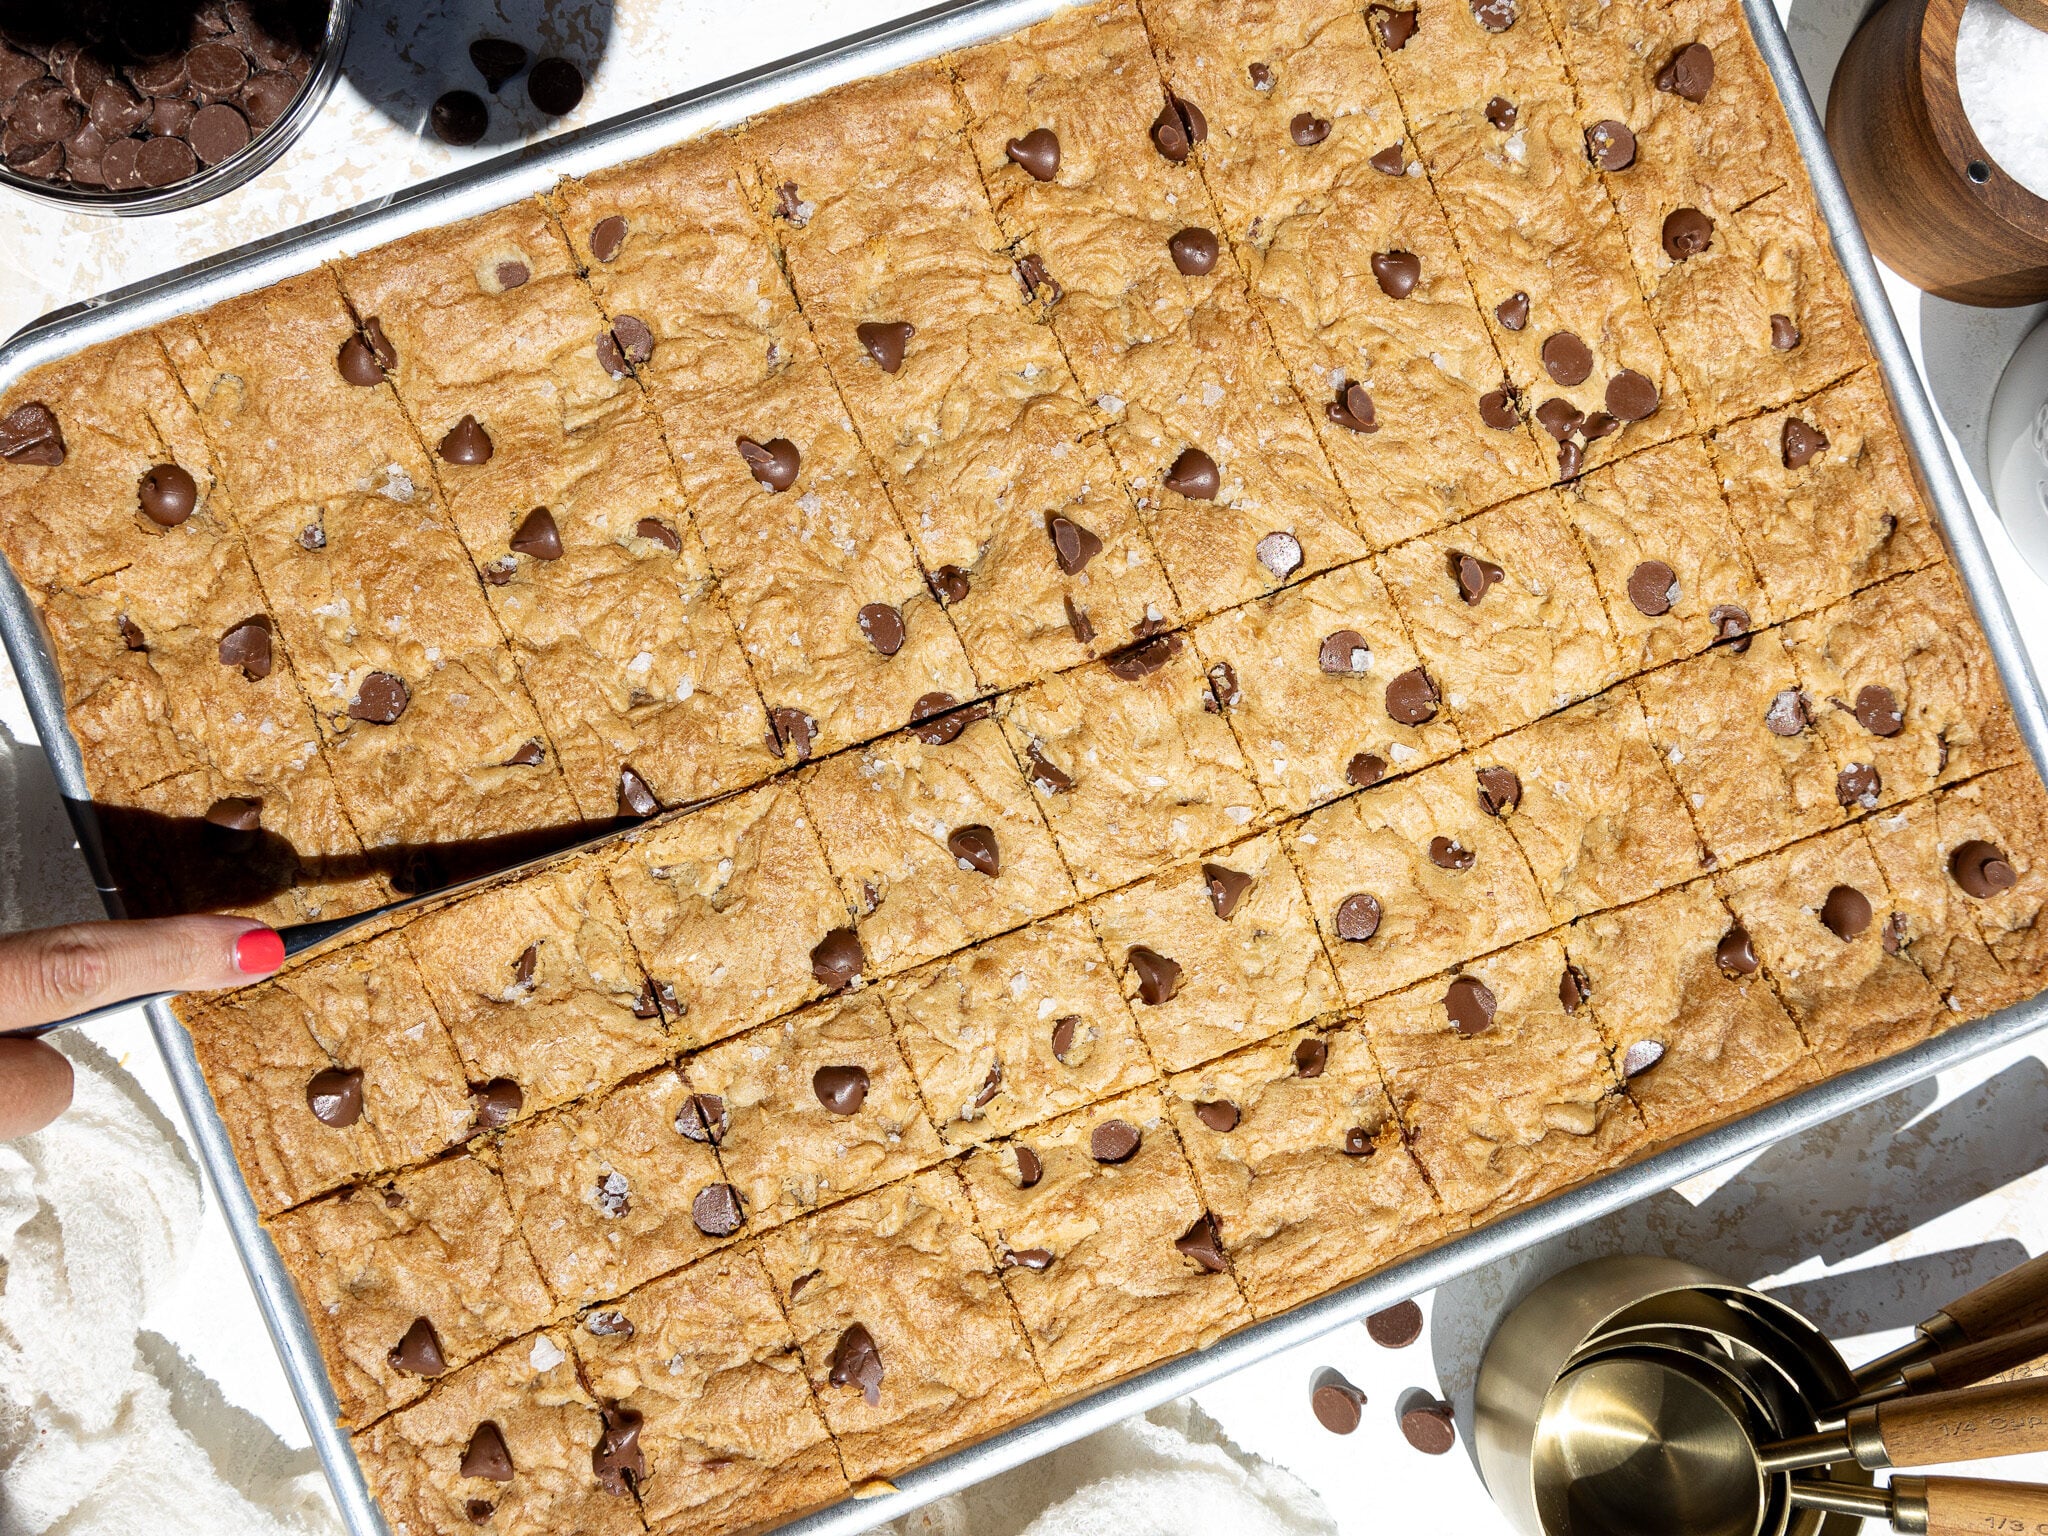
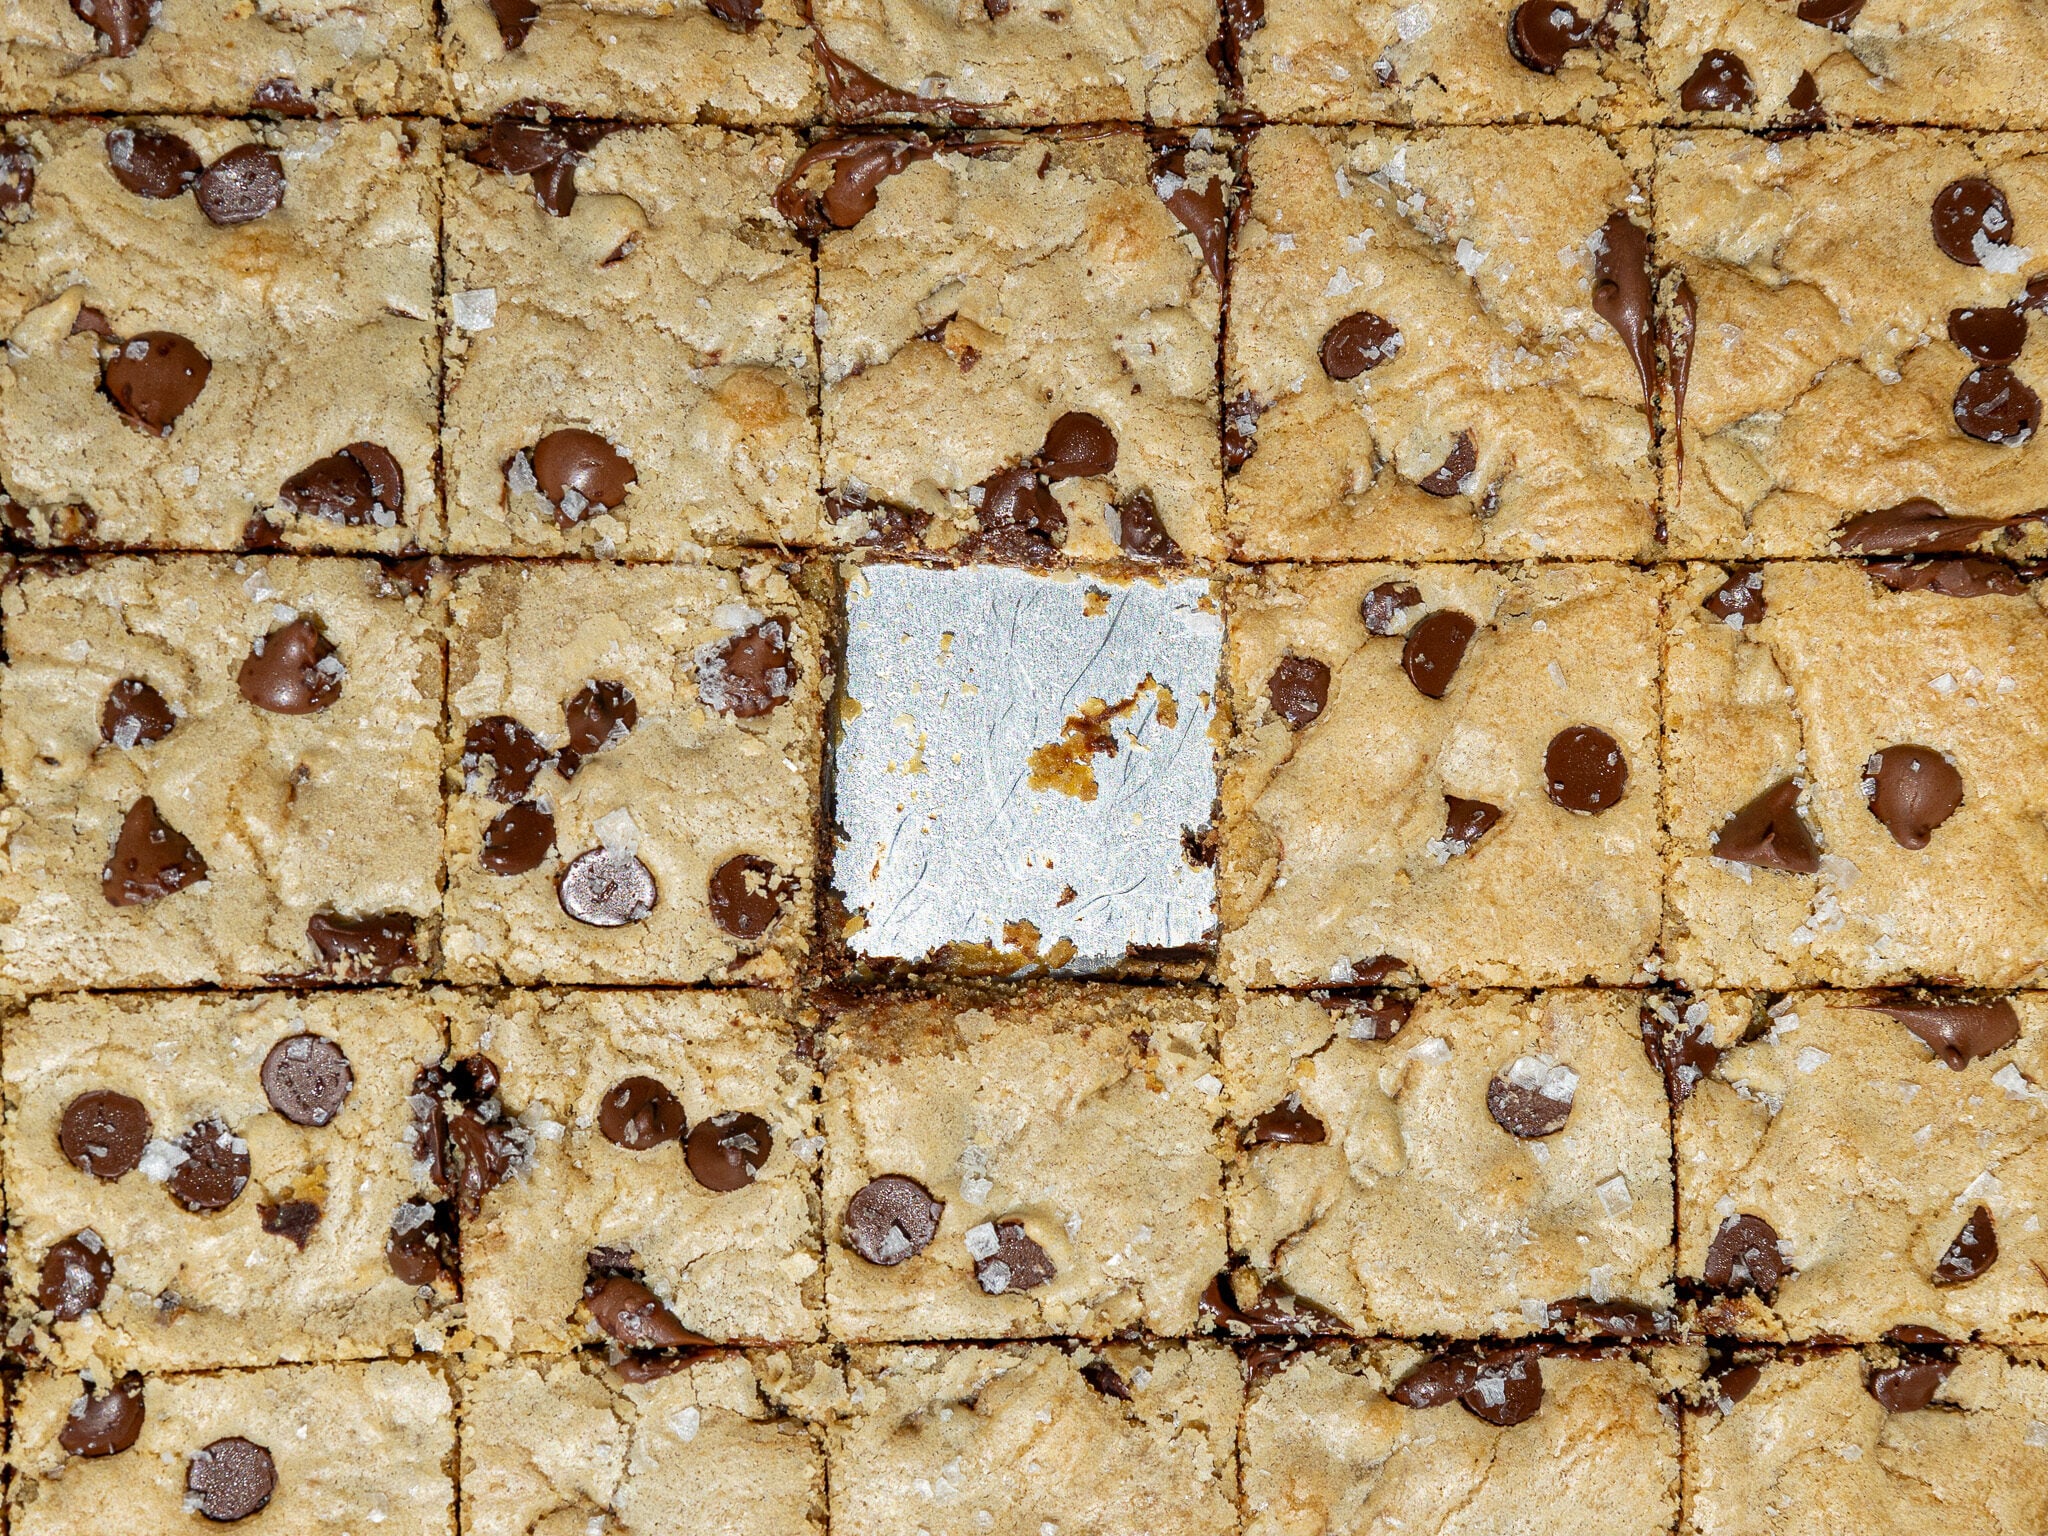
Then cut the sheet into slices and enjoy! One sheet can be cut into about 54 2×2-inch squares.
These cookies can be stored in an airtight container at room temperature for up to 3 days.
Sheet Pan Chocolate Chip Cookie Ingredients & Substitutions
I love this recipe just the way it is, but I know some people might not have all these ingredients on hand! Or you might have food restrictions or allergies.
Below are some swaps and variations that can be made in this recipe.
- All-purpose flour – This recipe turns out best with all-purpose flour, but you can use a gluten-free flour blend in its place if needed. I recommend using King Arthur’s Measure for Measure gluten-free flour.
- Cornstarch – A little bit of cornstarch helps these cookies bake up soft and chewy! If you don’t have cornstarch on hand, you can skip this ingredient.
- Unsalted Butter – If you only have salted butter on hand, you can use it in place of the unsalted butter in this recipe. Just be sure to omit the salt included in this recipe. You can also use vegan butter in its place.
- Brown Sugar – This recipe calls for light brown sugar, but you can also use dark brown sugar.
- Chocolate Chips – You can use any type of chocolate chip or chocolate chunk in this recipe. You can also mix together different types of chocolate or use other mix-ins like nuts or candy bits. Just make sure you don’t use more than a total of 2 cups of chocolate chips or mix-ins, or it will be difficult to spread out the dough.
- Flaky Sea Salt – This is an optional garnish, but it totally takes these cookies to the next level. I love using Maldon sea salt whenever I’m garnishing cookies!
How to Store These Sheet Pan Chocolate Chip Cookies
As I always say, fresh is best!! Truly, nothing tastes better than when these are still warm and fresh out of the oven.
However, leftover cookies can be stored in an airtight container at room temperature for up to 3 days. You can also tightly cover the pan with plastic wrap.
Baked cookie sheets can also be frozen! These cookies last for up to a month if frozen in an airtight container or wrapped tightly in plastic wrap, and then foil.
Tips for Making the Best Chocolate Chip Sheet Pan Cookies
- Properly measure your flour! Fluff and level with a knife or use a digital kitchen scale.
- Don’t over-mix your cookie dough once you’ve added the flour! Mix in the dry ingredients just until the flour has been incorporated.
- Sprinkle some of the chocolate chips on top of the dough before baking it to make it look picture-perfect when it comes out of the oven.
- Don’t over-bake your cookies. Even if the center seems a bit soft coming out of the oven, it will firm up as it cools.
- Feel free to mix together different types of chocolate, or use other mix-ins like nuts or candy bits. Just make sure you don’t use more than a total of 2 cups of chocolate chips or mix-ins, or it will be difficult to spread out the dough.
- Garnish with flaky sea salt to really take these cookies to the next level.
Let Me Know What You Think!
If you make this sheet pan cookie recipe, I’d love to hear what you think!
Please leave a rating on the recipe card below and tag @chelsweets or use #chelsweets so I can see your cookies!
Sheet Pan Cookies
Ingredients
Sheet Pan Chocolate Chip Cookies
- 1 1/4 cups (2 1/2 sticks) unsalted butter, melted and cooled 282g
- 1 1/2 cups packed light brown sugar 300g
- 1/2 cup granulated sugar 100g
- 3 large eggs, room temperature 168g
- 1 Tbsp vanilla extract or vanilla bean paste 12g
- 3 1/4 cups all-purpose flour 400g
- 1 tsp cornstarch 3g
- 1 tsp baking soda 6g
- 1 tsp fine salt 6g
- 2 cups milk or dark chocolate chips 350g
- flakey sea salt – garnish
Instructions
Sheet Pan Chocolate Chip Cookies
- Start by melting 1 1/4 cups (2 1/2 sticks) of unsalted butter in a large, microwave-safe bowl and cover with a moist paper towel. Heat it in 20-second intervals until it's melted, then set aside to cool for about 10 minutes (this prevents the butter from melting the chocolate chips).
- While the butter cools, preheat the oven to 350°F/175°C and grease and line a 13×18-inch half sheet pan with parchment paper. It's important you line the pan with parchment paper, or else it can be difficult to remove the cookie squares once they're cut, and you can end up with little bits of metal scrapings from the pan on your cookies (this happened to me once!).
- Add 1 1/2 cups packed brown sugar, and 1/2 cup granulated sugar into the melted and cooled butter (it should still be liquid, but not hot to the touch). Whisk the ingredients together by hand for about a minute or use an electric hand mixer and mix on a medium-low speed, until the mixture is smooth, and no lumps remain. It should become lighter in color as it's mixed.
- Then mix in 3 large eggs and 1 Tbsp vanilla extract until fully incorporated.
- Next, add 3 1/4 cups flour, 1 tsp cornstarch, 1 tsp baking soda, and 1 tsp fine salt into the mixture and stir together with a wooden spoon or spatula. Mix until no visible streaks of flour remain. Scrape the bowl's sides and bottom as needed to ensure everything gets properly mixed together. The dough will be soft/sticky, but that's how it's supposed to be!
- Then fold in 1 1/2 cups of chocolate chips or chunks of your choice (save the last 1/2 cup to sprinkle over the top of the bars).
- Scoop the dough into the prepared pan and spread it into an even layer using a rubber spatula or offset spatula. Sprinkle the remaining 1/2 cup of chocolate chips on top of the dough.
- Bake the tray for 22-26 minutes, and rotate the pan halfway through to help it bake evenly. The cookie sheet is ready when the edges just start to brown but the centers still look slightly puffy/under-baked. The cookies will continue to bake on the sheet and firm up once removed from the oven, so it's always best to err on the side of under-baked!
- Place the cookie sheet on a wire rack to cool fully. I like to add a garnish of flaky sea salt while the cookies are still warm. Then cut the sheet into slices with a butter knife and enjoy! One sheet can be cut into about 54 2×2-inch squares.
- These cookies can be stored in an airtight container at room temperature for up to 3 days.
Video
Notes
How to Store These Sheet Pan Chocolate Chip Cookies
As I always say, fresh is best!! Truly nothing tastes better than when these are still warm and fresh out of the oven. However, leftover cookies can be stored in an airtight container at room temperature for up to 3 days. You can also tightly cover the pan with plastic wrap. Baked cookie sheets can also be frozen! These cookies last for up to a month if frozen in an airtight container or wrapped tightly in plastic wrap, and then foil.Tips for Making the Best Sheet Pan Cookies
- Be sure to properly measure your flour (fluff and level with a knife or use a scale).
- Don’t over-mix your cookie dough once you’ve added the flour! Mix in the dry ingredients just until the flour has been incorporated.
- Don’t over-bake the cookies. Even if the center seems a bit soft coming out of the oven, I promise it will firm up as it cools.
- Press extra bits of chocolate on top of the dough before baking it to make these bars look picture-perfect when it comes out of the oven.
- Feel free to mix together different types of chocolate, or use other mix-ins like nuts or candy bits. Just make sure you don’t use more than a total of 2 cups of chocolate chips or mix-ins, or it will be difficult to spread out the dough.
- Garnish with flaky sea salt to really take these cookies to the next level!
- If you don’t have a microwave, you can melt your butter in a saucepan over medium heat.
Nutrition
Other Recipes You Might Like


This recipe was just shared on ig today and me and my 2 year old made them this evening!! They are so so so good!!! He absolutely loves them! Obviously we had to add sprinkles because well when your 2 sprinkles make the world go round! 10/10 will definitely be making a million more times!
I accidently over baked them a few minutes but they’re still super yummy! I used milk chocolate chips and really want to try semi-sweet next time.
I’d call these sheet-pan brownies. Cookies have crisp, thin edges.
@sky, and I’d call them sheet pan cookies because they’re the exact ingredients of a chocolate chip cookie and not brownies. Also, my cookies don’t have thin crisp edges, but thick chewy edges!
I made these for a birthday yesterday and they were a HUGE hit! I went with a combo of milk & dark chocolate chips and they were perfect *chefs kiss*! Best of all, they come together in one bowl and you only need a whisk and a spatula! I can always count on a delicious result when I use your recipes, thanks for sharing!??
I am assuming these would be great with browned butter?
These turned out great! Definitely a little cake-y, but the flavor is amazing. I will be making these again to see if the cake-ness is my own doing ?
Glad to hear these tasted great! They are definitely not supposed to be cakey – I went through 4 rounds of recipe testing to make them not cakey!! My first question is how are you measuring your flour? Are you fluffing it, then spooning it into a measuring cup, then leveling it with a knife or using a scale? Sometimes if you scoop straight from the bag it can cause you to add more flour than the recipes calls for.
And then this is going to sound silly, but is there a chance you accidentally used baking powder instead of baking soda? That would also cause them to be more cakey! Those are my first guesses, but hopefully we’ll be able to figure it out together!!
@Chelsweets, mine turned out a bit cakey too. Still delicious but definitely not the chewy cookie I was expecting.
Hi Madison,
Thanks so much for trying the recipe! I’m glad they still tasted delicious, but I totally get wanting that chewy cookie texture. One thing that can sometimes cause cookie bars to turn out more cakey is how the flour is measured. Just to double-check, are you using a kitchen scale, or measuring with cups? If you’re using cups, it’s super easy to accidentally pack in too much flour, which can dry out the dough and make the final texture more cake-like. I always recommend spooning the flour into the cup and leveling it off, rather than scooping straight from the bag.
Other things that can lead to a cakier texture are using cold butter, overmixing the dough once the flour is added, or baking just a little too long. Happy to help troubleshoot further if needed, hopefully we’ll figure it out!
I love how detailed your directions were and that it included photos! Made them today and they turned out perfect! Thanks 🙂 This is now one of my “go to” recipes 🙂
Yessssss!!! I always try to be as detailed as possible so that there’s the highest chance that the recipe turns out great 🙂 Thank you so much for sharing!
Made this and it’s great.
Can you recuse the sugar a little?
I know it’s important for the cookie but thought if I can reduce the sugar amount and by how much
SO happy to hear that Eti! You can reduce the brown sugar and granulated sugar by 1/4 cup each to make it less sweet. Hope that helps for next time, happy baking!
Very easy to make and super delicious! I made this last night and just had a piece for breakfast with my vanilla protein yogurt. I like this version of a sheet sized cookie compared to the standard cookie cake.
Hi Amber,
That sounds like the best breakfast—cozy, a little indulgent, and balanced with that vanilla protein yogurt! I’m so glad you enjoyed the sheet-style version too—it’s such a fun twist, right? Thanks for baking it and taking the time to leave a comment 🙂
I would love to try these but don’t have a half sheet pan. Has anyone made these with any other size pans? Maybe a standard cookie sheet (11 x 17) and maybe another smaller one?
Hi Shelley,
Totally get it! You can absolutely make these without a half sheet pan. A standard 11 x 17-inch cookie sheet will work, just keep in mind the dough will be a bit thicker, so you may need to bake them a couple minutes longer. You could also divide the dough between two smaller pans (like an 8 x 8 and a 9 x 9, or something similar) if you want thinner bars or are aiming for more even baking. Just keep an eye on them and check for doneness with a toothpick. Let me know how it goes if you try it!
Hi – these look delish! Can I half the recipe? Thanks
Hi Barb,
Yes, you can absolutely halve the recipe! Just be sure to still measure everything carefully, especially the leavening agents, so your texture stays spot on. Hope that helps, happy baking!
@Chelsweets,
how do you half 3 eggs. I wanted to half the recipe, but when I saw that I just decided I would make the whole recipe. Butter cooling, now, can’t wait till they are done. Using football shaped chocolate chips for the big games on Thanksgiving.
Hi Bev,
I usually do 1 whole egg and an egg yolk in a situation where I’m halving 3 eggs! But honestly these are so yummy it’s probably good you made a full batch 🙂 Hope you guys loved them as much as I do, and that you had a great holiday!
I tried making these again since they did taste very good.
First time came out cakey and a little dry but tasty. I used browned butter. And a tbsp extra flour since the batter was not as firm as the video. Baked 24 minutes since middle was too wet .
This time I kept the brown butter and didn’t add any extra flour and left it loose (still not as firm as the video) they turned out less cakey and dry but still cakey. This time for 22 minutes. Definitely not chewy cookies.
Hi Madison,
I’m so glad you enjoyed the flavor and are giving them another try! If they’re turning out more cakey than chewy, it might be due to a little extra flour making its way in. Just to check, how are you measuring your flour? I recommend using a kitchen scale if possible, or the spoon-and-level method: fluff up the flour in the bag, spoon it into your measuring cup, and level it off with a knife. Scooping directly from the bag can pack in more flour, which can make cookies cakier. If that’s not it, we can keep brainstorming and try to figure out what’s going on!!
I made these today and they are amazing! I’ll definitely be adding these to my recipe box and will likely them make many times….especially for family gatherings! Thank you for another great recipe!
Hi Carey,
Aw, I’m so glad you loved them! It makes me so happy to hear they’ll be making repeat appearances at your family gatherings, that’s the best compliment. Thanks so much for taking the time to share how these turned out 🙂
I made this recipe 3 times in the past 3 weeks. My family LOVES this. They all said they dont normally like homemade cookie cakes. I used your buttercream cookie recipes buttercream for the icing I decorated with. It was
Hi Christy,
So happy to hear that!! That is amazing 🙂 Thank you so much for sharing!
Very yummy and soft!!! Works great with gluten free flour!!!
Hi Georgia,
Yay! So happy that you enjoyed this recipe, and it’s great to hear that they turned out so well with gluten free flour 🙂 Thanks for sharing!!
By far one of the worst recipes I’ve ever made! Don’t like to leave bad reviews, but this one was a total waste of ingredients! Not cookie texture at all – left them in the oven additional 1/2 hr. Top was browned, but center was gummy & not cooked. Very greasy-too much butter. Very disappointed!