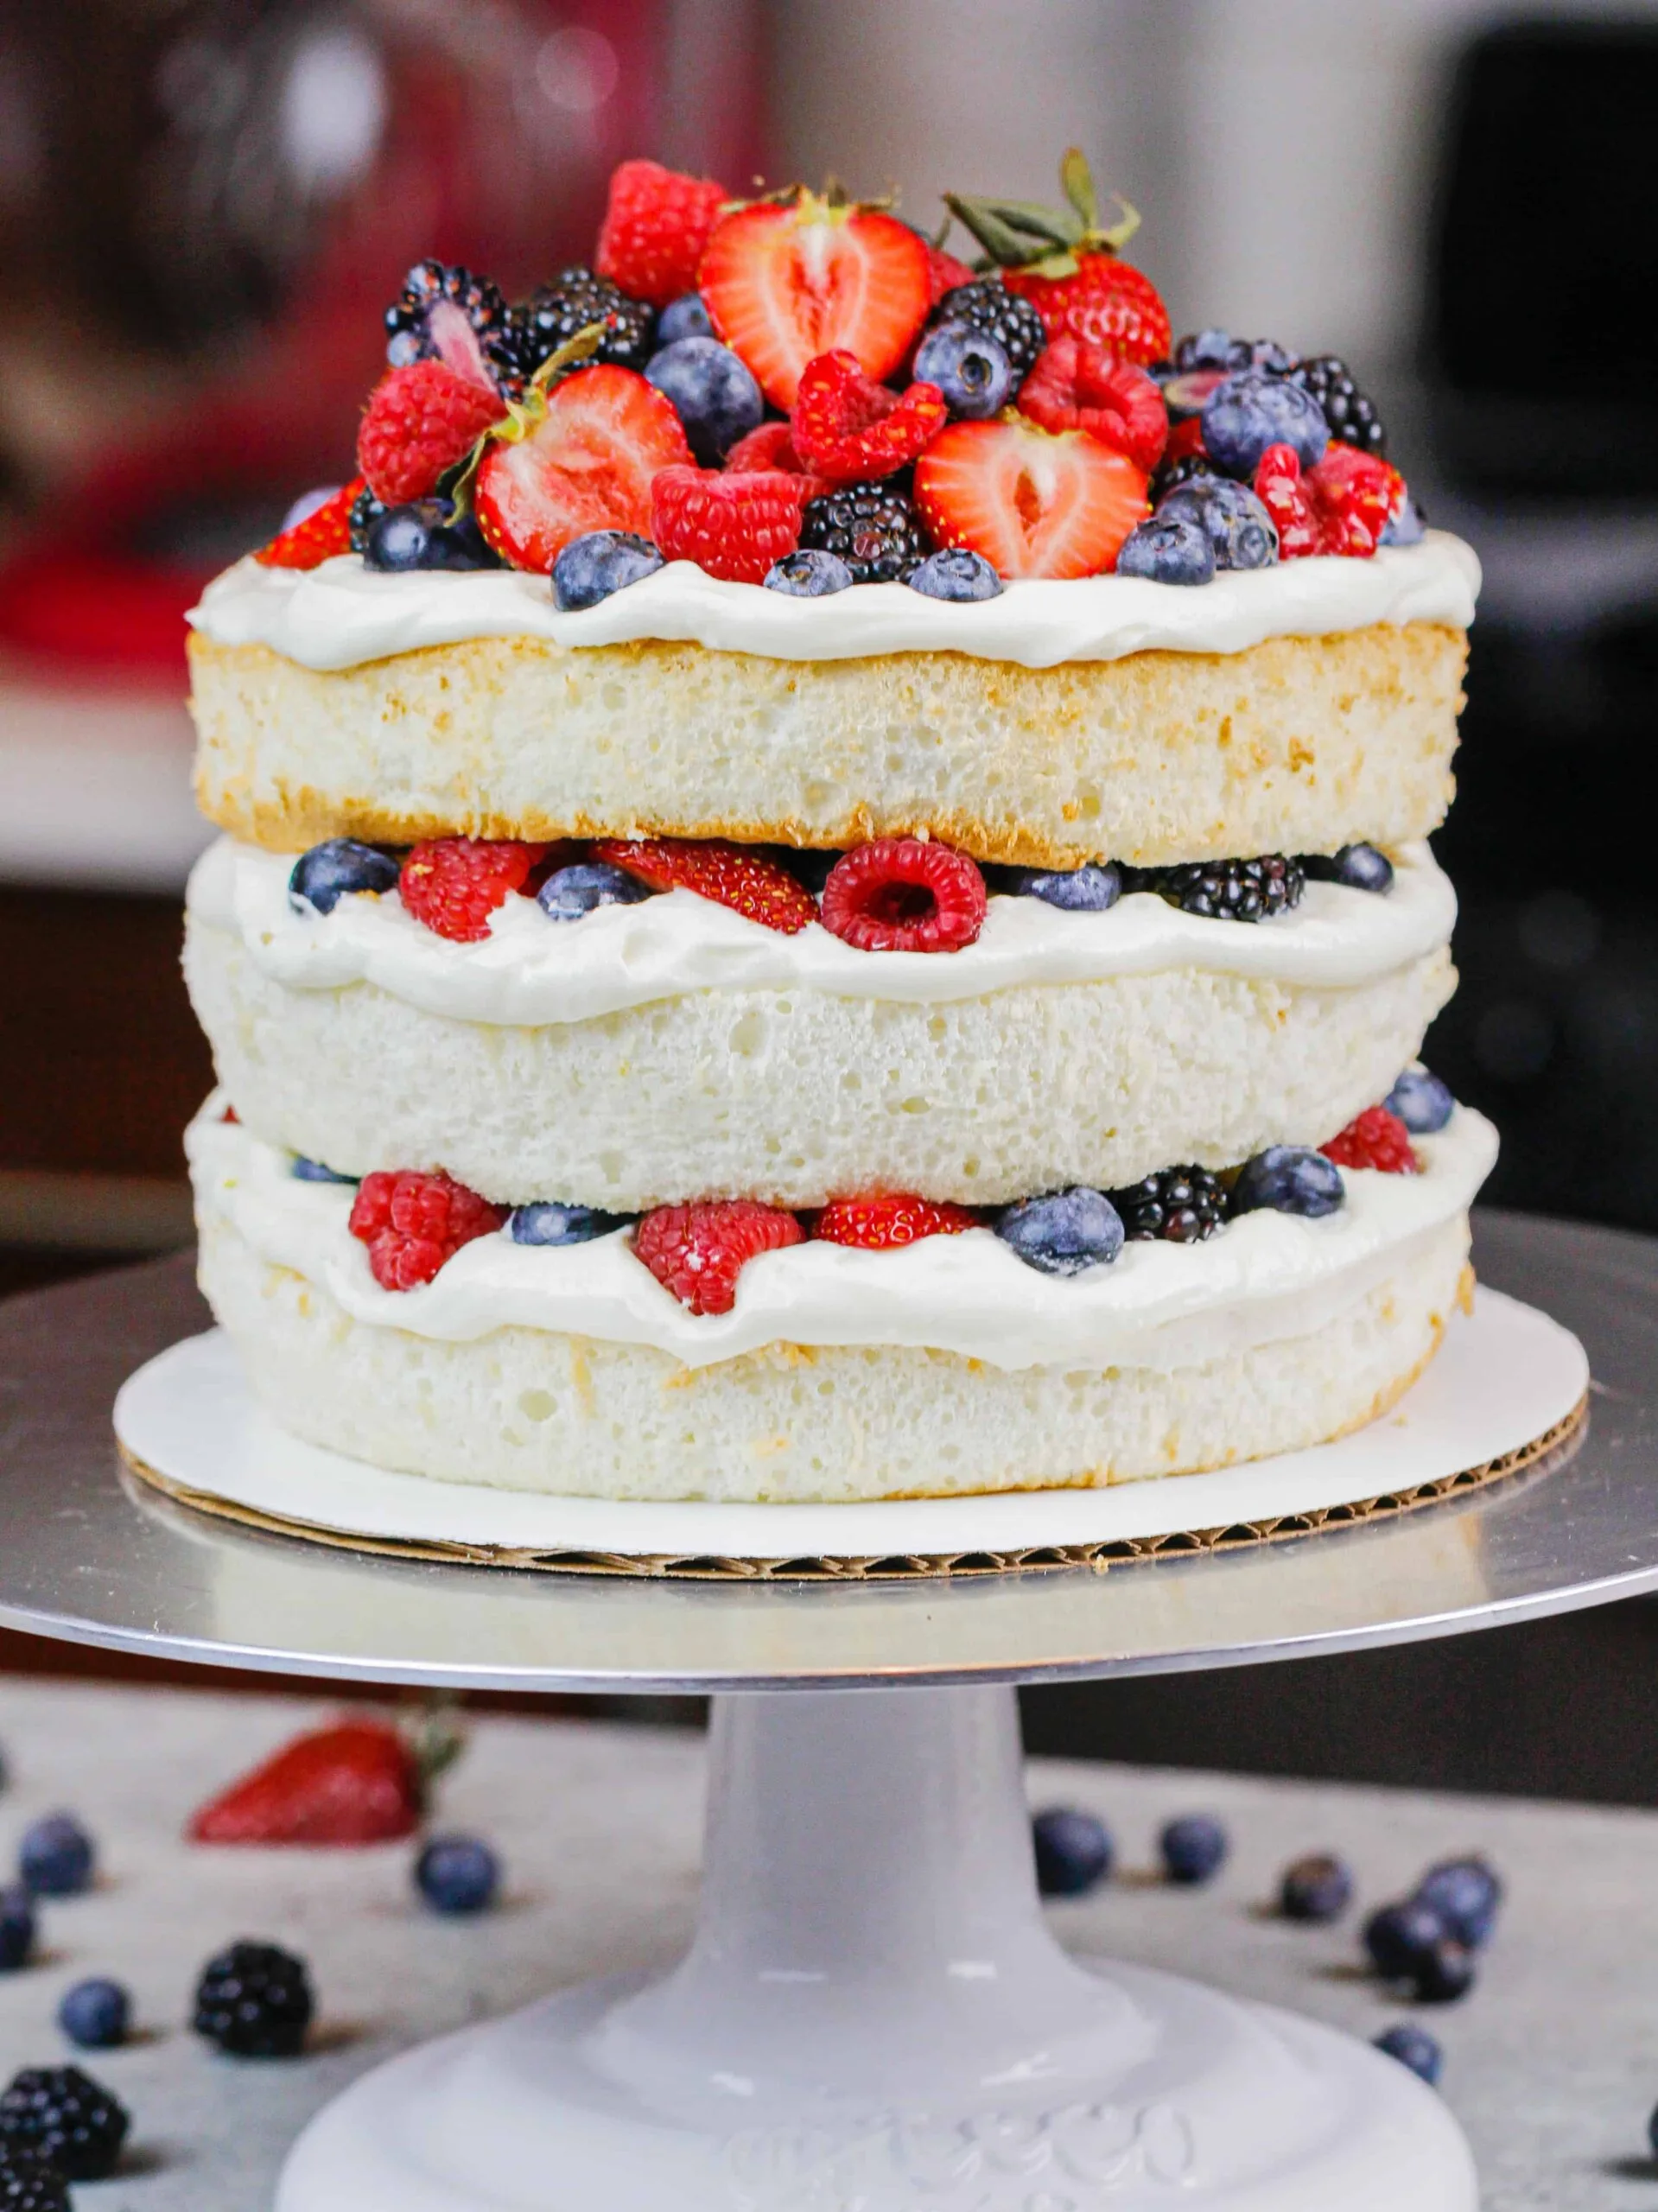
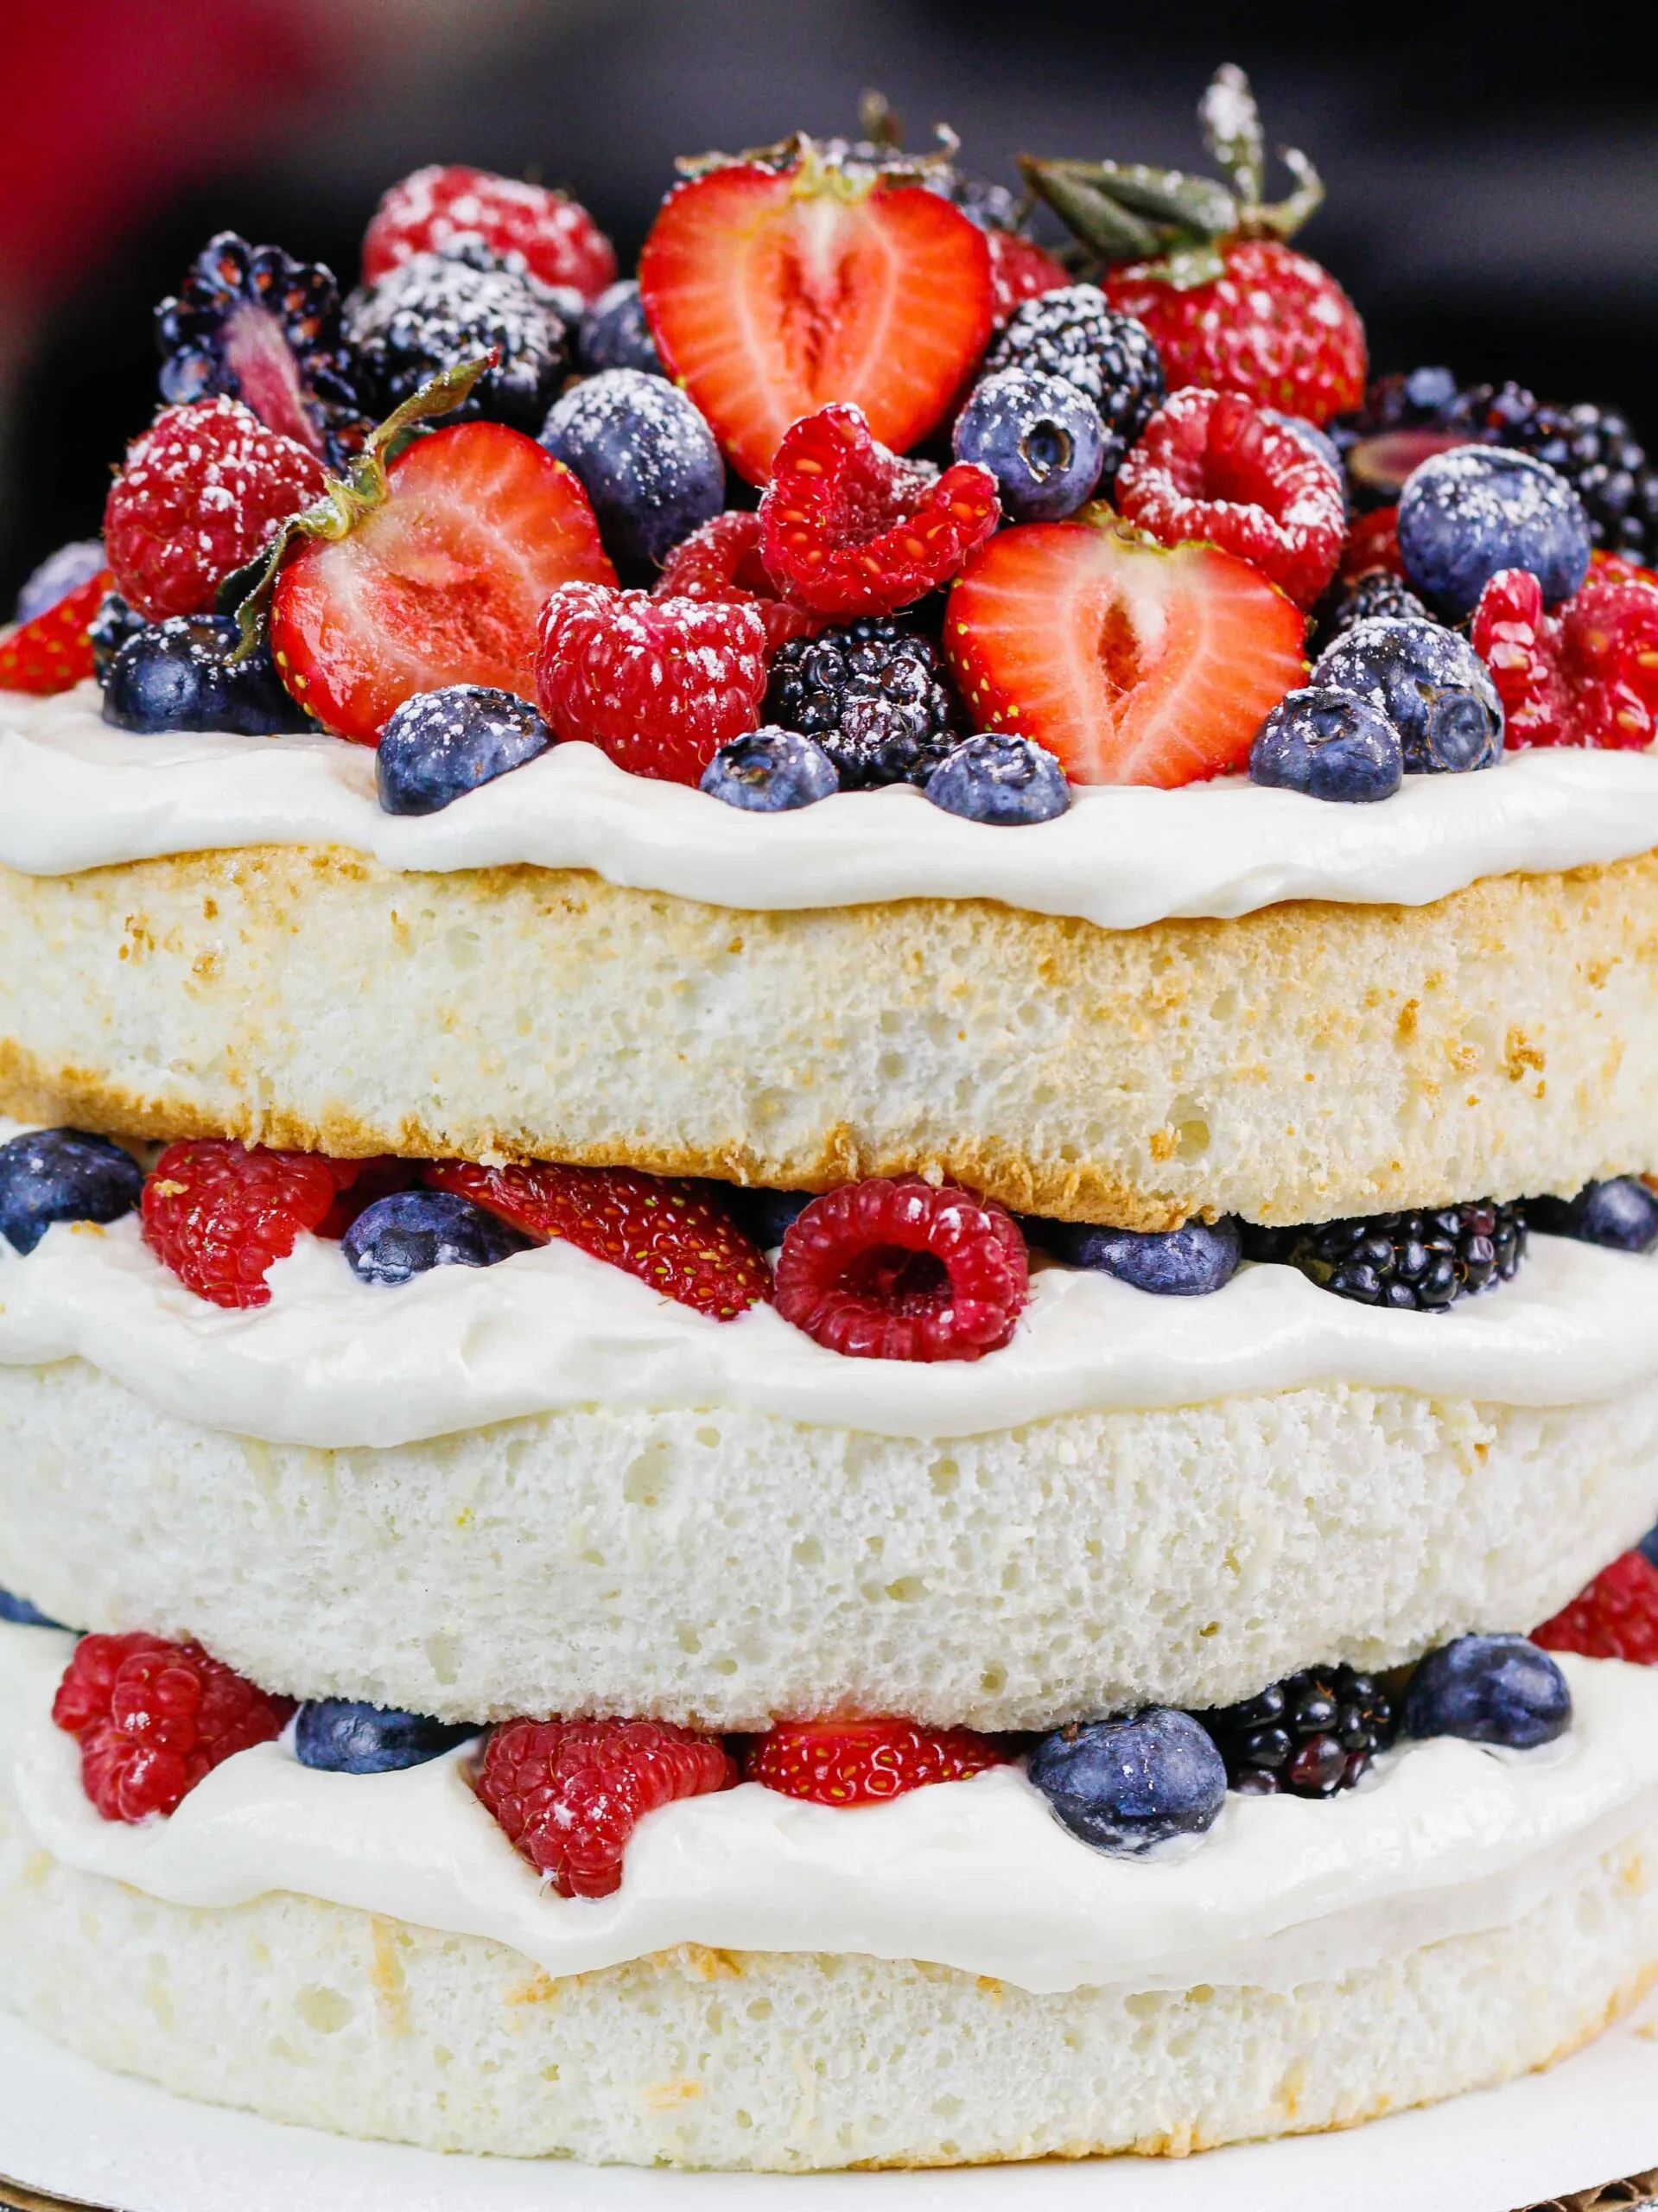
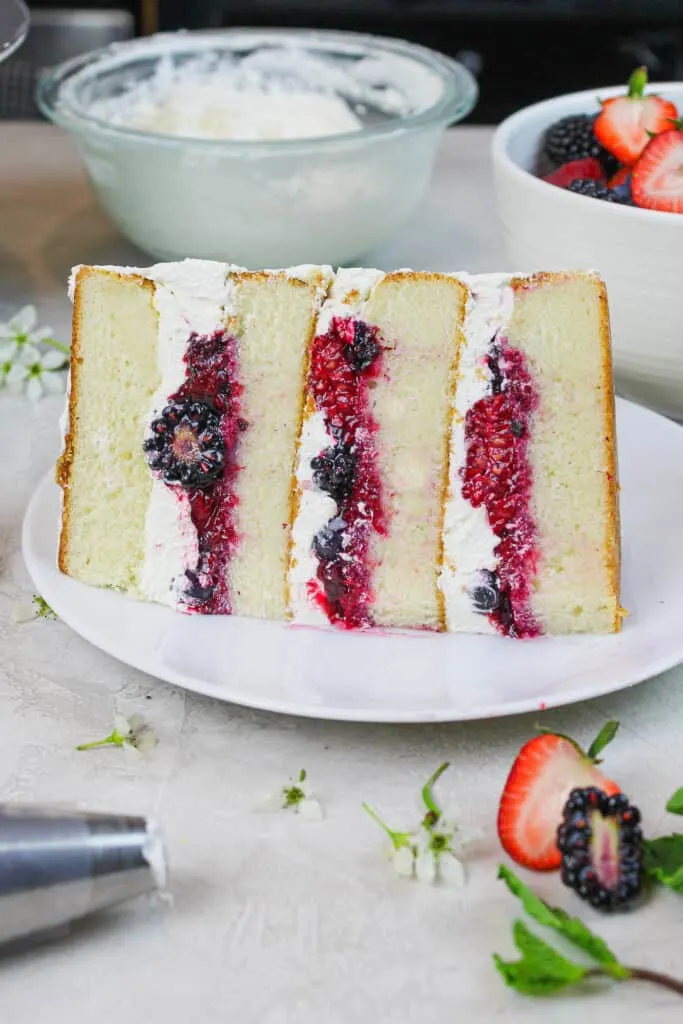
I love angel food cake, especially in the summer. This year I’m amping that concept up and making a layered angel food cake!
But don’t worry, it doesn’t make things much harder. The cake batter for this layered angel food cake is still made the same way as a traditional angel food cake.
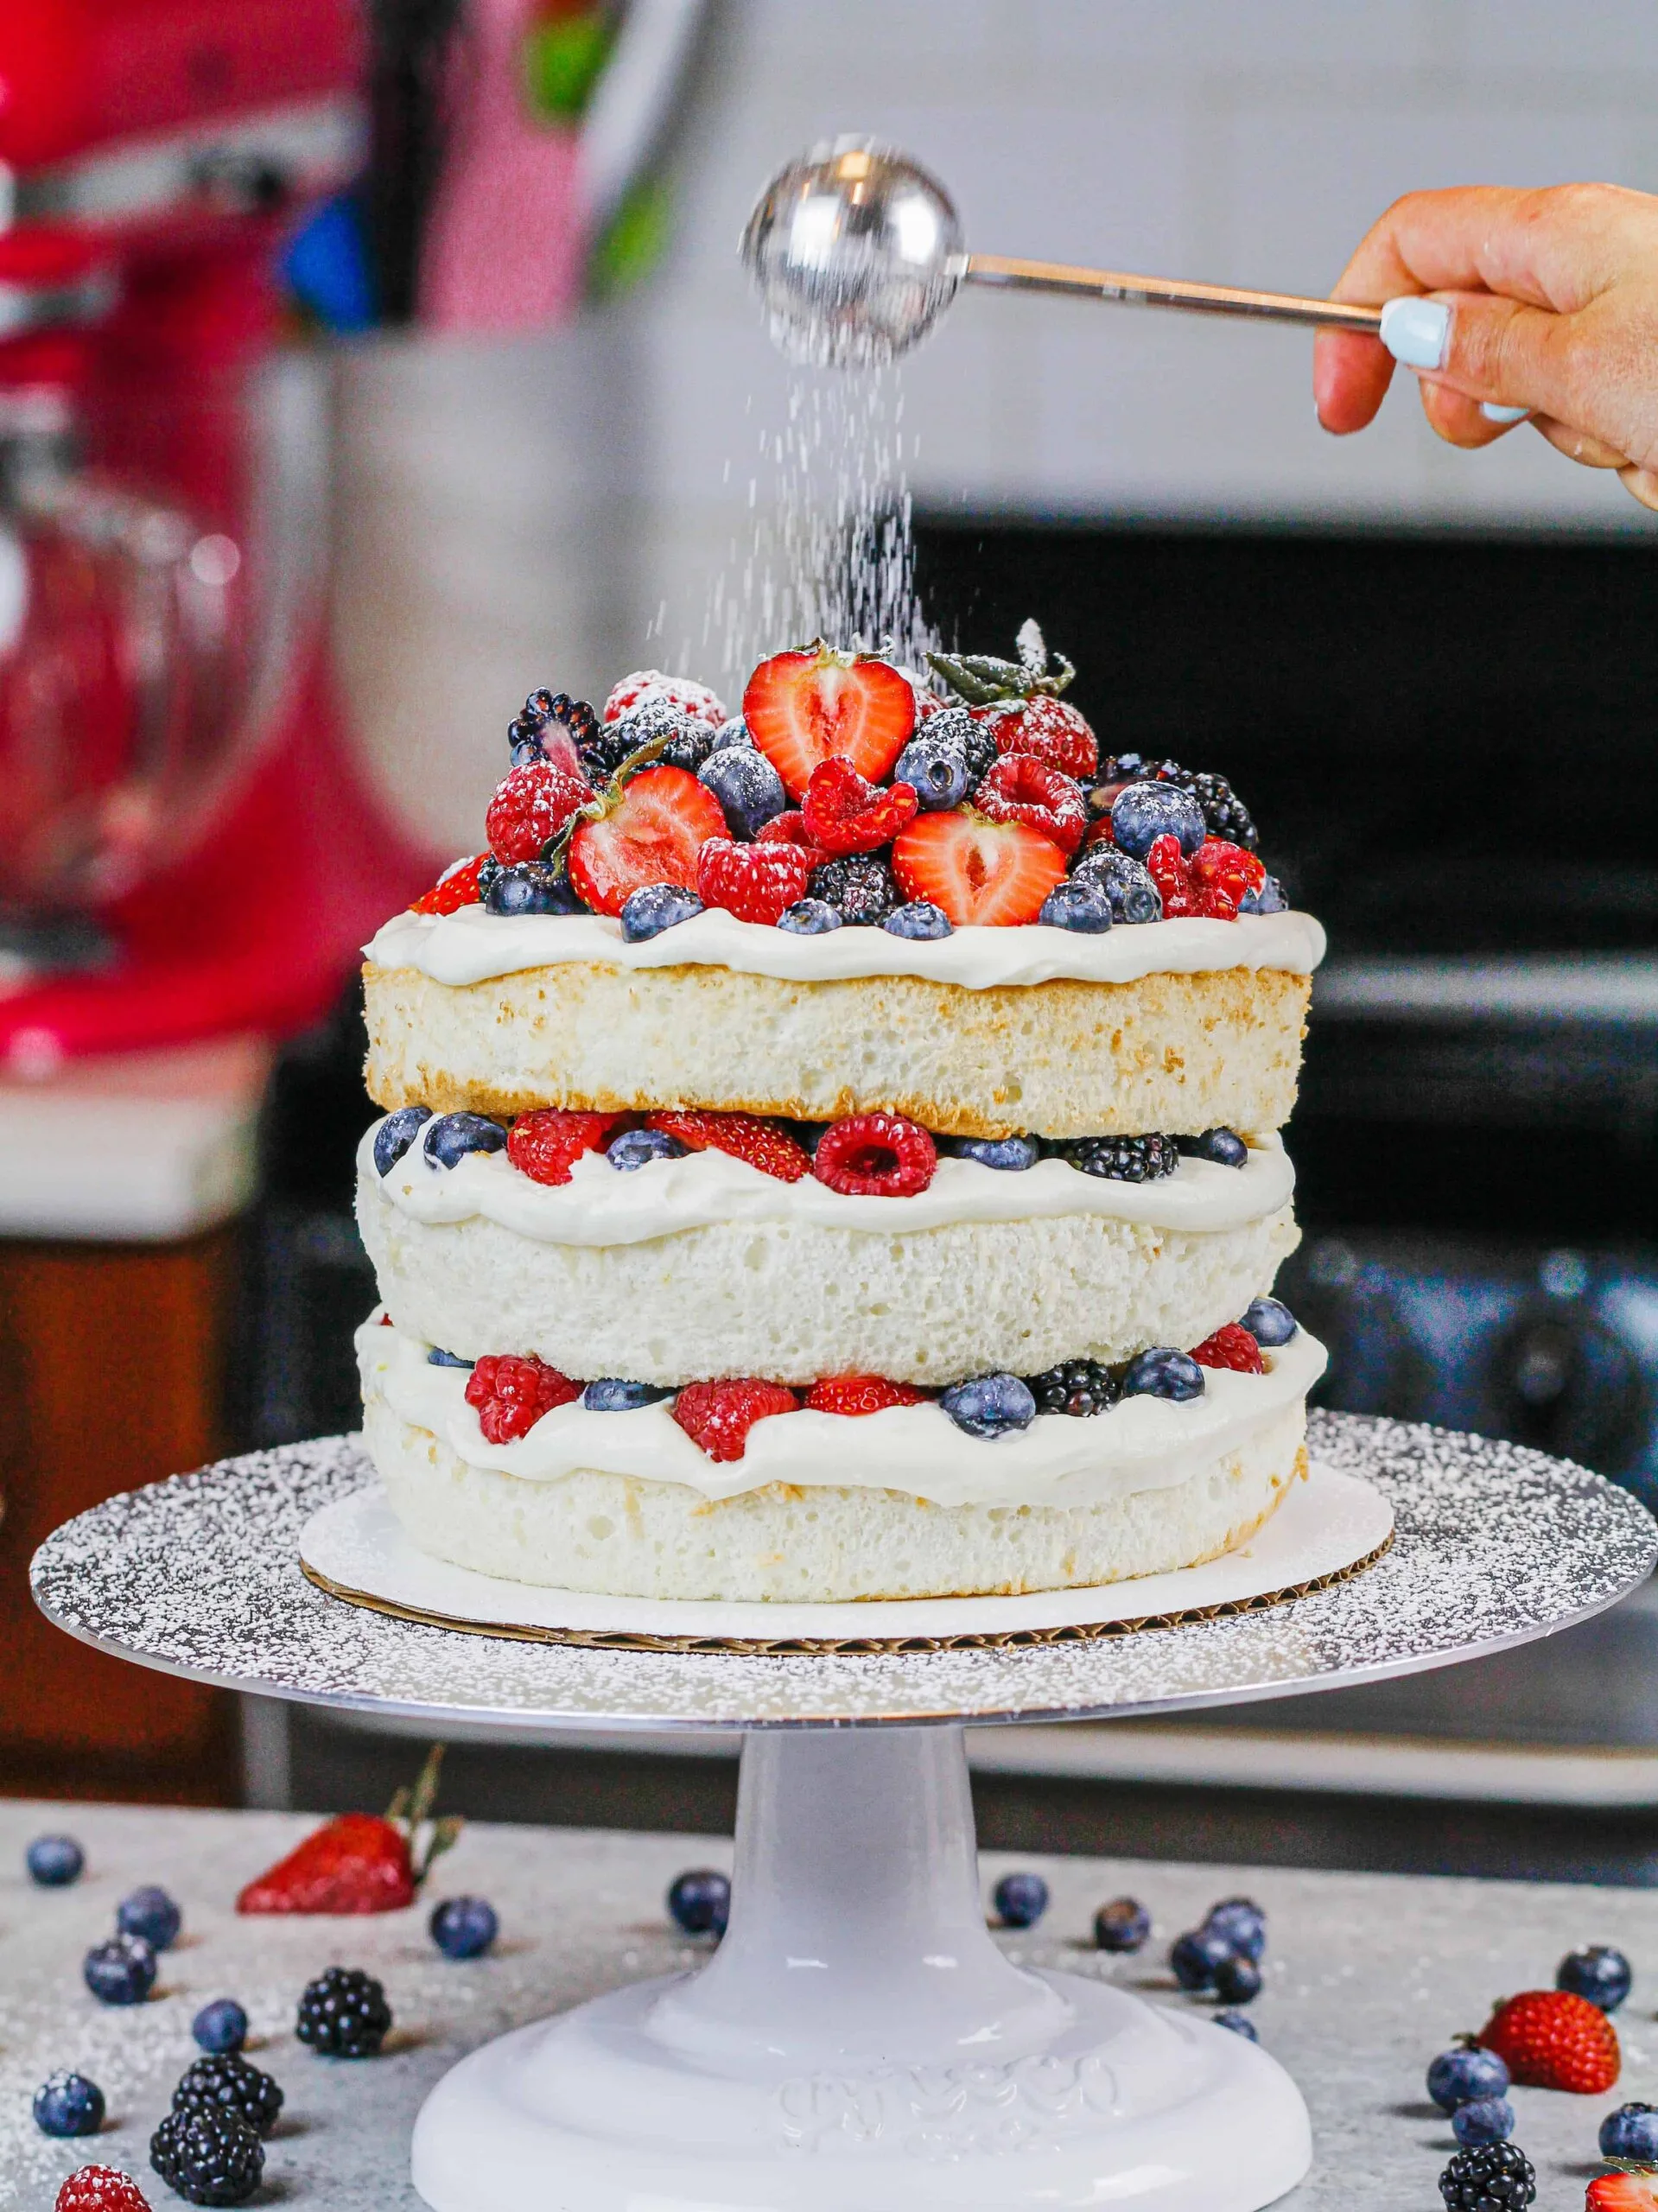
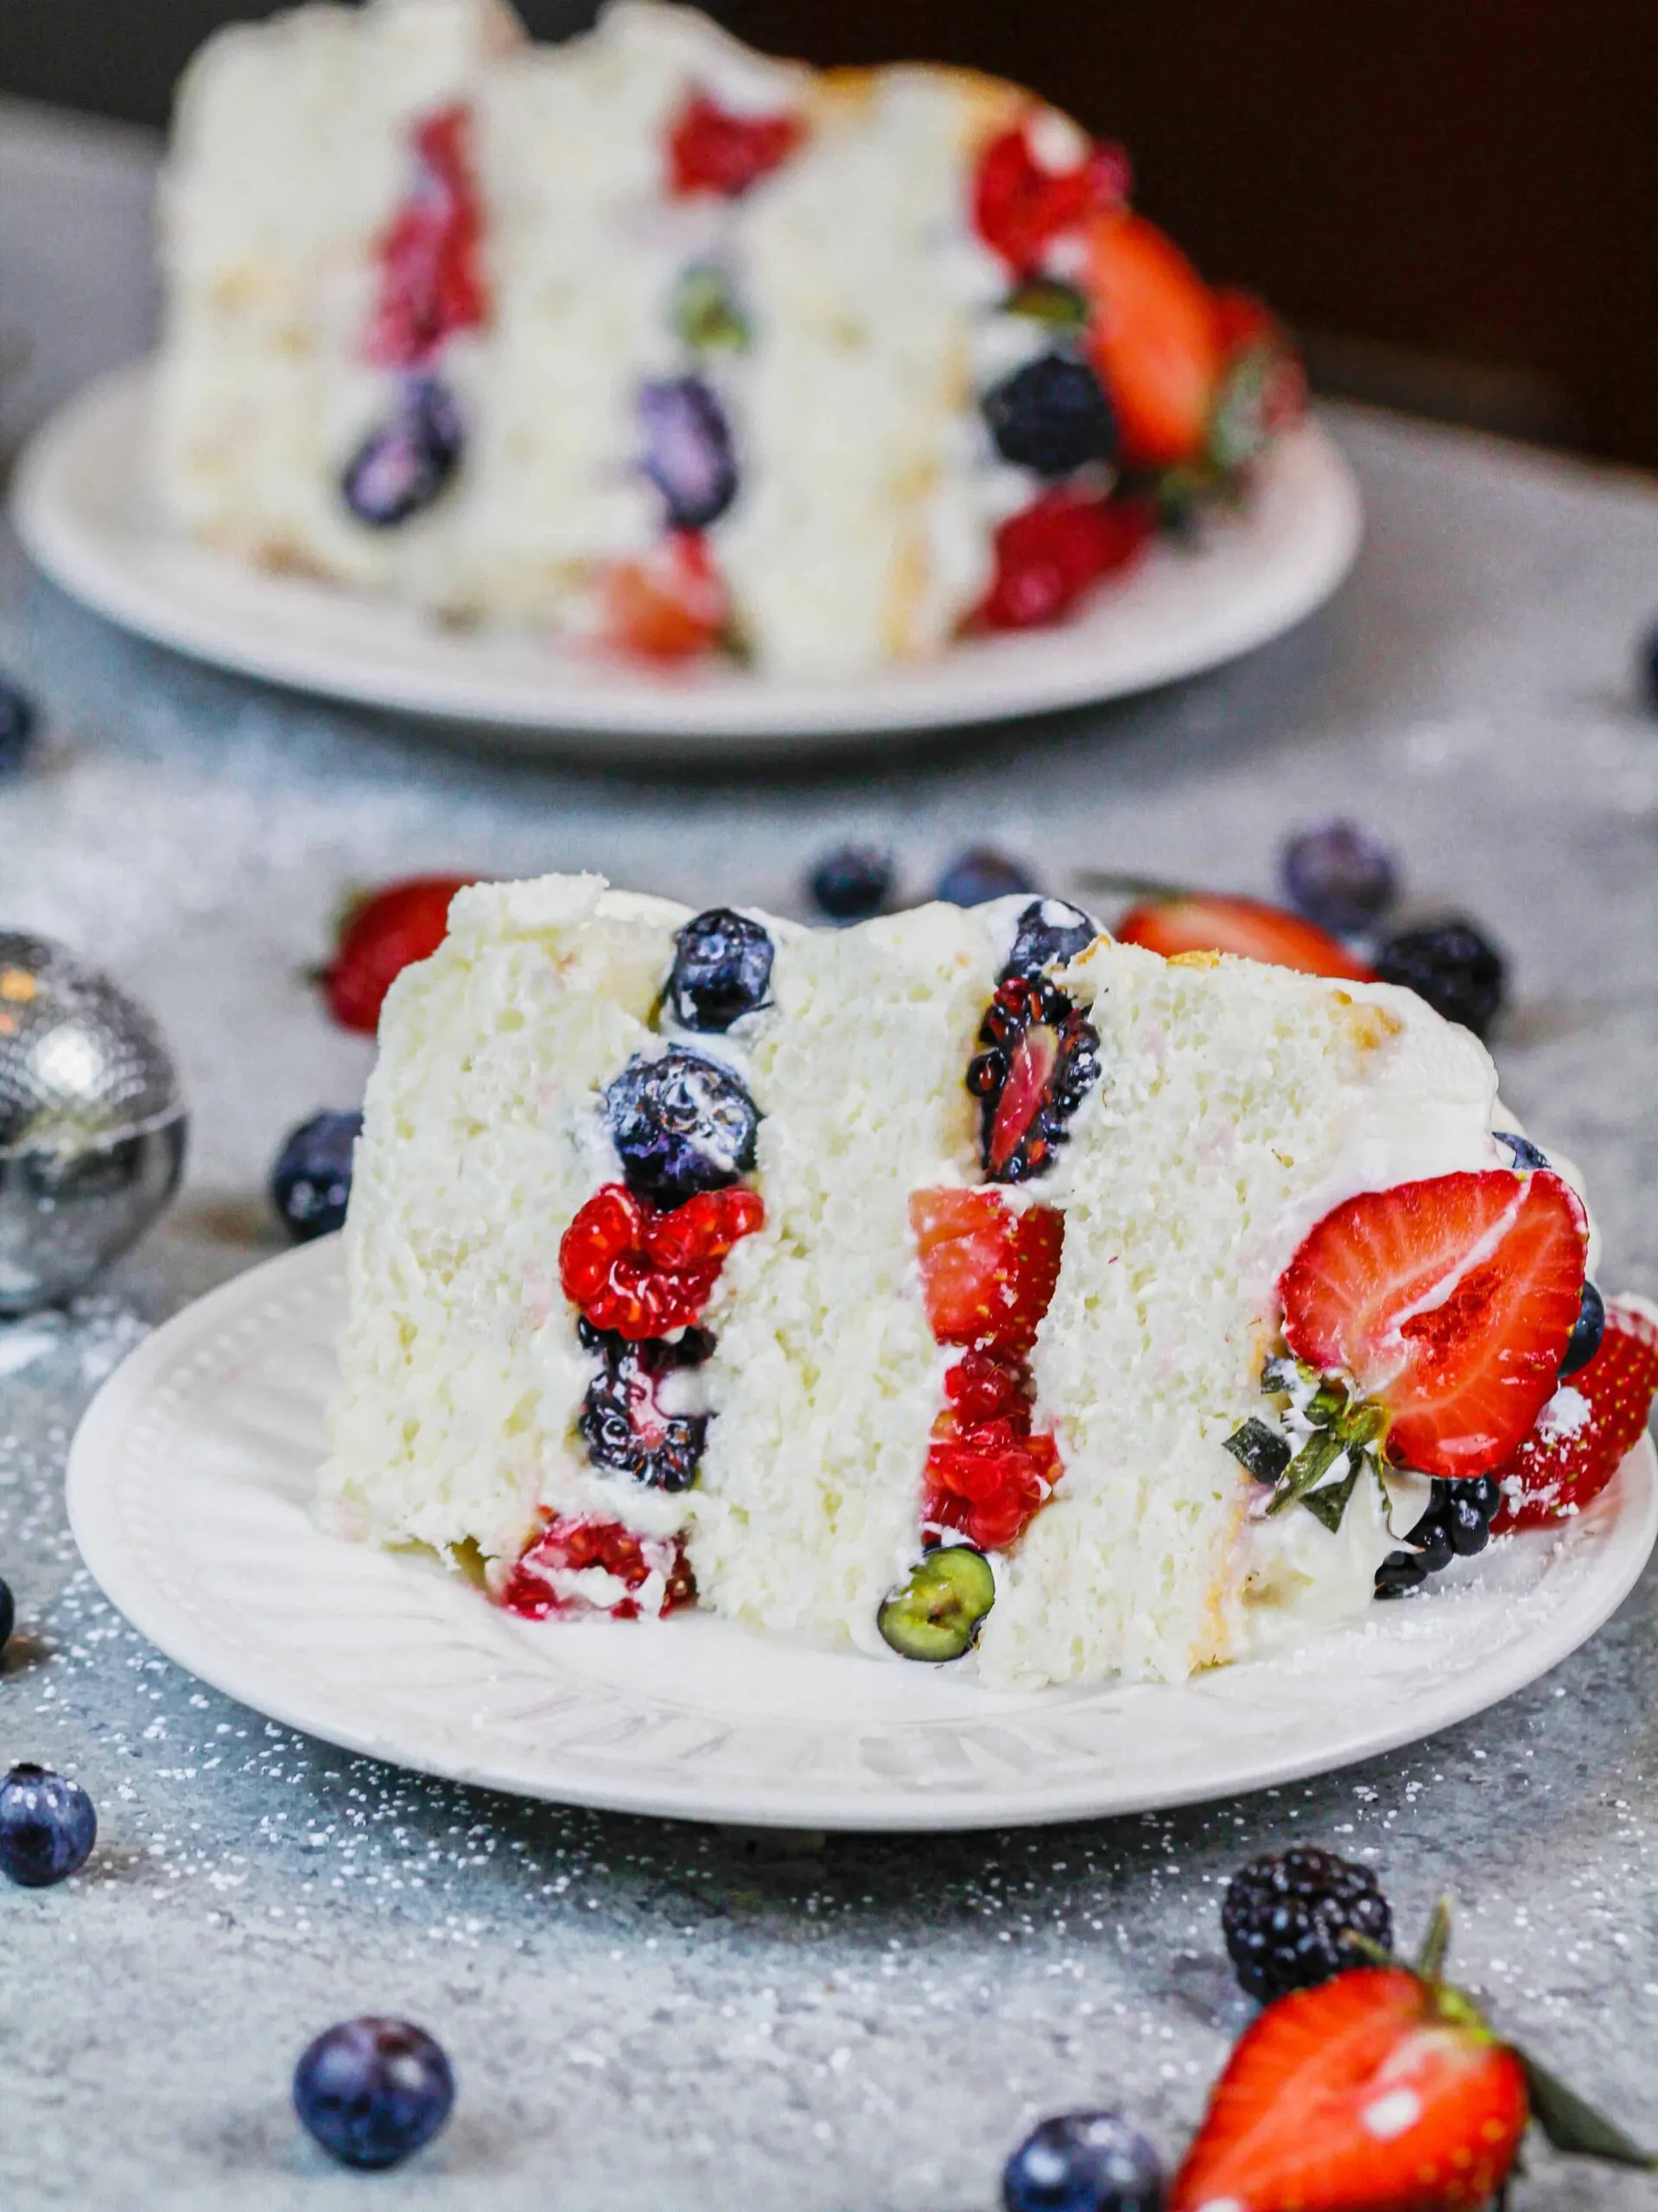
We just add a bit more whipped cream frosting and pack in as many berries as physically possible.
Filling This Layered Angel Food Cake
We need to use a somewhat sturdy filling since these cake layers are going to be stacked. Regular whipped cream would deflate and ooze out of this cake if we tried to use it.
To make sure our angel food cake layers are properly supported, we fill this cake with my stabilized whipped cream frosting.
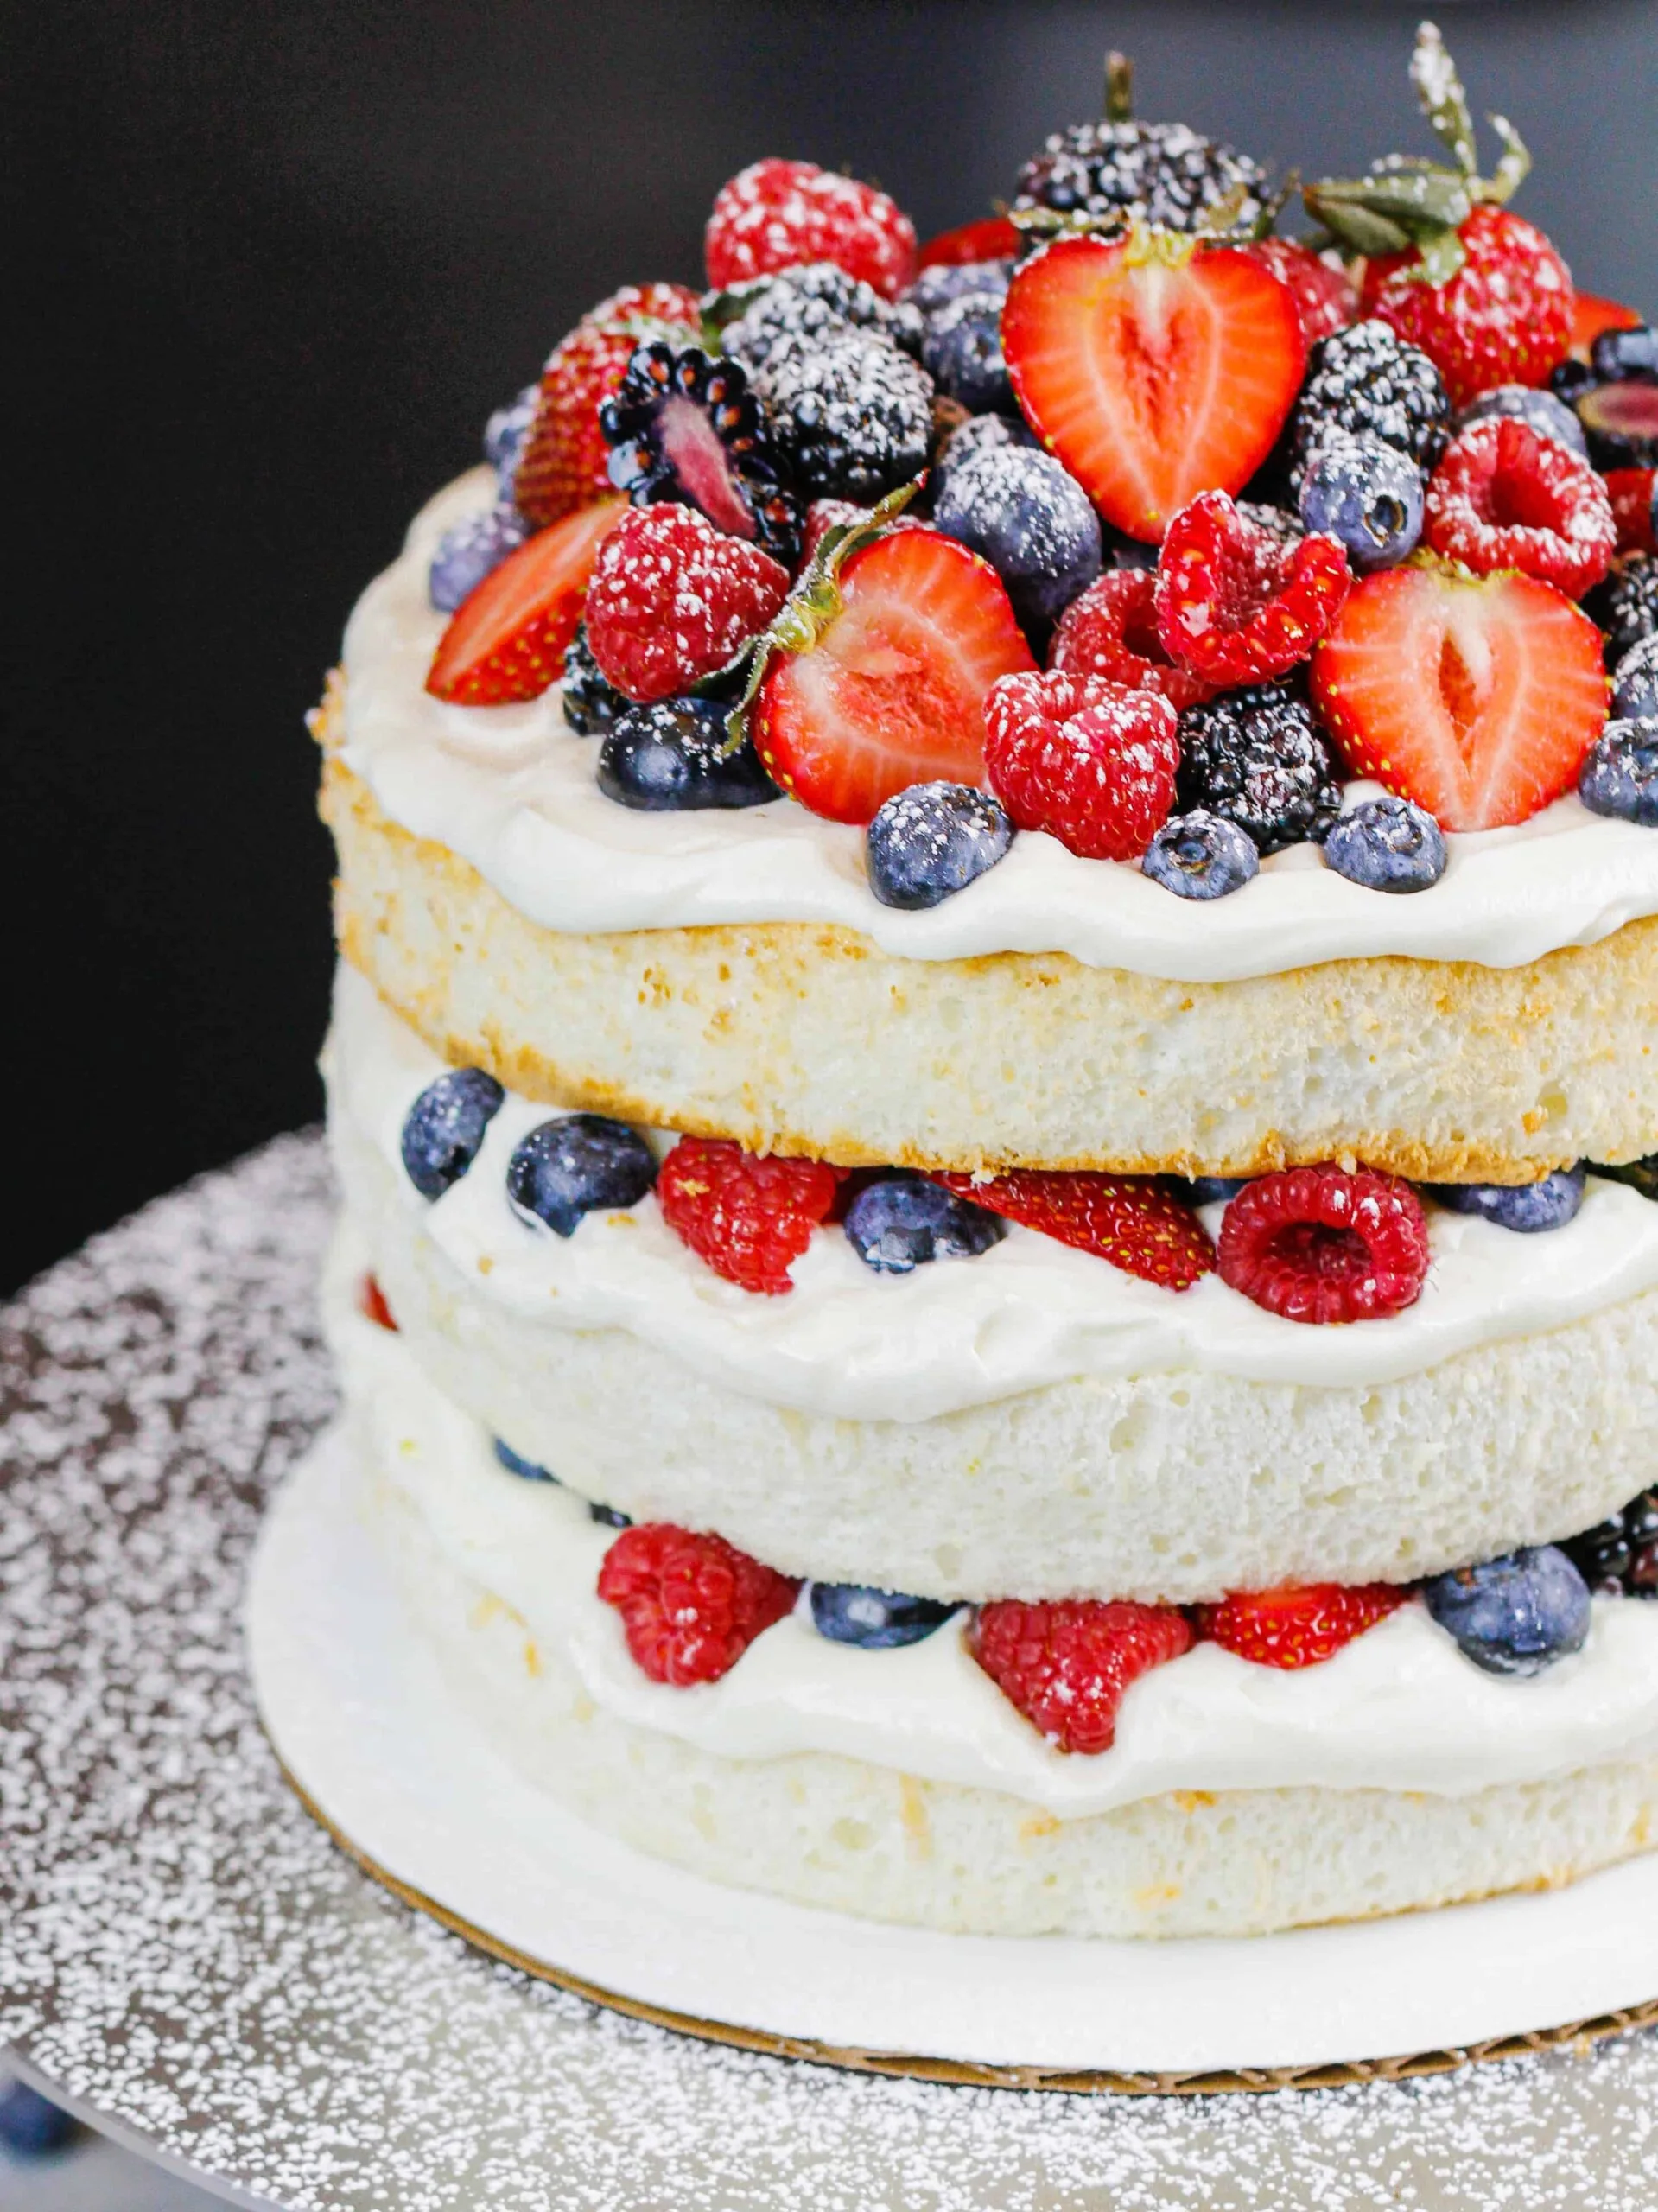
This whipped cream frosting is made with cream cheese, which stabilizes the fluffy and light whipped cream. It’s stable enough to fill and frost a cake.
Can I Make This Recipe With a Hand Mixer?
You can make the angel food cake layers and whipped cream frosting with a stand mixer or electric hand mixer.
But to be totally transparent, using a stand mixer works a lot better than a hand mixer. It’s easier and faster.
A hand mixer can work, but it takes a lot longer to get soft peaks. The peaks also never seem to form quite as well as when I use a stand mixer.
My main tip if you use a hand mixer is to be patient, especially when making the whipped cream frosting.
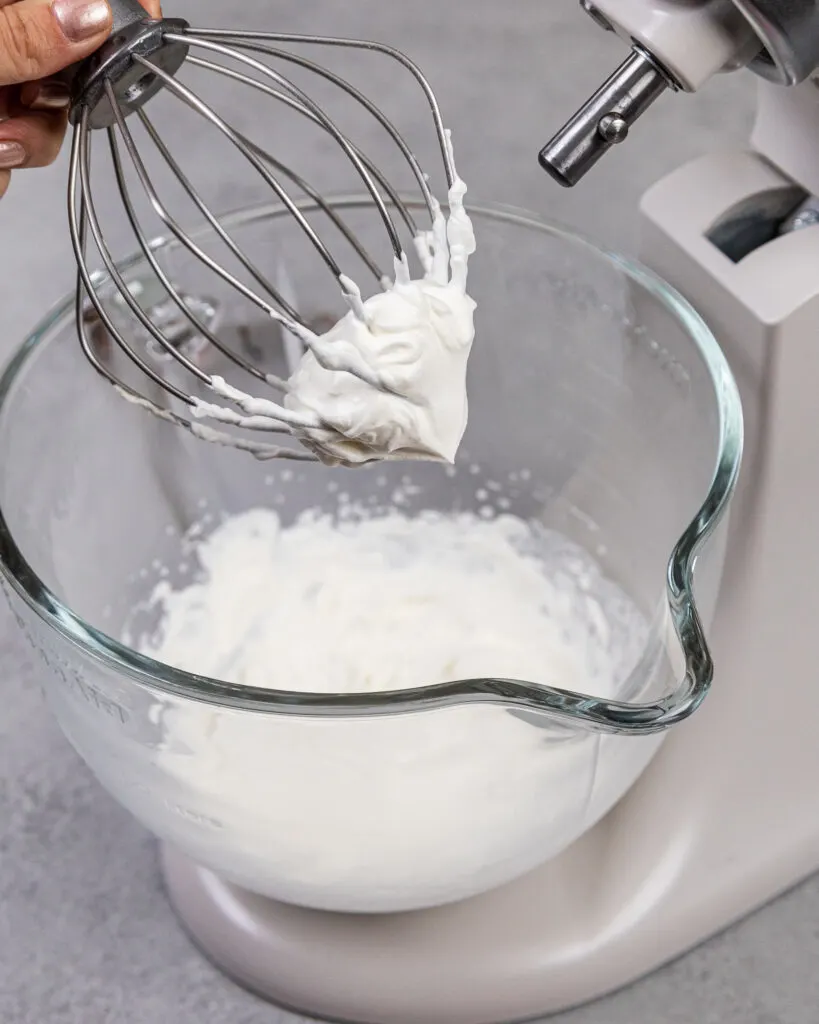
I also recommend thoroughly scraping the sides and bottom of the bowl with a rubber spatula to help the hand mixer whip everything up properly.
Substitutions and Swaps
While I love this recipe just the way it is, I know some of you might not have all of these ingredients on hand!
This is a slightly finicky recipe, so sadly there aren’t a ton of substitutions that can be made.
If you don’t want to use that many egg whites or you don’t have heavy cream, I recommend making one of my more straightforward recipes like my moist chocolate cake.
Below are some swaps and substitutions that can be made in this recipe.
- Cake Flour – I don’t recommend substituting all-purpose flour for the cake flour in this recipe. Sadly the texture just doesn’t turn out as fluffy.
- Gluten Free Flour – I haven’t tested this recipe out with gluten free flour, but it should work as long as you use a good blend like King Arthur’s GF flour. Just be sure to let the batter sit for about 30 minutes to absorb some of the moisture in the batter.
- Lemon Juice & Zest – You can use limes in place of the lemon juice and zest in the cake batter, or you can add 2 tsp of vanilla or almond extract in their place.
- Vanilla Extract – You can swap your favorite extract in for the vanilla extract used in the whipped cream frosting. I’ve experimented with almond, coconut, and lemon extract and they all taste wonderful.
- Berries – You can use pretty much any fruit in this cake! It’s the perfect canvas for whatever fruit you have on hand or is in season. Marionberries, cherries, peaches, or even plums would all taste amazing.
Making This Layered Angel Food Cake in Advance
- I don’t recommend assembling this cake in advance because of the fresh fruit! It can sit for a day in the fridge, but the fruit will start to get pretty sad after that.
- You can make these angel food cake layers in advance. Store them in an airtight container in the fridge for up to 5 days, or at room temperature overnight.
- This whipped cream frosting can be made in advance up to 3 days. Store it in the fridge in an airtight container. There’s no need to thaw it, you can use it right out of the fridge.
- Store leftover frosting for up to 3 days in an airtight container or piping bag in the fridge.
Tips for Making the Best Layered Angel Food Cake
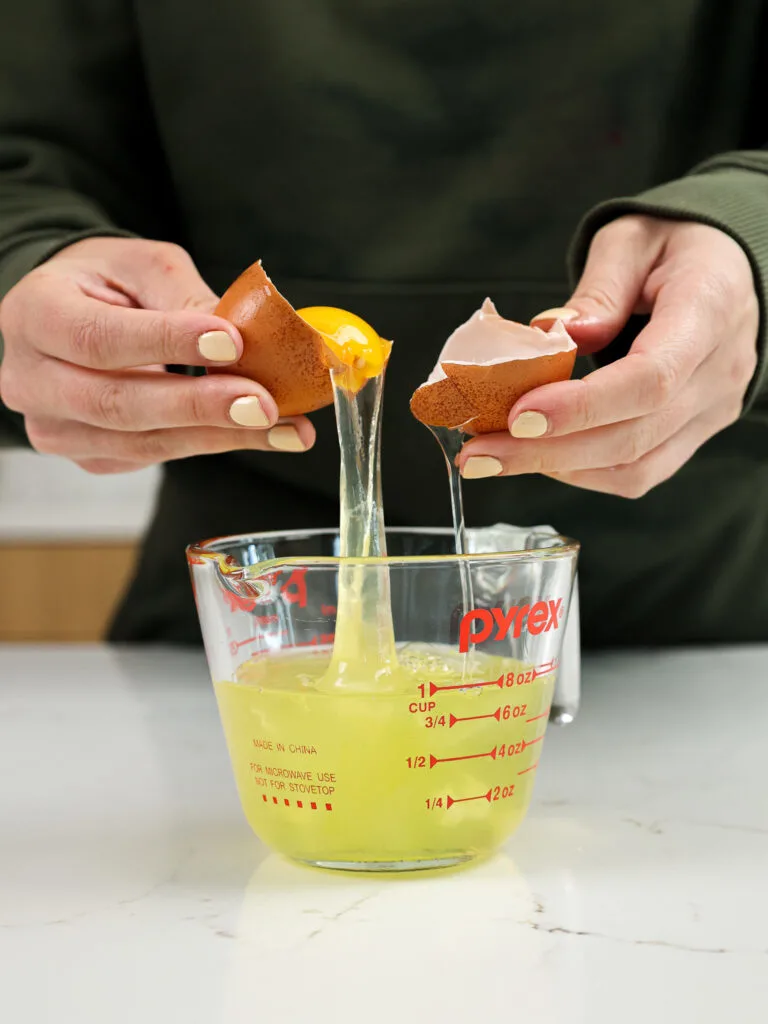
- Use fresh egg whites, they whip up best! Separate the eggs when they’re cold, then let them come to room temperature before whipping them.
- DO NOT GREASE YOUR PANS! The batter needs to be able to stick to the pans a bit as it bakes to maintain its structure as it bakes up.
- Note that this cake recipe bakes at 325 F, not 350 F! Be sure to set your oven to the right temperature.
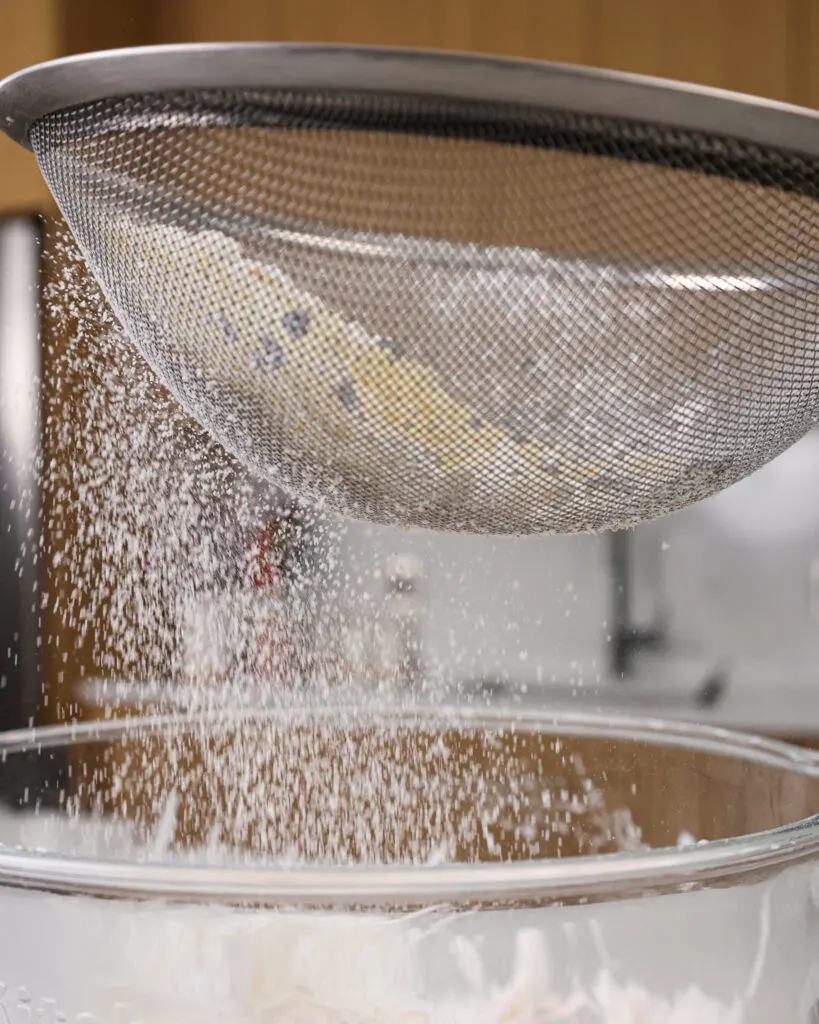
- Sift your dry ingredients! It’s important in this recipe because it helps aerate the ingredients and makes them easier to fold into the egg whites.
- Carefully fold your dry ingredients into your whipped egg whites. You don’t want to over-mix and deflate the batter.
- Let the cake layers cool fully in their pans to help them maintain their shape, then run an offset spatula around them to help get them out.
- You can use this recipe to make three 7″ or 8″ cake layers, or four 6″ cake layers.
- You can also make cupcakes with this recipe! Fill your liners 3/4 full and bake at 325 F / 162 C for about 15 minutes, or until a toothpick comes out clean.
Let Me Know What You Think!
If you try this layered angel food cake recipe, I’d love to hear what you think of it!
Please let me know your thoughts in the comments section below.
Other Recipes You Might Enjoy:
Layered Angel Food Cake
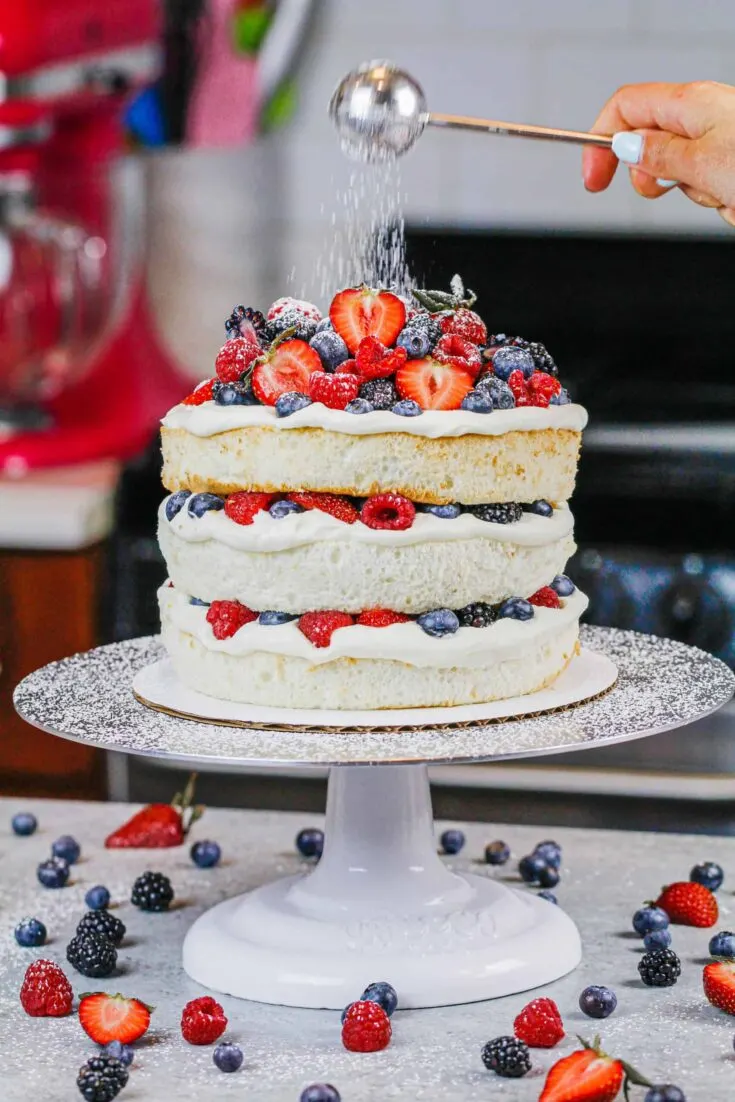
This layered angel food cake is frosted with a fluffy whipped cream frosting and packed with juicy berries! It's the perfect, light summer dessert!
Ingredients
Angel Food Cake Layers
- 1 cup cake flour (120g)
- 1 1/4 cup powdered sugar (150g)
- 1 tsp fine salt (6g)
- 10 large egg whites, freshly separated and at room temp (300g)
- 2 Tbsp fresh lemon juice (20g)
- 1 Tbsp warm water (12g)
- 1 1/2 tsp cream of tartar (5g)
- 1 tsp lemon zest (2g)
- 1/2 cup granulated sugar (100g)
Stabilized Whipped Cream Frosting
- 1 cup or 8 oz. block full fat cream cheese, cold (226g)
- 1 cup powdered sugar (125g)
- 1 tsp vanilla extract (4g)
- 2 1/2 cups heavy cream or heavy whipping cream, cold (600g)
Filling and Decoration
- 1 pint fresh blueberries
- 1 pint fresh raspberries
- 1 pint fresh blackberries
- 1 lb. fresh strawberries, sliced in half
Instructions
Angel Food Cake Layers
- Preheat oven to 325 F / 162 C and line three 7-inch or 8-inch cake pans with parchment paper. DO NOT GREASE THE PANS!! If you accidentally did, wash out the grease and dry them before adding in the parchment paper.
- Sift 1 cup cake flour, 1 1/4 cups powdered sugar, and 1 tsp salt into a medium bowl. Set aside.
- Add 10 egg whites, 2 Tbsp of fresh lemon juice, 1 Tbsp warm water, 1 1/2 tsp of cream of tartar, and 1 tsp of lemon zest into the bowl of a stand mixer fit with whisk attachment.
- Mix on a low speed for 1 minute to combine the ingredients.
- Gradually add in 1/2 cup of granulated sugar. Increase the speed to medium-high and mix until soft peaks have formed and the mixture has quadrupled in volume.
- Use a rubber spatula to gently fold the dry ingredients into the whipped egg whites in 2 additions. Mix just until you can't see any streaks of flour (it's ok if there are some small lumps).
- Divide the batter evenly between the prepared pans and smooth out the batter with the back of your rubber spatula.
- Bake for 22-25 minutes or until a toothpick comes out clean and the tops are lightly browned.
- Let the cake layers cool fully in the pan, then run an offset spatula around the edges to carefully loosen them.
- Remove them from the pans, then set them aside while you make the whipped cream frosting.
Whipped Cream Frosting with Cream Cheese
- Chill your mixing bowl and whisk attachment in the freezer for 30 minutes to help this whipped cream frosting whip up better.
- Place 1 cup (8 oz. block) of cold cream cheese into the chilled mixing bowl and mix on a medium speed until smooth.
- Add in 1 cup of powdered sugar and mix on low at first to avoid a powdered sugar clouds / explosions. Increase the speed to medium high once the powdered sugar is incorporated and mix for about 1 minute. Scrape the bowl with a rubber spatula as needed throughout this process.
- Add in 1 tsp of vanilla extract, then turn the mixer to a medium high speed and gradually pour in 2 1/2 cups of cold heavy cream. I like to do this in about 4 additions, and focus on pouring the heavy cream down the side of the bowl to prevent it from splattering.
- Watch the mixture closely once the heavy cream is fully mixed in. It should thicken and take shape shortly after this (mine usually does within about 30 seconds of mixing after I've added in all the heavy cream). Take care not to over-mix this whipped cream frosting!! It will become soupy and sadly you won't be able to fix it.
- As soon as you see the frosting start to take shape, turn off your mixer and do a quick whisk test. Dunk your whisk attachment into the frosting, then put it out and flip it upside down. The frosting should keep its shape and form a nice peak. If it doesn't, continue to mix the frosting on a medium high speed for 30 second intervals until it does.
- Once it passes the whisk test, cover with plastic wrap and place in the fridge until you're ready to use.
Assembling this Layered Angel Food Cake
- Build this layered angel food cake cake on a greaseproof cake board using a dab of whipped cream frosting to help stick the first cake layer to the board. Place the cake layer upside down to make it easier to frost.
- Spread a thick layer of the whipped cream frosting on the cake layer and top with about 1/3 of the fresh berries.
- Repeat with remaining cake layers.
- Decorate the top of the cake with the remaining berries and a dusting of powdered sugar, then enjoy!
Notes
Tips for Making the Best Layered Angel Food Cake
- Use fresh egg whites, they whip up best! Separate the eggs when they're cold, then let them come to room temperature before whipping them.
- DO NOT GREASE YOUR PANS! The batter needs to be able to stick to the pans a bit as it bakes to maintain its structure as it bakes up.
- Note that this cake recipe bakes at 325 F, not 350 F! Be sure to set your oven to the right temperature.
- Sift your dry ingredients. It's important in this recipe because it helps aerate the ingredients and makes them easier to fold into the egg whites.
- Carefully fold your dry ingredients into your whipped egg whites. You don't want to over-mix and deflate the batter.
- Let the cake layers cool fully in their pans to help them maintain their shape, then run an offset spatula around them to help get them out.
- You can use this recipe to make three 7" or 8" cake layers, or four 6" cake layers.
- You can also make cupcakes with this recipe! Fill your liners 3/4 full and bake at 325 F / 162 C for about 15 minutes, or until a toothpick comes out clean.
Nutrition Information
Yield
16Serving Size
1Amount Per Serving Calories 348Total Fat 19gSaturated Fat 12gTrans Fat 0gUnsaturated Fat 6gCholesterol 58mgSodium 236mgCarbohydrates 40gFiber 3gSugar 28gProtein 6g

22 Light Desserts After A Heavy Meal (Easy
Wednesday 21st of February 2024
[…] 3. Angel Food Cake with Berries […]
Erika
Wednesday 10th of January 2024
Can I make this cake in a Bundt pan?
Chelsweets
Sunday 14th of January 2024
Hi Erika,
I haven't tested this recipe out in a bundt pan, but I feel like it should work?! If you try it, please let me know how it turns out :) Happy baking!
Amy W
Wednesday 15th of November 2023
Hi - I was just wondering what the tablespoon of warm water does for the cake? Thanks!
Chelsweets
Sunday 19th of November 2023
Hi Amy,
A little bit of warm water can help keep the whites from getting over-whipped! Happy baking :)
How To Decorate A Angel Food Cake | The Article Home
Monday 9th of October 2023
[…] Turntable: A rotating cake stand or turntable will make it easier for you to ice and decorate your cake evenly from all […]
Jenny
Wednesday 20th of September 2023
Great recipes on this site! I got an idea while reading through it, is there a way to formulate a frosting using egg yolks as the source of fat? Would hate to see ten yolks with no use for them (ofc there's other things you can do, but for someone like me who does not belong in a kitchen one project like this is well enough for a whole month!).
Chelsweets
Monday 25th of September 2023
Hi Jenny,
Thank you! That is a great idea! French buttercream is made with egg yolks, so that might be what you're looking for. I don't have a recipe for it, but Preppy Kitchen does, here's the link: https://preppykitchen.com/how-to-make-french-buttercream/
Hope that helps, happy baking!