
Homemade Candy Eyes
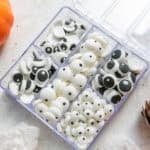
These homemade candy eyes are made with just 3 ingredients and are so fun to make.
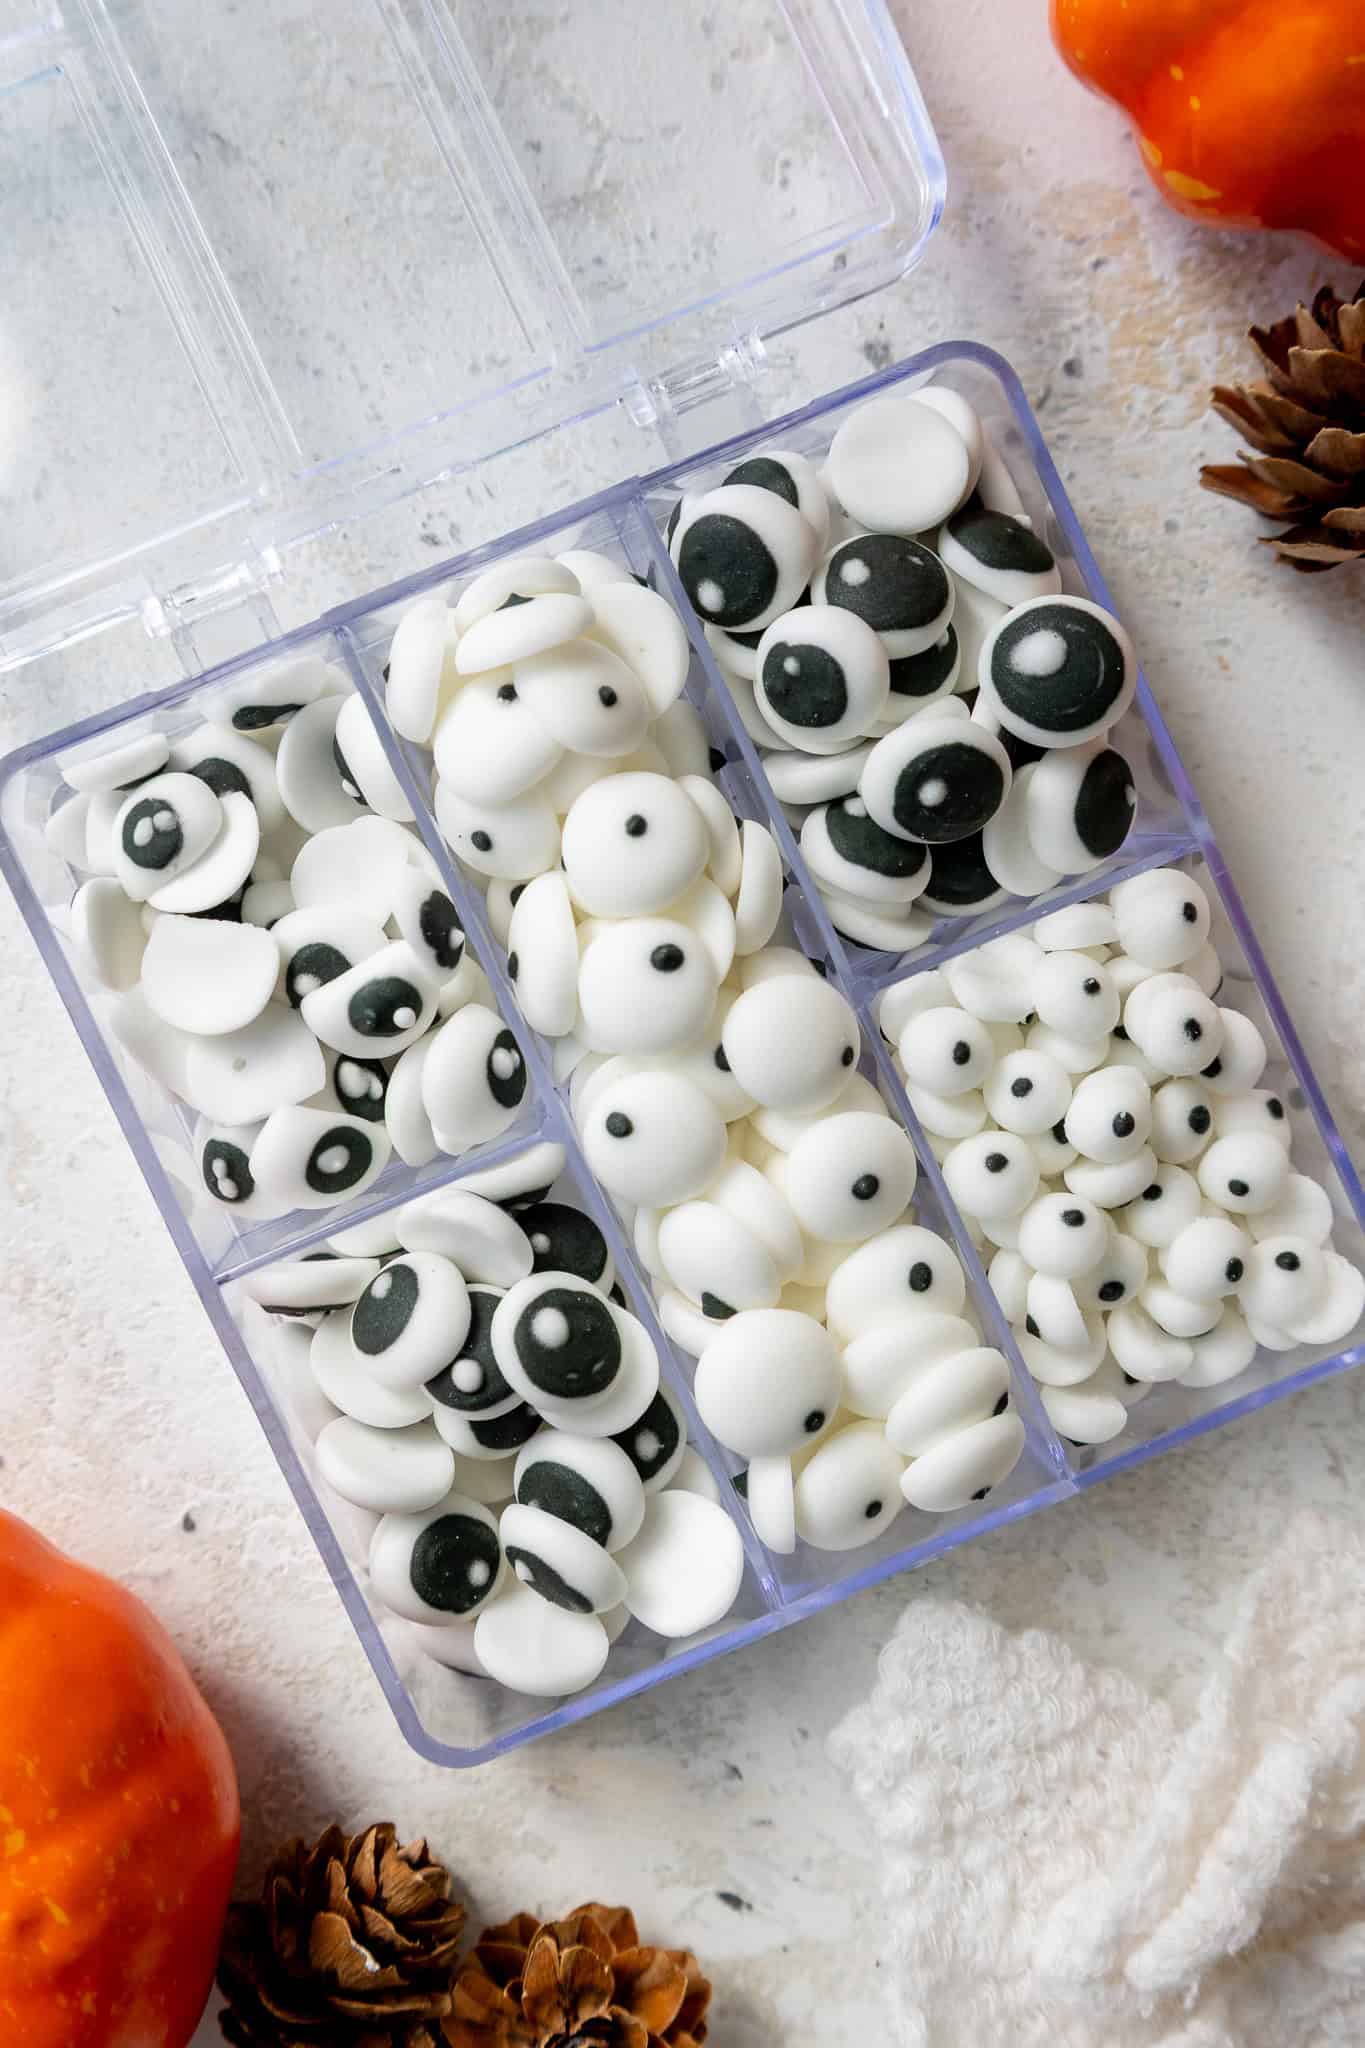
Homemade Candy Eyes at a Glance
- Made with: Royal icing and black gel food coloring
- Yield: About 400 candy eyes
- Dry time: At least 4 hours or overnight
- Best for: Halloween cookies, monster cupcakes, cakes, and cakesicles
- Make ahead: Yes, they store well in an airtight container
How to Make These Candy Eyes
Let’s walk through each step of this recipe to make sure it turns out as amazing as possible!
I’ve also shared a video on how to make them in the recipe card at the bottom of this post.
Step 1: Make the Royal Icing
Whisk together 2 cups (250g) of powdered sugar and 1 Tbsp + 2 tsp (15g) of meringue powder in a large bowl or the bowl of a stand mixer.
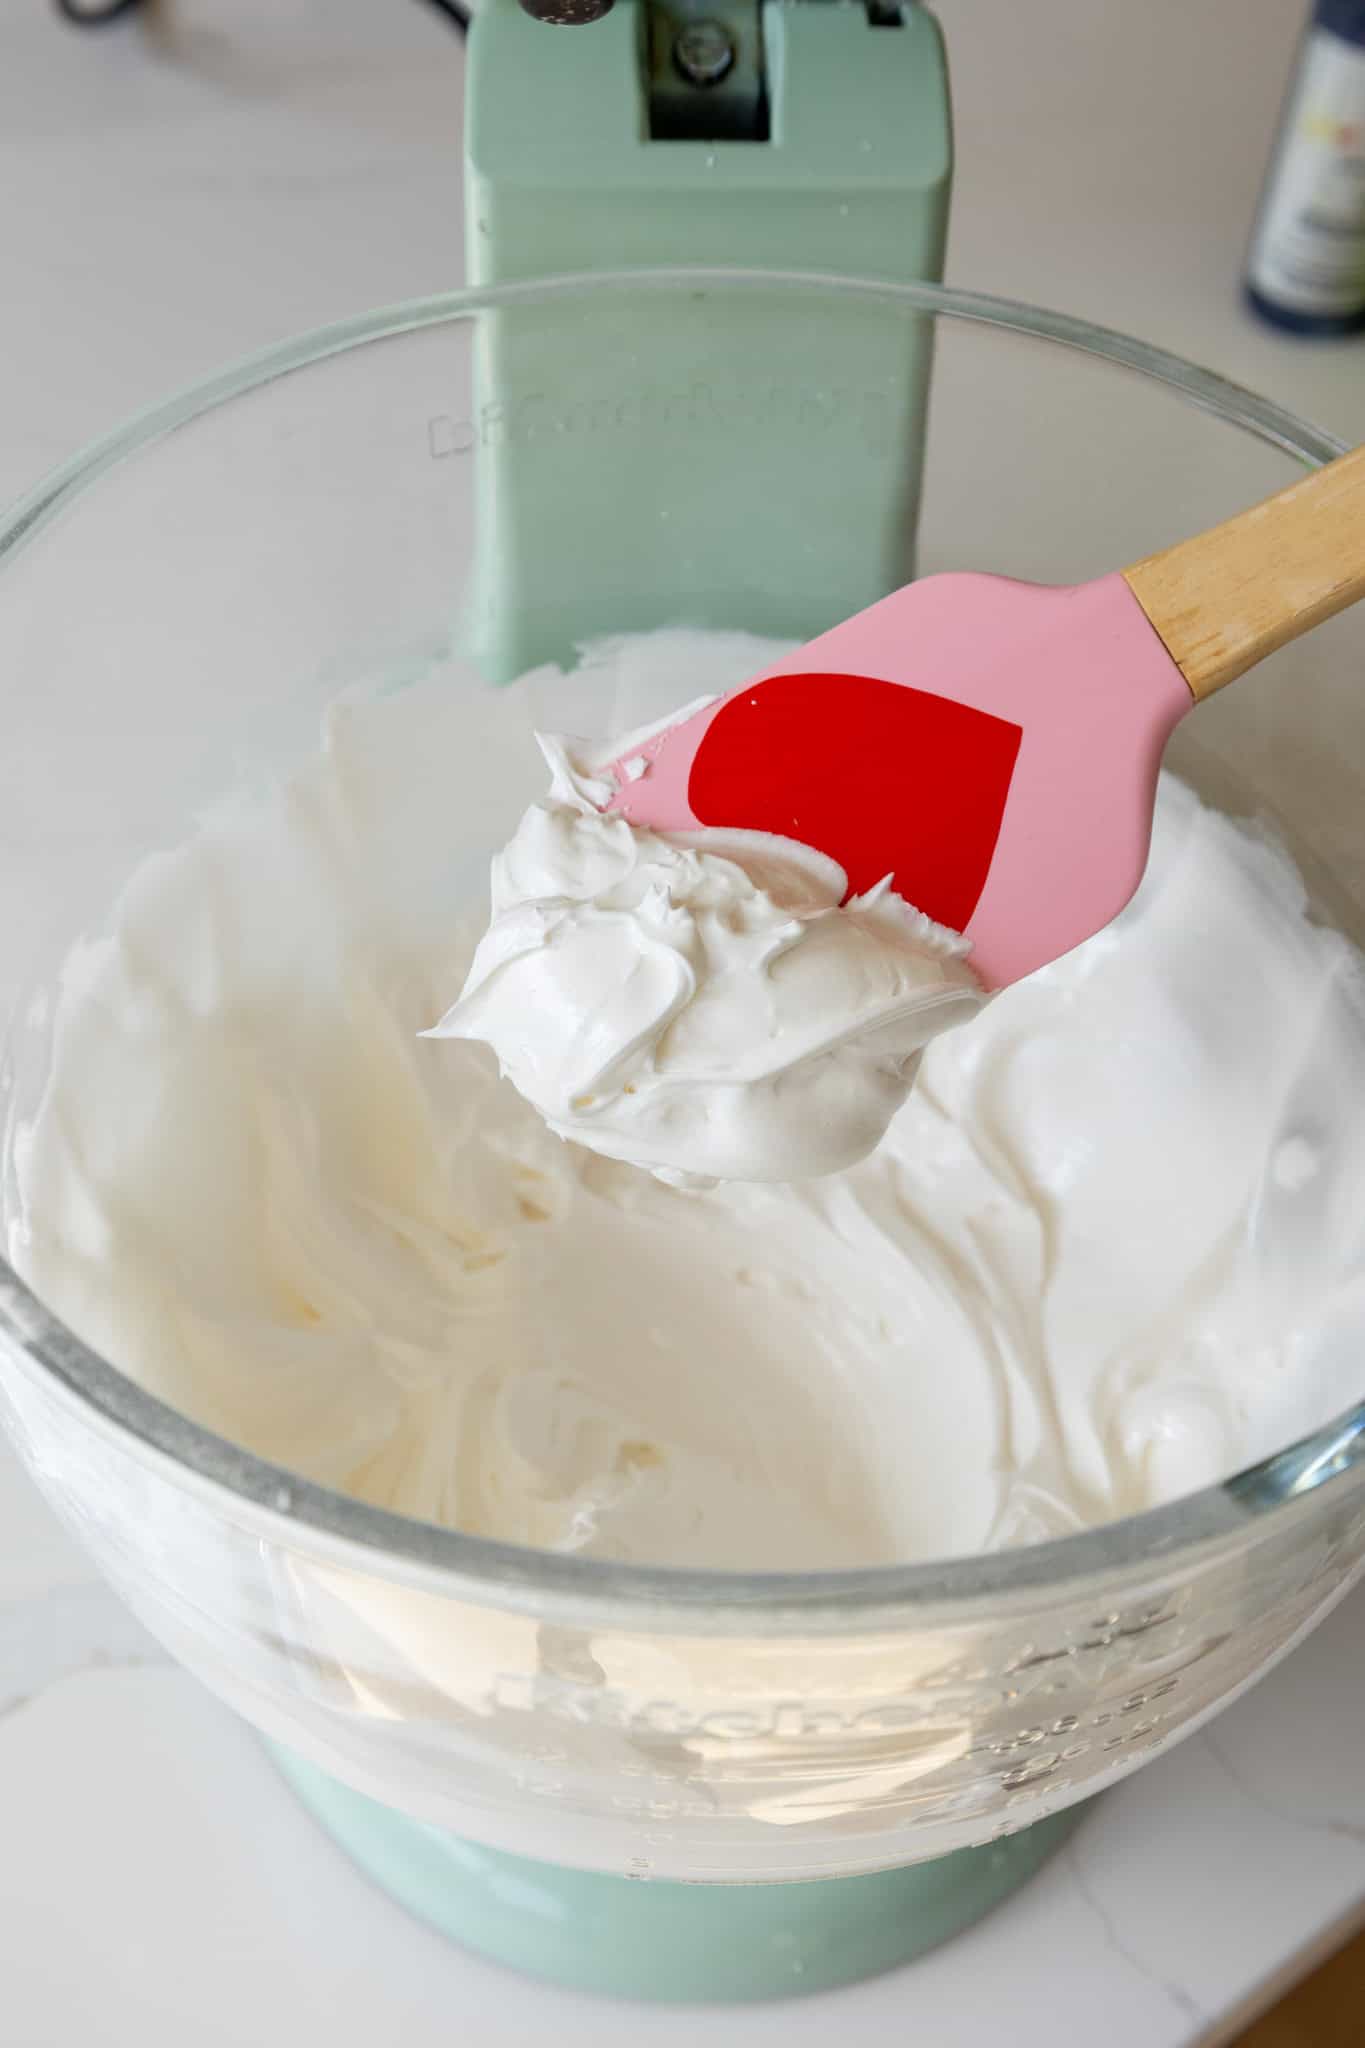
Add 3 Tbsp water and mix on a low speed with a stand mixer and paddle attachment or hand mixer to incorporate the liquid, then increase to a medium speed and mix until the mixture thickens and has a puffy, toothpaste-like consistency.
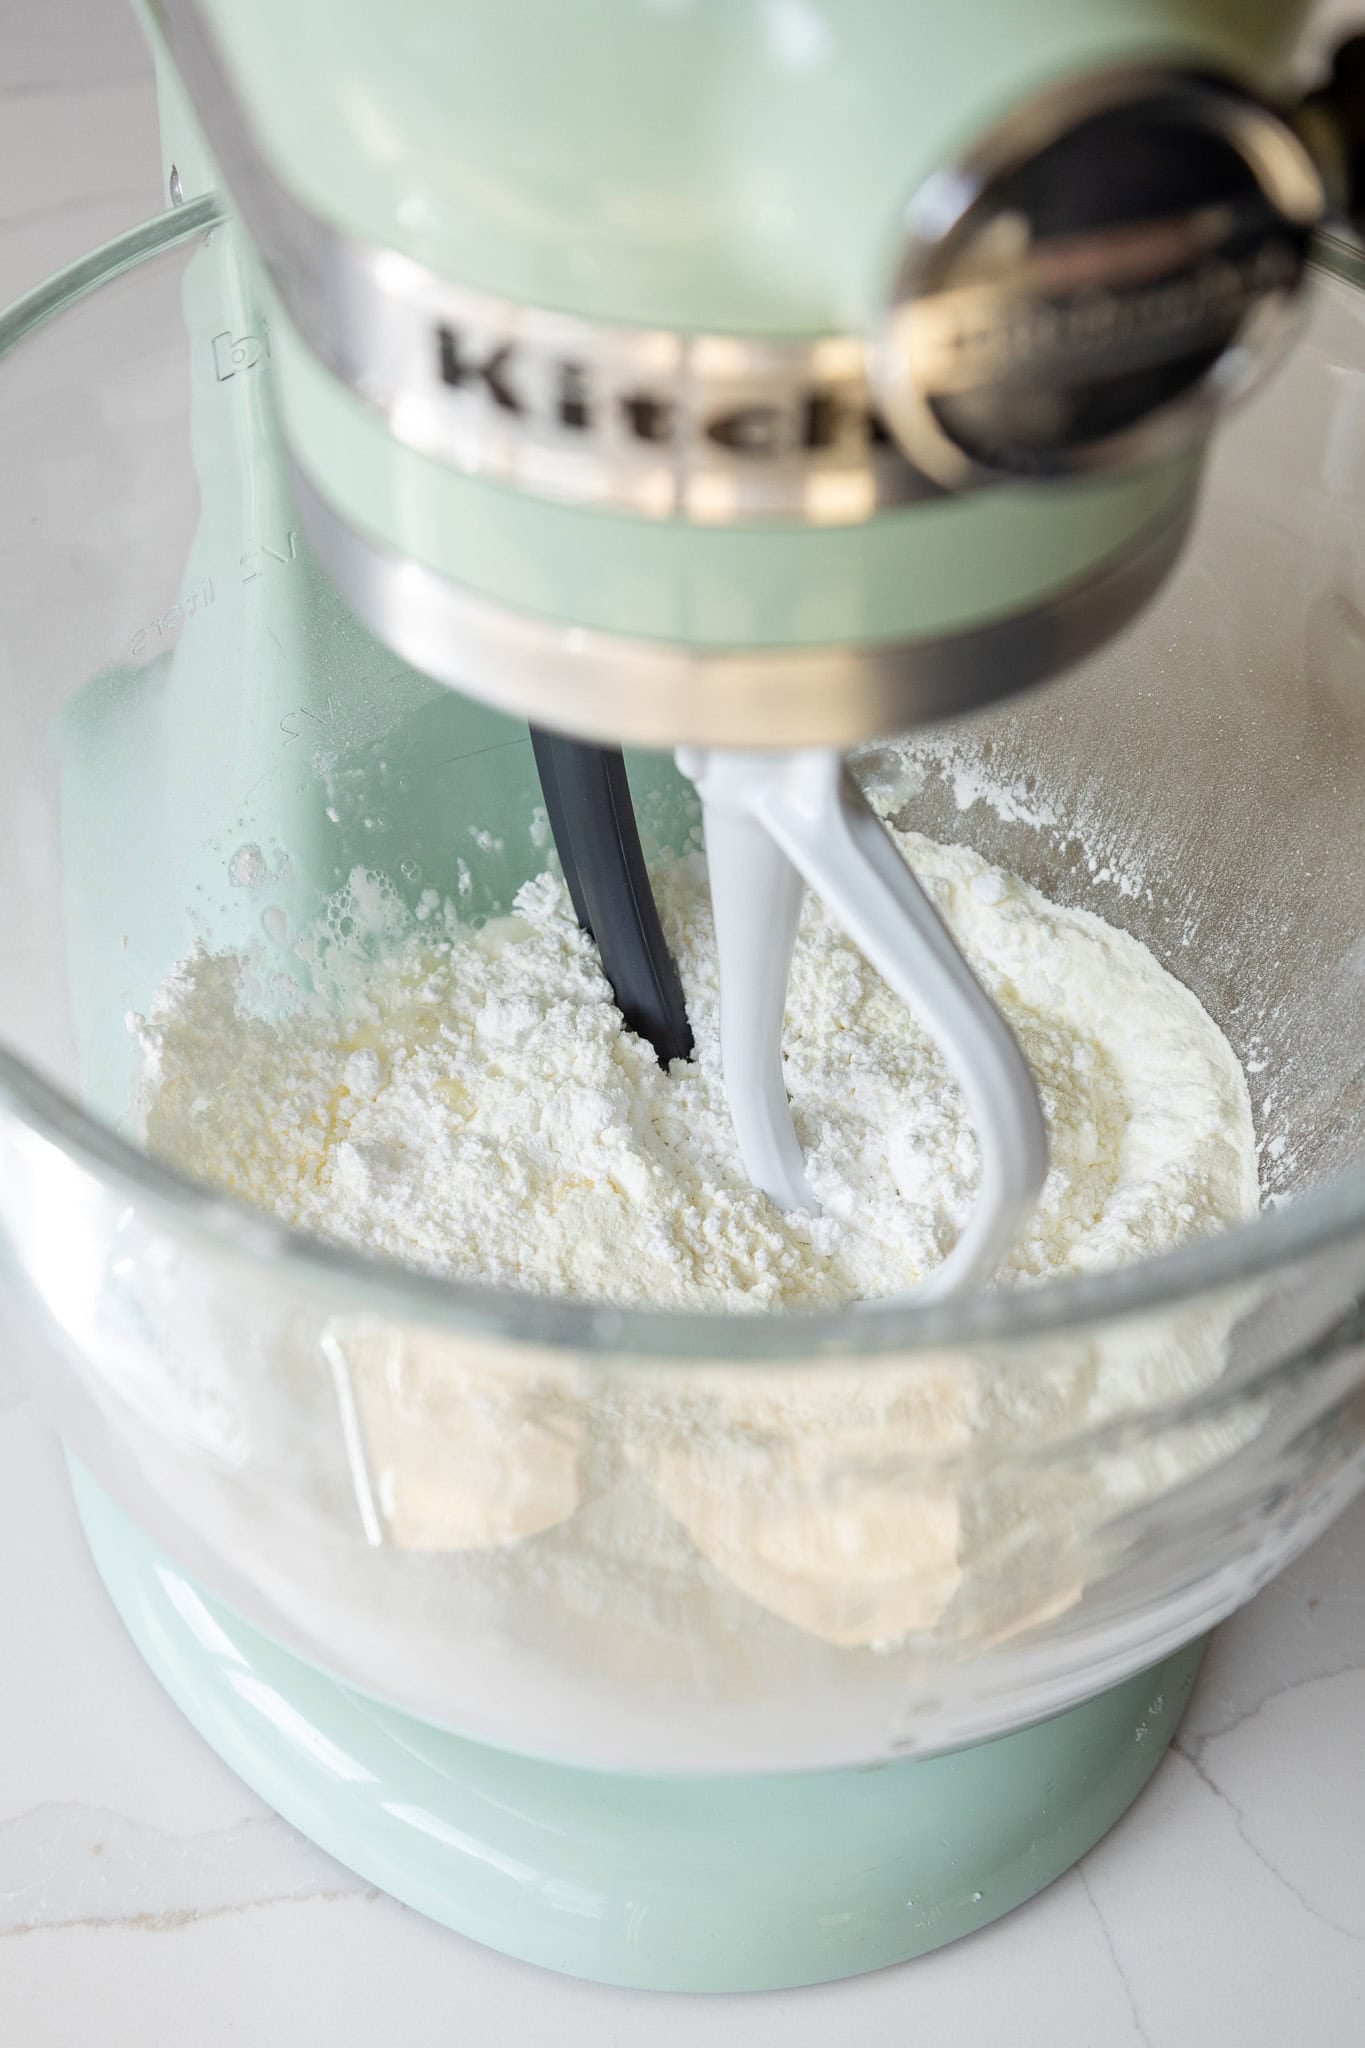
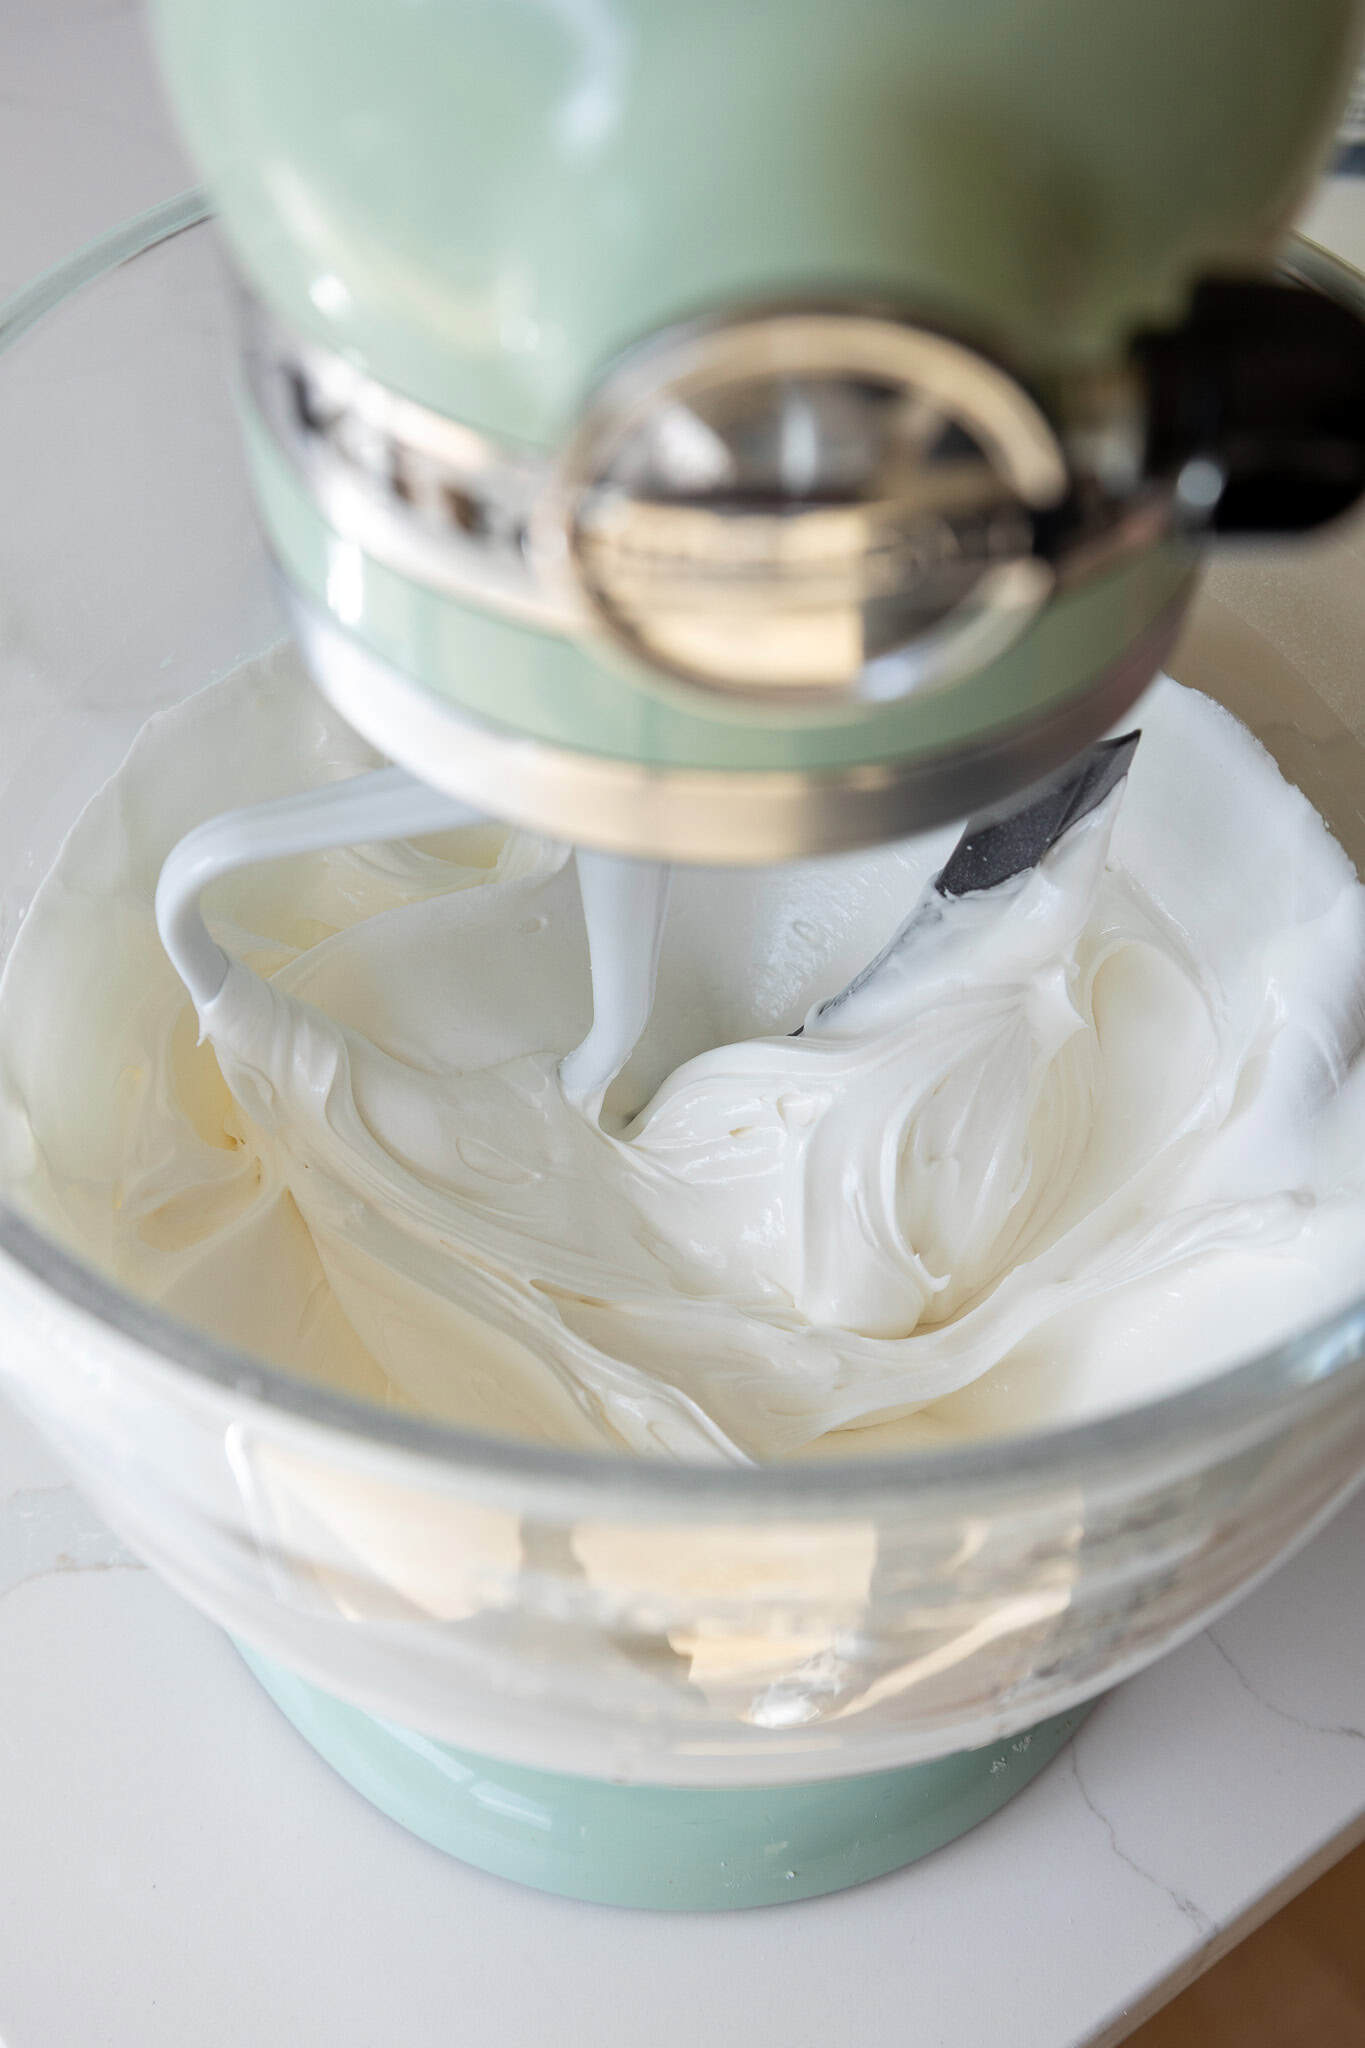
This usually takes me about 3 minutes with a hand mixer or 2 minutes with a stand mixer. Scrape around the sides and bottom of the bowl with a rubber spatula to ensure everything is properly mixed together.
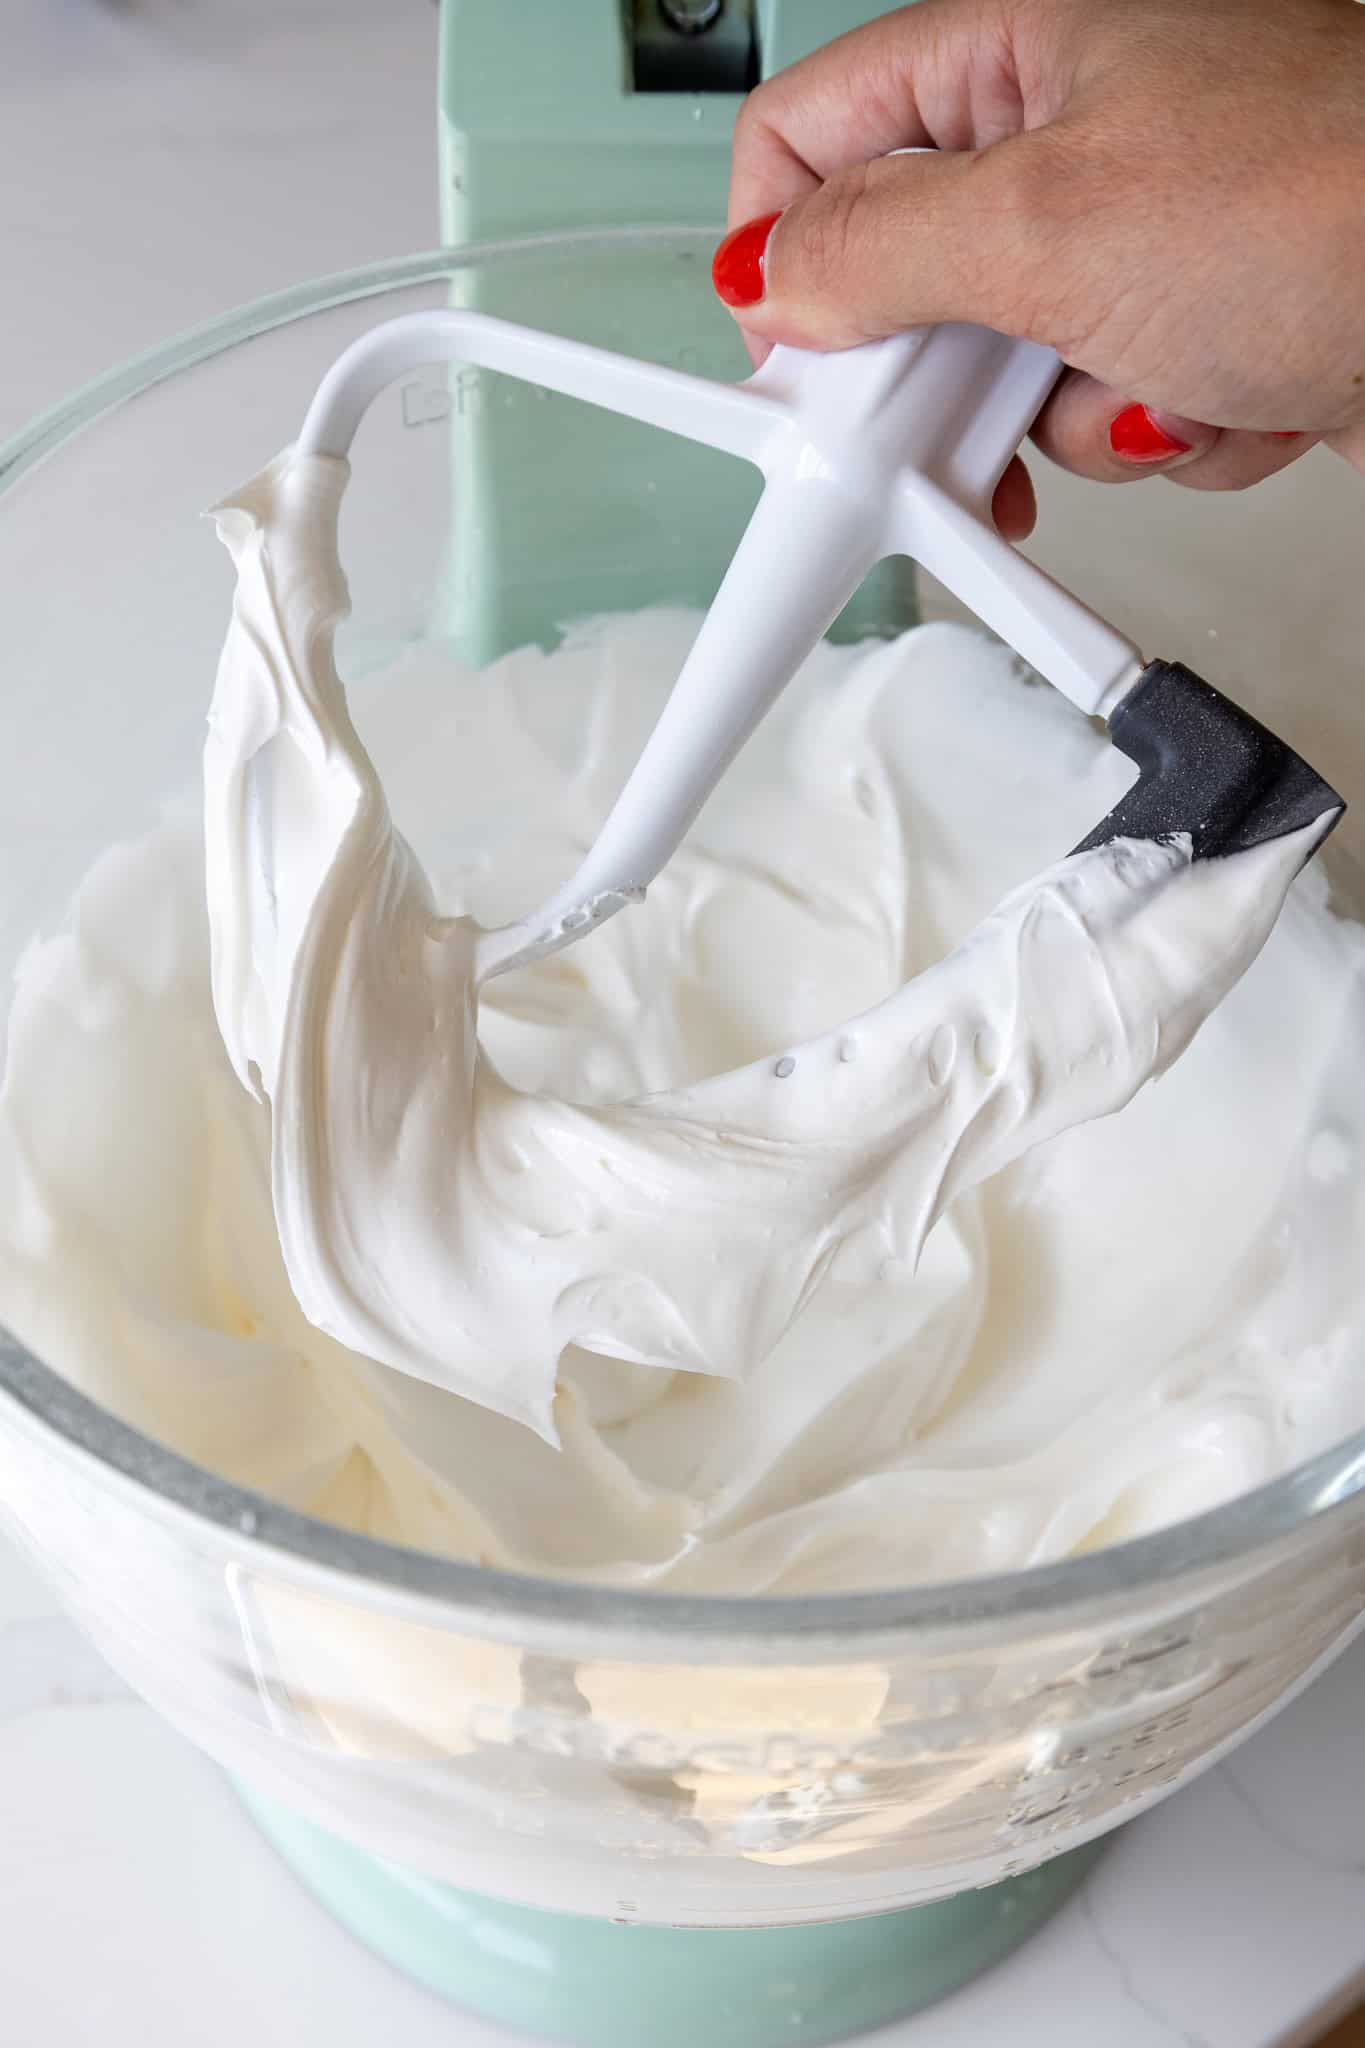
Check the consistency by dipping a spoon or spatula into the bowl and lifting it up. It should be thick enough to hold its shape, but soft enough to settle into a smooth circle once piped. If the icing is too thin, add more powdered sugar, 1 Tbsp at a time. If it’s too thick, add more water, 1 tsp at a time.
Step 2: Color the Royal Icing
Scoop about 1/4 of the icing into a small bowl and color it black with gel food coloring. Place this into a small, tipless piping bag (like these), or a regular small piping bag, and seal the top with a rubber band or clip. Set aside.
Scoop the remaining uncolored icing into a small, tipless piping bag (like these), or a regular small piping bag, and seal the top with a rubber band or clip. Set aside.
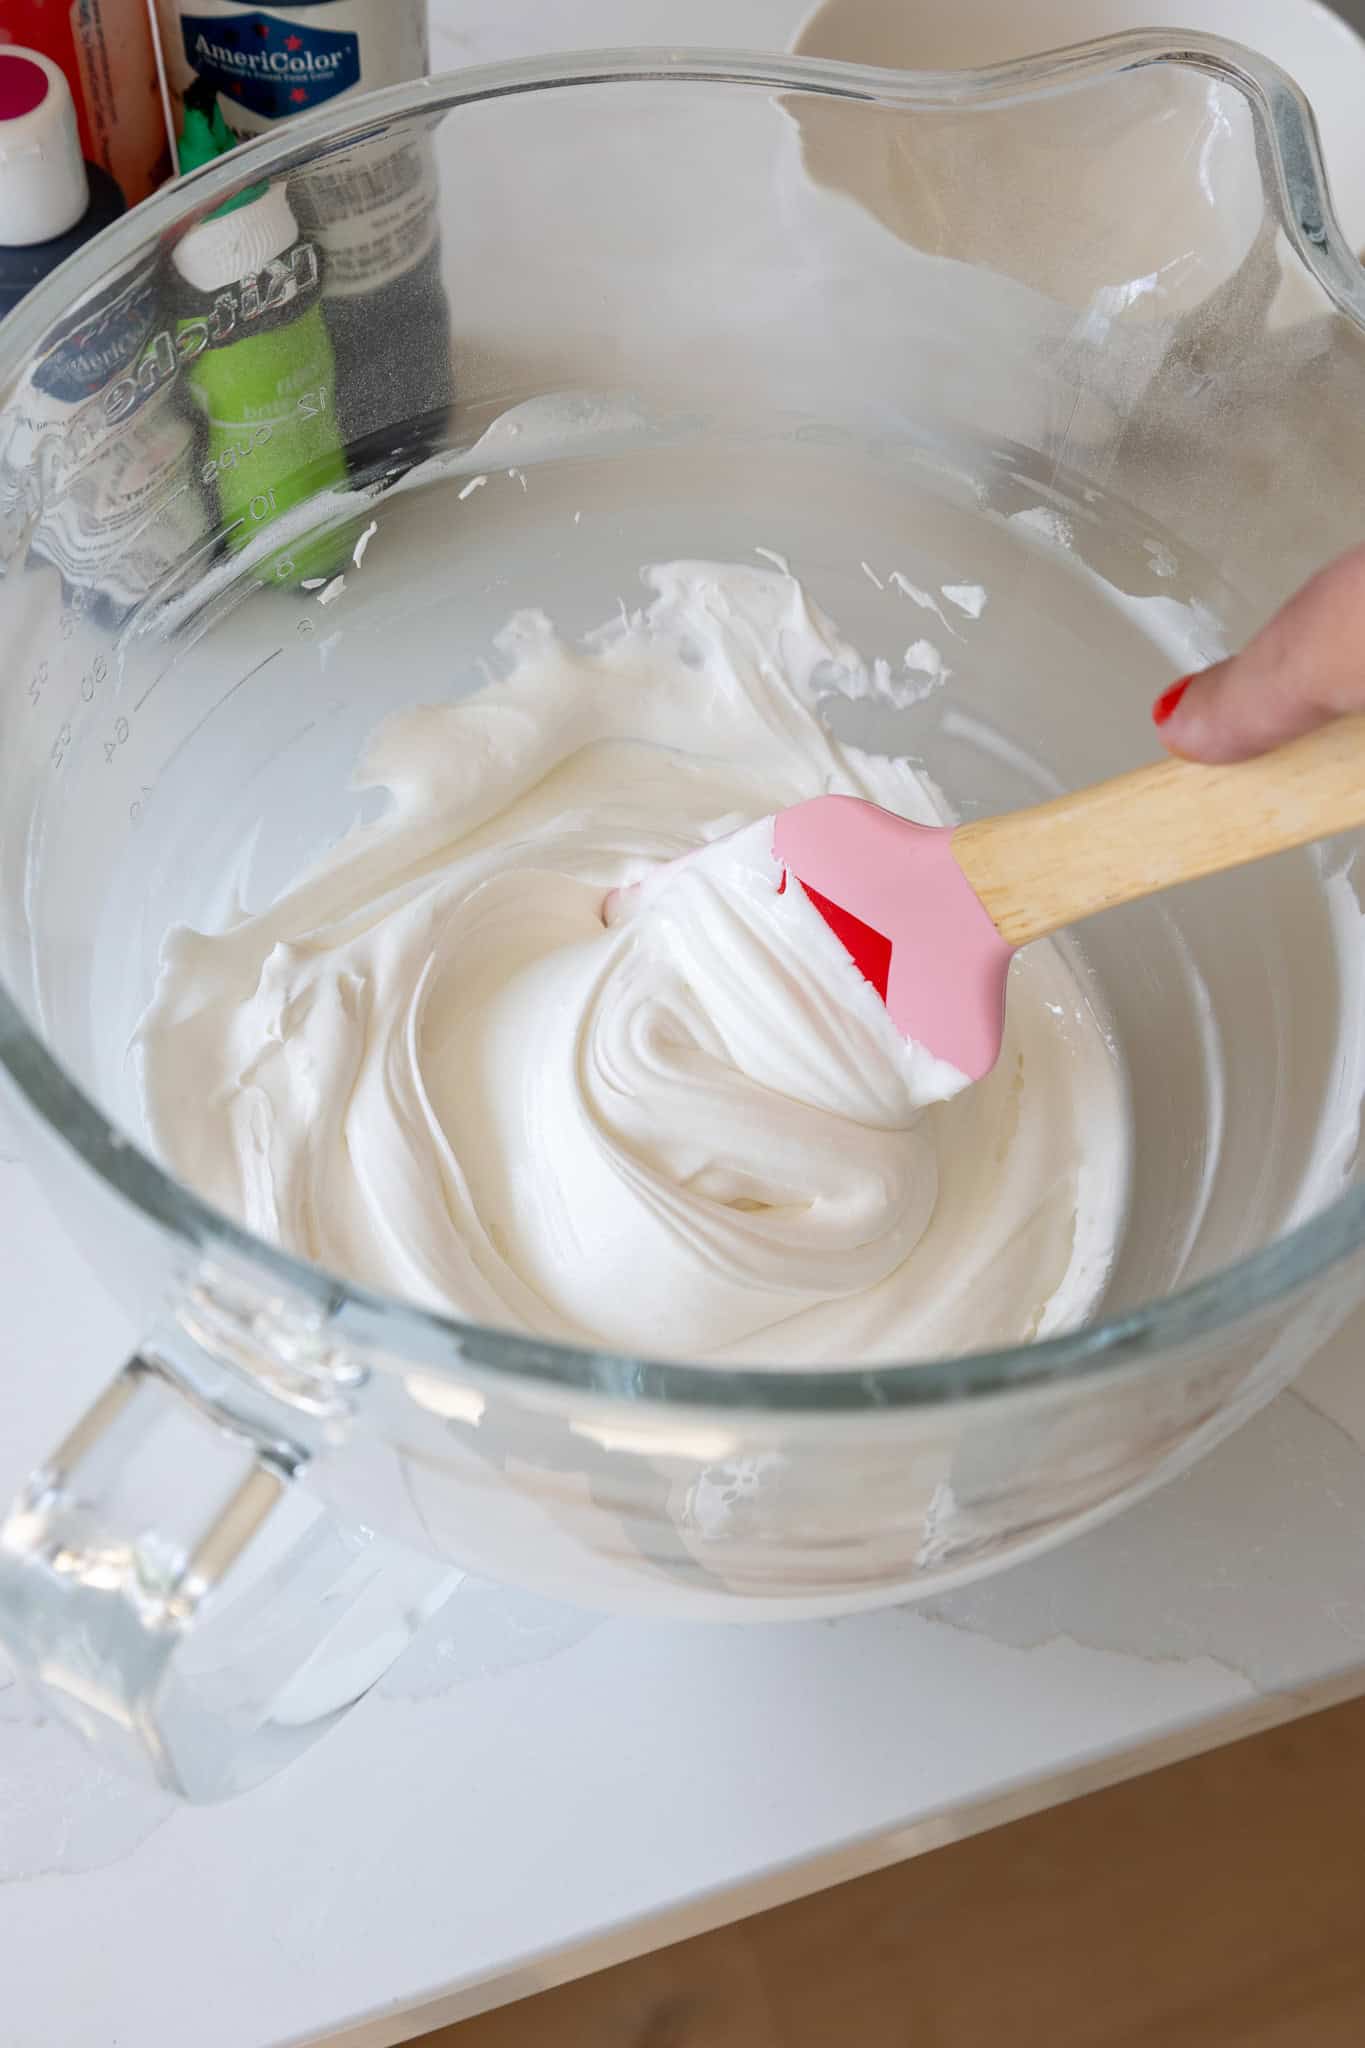
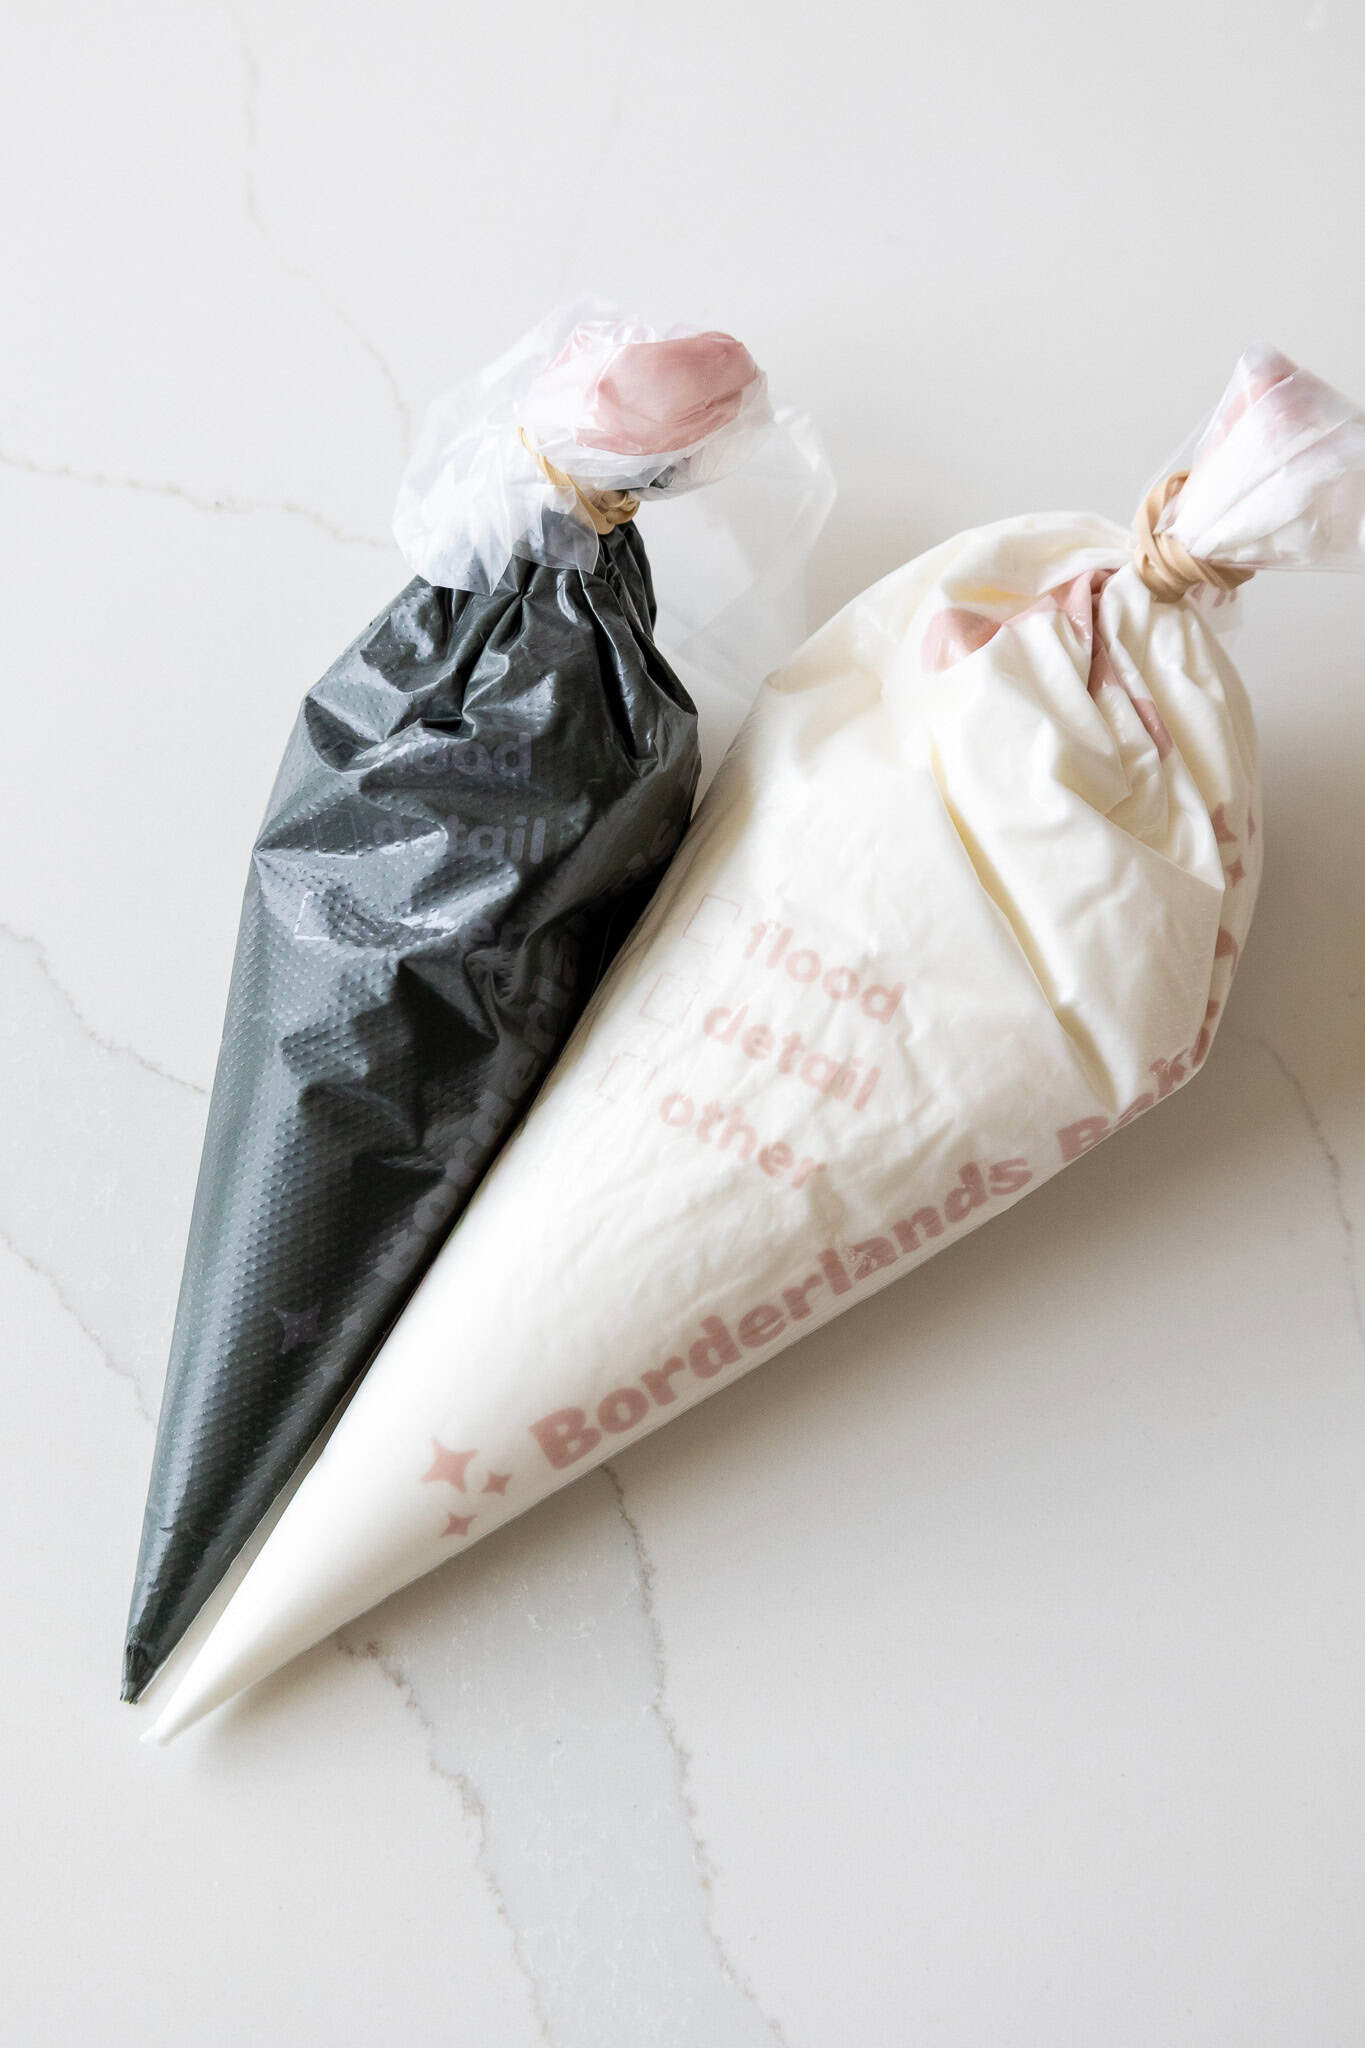
Cut a small opening (about 1/8 of an inch) at the base of the piping bags. You can always cut the opening wider, but you can’t make it smaller once you cut it.
Step 3: Pipe the Candy Eyes
Use these templates to pipe the eyeballs. Place the candy eye templates on large baking sheets, then cover them with parchment paper. Pipe the eyes directly onto the parchment paper, using the templates as a guide.
Start by piping the white part of the eye, then add the pupils with black icing. The icing will crust as it sits, so pipe the pupils shortly after you pipe the white part of the eye so that it can easily incorporate into the white icing (i.e. don’t pipe an entire tray of 100 white eyeballs, then try to add the pupils).
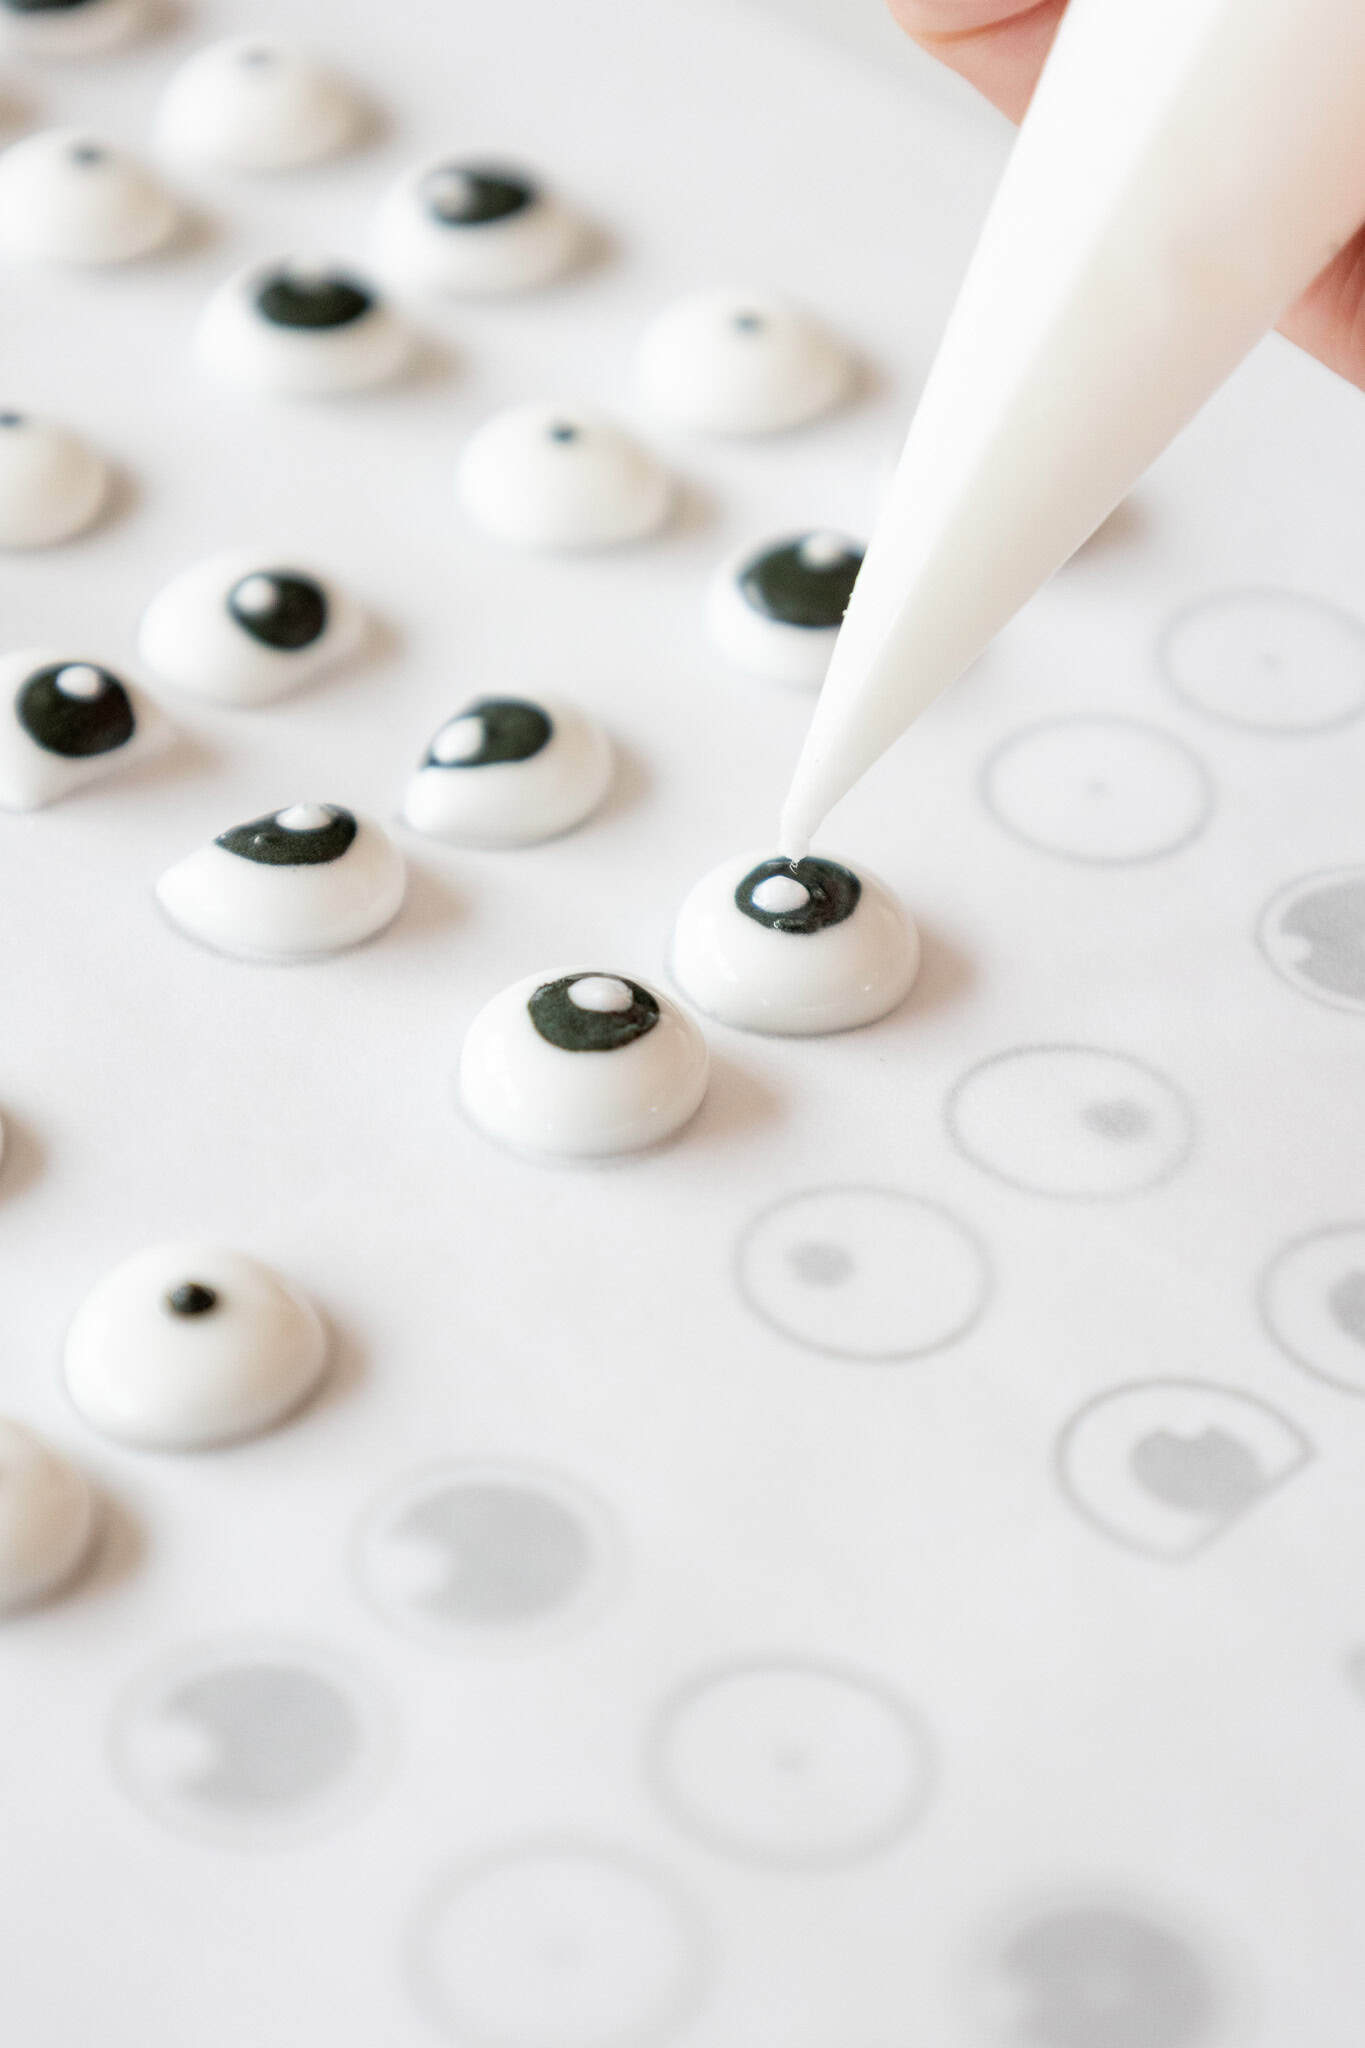
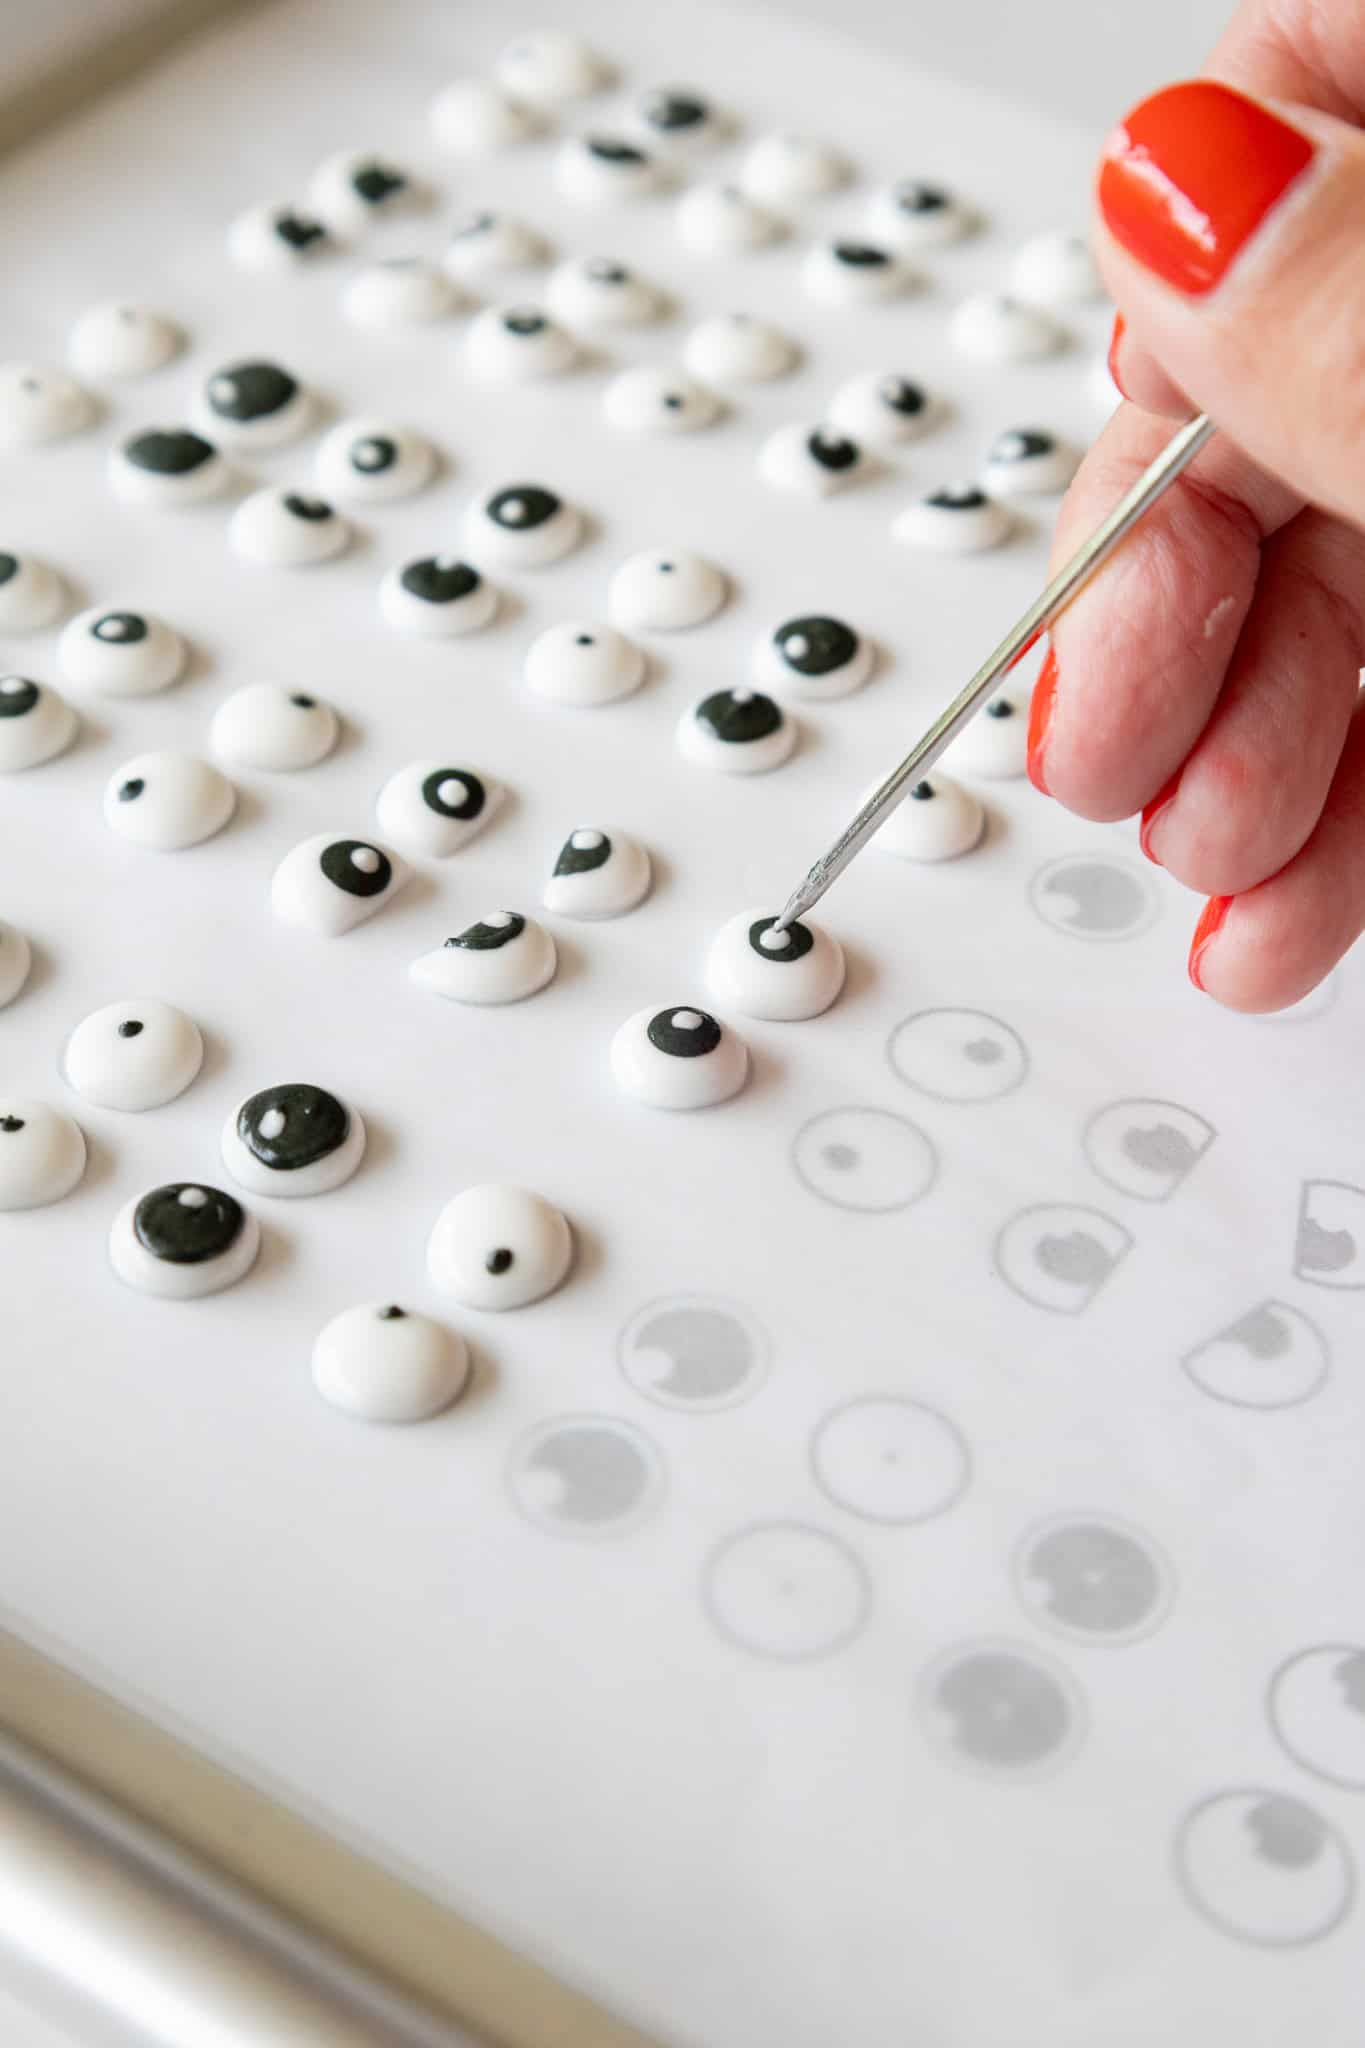
If the icing isn’t settling smoothly once it’s piped, gently jiggle it with the tip of the piping bag or use a scribe or toothpick to help smooth it out. Make sure to do this before the icing crusts. The first few can be challenging, but it gets easier the more you pipe, I promise!
Step 4: Let the Candy Eyes Dry Fully
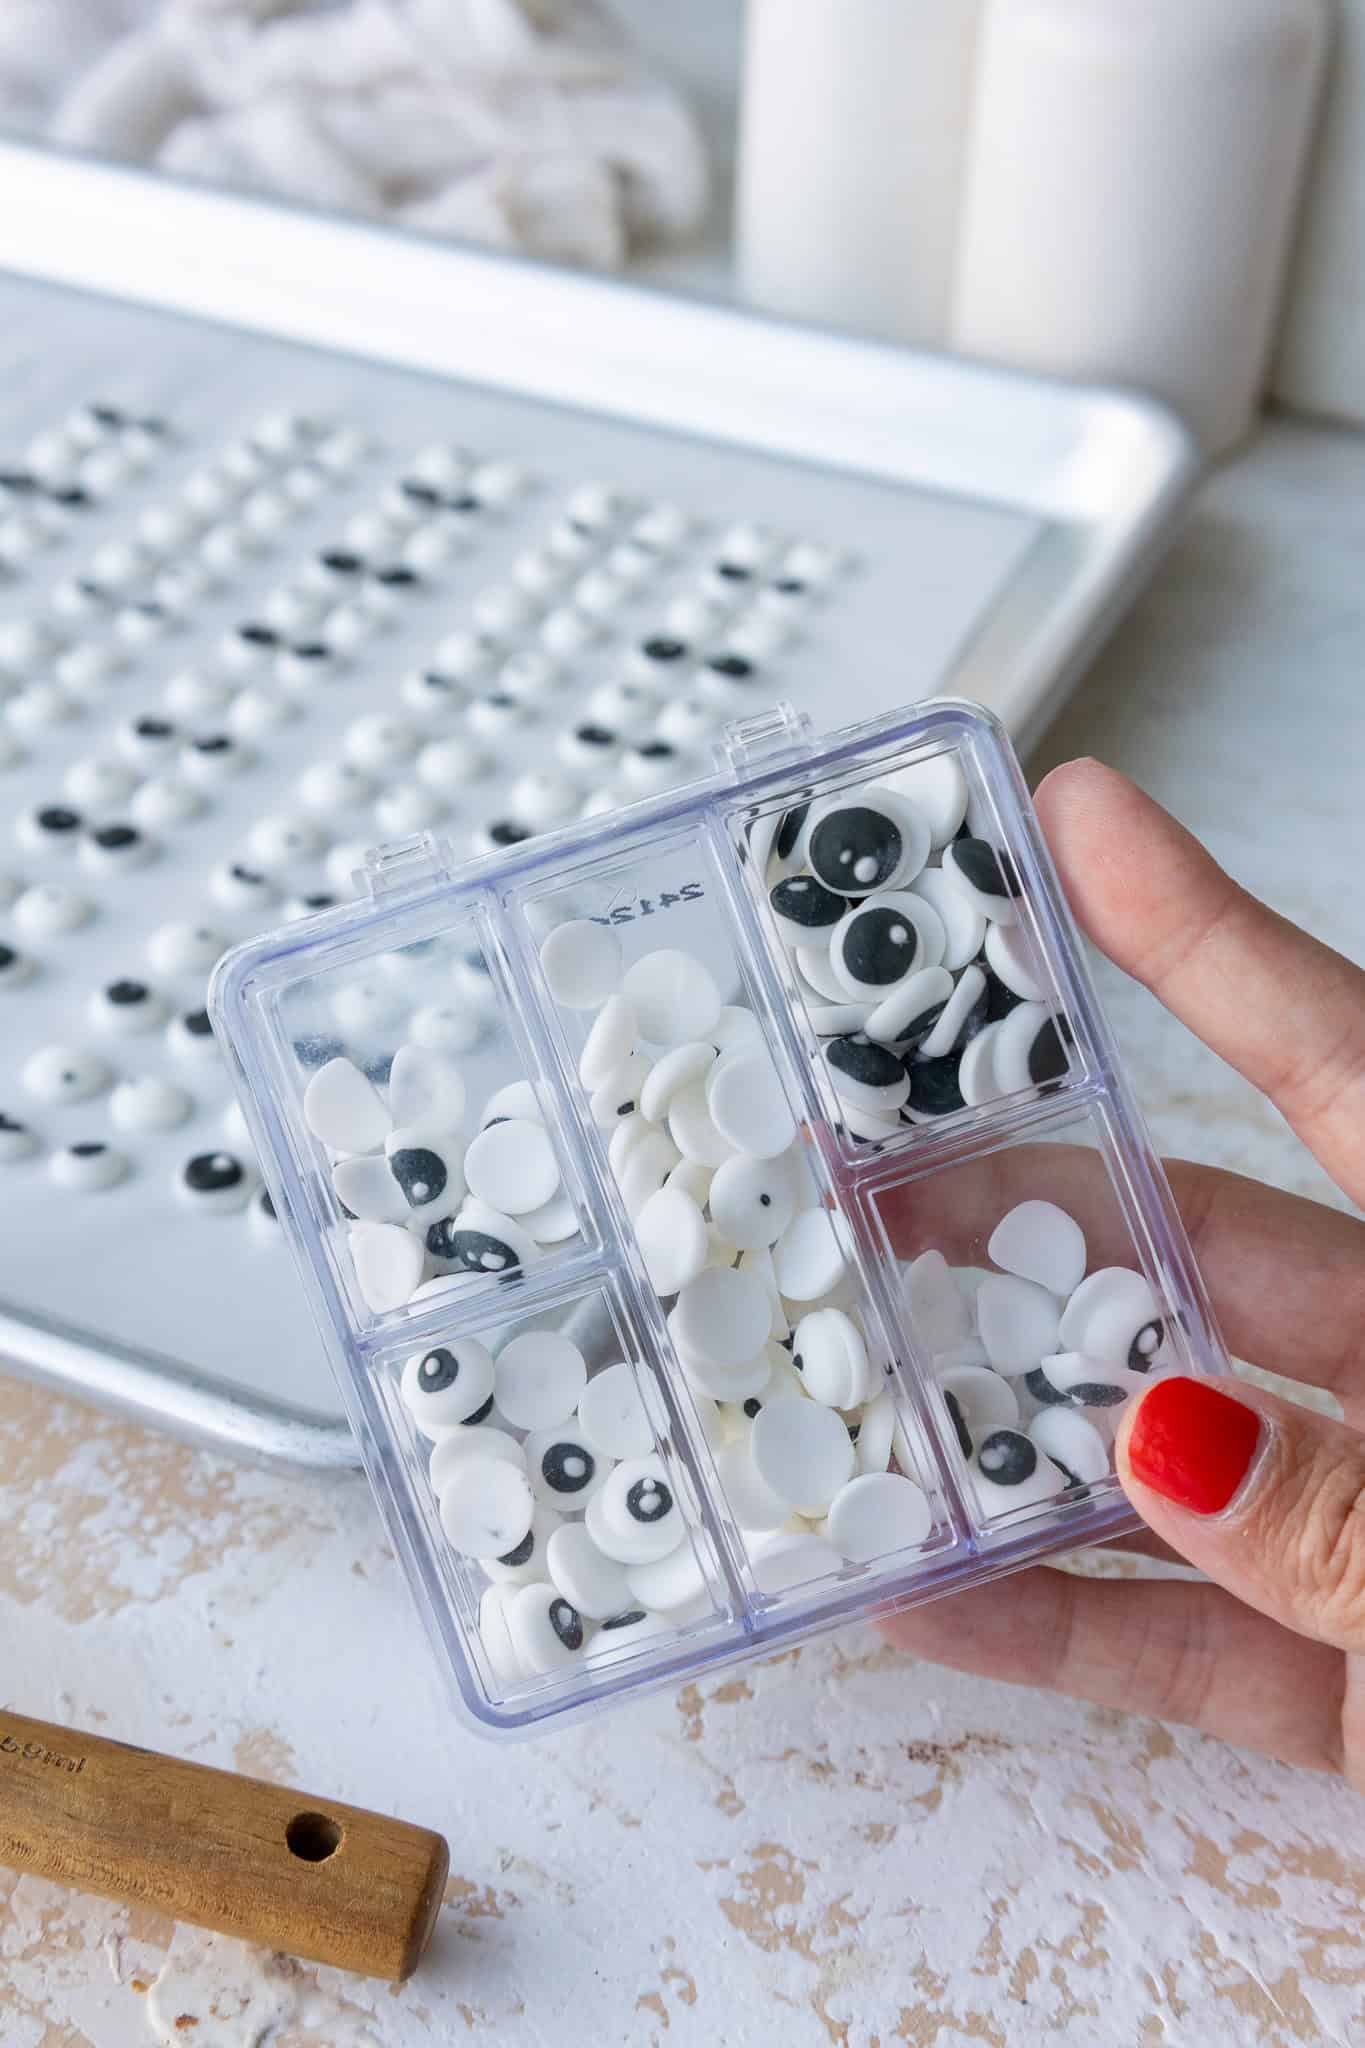
Let the eyeballs dry for at least 4 hours or overnight until they’re firm to the touch and peel off the parchment paper cleanly. These can be stored in an airtight container for up to a year.
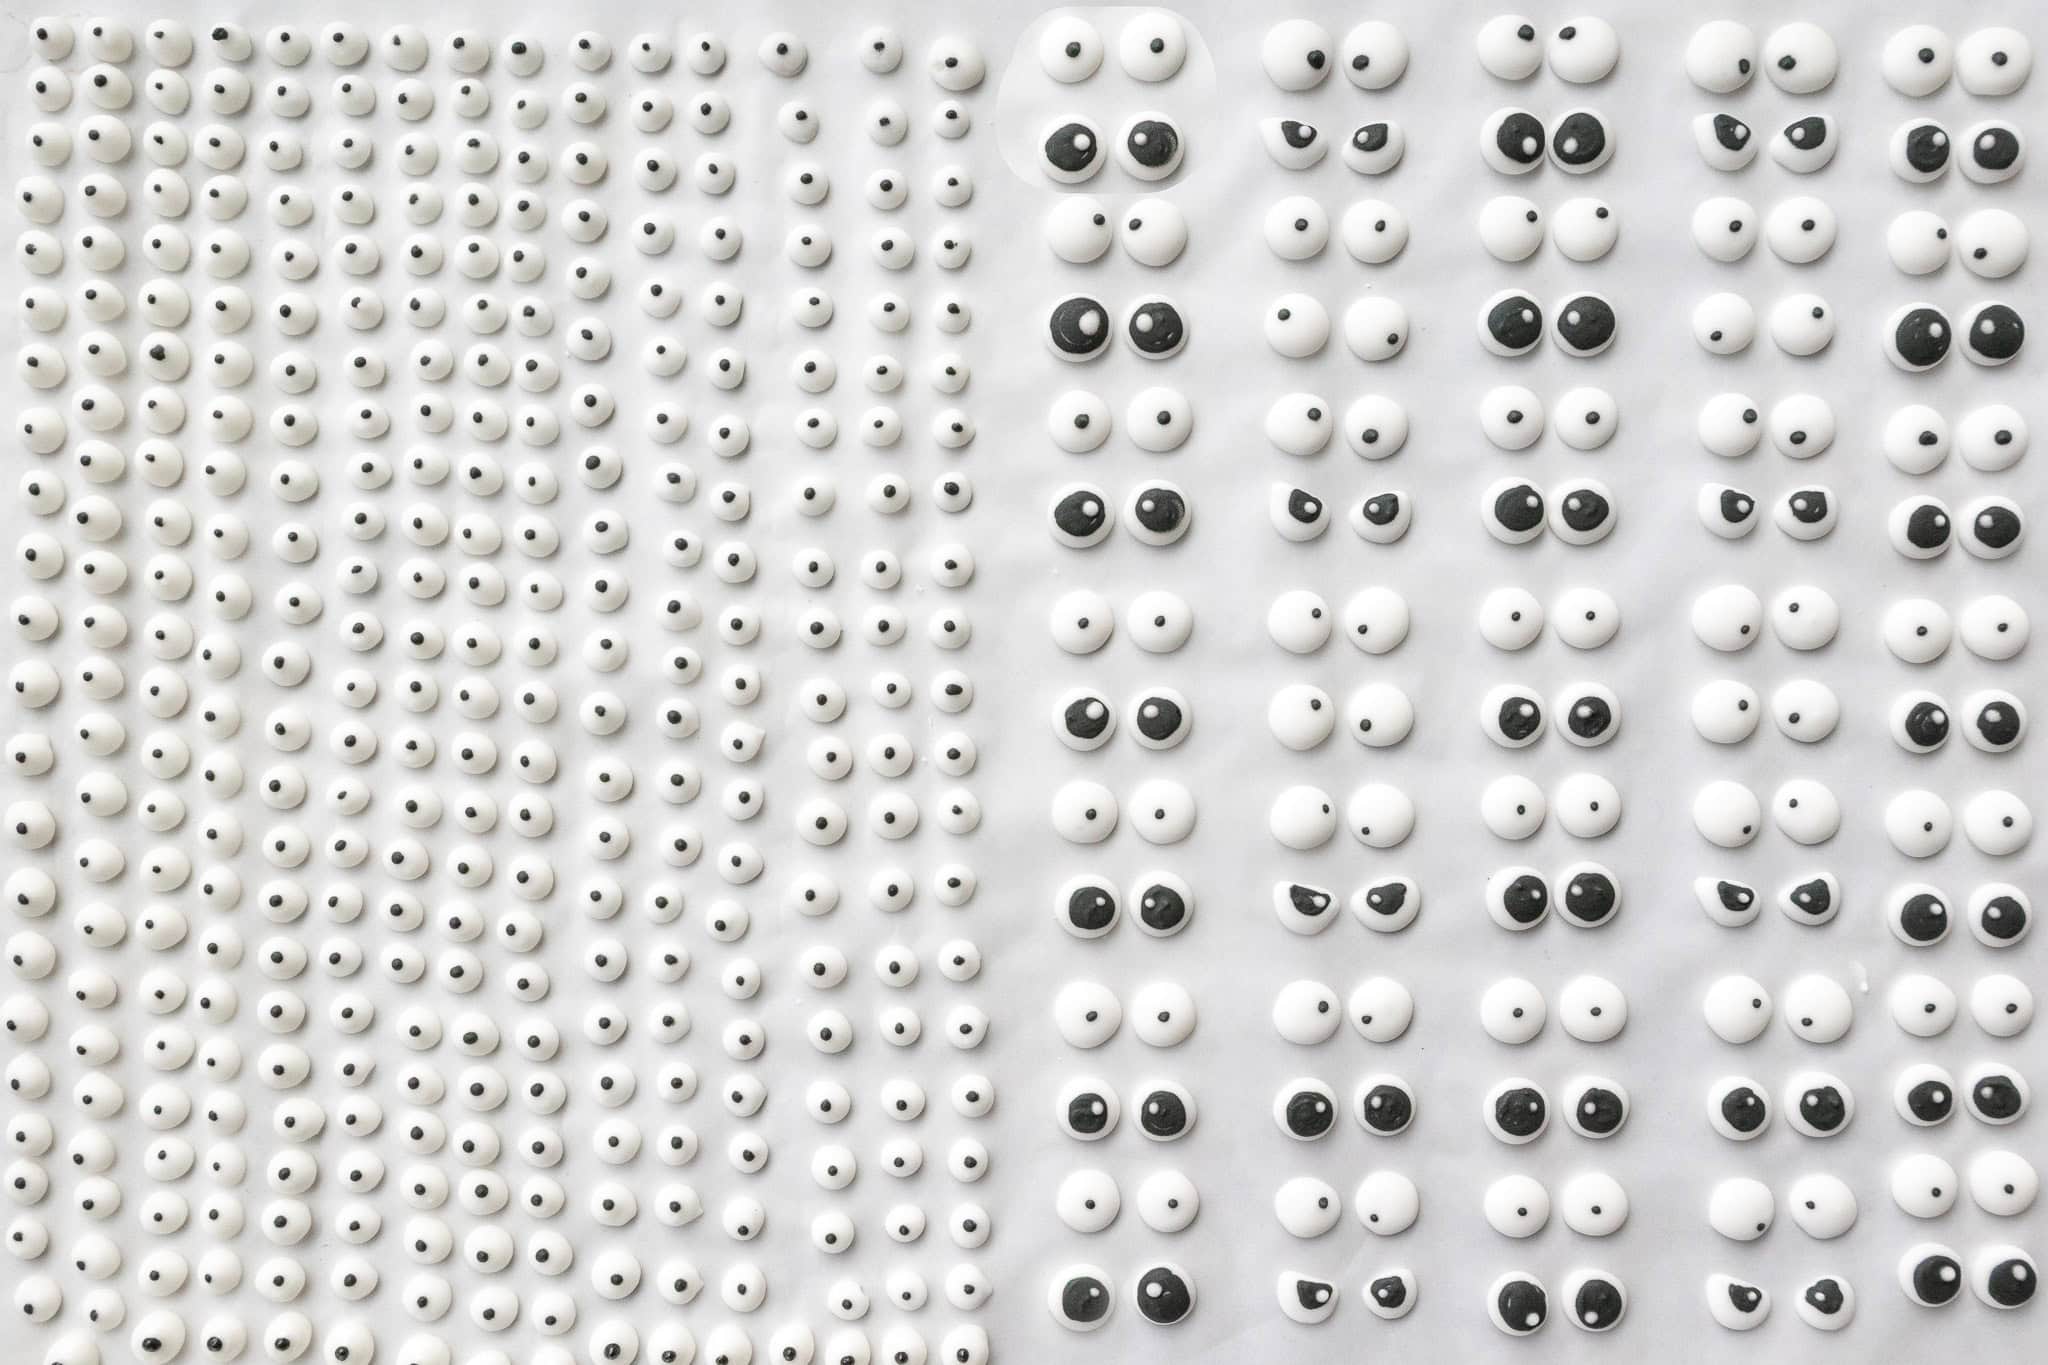
How Many Eyeball Sprinkles Does This Recipe Make?
This recipe can be used to make about 400 eyeball sprinkles. The yield and drying time will vary based on the size of the eyeballs. This recipe can be halved or doubled if needed.
Ways to Use Homemade Candy Eyes
These homemade candy eyes are such a cute way to add personality to all kinds of treats! I love using them for Halloween desserts, but they’re also great for birthday parties, animal-themed treats, and kid-friendly baking projects.
You can use them to decorate:
- Monster cookies
- Halloween cupcakes
- Cake pops
- Cakesicles
- Macarons
- Brownies
- Rice Krispie treats
- Sugar cookies
- Animal cakes or cupcakes
- Cookie boxes
They’re especially fun to have on hand during spooky season. I colored a tiny bit of the icing neon purple and green to make the monster eyes below, which I can’t wait to use on Halloween treats!
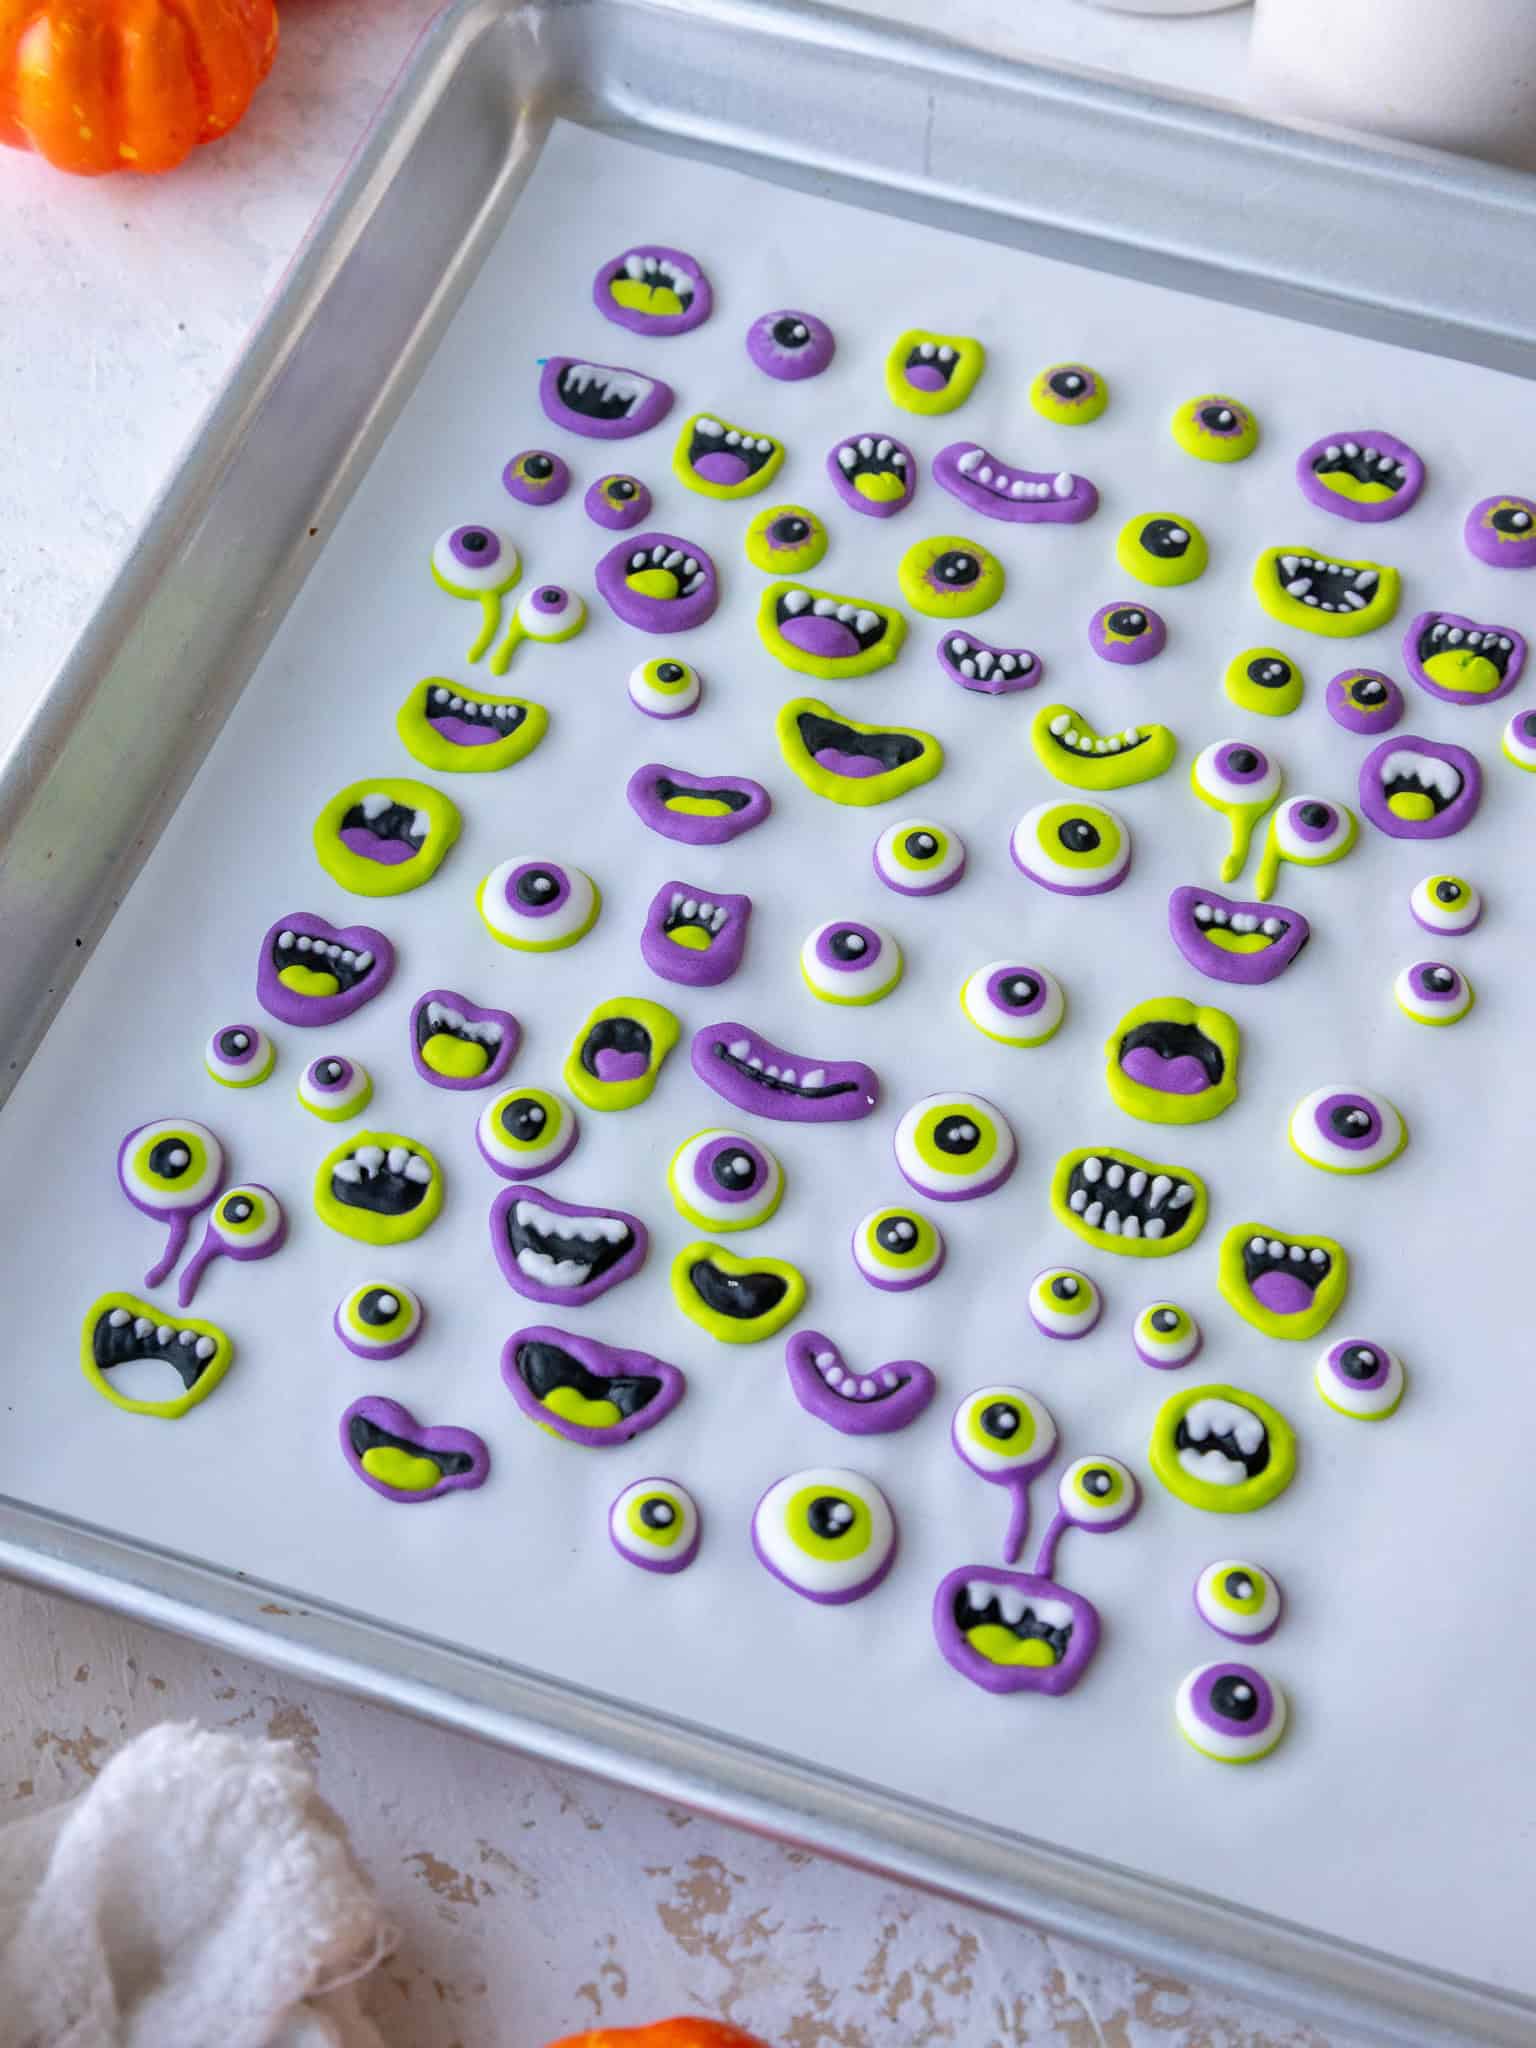
Since they can be made months in advance and stored in an airtight container, you can pipe a big batch once and use them whenever you need a quick, cute decoration.
Frequently Asked Questions
Can I make candy eyes without meringue powder?
I don’t recommend skipping the meringue powder in this recipe. It helps the royal icing dry firm, which is what allows the candy eyes to peel off the parchment paper cleanly and hold their shape.
How long do homemade candy eyes last?
Homemade candy eyes can be stored in an airtight container for up to a year. Make sure they are completely dry before storing them, or they can stick together or become soft.
I like to let them dry overnight if I have the time, especially if I’m making larger candy eyes or if my kitchen is humid.
Why are my candy eyes not drying?
If your candy eyes aren’t drying, the icing may be too thin, or they may need more time. Larger candy eyes and humid kitchens can also increase the drying time.
Let them sit uncovered at room temperature until they feel firm and peel off the parchment paper cleanly. If the icing seemed runny when you piped it, mix in more powdered sugar next time, 1 tablespoon at a time, until it has a thick, toothpaste-like consistency.
Can I use mini chocolate chips for the pupils?
Yes! Mini chocolate chips are a great shortcut if you don’t want to use black gel food coloring or pipe tiny pupils. Press them into the white royal icing right after piping each eye, before the icing has a chance to crust.
Place the mini chocolate chips upside down so the flat side is facing up.
Can I make different sizes of candy eyes?
Yes, you can pipe these candy eyes in any size you’d like. Smaller eyes are great for cookies, cake pops, and macarons, while larger eyes work well for monster cakes, cupcakes, and Halloween treats.
Just keep in mind that the yield and drying time will vary based on the size of the eyes. Larger candy eyes will take longer to dry fully.
Tips for Making the Best Eyeball Sprinkles
- Give yourself plenty of time to pipe these. Depending on your skill level and how detailed you pipe them, they can take anywhere from 1-3 hours to pipe.
- Make the icing right before you plan to use it. Otherwise, the icing can separate and thin out. I find that royal icing in bags begins to thin after about 24 hours at room temperature.
- If you’re struggling with the piping or don’t want to use black gel food coloring for the pupils, you can always use mini chocolate chips! Just press them into the royal icing upside down, so that the flat side is facing up.
Let Me Know What You Think!
If you make these candy eyes, I’d love to hear how they turn out! Please leave a rating and comment below.
And if you share on social media, tag me @chelsweets and use #chelsweets so I can see your delicious creations.
Homemade Candy Eyes
Equipment
- 2 Rubber Bands or Clips
Ingredients
Royal Icing
- 2 cups powdered sugar 250g
- 1 Tbsp + 2 tsp meringue powder 15g
- 3 Tbsp water, room temperature 45g
- black gel food coloring
Instructions
Royal Icing
- Whisk together 2 cups (250g) of powdered sugar and 1 Tbsp + 2 tsp (15g) of meringue powder in a large bowl or the bowl of a stand mixer.
- Add 3 Tbsp water and mix on a low speed with a stand mixer and paddle attachment or hand mixer to incorporate the liquid, then increase to a medium speed and mix until the mixture thickens and has a puffy, toothpaste-like consistency (see picture above). This usually takes me about 3 minutes with a hand mixer or 2 minutes with a stand mixer. Scrape around the sides and bottom of the bowl with a rubber spatula to ensure everything is properly mixed together.
- Check the consistency by dipping a spoon or spatula into the bowl and lifting it up. It should be thick enough to hold its shape, but soft enough to settle into a smooth circle once piped. If the icing is too thin, add more powdered sugar, 1 Tbsp at a time. If it's too thick, add more water, 1 tsp at a time.
- Scoop about 1/4 of the icing into a small bowl and color it black with gel food coloring. Place this into a small, tipless piping bag (like these), or a regular small piping bag and seal the top with a rubber band or clip. Set aside.
- Scoop the remaining uncolored icing into a small, tipless piping bag (like these), or a regular small piping bag, and seal the top with a rubber band or clip. Set aside.
- Cut a small opening (about 1/8 of an inch) at the base of the piping bags. You can always cut the opening wider, but you can't make it smaller once you cut it.
- Use these templates to pipe the eyeballs. Place the candy eye templates on large baking sheets, then cover them with parchment paper. Pipe the eyes directly onto the parchment paper, using the templates as a guide.
- Start by piping the white part of the eye, then add the pupils with black icing. The icing will crust as it sits, so pipe the pupils shortly after you pipe the white part of the eye so that it can easily incorporate into the white icing (i.e. don't pipe an entire tray of 100 white eyeballs, then try to add the pupils). If the icing isn't settling smoothly once it's piped, gently jiggle it with the tip of the piping bag or use a scribe or toothpick to help smooth it out. Make sure to do this before the icing crusts. The first few can be challenging, but it gets easier the more you pipe, I promise!
- Let the eyeballs dry for at least 4 hours or overnight until they're firm to the touch and peel off the parchment paper cleanly. These can be stored in an airtight container for up to a year.
Video
Notes
How Many Candy Eyes Does This Recipe Make?
This recipe can be used to make about 400 candy eyes. The yield and drying time will vary based on the size of the eyeballs. This recipe can be halved or doubled if needed.Making These Candy Eyes in Advance and Storage Tips
You can store these in an airtight container for up to a year. Make sure the candy eyes are completely dry before storing them. If they still feel soft or tacky, let them dry longer before placing them in an airtight container. Larger eyes or humid kitchens may require overnight drying.Tips for Making the Best Homemade Candy Eyes
- Give yourself plenty of time to pipe these. Depending on your skill level and how detailed you pipe them, they can take anywhere from 1-3 hours to pipe.
- Make the icing right before you plan to use it. Otherwise, the icing can separate and thin out. I find that royal icing in bags begins to thin after about 24 hours at room temperature.
- If you’re struggling with the piping or don’t want to use black gel food coloring for the pupils, you can always use mini chocolate chips! Just press them into the royal icing upside down, so that the flat side is facing up.
Nutrition
Other Posts You Might Like:




These homemade candy eyes are such a fun and creative idea!
They look perfect for adding a playful Halloween touch to cakes, cookies, and other treats.