
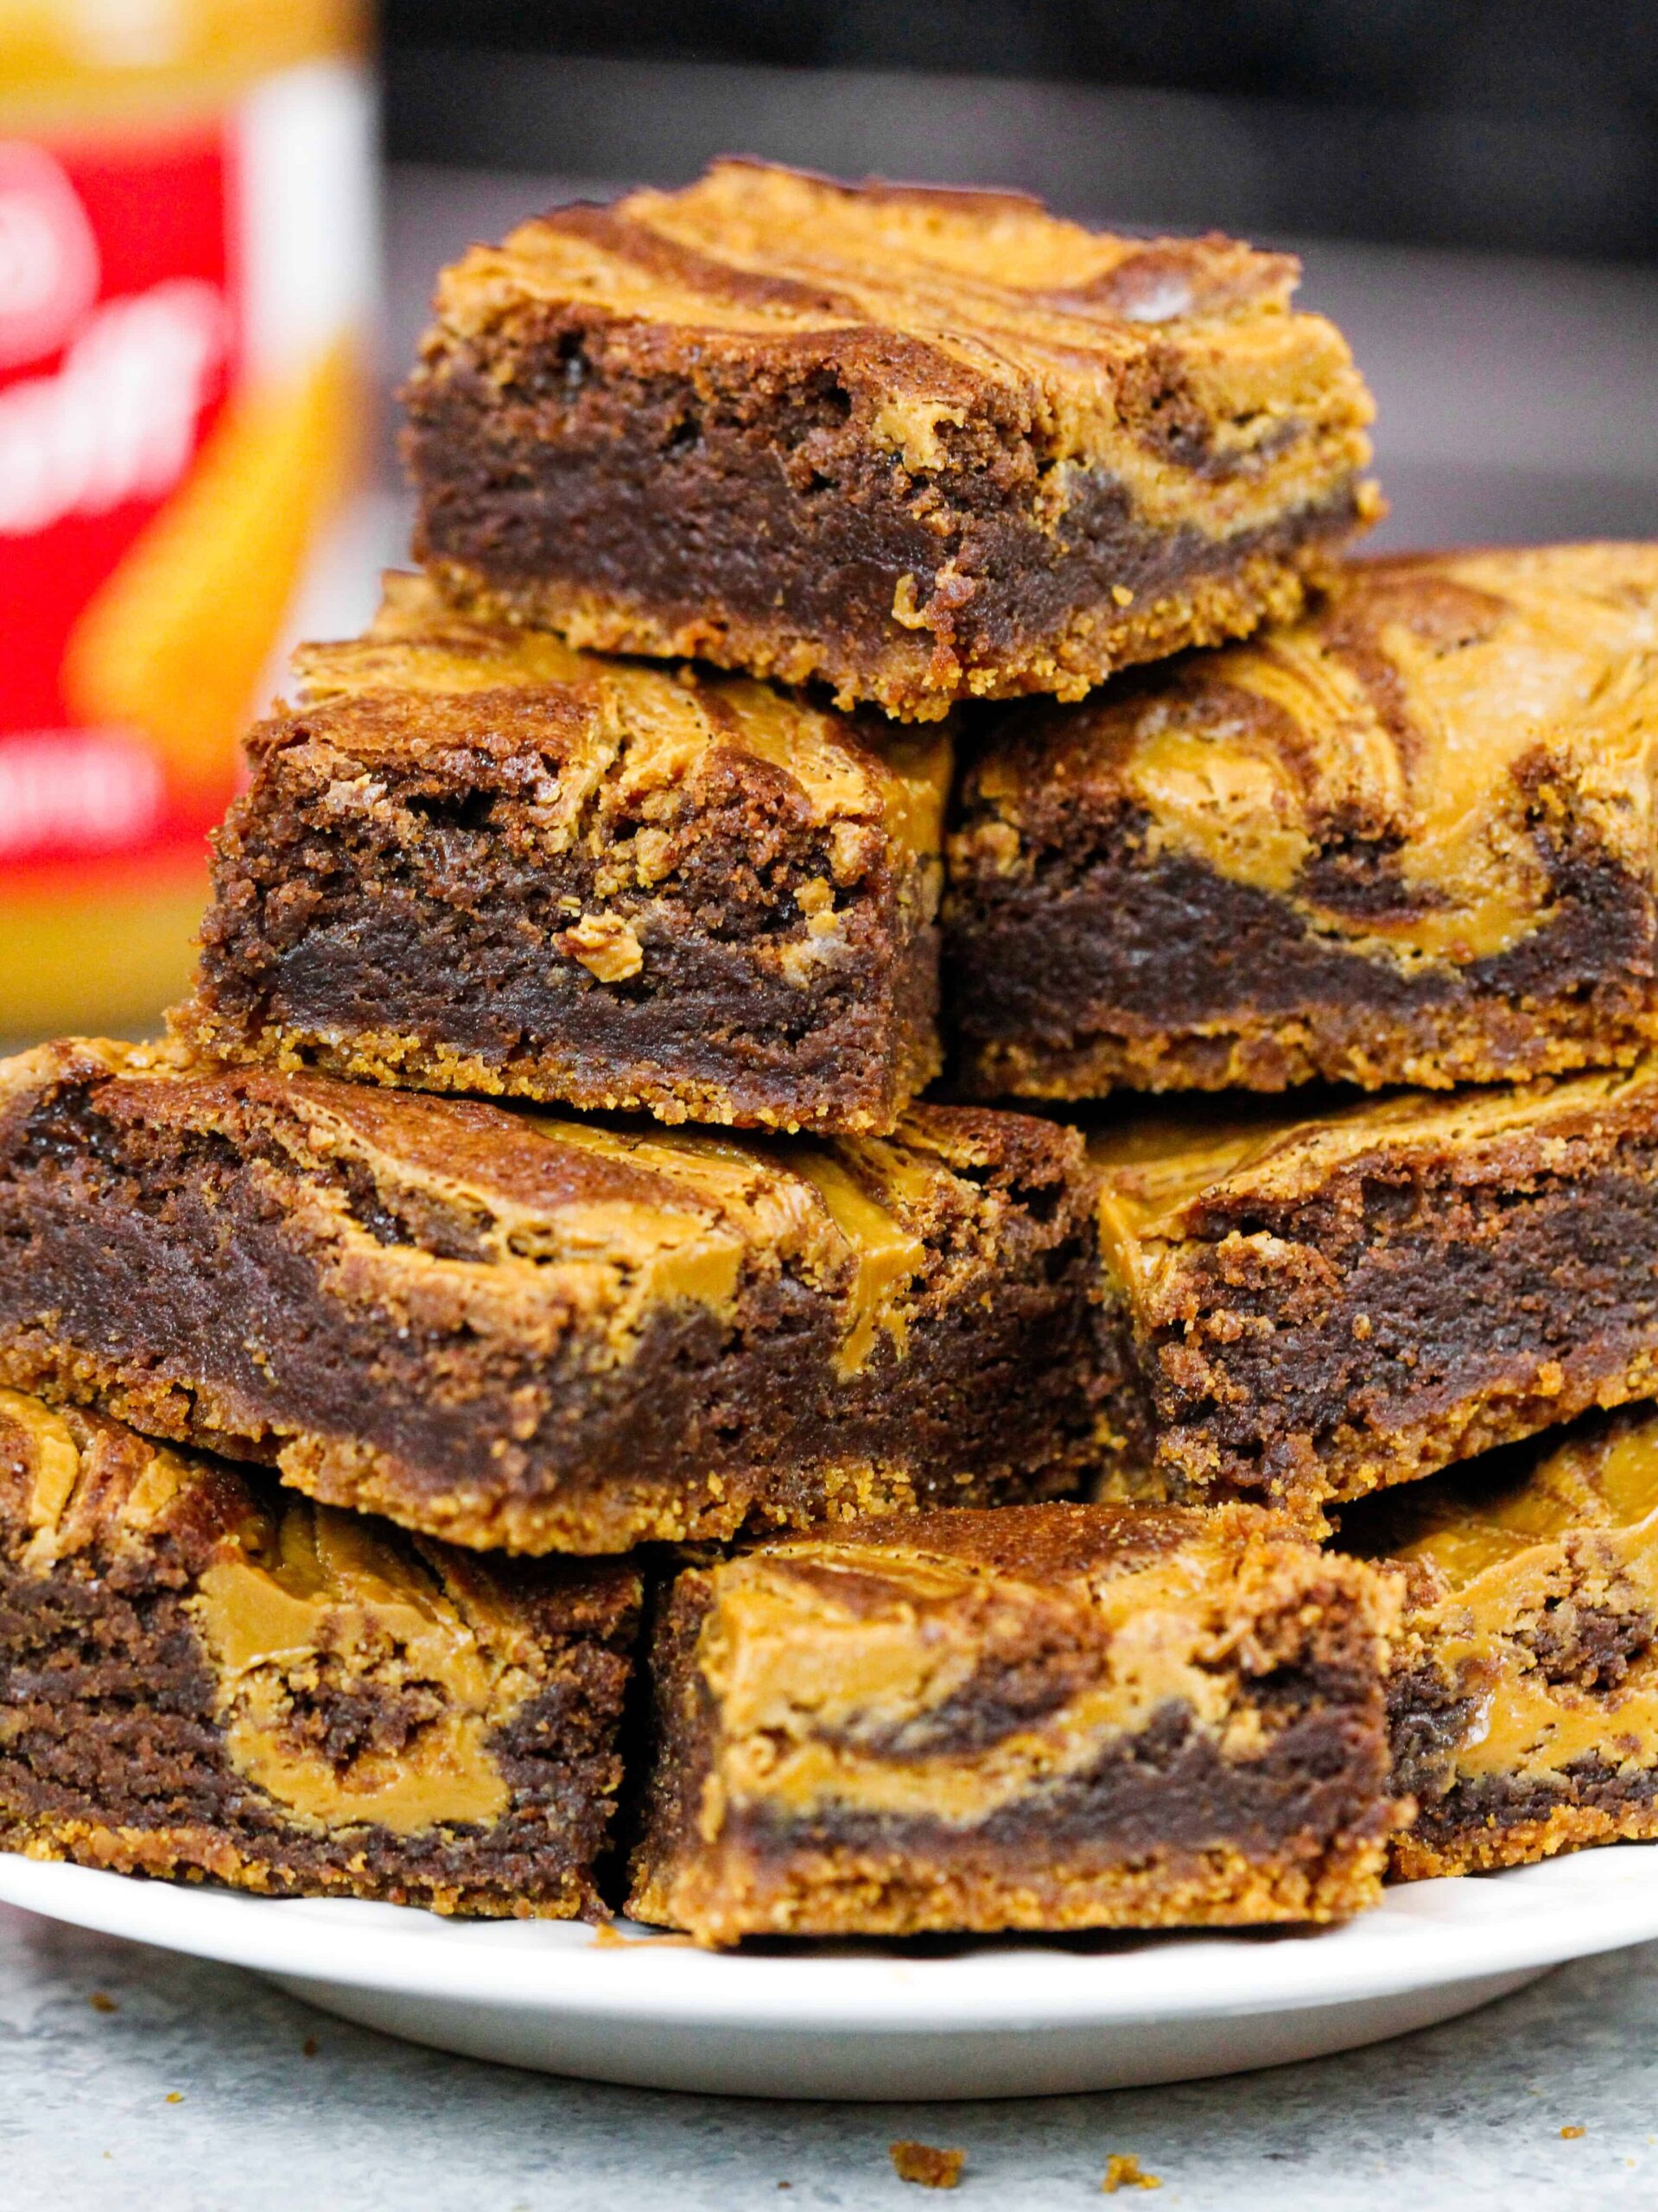
Biscoff Brownies
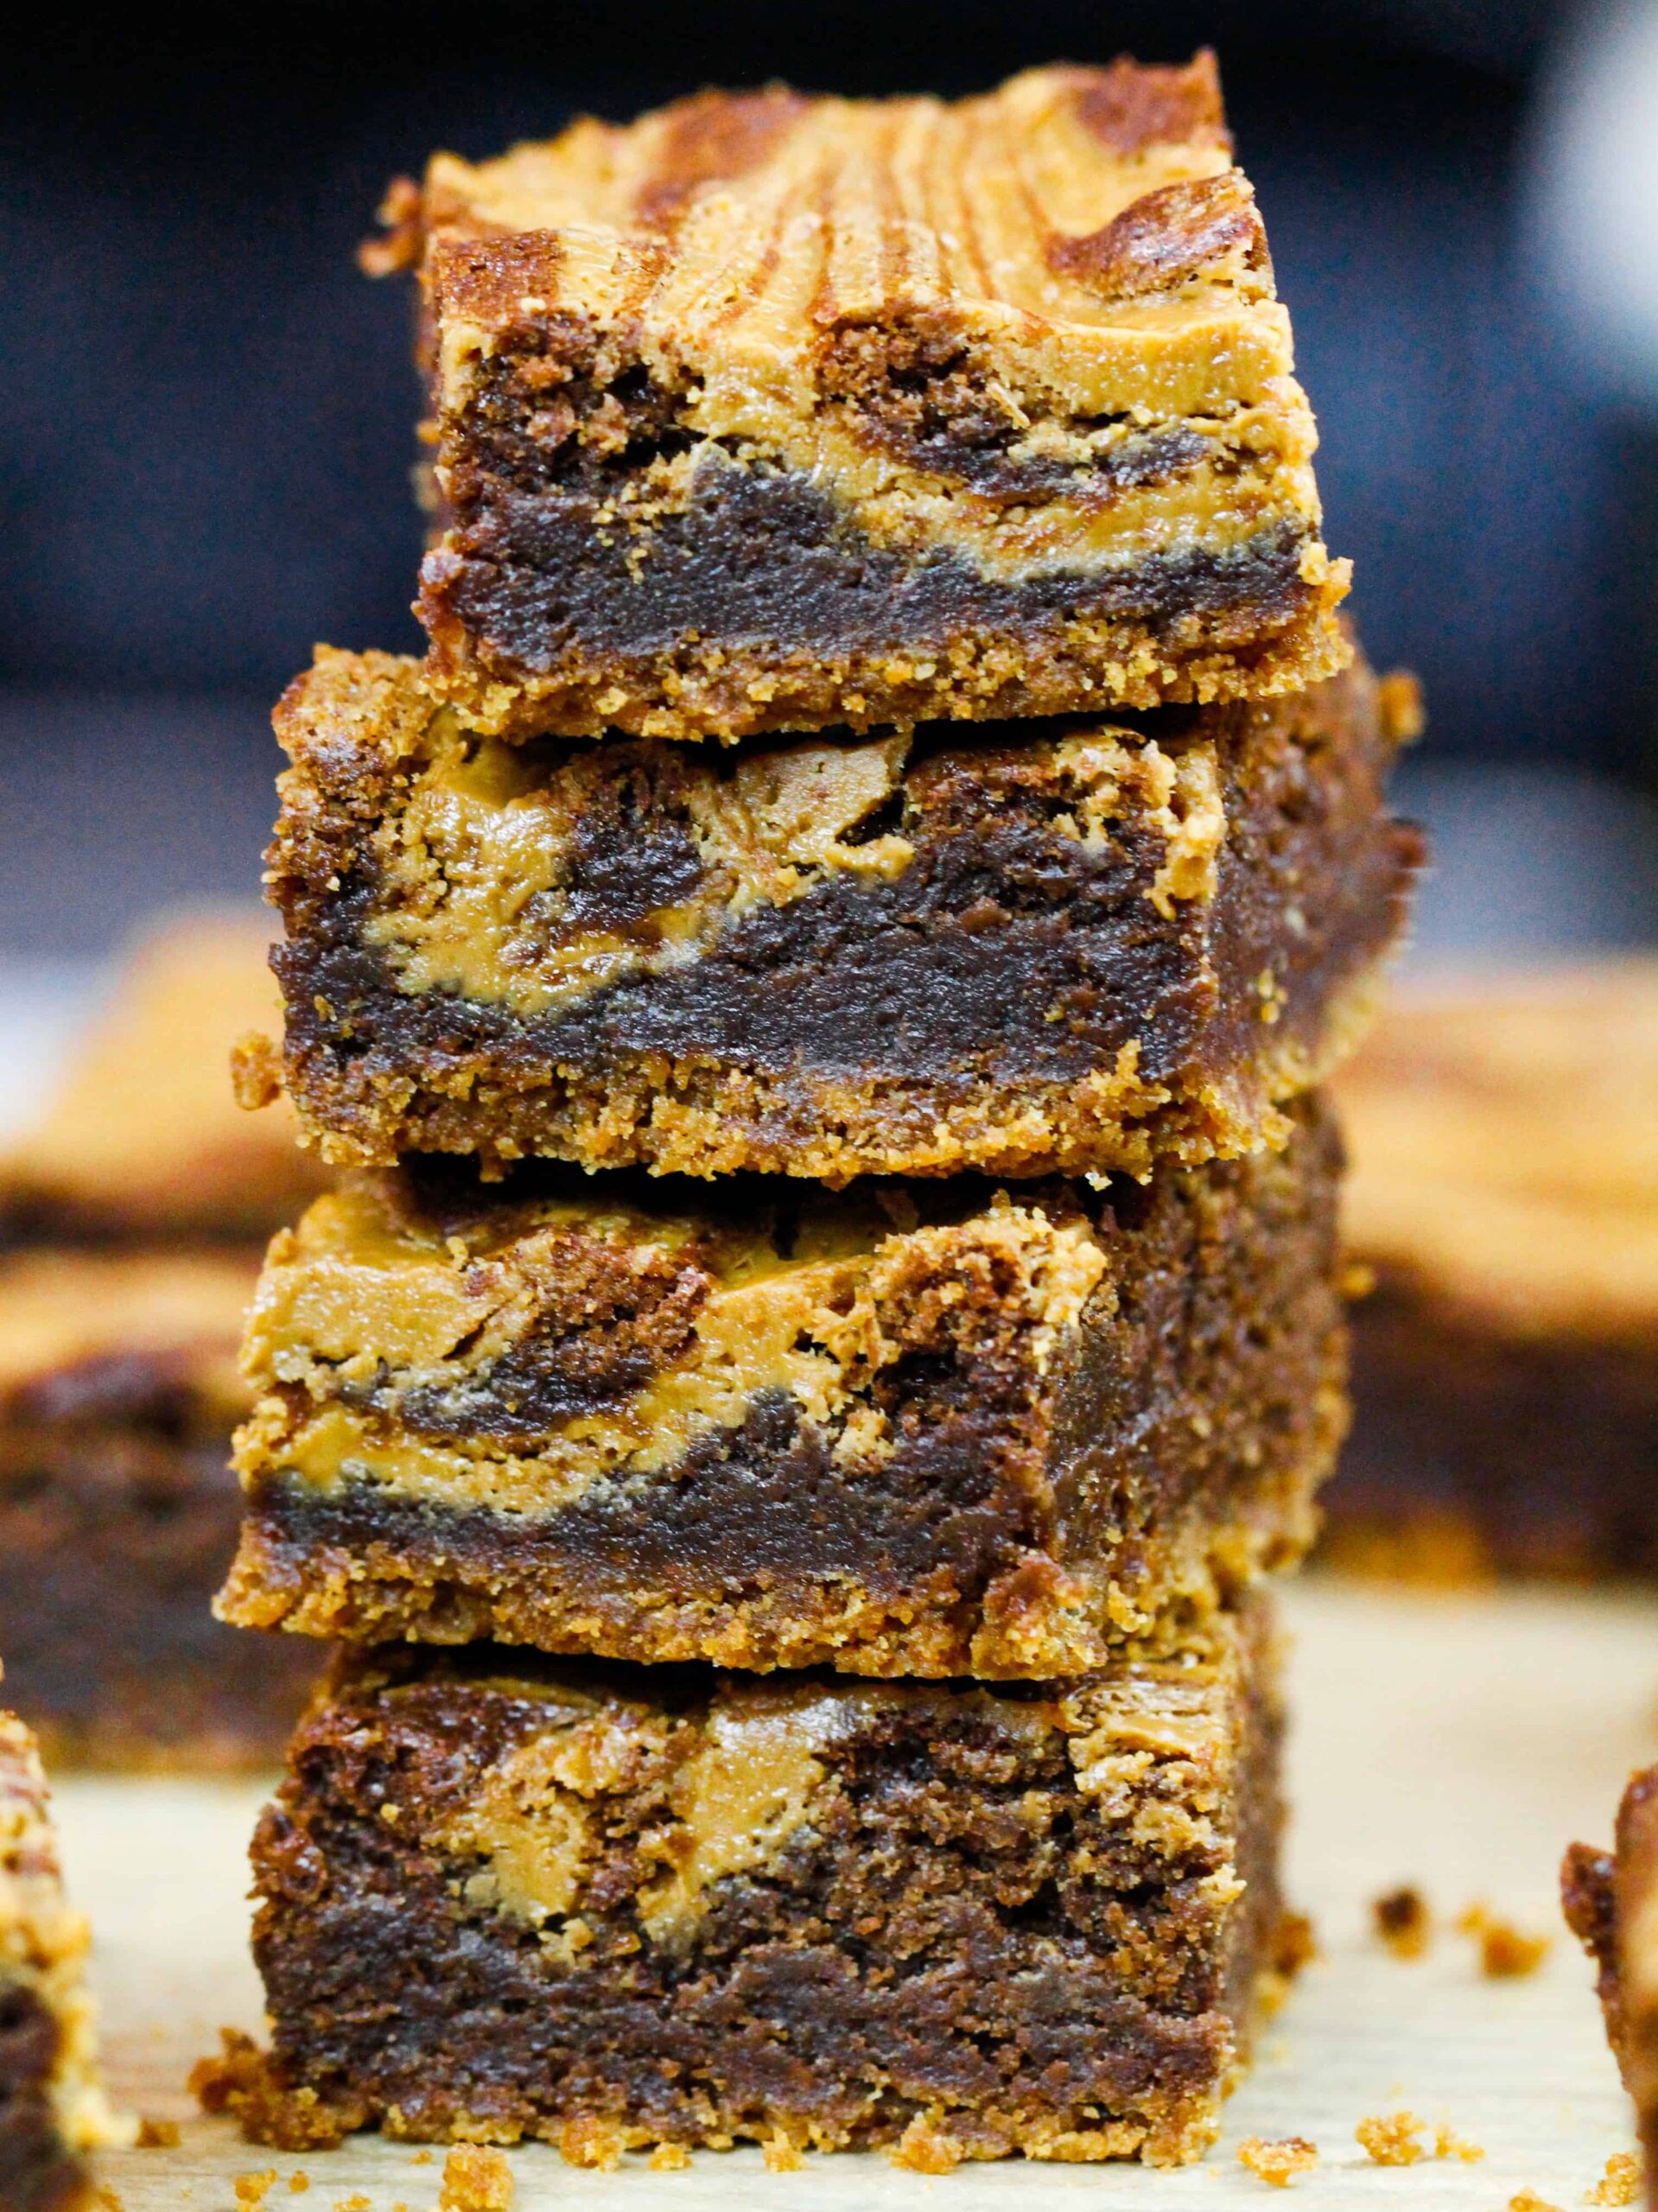
These Biscoff brownies are fudgy, decadent, and packed with Biscoff flavor! They’re made with a Biscoff cookie crust and have Biscoff cookie butter swirled into every bite.
They’re so delicious, they’ll be gone in a flash! This is the type of dessert everyone wants seconds of. This recipe is adapted from Inspired Taste.

Giving These Biscoff Brownies a Crispy Top
I don’t know about you guys, but a brownie isn’t a brownie unless it has a crunchy top! I want a brownie to crinkle when I bite into it.
That crackly top is basically a thin layer of meringue that rises to the surface of the brownies as they bake. The key to creating that meringue layer is to whip a ton of air into your eggs and sugar!
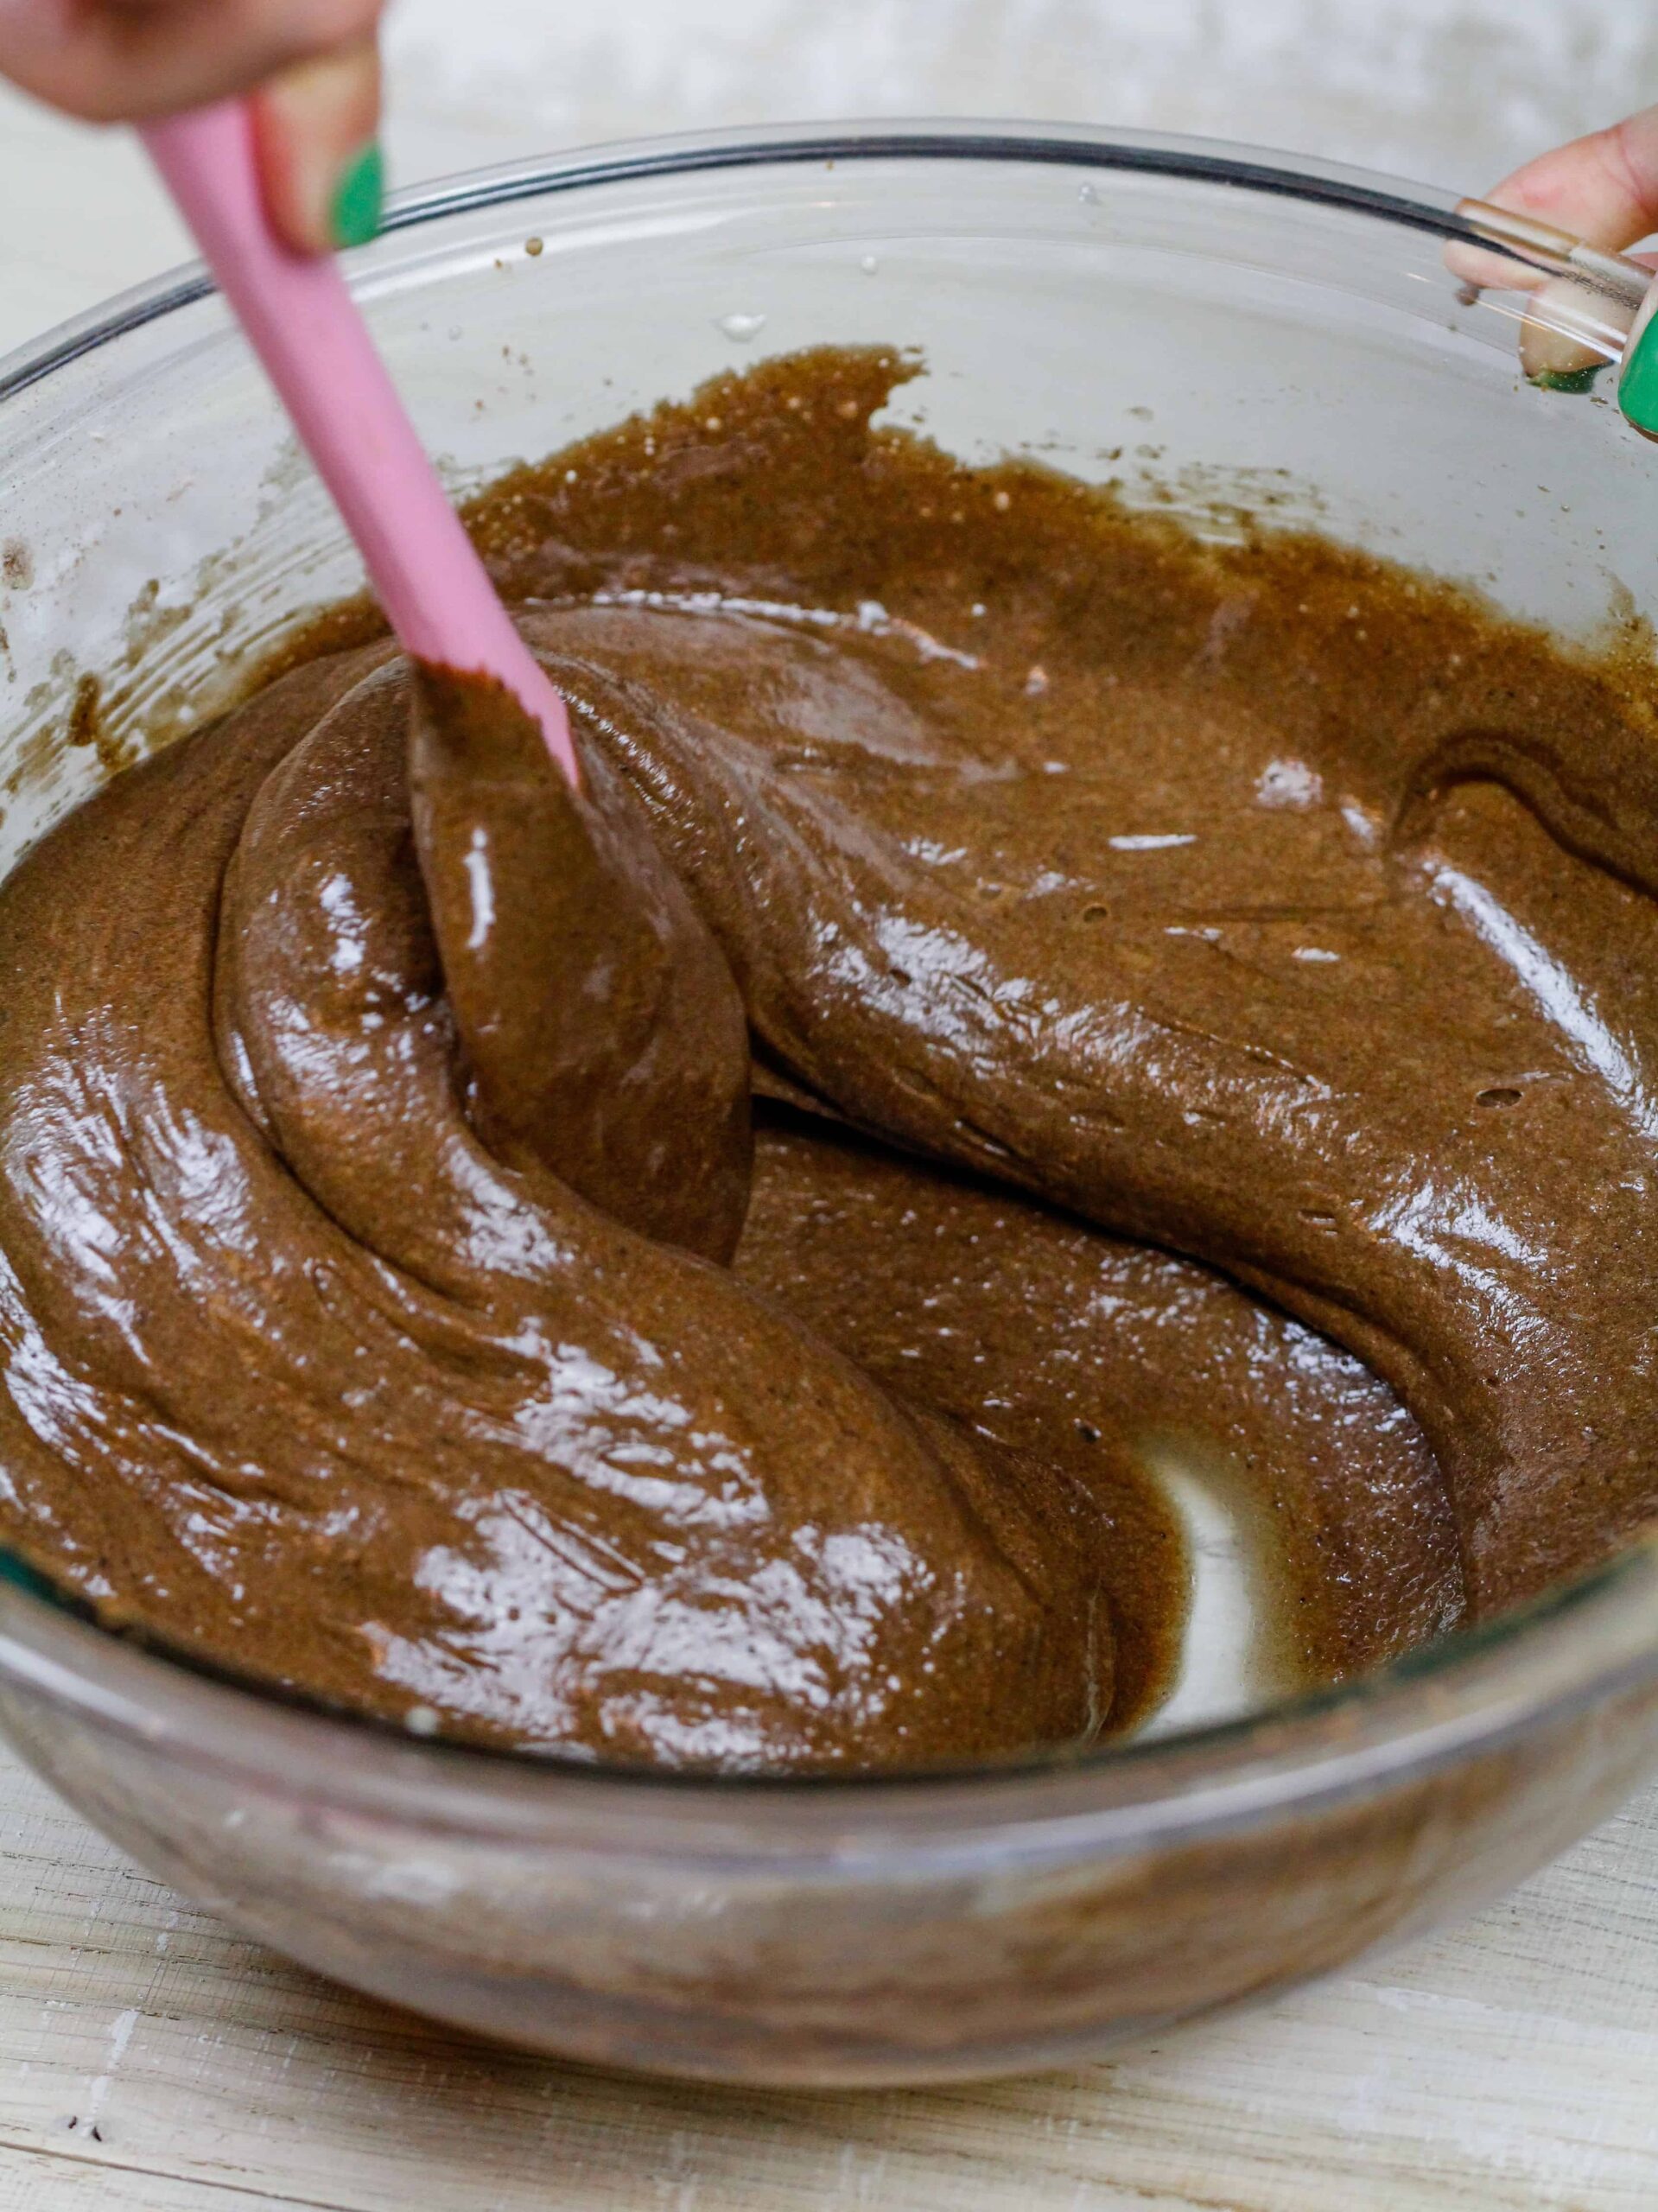
In this brownie recipe, I whip the eggs on their own first, then whip them up with granulated sugar until the mixture is thick and looks almost creamy, just like the picture below.
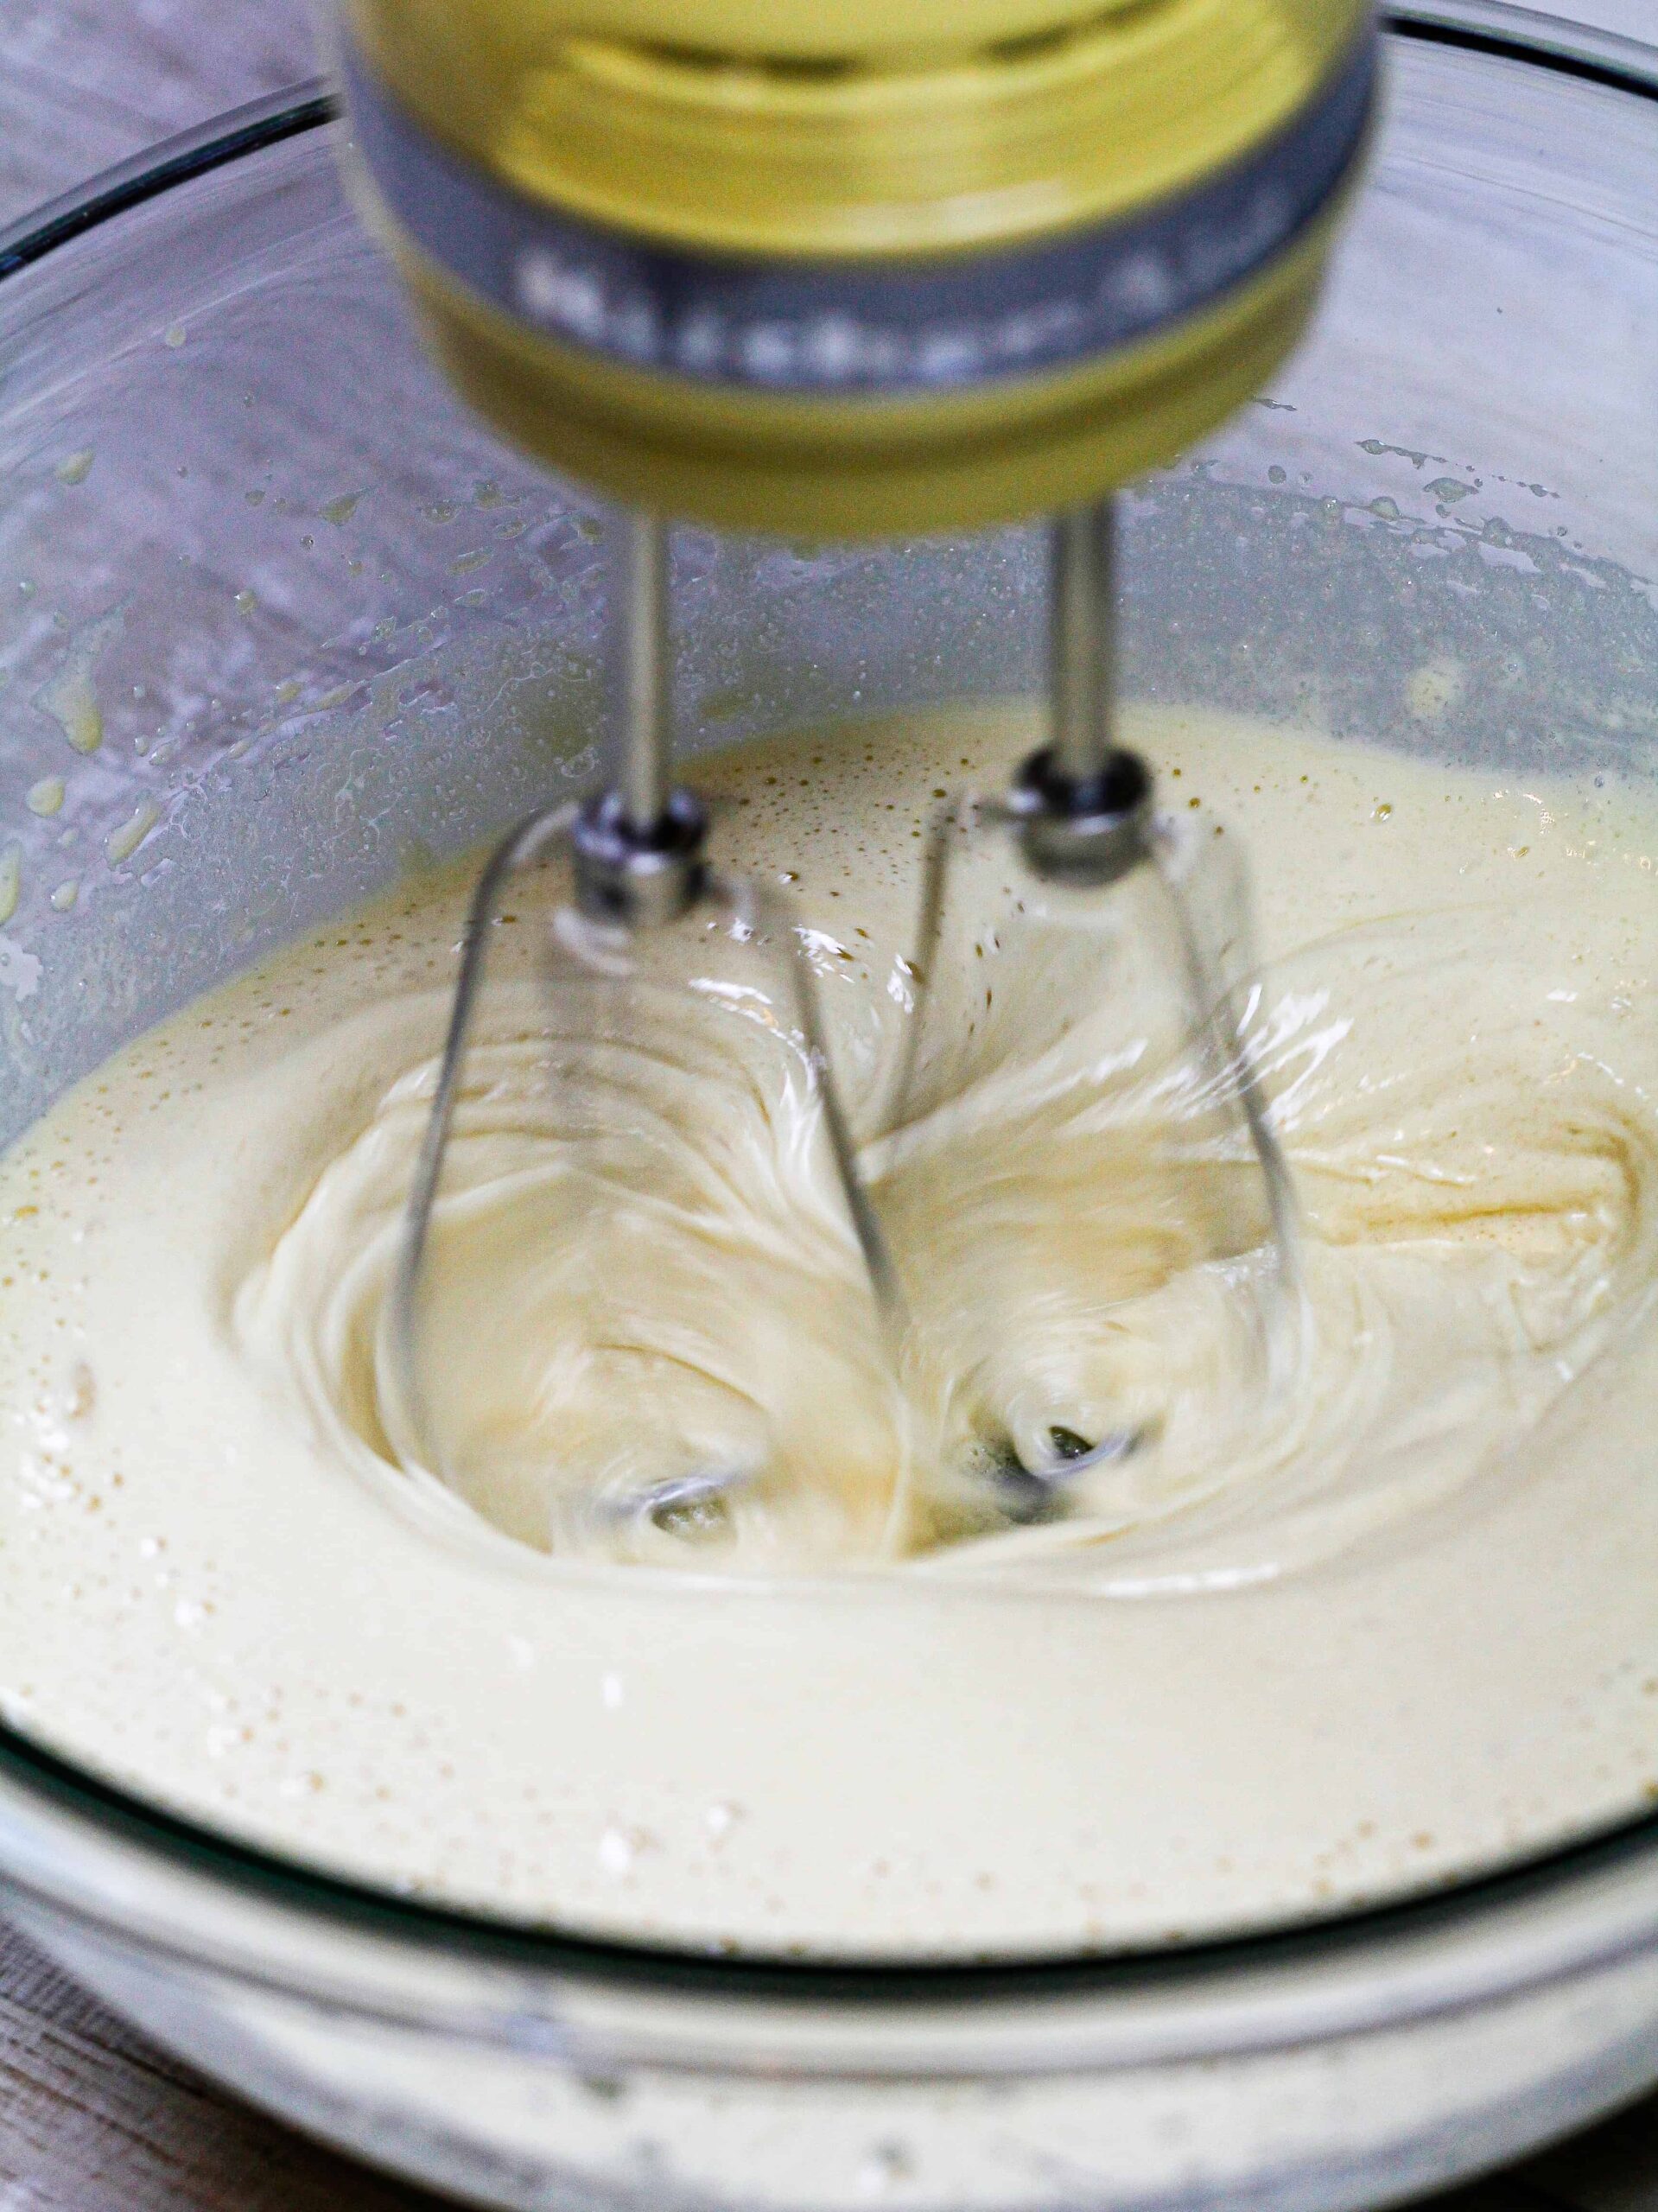
This is definitely easiest to do with a hand mixer or stand mixer, but it is possible to do by hand with a whisk, too! Just be ready to get a really good arm workout.
Lessons from Recipe Testing
I had to make a few batches of these Biscoff brownies before I got them just right. The biggest lessons I learned were around the crust and the Biscoff cookie butter swirl.
It is really important you truly crush the Biscoff cookies into an ultra-fine crumb, almost like sand! The best way to do this is to use a food processor or a blender. Using a knife is so much harder, and you never really get the same super fine crumb.
The cookies need to be crushed so that you can really pack them down as you prepare the Biscoff crust for these brownies. If there are large chunks of cookie it makes it super hard to press down the crumbs and get an even layer.
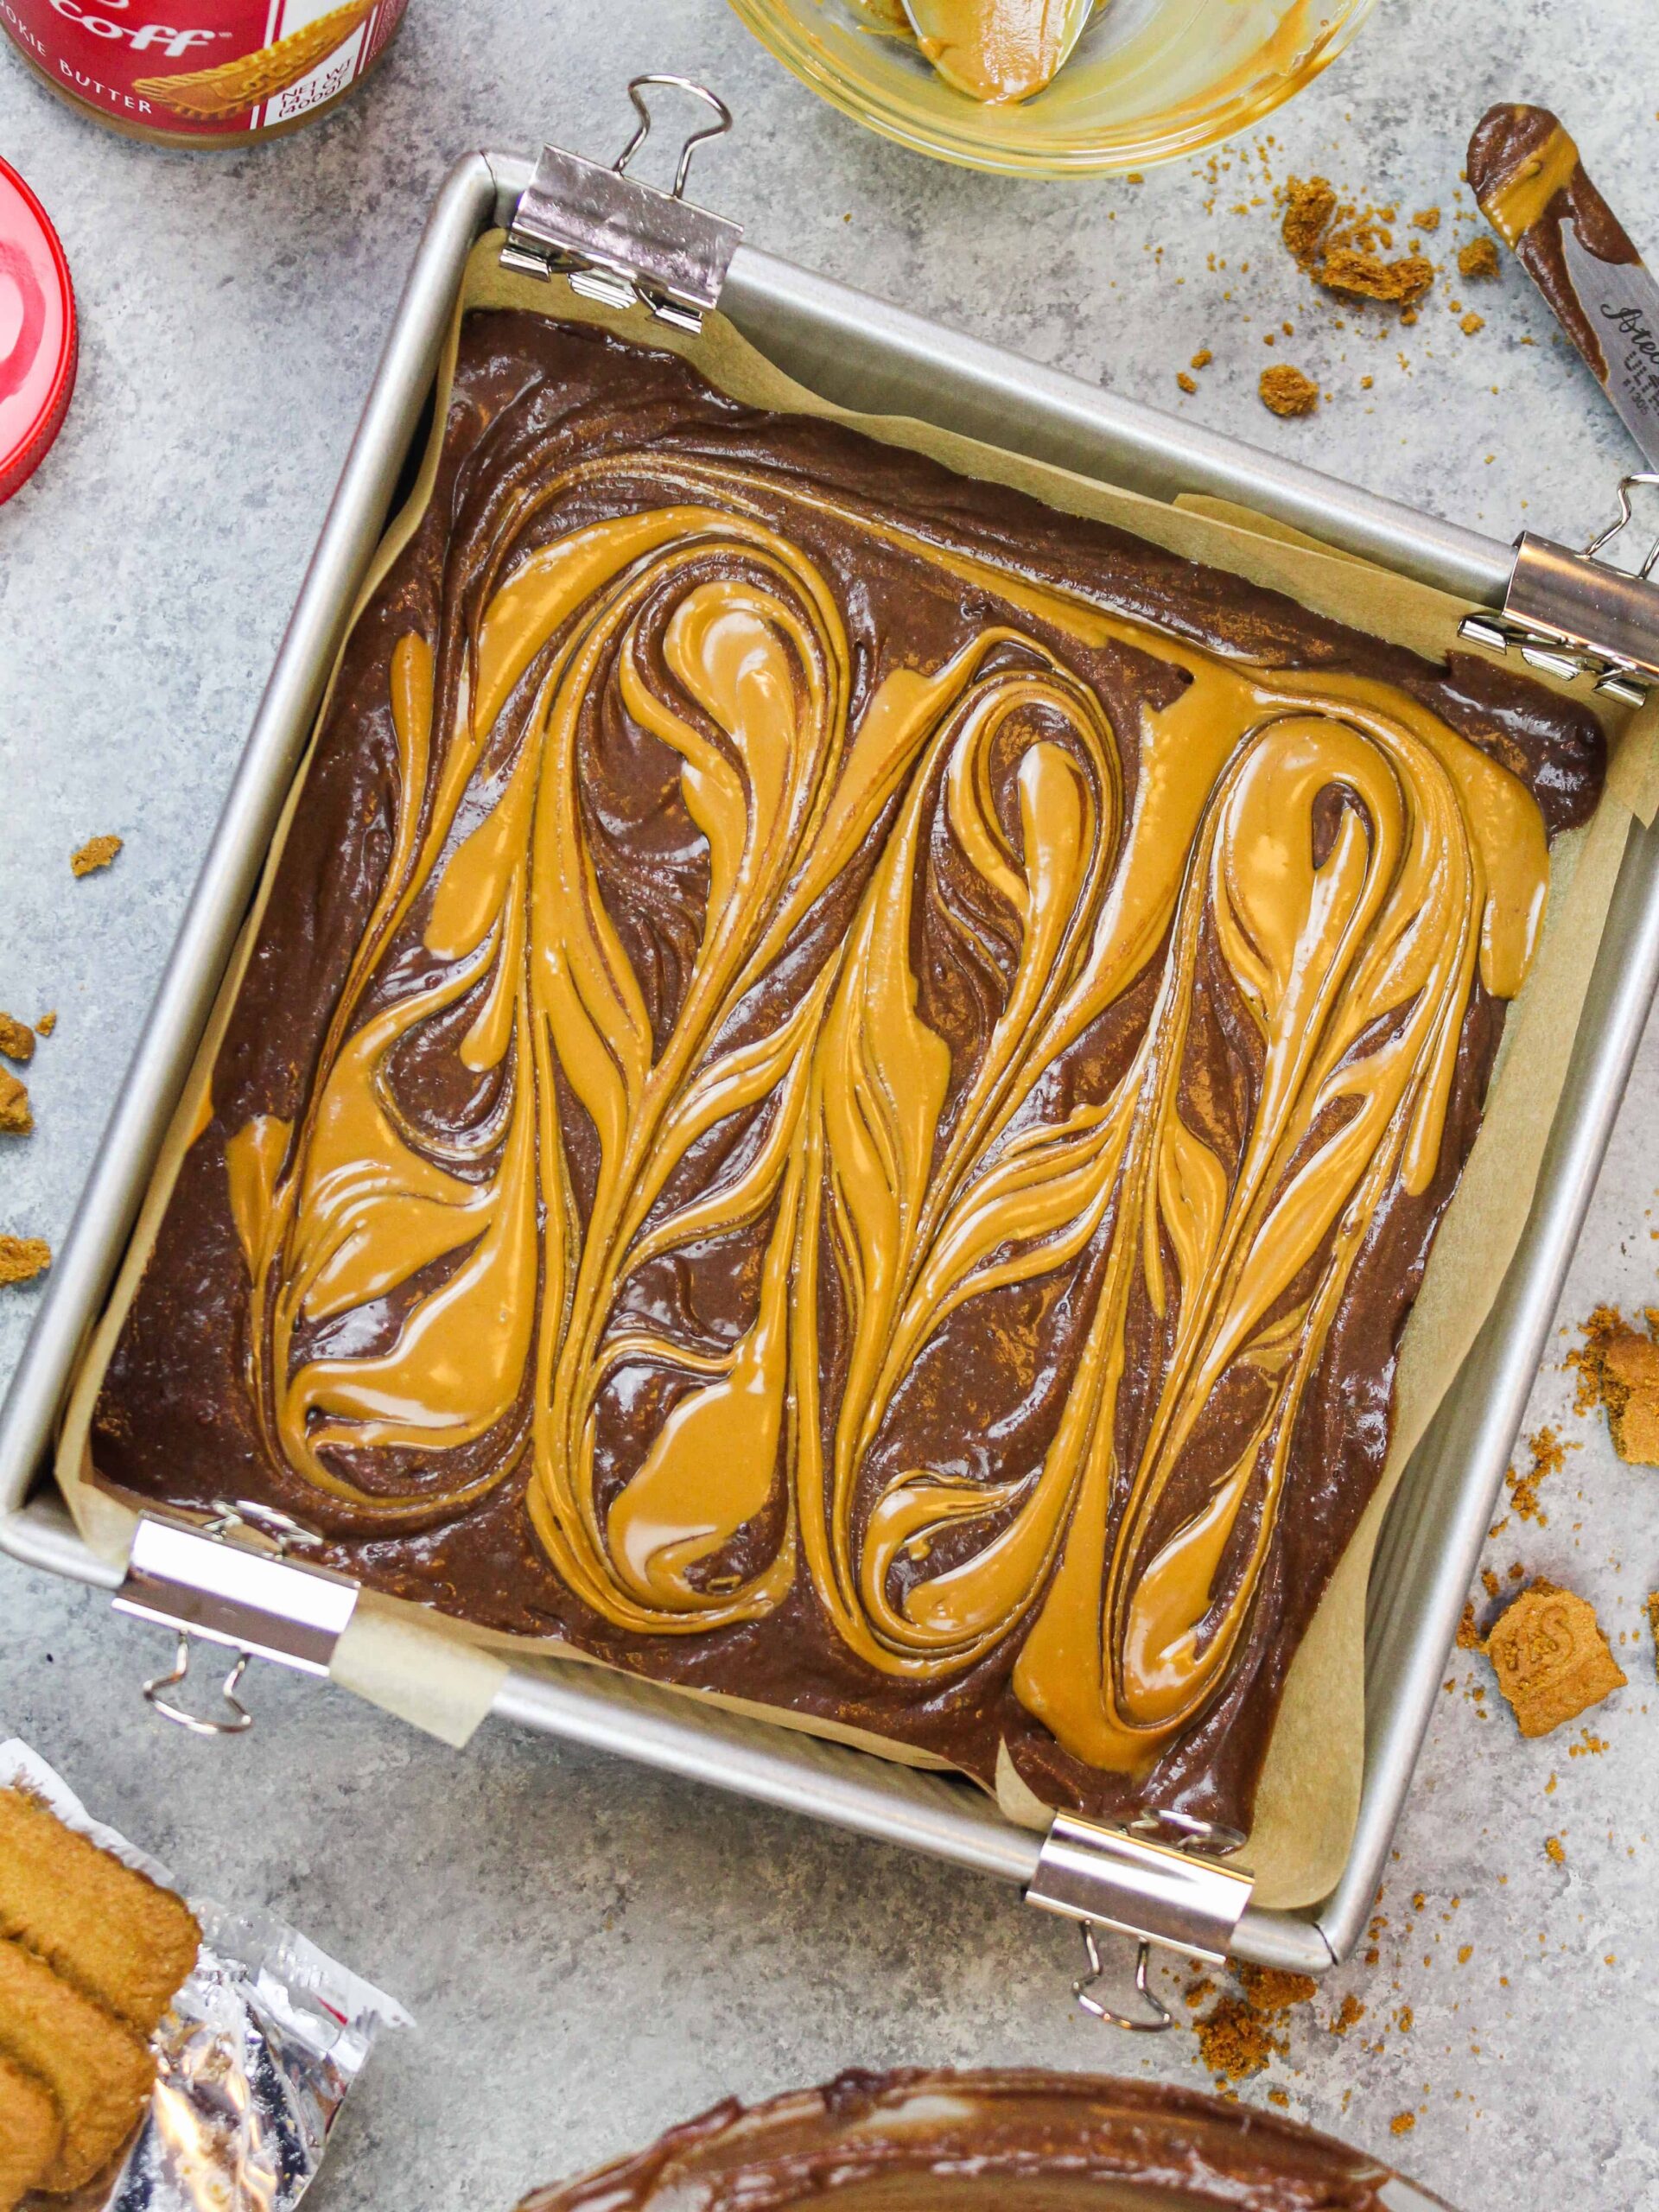
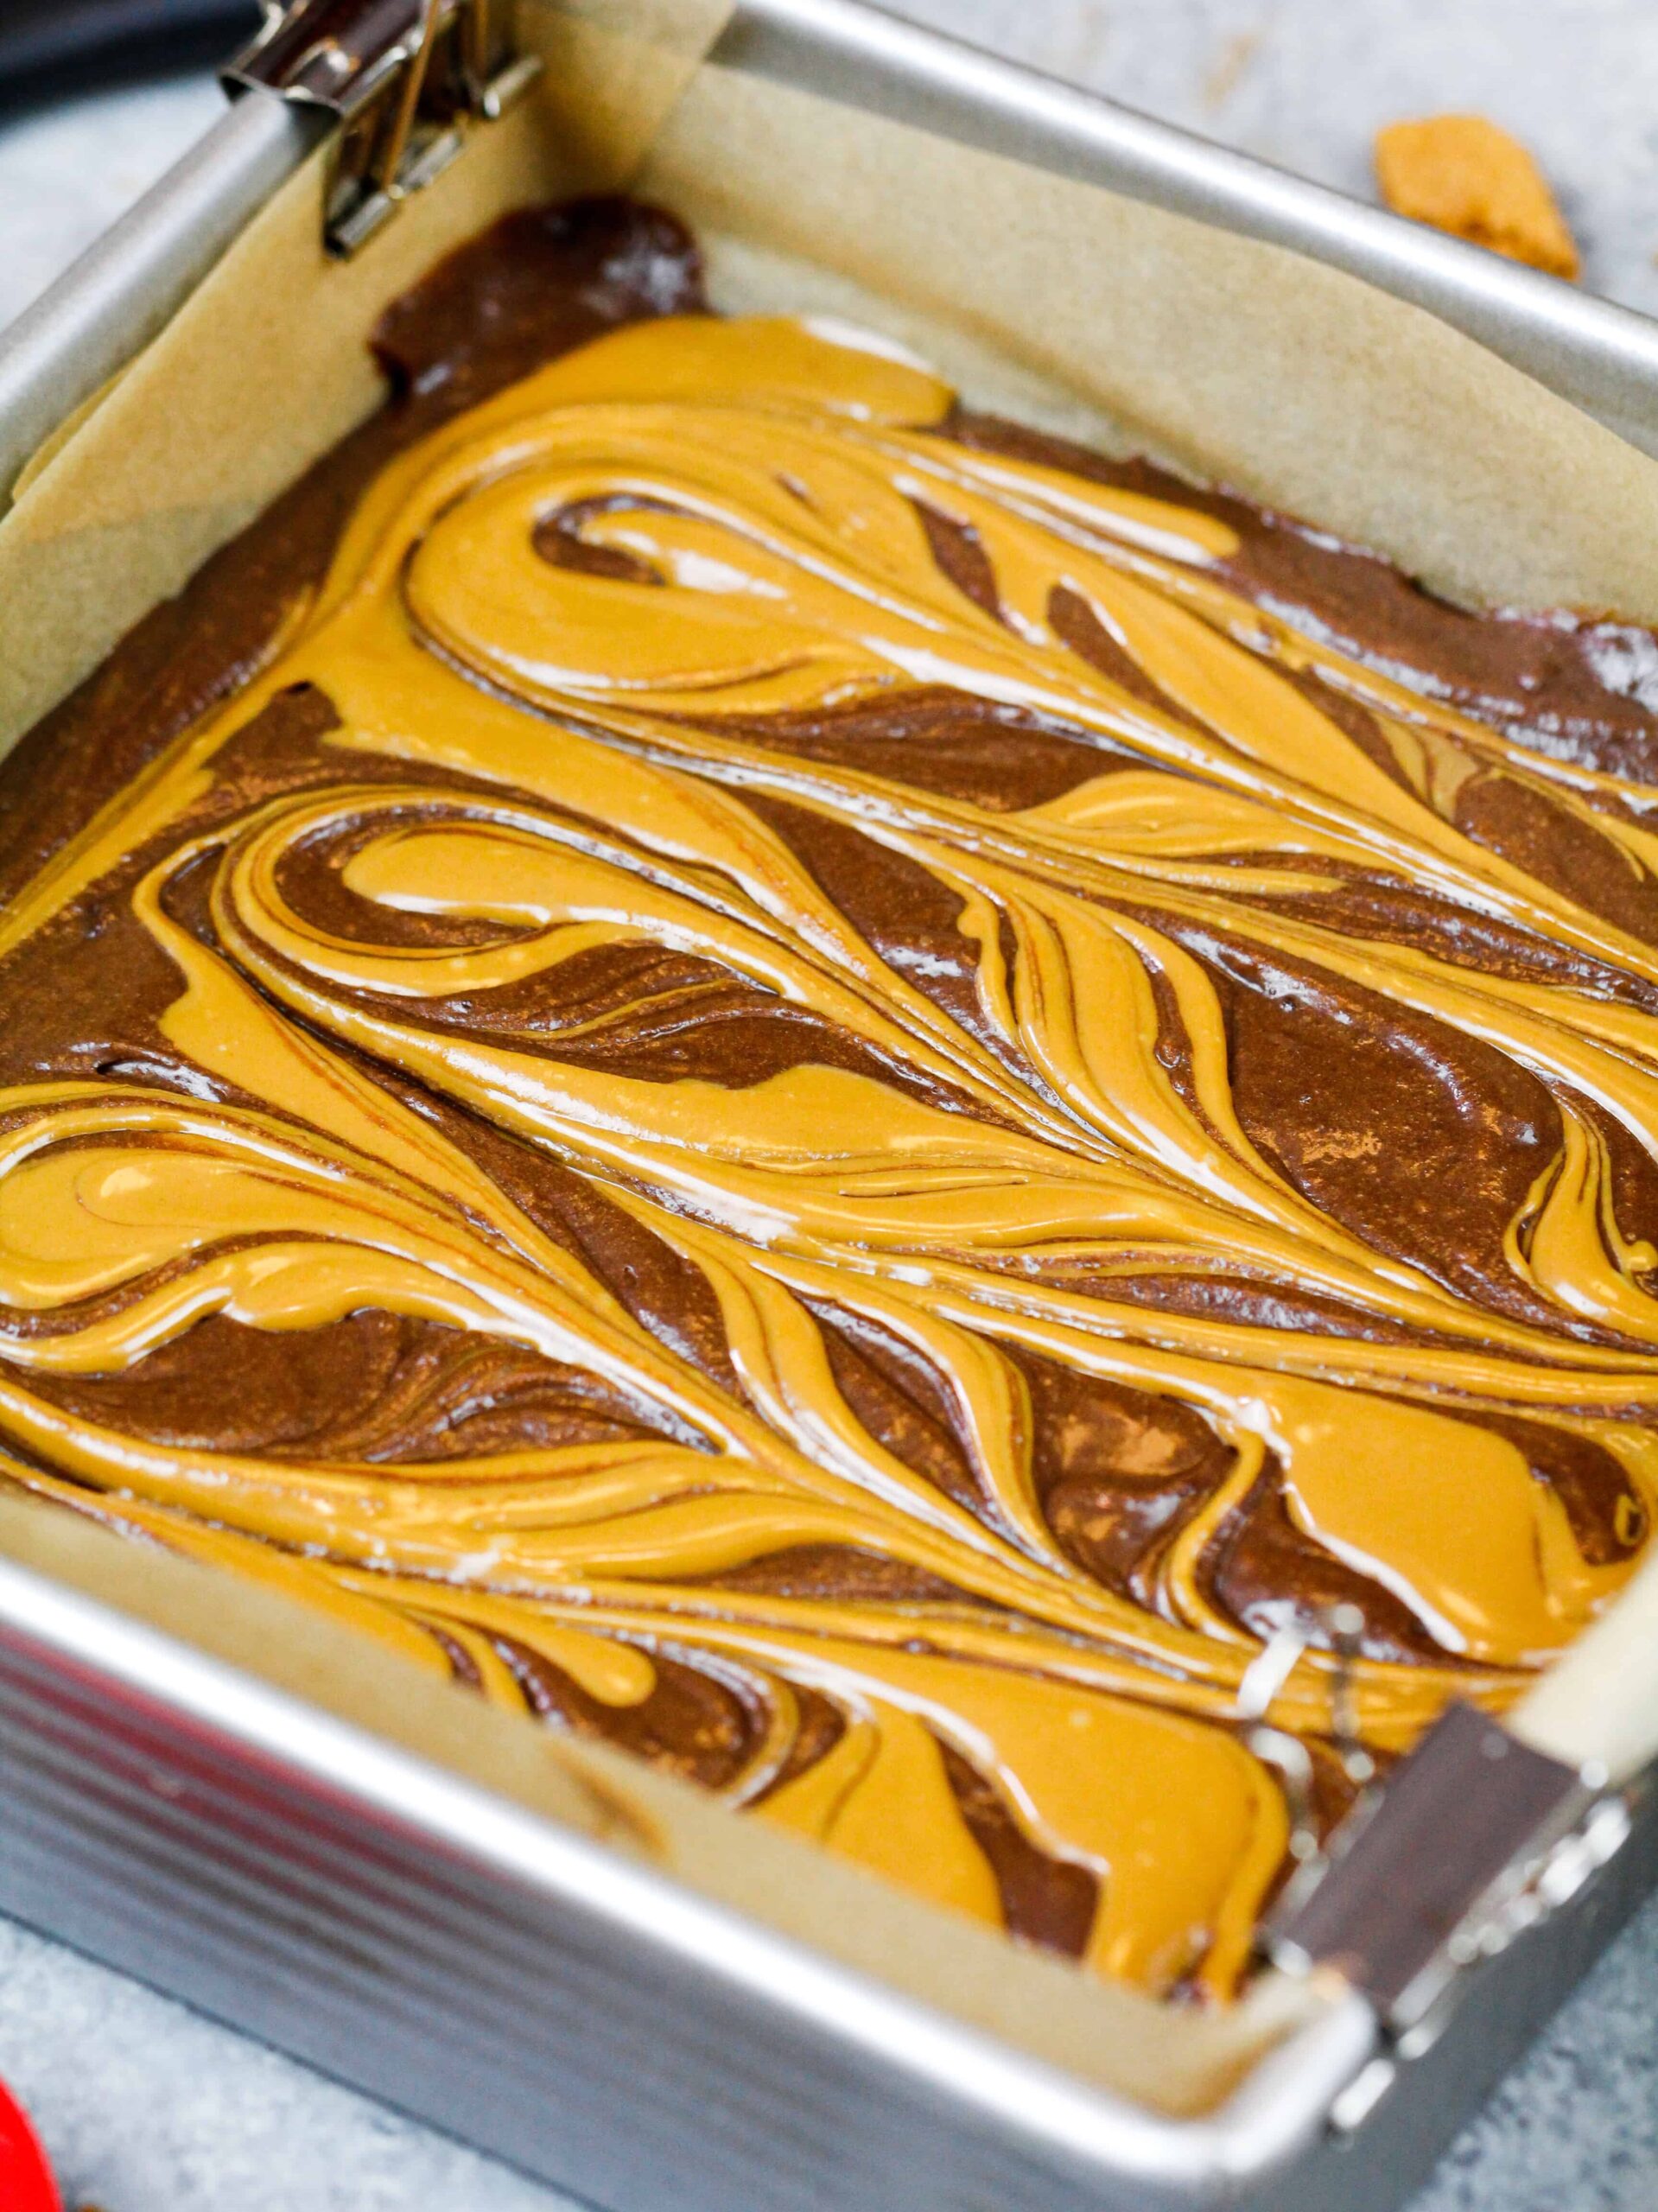
My next piece of advice is to just slightly heat up your Biscoff spread. If you don’t heat it at all, it’s really hard to create a pretty swirly look.
However, if you heat the cookie butter more than 10 seconds, it will just pool on top of the brownie batter and not properly swirl either.
Heating 1/3 cup of Biscoff spread for 5-10 seconds in the microwave is truly the sweet spot.
Substitutions & Swaps in These Biscoff Brownies
This recipe uses quite a few ingredients and I know you might not have all of them on hand. Or if you have food allergies or restrictions, I’ve got you covered.
Below are some swaps and substitutions that can be made in this recipe.
- Large Eggs – If you have an egg allergy, you can use 2 flaxseed eggs instead.
- Granulated Sugar – The mix of granulated and brown sugar gives these brownies a crispy top and a wonderful flavor. However, you can use all granulated sugar if needed.
- Brown Sugar – The mix of granulated and brown sugar gives these brownies a crispy top and a wonderful flavor. However, you can use all brown sugar if that’s all you have on hand.
- Salted Butter – You can use unsalted butter plus 1/4 tsp of salt if you don’t have salted butter on hand.
- Vanilla Extract – The vanilla extract adds an extra little oomph of flavor and helps enhance the chocolate in these brownies. However, if you don’t have any, you can omit this ingredient.
- All-Purpose Flour – You can use a gluten-free flour blend in place of the all-purpose flour in this recipe. Just be sure to use a good blend like King Arthur’s GF flour.
- Baking Cocoa Powder – Use unsweetened baking cocoa in this recipe! Dutch-processed or regular baking cocoa both work great.
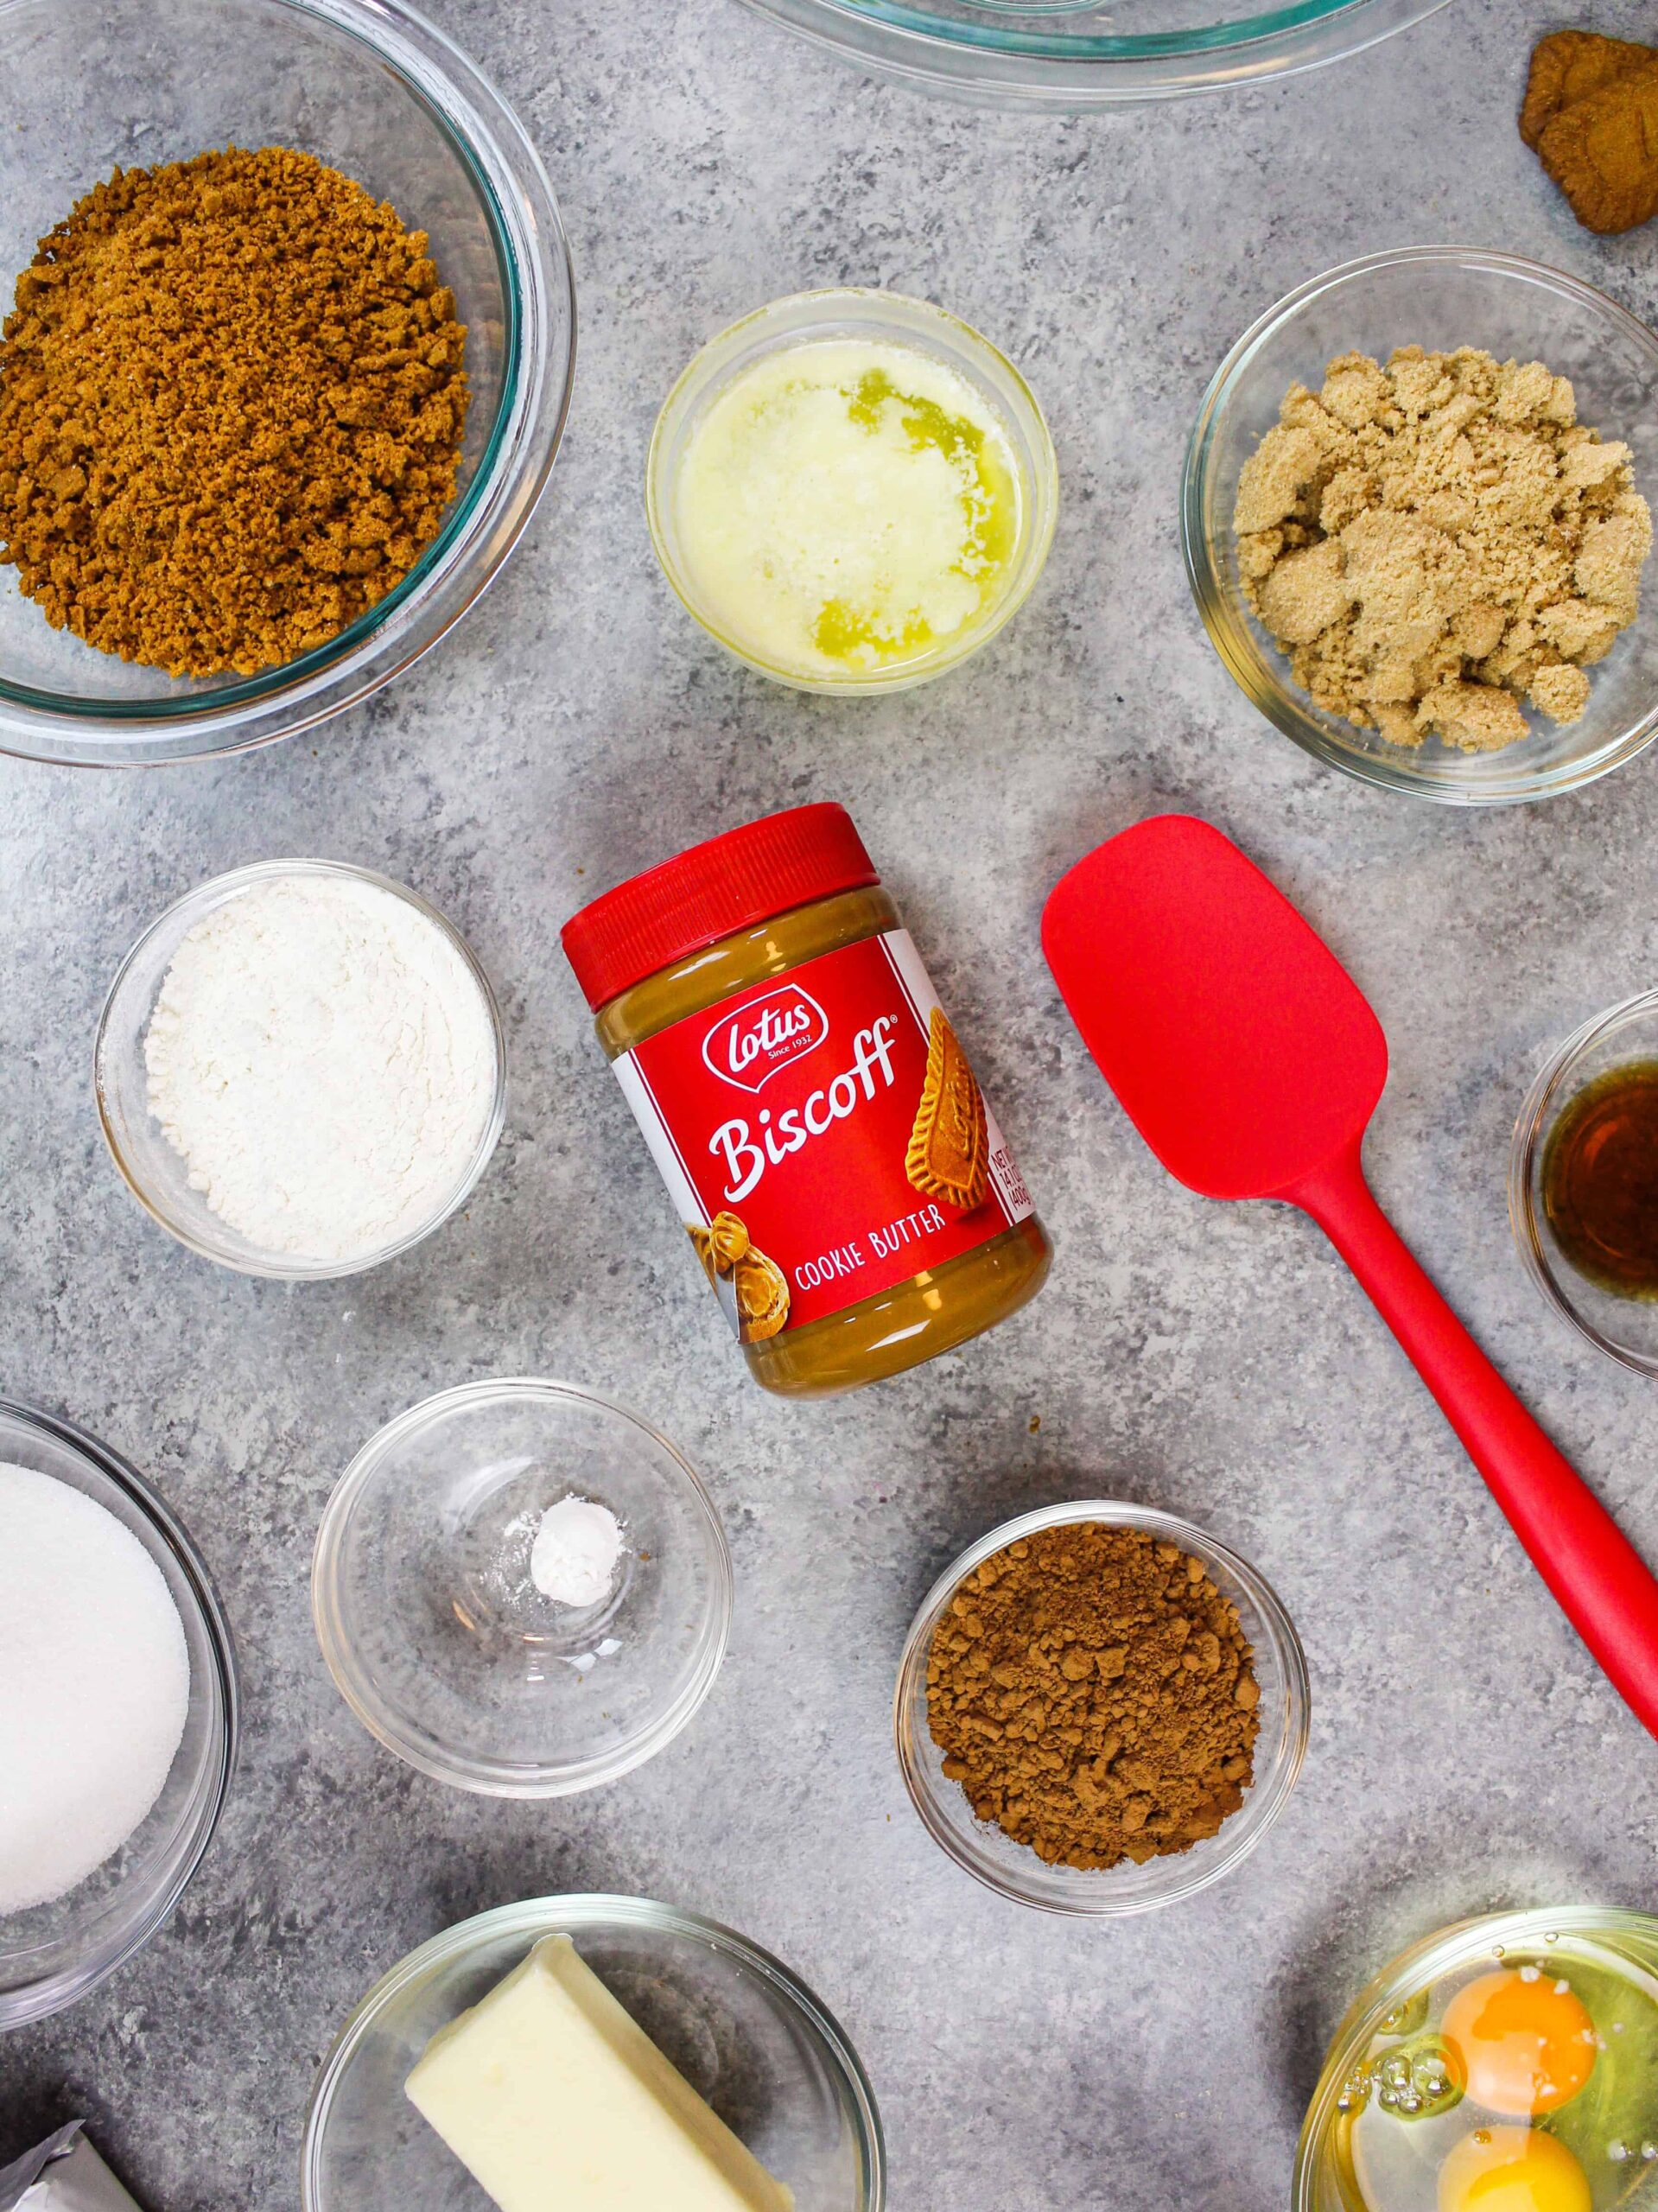
- Biscoff Cookie Crumbs – I like to throw about 18 Biscoff cookies into my food processor until they’re ground into a uniformly fine crumb. You can also crush them in a Ziplock bag. If you can’t find Biscoff cookies, you can skip the crust in this recipe or use graham crackers in their place.
- Biscoff Cookie Spread – The cookie butter swirl truly makes this recipe. It can be found in most grocery stores next to the peanut butter, or you can order it online.
Doubling This Cookie Butter Brownie Recipe
If you want to double this recipe, go for it! Simply double the ingredients and make as instructed.
I recommend baking a double batch in a 9-inch x 13-inch pan to help them bake through properly. Bake the brownies at 350°F for 25-30 minutes. They will be slightly thicker but just as delicious!
Making These Biscoff Brownies in Advance
These Biscoff brownies keep at room temperature for up to 3 days. Store them in an airtight container to keep them fresh.
You can also freeze these brownies for up to two months! Freeze them uncut on a sheet pan until they’re firm to the touch, then wrap them in a layer of plastic wrap and then foil.
When you’re ready to eat the brownies, place them in the fridge overnight, then unwrap and enjoy the following day.
How To Make The Best Biscoff Brownies
- Be sure your ingredients are at room temperature. It helps them mix together better.
- Bake these brownies in a metal pan, not a glass pan! Glass gets hotter than metal pans. If you have to bake these in a glass pan, bake them at 325°F.
- Crush the Biscoff cookies in a food processor or blender to make the crust.
- Really whip up your eggs and sugar before adding the other ingredients to give your brownies a crinkly top.
- Chill your brownies before cutting into them! It will make them much easier to cut.
- Use a warm, sharp knife to get clean slices. Fill a tall cup with hot water and dip a sharp knife into it. Dry the knife fully, then make a slice. Repeat with each cut and wipe the blade clean after each cut.
- If you want to make this recipe in a 9×13-inch pan, double the recipe and bake at 350°F for 25-30 minutes.
- To make eggless Biscoff brownies, use 2 flaxseed eggs.
Let Me Know What You Think!
If you try this recipe for Biscoff brownies, I’d love to hear what you think of it! Please leave a rating and comment below.
Biscoff Brownies
Ingredients
Biscoff Cookie Crust
- 1 1/2 cups crushed Biscoff cookies – about 20 cookies 155g
- 1/4 cup salted butter, melted and cooled 56g
Biscoff Brownies
- 2 large eggs, room temperature 112g
- 1/2 cup granulated sugar 100g
- 1/2 cup packed light brown sugar 100g
- 1/2 cup salted butter, melted and cooled 113g
- 2 tsp vanilla extract or vanilla bean paste 8g
- 1/2 cup all-purpose flour 65g
- 1/3 cup unsweetened baking cocoa 33g
- 1/4 tsp baking powder >1g
- 1/3 cup smooth biscoff spread 80g
Instructions
- Preheat oven to 350°F/175°C and line an 8 x 8-inch baking pan with parchment paper. Set aside.
- Mix together 1 1/2 cups of crushed Biscoff cookie crumbs with 1/4 cup melted butter. Press into the prepared pan and smooth using the back of a large spoon.
- Place 2 large eggs, 1/2 cup of granulated sugar, and 1/2 cup of brown sugar in a large bowl and mix on high for 1 minute with a hand or stand mixer. The mixture should get lighter in color and look creamy.
- Mix in 1/2 cup melted and cooled butter and 2 tsp vanilla on a medium speed until combined.
- Sift 1/2 cup all-purpose flour, 1/3 cup cocoa powder, and 1/4 tsp baking powder into the egg mixture.
- Fold the dry ingredients into the wet ingredients with a rubber spatula.
- Pour batter on top of the Biscoff crust and carefully spread it into an even layer.
- Heat 1/3 cup of Biscoff cookie butter spread in the microwave for 5-10 seconds, then spoon the mixture on top of the brownie batter. Swirl the Biscoff spread with a butter knife to create a pretty pattern.
- Bake for 22-25 minutes or until a toothpick comes out mostly clean. In my oven, the sweet spot is 23 minutes, but every oven bakes a bit differently!
- Remove from the oven and cool fully before cutting.
Video
Notes
Making these Biscoff Brownies in Advance
These Biscoff brownies keep at room temperature for up to 3 days. Store them in an airtight container to keep them fresh. You can also freeze these brownies for up to two months! Freeze them uncut on a sheet pan until they’re firm to the touch, then wrap them in a layer of plastic wrap and then foil. When you're ready to eat the brownies place them in the fridge overnight, then unwrap and enjoy the following day.Doubling this Recipe
If you want to double this recipe, go for it! Simply double the ingredients and make as instructed. Bake a double batch in a 9×13-inch pan at 350 F for 25-30 minutes. They will be slightly thicker but just as delicious!How to Make the Best Biscoff Brownies
- Be sure your ingredients are at room temperature. It helps them mix together better.
- Bake these brownies in a metal pan, not a glass pan! Glass gets hotter than metal pans. If you have to bake these in a glass pan, bake them at 325 F.
- Really whip up your eggs and sugar before adding the other ingredients to get crispy tops on your brownies.
- Chill your brownies before cutting into them! It will make them much easier to cut.
- Use a warm, sharp knife to get clean slices. Fill a tall cup with hot water and drip a sharp knife into it. Dry the knife fully, then make a slice. Repeat with each cut and wipe the blade clean after each cut.
- If you want to make this recipe in a 9 x 13-inch pan, double the recipe and bake at 350 F for 25-30 minutes.
- To make eggless Biscoff free brownies, use 2 flaxseed eggs instead.
Nutrition
Other Recipes You Might Enjoy:
Chelsweets, I have really hit the jackpot with your recipe for Biscoff brownies … Beautifully written instructions, incredibly inventive collection of ingredients… Can’t wait to make these for my “Saturday night special treat”! Thank you again.
Hi Chelsweets
This recipe looks great! And I love Biscoff biscuits (in France we call them Speculoos), I will try it!
Thanks for converting to grams and Celsius degrees ?
These were amazing! The biscoff flavor really stood out! Mine took about 27 min to bake
Hi! This recipe looks so good- I am a huge fan of cookie butter. I want to make this for thanksgiving but I am confused about steps 5&6. 5 says to sift dry ingredients into egg mixture, but 6 says to fold dry ingredients into egg mixture using a rubber spatula. Can you please clarify this? Thanks so much!
@Olivia Yearwood, sift into the bowl first and then fold the ingredients in.
I am no baker, but the recipe and chefs notes/tips were fantastic!! Made them for Friendsgiving and they turned to be perfect!! I had recently stocked up on Biscoffs when they were on sale at Costco, so definitely going to put them to some great use!!I did swap out the Biscoff cookie butter (couldn’t find it) for the crunchy one from Trader Joe’s, had to heat that in the micro for almost 30 secs.
I love all your work
Are you baking in a convection oven?
Hi Vin,
I do not! I bake in a regular / non convection oven.
Oh my, these are some of the best brownies I’ve ever made or eaten! I followed your recipe exactly, although I did add a tablespoon of milk powder to the dry ingredients, and they turned out perfectly! I think I over swirled the cookie butter, it looked pretty, but was mixed into the brownie batter too much; I’ll be more careful next batch. Thanks so much for such a flavorful recipe!
So happy to hear that Suzie!!! They sound delicious 🙂 Thank you for sharing!!
I doubled this and they were great, will definitely make them again!
Yay, so happy to hear that Debi!! Thanks for sharing 🙂
Biscoff Brownies. Your video shows you beat withthe mixer a cube of butter for the filling but your recipe says melted butter. Will it change the texture if I use melted butter vs a room temp cube of butter.
Hi Pat,
Great question! I initially made this recipe with room temp butter, but after making this recipe over the years I realized I liked it better with melted butter! It gives them a fudgier, denser texture that I personally love in brownies! They will still turn out great with room temp butter, they’ll just be a little bit cakier.
I haven’t had a chance to reshoot the video, but my recipe cards always have the latest and greatest versions of my recipes. Hope that helps, happy baking!
@Chelsweets, i tried the recipe with the softened cube of butter. it was delicious and everyone loved them. i will try melted butter the next time i make the brownies. thanks for the clarification!
Yay! So happy to hear that Pat 🙂 Thank you for sharing!!!
Hi Chelsey,
Thank you for all your work, I have done many of your recipes and they are all delicious and so creative.
I have a ceramic pan that is 9×13 inches, how should I adjust my baking time and temperature?
Side comment, when is a cookbook coming?
Thanks again 🙂
Marta
Hi Marta,
For a 9×13-inch ceramic pan, I’d recommend doubling the recipe! You’ll want to keep the oven at 350°F, but plan to add a bit of extra time since ceramic takes longer to heat up. Start checking around 25 minutes, but it may take closer to 30-35 minutes depending on your oven. You’ll know they’re done when the edges look set and a toothpick inserted into the center comes out with just a few moist crumbs.
And as for the cookbook… you’re not the first to ask! It’s something I’ve been thinking about for a while, so hopefully someday soon! Thank you for the encouragement, it means more than you know!
Can I make this with black cocoa powder?
Hi Lisa,
Yes! You can definitely make these with black cocoa powder. It’ll give the brownies a deeper color and a more intense, slightly bittersweet chocolate flavor. I’d recommend swapping in black cocoa for about half (or up to all) of the cocoa powder in the recipe, depending on how bold you want the flavor. Hope that helps, happy baking!