These meringue trees are so easy to make and are the perfect holiday treat! They’re light, airy, and perfectly crunchy on the outside with chewy centers.

How to Make These Christmas Tree Meringues: Step-by-Step Process
While the recipe below is quite detailed, I find visual cues to be super helpful! Below are some photos of the process to help guide you through this recipe.
I’ve also shared a list of tools I used to make these! If you don’t have them on hand, feel free to work with what you’ve got!
- Stand Mixer or Electric Mixer
- Large, flat baking sheet
- Silpat Mat (or parchment paper)
- 1 Large Piping Bag (18-inch)
- Open or Closed Star Piping Tip – like a Wilton 1M
Step 1: Preheat the Oven & Make the Meringue
Preheat the oven to 200F / 93 C and line a large baking sheet with parchment paper or a silicon mat. Set aside.
Before you whip up the meringue, make sure there are no traces of grease on the whisk attachment or in your bowl.
Grease can prevent the meringue from whipping up properly. If you see or feel any grease, moisten a paper towel with vinegar and wipe the inside of the bowl and the whisk attachment to remove any grease.
Then add 4, large egg whites into the bowl of a stand mixer with a whisk attachment and mix on medium speed until the surface of the egg whites is covered in small bubbles.
Add 1/2 tsp cream of tartar and continue to mix until it reaches the soft peak stage and leaves visible tracks.
Gradually mix 1 cup of granulated sugar into the egg whites over a few minutes while mixing on a medium-low speed.
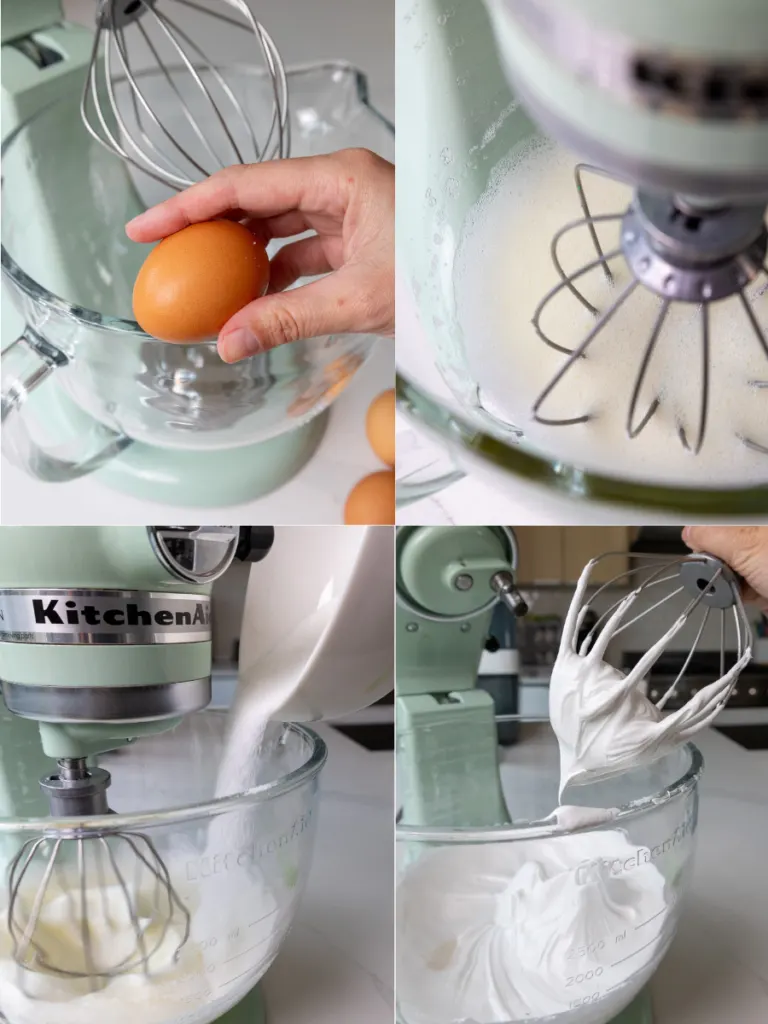
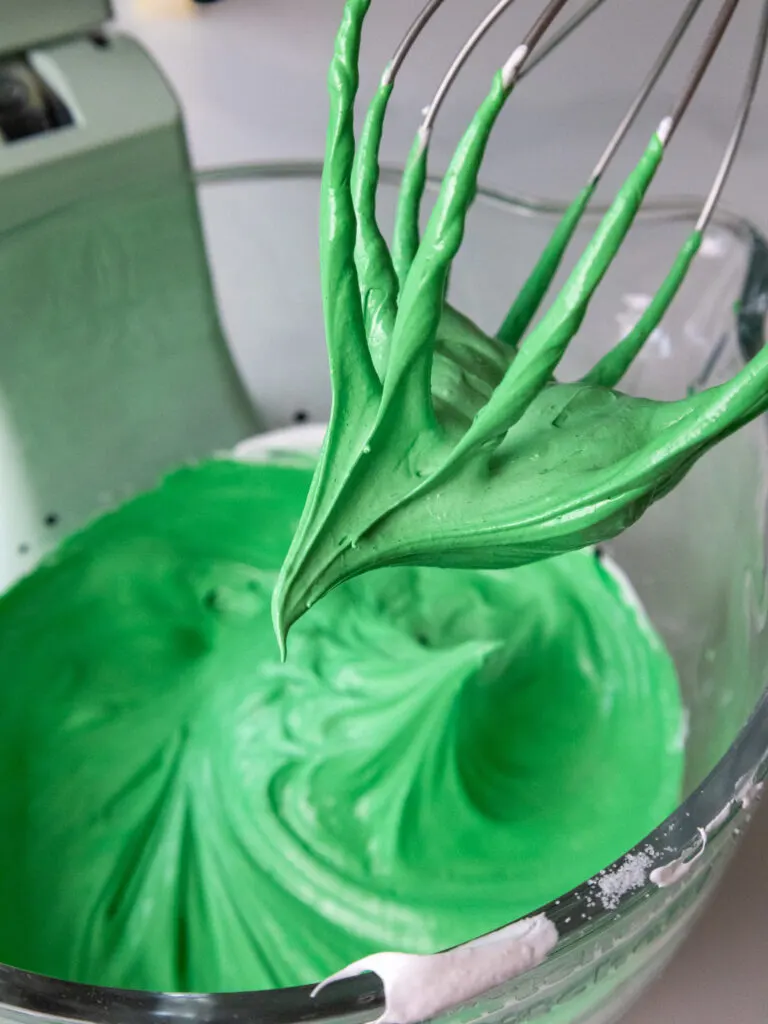
When the meringue gets close to reaching stiff peaks, add 1/2 tsp of vanilla or almond extract and a squirt of green gel food coloring.
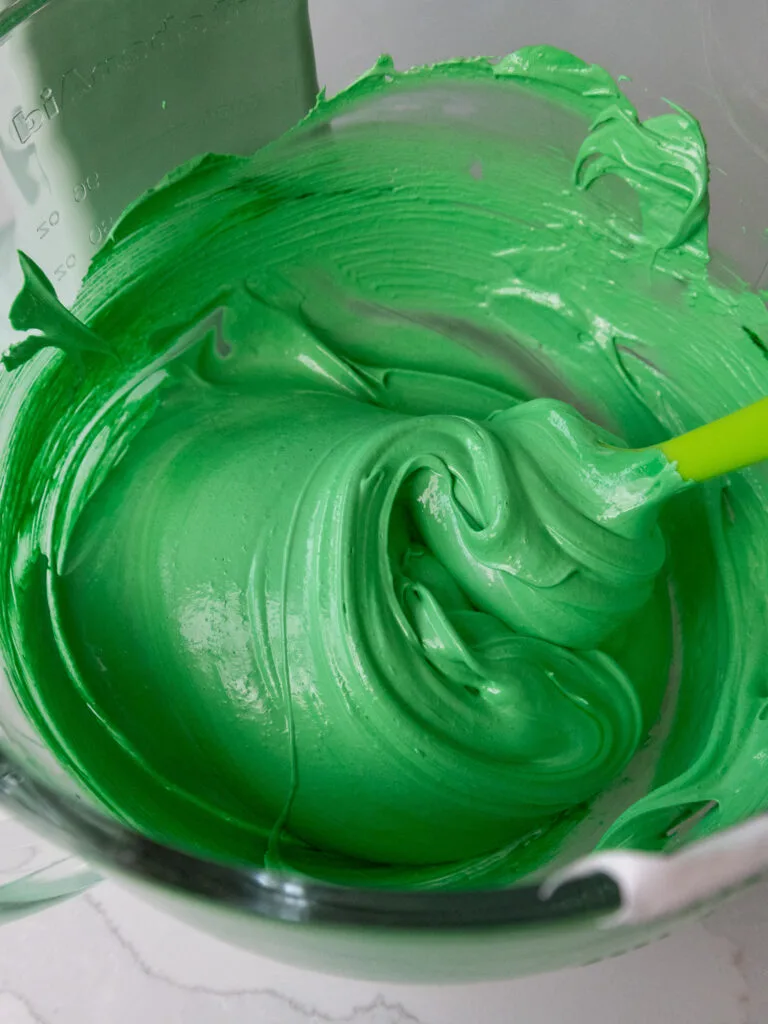
Keep mixing until stiff, glossy peaks form. Don’t worry if the color of the meringue is lighter than you expect, we will be adding gel food coloring to the inside of the piping.
Scrape around the sides of the bowl to make sure all the meringue is evenly colored.
Step 2: Pipe the Meringue Trees & Decorate Them With Sprinkles
Fit a large piping bag with an open or closed star piping tip (like a Wilton 1M). Do not use a bigger piping tip than this, or the meringue won’t be able to keep its shape once it’s piped.
Use a small paintbrush to brush green gel food coloring on the inside of the piping tip and piping bag.
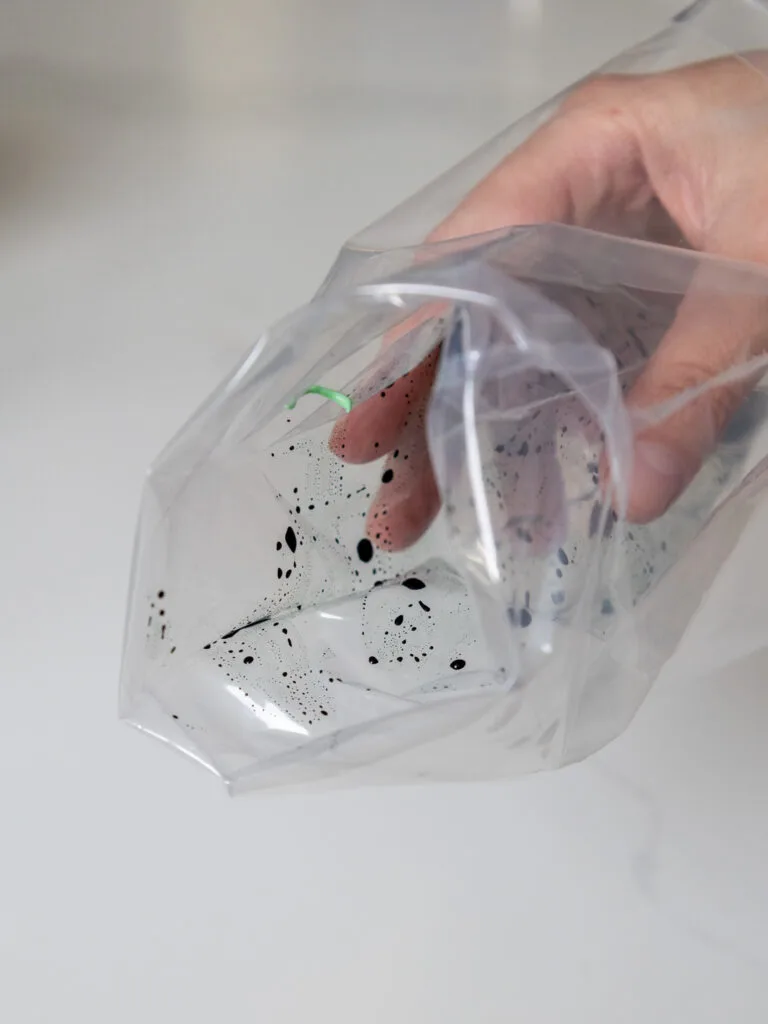
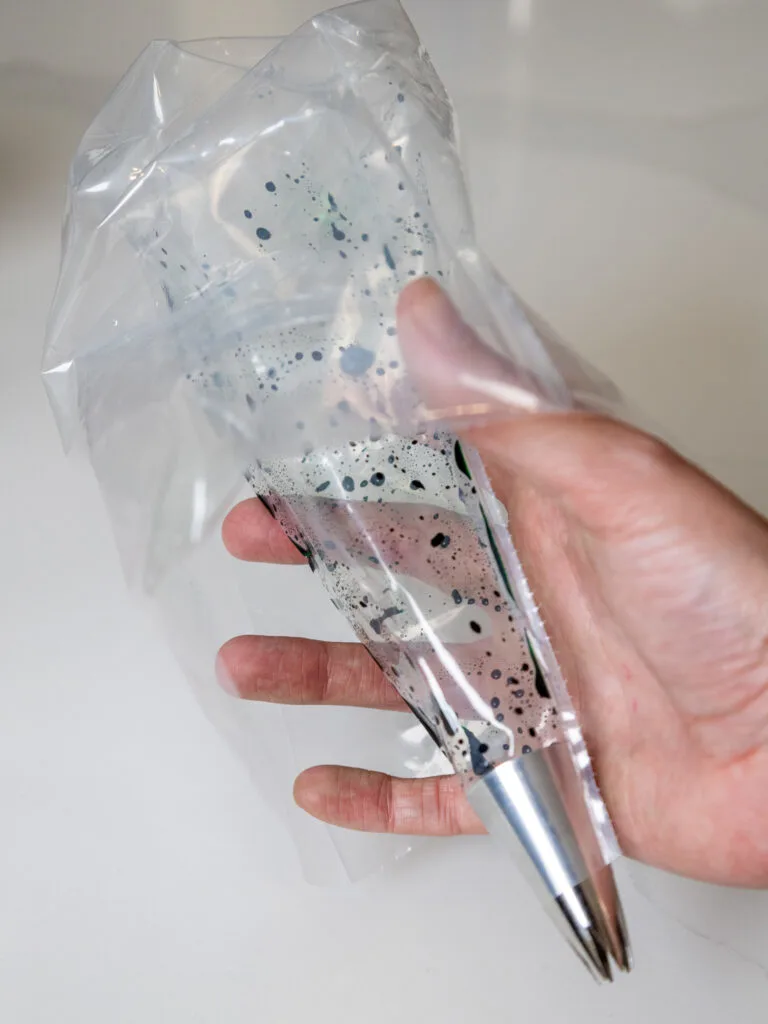
Then scoop the meringue into a large piping bag fitted with a large open or closed star piping tip. Seal the top of the bag with a rubber band or clip.
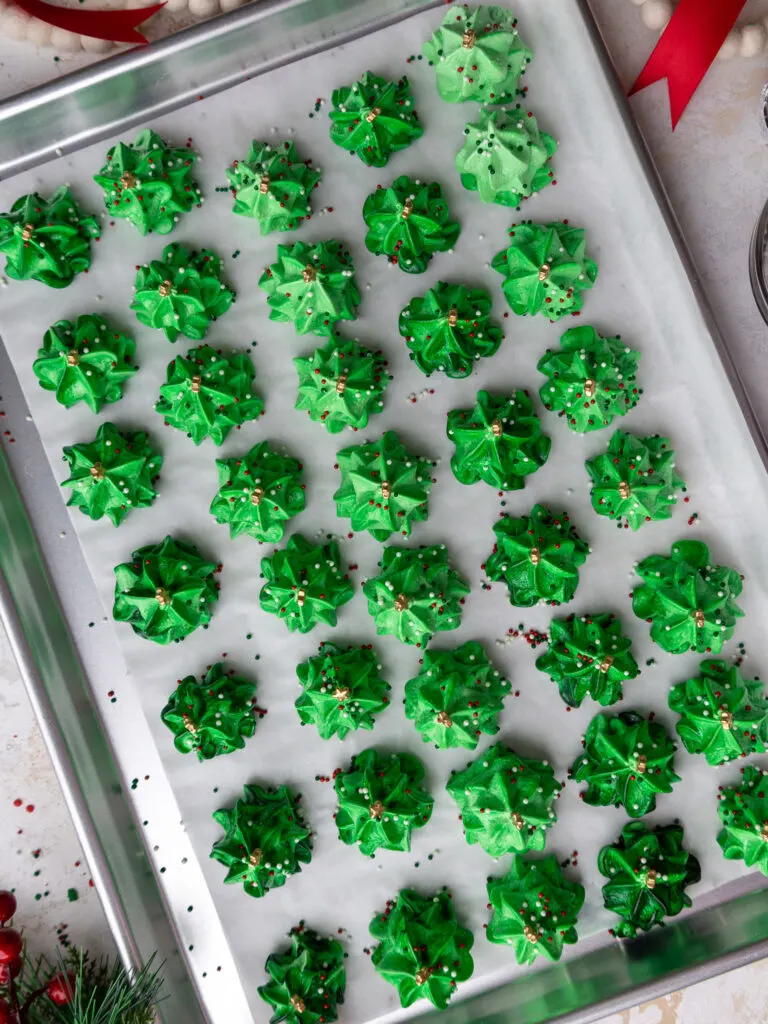
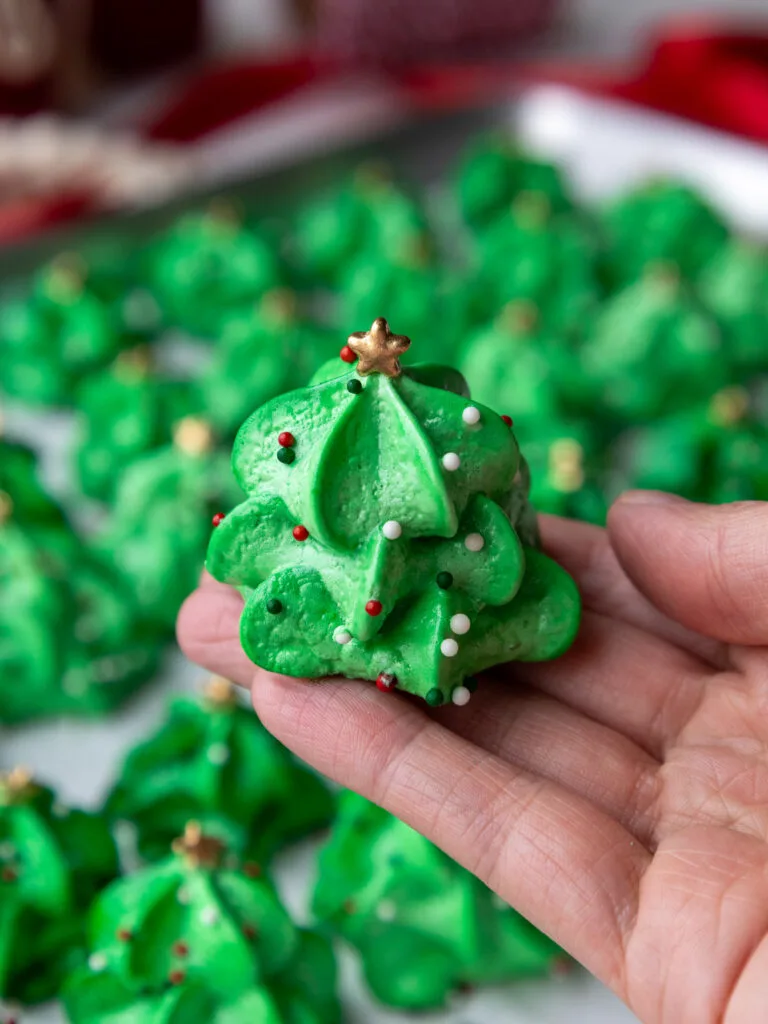
Pipe little trees by piping three dollops of meringue on top of each other. These don’t spread as they bake, so they can be piped about 1 inch apart.
Ideally, you’ll fit all the trees on one tray because these take so long to bake and cool.
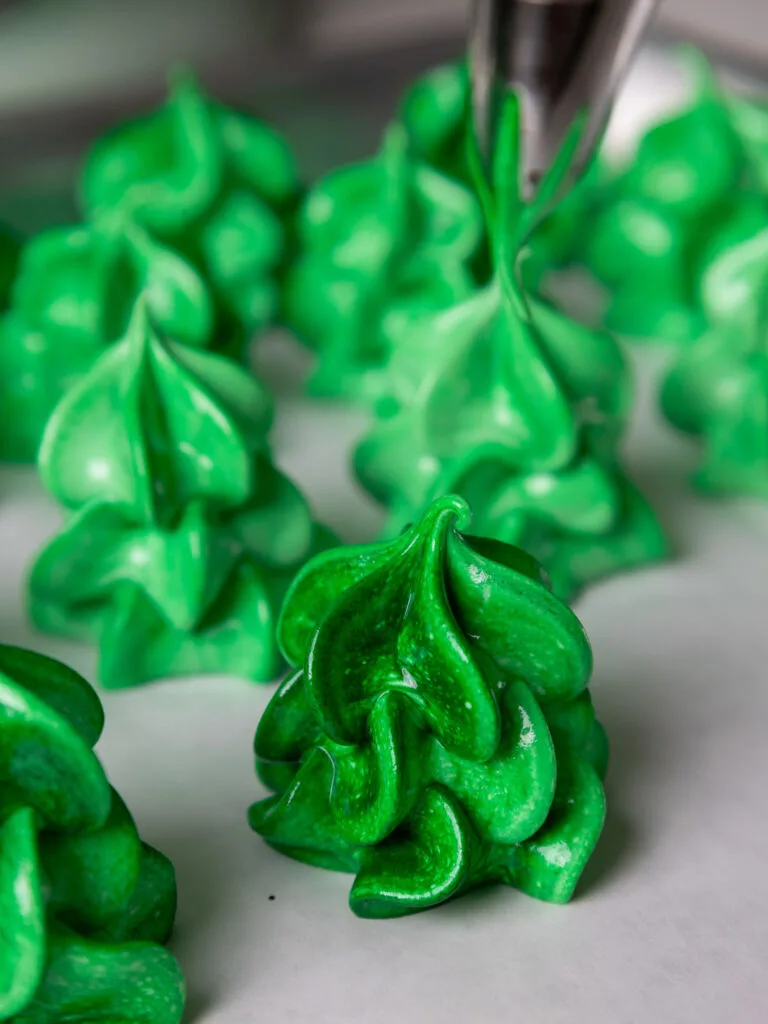
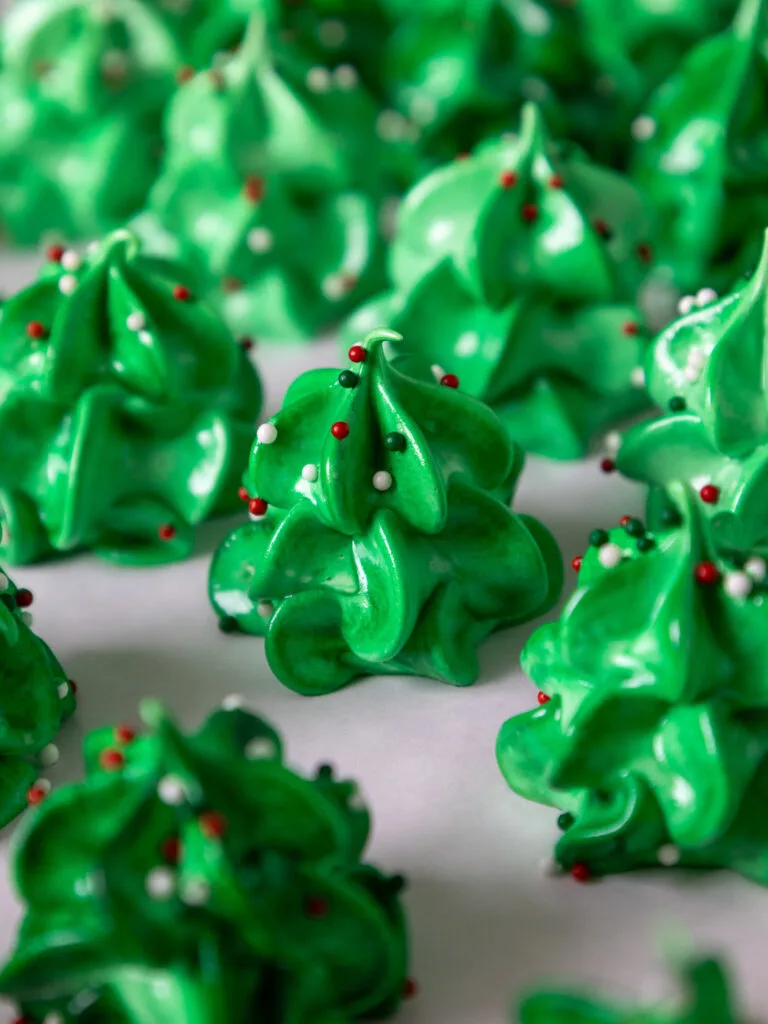
Toss nonpareil sprinkles over the meringues to look like Christmas ornaments. Add a star sprinkle to the top of each tree if desired.

Step 3: Bake & Gradually Cool the Meringues
Bake the tray on the middle rack of your oven for 90 minutes, then turn the oven off and let the trees sit in the oven for another hour without opening the door.
Letting them gradually cool helps prevent them from cracking. At this point, the trees should be fully cooked and look and feel dry to the touch. If they still seem wet or moist, leave them in the oven for another half hour.
Let the meringues cool fully to room temperature, then lightly dust them with powdered sugar using a fine sieve to make them look like snow, and enjoy! They should have a crunchy exterior, and a soft, chewy center.
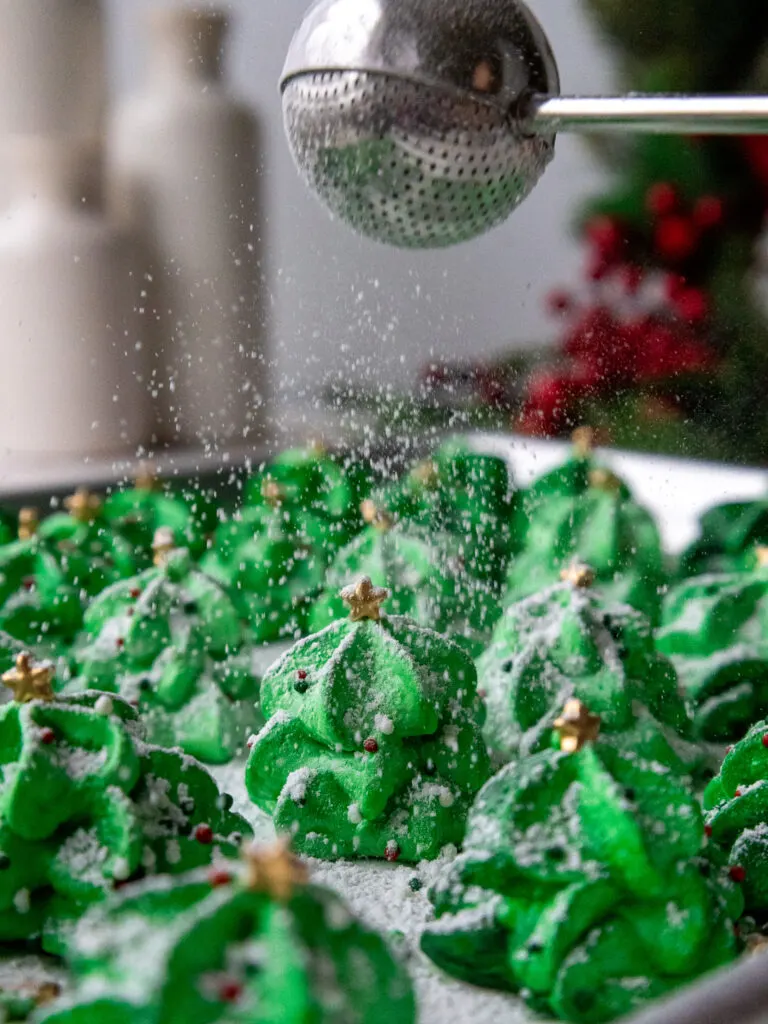
These can be stored at room temperature for up to two weeks.
How Many Meringue Trees Does This Recipe Make?
The yield can vary a lot based on how large you pipe the trees and what piping tip you use. I like to pipe them pretty small and usually make about 40 when I use a Wilton 1M tip.
Tips for Making the Best Meringue Trees
- Note that with the total bake and cool time, these need to be in the oven for at least 2.5 hours, if not overnight. I like to make these at the end of the day so it doesn’t get in the way of any other baking/cooking I need the oven for.
- Separate your eggs while they’re still cold! While we want the egg whites to be room temperature when we whip them up, it’s easiest to separate them when they’re still cold.
- Use gel food coloring to color the meringue. If you try to use liquid food coloring it can throw off the consistency and cause the meringue to be less stable.
- Beat the meringue on a medium-high speed instead of the highest speed. This will help you create a more stable meringue with smaller air bubbles that will be easier to pipe.
- Bake time can vary based on how large you pipe the trees and what piping tip you use. After they’ve baked and cooled in the oven, test them for doneness by gently trying to peel one off the baking mat or parchment paper. It should peel off cleanly.
Let Me Know What You Think!
If you try this recipe for meringue trees, I’d love to hear what you think! Please leave a rating and comment below.
Tag me @chelsweets and use #chelsweets on social media so that I can see your amazing creations!
Other Recipes You Might Like:



Meringue Trees
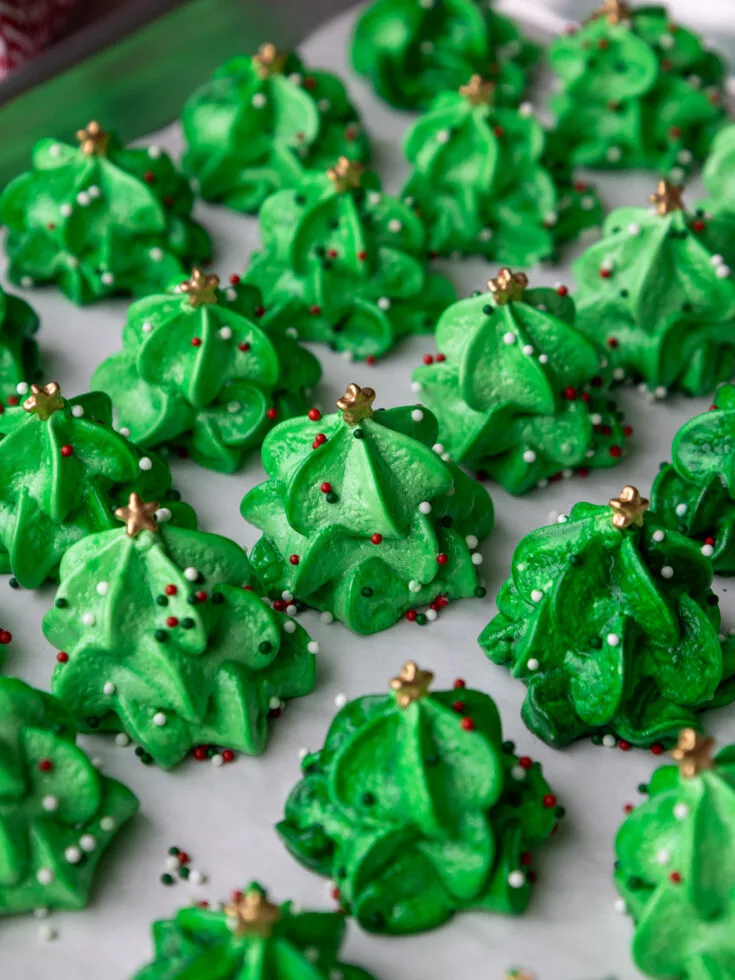
This easy, 5-ingredient recipe for meringue trees is so easy and is the perfect holiday treat! They're light, airy, and perfectly crunchy on the outside with chewy centers.
Ingredients
French Meringue Trees
- 4 large egg whites, room temperature (120g)
- 1/2 tsp cream of tartar - optional
- 1 cup superfine (caster) or granulated sugar (200g)
- 1/2 tsp vanilla or almond extract - optional (5g)
- green gel food coloring
Optional Decorations
- nonpareil sprinkles
- star sprinkles
- powdered sugar - for dusting
Recommended Equipment
Instructions
Meringue Christmas Trees
- Preheat the oven to 200F / 93 C and line a large baking sheet with parchment paper or a silicon mat. Set aside.
- Before you whip up the meringue, make sure there are no traces of grease on the whisk attachment or in your bowl. Grease can prevent the meringue from whipping up properly. If you see or feel any grease, moisten a paper towel with vinegar and wipe the inside of the bowl and the whisk attachment to remove any grease.
- Then add 4, large egg whites into the bowl of a stand mixer with a whisk attachment and mix on medium speed until the surface of the egg whites is covered in small bubbles. Add 1/2 tsp cream of tartar and continue to mix until it reaches the soft peak stage and leaves visible tracks.
- Gradually mix 1 cup of granulated sugar into the egg whites over a few minutes while mixing on a medium-low speed. Increase the mixing speed to a medium-high speed (6 on a KitchenAid). When the meringue gets close to reaching stiff peaks, add 1/2 tsp of vanilla or almond extract and a squirt of green gel food coloring. Keep mixing until stiff, glossy peaks form. Don't worry if the color of the meringue is lighter than you expect, we will be adding gel food coloring to the inside of the piping. Scrape around the sides of the bowl to make sure all the meringue is evenly colored.
- Fit a large piping bag with an open or closed star piping tip (like a Wilton 1M). Do not use a bigger piping tip than this, or the meringue won't be able to keep its shape once it's piped. Use a small paintbrush to brush green gel food coloring on the inside of the piping tip and piping bag. Then scoop the meringue into a large piping bag fitted with a large open or closed star piping tip. Seal the top of the bag with a rubber band or clip.
- Pipe little trees by piping three dollops of meringue on top of each other. These don't spread as they bake, so they can be piped about 1 inch apart. Ideally, you'll fit all the trees on one tray because these take so long to bake and cool. Toss nonpareil sprinkles over the meringues to look like Christmas ornaments. Add a star sprinkle to the top of each tree if desired.
- Bake the tray on the middle rack of your oven for 90 minutes, then turn the oven off and let the trees sit in the oven for another hour. Letting them gradually cool helps prevent them from cracking. At this point, the trees should be fully cooked and look and feel dry to the touch. If they still seem wet or moist, leave them in the oven for another half hour.
- Remove the tray from the oven. They should have a crunchy exterior, and a soft, chewy center. Let the meringues cool fully to room temperature, then lightly dust them with powdered sugar using a fine sieve to make them look like snow. Enjoy! These can be stored at room temperature for up to two weeks.
Notes
How Many Meringue Trees Does This Recipe Make?
The yield can vary a lot based on how large you pipe the trees and what piping tip you use. I like to pipe them pretty small and usually make about 40 when I use a Wilton 1M tip.
Tips for Making the Best Meringue Trees
- Note that with the total bake and cool time, these need to be in the oven for at least 2.5 hours, if not overnight. I like to make these at the end of the day so it doesn't get in the way of any other baking/cooking I need the oven for.
- Separate your eggs while they're still cold! While we want the egg whites to be room temperature when we whip them up, it's easiest to separate them when they're still cold.
- Use gel food coloring to color the meringue. If you try to use liquid food coloring it can throw off the consistency and cause the meringue to be less stable.
- Beat the meringue on a medium-high speed instead of the highest speed. This will help you create a more stable meringue with smaller air bubbles that will be easier to pipe.
- Bake time can vary based on how large you pipe the trees and what piping tip you use. After they've baked and cooled in the oven, test them for doneness by gently trying to peel one off the baking mat or parchment paper. It should peel off cleanly.
Nutrition Information
Yield
45Serving Size
1Amount Per Serving Calories 24Total Fat 0gSaturated Fat 0gTrans Fat 0gUnsaturated Fat 0gCholesterol 0mgSodium 5mgCarbohydrates 6gFiber 0gSugar 6gProtein 0g

Tasha palino
Friday 20th of December 2024
A lot of mine fell over in the oven or melted I’m not sure. Any idea why or how to stop that from happening? Aside from that they were perfect.
Sarah
Thursday 19th of December 2024
Hi! I wanted to ask, if I buy a carton of egg whites vs separated egg whites, can I use that?
Gemma
Sunday 15th of December 2024
These were so fun and easy to make! Even with skipping the cream of tartar (somehow I never keep it in my kitchen), the meringue set up perfectly and they held their shape so well after piping. Can’t wait to add these to this year’s cookie boxes :)
Ally
Sunday 15th of December 2024
Could I sub meringue powder for the cream of tartar?
Chelsweets
Sunday 15th of December 2024
You totally can, I did that with the last batch I made! Or you can just omit it too! Hope that helps, happy baking :)
Ashli Spearman
Thursday 12th of December 2024
How long are these good for once made?