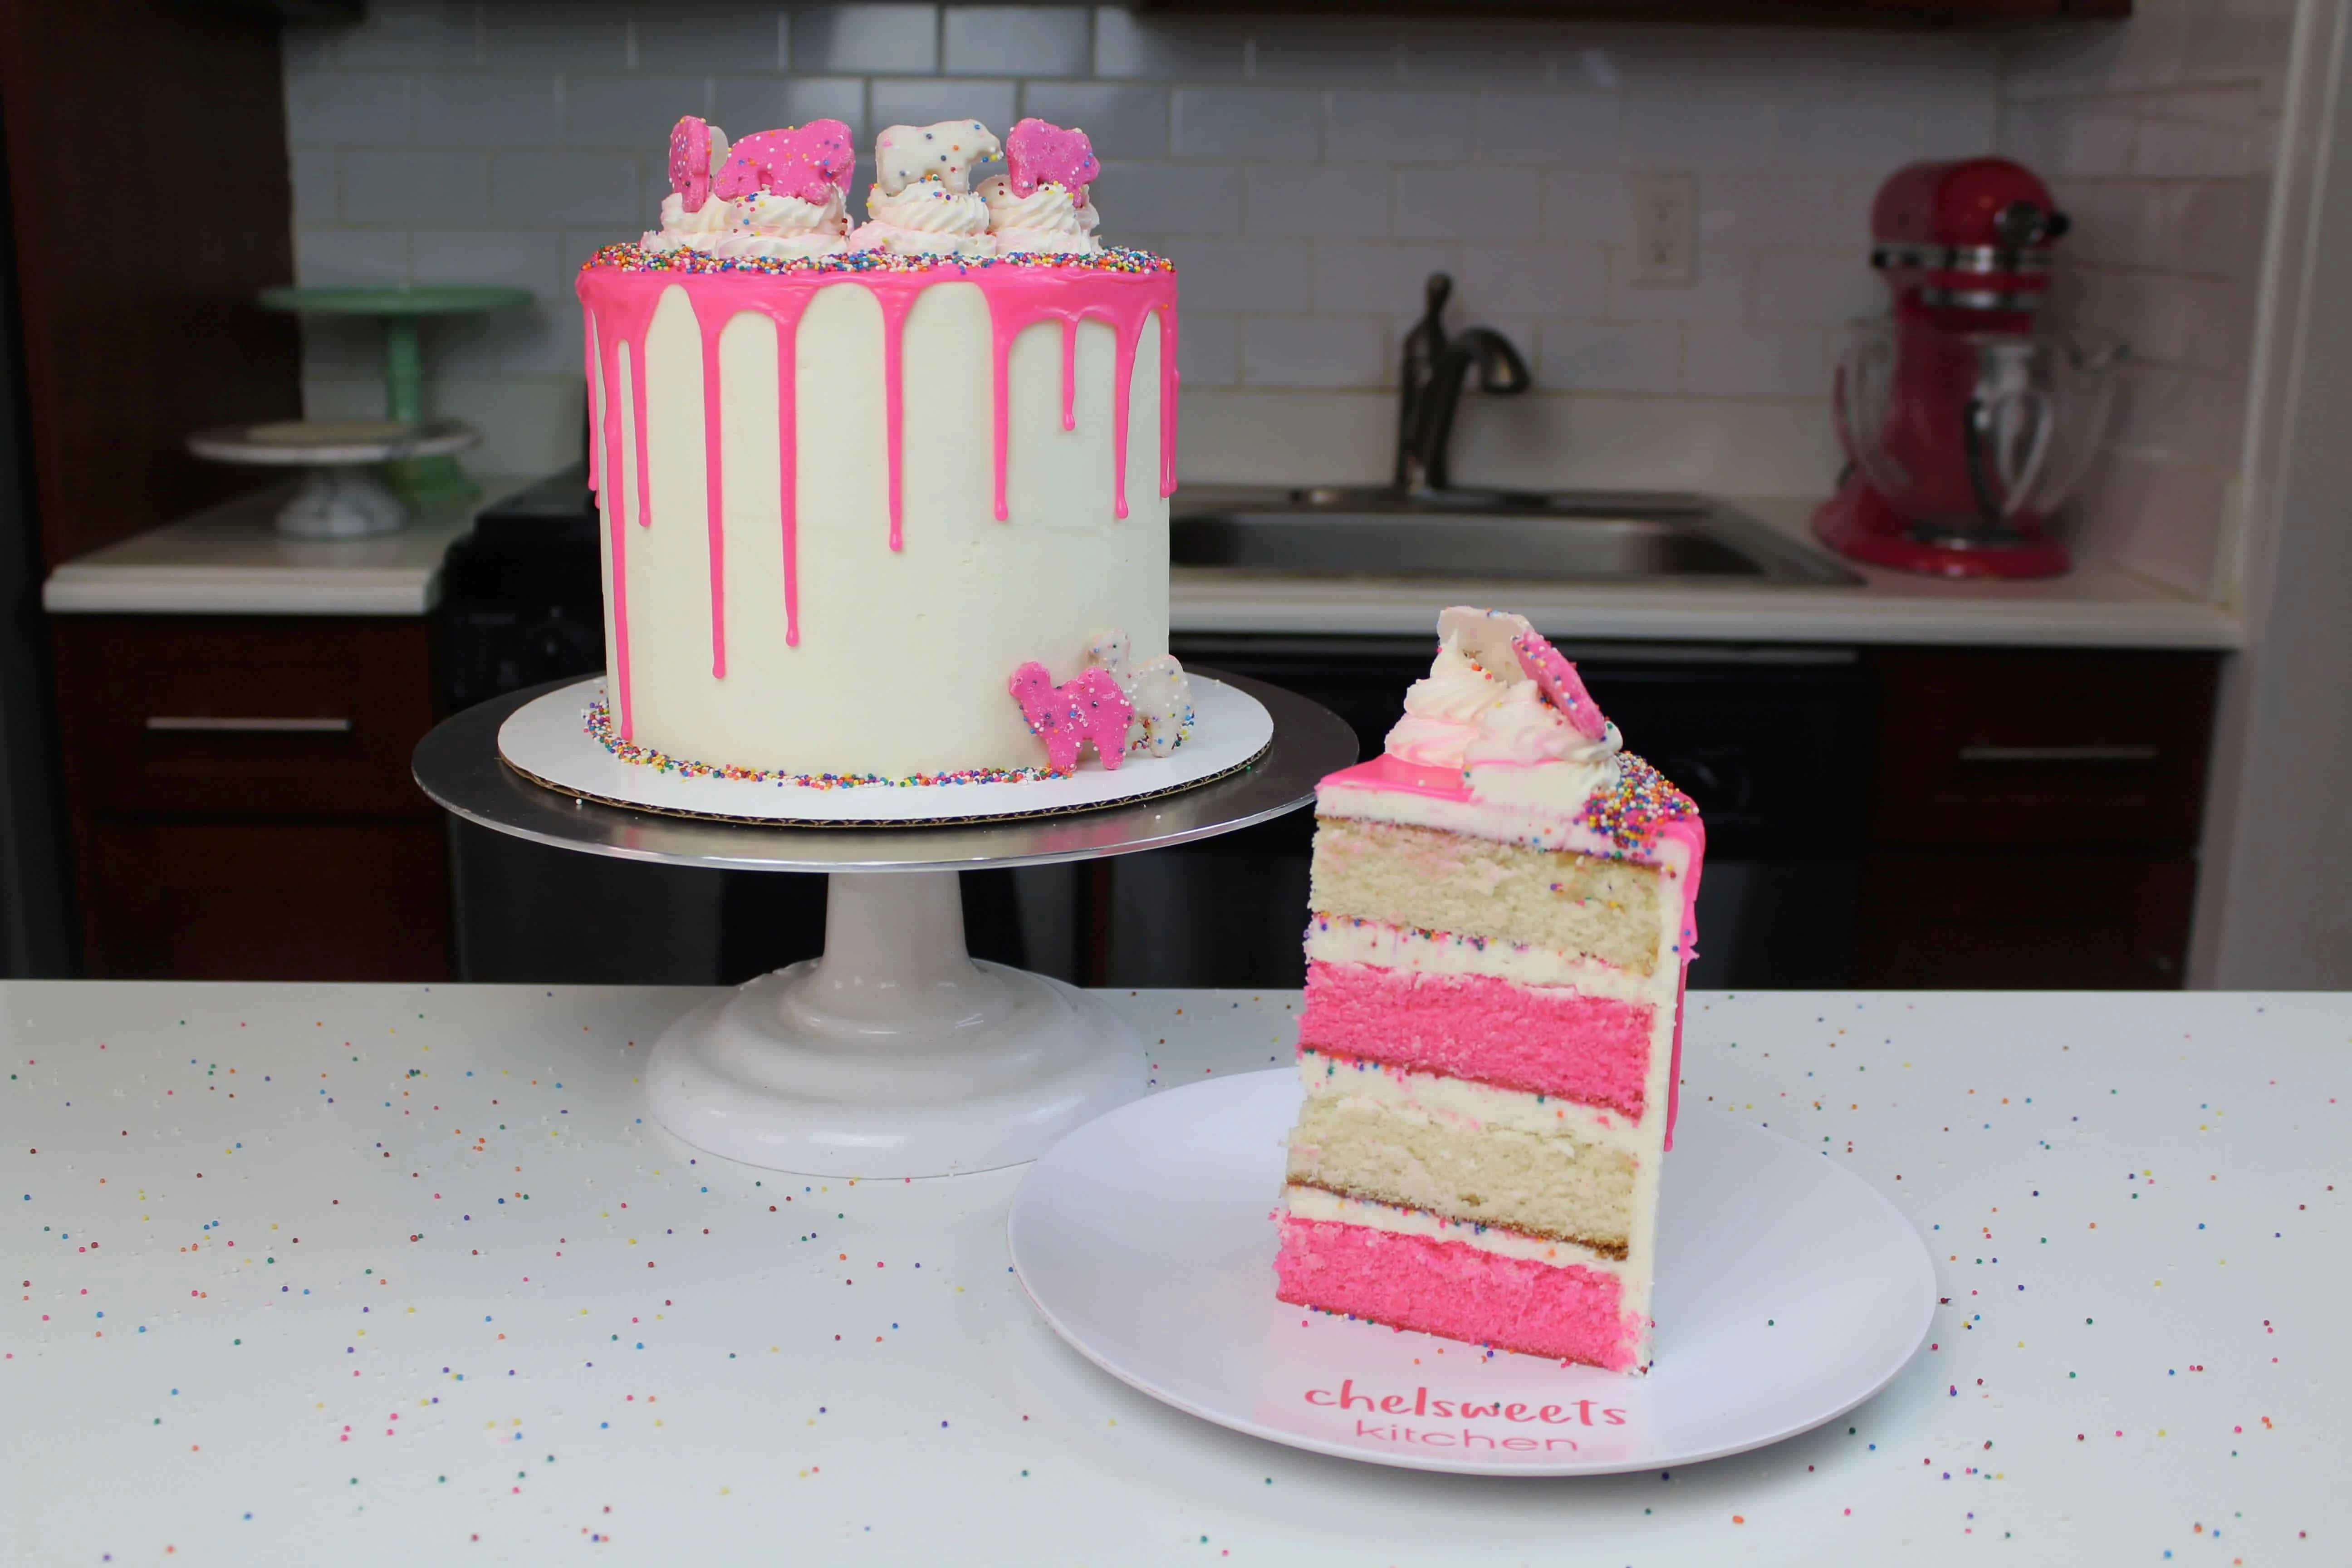
For this week’s Food Network Livestream, I am making a cake inspired by the flavor and decoration or circus animal cookies!! While I remember buying these at the grocery store as a kid, I had the hardest time finding them here in Manhattan! After no luck trying three different grocery stores, I ended up buying a few packs on amazon.
To me, there are three things that make circus animal cookies so great; their color, their coating, and all those colorful sprinkles!! The bright white and pink colors are so iconic and playful, and these were the two colors I wanted to incorporate into the decoration of this cake. The next thing that makes them special is the white chocolate coating!!! It takes the cookies from regular animal crackers to whole new level. I chose to add white chocolate into the cake layers, the frosting, and used it to make a ganache drip. I also used a ton of non-pareil sprinkles while decorating the cake, and added them between the layers. The recipe and tutorial can be found below:
White Chocolate Cake Ingredients:
- 3 1/4 cup (416 grams) all purpose flour
- 3 cups (600 grams) granulated sugar
- 2 1/2 tsp (13 grams) baking powder
- 1 tsp (5 grams) salt
- 1 cup unsalted butter or 2 sticks (226 grams), room temperature
- 2 tsp. (9 grams) vanilla extract
- 1 cup egg whites (244 grams) – about 7 large egg whites; I use egg whites from the carton to avoid wasting egg yolks
- 1 1/2 cups (360 grams) buttermilk, room temperature
- 1/8 cup (28 grams) vegetable oil
- 1 cup (6 oz. of white chocolate chips, melted)
White Chocolate Buttercream:
- 6 sticks or 3 cups unsalted butter, room temperature
- 12 cups powdered sugar
- 1 tsp salt
- 3 Tbsp. heavy cream
- 2 tsp vanilla
- 1 cup (6 oz. of white chocolate chips, melted)
Pink, White Chocolate Ganache:
- 1/2 cup heavy cream (about 4 oz.)
- 1 1/2 cups white chocolate chips (9 oz.)
- pink gel food coloring (optional)
Additional Decorations:
- circus animal cookies
- Non-pareil sprinkles
Instructions:
Preheat oven to 350°F. Line four 7” with parchment rounds, and grease with non-stick cooking spray.
Mix together all dry ingredients (flour, baking powder, sugar, and salt) in a stand mixer with a paddle until fully combined.
Mix chunks of room-temperature butter slowly into the dry mix, on a low speed. Continue to mix until no large chunks of butter remain, and the mixture becomes crumbly.
Pour in egg whites, and mix on low until just incorporated. Mix in the buttermilk in two installments, on a low speed. Add in vanilla and oil, and mix at a low speed until fully incorporated. Slowly mix in the melted white chocolate. Scrape down the sides of the bowl with a spatula, then beat on medium speed for about 30 seconds.
Weight out half of the batter, in a separate bowl. Use pink gel food coloring to color the batter a vibrant shade of pink.
Divide evenly between the prepared cake pans, to make 2 white layers, and 2 pink layers. Bake for about 37 minutes (or until a skewer comes out clean). Allow to cool for 10 minutes, then run an offset spatula around perimeter of the pan to separate the cake from the pan. Place cake layers into the freezer for 45 minutes, to accelerate the cooling process.
Once the layers have fully cooled, I like to trim the caramelized bits from the sides of the layers using a serrated knife. While these layers bake pretty flat, sometimes I’ll also trim the top of the layers too. Be sure the layers are completely cooled or chilled before trimming. If you try to trim the layers while they’re still warm, they will crumble apart.
While the layers bake, prepare the white chocolate frosting. Beat the butter on a medium speed for 30 seconds with a paddle attachment, until smooth. Slowly add in the powdered sugar, 1 cup at a time. Alternate with small splashes of cream. Once fully mixed, add in the vanilla, salt, and melted white chocolate. Beat on low until the ingredients are fully incorporated, and the desired consistency is reached. If the frosting is too thick, add in cream (1 teaspoon at a time). If the frosting is too thin, add in more powdered sugar (quarter of a cup at a time).
NOTE: When making frosting for a cake, it is important to mix the buttercream on low at the end of the process for a couple minutes, to get out any extra air that might have be incorporated during the mixing process. This will make it easier to get super smooth sides on your cake!
Next, make the pink, white chocolate ganache! Heat heavy cream in a heat-proof bowl in the microwave for 45 seconds-1 minute, until bubbling. Gently pour white chocolate chips into the heavy cream, making sure they are fully covered with cream. Allow mixture to sit for 2 minutes. Stir slowly until the cream and white chocolate are combined, then heat again for 20 seconds and stir. Repeat as necessary until all the chocolate bits are fully melted and incorporated. Then add gel food coloring, and mix until evenly colored. Allow to cool until desired viscosity is reached.
If it seems too thin or thick, you can add a touch more chocolate chips or heavy cream! The type of cream and white chocolate that you use can affect the consistency, so feel free to adjust as needed. I like to put my ganache into plastic squirt bottles when decorating cakes, but you can also use a spoon to drizzle it over cakes.
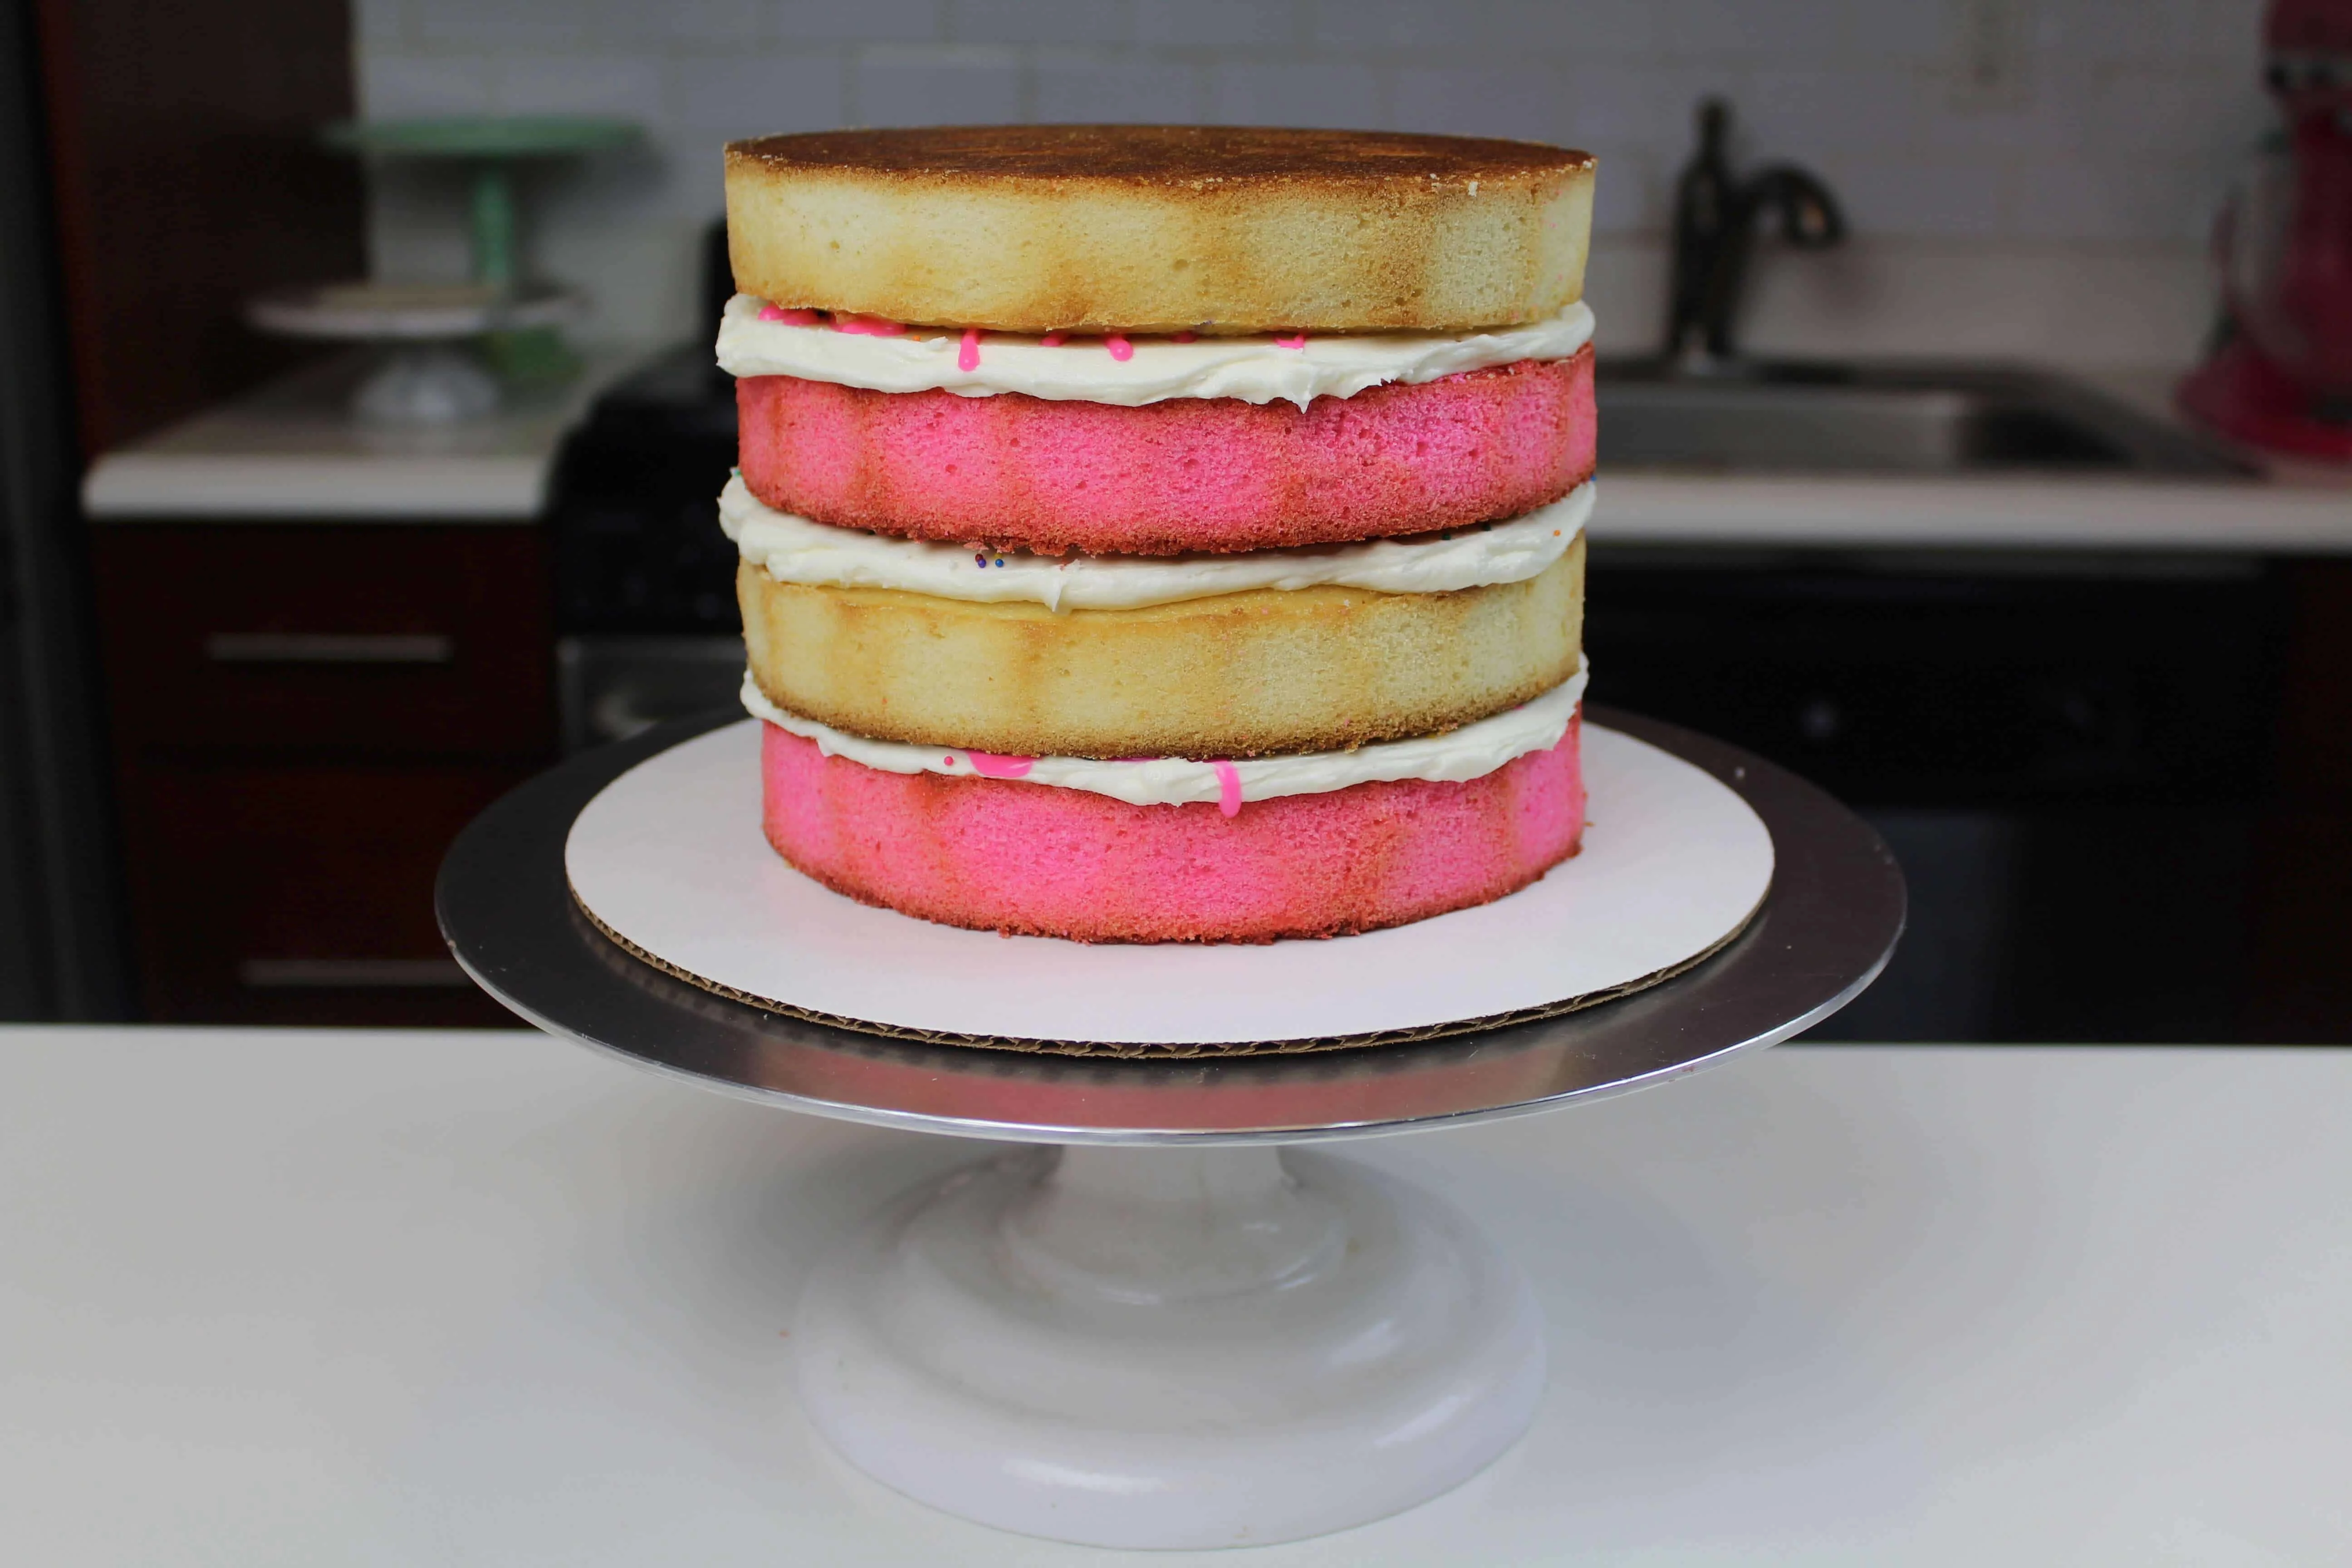
Stack and frost layers on a cardboard cake round. Frost an even layer of white chocolate buttercream on top of each cake layer, and add a generous drizzle of white chocolate ganache. Sprinkle with non-pareil sprinkles. Repeat with remaining cake layers, alternating the pink and white layers.
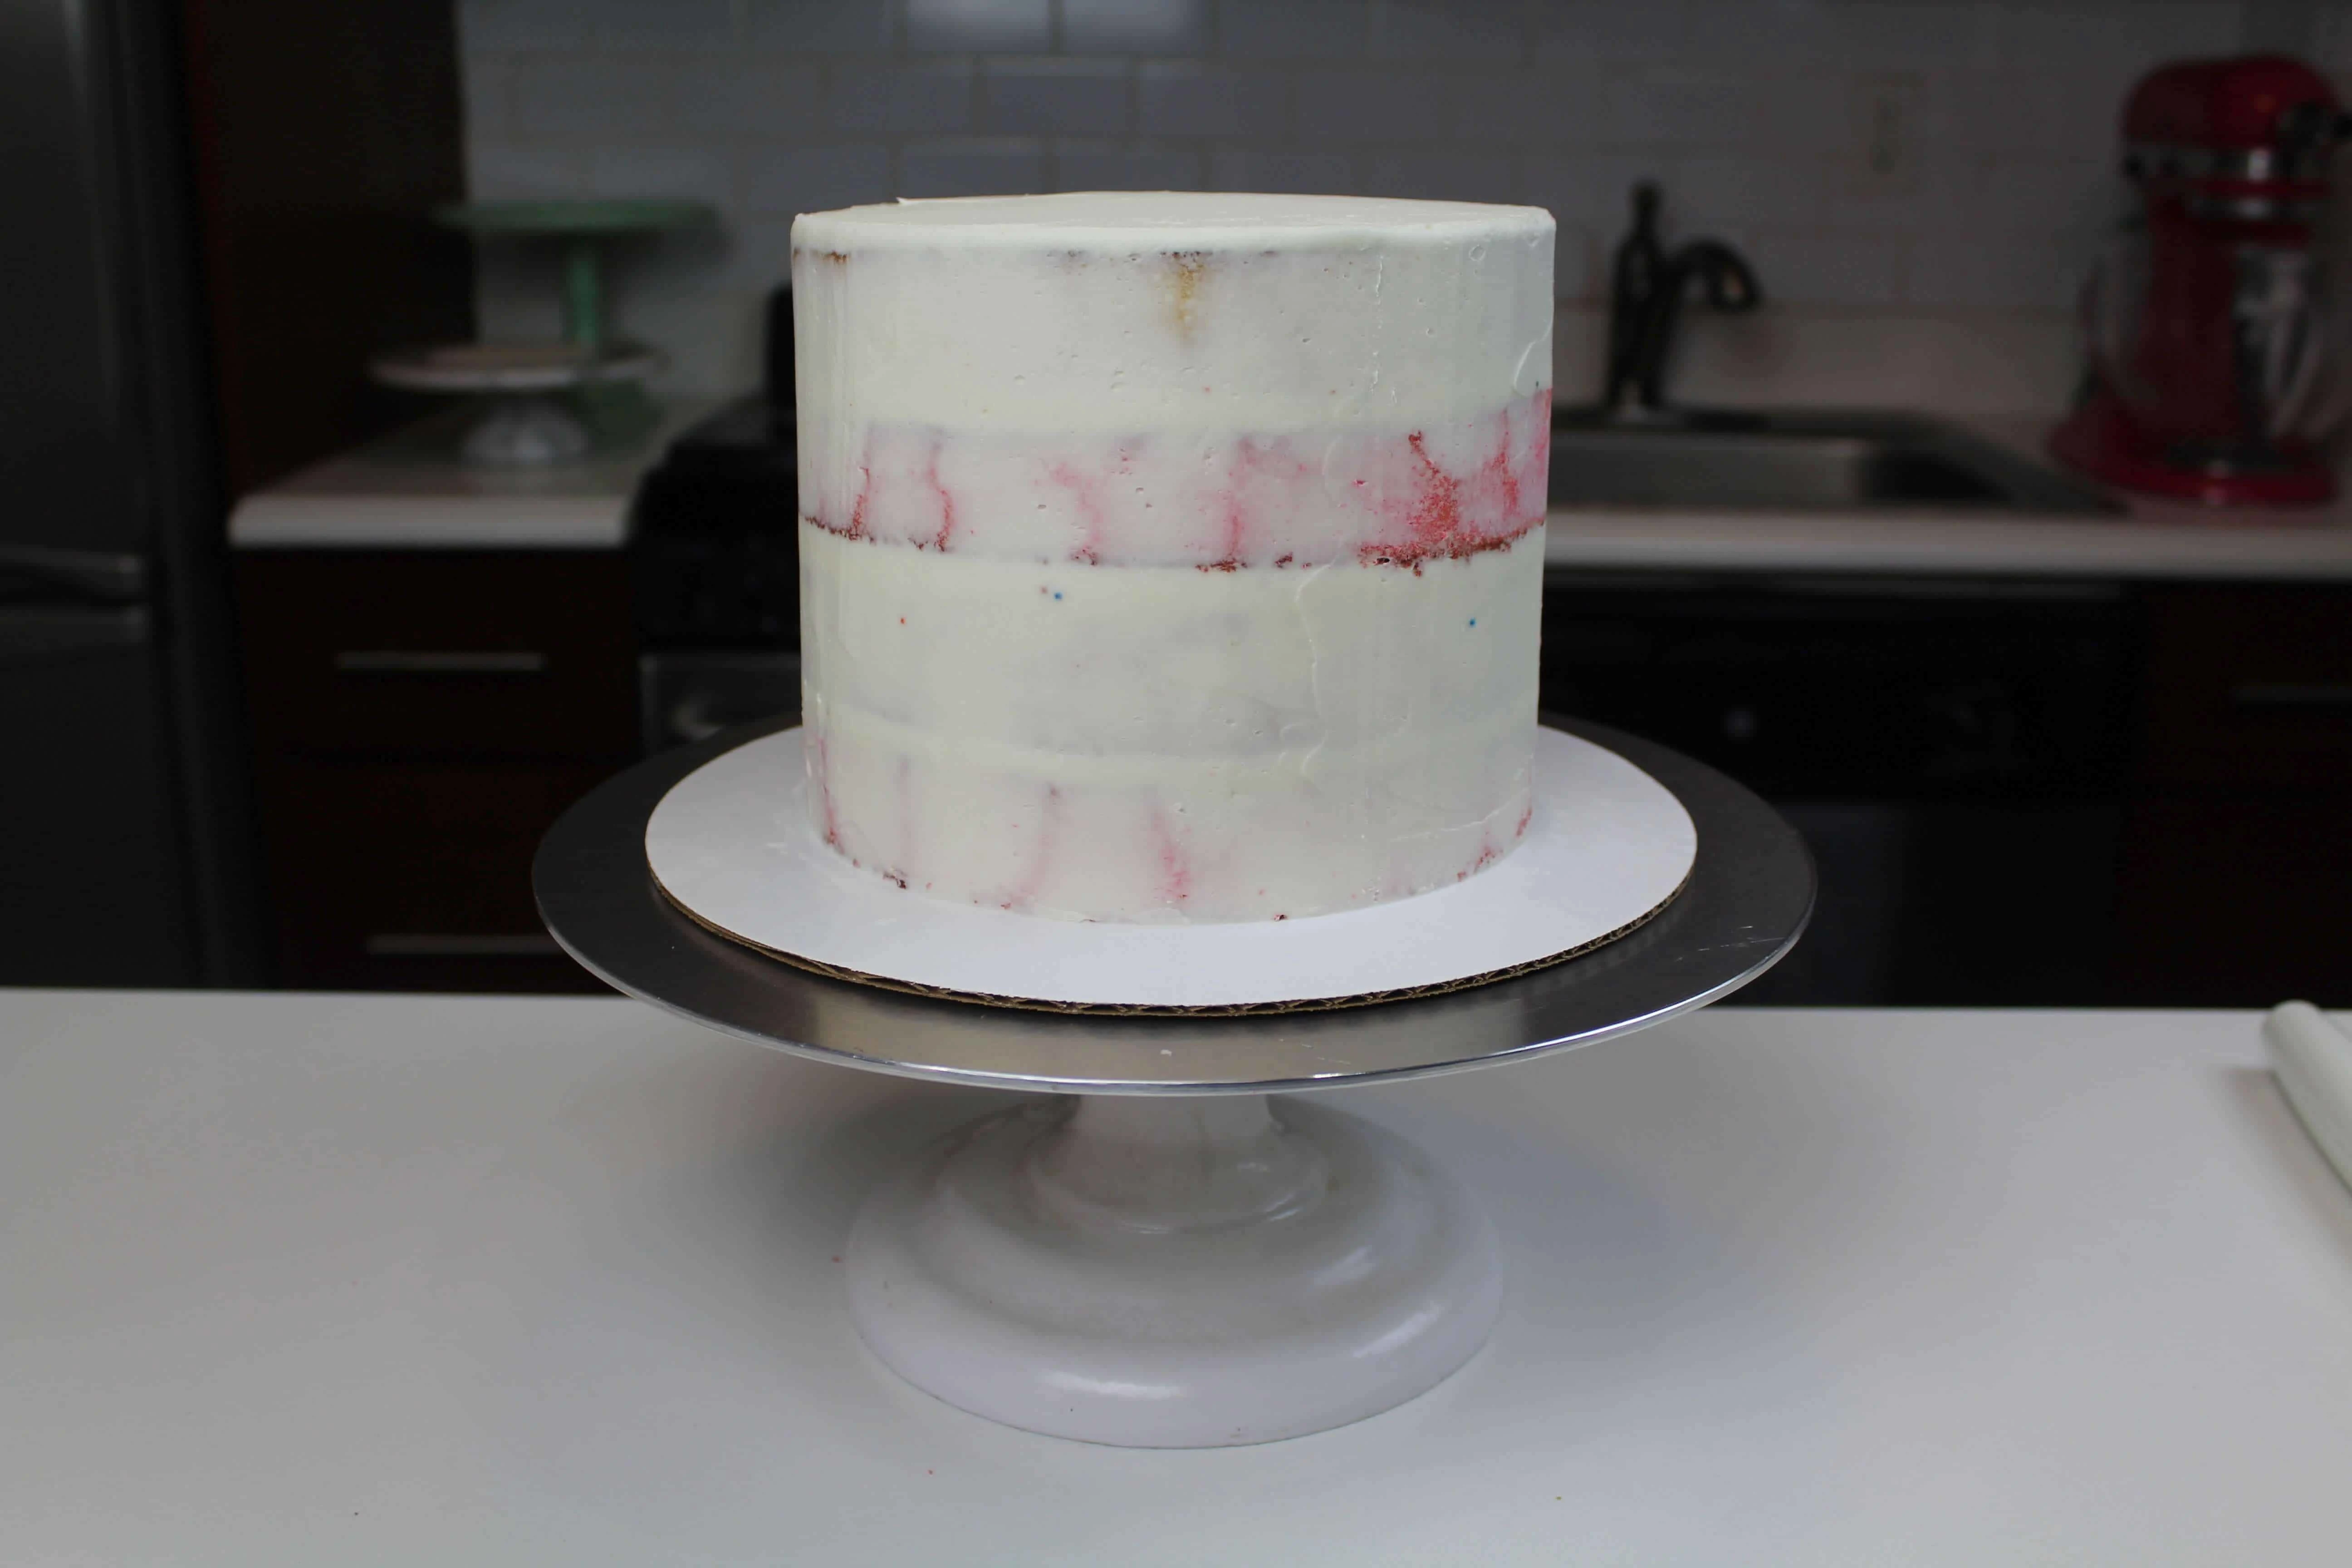
Cover the cake in a thin crumb coat, and chill in the freezer or fridge for about 5 minutes. Once the crumb coat is firm to the touch, add a second layer of frosting. Smooth using a bench scraper. You can see a full tutorial on how to frost a cake with smooth sides here.
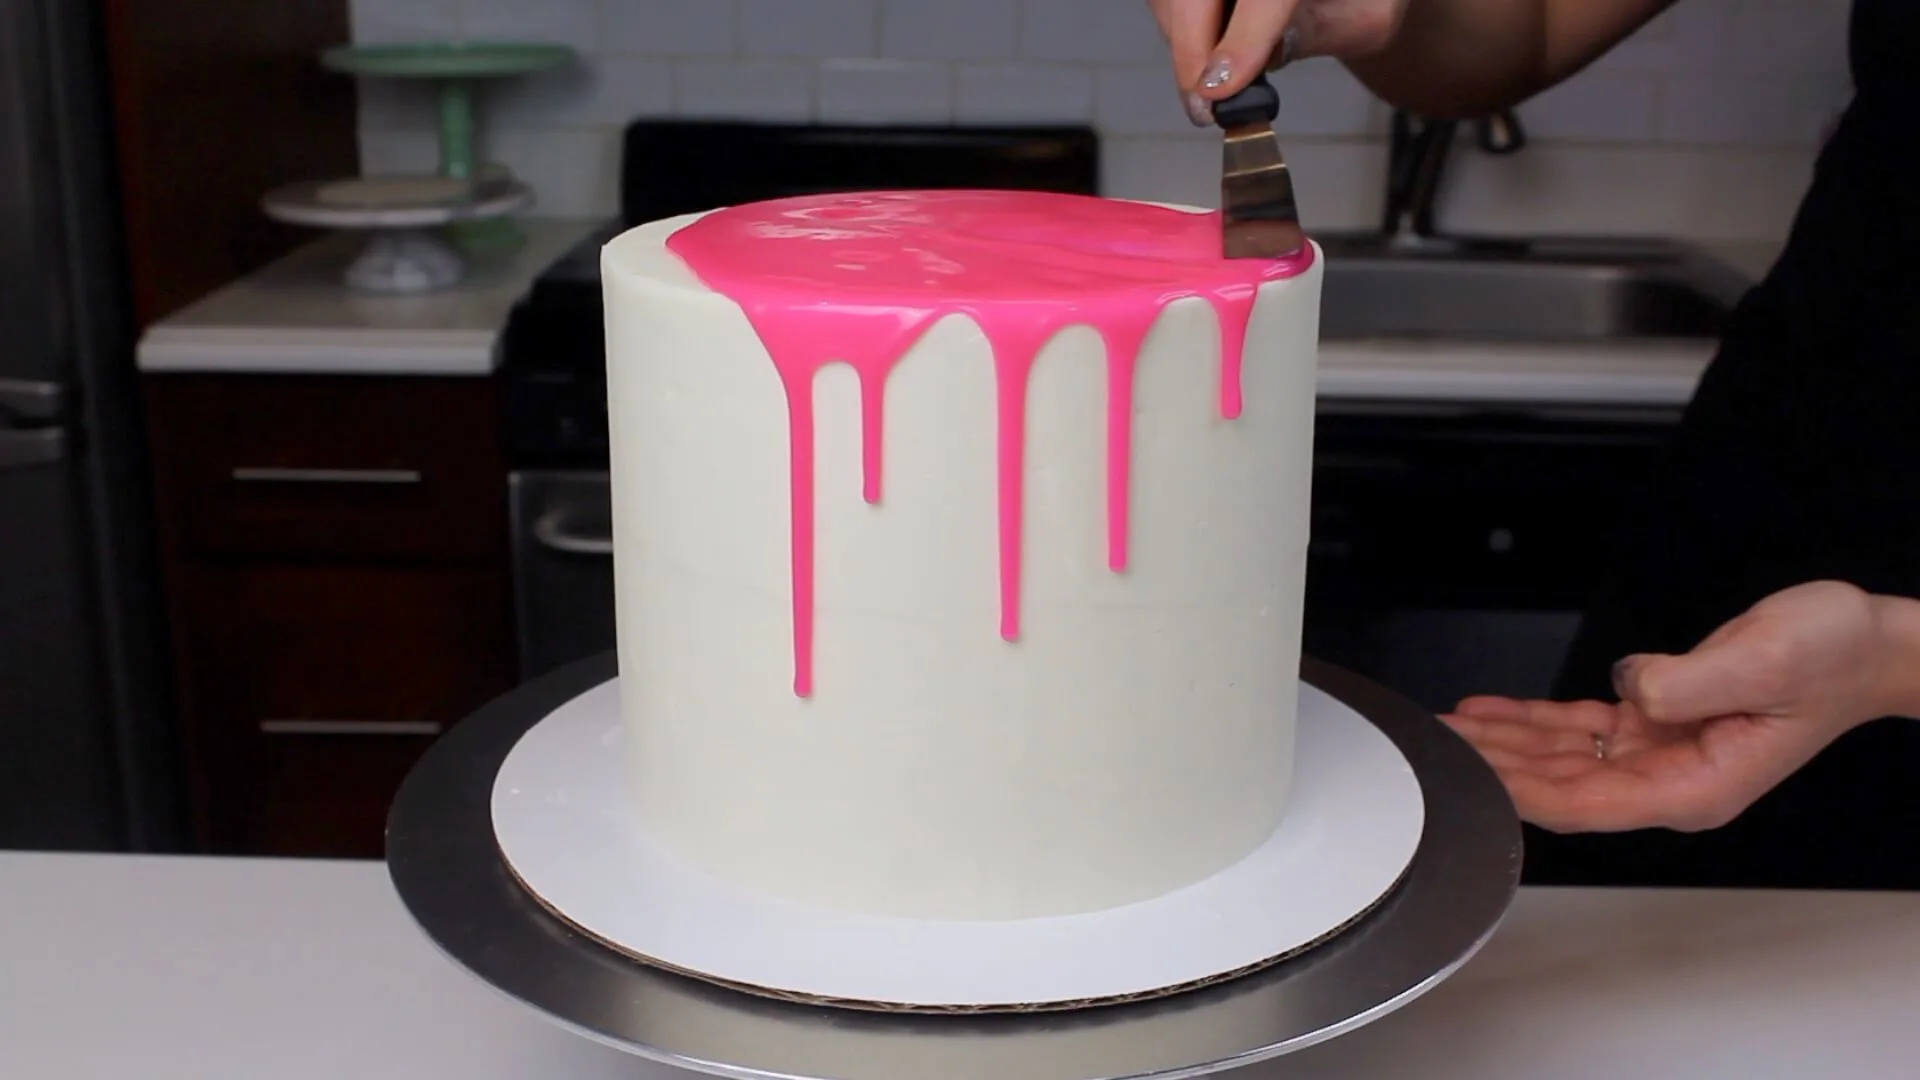
To add the pink ganache drips, chill the cake for 10 minutes in the freezer (the cake needs to be cold for the drips to stay in place). Always be sure to do a test drip, to ensure that your ganache is at the right temperature. Place the cake back in the freezer for another 10 minutes, to ensure the drips chill to keep them in place.
Then add frosting swirls around the top of the cake using a wilton 4B tip. Place a circus animal cookie on top of each swirl, and add non-pareil sprinkles around the top, and base of the cake.
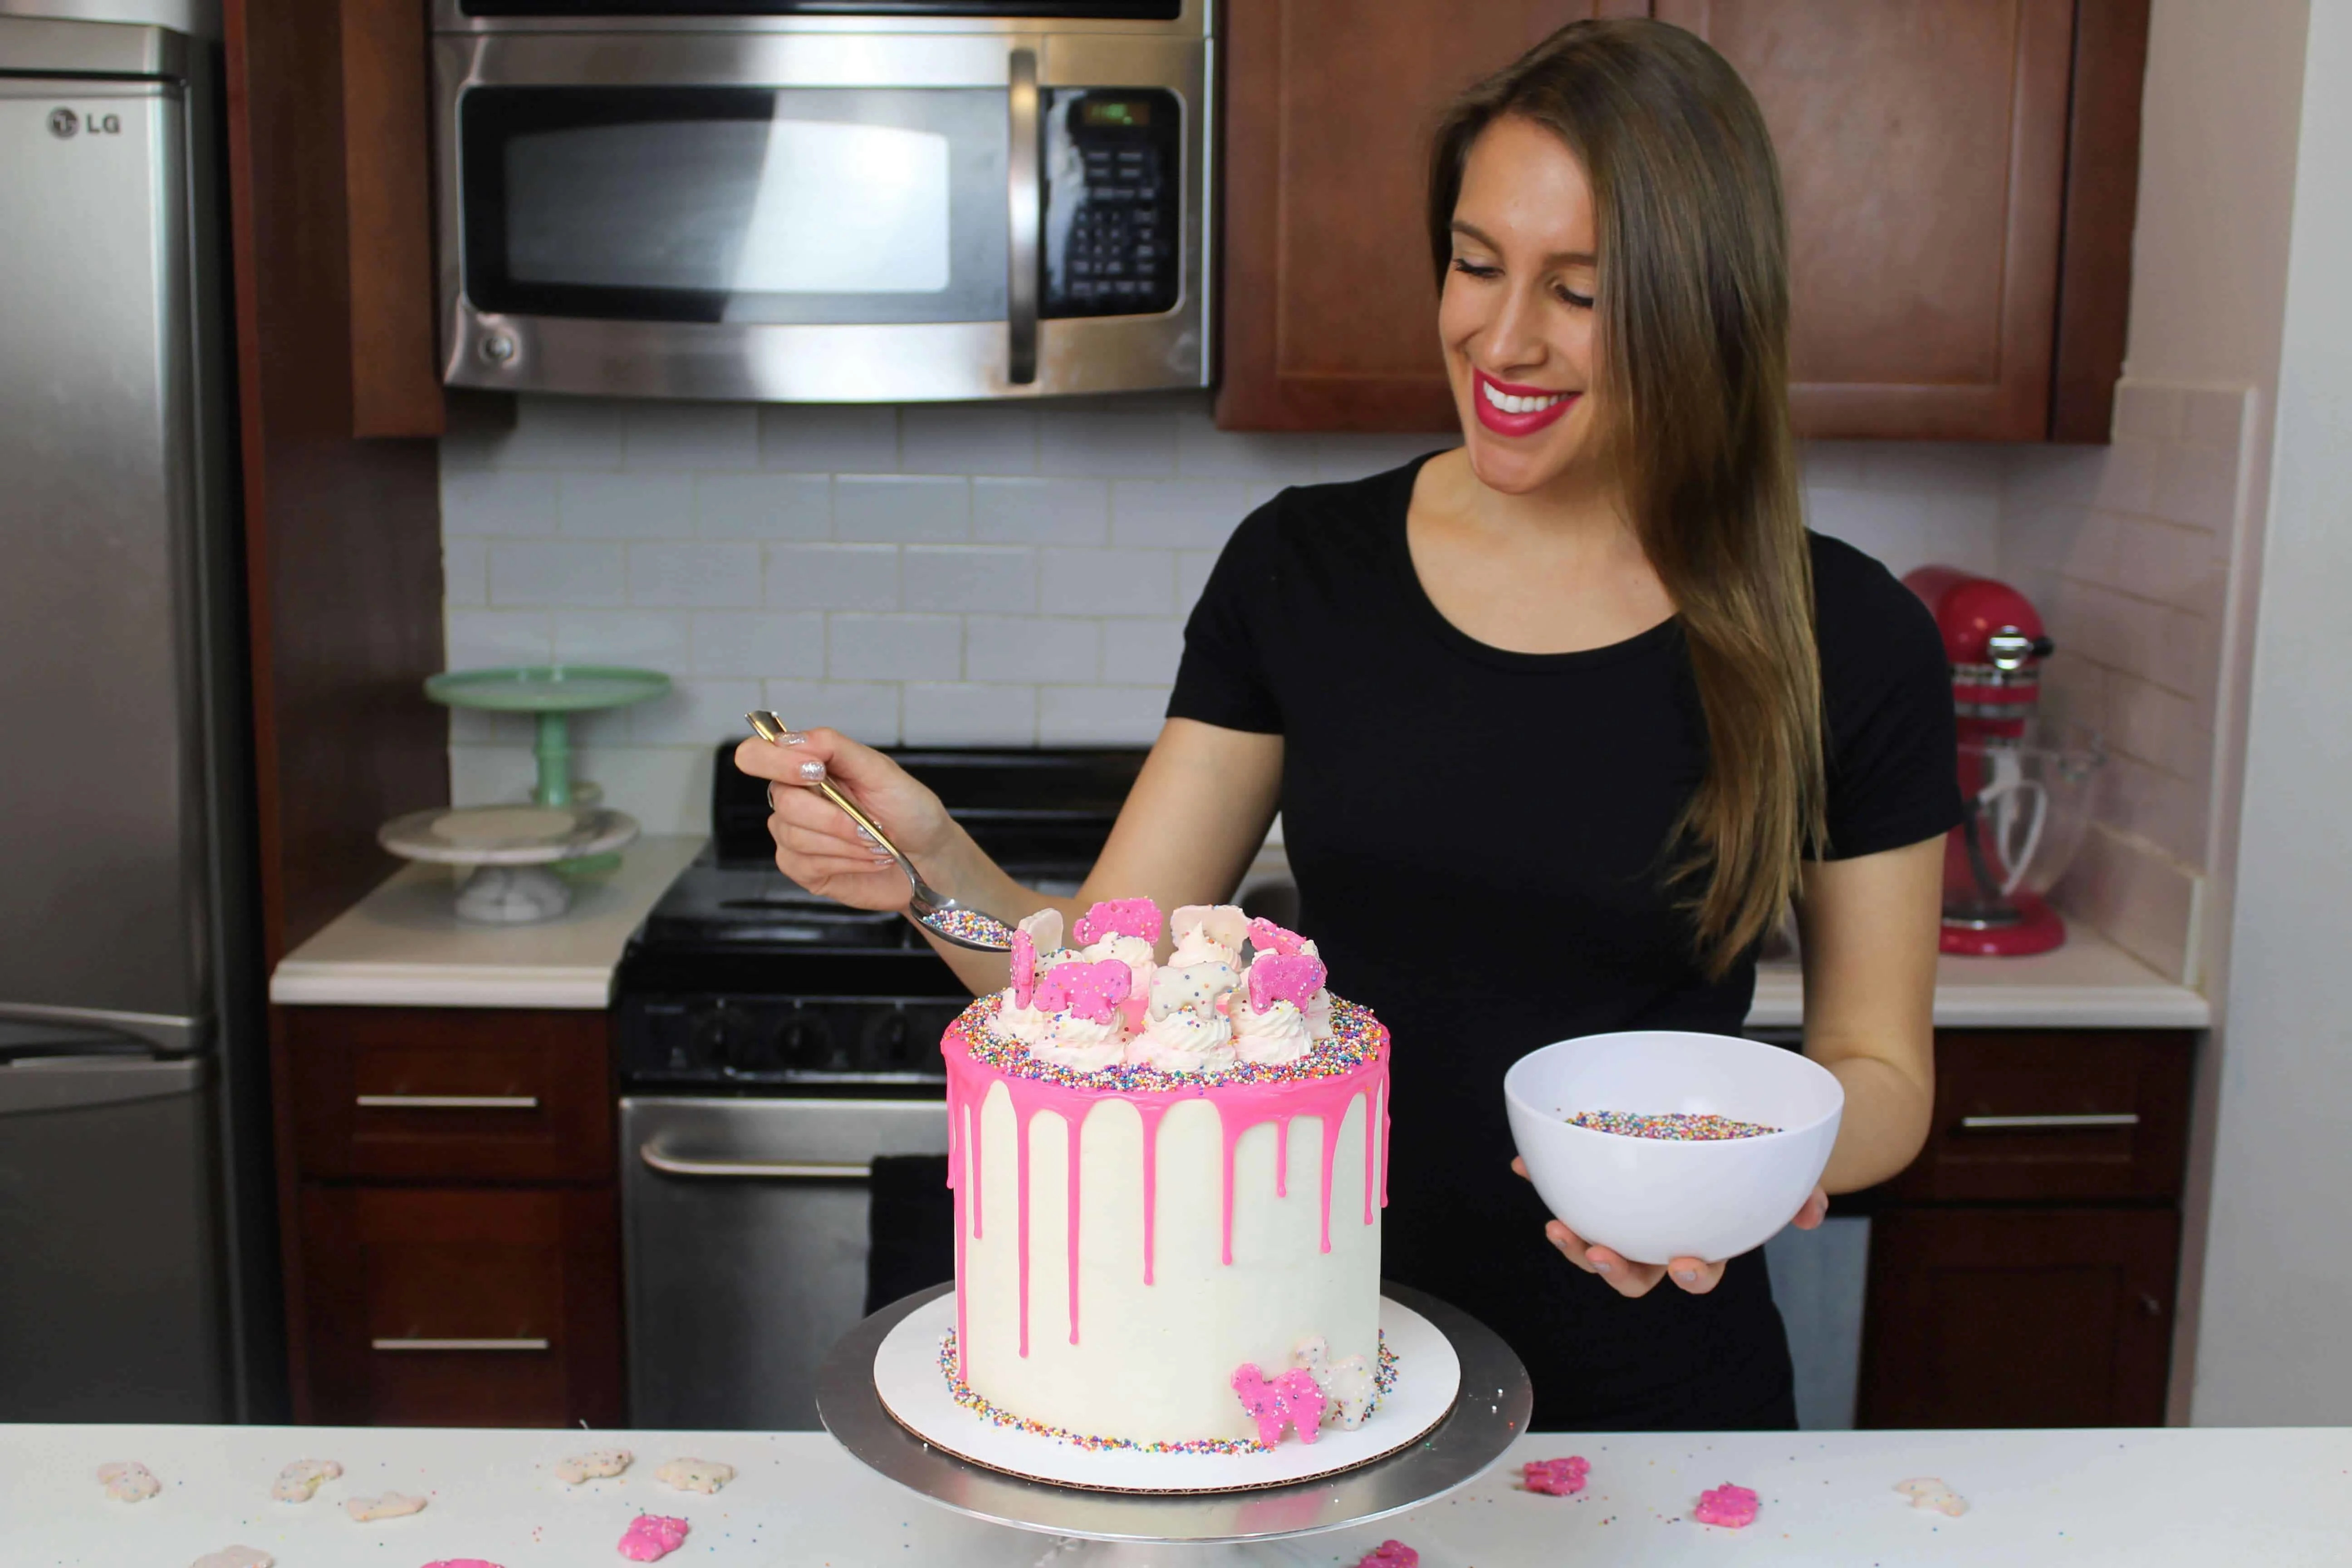
Then all that’s left to do is cut into this cake and enjoy it! It’s perfect for anyone who grew up loving circus animal cookies, or really anyone who loves white chocolate!!

Colored Drips - Easy Two Ingredient Recipe & Tutorial
Thursday 17th of February 2022
[…] I used this method to make the pink ganache drips on my circus animal cake. […]
Macie
Friday 28th of August 2020
Do you melt the white chocolate in heavy cream for the cake and buttercream also?
Rachel
Sunday 11th of October 2020
No, the heavy cream makes the ganache drip. You just melt the white chocolate normally for the cake and buttercream
Theresa
Friday 7th of August 2020
I am planing on trying this cake this weekend!! I only have 8 inch pans. Do you think those would work??
Mary Hartlett
Tuesday 2nd of April 2019
I just saw the Mother's Circus Animal cookies at Target, that was a surprise I am from California and grew up eating those cookies. They were originally from Oakland Ca. about 1/2 from me
Chelsweets
Wednesday 3rd of April 2019
that's wild!! I wish I could find them that easily :P You're lucky!! <3
Chocolate Ganache Drip Recipe - Chelsweets
Sunday 3rd of March 2019
[…] If you don’t have any plastic bottles on hand, you can also use a spoon or an offset spatula to carefully push the ganache over the edge of your cakes, creating each drip. I used this method to make the pink drips on my circus animal cake. […]