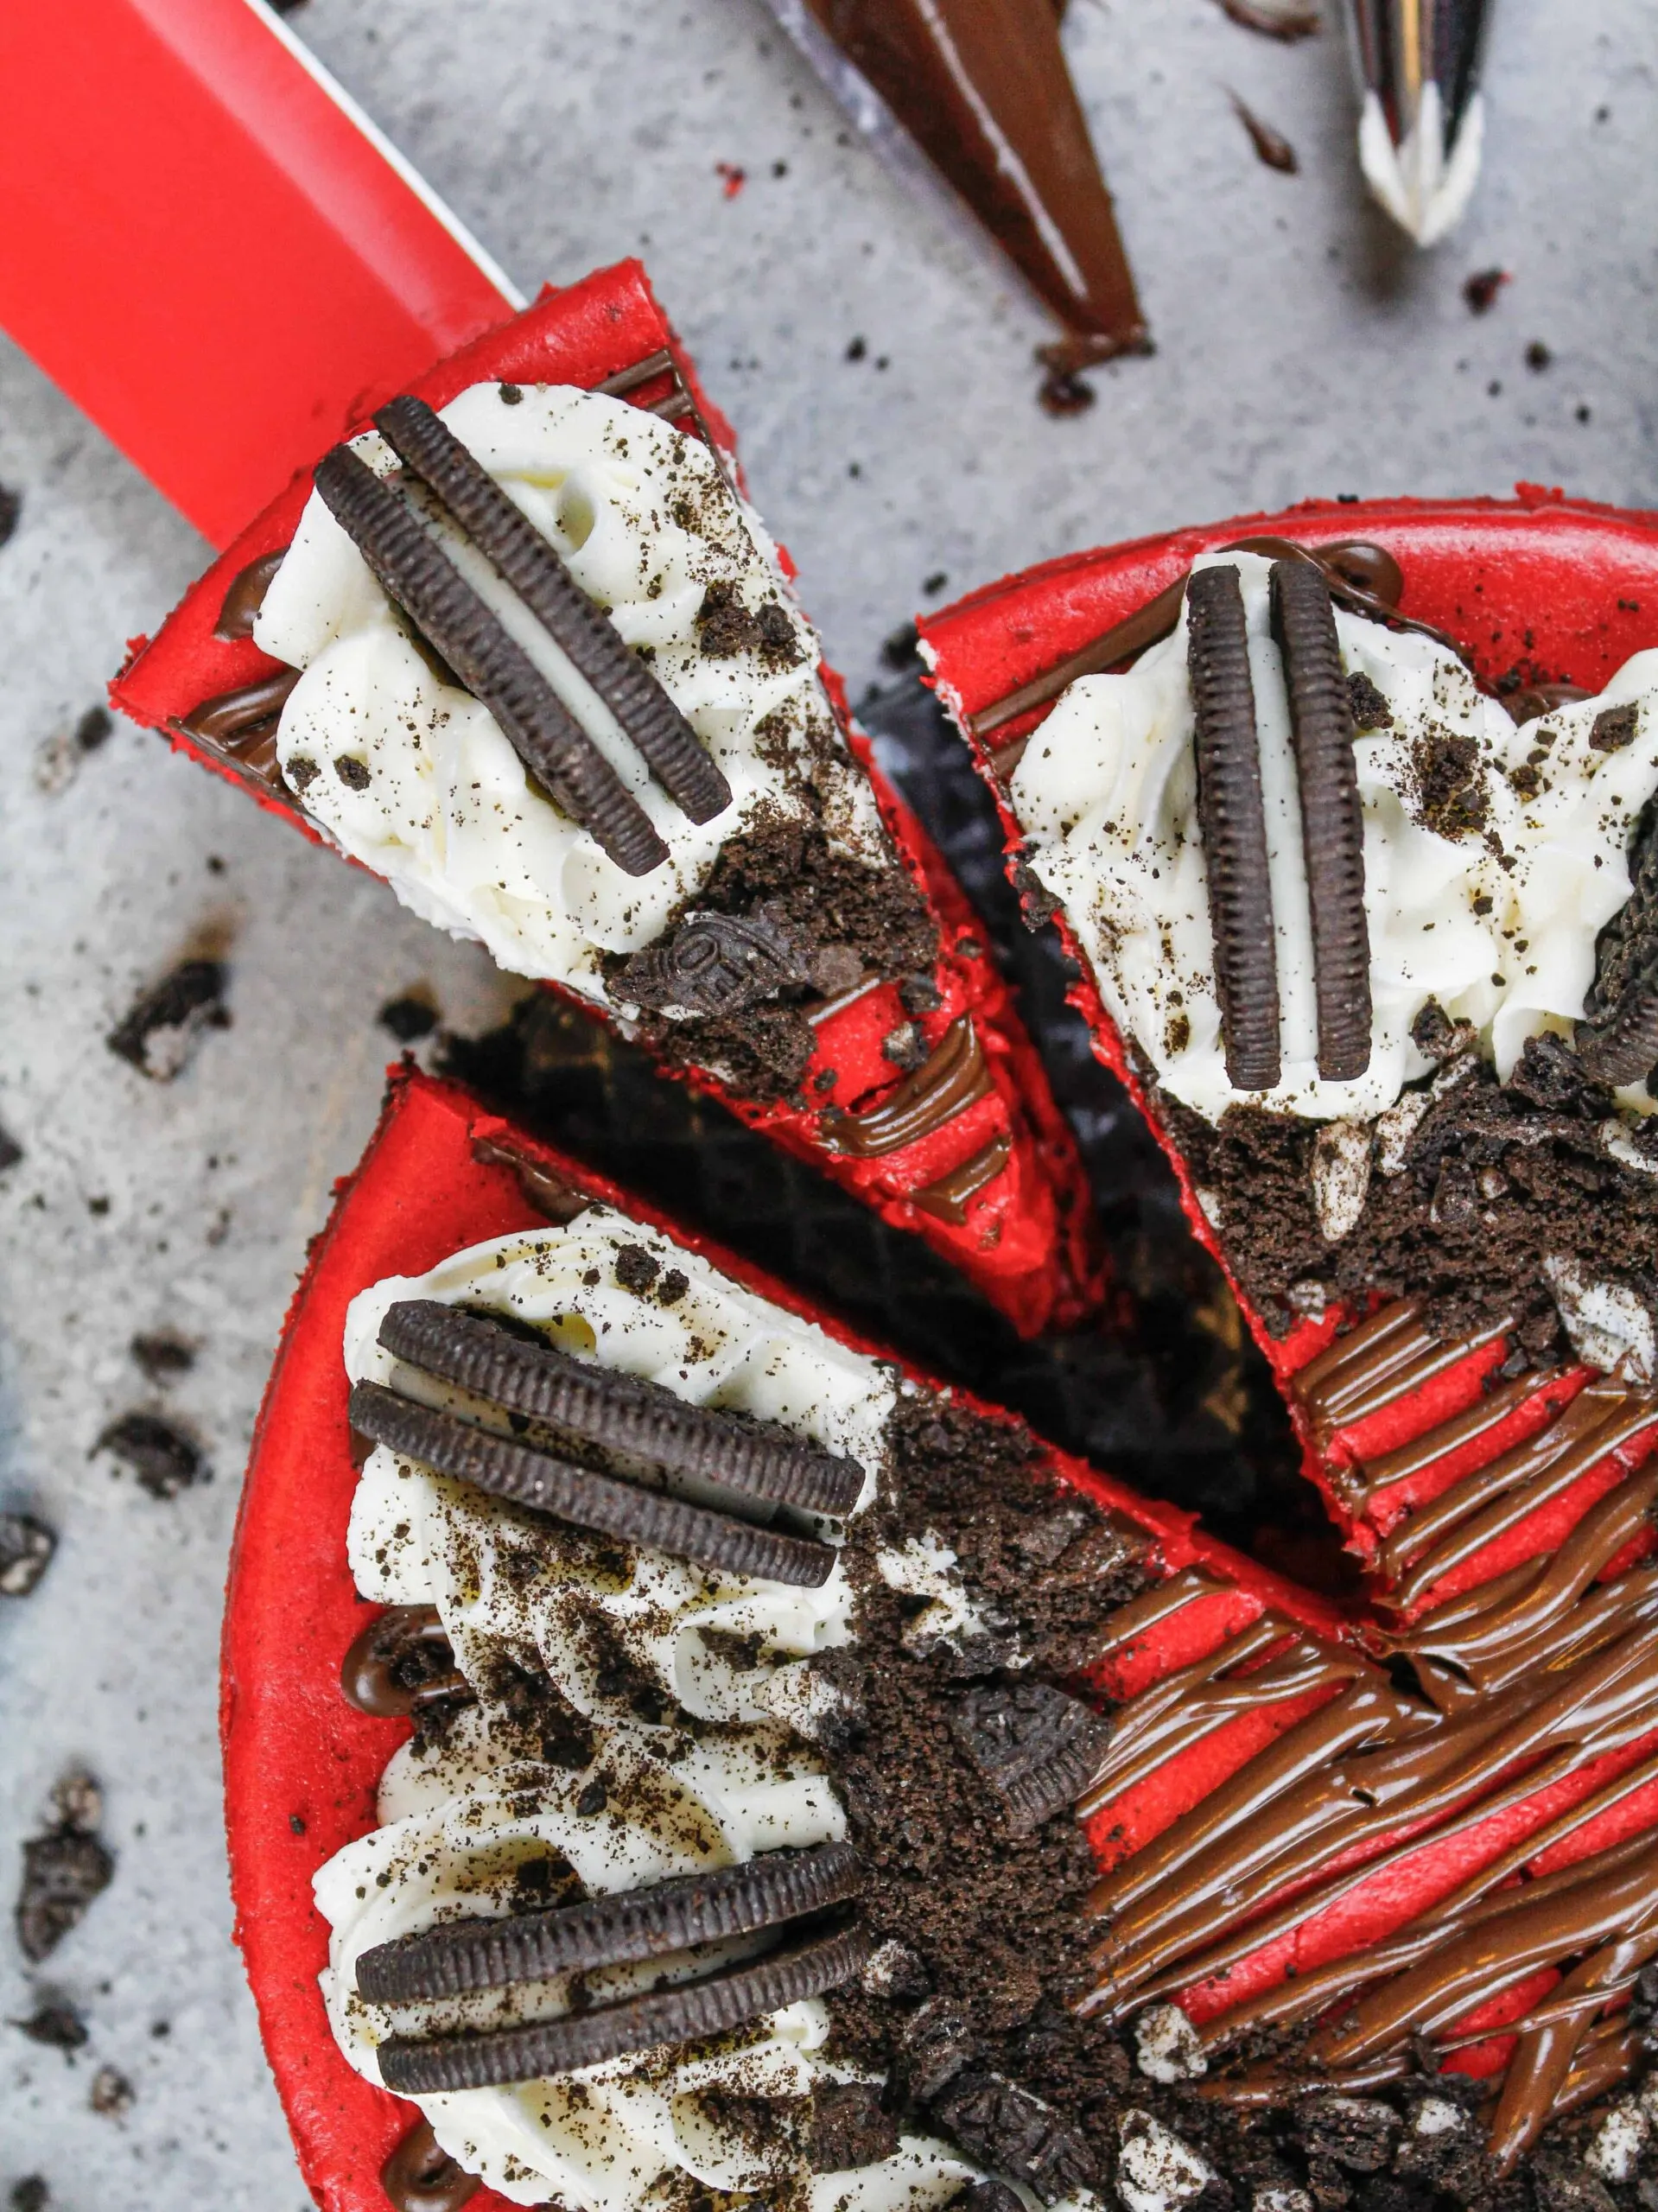
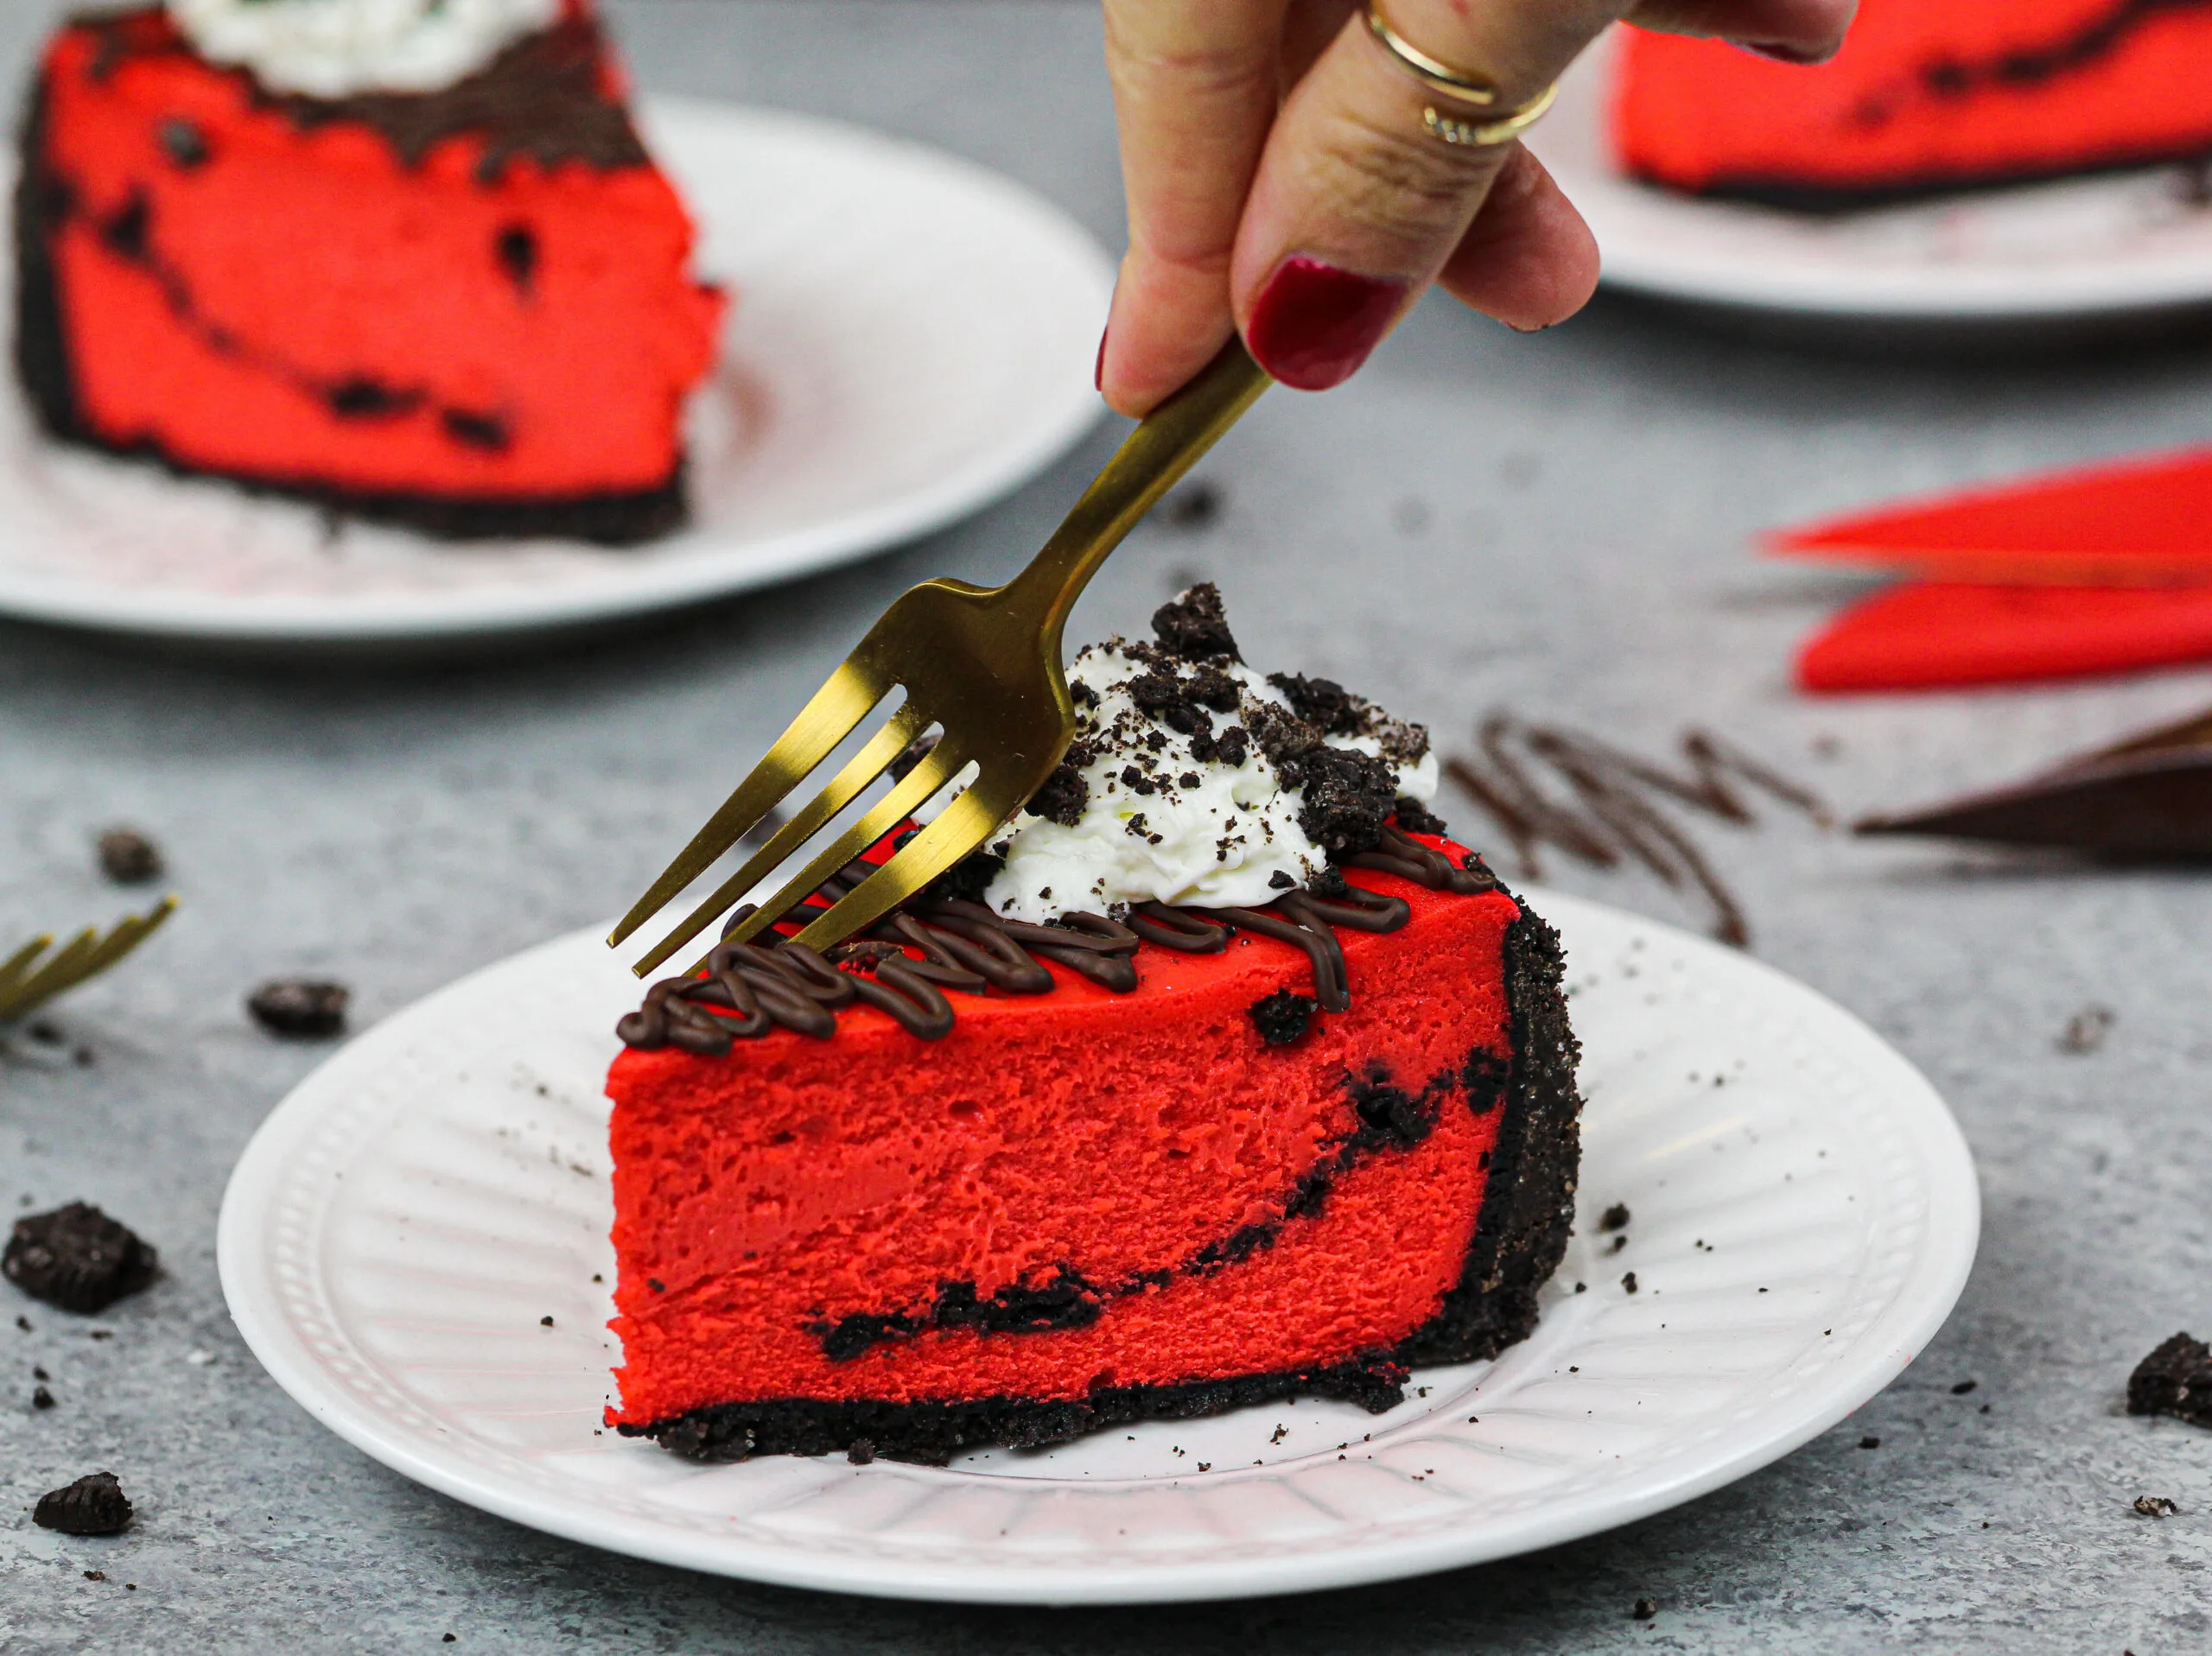
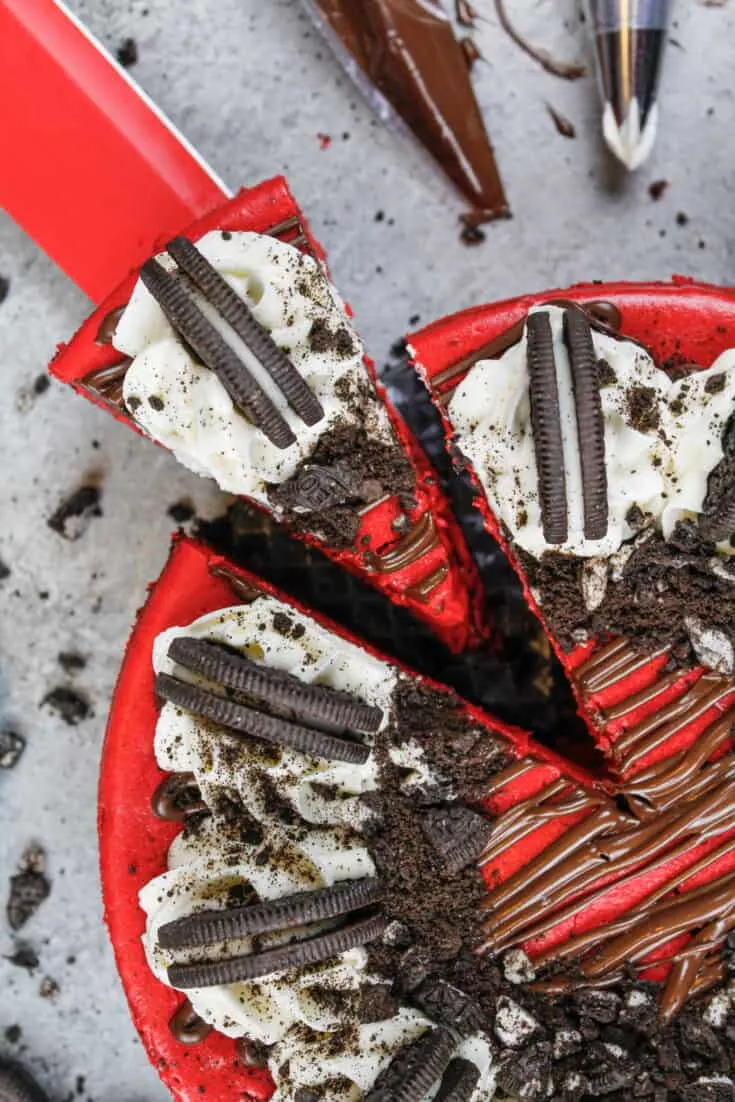
This red velvet Oreo cheesecake combines two of our favorite flavors into one decadent cheesecake.
From its Oreo cookie crust to its red velvet Oreo cheesecake filling, it’s a match made in heaven!
This recipe is based on my friend Debbie’s go-to cheesecake recipe. She is truly a cheesecake guru and helped me out immensely to get this recipe just right.
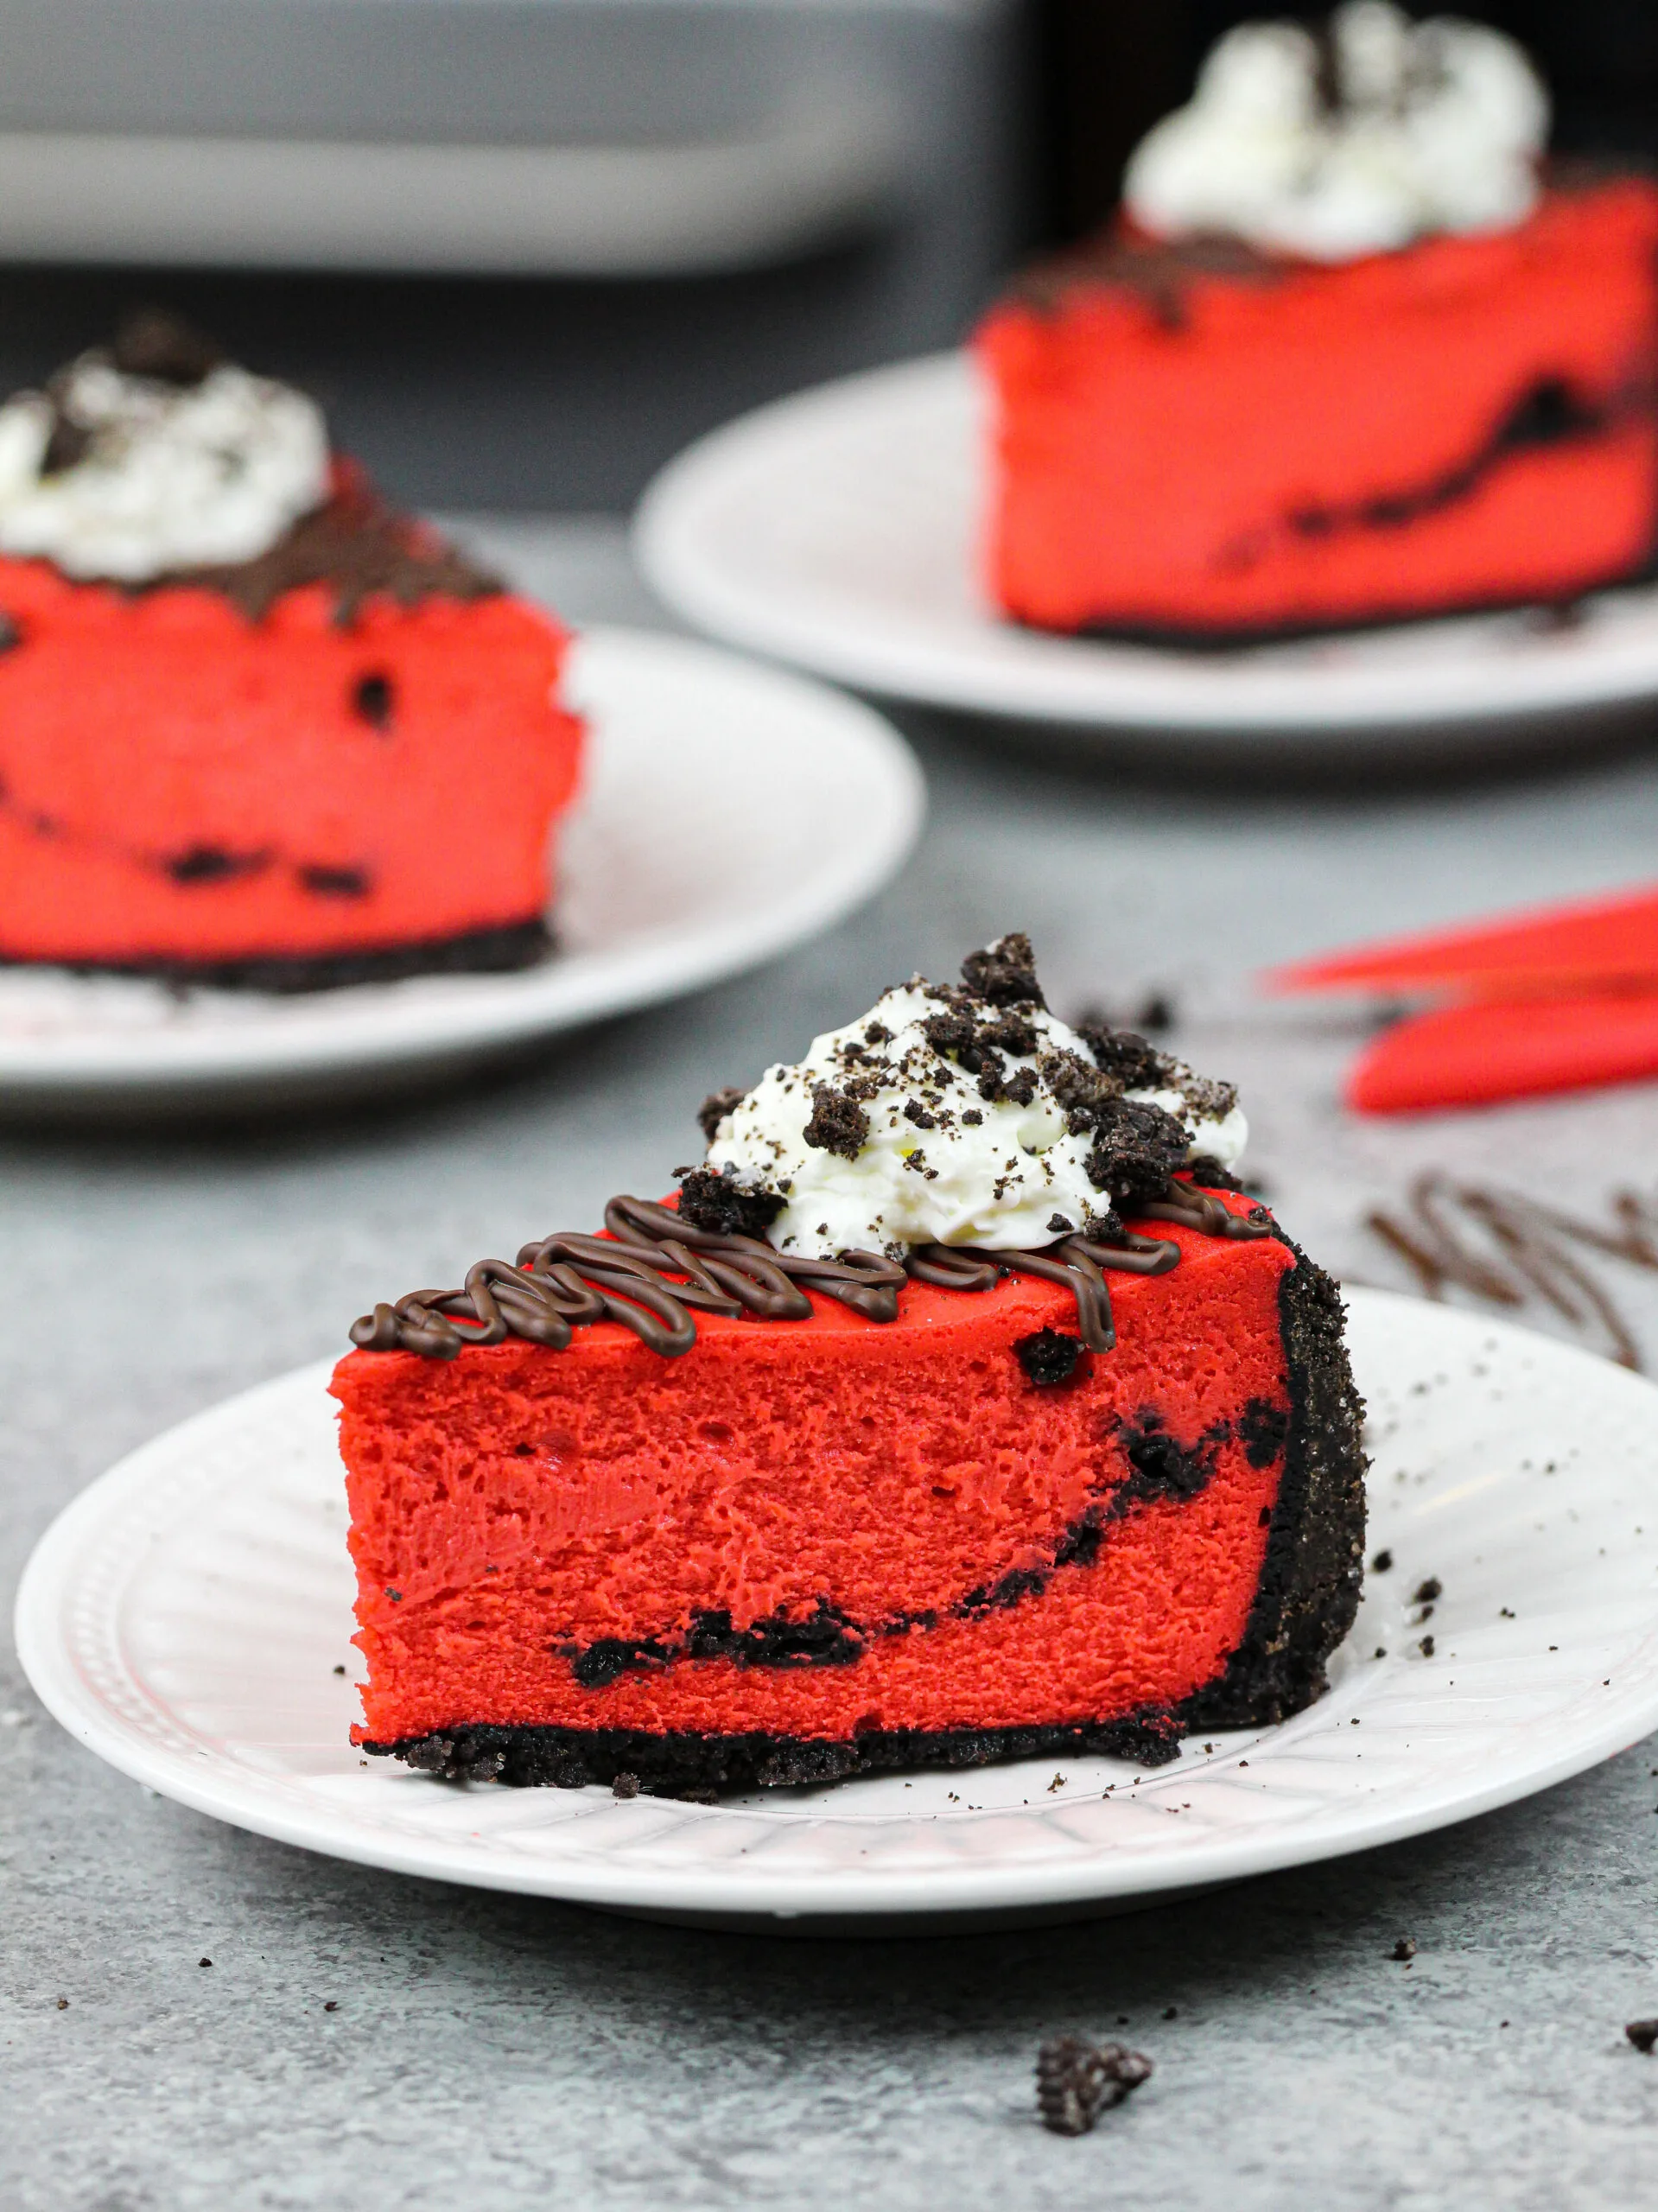
This cheesecake is decadent, creamy, and totally irresistible thanks to a generous drizzle of melted chocolate and loads of Oreos!
As an added bonus, it’s the perfect make ahead dessert. Somehow it tastes even better as it sits overtime. It’s magic, I swear!
How to Make This Red Velvet Cheesecake Without Using a Water Bath
As I’ve lamented before, I don’t have a full-size oven. It’s hard enough to fit cake pans into my oven, let alone a water bath.
Water baths always seem like such a production, with sloshing water and the risk of it leaking into your cheesecake.
Thanks to a very gradual cooking and cooling process, this cheesecake recipe doesn’t require a water bath!
Cooking it low and slow gives it an amazing texture and letting the cheesecake gradually cool in the oven minimizes any risk of cracking.
The result is a creamy, delicious cheesecake that’s crack-free!! The process is so easy and stress-free you’ll wonder why you ever used a water bath in the first place.
Substitutions & Swaps – Oreo Cheesecake Crust
This recipe uses quite a few ingredients and I know you might not have all of them on hand.
Below are some swaps and substitutions that can be made in this recipe.
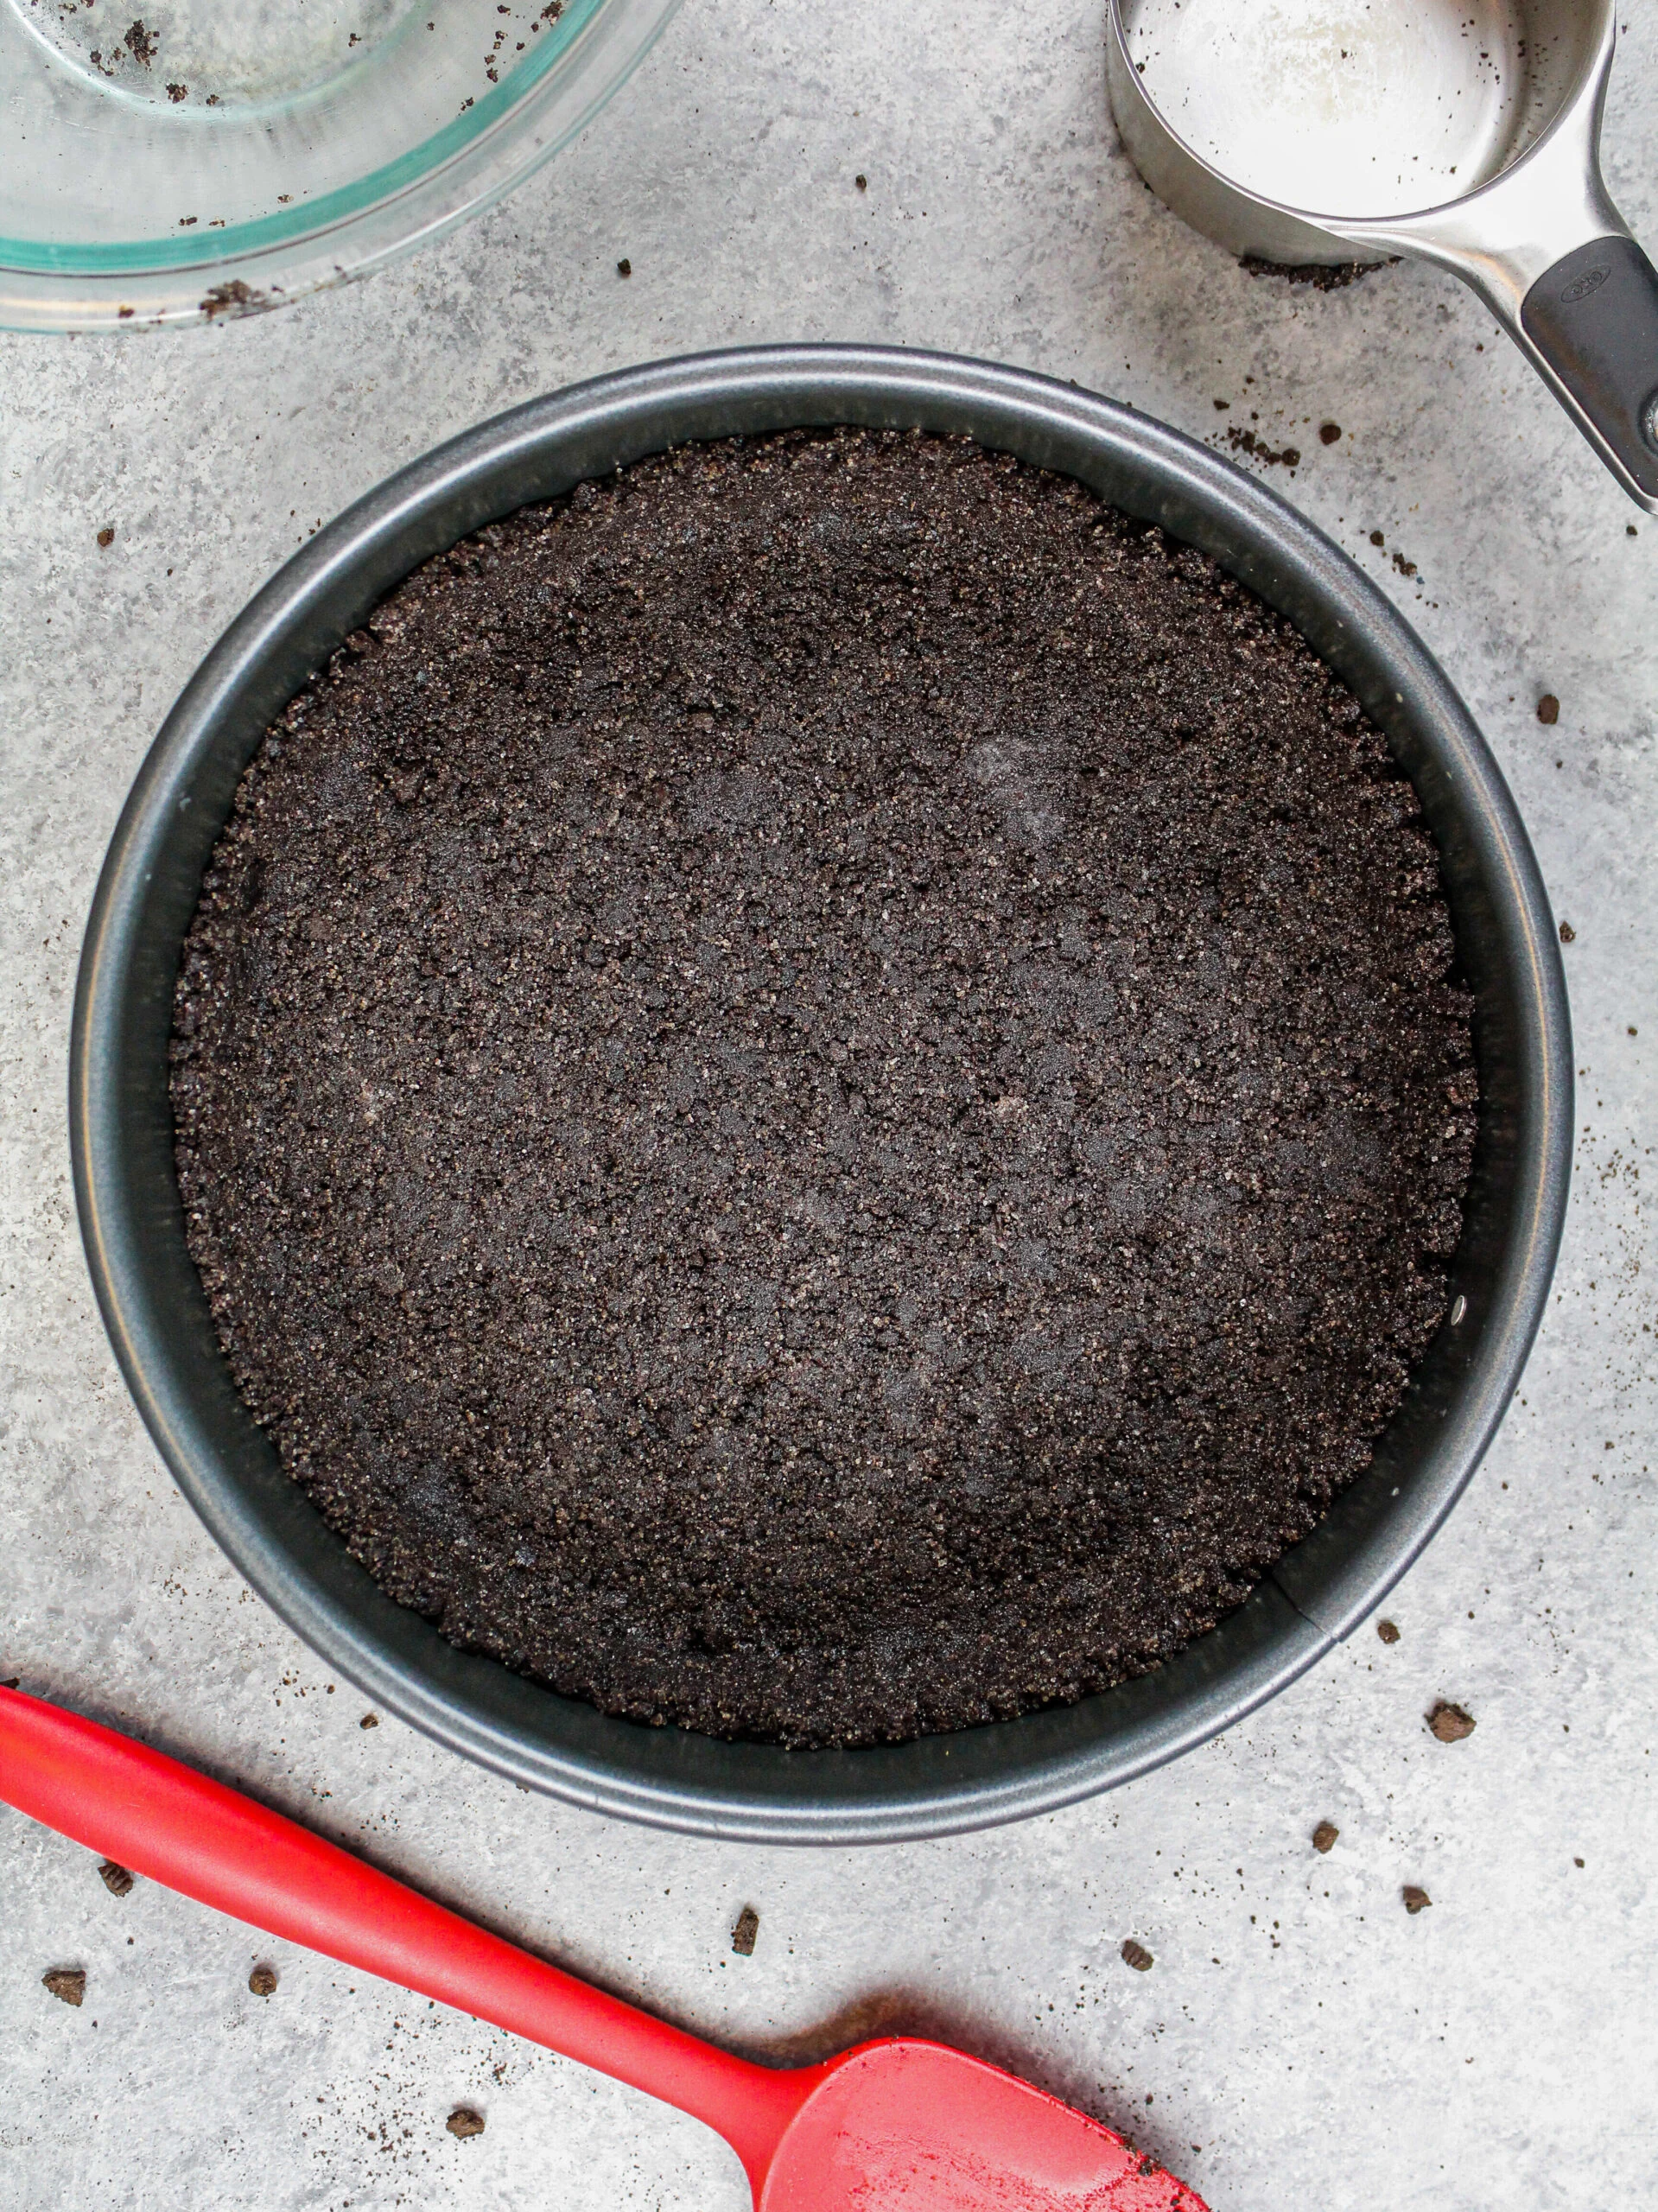
- Oreo Cookie Crumbs – I like to use crushed Oreo cookies to make the crust! This can easily be done in a food processor, or you can crush the cookies in a Ziplock bag with a rolling pin. You can also use crushed graham crackers in a pinch!
- Granulated Sugar – Adding granulated sugar to the crust helps solidify the crust once it’s baked and makes a more stable crust.
- Salted Butter – To keep things simple I use salted butter to make the crust. If you only have unsalted butter, add about 1/4 tsp of salt into the crust mixture.
Substitutions & Swaps – Red Velvet Oreo Cheesecake
- Cream Cheese – This recipes tastes best with full-fat cream cheese. I find using cream cheese that comes in brick form works best! However, you can use low fat cream cheese or Neufchatel cheese in its place and the recipe will still bake up well.
- Granulated Sugar – I think this cheesecake has just the right amount of sweetness, but you can increase or decrease the amount of sugar by a few Tablespoons based on your preferences.
- Heavy Cream – You can use heavy whipping cream or double cream if you can’t find heavy cream at your grocery store.
- Cornstarch – Cornstarch helps prevent cracking and makes the cake easier to cut into clean slices. You can use all-purpose flour in its place if needed, but cornstarch works best!
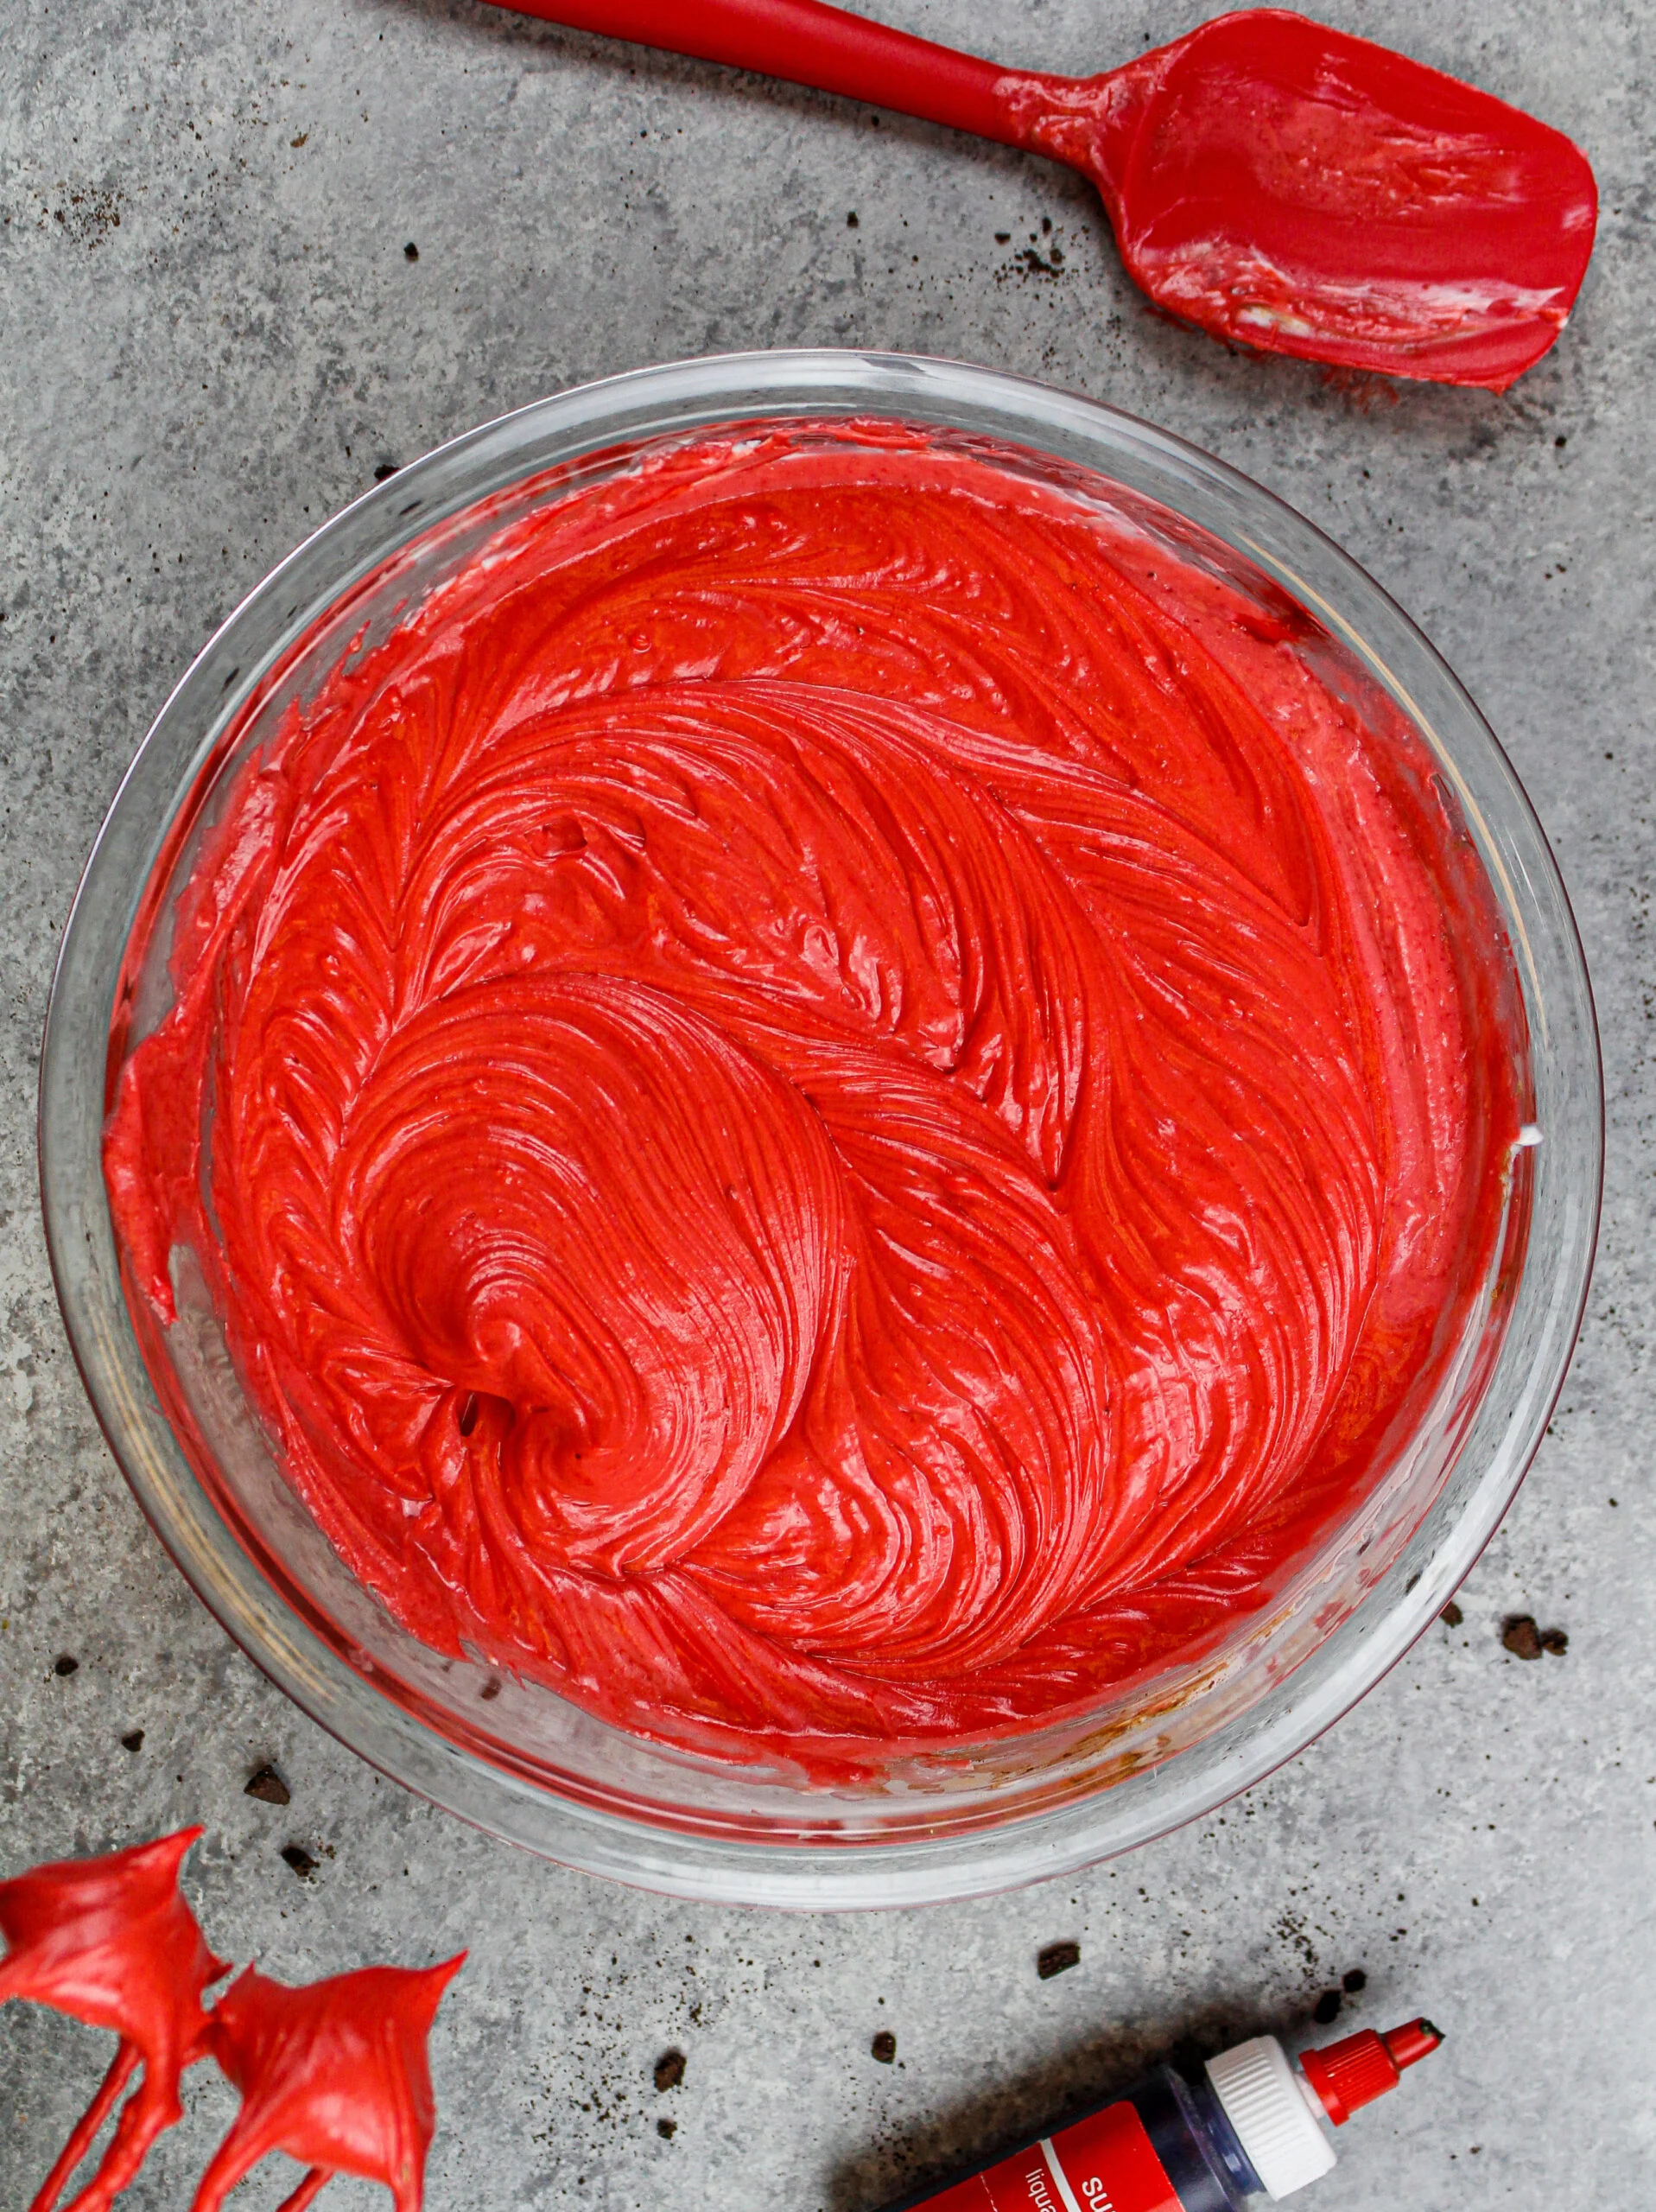
- Red Gel Food Coloring – Gel food coloring allows you to get a bright shade of red without throwing off the consistency of the cheesecake. You can use liquid food coloring if needed though!
- Eggs – Sadly this recipe does not turn out with egg alternatives like applesauce or flax seed eggs. I highly recommend using regular large eggs.
- Chopped Oreo Cookies – Adding a layer of chopped Oreos into the middle of the cheesecake really packs it with Oreo flavor. If you don’t have enough Oreos, you can omit these.
Baking This Red Velvet Oreo Cheesecake Without a Springform Pan
This recipe bakes up best in an 8-inch springform pan or cheesecake pan.
However, you can also turn this recipe into red velvet Oreo cheesecake bars by baking it in a 9-inch x 13-inch pan for 32-35 minutes at 325 F or 165 C.
Be sure to line the pan with parchment paper and spray with non-stick spray to make it easier to cut and remove slices.
Red Velvet Oreo Cheesecake Troubleshooting and FAQs
While I’d love to think everyone’s cheesecake will turn out perfectly every time, I know that sometimes things don’t go that smoothly. Below are some tips and advice to help!
Why Did My Cheesecake Crack?
There can be a few different culprits for cracked cheesecake. The most common are that the cheesecake was over-baked, it was cooled too quickly, or the batter was over-mixed.
When a cheesecake is over-baked, the edges stick to the side of the pan. This can be a problem because cheesecake contracts as it cools, and this can lead to cracking.
The center of the cheesecake should still be jiggly in the center when you turn off the oven.
On a similar note, if a cheesecake is cooled too quickly, the temperature shock can also cause it to crack. Gradually cooling a cheesecake is key!
It’s a slow process, letting it sit in the oven for an hour after baking, then letting it cool at room temperature for a few hours, then chilling it in the fridge overnight. But it’s totally worth it and should help prevent any big cracks.
If your cheesecake cracks, there’s also a chance that the batter was over-mixed. If you incorporate too much air into the cheesecake batter as you make it, air bubbles can get trapped as the cheesecake bakes and cause cracks.
While it’s ok to mix on a medium speed when incorporating the sugar and cream cheese together, make sure you mix on a low speed for all the following steps.
While we’d all love our cheesecake to turn out with a perfect, smooth top, it’s ok if it doesn’t! You can always decorate the top of the cheesecake to covers any cracks.
How Can I Tell If My Cheesecake Is Done?
If you don’t make cheesecake very often, it can be so hard to know when the cheesecake is done!
While we know the center is supposed to still be jiggly when it’s done, I always think to myself, HOW JIGGLY?? I’ve gotten better at trusting the process over time, but there are some tests you can do to make sure your cheesecake is properly baked.
The first is the toothpick test. Once you turn off the oven, insert a toothpick into the cheesecake 1-inch from the edge of the pan. If it comes out clean, your cheesecake is done baking.
The other test you can do is the thermometer test! You can insert a digital thermometer 1-inch from the edge of the pan, and it should be about 175°F.
If the temperature is lower than that, the cheesecake needs a bit more time to bake. If it’s higher than that, the cheesecake is slightly over baked! It’s ok if you don’t get it right this time, just take notes and keep what you learned in mind for next time 🙂
Can I Bake This Cheesecake Without a Springform Pan?
This recipe bakes up best in an 8-inch or 9-inch springform pan or cheesecake pan. I like to bake it in an 8-inch pan so that it’s nice and tall.
You can also turn this recipe into red velvet Oreo cheesecake bars by baking it in a 9 x 13-inch pan for 32-35 minutes at 325 F or 165 C.
Be sure to line the pan with parchment paper and spray with non-stick spray to make it easier to cut the bars and remove slices.
Making This Red Velvet Oreo Cheesecake in Advance & Storage Tips
This cheesecake can be stored in the fridge for up to a week. Store slices in an airtight container or cover the springform pan tightly with plastic wrap to keep it fresh.
You can also freeze this cheesecake for up to 3 months! After it’s baked and cooled, release it from the pan then freeze the entire cheesecake until it’s firm to the touch (about 3 hours).

Carefully lift the cheesecake off the bottom of the springform pan and slide onto a cardboard cake round or plate.
Wrap the entire cheesecake in a couple layers of plastic wrap and then foil.
When you’re ready to enjoy the frozen cheesecake, place it in the fridge overnight, then unwrap and enjoy it the following day.
Whether you’re freezing or refrigerating this cheesecake, wait to add the chocolate drizzle and whipped cream until you’re ready to cut into it.
How To Make The Best Red Velvet Oreo Cheesecake
- Make sure the ingredients are at room temperature. It helps them mix together better and ensure your cheesecake has a smooth texture once it’s baked.
- Beat your cream cheese on a medium to medium-high speed before adding the other ingredients! This helps to prevent lumps from forming in the cheesecake batter and helps the cheesecake bake up properly.
- Mix on a low speed once you start mixing ingredients into the cream cheese. After you’ve fluffed up the cream cheese, you want to incorporate as little air as possible into the batter. Excess air in your batter can cause your cheesecake to crack!
- Mix your eggs in a separate bowl then slowly mix them into your cheesecake batter. This will make them easy to incorporate and help you avoid over-mixing your batter.
- Follow the cooling instructions to a T! I know it’s a slow process, but it’s worth it. It helps ensure your cheesecake has the perfect consistency once it’s cooled.
- Use a warm, sharp knife to get clean slices. Fill a tall cup with hot water and drip a sharp knife into it. Dry the knife fully, then cut into the cheesecake. Repeat with each cut, being sure to wipe the blade completely clean after each cut.
- If your cheesecake cracks while baking or cooling, don’t fret! You can easily cover it a bit of chocolate ganache while decorating this cheesecake and no one will ever know.
- Make room in your fridge ahead of time so you can easily chill the cheesecake once it reaches room temperature. If you’re like me and you struggle keeping your fridge organized, here are some amazing fridge organization tips.
Let Me Know What You Think!
If you try this red velvet Oreo cheesecake recipe, I’d love to hear what you think of it! Please leave a rating and comment below.
Don’t forget to tag me @chelsweets and #chelsweets if you share on social media! I love seeing your beautiful creations.
Other Posts You Might Like:
Red Velvet Oreo Cheesecake
From its oreo cookie crust to its red velvet oreo cheesecake filling, this red velvet oreo cheesecake is a match made in heaven!!
Ingredients
Oreo Cookie Crust
- 2 cups oreo cookie crumbs - about 25 cookies with centers (200g)
- 1/4 cup granulated sugar (50g)
- 1/4 cup or 4 Tbsp salted butter, melted (56g)
Red Velvet Cheesecake
- 3 cups or 3-8 oz. packages full-fat cream cheese, room temperature (678g)
- 1 cup granulated sugar (200g)
- 1/2 cup full-fat sour cream, room temperature (128g)
- 1 1/2 Tbsp vanilla extract or vanilla bean paste (18g)
- 1 1/2 Tbsp heavy cream or heavy whipping cream (22g)
- 3 Tbsp cornstarch (24g)
- 2 tsp red gel food coloring
- 3 large eggs, room temperature (168g)
- 1/2 cup chopped up Oreos - about 8 cookies (45g)
Garnish
- 1/2 cup dark chocolate chips or chopped chocolate, melted (80g)
- Whipped cream
- 1/4 cup chopped up Oreos (30g)
Equipment / Tools Needed
Instructions
Oreo Cookie Crust
- Preheat oven to 350 F / 175 C. Spray an 8-inch springform pan or cheesecake pan with non-stick baking spray, then place a parchment round on the bottom of the pan and spray the top of it.
- Using a food processor, crush 25 Oreo cookies until they have a fine crumb. Pour in 1/4 cup granulated sugar and 4 Tbsp melted butter and pulse until the cookie crumbs look moist.
- Pour the cookie mixture into the prepared pan. Use the back of a spoon or the bottom of a measuring cup to press down firmly and create a compact, even crust covering the bottom of the pan and reaching about 2/3 way up the sides of the pan.
- Bake for 9-10 minutes then remove from the oven. Place the pan on a wire rack to cool, and keep your oven on but lower the temperature to 300 F / 150 C.
Red Velvet Oreo Cheesecake
- While the cookie crust bakes and cools make the cheesecake filling.
- Place 3 cups of room temperature cream cheese in a large bowl. Beat with a hand mixer or stand mixer fitted with a whisk attachment on a medium to medium-high speed for 4-5 minutes until creamy and smooth. Scrape the sides and bottom of the bowl a few times throughout the process.
- Add in 1 cup of sugar, 1/2 cup sour cream, 1 1/2 Tbsp vanilla extract, 1 1/2 Tbsp heavy cream, 3 Tbsp cornstarch and 2 tsp red gel food coloring. Mix on a low speed until combined, scraping the sides of the bowl with a rubber spatula as needed.
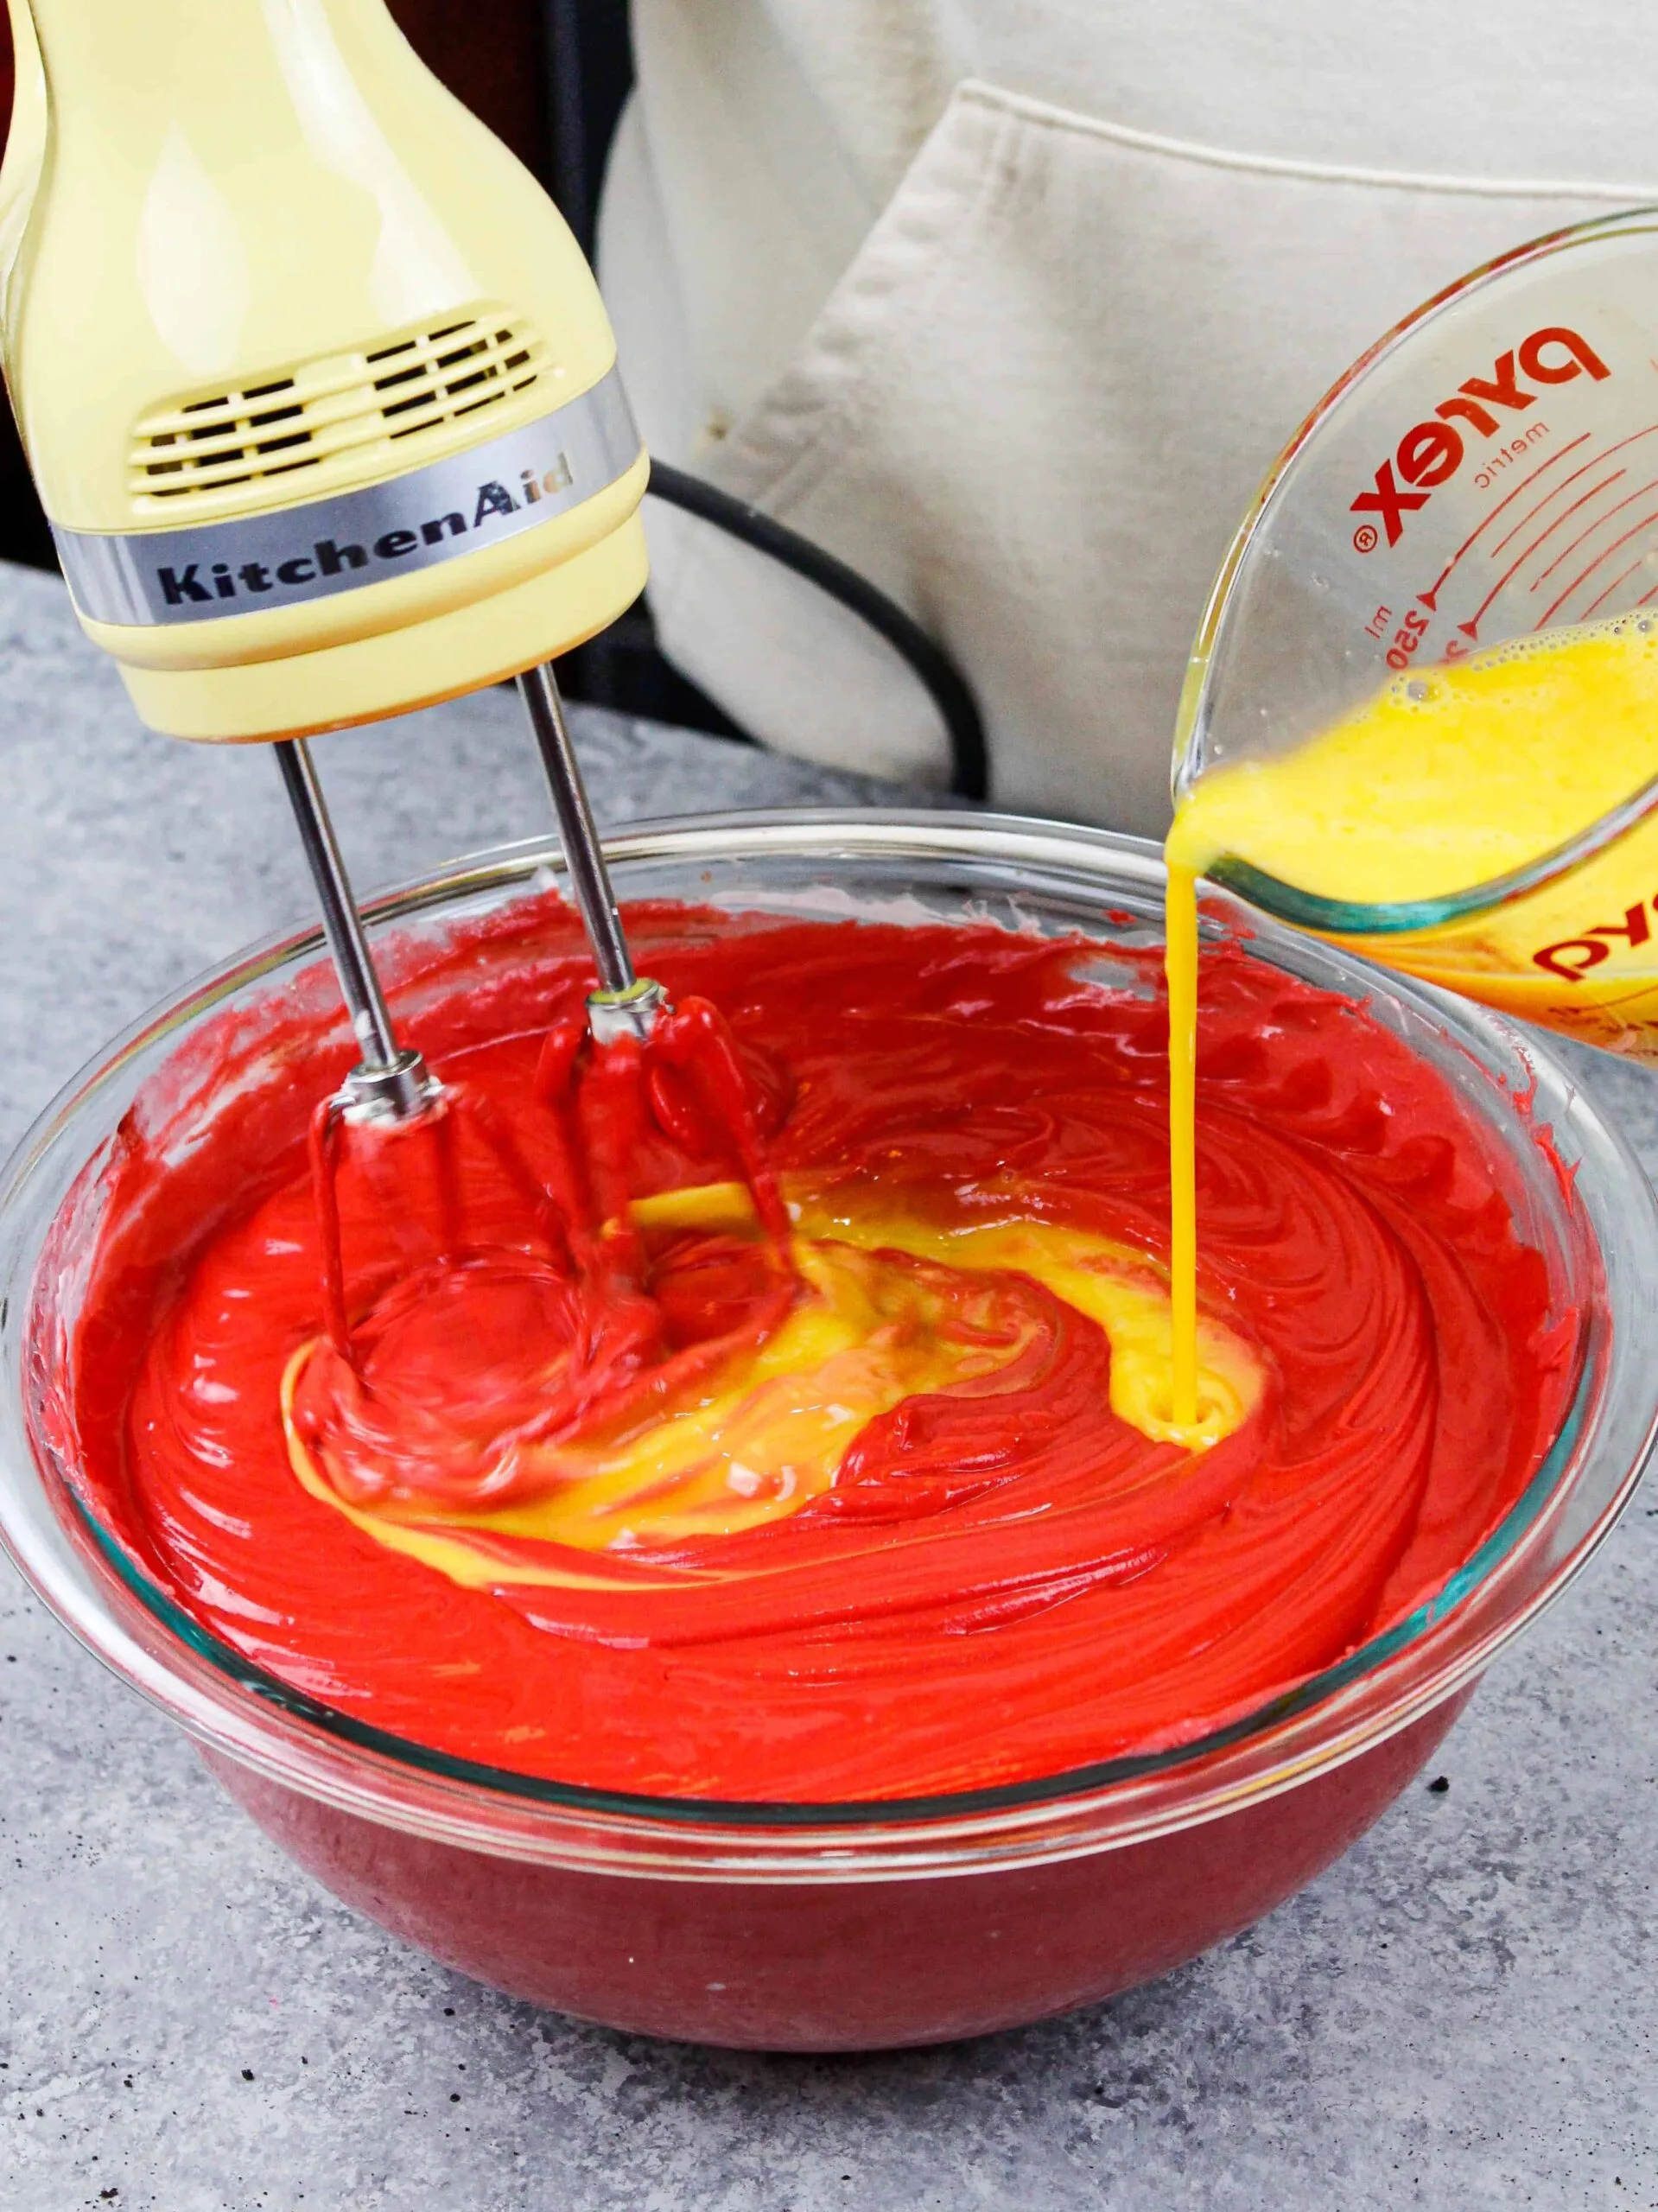
- Crack 3 large eggs into a separate bowl and mix together with a fork until scrambled. Slowly mix the eggs into the cream cheese mixture on a low speed. Mix just until the eggs are incorporated, then finish mixing the batter by hand with a rubber spatula. The batter should be smooth and completely free of any lumps!
- Gently bang your mixing bowl on your counter a few times to help release any trapped air bubbles (these can cause your cheesecake to crack).
- Pour 1/2 of the cheesecake filling on top of the cooled cookie crust, then sprinkle 1/2 cup of chopped Oreos over the batter. Pour the remaining batter on top of the Oreos.
- Place the cheesecake pan on a large cookie sheet to catch any potential leaks, then bake the cheesecake at 300 F for 12 minutes.
- Without opening the oven door, reduce the oven temperature to 225 F / 110 C and bake for an additional 110 - 115 minutes. It sounds crazy, but low and slow is the best way to bake up a perfect, crack-free cheesecake without a water bath.
- Once the cheesecake is fully baked, turn off your oven and let the cheesecake sit in the oven for 1 hour without opening the door.
- After 1 hour of cooling in the oven, crack your oven door open with a wooden spoon and let the cheesecake cool in the oven for another hour.
- Next, remove the cheesecake from the oven and let it continue to cool at room temperature for 2 hours. Once it's reach room temperature, cover the top of the cheesecake with foil and refrigerate the cheesecake for an additional 3-4 hours or overnight.
- When you're ready to enjoy this red velvet Oreo cheesecake, remove it from the fridge and carefully release it from the pan.
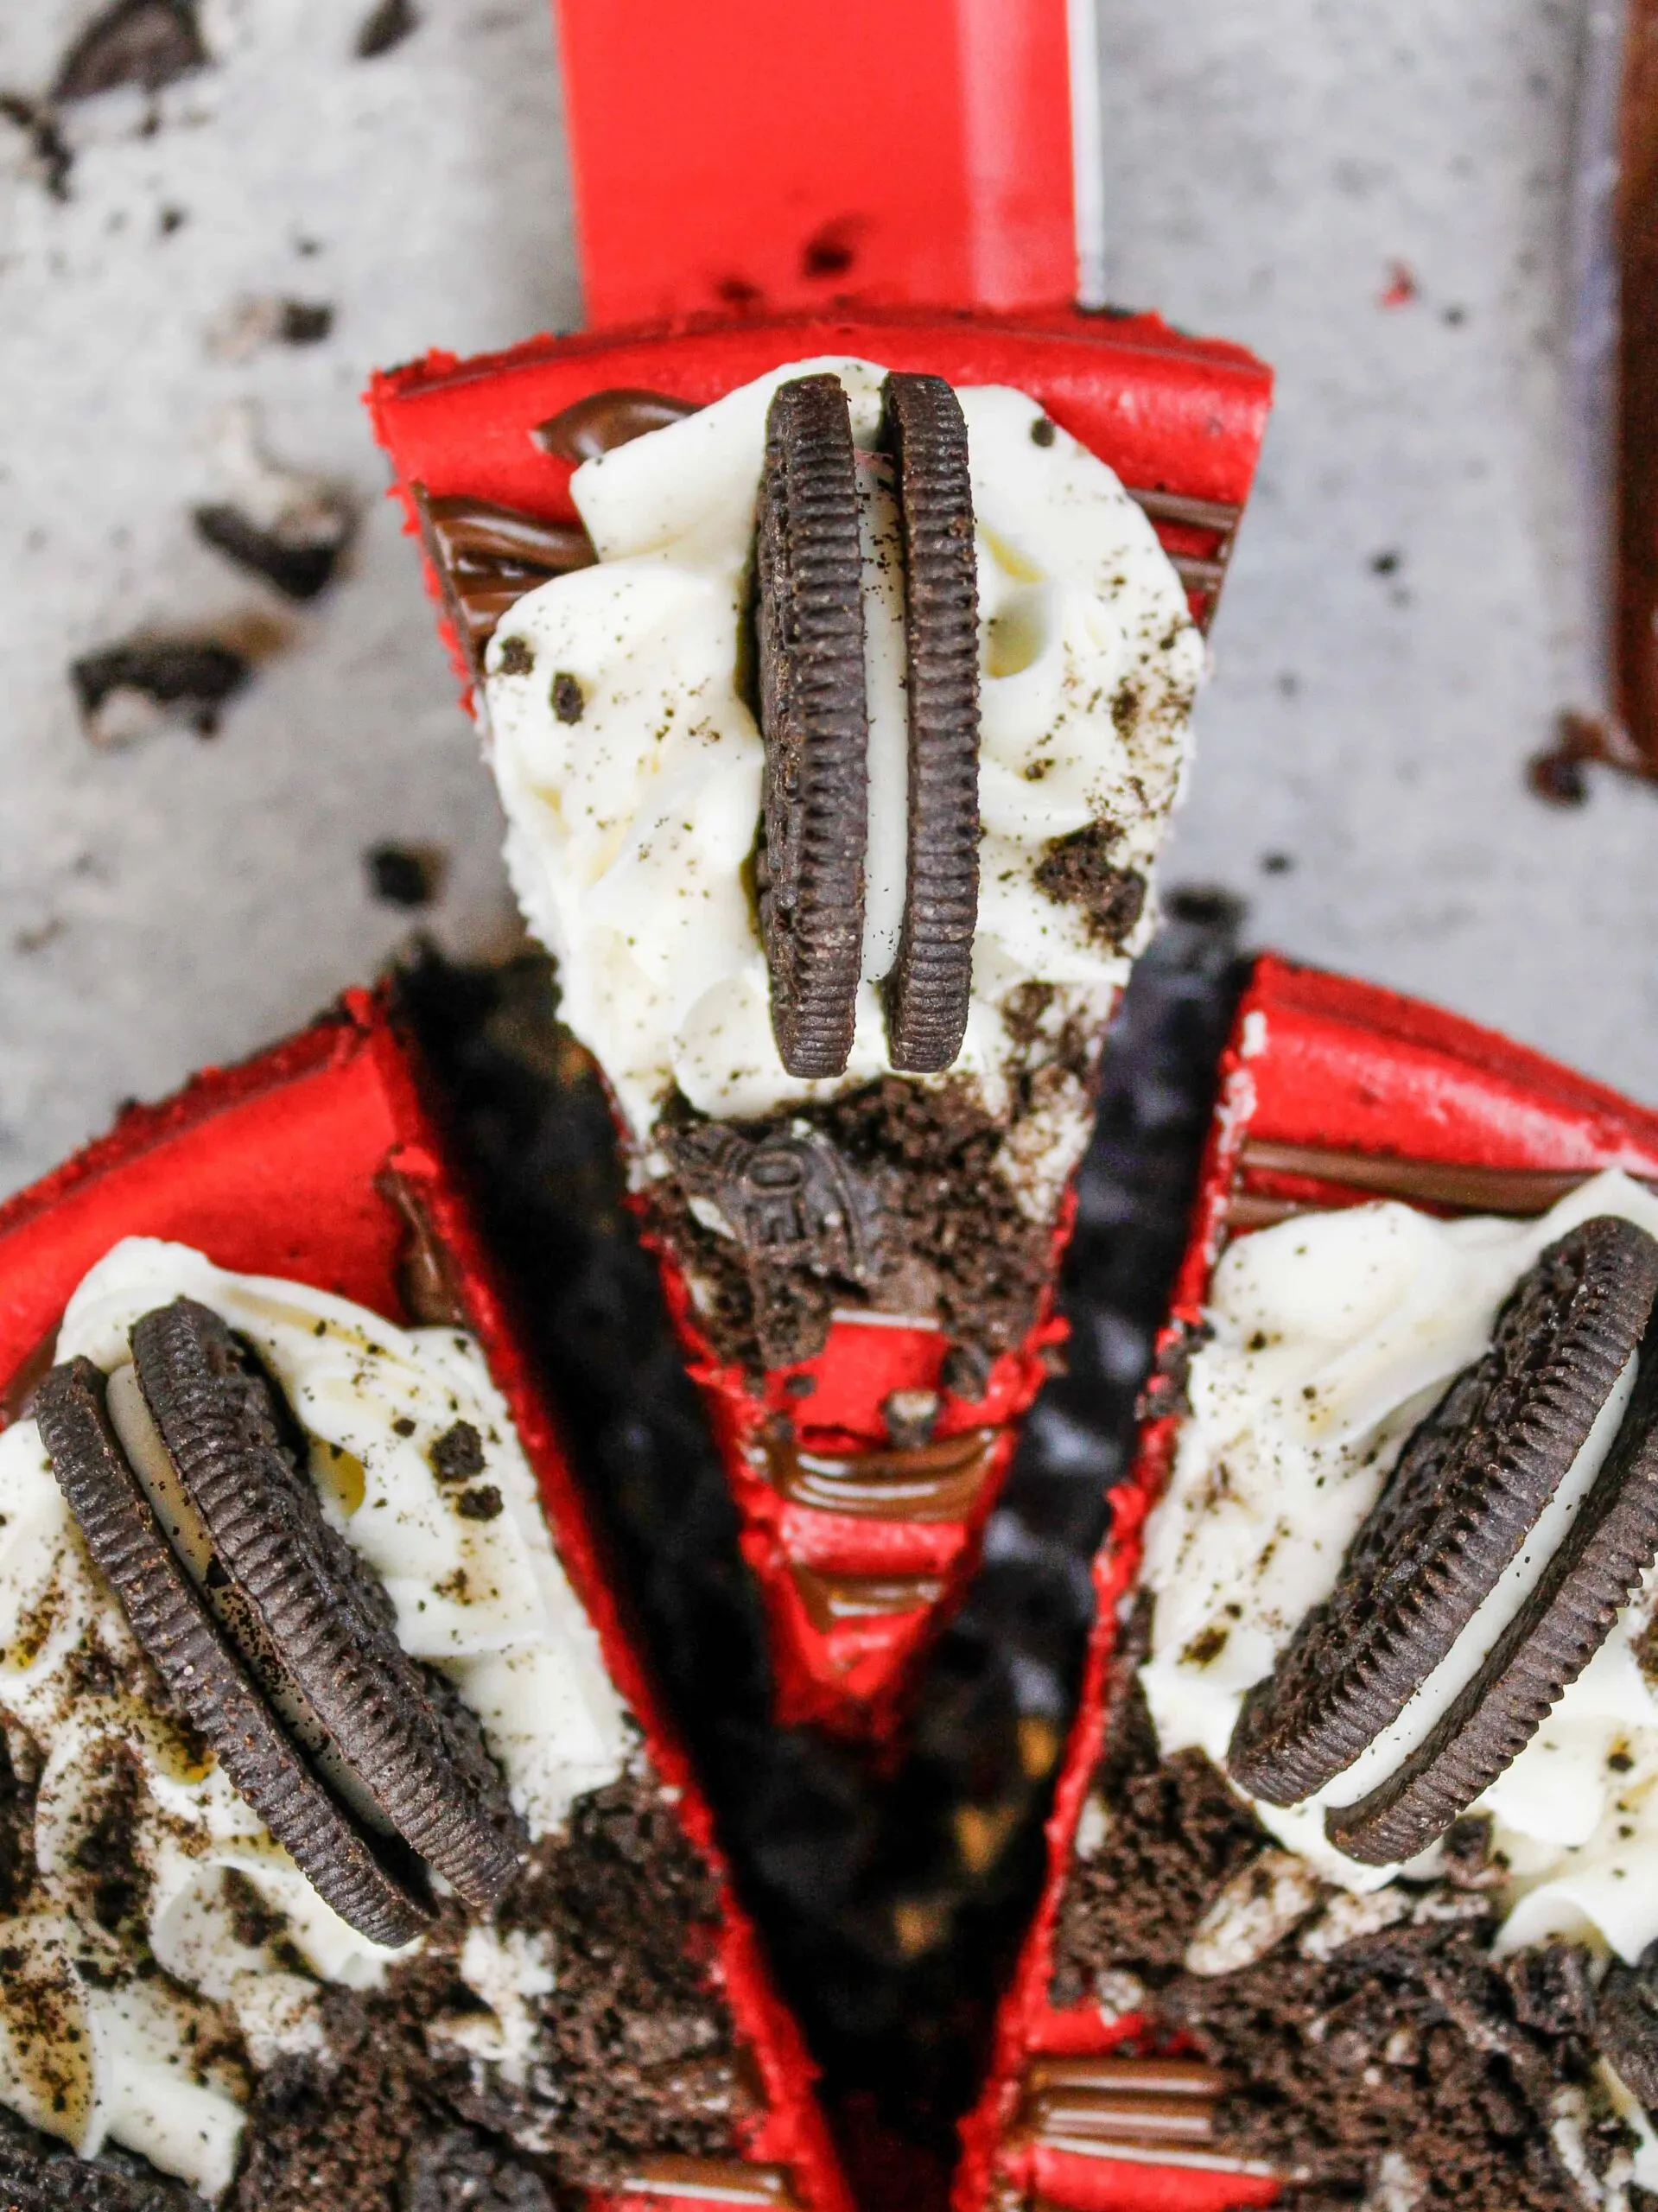
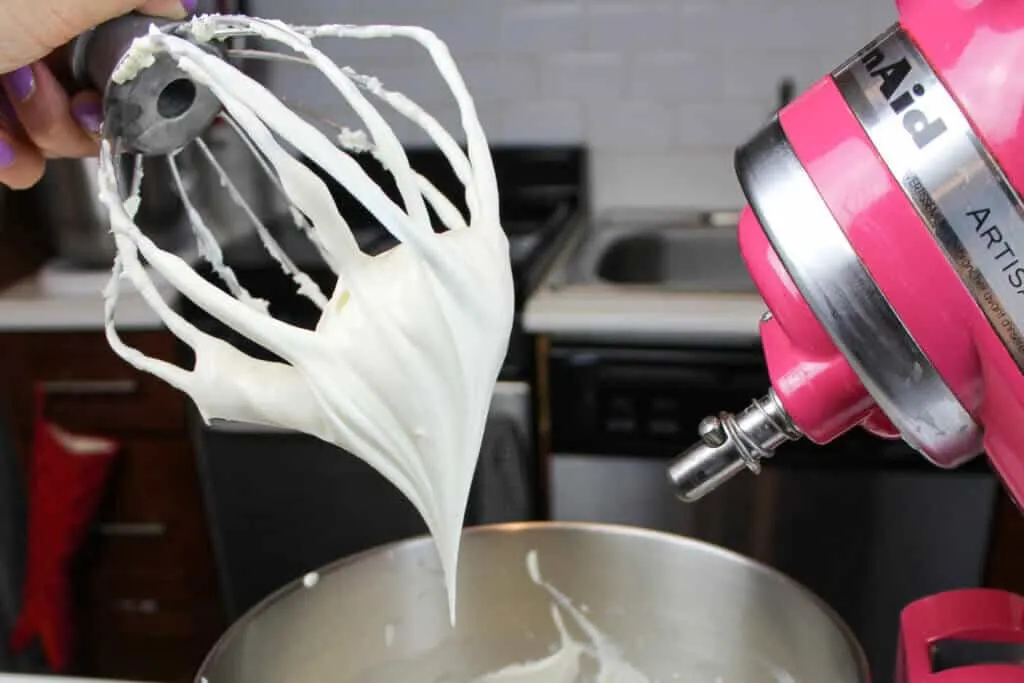
- Drizzle melted chocolate over the top of cheesecake and top with whipped cream swirls and chopped Oreos. Use a sharp, warm knife to cut into the chilled cheesecake. Clean the knife after each cut to get perfect slices.
- Leftover cheesecake can be kept in the fridge for up to 5 days in an airtight container.
Notes
Making This Red Velvet Oreo Cheesecake in Advance
This cheesecake can be stored in the fridge for up to a week. Store slices in an airtight container or cover the springform pan tightly with plastic wrap and foil to keep it fresh. If you're making this cheesecake in advance, wait to garnish it with melted chocolate and whipped cream until you plan to serve it.
You can also freeze this cheesecake for up to 3 months! After it's baked and cooled, release it from your pan then freeze the entire cheesecake until it's firm to the touch (about 3 hours).
Carefully lift the cheesecake off the bottom of the springform pan and slide onto a cardboard cake round or plate. Wrap the entire cheesecake in a couple layers of plastic wrap and then foil.
When you're ready to enjoy the frozen cheesecake, place it in the fridge overnight, then unwrap and enjoy it the following day. Wait to add the chocolate drizzle and other toppings until you're ready to cut into it.
How To Make The Best Red Velvet Oreo Cheesecake
- Make sure your ingredients are at room temperature. It helps them mix together better and ensure your cheesecake has a smooth texture once it's baked.
- Beat your cream cheese on a medium to medium-high speed before adding the other ingredients! This helps to prevent lumps from forming in the cheesecake batter and helps the cheesecake bake up properly.
- Mix on a low speed once you start mixing ingredients into the cream cheese. After you've fluffed up the cream cheese, you want to incorporate as little air as possible into the batter. Excess air in your batter can cause your cheesecake to crack!
- Mix your eggs in a separate bowl then slowly mix them into your cheesecake batter. This will make them easy to incorporate and help you avoid over-mixing your batter.
- Follow the cooling instructions to a T! I know it's a slow process, but it's worth it. It helps ensure your cheesecake has the perfect consistency once it's cooled.
- Use a warm, sharp knife to get clean slices. Fill a tall cup with hot water and drip a sharp knife into it. Dry the knife fully, then cut into the cheesecake. Repeat with each cut, being sure to wipe the blade completely clean after each cut.
- If your cheesecake cracks while baking or cooling, don't fret! You can easily cover it a bit of chocolate ganache while decorating this cheesecake and no one will ever know.
Nutrition Information
Yield
12Serving Size
1Amount Per Serving Calories 423Total Fat 20gSaturated Fat 10gTrans Fat 0gUnsaturated Fat 8gCholesterol 103mgSodium 227mgCarbohydrates 56gFiber 1gSugar 47gProtein 5g

Cheesecake Cake Filling: Decadently Delicious
Monday 27th of June 2022
[…] Red Velvet Oreo Cheesecake Mini Strawberry Cheesecake No Bake Cheesecake Bites Oreo Cheesecake Bars Yield: 3 […]
Red Velvet Cupcakes with Buttermilk: Easy and Delicious Recipe
Wednesday 6th of April 2022
[…] Red Velvet Cake Red Velvet Macarons Red Velvet Crinkle Cookies Oreo Red Velvet Cheesecake Yield: […]
Red Velvet Layer Cake: Delicious Recipe from Scratch
Wednesday 6th of April 2022
[…] Velvet Oreo Cake Red Velvet Macarons Red Velvet Crinkle Cookies Red Velvet Oreo Cheesecake Yield: […]
Brandi Lee
Wednesday 16th of February 2022
Where is the cocoa powder you used in your video? How much to use?
Whitney
Monday 27th of December 2021
This could very likely use some clarification. It says cook time: 1 hour and 22 minutes. But then in the recipe after baking for twelve minutes, it says “bake for 110-115 minutes,” which is definitely different from one hour and ten minutes (70 minutes). Really hoping I didn’t waste seven hours haha