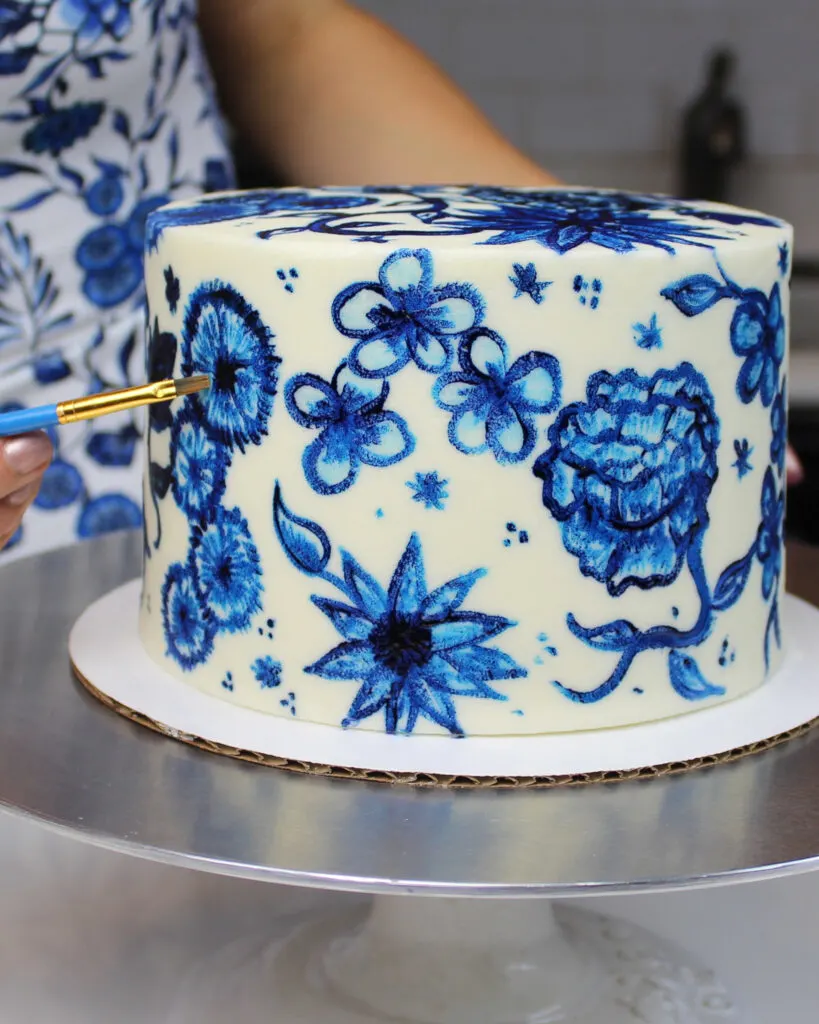
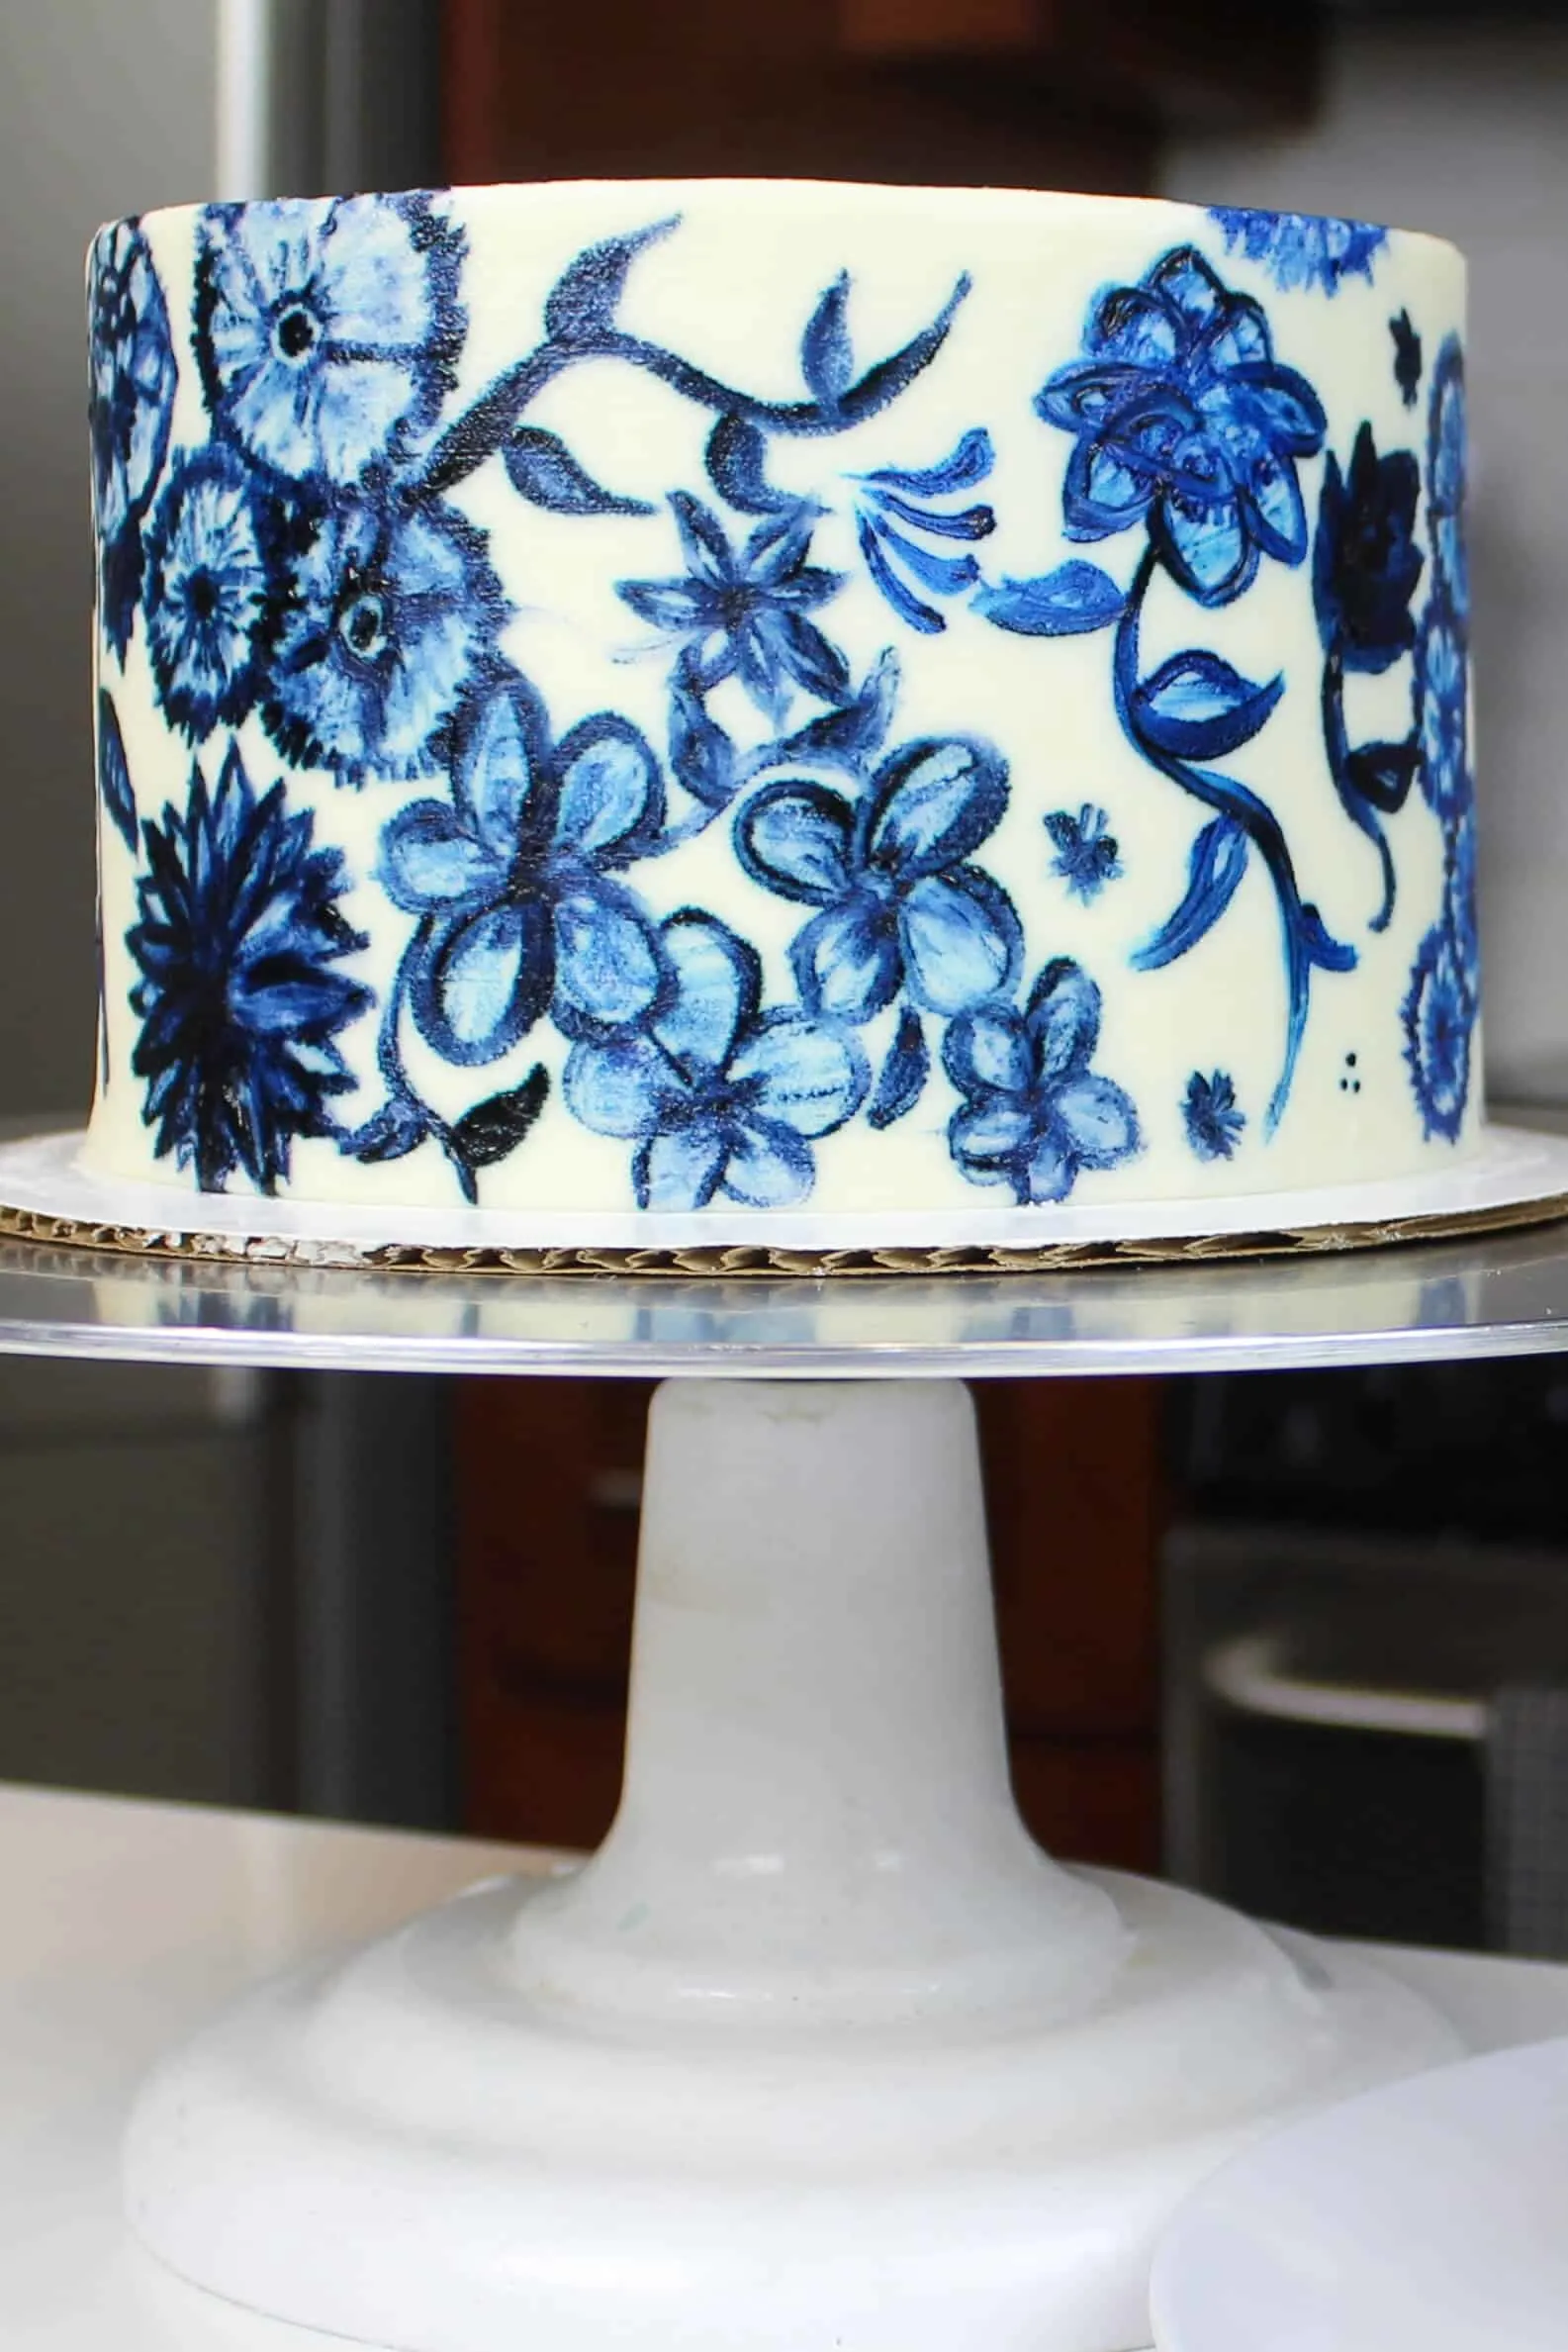
I’ve seen some stunning painted cakes this summer and it inspired me to try my hand at a painted buttercream cake!
I don’t have an artistic background and my painting experience is limited to one wine and paint night. Nonetheless, I wanted to try this technique.
This cake took quite a while to decorate but was such a fun change of pace! I love trying new techniques and challenging myself in different ways. That’s what life’s all about, right??
Different Types of “Paint”
There are a few different techniques that can be used to paint a cake!
One technique uses thinned buttercream as paint, which is another approach! I used this technique to create this beautiful Fall Foliage Painted Cake.
However, this painted buttercream cake uses a different technique! It involves using an actual paint brush and edible paint made with gel food coloring and a bit of clear alcohol or extract.
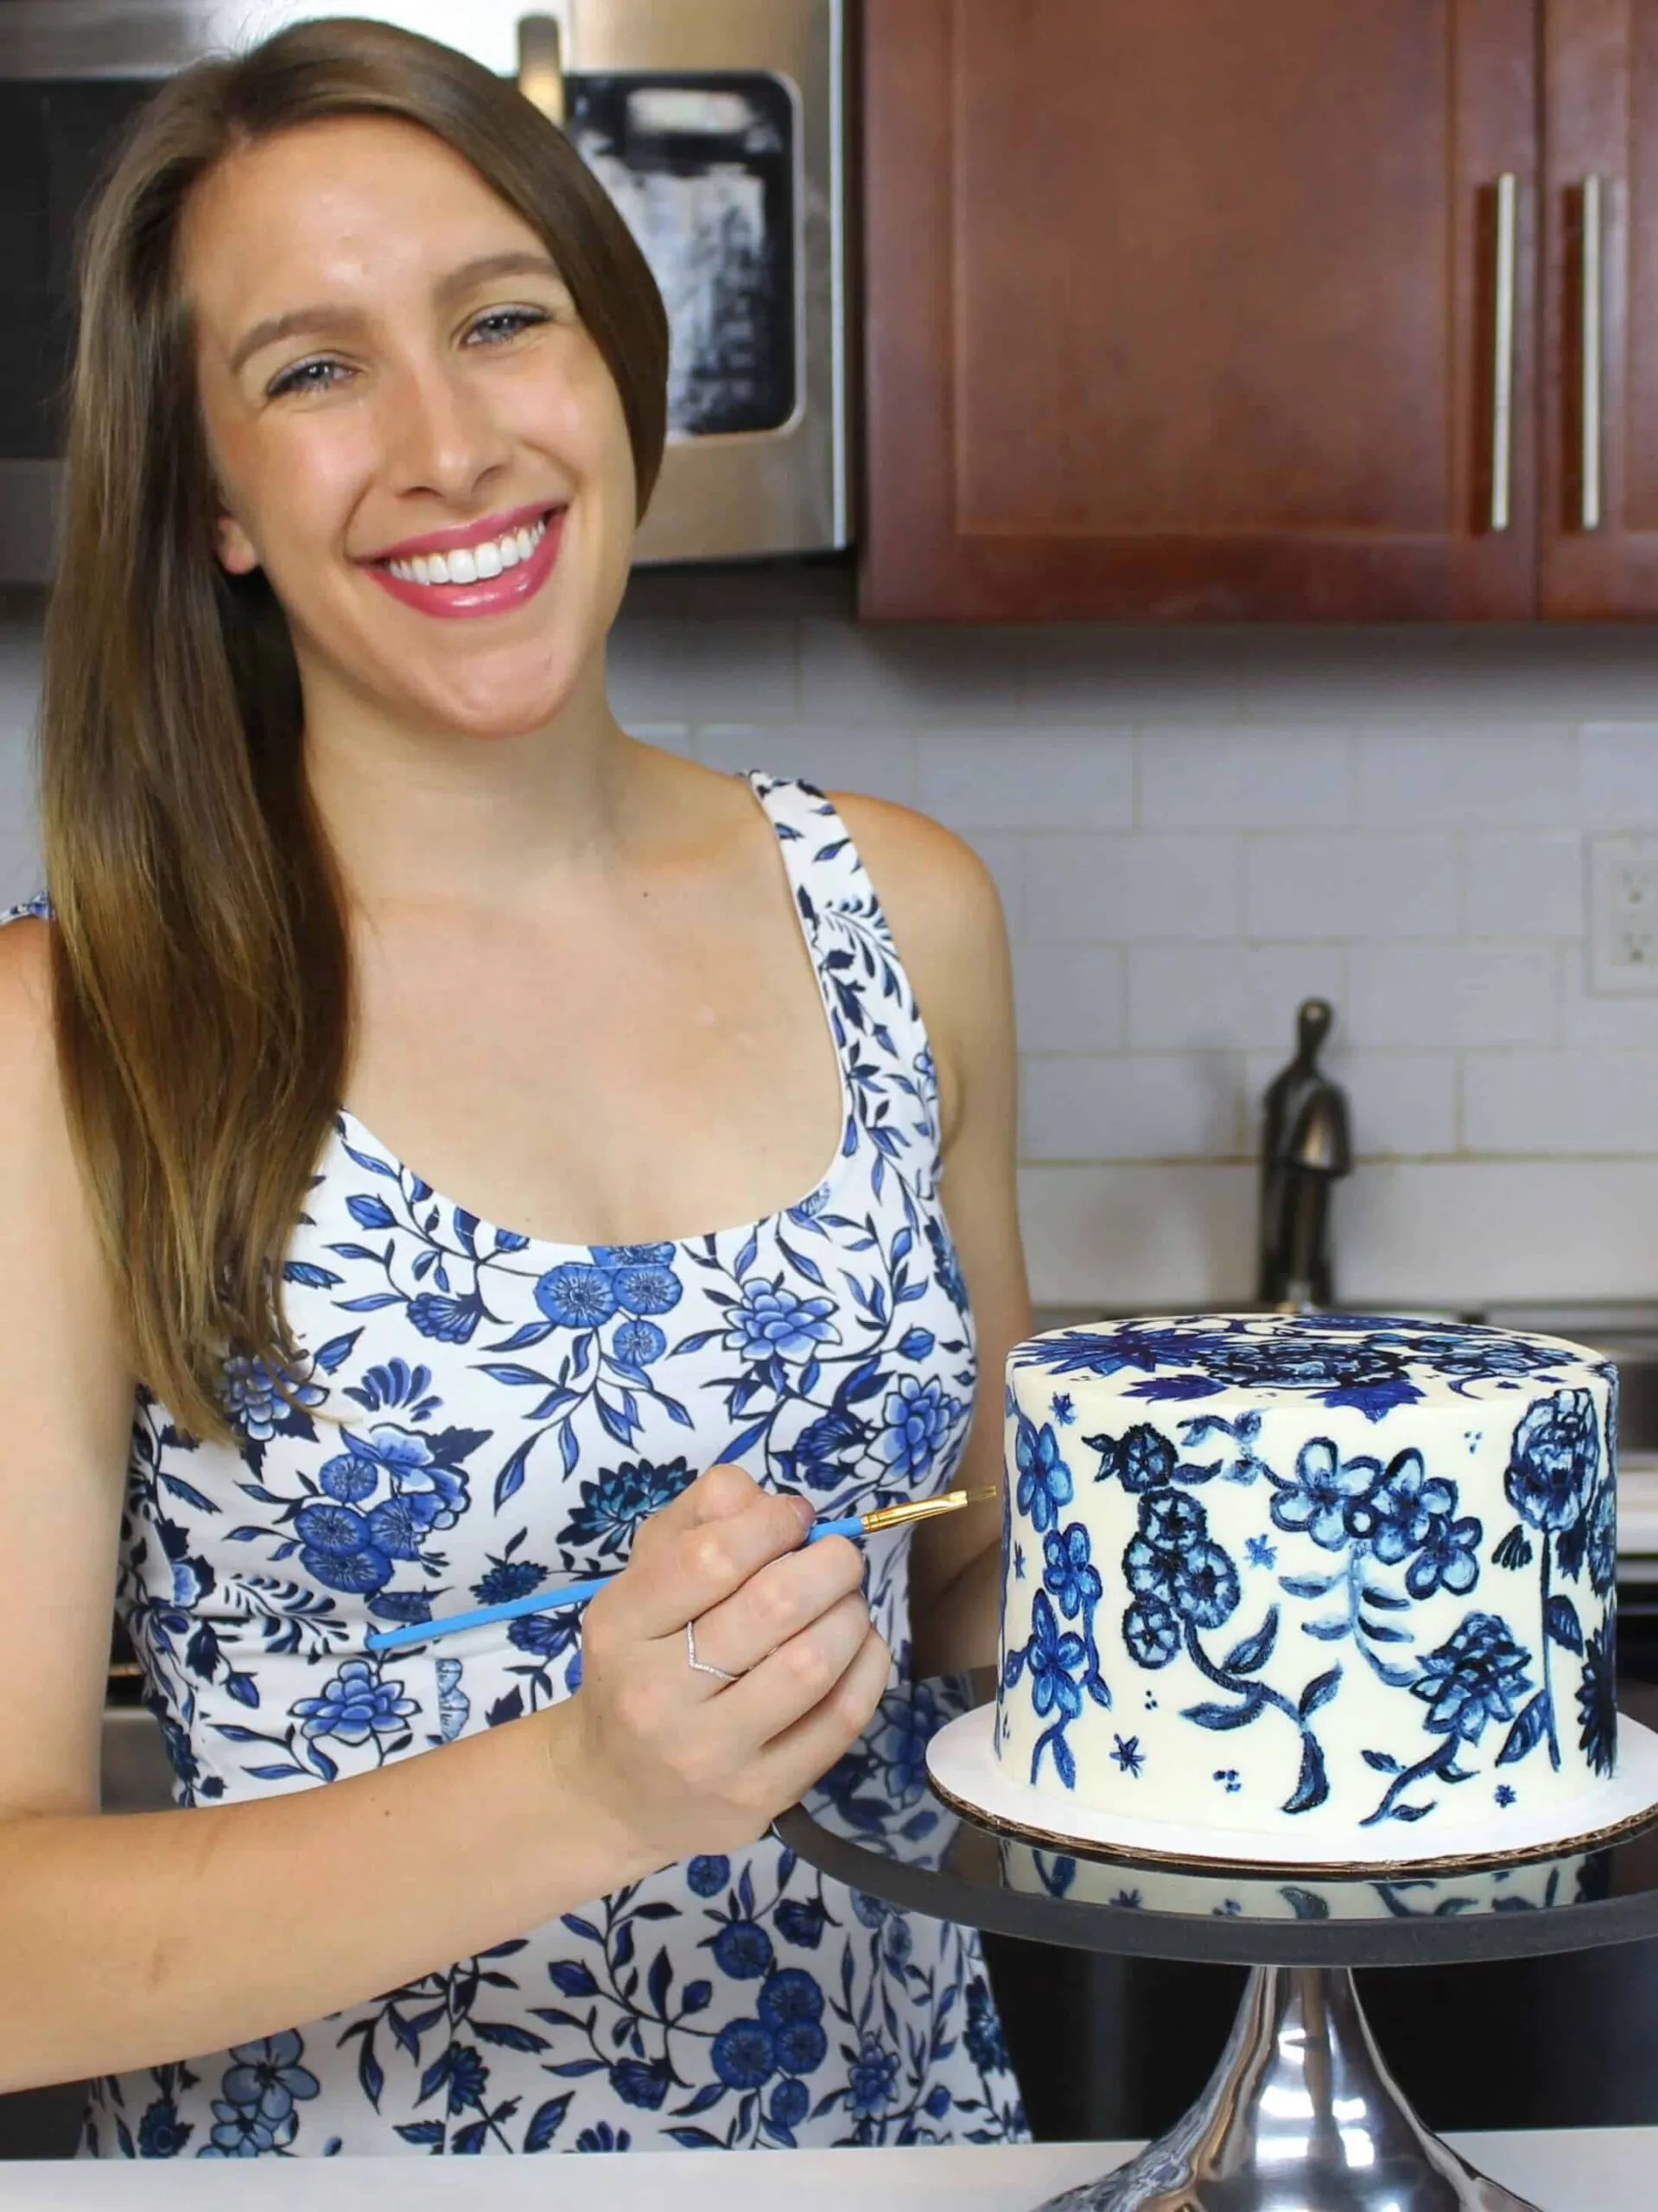
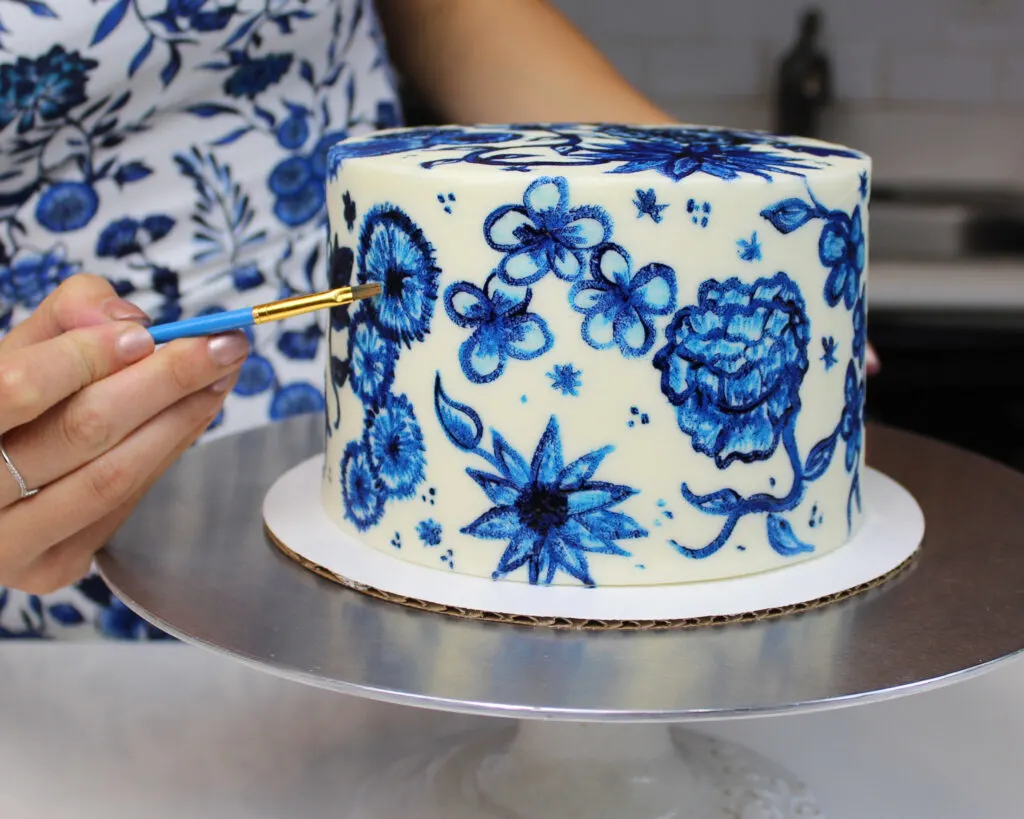
This summer I fell in love with the floral sundress I’m wearing in the picture above. It turned out to be the perfect inspiration for this cake design.
Painted Cakes: Fondant vs. Buttercream
Most of the painted cake designs out there are done on fondant cakes. As you know, I rarely work with fondant. I have nothing against people using it, I just prefer working with buttercream.
So, I did a little experimenting and tried painting directly on buttercream. I found painting on buttercream is totally doable as long as the cake is properly chilled.
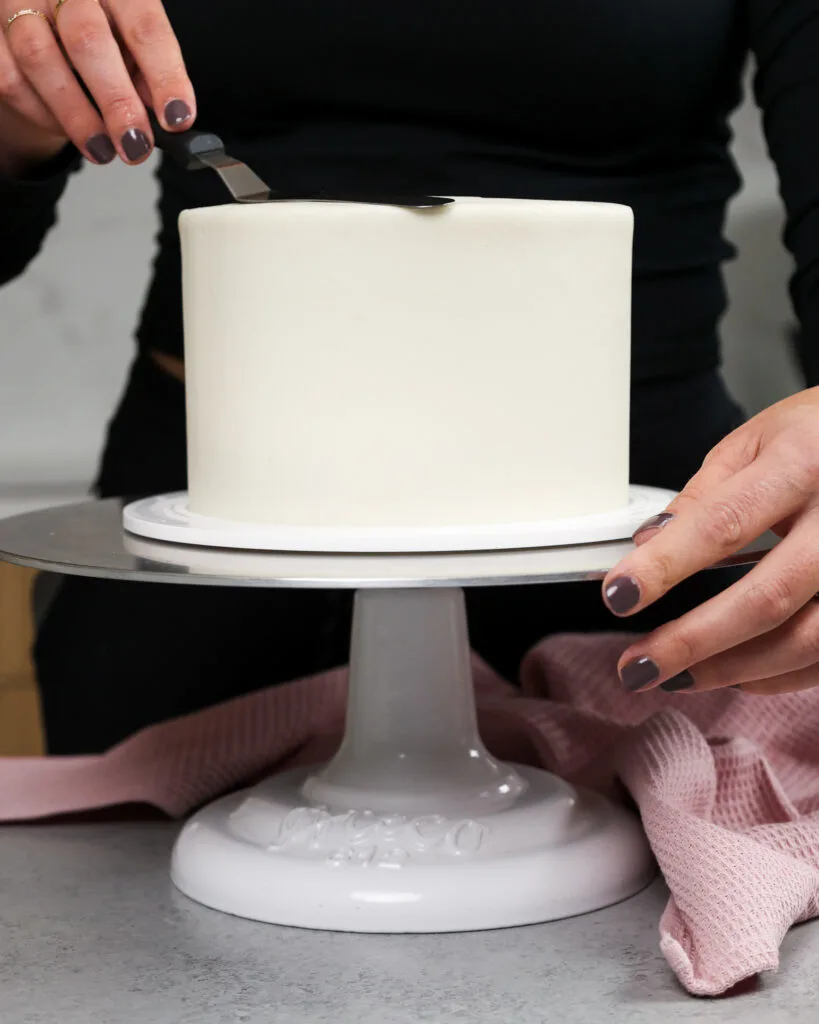
The cake needs to sit in the fridge for at least an hour. This allows the buttercream to really firm up.
Usually I recommend using the freezer to chill a cake, but sometimes this can cause condensation, which will make a cake almost impossible to paint a cake!
If you plan to make a painted buttercream cake, avoid the freezer at all costs.
What Type of Frosting Works Best on Painted Cakes?
A crusting buttercream is ideal for making a painted buttercream cake, but not all types of buttercream crust.
I love using this technique with my vanilla American buttercream, which I think works best. The paint is the most vibrant on white or light colored frosting.
You could also paint on chilled vanilla Swiss meringue or Italian buttercream, but it softens more quickly and is much more challenging to paint on.
How to Make The Gel Food Coloring “Paint”
To make the edible paint for this painted buttercream cake, all you have to do mix together some gel food coloring and vodka.
The ratio can vary based on the strength of color you’re after. In general, I like to mix about 1 tsp of vodka with 1 or 2 drops of gel food coloring.
The vodka helps the food coloring dry faster because of its high alcohol content. It also thins out the food coloring. This can help create different shades of blue, using the same gel food coloring.
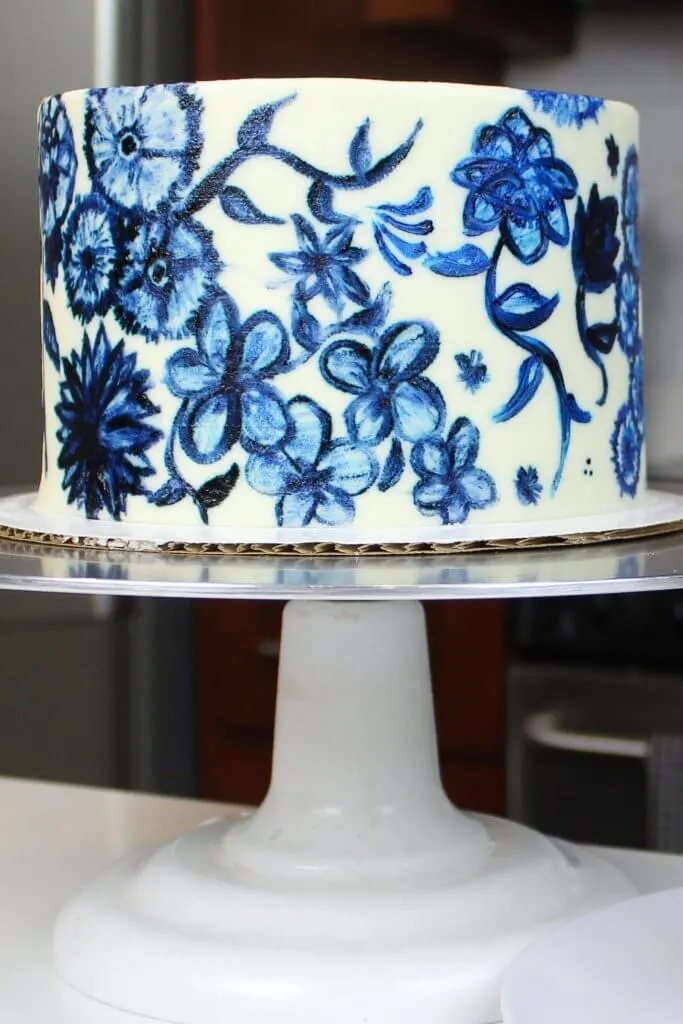
The cake I made above uses two different shades of blue gel food coloring. One was navy blue, the other was royal blue.
If you don’t want to use alcohol you can also use almond extract or any clear extract.
My Advice for Painting a Buttercream Cake: Start Small
One thing to note…painting on buttercream takes forever!! Between letting the food coloring dry and popping the cake in and out of the fridge to keep the frosting firm, it’s a time consuming process.
I highly recommend using a small cake when making a painted buttercream cake for the first time.
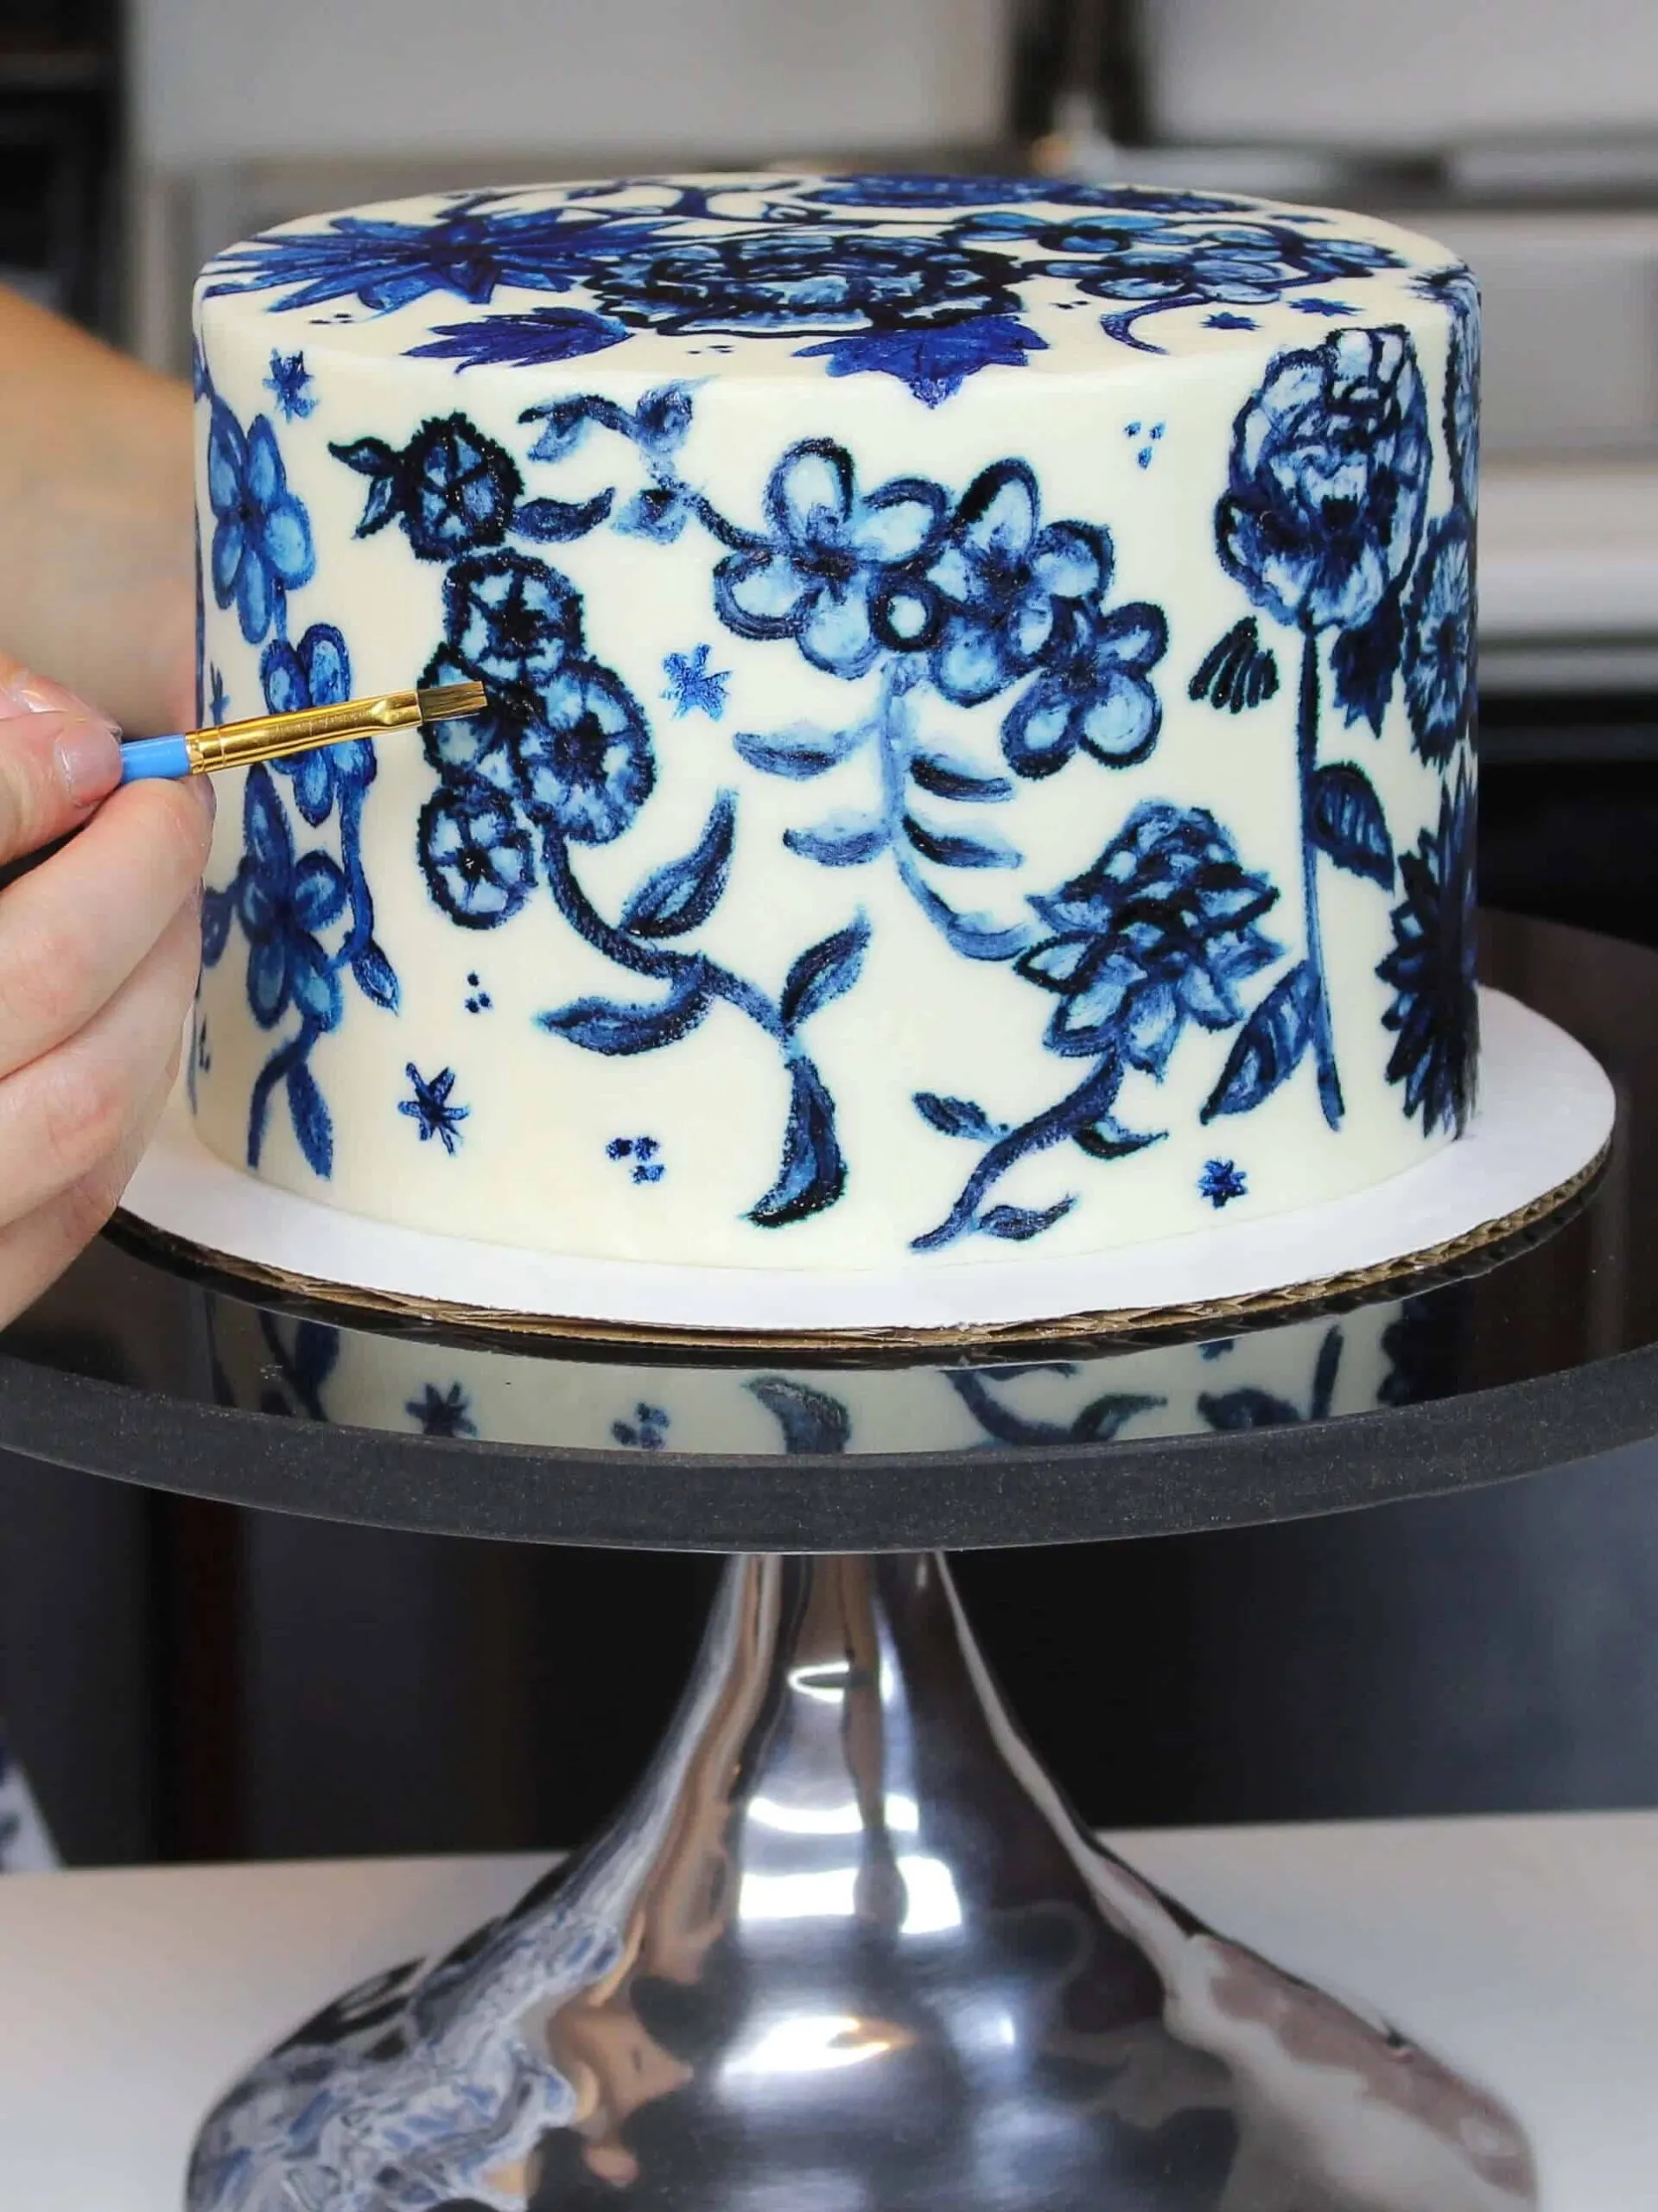
This cake is made with a batch of my favorite 6-inch cake recipe and is frosted with my American buttercream.
My small batch recipe makes three, six-inch cake layers. It’s are the perfect size for this type of project!
How to Get Started Painting
I recommend painting the sides of the cake first by outlining the main objects of the pattern you’re painting. Then you can fill in the outline and begin to work on the shading.
A thin brush works best for outlining and a slightly wider brush is great for filling in the petals of the flowers.
I used a few different sizes of paint brushes from a pack of brushes I ordered online.
Be sure to use a new or super clean paint brush, or a kitchen-specific paint brush that isn’t used for more traditional, non-edible painting projects.
I keep a set in my kitchen to ensure there’s no contamination from non-edible paint.
Take Breaks When Painting a Buttercream Cake
I was able to get about a quarter of the way around the cake before the frosting began to soften. You’ll know when this happens, because the frosting will start to smear from the paint brush.
When this happens, chill the cake in the fridge for about 20 minutes and then resume painting.
While you may be forced to take breaks to chill the cake, it’s actually a good thing. Taking breaks not only is good for your sanity, but it also allows the paint to dry.
This makes it possible to layer the paint and create more depth and shading. It also it good for your back and hand to take breaks!
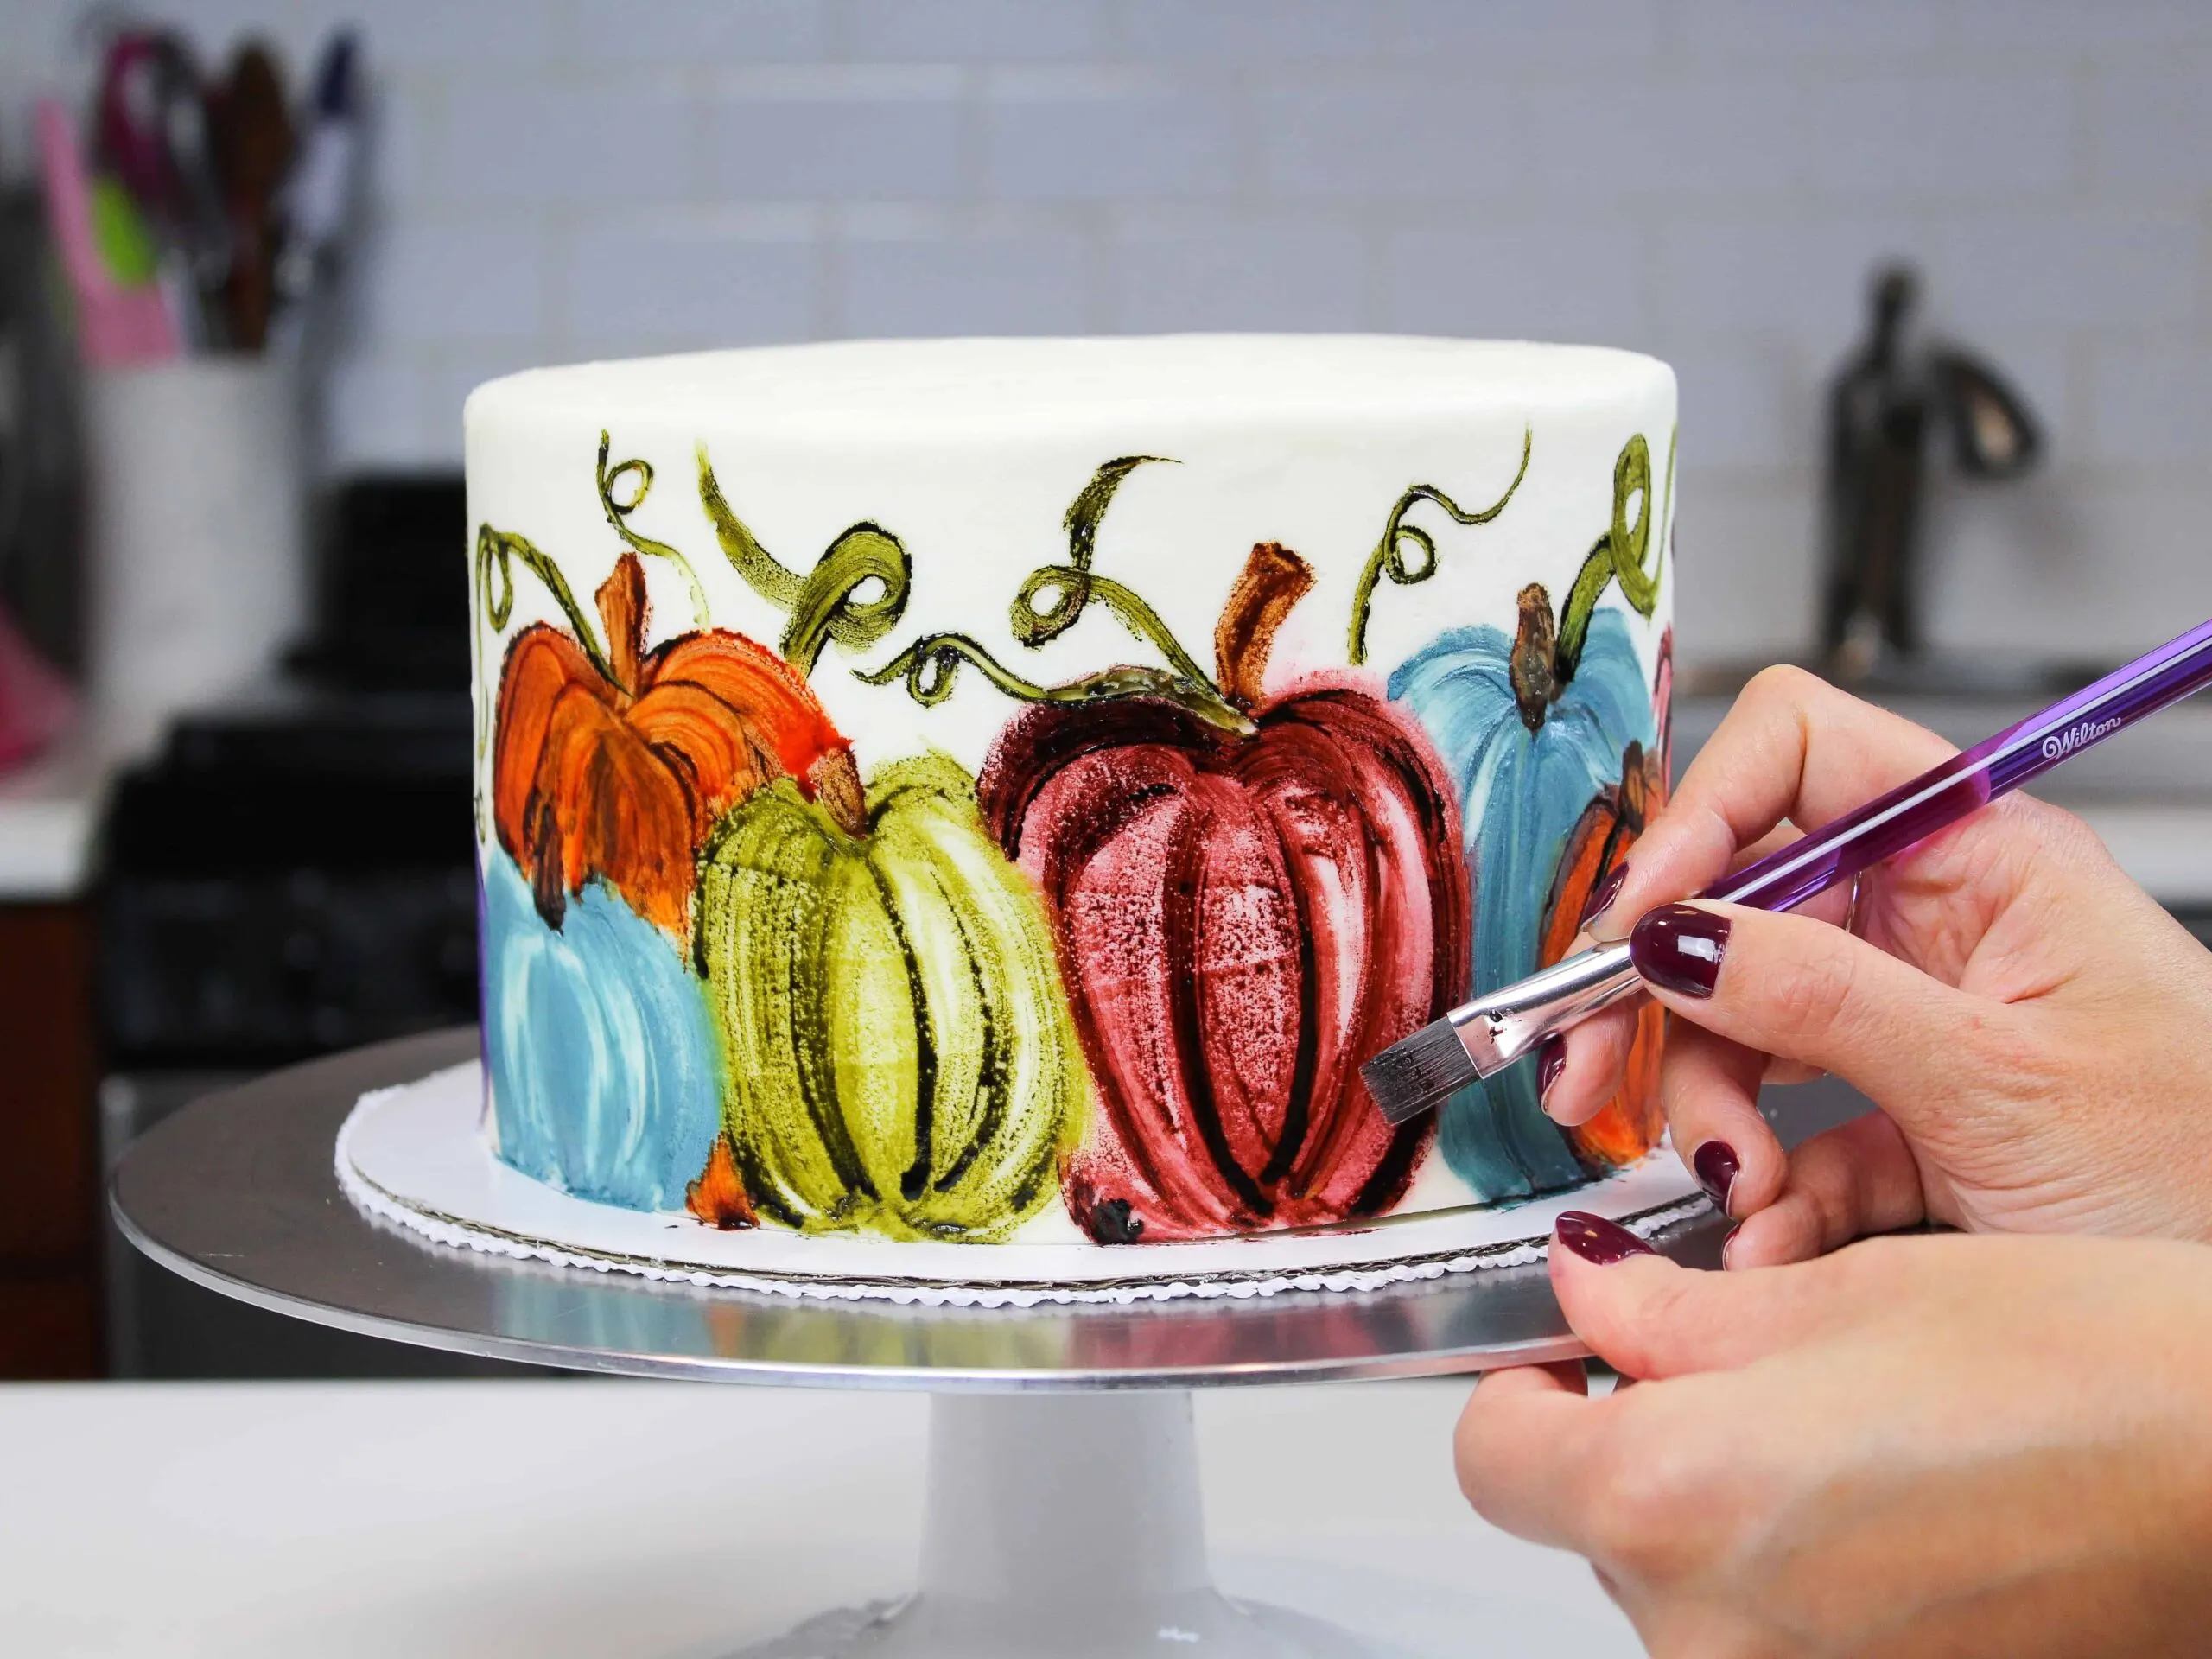
I also used this technique to create this painted pumpkin cake! It was made using my pumpkin layer cake recipe and was frosted with my cream cheese frosting.
It surprisingly took a lot less time to paint than my blue floral cake.
Painted Cake Troubleshooting
If you do have a section that goes awry or smears, simply pop the cake back in the fridge. Then use a warmed bench scraper to carefully remove a thin layer of frosting.
If you try this painted buttercream cake technique, please tag me @chelsweets and use #chelsweets so I can see your beautiful creations!!
Other Posts You Might Like:
Painted Buttercream Cake
This vanilla layer cake recipe makes the perfect six inch layer cake! It makes three, moist cake layers that are perfect for stacking, and painting
Ingredients
Vanilla Cake
- 2 cups + 2 Tbsp all-purpose flour (276 grams)
- 2 cups granulated sugar (400 grams)
- 1 1/2 tsp baking powder (6 grams)
- 1/2 tsp salt (3 grams)
- 2/3 cup unsalted butter, room temperature (150 grams) - 1 and 1/3 sticks
- 1 tsp. vanilla extract (4 grams)
- 2/3 cup egg whites (or about 5 egg whites) (185 grams)
- 1 cup buttermilk, room temperature (240 grams)
- 1 Tbsp vegetable oil (14 grams)
- gel food coloring (if desired)
Vanilla Buttercream Frosting
- 1 cup unsalted butter, room temperature (217 grams)
- 3 1/2 cups powdered sugar (454 grams) - or a 1 lb bag
- 1/4 tsp salt (2 grams)
- 1 Tbsp heavy cream (or whipping cream) (15 grams)
- 1 1/2 tsp vanilla extract (6 grams)
Additional Tools and Ingredients
- gel food coloring
- vodka or a clear extract
- sterile paint brushes
Instructions
Vanilla Cake Layers:
- Preheat oven to 350°F. Line three 6 inch pans with parchment rounds, and grease with non-stick cooking spray.
- Mix together all dry ingredients (flour, baking powder, sugar, and salt) in a stand mixer with a paddle until fully combined.
- Mix chunks of room-temperature butter slowly into the dry mix, on a low speed. Continue to mix until no large chunks of butter remain, and the mixture becomes crumbly.
- Pour in egg whites, and mix on low until just incorporated. Mix in the buttermilk in two installments, on a low speed.
- Add in vanilla and oil, and mix at a low speed until fully incorporated. Scrape down the sides of the bowl with a spatula, then beat on medium speed for about 30 seconds.
- If desired, add in gel food coloring. Mix the batter on a low speed, scraping the sides and bottom of the bowl part way through. Mix until the batter is evenly colored.
- Divide batter evenly between the prepared cake pans. I like to use a digital kitchen scale to weigh my pans, and ensure they all have the same amount of batter. This guarantees your layers will bake to be the same height.
- Bake for 33-35 minutes, or until a toothpick comes out clean. Allow the pans to cool for 10 minutes, then run an offset spatula around perimeter of the pan to separate the cake from the pan.
- Place cake layers into the freezer for 30 minutes, to accelerate the cooling process.Once the layers are fully cooled, carefully flip the pans and remove the layers from the pans.
- Use a serrated knife to level the tops of the layers, and then frost as desired.
Vanilla Buttercream Frosting:
- While the cake layers bake and cool, make the vanilla buttercream frosting.
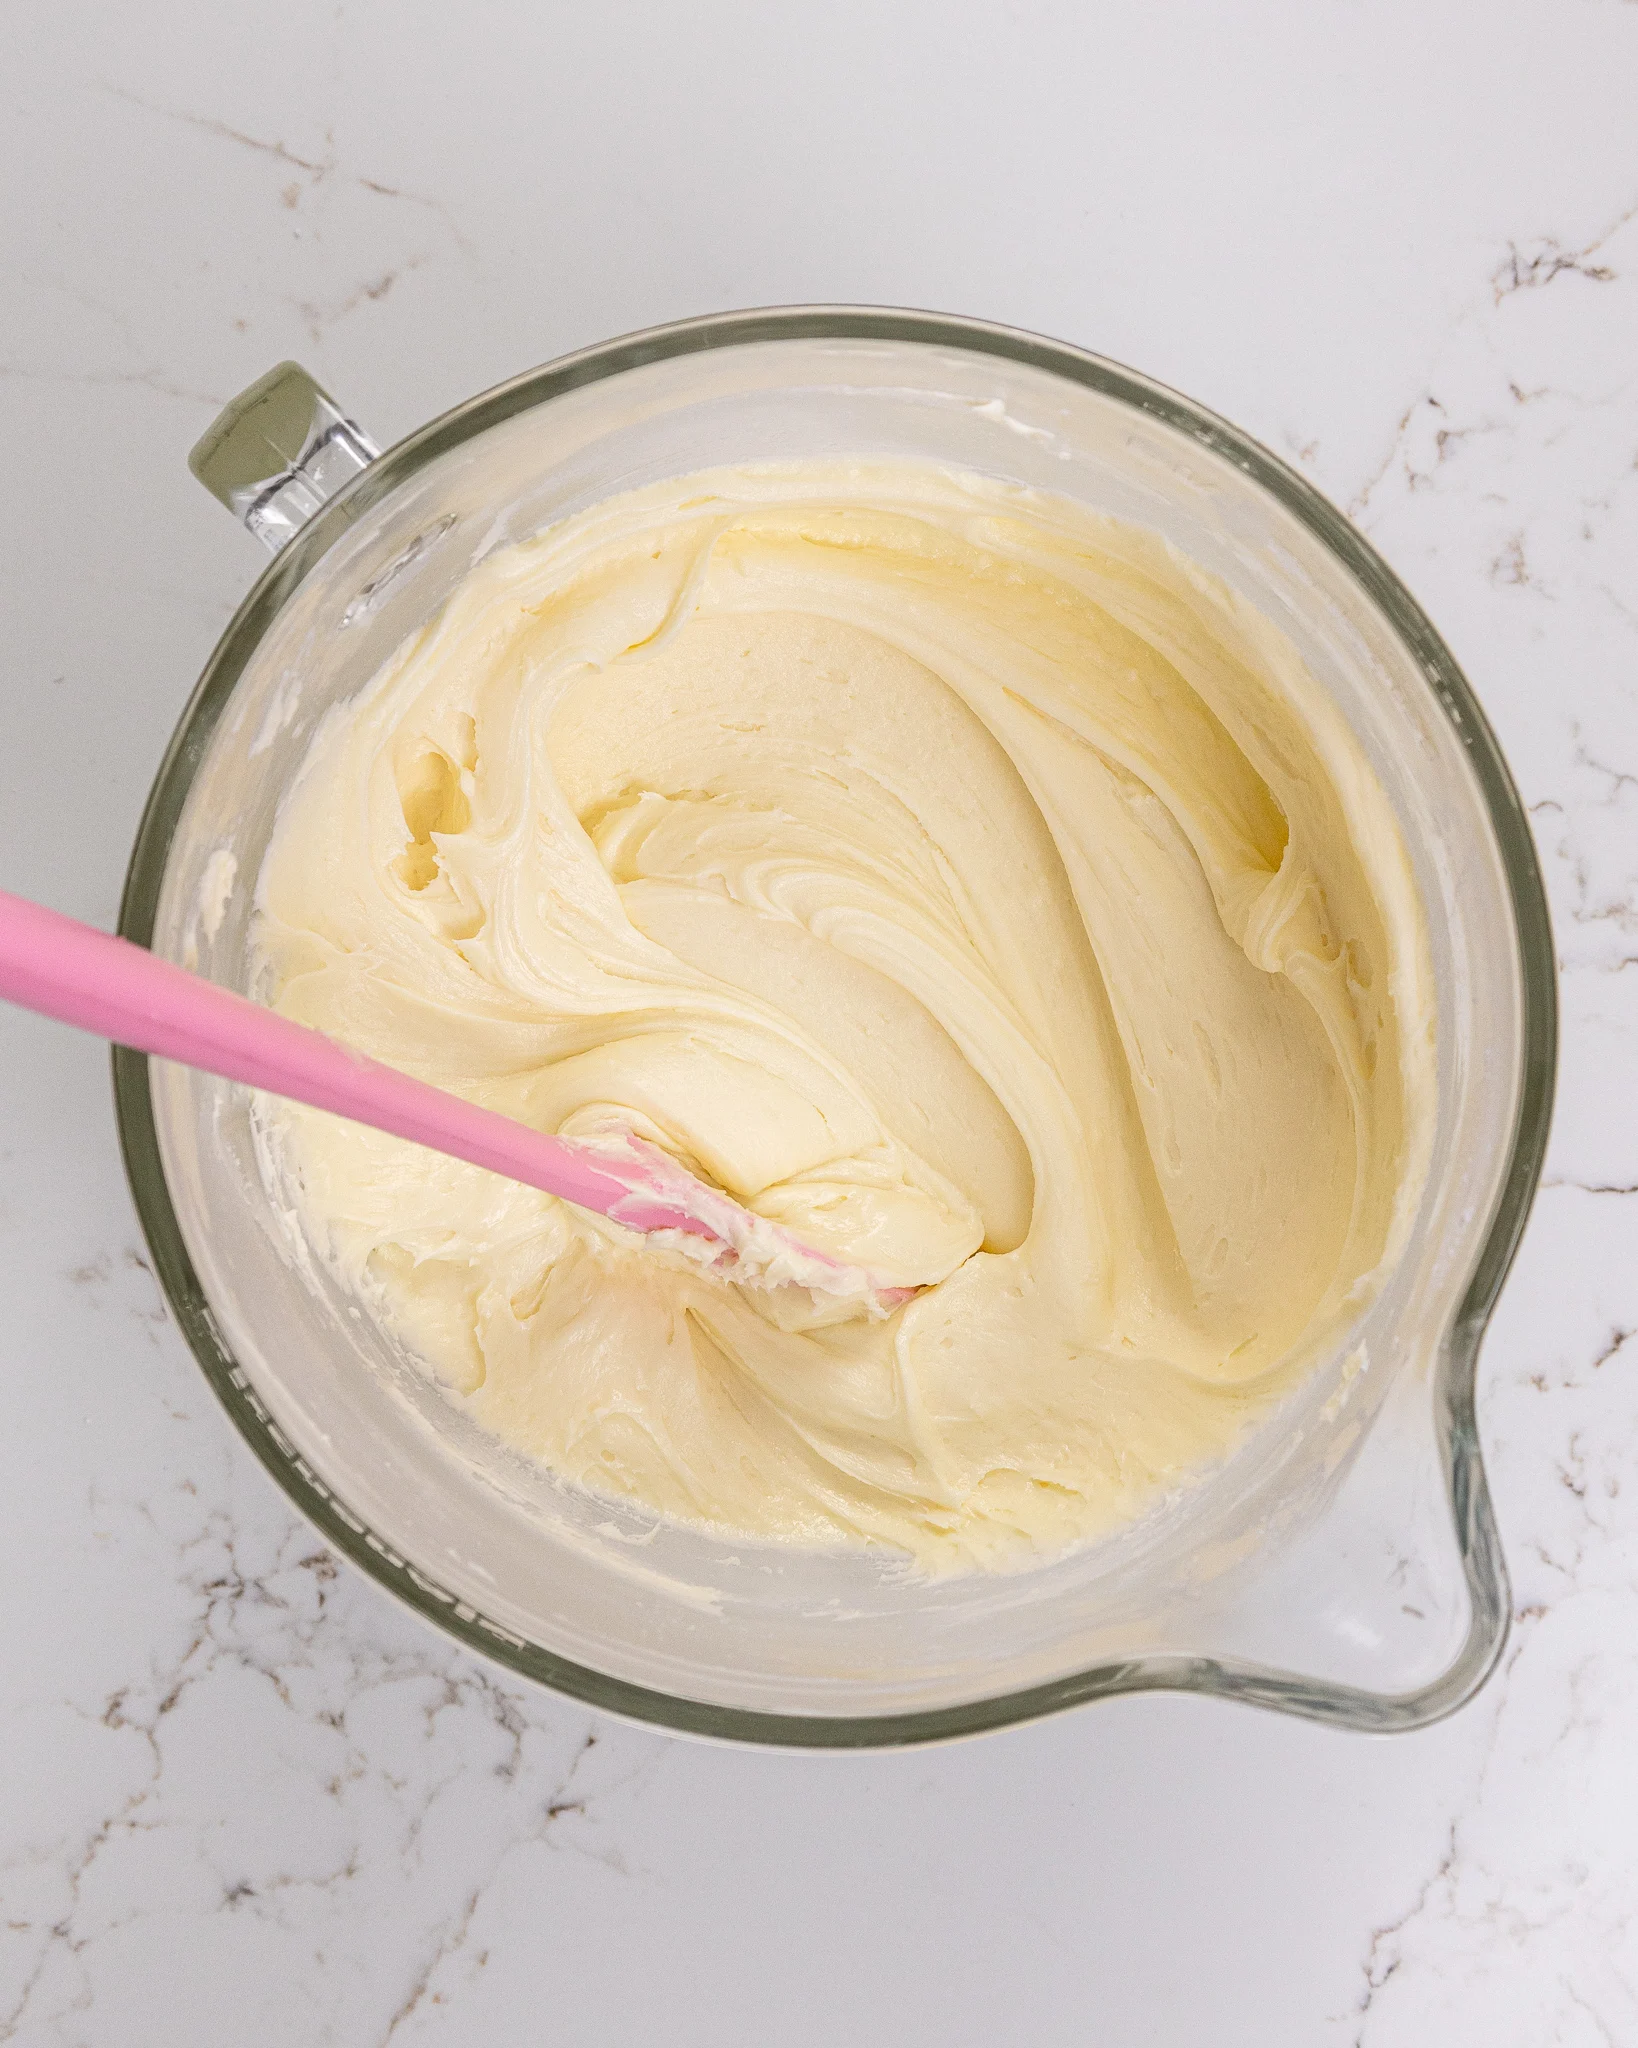
- Beat the butter on a medium speed for 30 seconds with a paddle attachment, until smooth. Slowly add in the powdered sugar, 1 cup at a time. Alternate with small splashes of cream.
- Once fully mixed, add in the vanilla and salt, and beat on low until the ingredients are fully incorporated, and the desired consistency is reached.
- If the frosting is too thick, add in additional cream (1 teaspoon at a time). If the frosting is too thin, add in more powdered sugar (quarter of a cup at a time).
- If you plan to color the buttercream, add in the gel food coloring once the frosting is fully made, and beat on low until it reaches the desired color
To Assemble The Cake:
- Stack and frost cake layers on a greaseproof cake board, using a dab of frosting to help stick the first cake layer to the board.
- Add an even layer of buttercream between each cake layer.
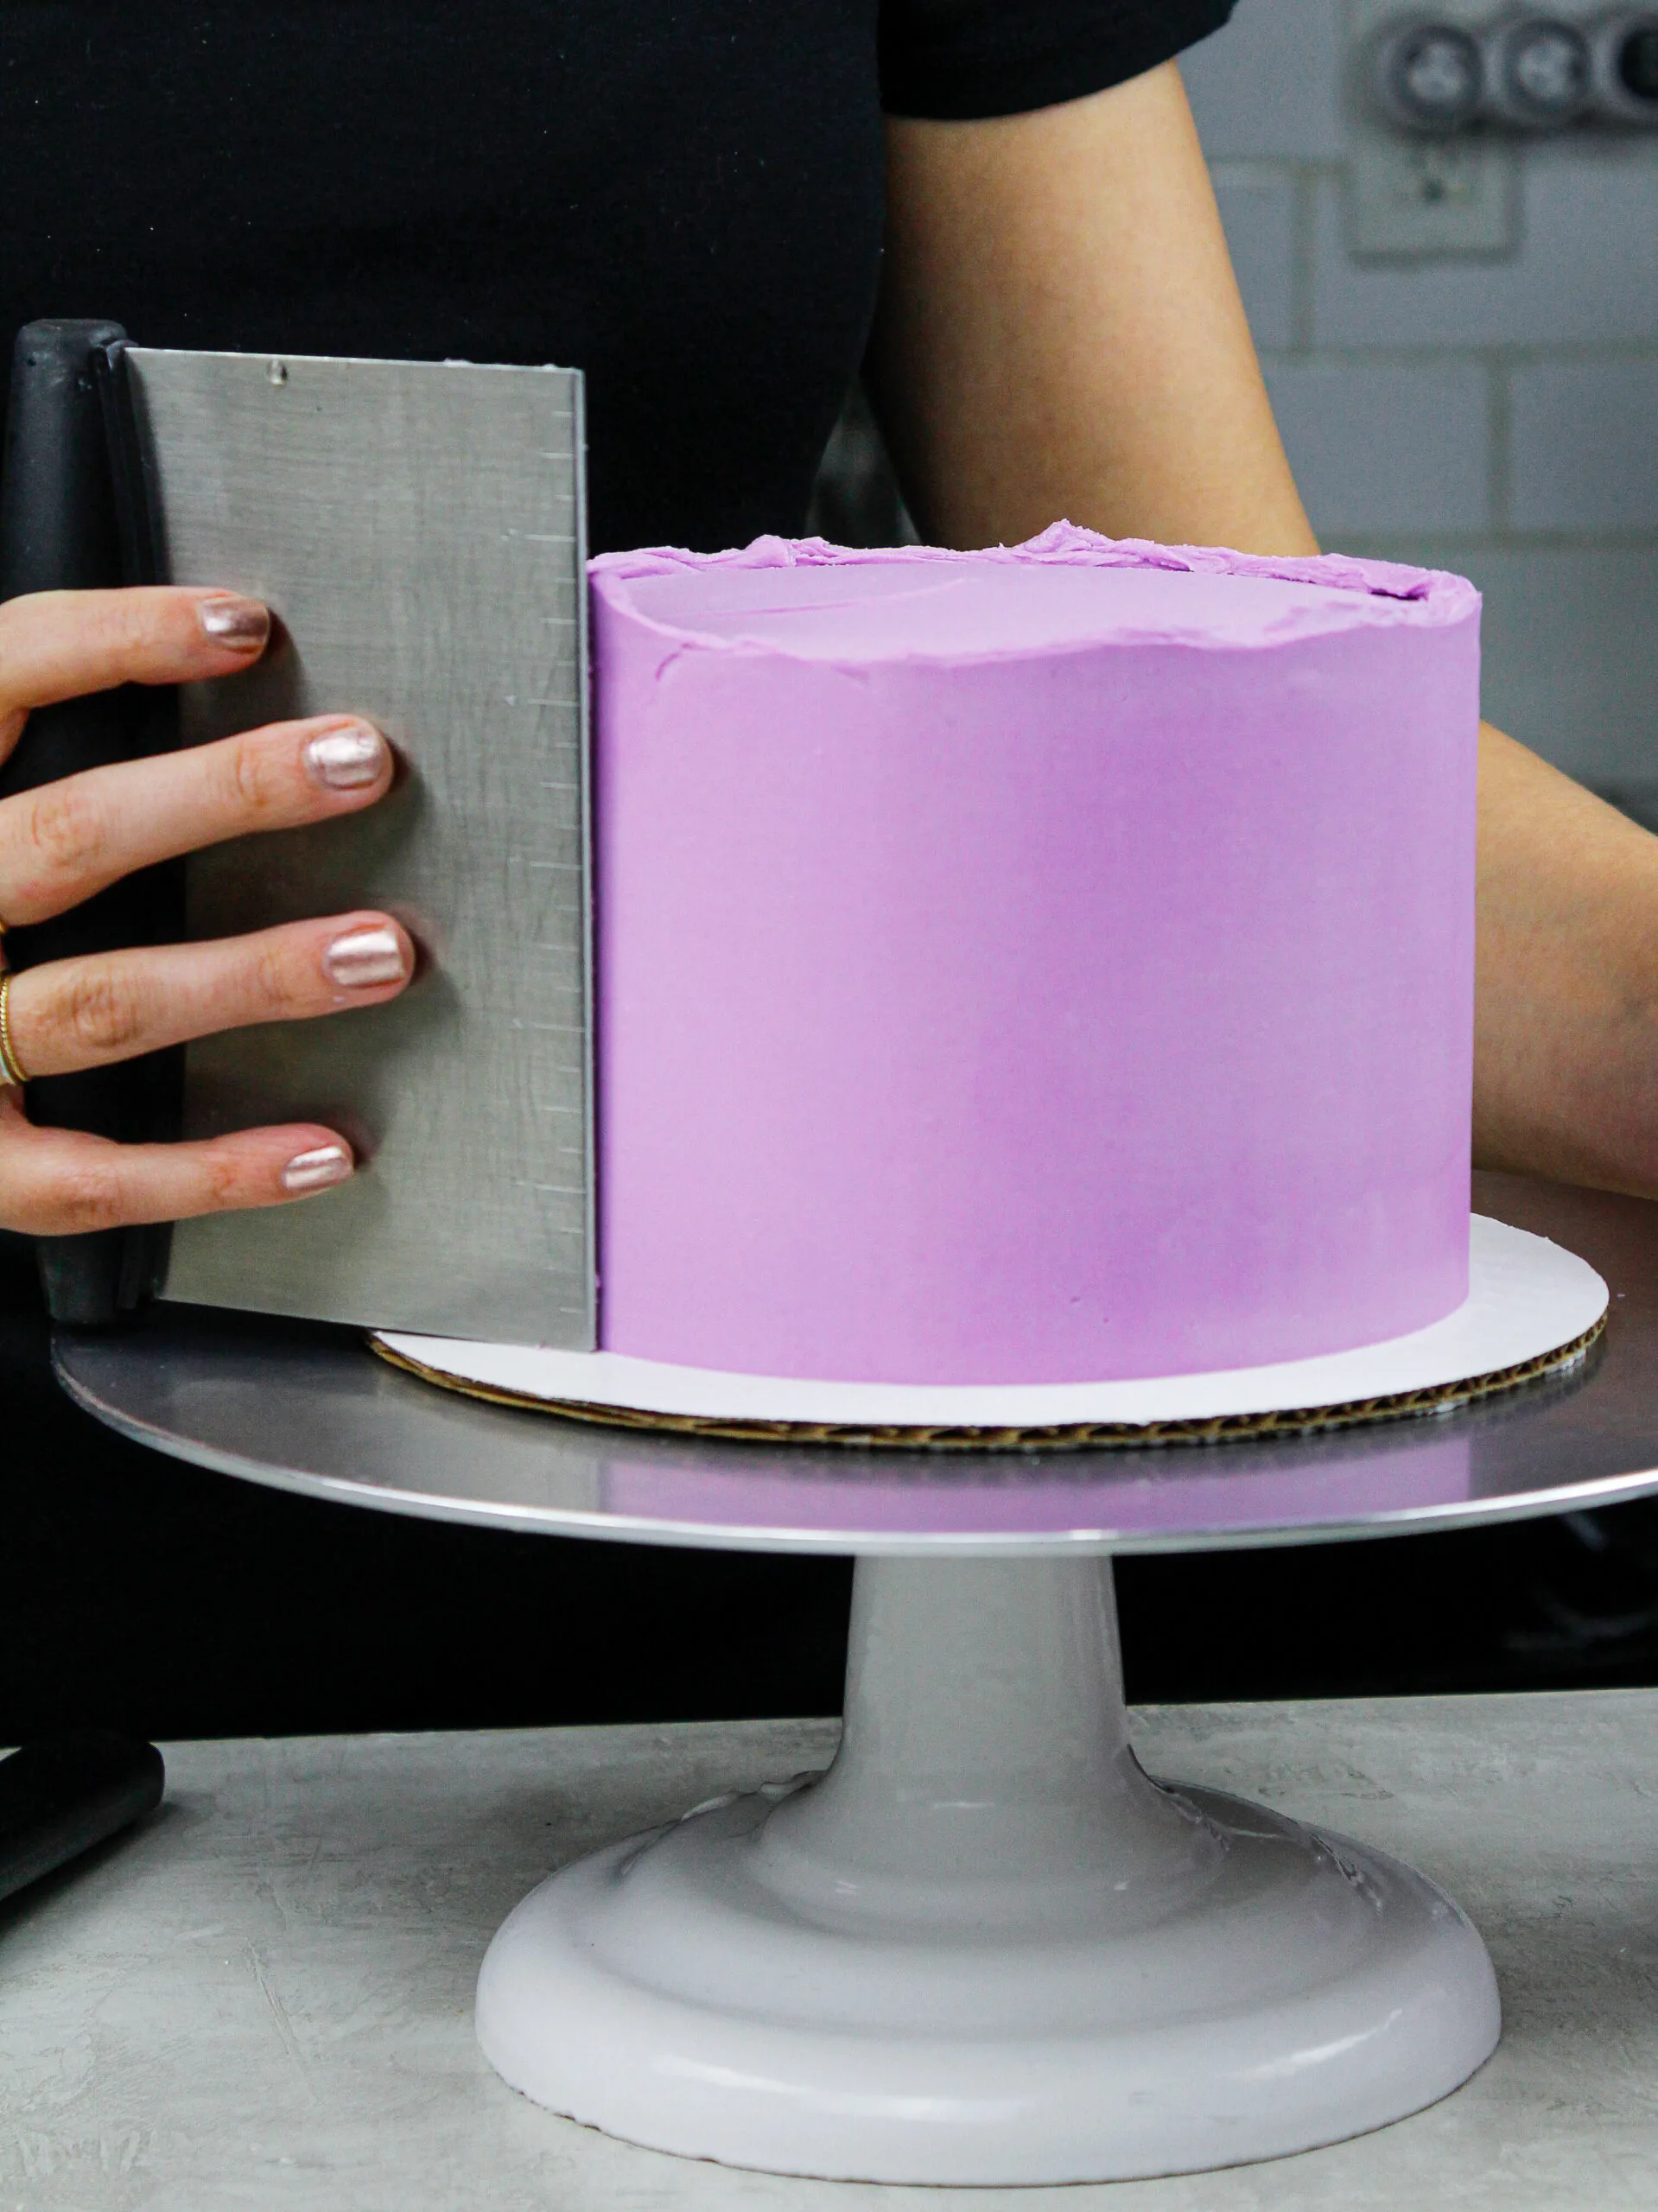
- Apply a thin coat of frosting around the the cake, to fully cover the cake layers. Smooth using a bench scraper, then chill the cake in the fridge (10 minutes) or freezer (5 minutes) until the frosting is firm to the touch.
- Add a second, thicker layer of frosting to the cake, and smooth using a bench scraper.
- Chill in the fridge for at least an hour, then paint using a mixture of gel food coloring and vodka (1 tsp of vodka mixed with 1-2 dros of gel food coloring).
Nutrition Information
Yield
16Serving Size
1Amount Per Serving Calories 411Total Fat 21gSaturated Fat 12gTrans Fat 0gUnsaturated Fat 7gCholesterol 53mgSodium 204mgCarbohydrates 55gNet Carbohydrates 0gFiber 0gSugar 54gSugar Alcohols 0gProtein 2g

Afshan Omar
Sunday 25th of December 2022
Hi there How are you? Thank you so much for your informative site that has so many wonderful teaching tools... I’m Struggling to figure out whether to do a chocolate layered wedding cake with ganache and Swiss meringue buttercream with oil or butter - do you have a suggestion on which one would be better in terms of stacking?
Chelsweets
Sunday 1st of January 2023
Hi Afshan,
Great question! I usually prefer making tiered cakes with butter based cake recipes, because I think they have a better texture for stacking. That's just my preference though, I'm sure an oil based cake recipe would work too. Hope that helps, happy baking!
6 Inch Cake Recipe: Small Vanilla Layer Cake w/ Buttercream
Monday 1st of August 2022
[…] used this small vanilla cake recipe to make my hand painted floral cake. I wanted to create this design on a smaller cake, because I needed a smaller surface […]
Renu Verma
Thursday 28th of January 2021
Awesome work
Ronen Abergel
Friday 8th of January 2021
BRAVO CHELSWEETS!! The cake looks stunning!
Today I received my first newsletter from you, and it was so exciting! I’ve been a HUGE follower of you for three years now, and you continue to AMAZE every time.
Thank you for sharing your beautiful artistry AND doing a great job teaching.
Keep up the fantastic work!
Janet
Thursday 17th of December 2020
I'm an artist and i'm used to graphic drawing and doing acrylic paintings..my youngest asked me if i could "paint" a cake and frankly i had no idea it was possible to paint buttercream..we don't care for fondant. it turned out great with 30mins chill and 10 mins painting..till i got it done.
I don't know if these will work but this is the link for the picture they wanted me to paint.
https://www.facebook.com/photo?fbid=1946999185328885&set=pb.100000564672777.-2207520000
and this is the finished cake..they were thrilled and frankly..i was pleasantly surprised.
https://www.facebook.com/photo?fbid=1946999248662212&set=pb.100000564672777.-2207520000
Thank you so much for sharing this with us!