
A mummy cake has been on my cake to-do list for a couple years now. Every year I’d see a cute mummy decoration at Target, or an adorable mummy costume, and I’d start to daydream.
Unfortunately, I have more cake ideas than there are hours in the day (even with me doing Chelsweets full-time now). Slowly I’ve been working my way through my Halloween cake ideas, and this year I finally got to make a mummy cake!
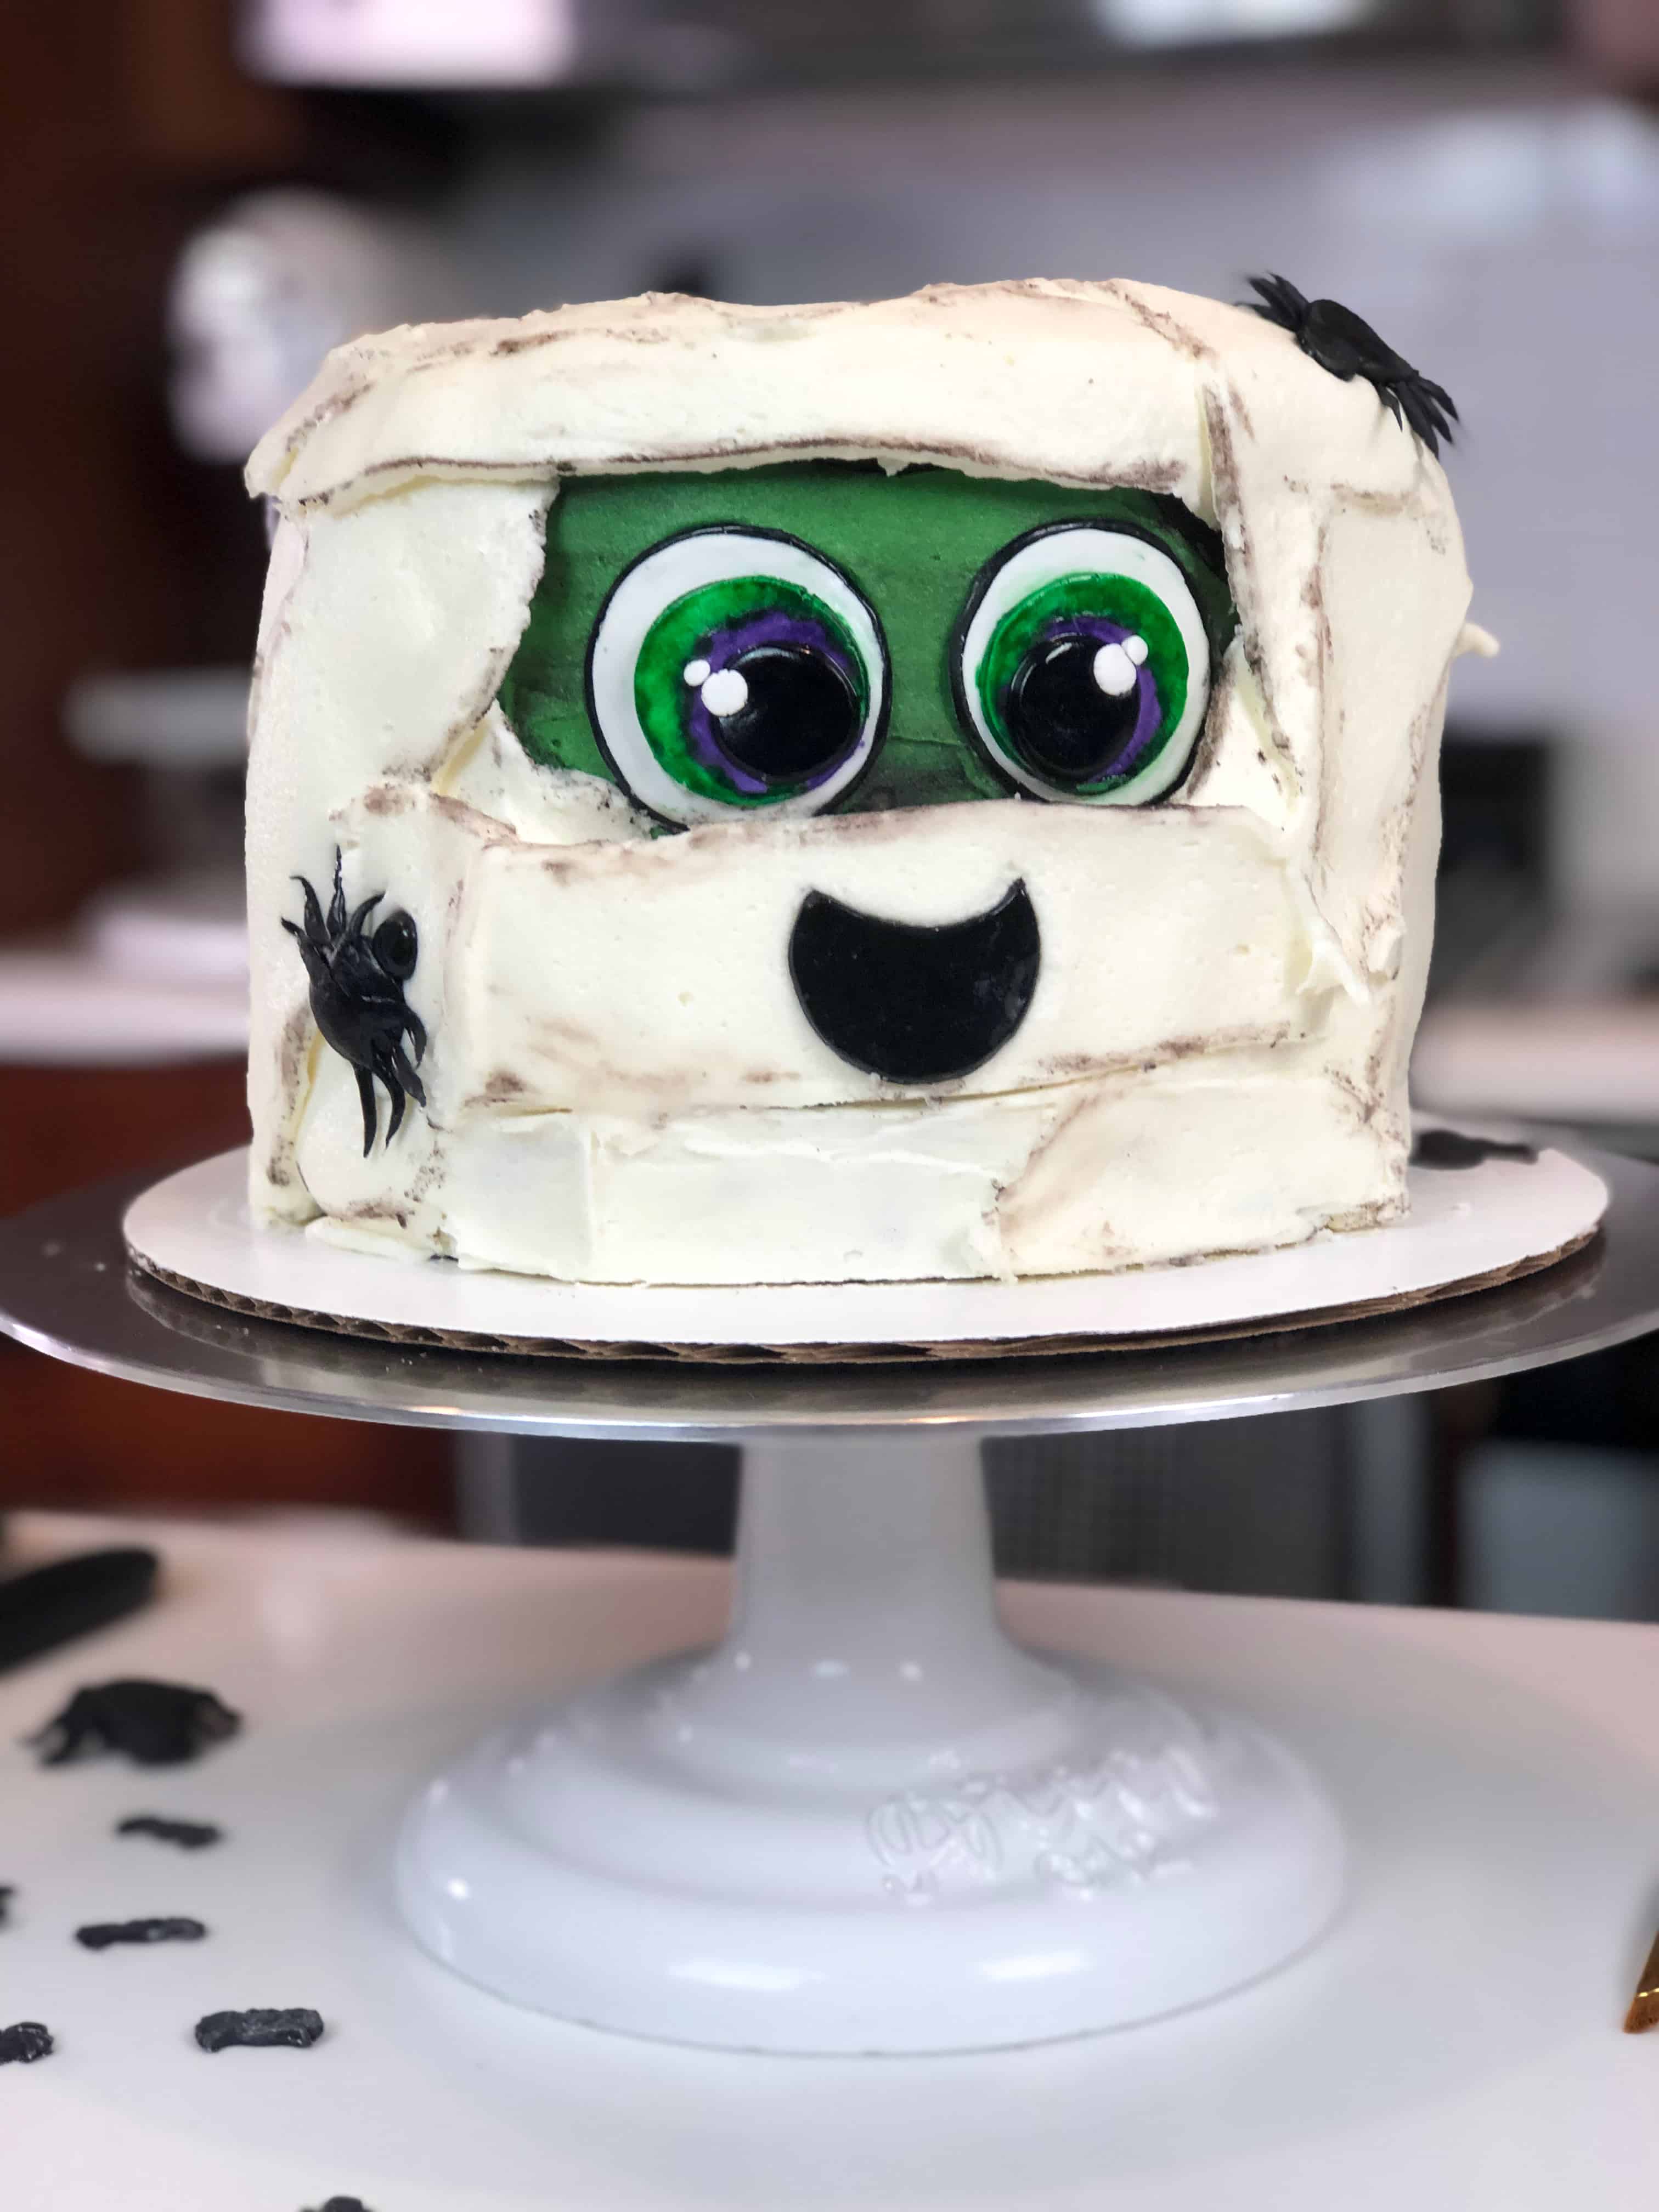
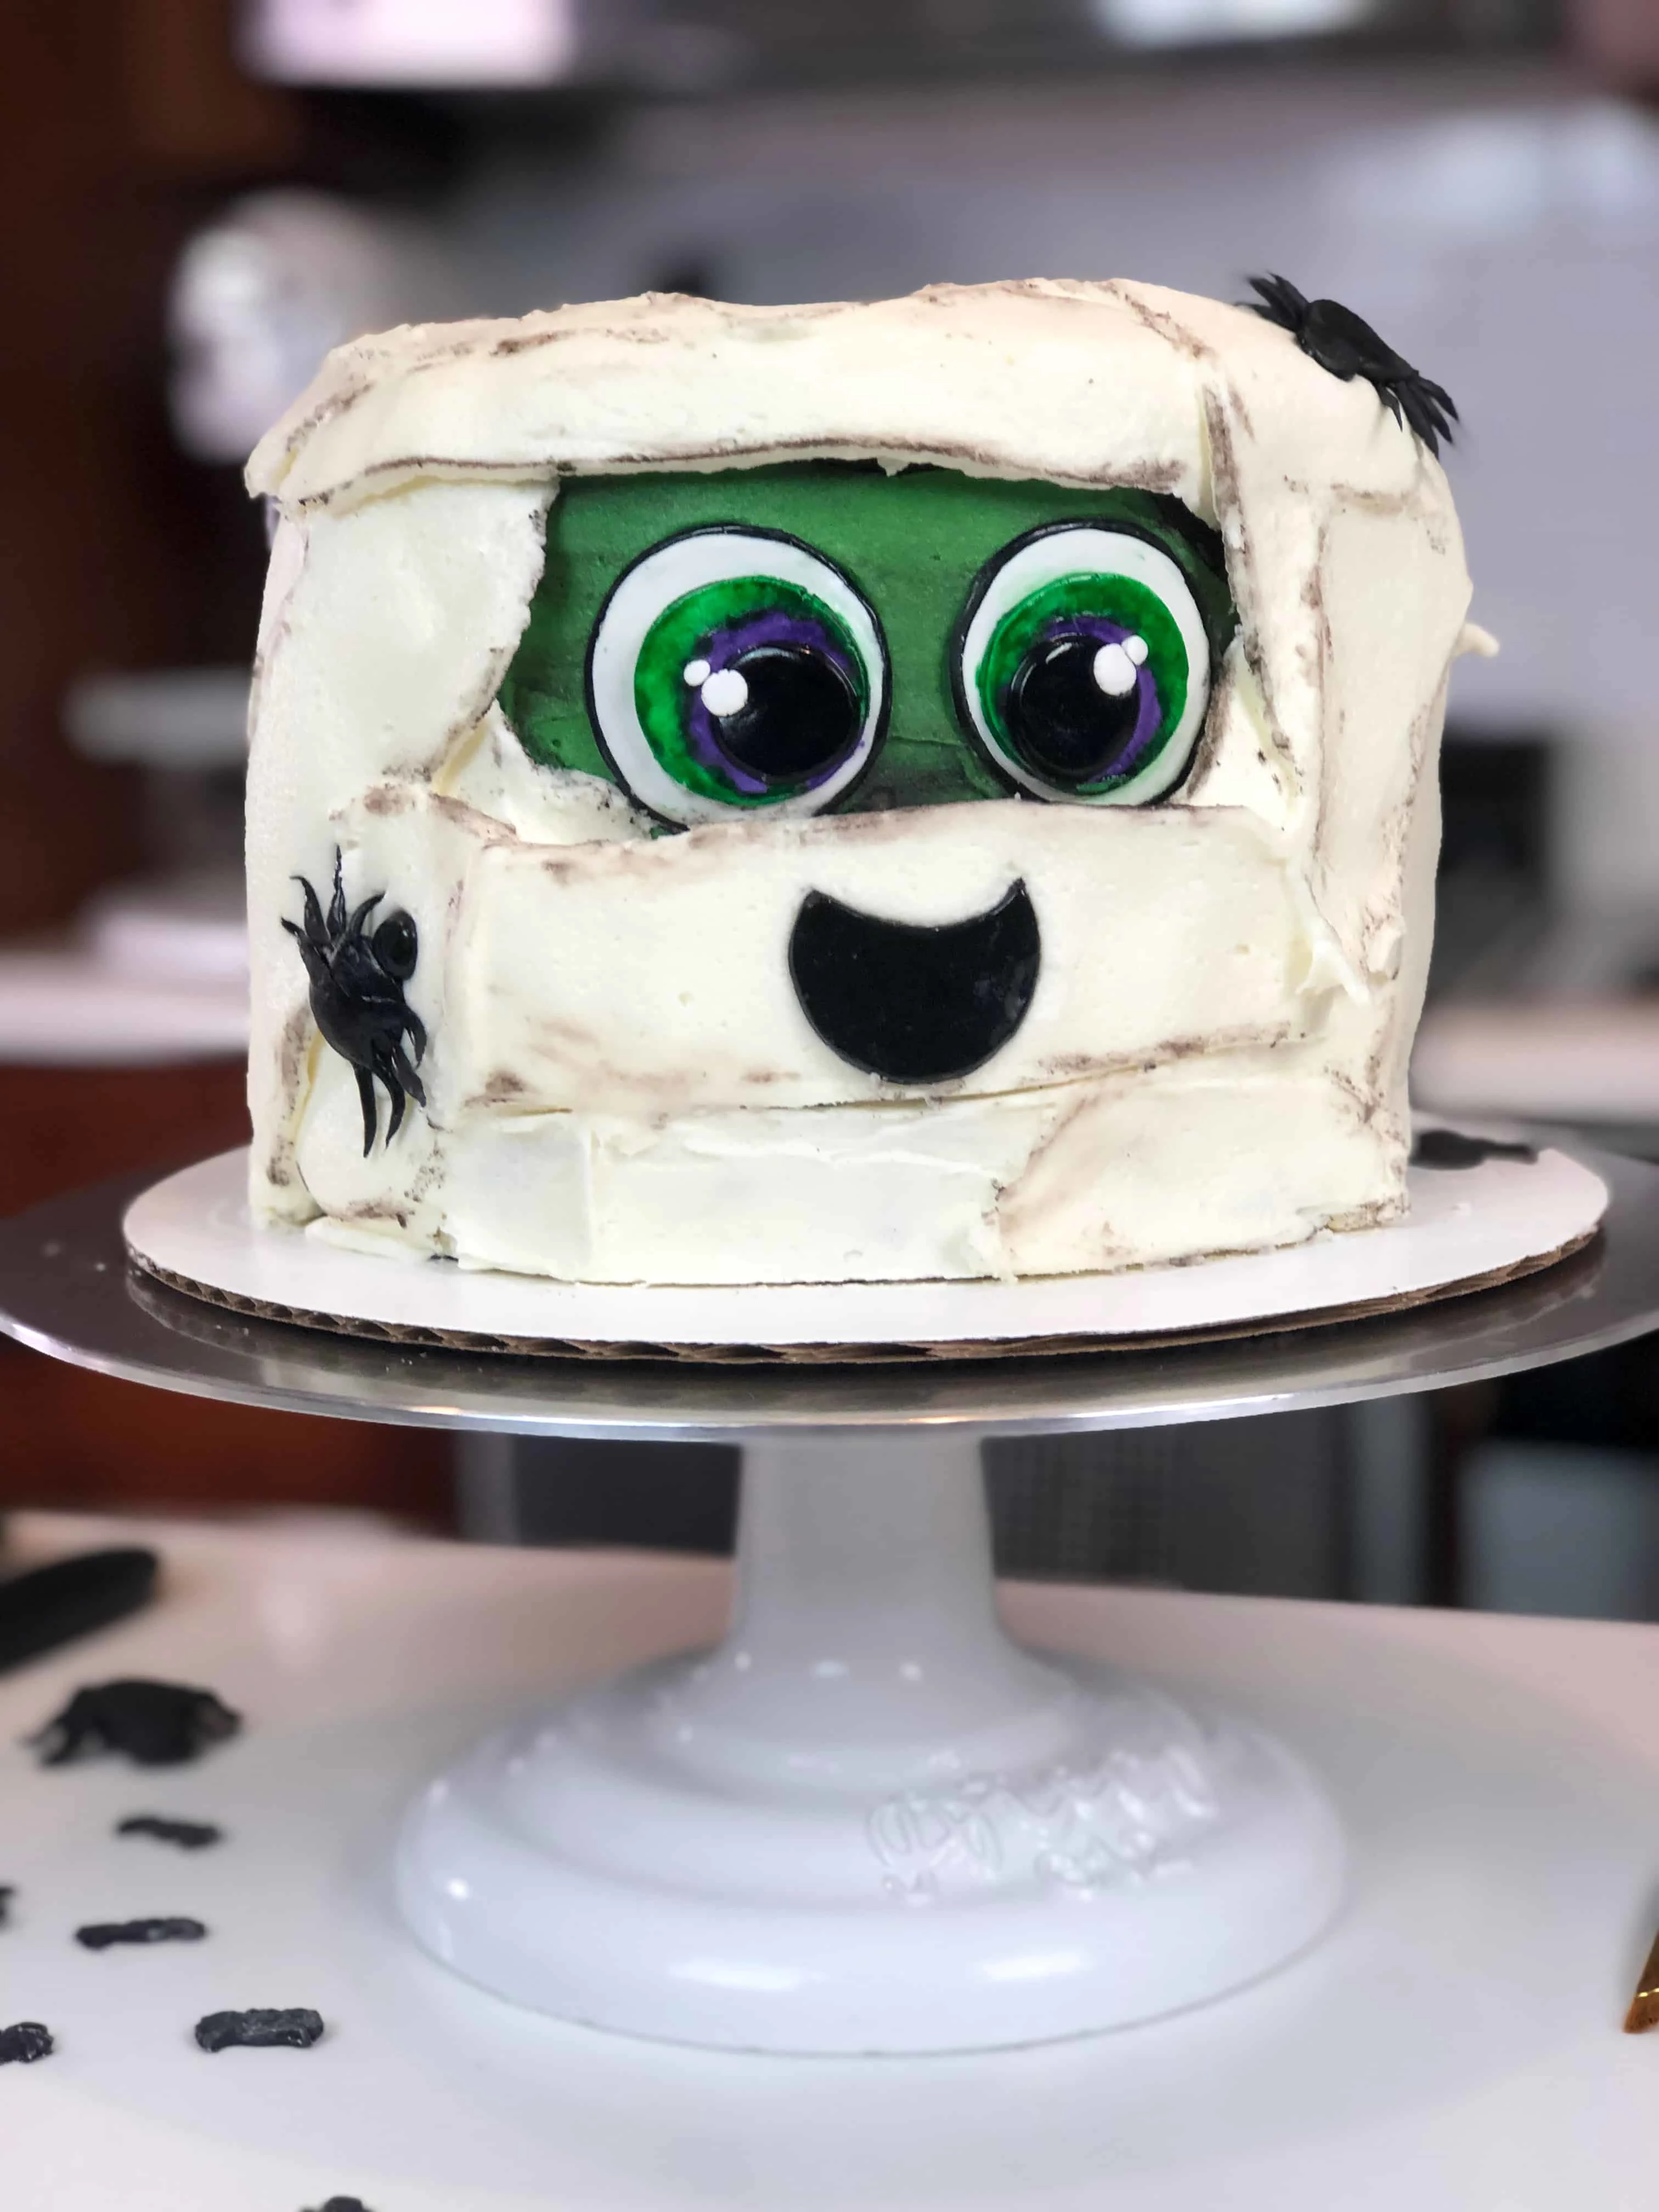
Staying true to my style, I wanted this cake to be made primarily with buttercream, and it needed to be the cute!! I’m happy to report that I believe I accomplished both of these goals 🙂
The Mummy Cake Entrails
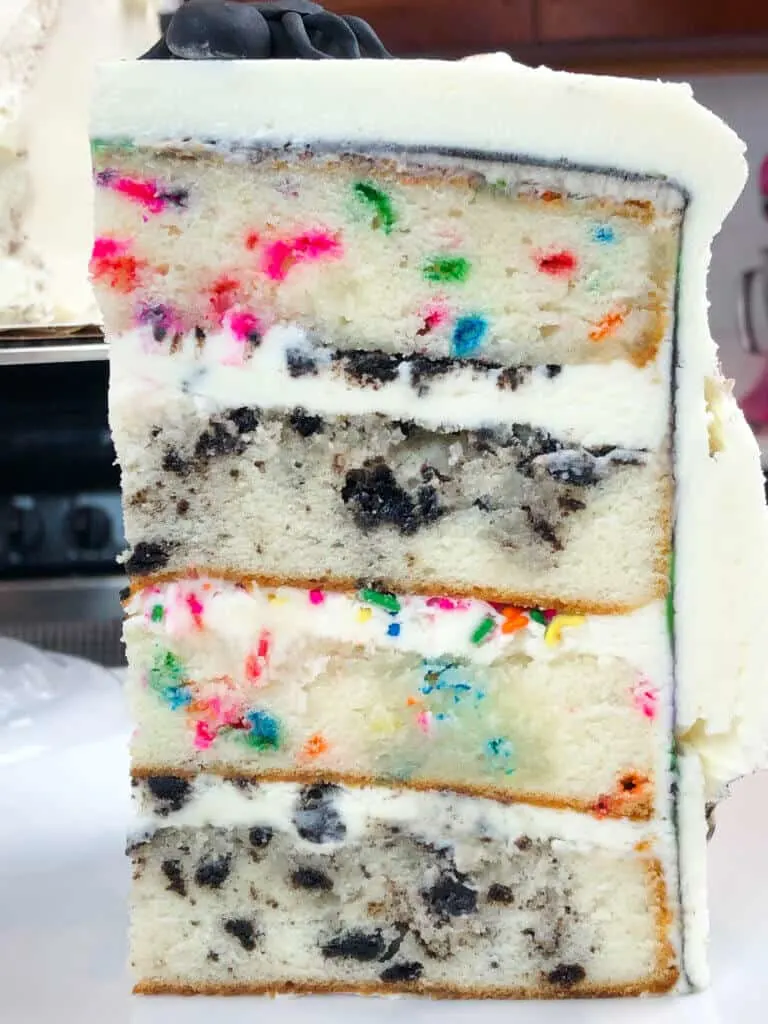
While the word entrails might be too literal, it’s time to talk about the inside of this mummy cake! You can’t blame me for being in the Halloween spirit.
There’s a good story behind the alternating funfetti and oreo cake layers in this mummy cake. I’m making a wedding cake for a good friend this Fall, and I made these cake layers to allow the couple to taste test the flavors they picked for their wedding cake.

Did I mention their wedding is in Chicago, and I live in NYC? To make the process easier, I’m planning to make the cake layers and buttercream ahead of time, here in my kitchen.
I have a commercial kitchen aid, which makes the process of making a wedding cake a lot easier.
However, I have to fly out a week before their wedding! Serendipitously, their wedding is one week after the Chicago marathon!
I signed up to run it before I knew their wedding date. What all of this means is that I’ll have to make and freeze their cake layers 1 1/2 weeks before their wedding.
I let these cake layers sit in my freezer for 2 weeks, to confirm that the taste and texture would not be affected. I’m happy to share that they tasted just as wonderful as if they were fresh out of the oven!
Long story short, never be afraid to make your cake layers ahead of time if you need to! I know it seems creepy, but I promise it doesn’t change the taste of them. It just makes your life easier 🙂
Making This Mummy Cute
I’ve said it before and I’ll say it again, so much a facial expression comes from the eyes! It’s funny, because technically a mummy shouldn’t have eyes…but we’re going to ignore that for the time being.
It’s a bit of extra work, but I love to make my own eyes using a bit of premade fondant. My main tip when doing this is to dust your counter or cutting board with cornstarch. It will prevent the fondant from sticking.
I love using circle cutters in a variety of sizes to make the outline of the eye, the iris, and the pupil. They make it so easy to cut perfect circles, to create these cute, cartoonish eyes.
To give the eyes a bit more life, I painted the iris with a mixture of gel food coloring and vodka. If you don’t want to use vodka or don’t have any clear liquor on hand, you can also mix the food coloring with a clear extract (like lemon and almond).
I keep a pack of paint brushes in my kitchen solely for baking projects! This way I know they stay clean, and that they’re always ready for my next project.
If you don’t have these tools on hand, or don’t have time to make the eyeballs yourself, you can always use big sprinkle eyeballs like these. They’re not as big as the ones I made, but they’ll work in a pinch!


The Mummy’s Wrapping
Now for the finishing touch, the mummy’s wrapping. The key to creating this look is having a wide, flat frosting tip! I found that a Wilton 789 frosting tip was perfect for this look.
This tip uses a TON of frosting, so be sure you place this tip in a large frosting bag. The recipe for this mummy cake makes 1 1/2 batches of my American buttercream, which should be the perfect amount for this decoration.

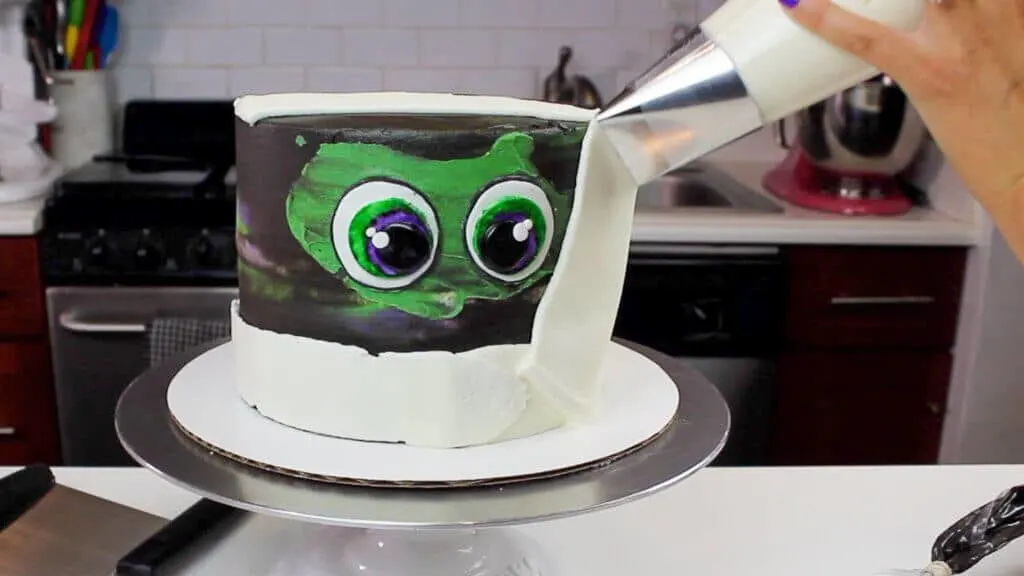
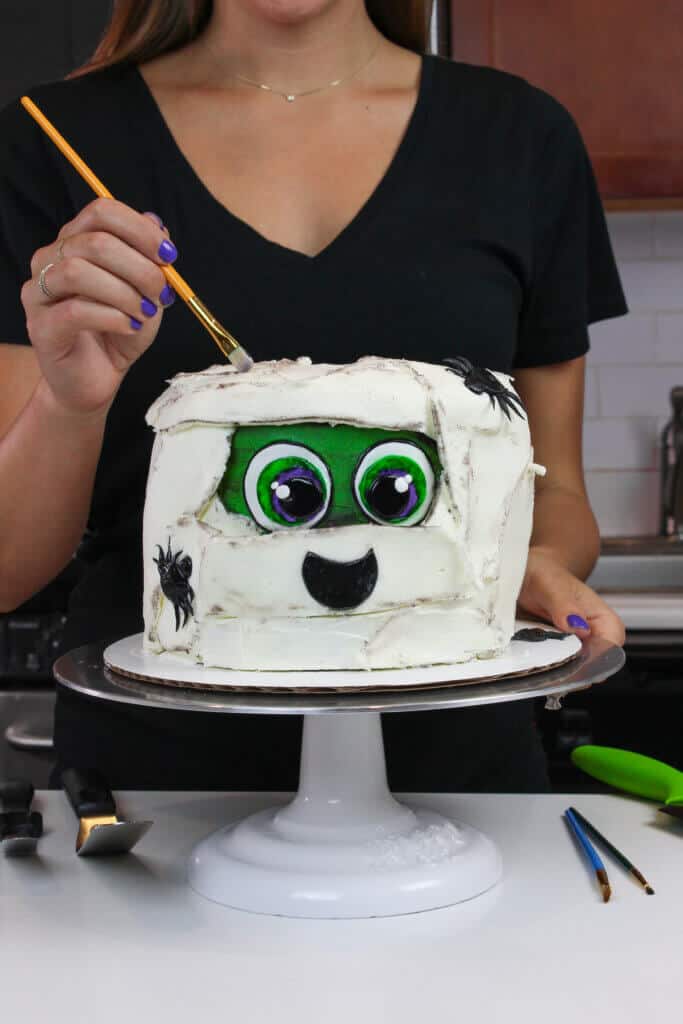
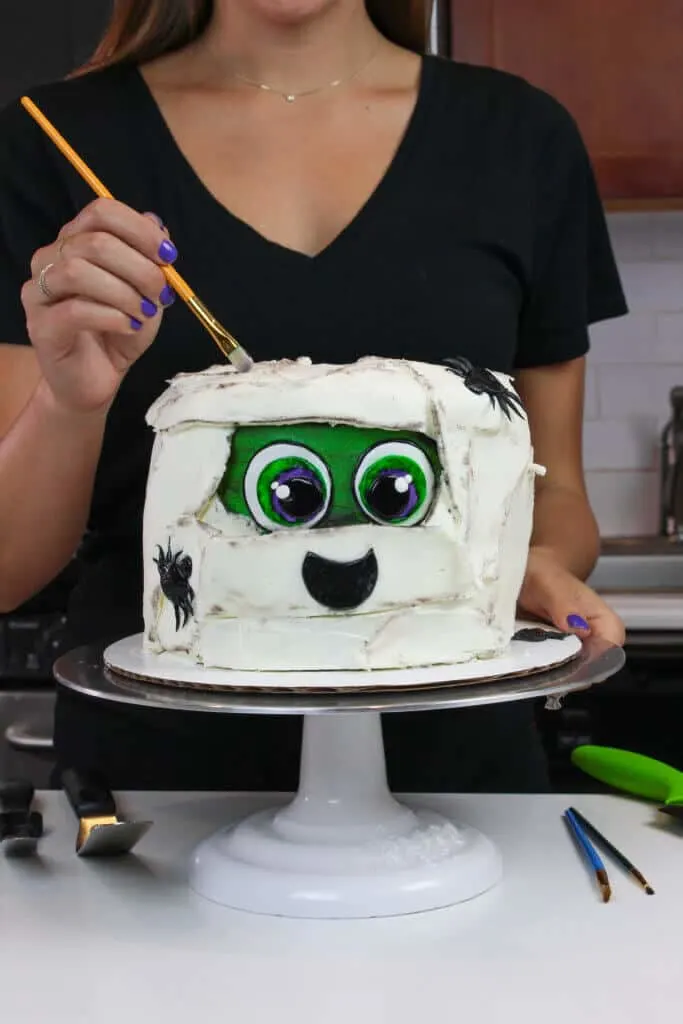
As you pipe frosting onto the cake, be sure to go around the mummy’s eyes, and pipe in a variety of directions. Keep piping until the cake is fully wrapped 🙂
How to Make this Mummy Look Older
Once you’ve piped finished piping, your cake is really starting to look like a mummy!
The only thing is that its wrappings are bright white, and look brand new! He’s supposed to have been sitting around for thousands of years, and his wrapping should reflect this. Where’s the dirt, the dust, the decay?!
I chilled the cake in the freezer for 15 minutes then gently brushed some cocoa powder on to the edges of the firm buttercream.
The gave my mummy an aged look, and made it look a bit more authentic. Or as authentic as a cartoon mummy can get!
Tips for Making this Mummy Cake:
- Use a large, flat frosting tip (like an Ateco 789) to make the mummy’s wrapping
- Color a 1/4 cup of frosting green or black, and spread that around the area you plan to add the mummy’s eyes. It will help them really pop out from under the mummy’s wrappings!
- Use a large, soft paint brush to add cocoa to the chilled cake. This will allow you to gently spread it along the edge of the frosting without smudging the frosting.
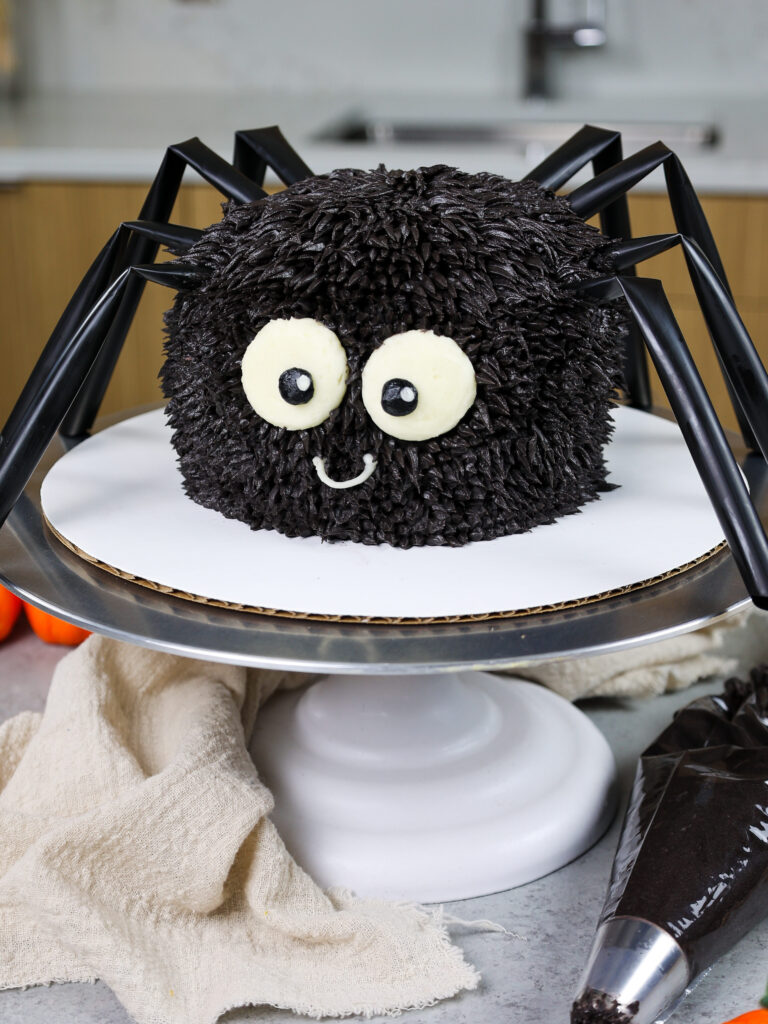
- Add some fondant (I had some leftover black fondant from making the eyes) or toy spiders around the cake, to take it to the next level
- Feel free to get creative with the cake flavor! This cake would be even more spooky with my black velvet cake recipe inside.
Let Me Know What You Think!
If you make this mummy cake, I’d love to hear how it goes! Please leave a rating and comment below.
Or if you share your creations on social media, be sure to tag me @chelsweets!
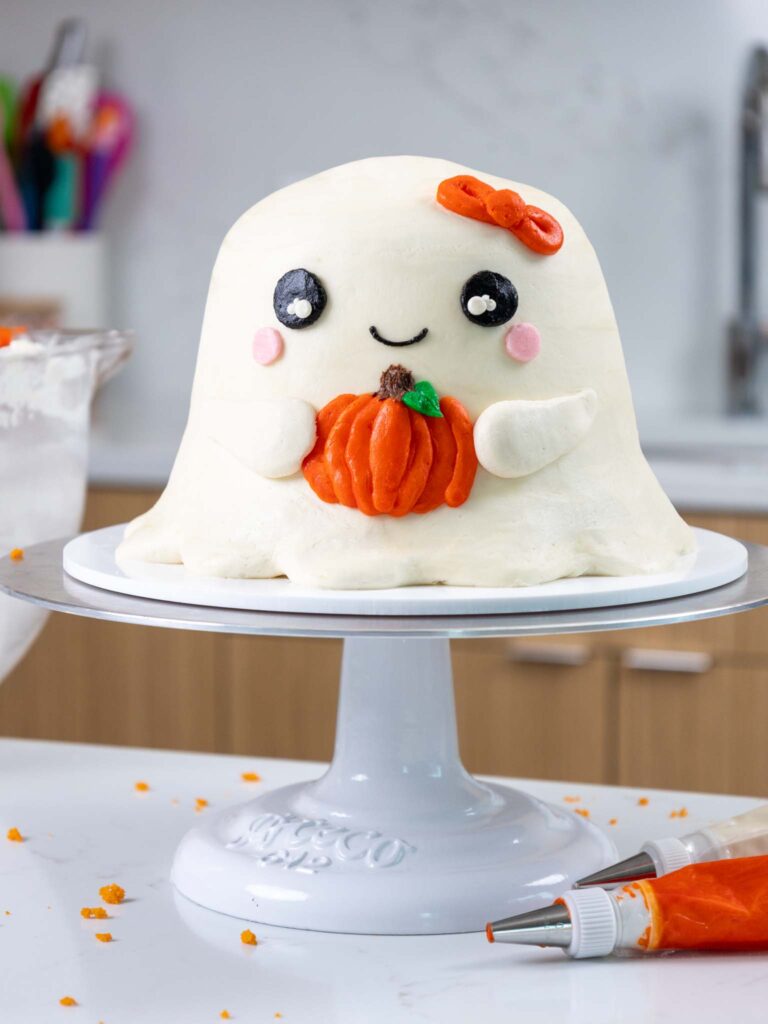
Other Recipes You Might Like:


Mummy Cake
This mummy cake is just as delicious as it is cute! It's made with oreo and funfetti cake layers, and frosted with a homemade vanilla buttercream.
Ingredients
Funfetti Cake
- 3 cup all-purpose flour (375g)
- 3 cups granulated sugar (600g)
- 2 1/2 tsp baking powder (10g)
- 1 tsp salt (6g)
- 1 cup or 2 sticks unsalted butter, room temperature (226g)
- 1 cup pasteurized egg whites from a carton or about 7 egg whites, room temperature (235g)
- 1 1/2 cups buttermilk, room temperature (345g)
- 2 Tbsp vegetable oil (28g)
- 2 tsp vanilla extract (8g)
- 1 1/2 tsp almond extract (6g)
- 1/3 cup of rainbow jimmies or long strand sprinkles (130g)
- 1/3 cup chopped Oreos
Vanilla Buttercream Frosting
- 3 cups unsalted butter, room temperature (678g)
- 1 Tbsp vanilla extract (12g)
- 1 tsp salt (6g)
- 11 cups powdered sugar (1375g)
- 1/3 cup heavy cream or whipping cream, room temperature (75g)
Decorations
- large piping bag
- Wilton 789
- White and black fondant
- Cocoa powder
- Kitchen paint brush
- 2/3 cup additional rainbow sprinkles (for filling)
- 1/3 cup additional crushed Oreos (for filling)
- Green and purple gel coloring
- Vodka or clear extract
Instructions
Funfetti and Oreo Cake Layers:
- Preheat oven to 350°F/175°C. Line four, 7-inch pans or 6-inch pans with parchment rounds and grease with non-stick cooking spray.
- Mix together 3 cups all purpose flour, 3 cups sugar, 2 1/2 tsp baking powder and 1 tsp salt in a stand mixer with a paddle attachment or hand mixer until fully combined.
- Mix in 1 cup of room temperature, unsalted butter slowly into the dry ingredients on a low speed. Continue to mix until no large chunks of butter remain and the mixture looks like moist sand.
- Pour in 1 cup of egg whites and mix on low until just incorporated. Mix in 1 1/2 cups buttermilk in two installments, on a low speed.
- Add in 2 Tbsp of vegetable oil, 2 tsp of vanilla extract, and 1 1/2 tsp of almond extract. Mix on a low speed until fully incorporated.
- Scrape down the sides of the bowl with a rubber spatula, then beat on a medium speed for about 30 seconds to make sure everything is properly mixed together.
- Divide the batter evenly between two bowls. Gently fold 1/3 cup rainbow sprinkles into the batter in one bowl with a rubber spatula, and 1/3 cup crushed Oreos into the other.
- Bake for 34-36 minutes, or until a toothpick comes out clean. Allow the pans to cool for 10 minutes, then run an offset spatula around perimeter of the pan to separate the cake from the pan.
- Place cake layers into the freezer for 45 minutes to accelerate the cooling process. Once the layers are fully cooled, carefully flip the pans and remove the layers from the pans.
- Use a serrated knife to level the tops of the layers once they're fully cooled. If you're making these in advance, wrap and freeze them at this point.
- If you make these cake layers in advance and freeze them, let them thaw for about 20 minutes before making your cake. The cake layers should still be slightly cold to the touch, which will make it easier to assemble your cake.
Vanilla Buttercream Frosting:
- While the cake layers bake and cool, make the vanilla buttercream frosting.
- Beat 3 cups of unsalted butter on a medium speed for 30 seconds with a paddle attachment until smooth.
- Mix in 1 Tbsp of vanilla extract and 1 tsp salt on a low speed.
- Slowly mix in 11 cups of powdered sugar on a low speed. Add 1/3 cup of heavy cream halfway through to make the frosting easier to mix.
- Continue to mix on low speed for a few minutes, until the desired consistency is reached.
- If the frosting seems too thick, add in additional cream (1 Tbsp at a time). If the frosting is too thin, add in more powdered sugar (quarter of a cup at a time).
To Assemble The Cake:
- Stack and frost cake layers on a greaseproof cake board using a dab of frosting to help stick the first cake layer to the board. Start with one of the rainbow sprinkle cake layer, and alternate with oreo cake layers.
- Add an even layer of buttercream between each cake layer and add rainbow sprinkles on top of the buttercream on the sprinkle cake layers. Add crushed Oreos onto the oreo cake layer.
- Spread a thin coat of frosting around the cake to fully cover the cake layers. Smooth using a bench scraper, then chill the cake in the fridge (30 minutes) or freezer (10 minutes) until the frosting is firm to the touch.
- Make fondant eyes using black and white fondant and circle cutters. Mix together a squirt of purple gel food coloring and a 1/2 tsp vodka or clear extract in a small container. Repeat in a separate container with the green gel food coloring. Use these to paint the iris of each eye.
- Cut a small mouth using the black fondant.
- Add the fondant eyes to the cake with a smear of buttercream (I used a bit of green buttercream from another baking project).
- Place the remaining buttercream into a piping bag fit with a Wilton 789 (wide, flat tip), and pipe strips of frosting on the cake and around the eyes. Continue until the cake is covered.
- Press the mouth into the frosting below the eyes.
- Chill the cake in the freezer for 15 minutes, then use a clean, dry paint brush to brush a bit of cocoa powder around the edges of the frosting "wrappings", to make them look aged.
- If desired, add a few fondant spiders around the mummy, then cut in and enjoy!
Notes
One batch of cake batter makes about 2000 grams, so when I'm making a cake with four layers I add 500 grams of batter into each pan.
Mummy Cake Recipe Variations
This recipe can also be used to make a sheet cake! One batch will make 2, 9 inch x 13 inch cake layers that are about 1 inch tall.
Tips for Making the Best Mummy Layer Cake
- Ingredients at room temp mix together better! Set out any cold ingredients ahead of time.
- Properly measure your flour (spoon into the cup measure, then level). Or better yet, use a kitchen scale to measure your dry ingredients.
- Mix the cake batter just until the ingredients are incorporated. This will ensure your cake layers are tender and fluffy.
- Use a scale to weigh your cake pans as you fill them. It will make your cake layers bake to the same height and bake more evenly.
- Bang your cake pans on the counter before putting it in the oven. This brings any big air bubbles that are trapped in the batter to the surface.
- Level your room temperature or thawed cake layers with a serrated knife to make them easier to stack.
- Chill your cake layers in the freezer for about 20 minutes before assembling the cake. It makes it so much easier to stack and frost them!
Making This Mummy Cake in Advance & Storage Tips
Make your cake layers in advance and freeze them. It breaks the process up and makes it more approachable.
Make your frosting ahead of time too or save any leftover frosting! It can be stored in an airtight container in the fridge for up to a month, or in the freezer for up to 3 months. Be sure to give it a good stir once it thaws to get the consistency nice and smooth again.
A frosted cake can last in the fridge for up to a week, or in the freezer for up to a month. The buttercream locks in all the moisture, keeping the cake fresh and delicious!
If you cut into the cake and have leftovers, use any remaining frosting to cover the cut section to keep it moist and store in the fridge for up to a week.
Nutrition Information
Yield
24Serving Size
1Amount Per Serving Calories 735Total Fat 37gSaturated Fat 21gTrans Fat 0gUnsaturated Fat 14gCholesterol 87mgSodium 331mgCarbohydrates 98gFiber 1gSugar 82gProtein 5g
Katie Daugherty
Wednesday 30th of October 2019
Your layers look very moist, almost wet in the pictures. Did you use any simple syrup on the layers before you stacked them? I’ve frozen your recipes for 1-2 weeks before and they always taste great once they’ve returned to room temp. Your recipes have been a hit with my friends and family! I love watching and reading your tutorials!
Sarah
Tuesday 22nd of October 2019
Hi I love these flavors and it’s so cute! Can I halve the recipe to make 2 6-inch cakes instead?
Vanda Aguiar
Monday 21st of October 2019
I loved the idea, and what an easy and effective way to "wrap up" a cake. However I think I would not have put the mouth on it.