
When I think about a chocolate layer cake, I want it to be moist. I want them to be packed with chocolatey flavor and to have a soft, tender texture.
The baker in me also wants the cake layers to have structure, so that they don’t fall apart as you try to frost and stack them.
I also wanted a chocolate cake recipe that could be carved for sculpted cakes!
The Perfect Chocolate Layer Cake Recipe
That’s how this recipe came to be. I had been playing around with different chocolate cake recipes for years, and they all were delicious.
Each recipe had some of these attributes, but none of them had it all.
Was it greedy to demand so many things from one chocolate cake recipe?? No. We deserve it!
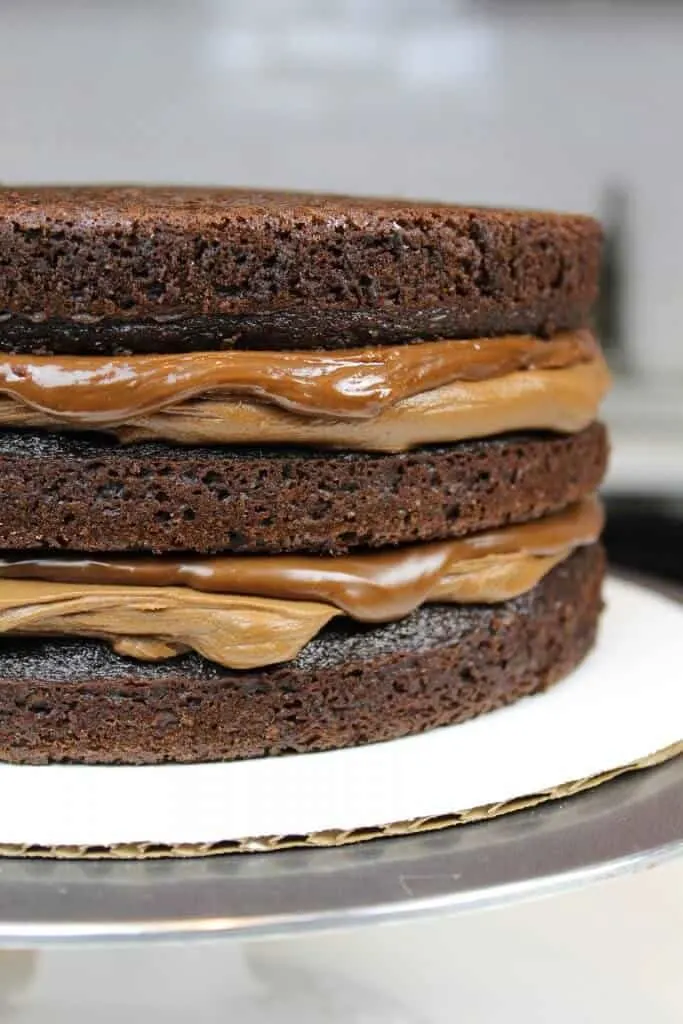
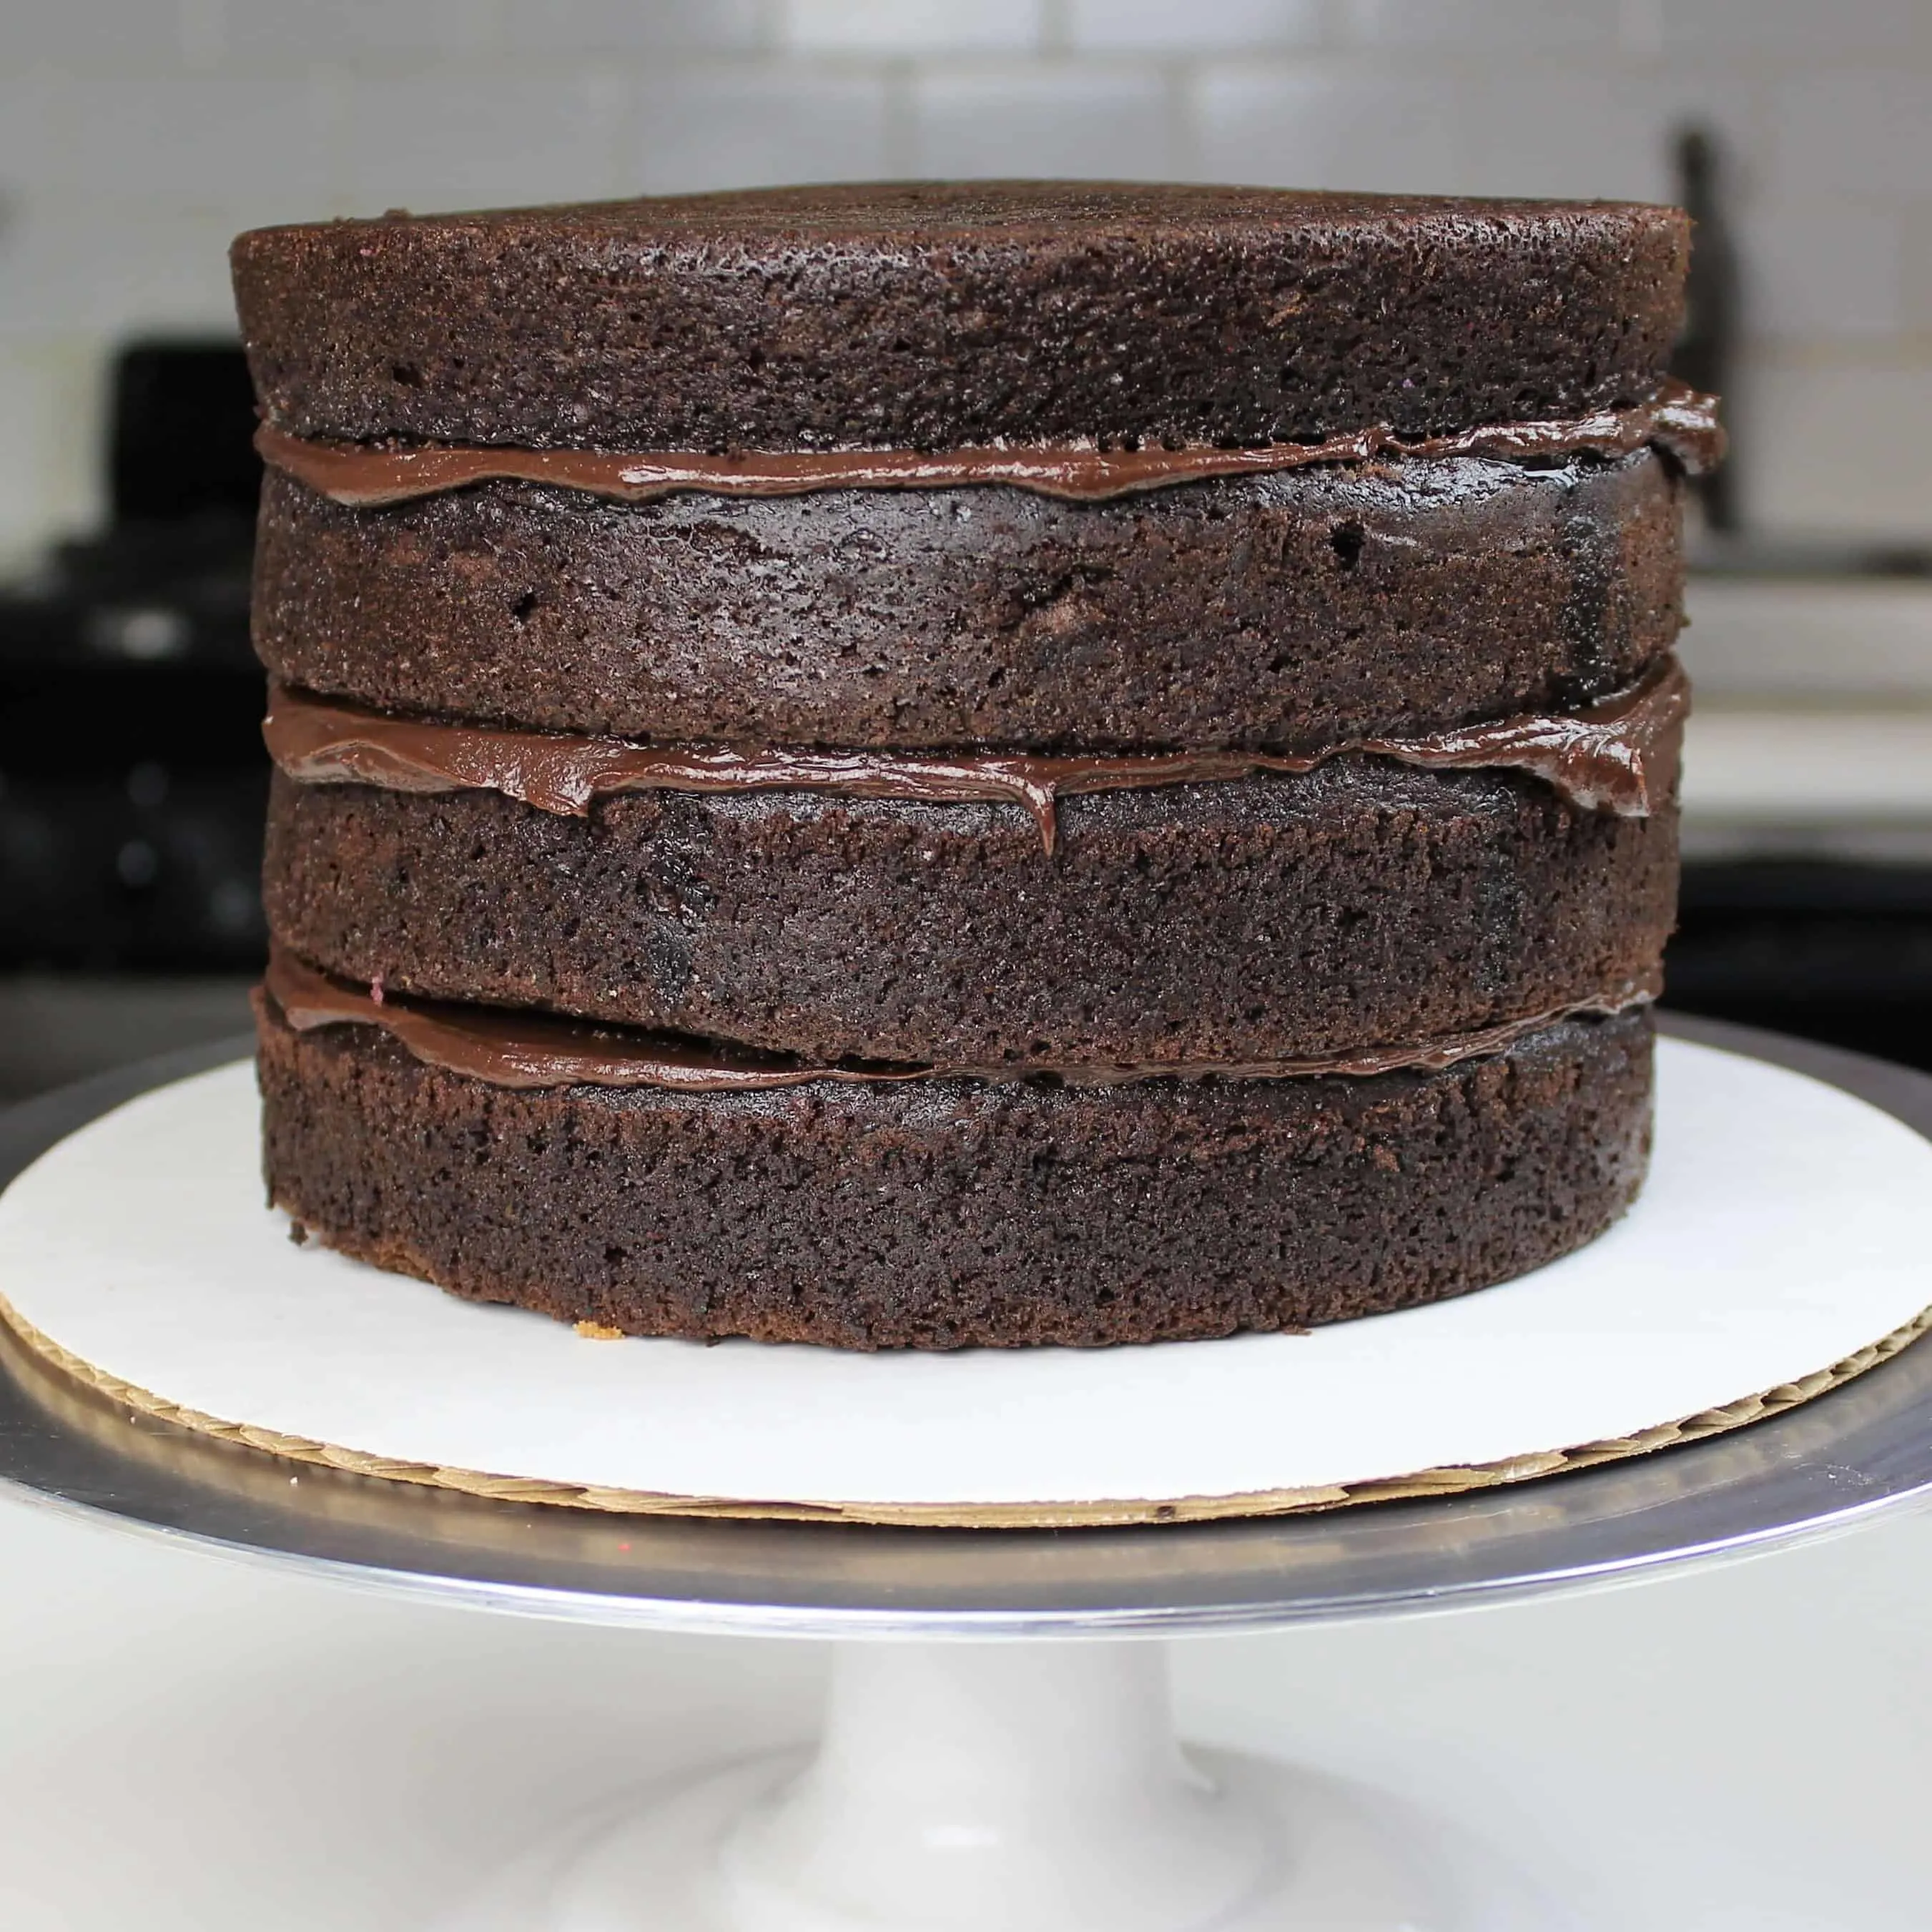
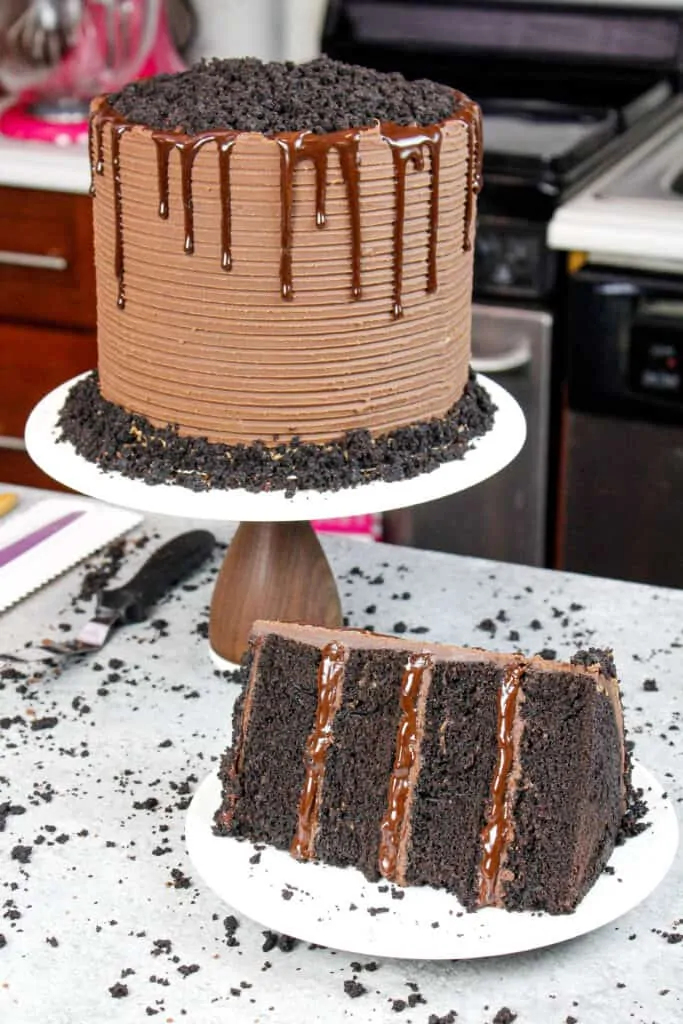
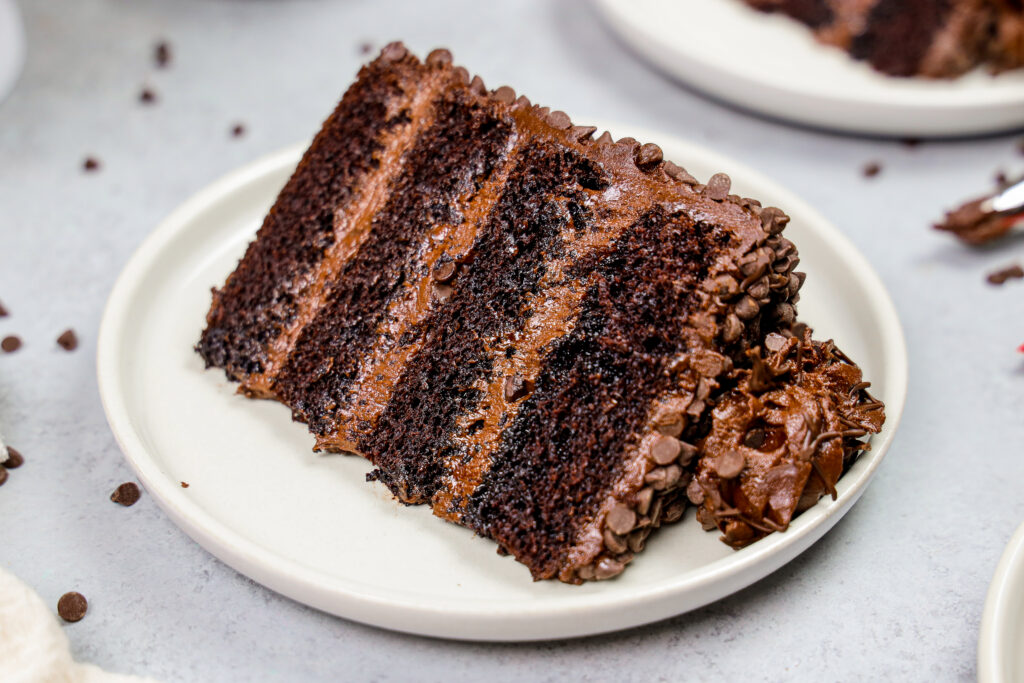
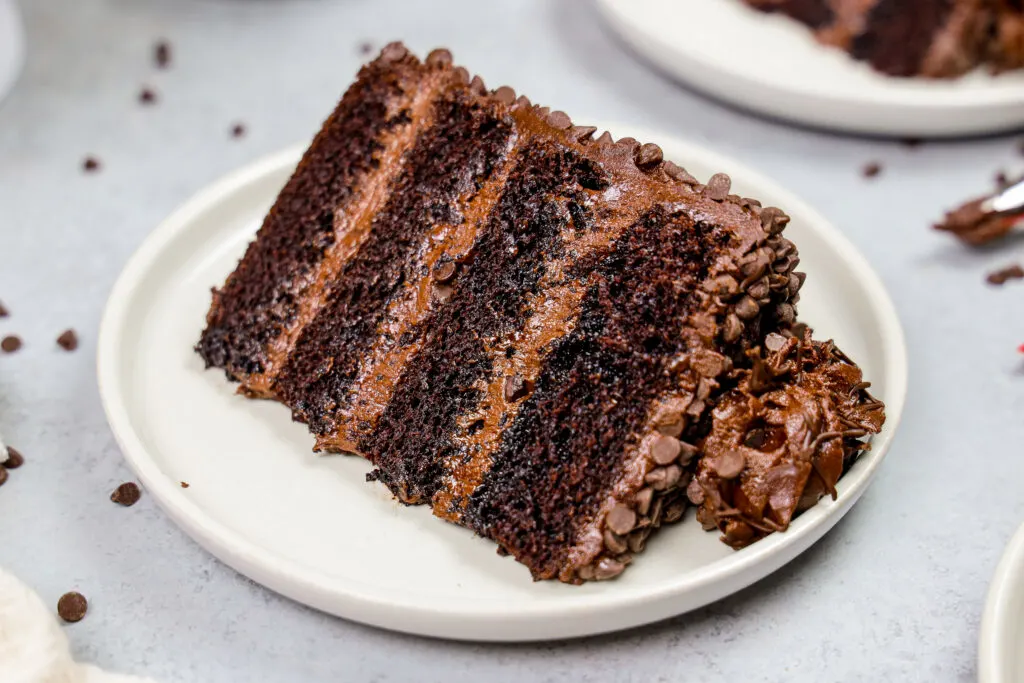
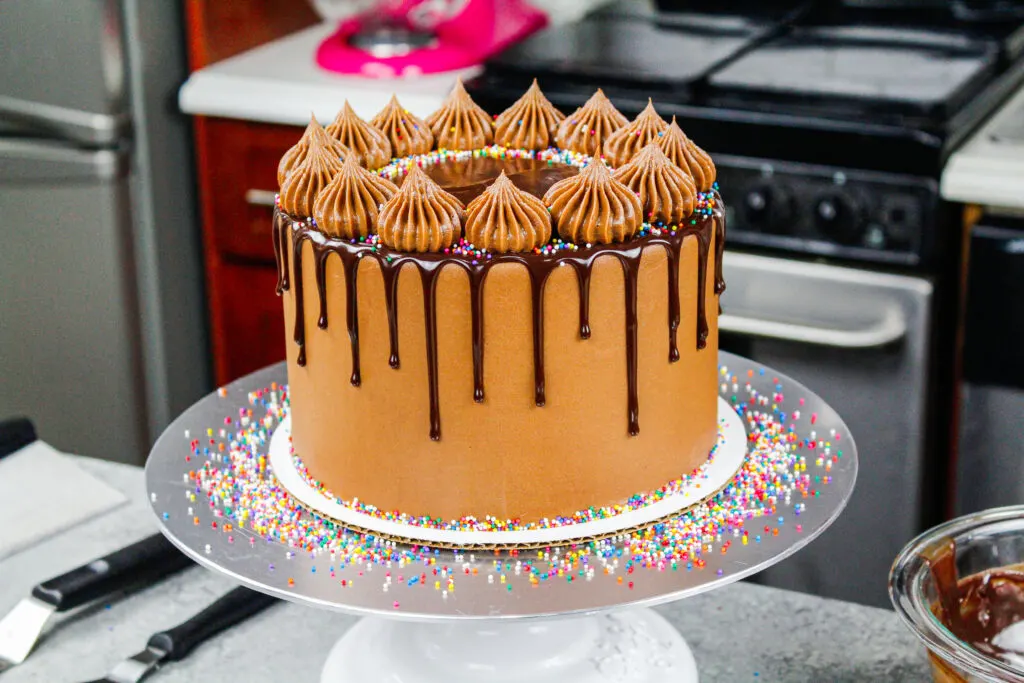
If we’re going to take the time to make a cake recipe from scratch, we deserve to have cake layers that are moist and keep their shape (as seen below).

My First Chocolate Cake Recipe
Speaking of my past chocolate cake recipes, I’m not saying they’re not great in their own way. The first chocolate cake recipe I really fell for was my moist chocolate cake recipe.
It is incredibly soft and fluffy, and I love the way it tastes!! It’s a great recipe for new bakers and is really easy to make.
My moist chocolate cake recipe actually can be made in one bowl AND you don’t need an electric mixer!! Talk about the perfect starter recipe, right?

The only downside is that it isn’t the easiest to stack and frost with perfectly smooth sides!
When I was first getting into baking, taste was my #1 priority, so this didn’t bother me much.
My Chocolate Butter Cake Recipe
As I became more interested in cake decoration, I was obsessed with frosting cakes with smooth sides.
It was so much easier to frost cake layers that had a bit more structure, like my favorite vanilla layer cake recipe.
I fell in love with the strength of the layers, and how well they help up while being frosted.
I altered the recipe to a make a chocolate version, and used this as my chocolate layer cake recipe for a while.

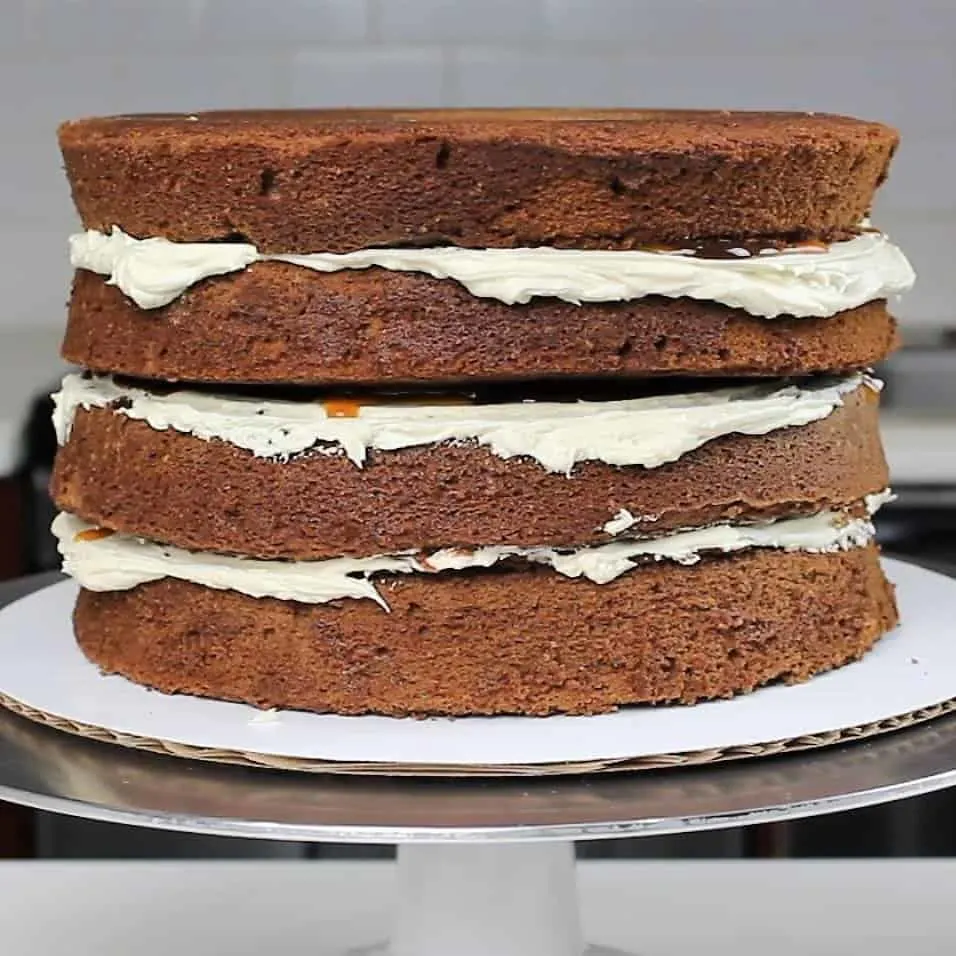
The only downside is that I like to trim my layers to remove the caramelization on the sides.
This means an extra step in the process, and I wasn’t completely satisfied with the texture of the layers.
Classic Chocolate Sponge Cake Recipe
This led me to continue to try out new chocolate cake recipes, and experiment. I really loved using Yolanda Gampp’s chocolate sponge cake recipe, but didn’t like that they baked with such huge domes!
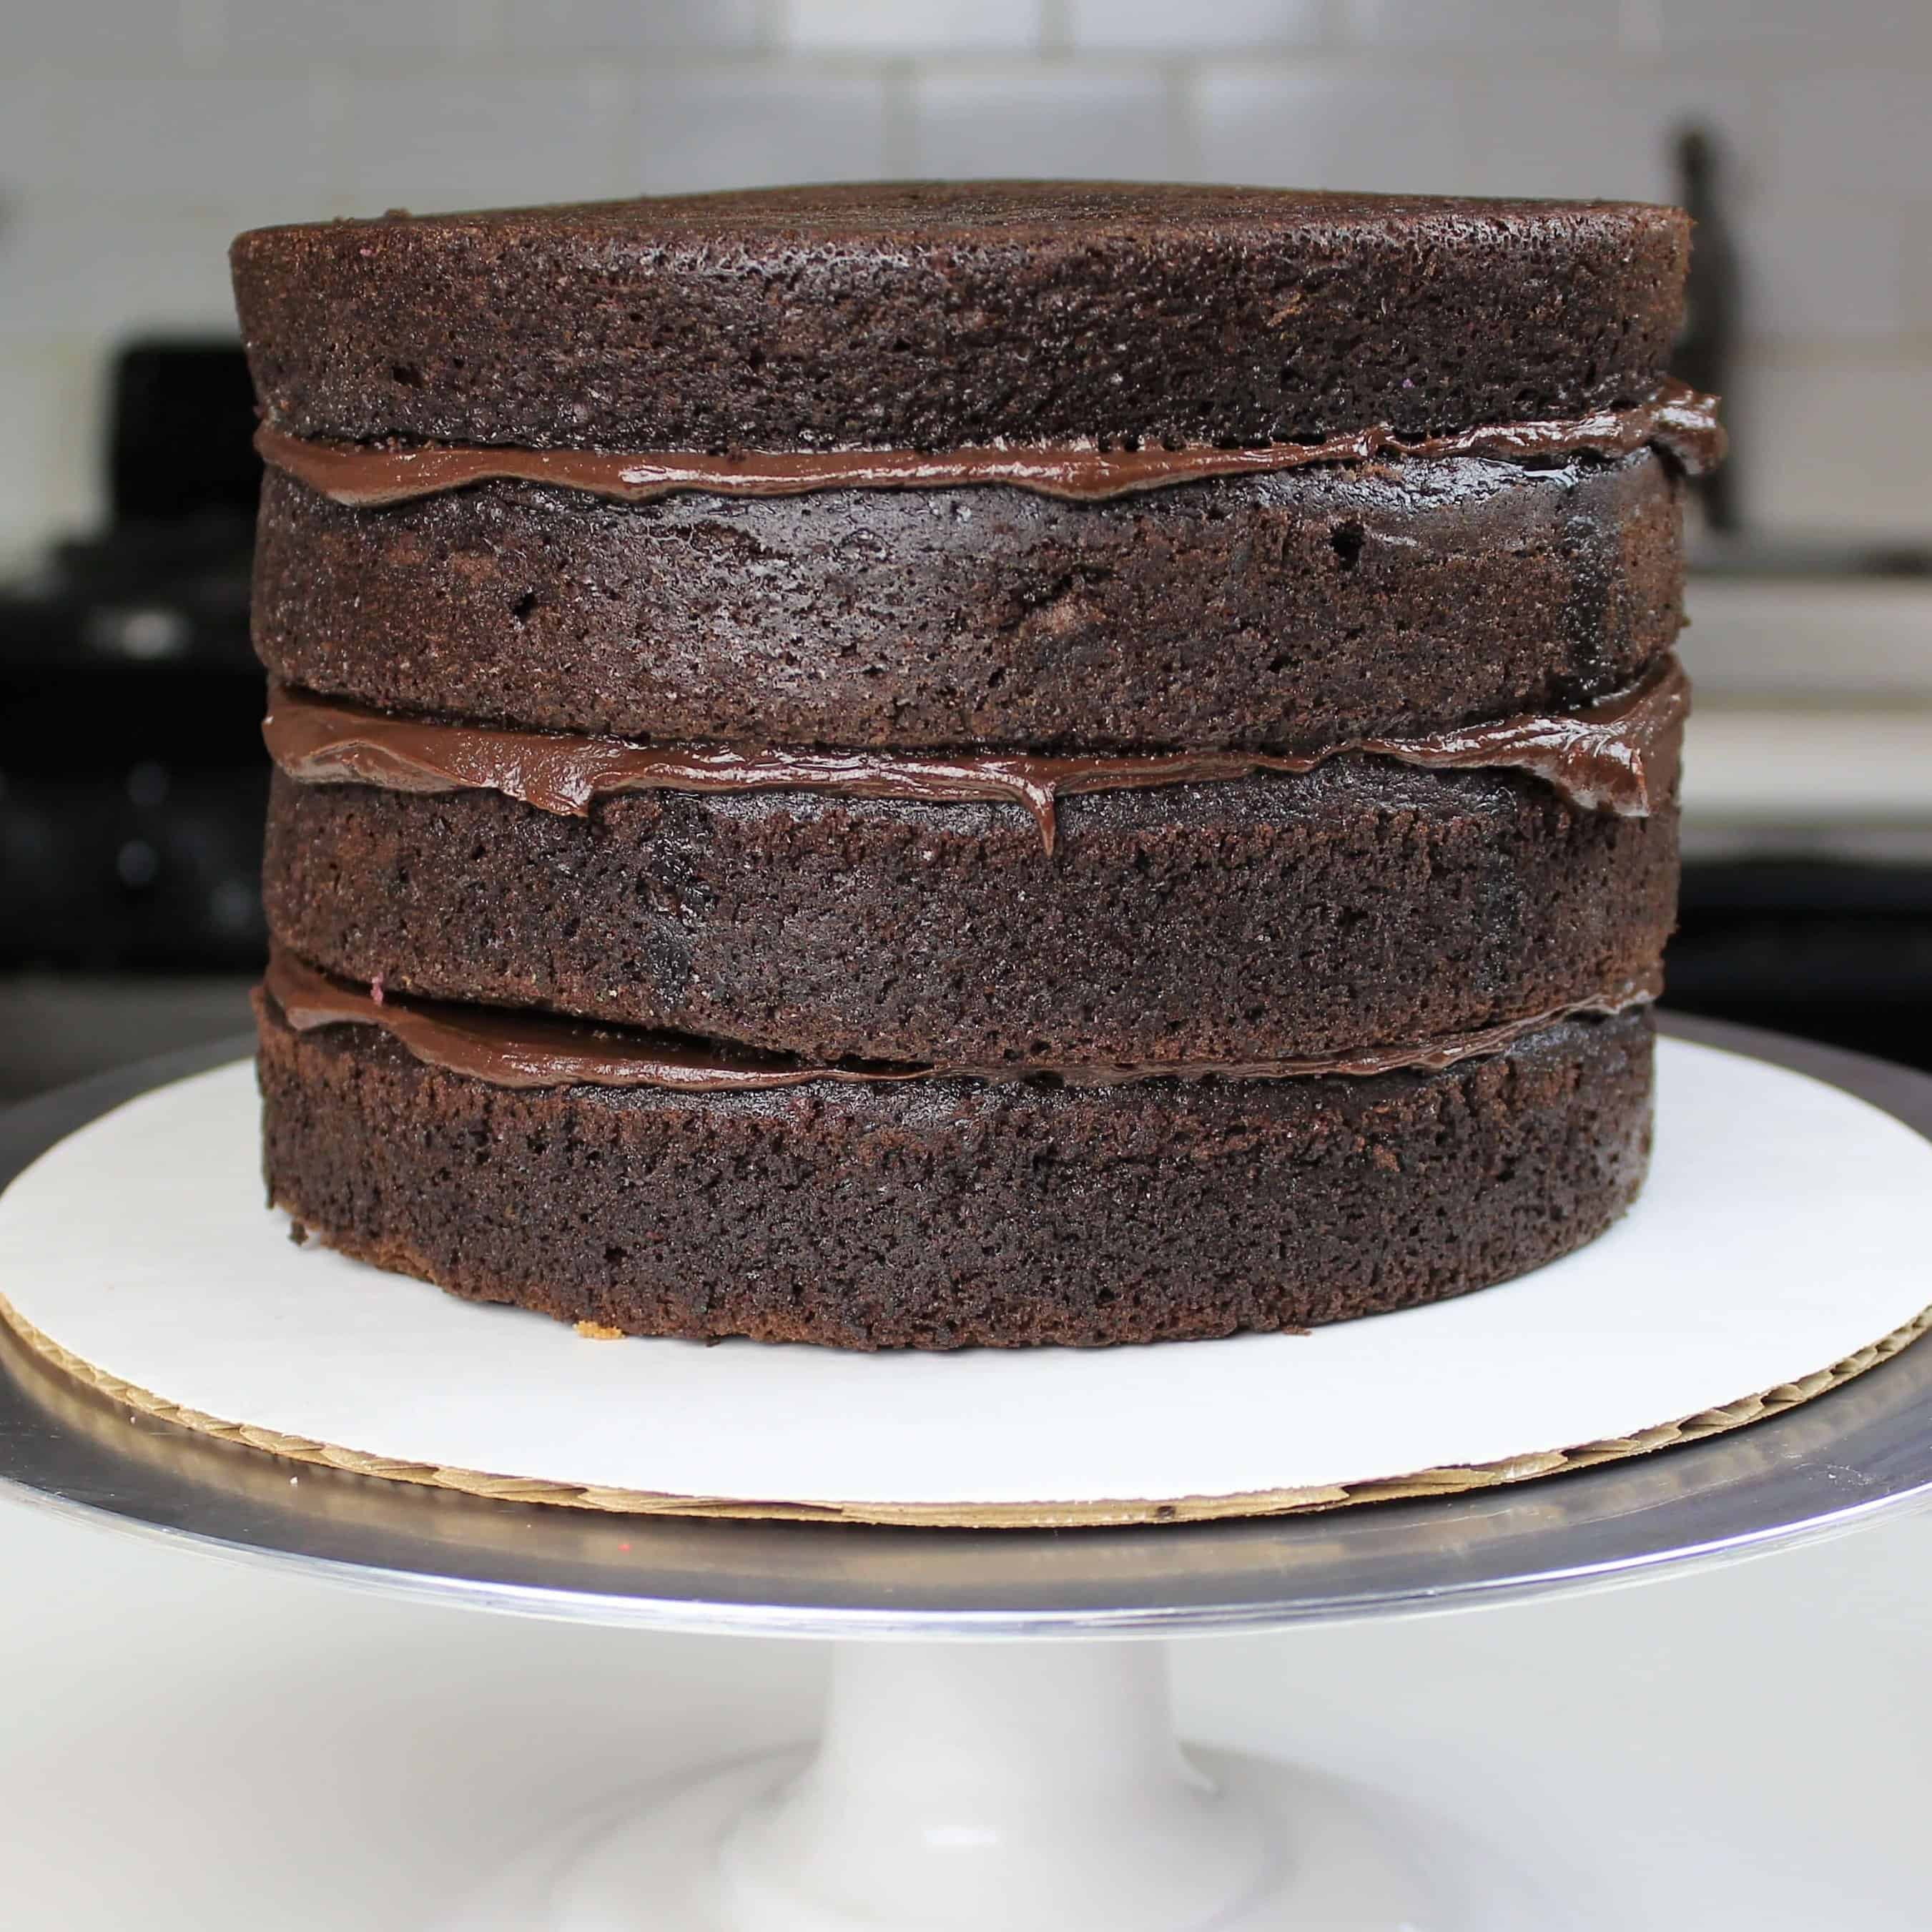
I felt like i was cutting off 2/3 of each layer when I leveled them. However, the layers tasted great with simple syrup, and had great structure.
My Favorite Chocolate Layer Cake Recipe
I used Yolanda’s recipe as the starting point, then combined my favorite elements from all my past chocolate cake recipes.
The other element I really wanted to change was the size of the domes on top of each cake layer.
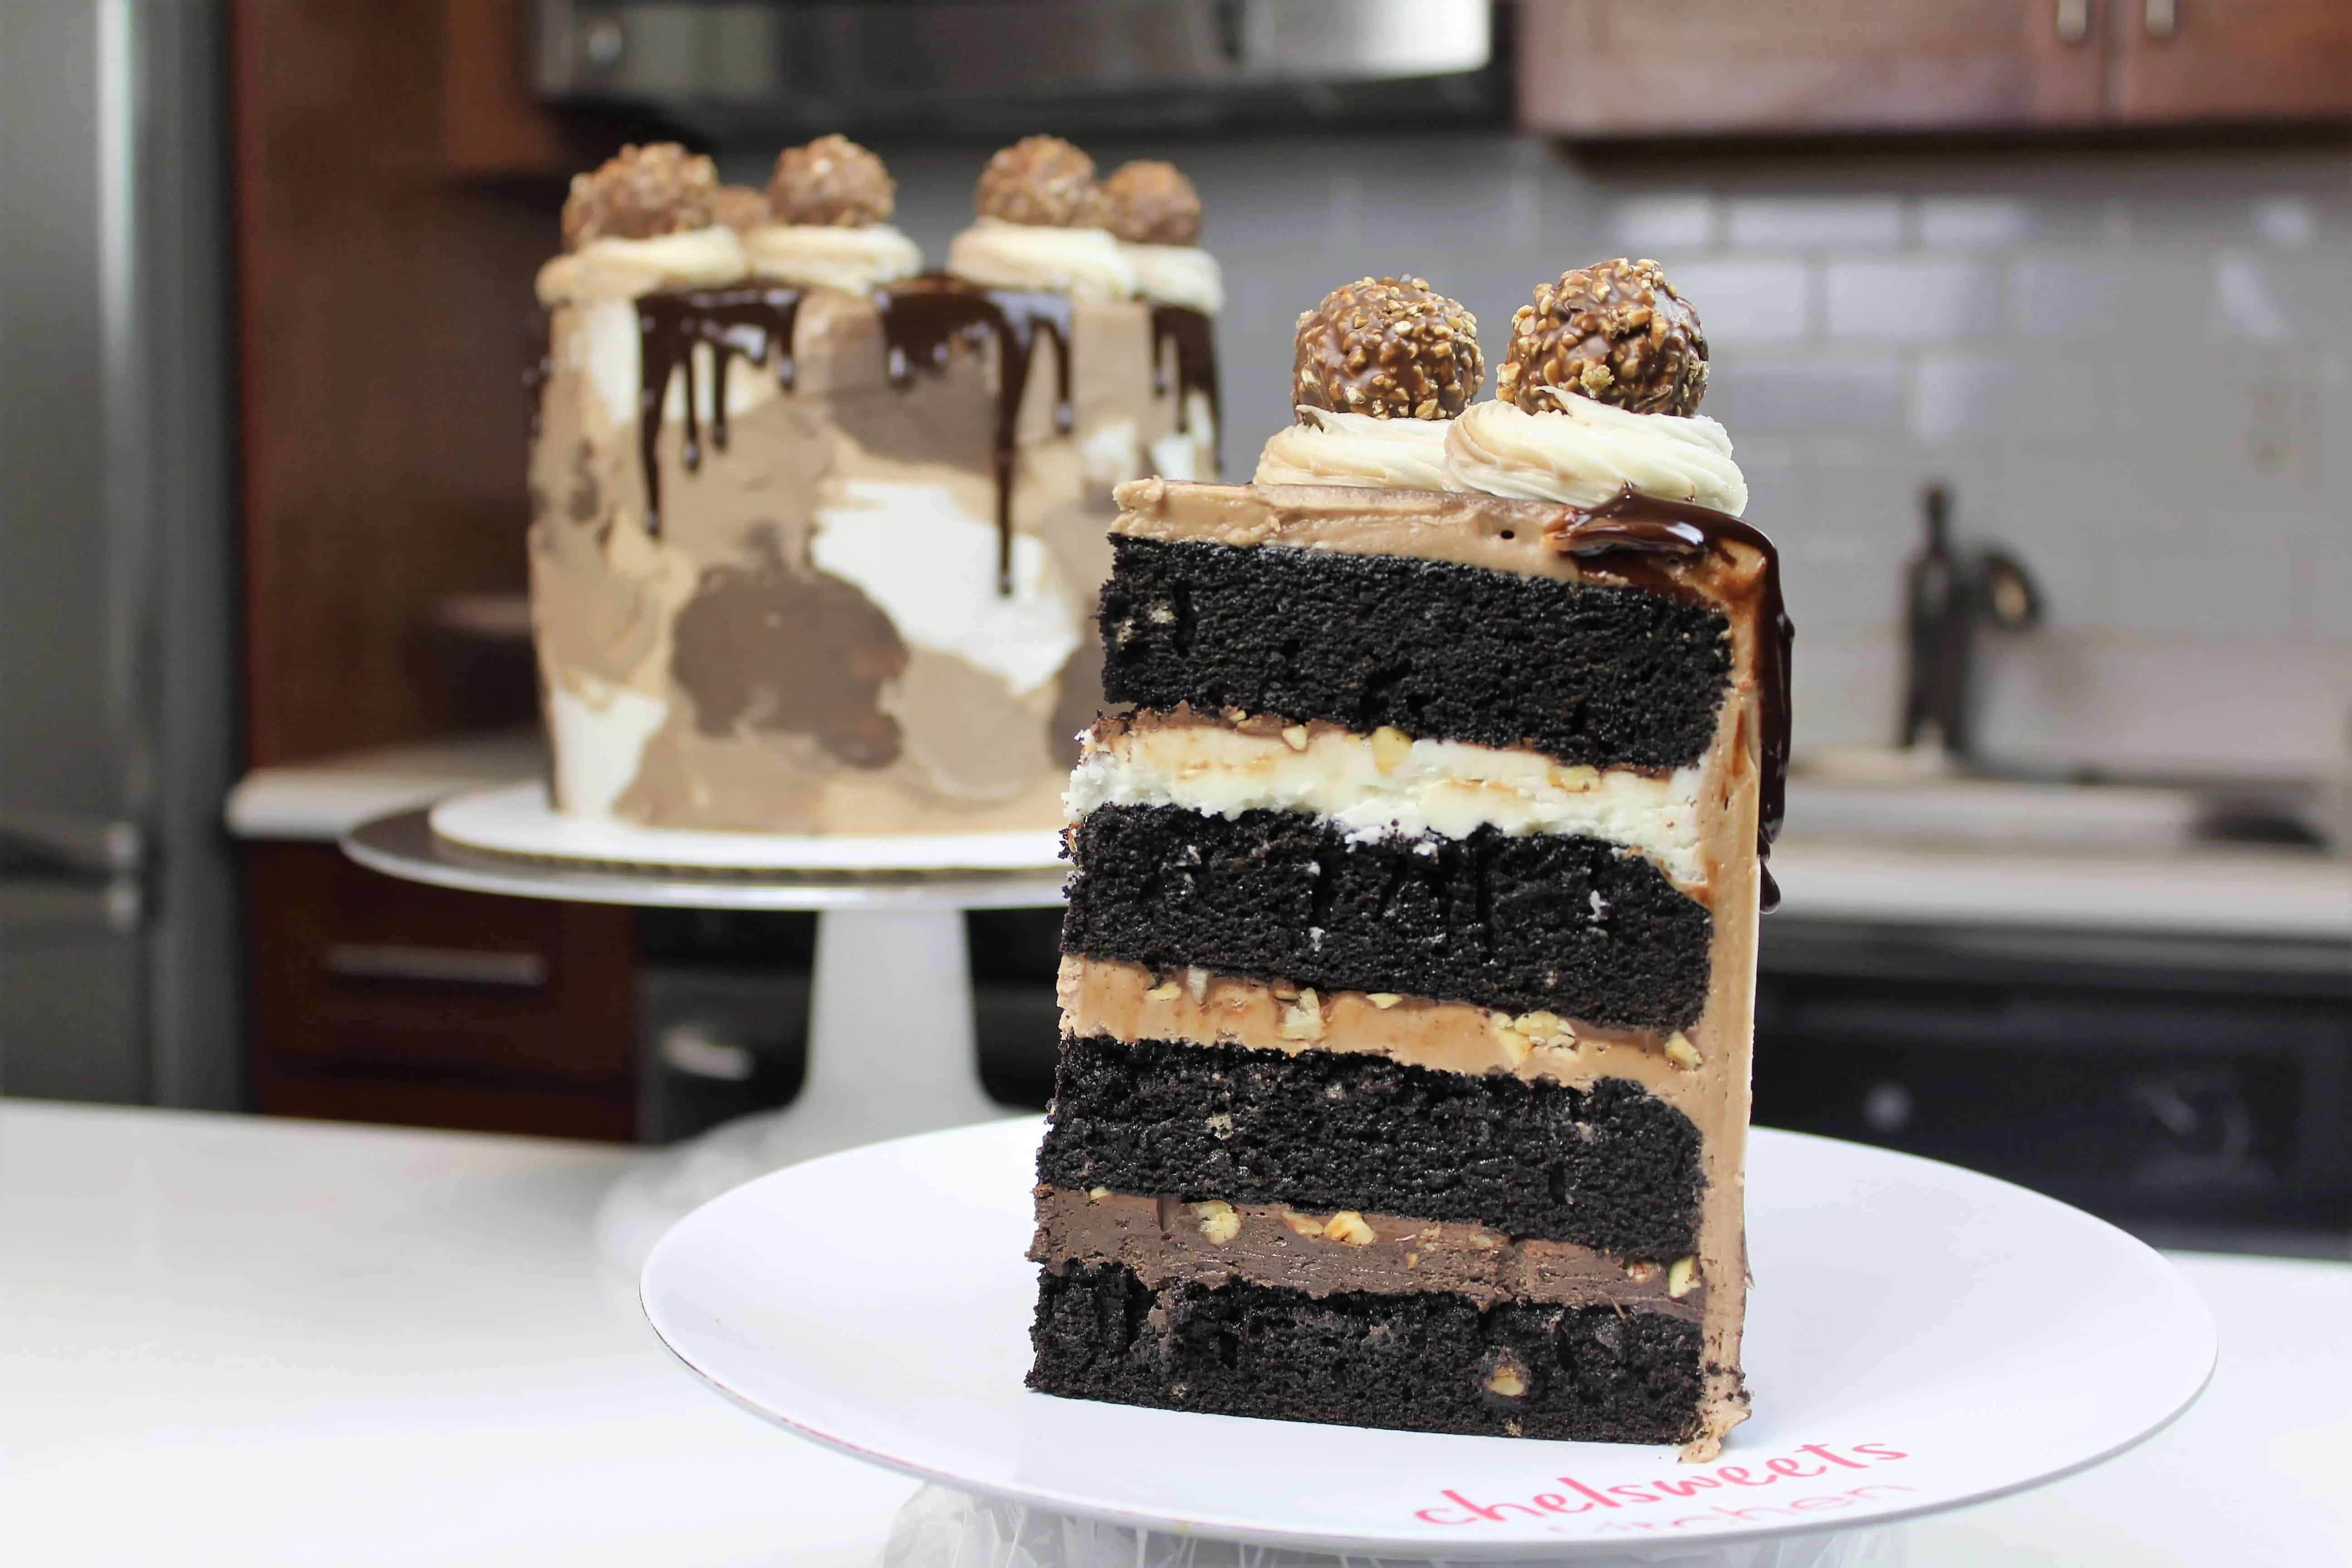
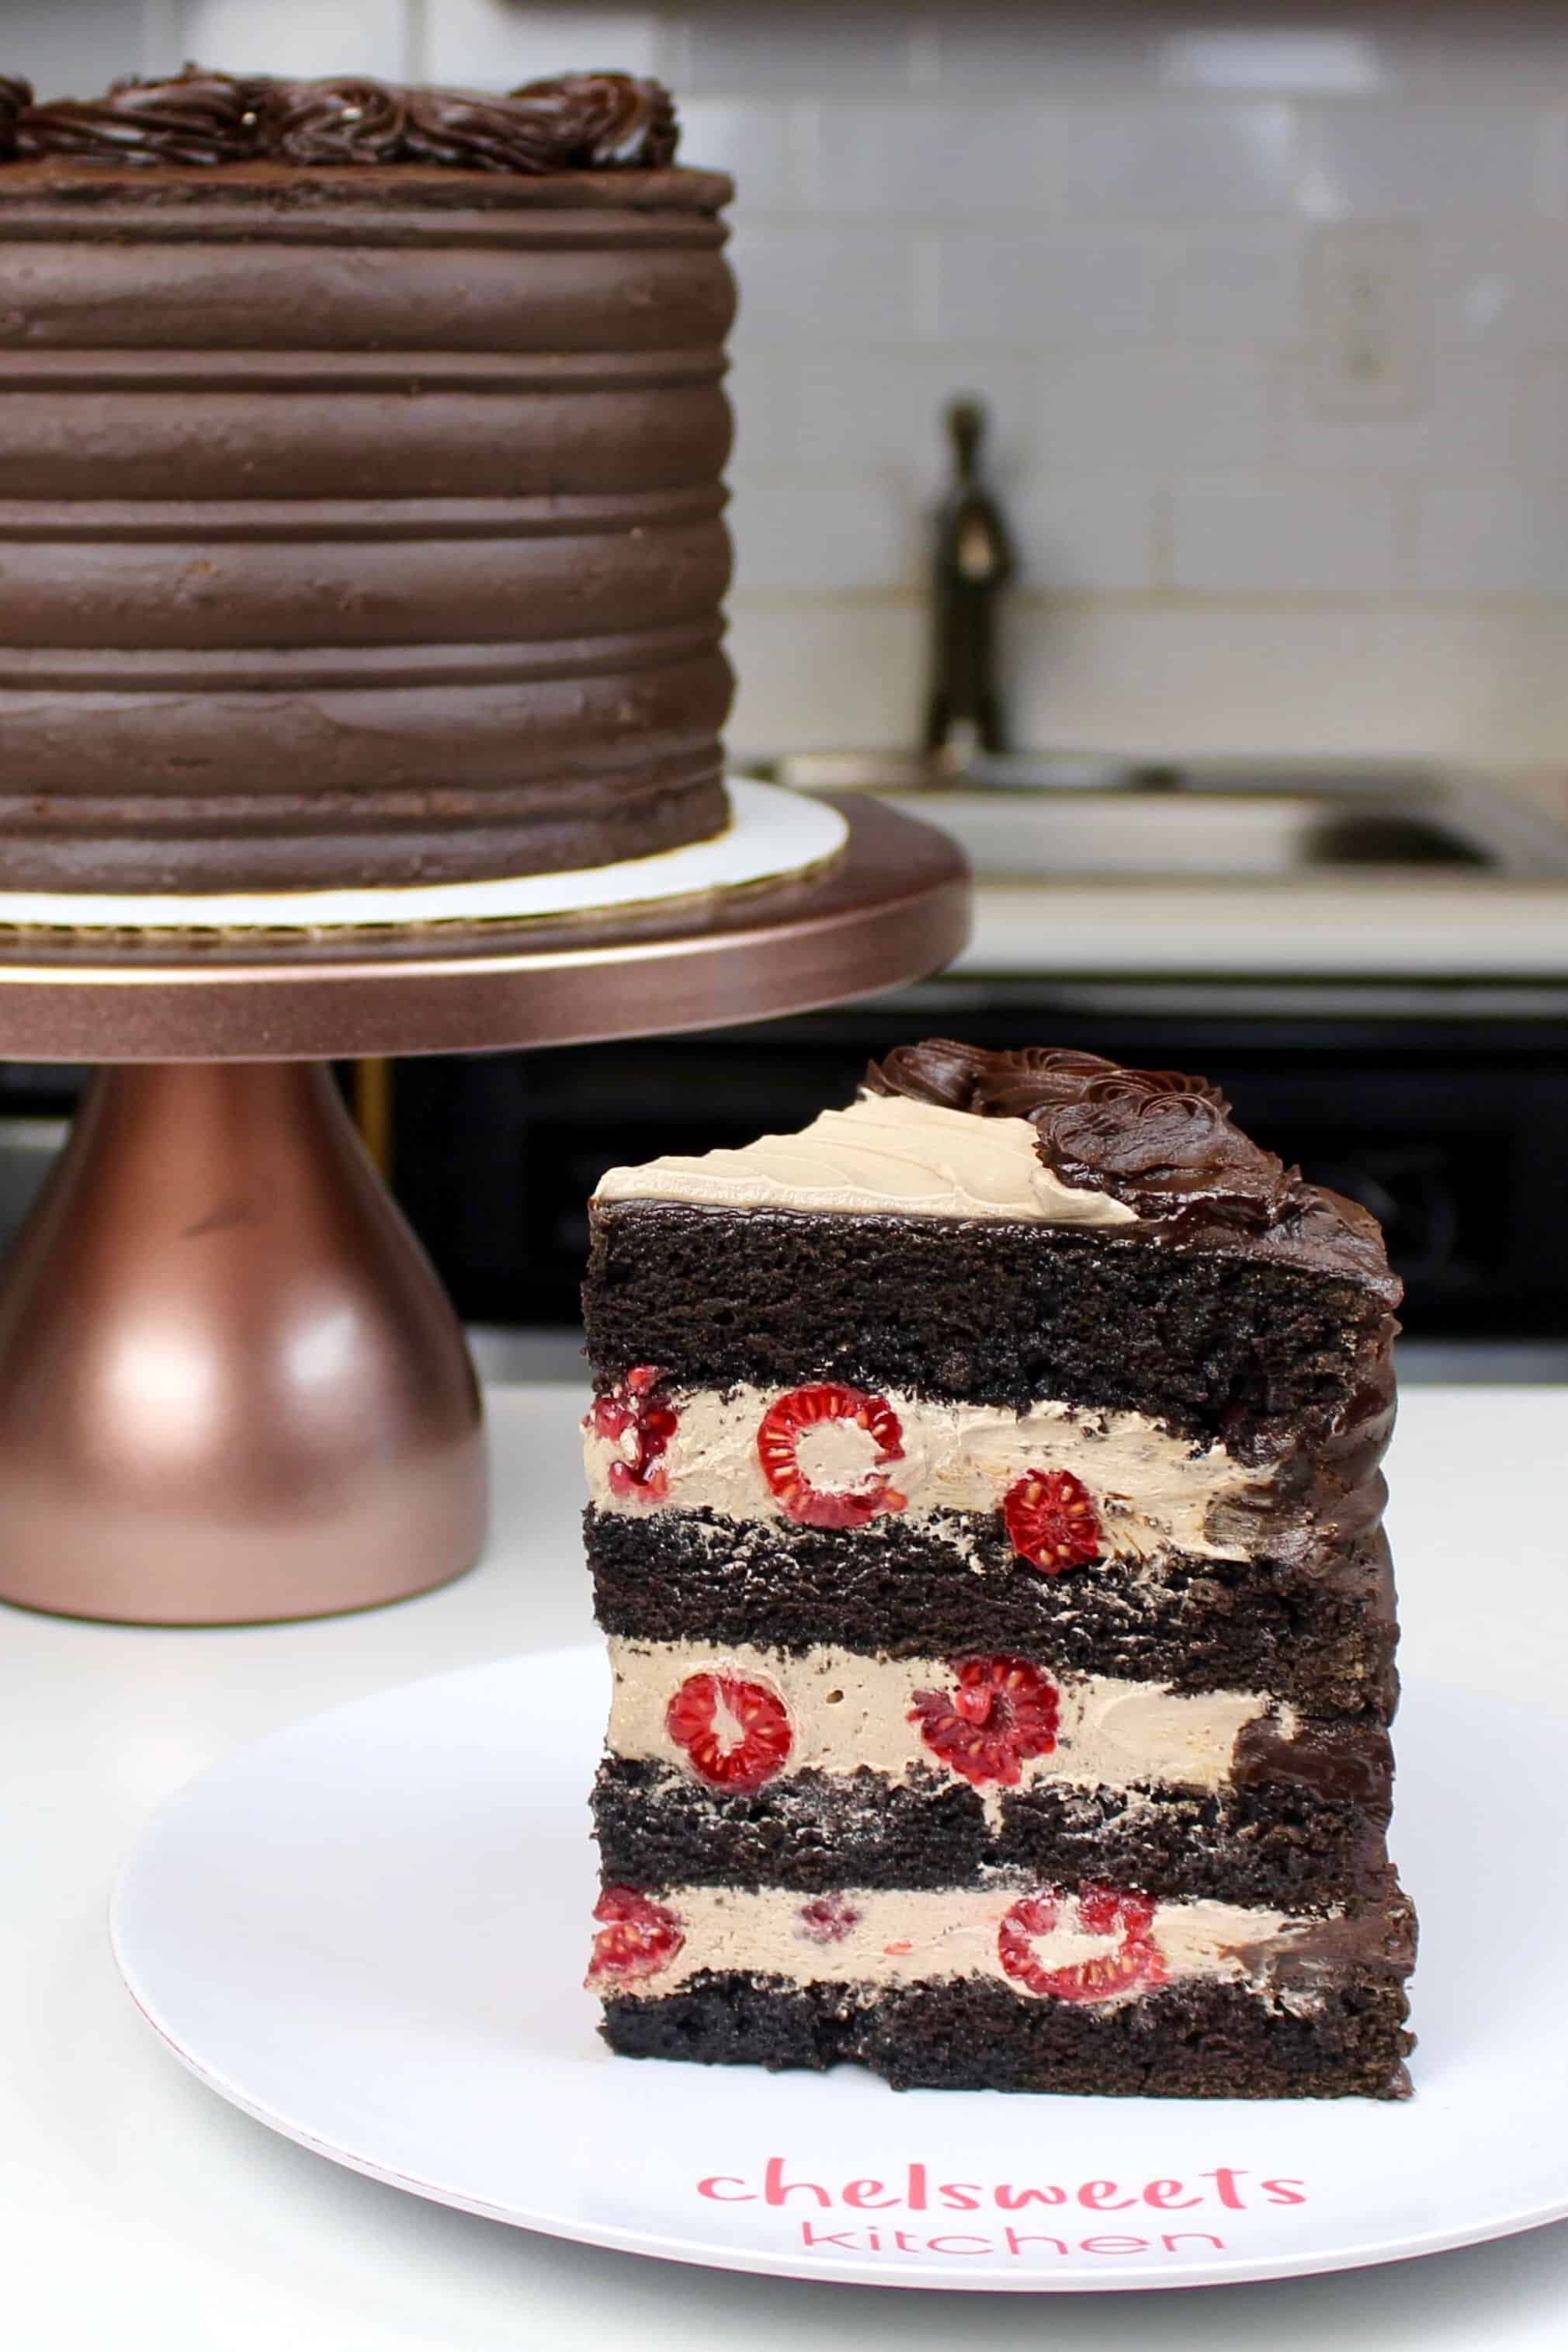
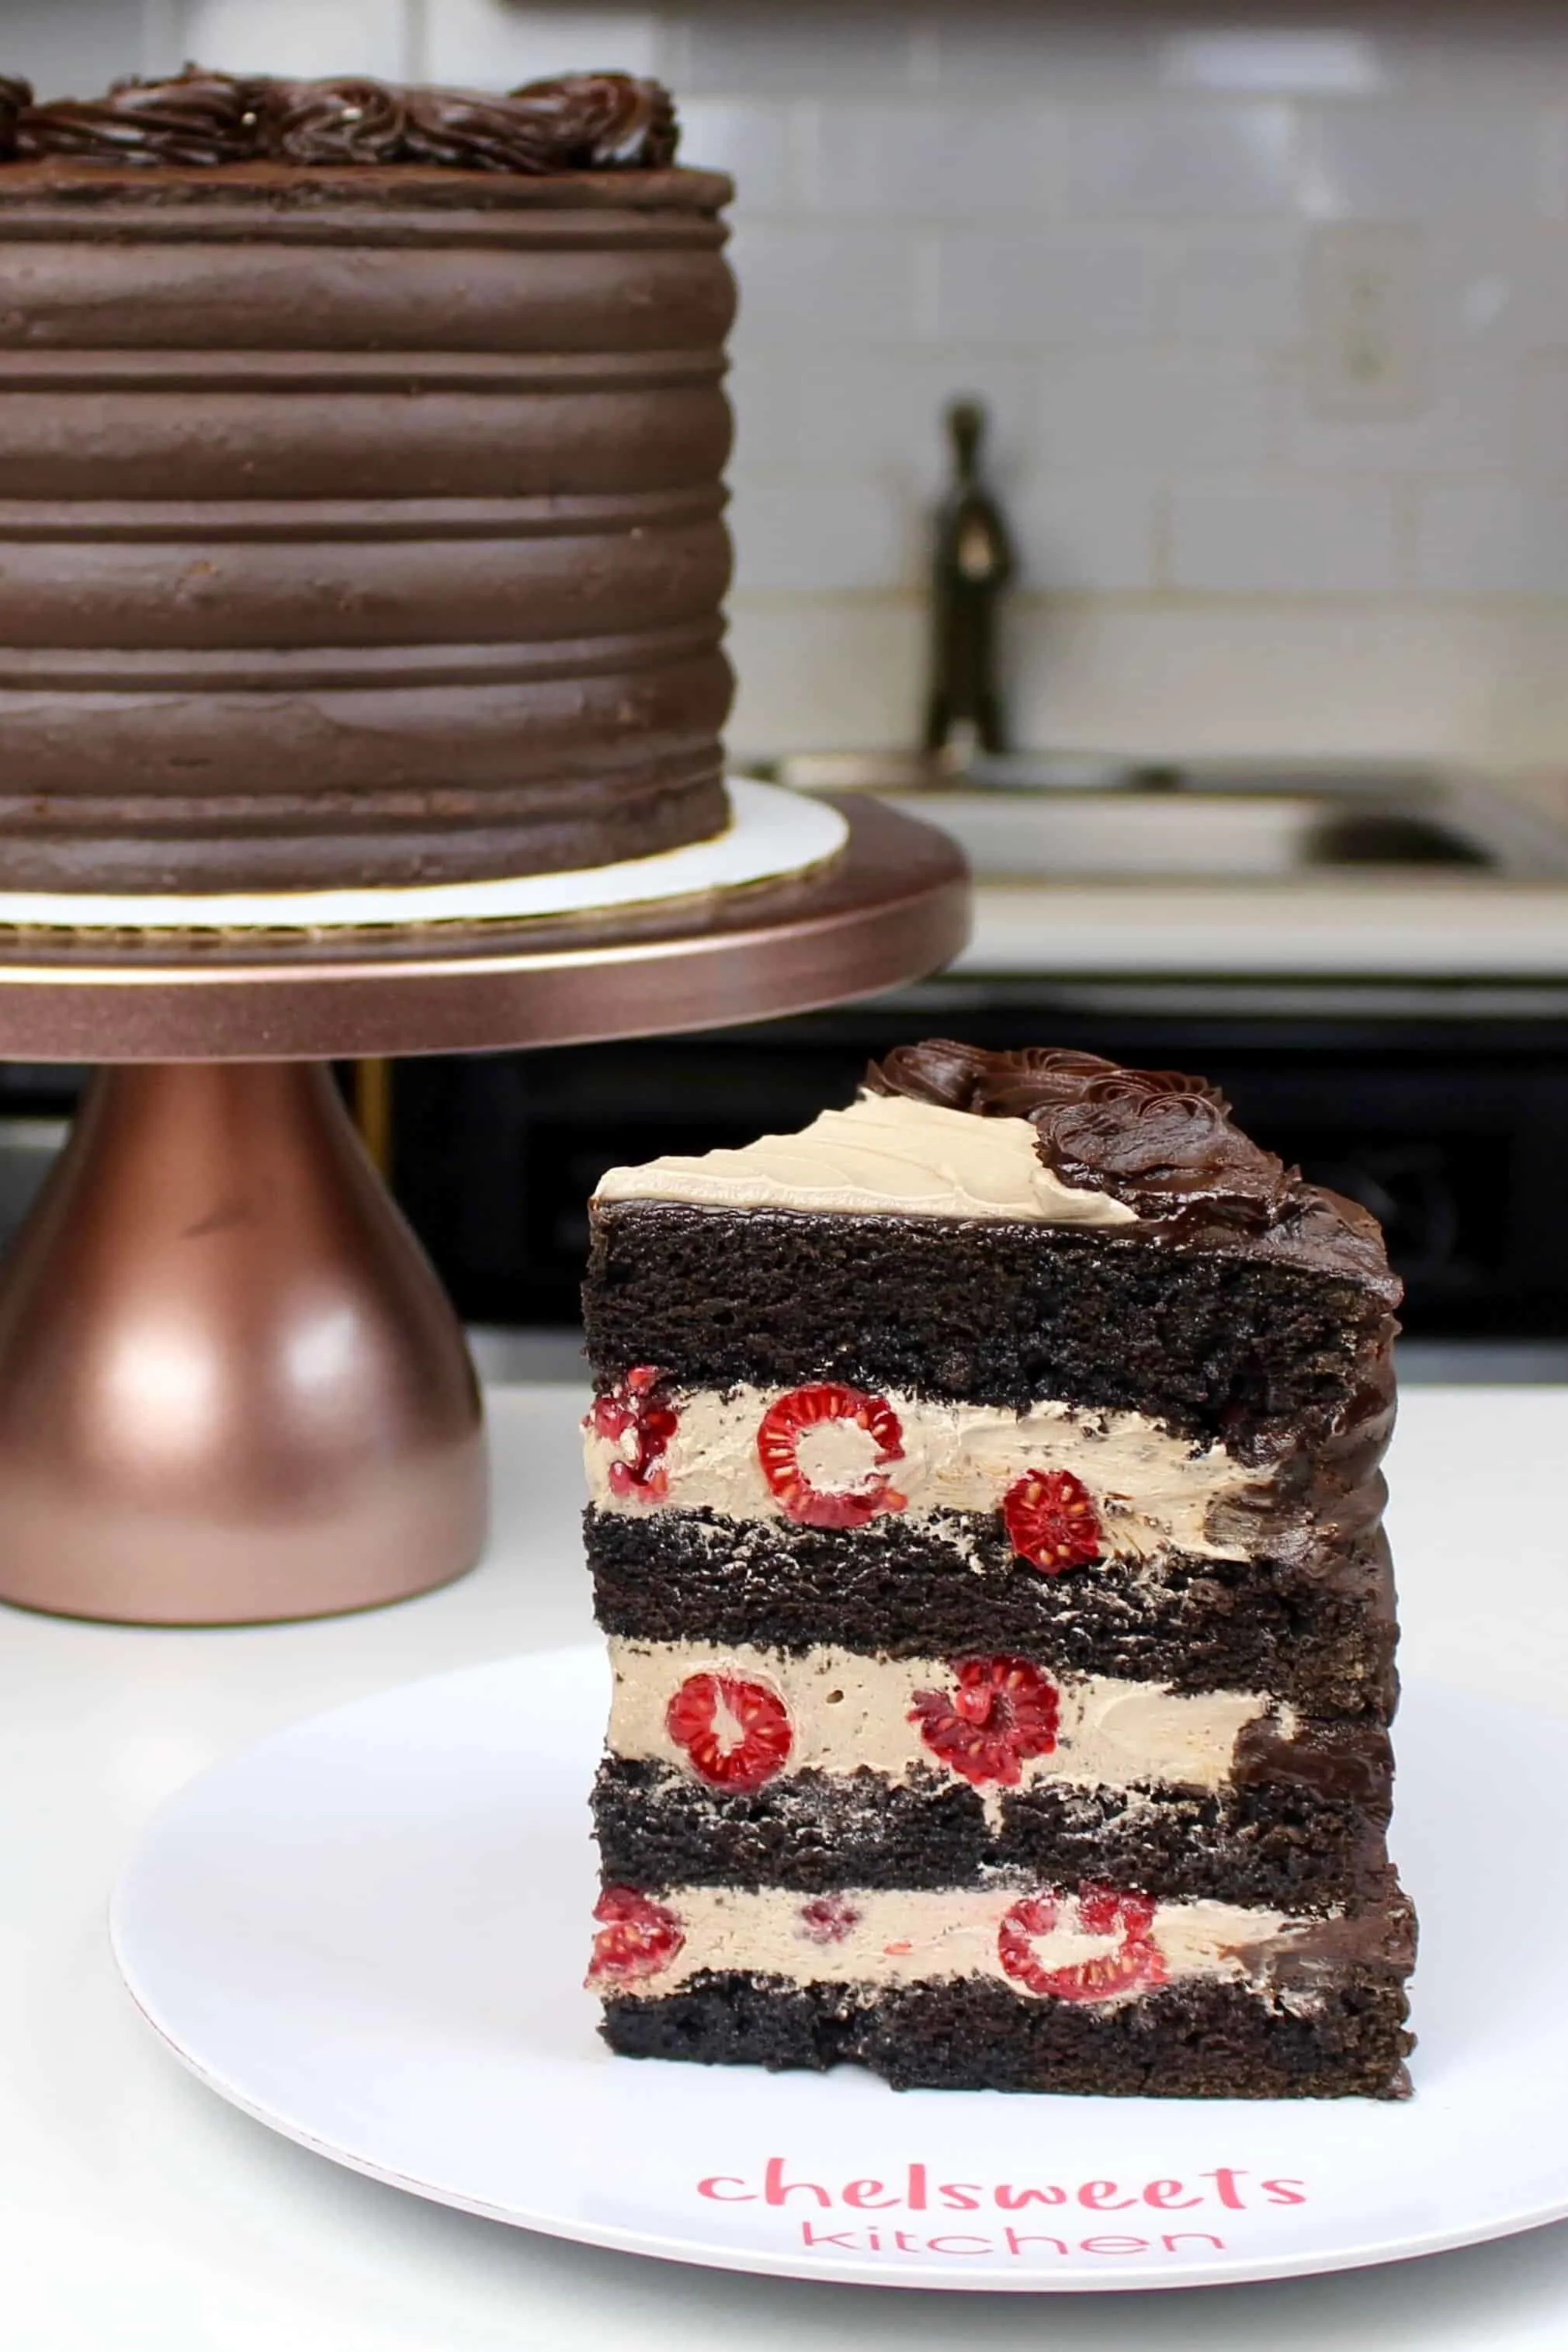
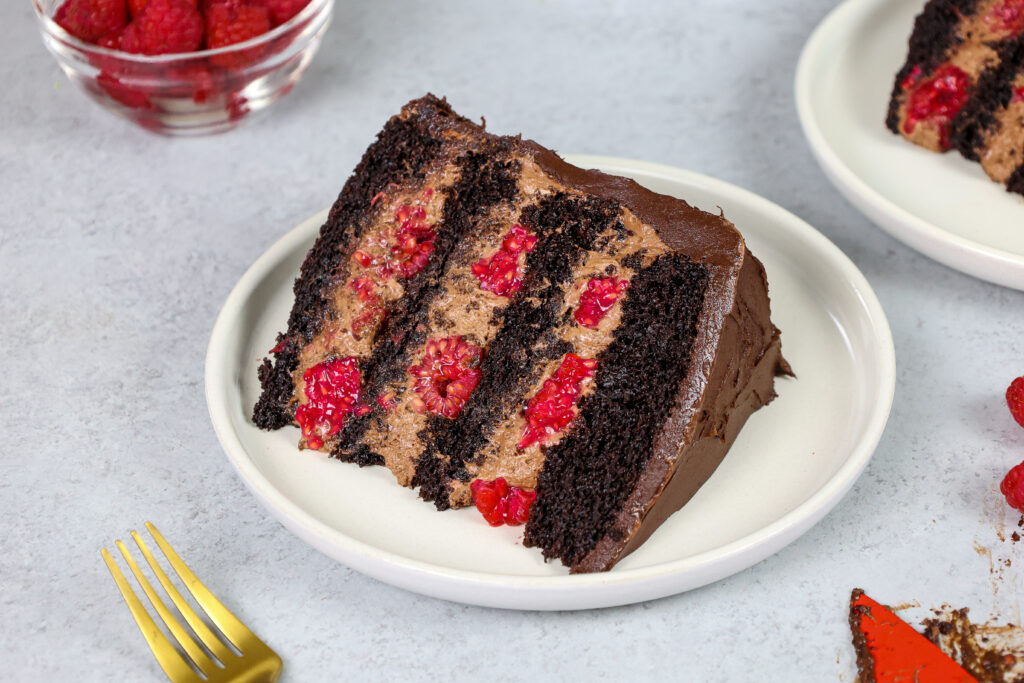
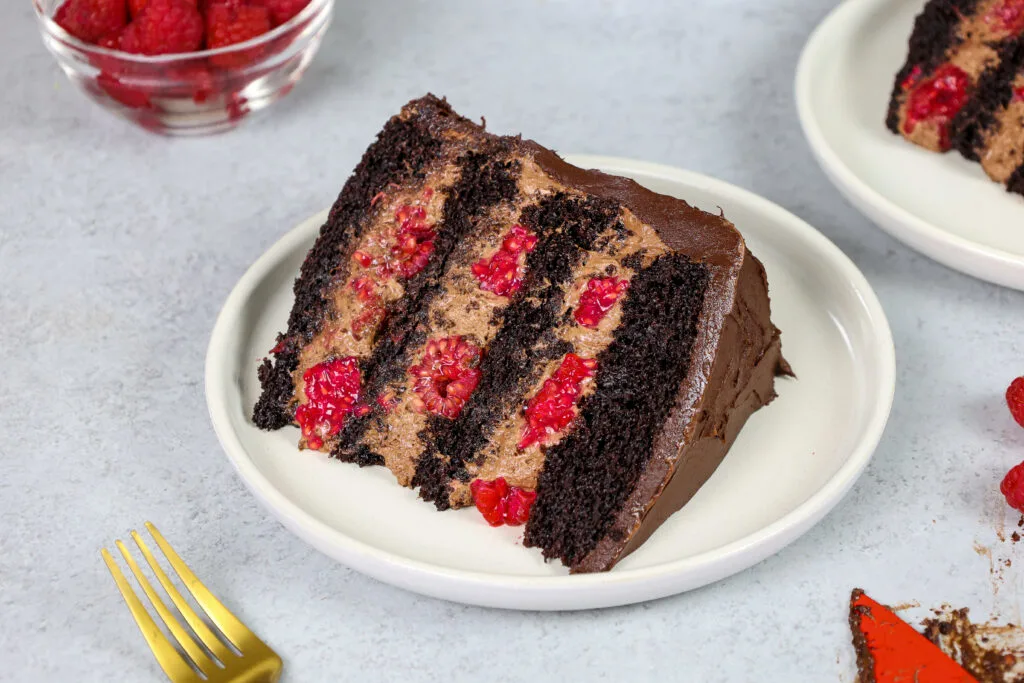
While creating this recipe, I chose to use black cocoa instead of regular baking cocoa. I love the taste and color it creates!!
You can see what a beautiful color the black cocoa adds to the cake layers by looking at this slice of my raspberry chocolate cake.
I also swapped some of the water for buttermilk to add more moisture and used less baking soda.
The result?? A soft, tender chocolate cake that doesn’t need simple syrup, and that holds its shape well while being frosted and stacked.
I’m obsessed with this recipe and hope you will be too!
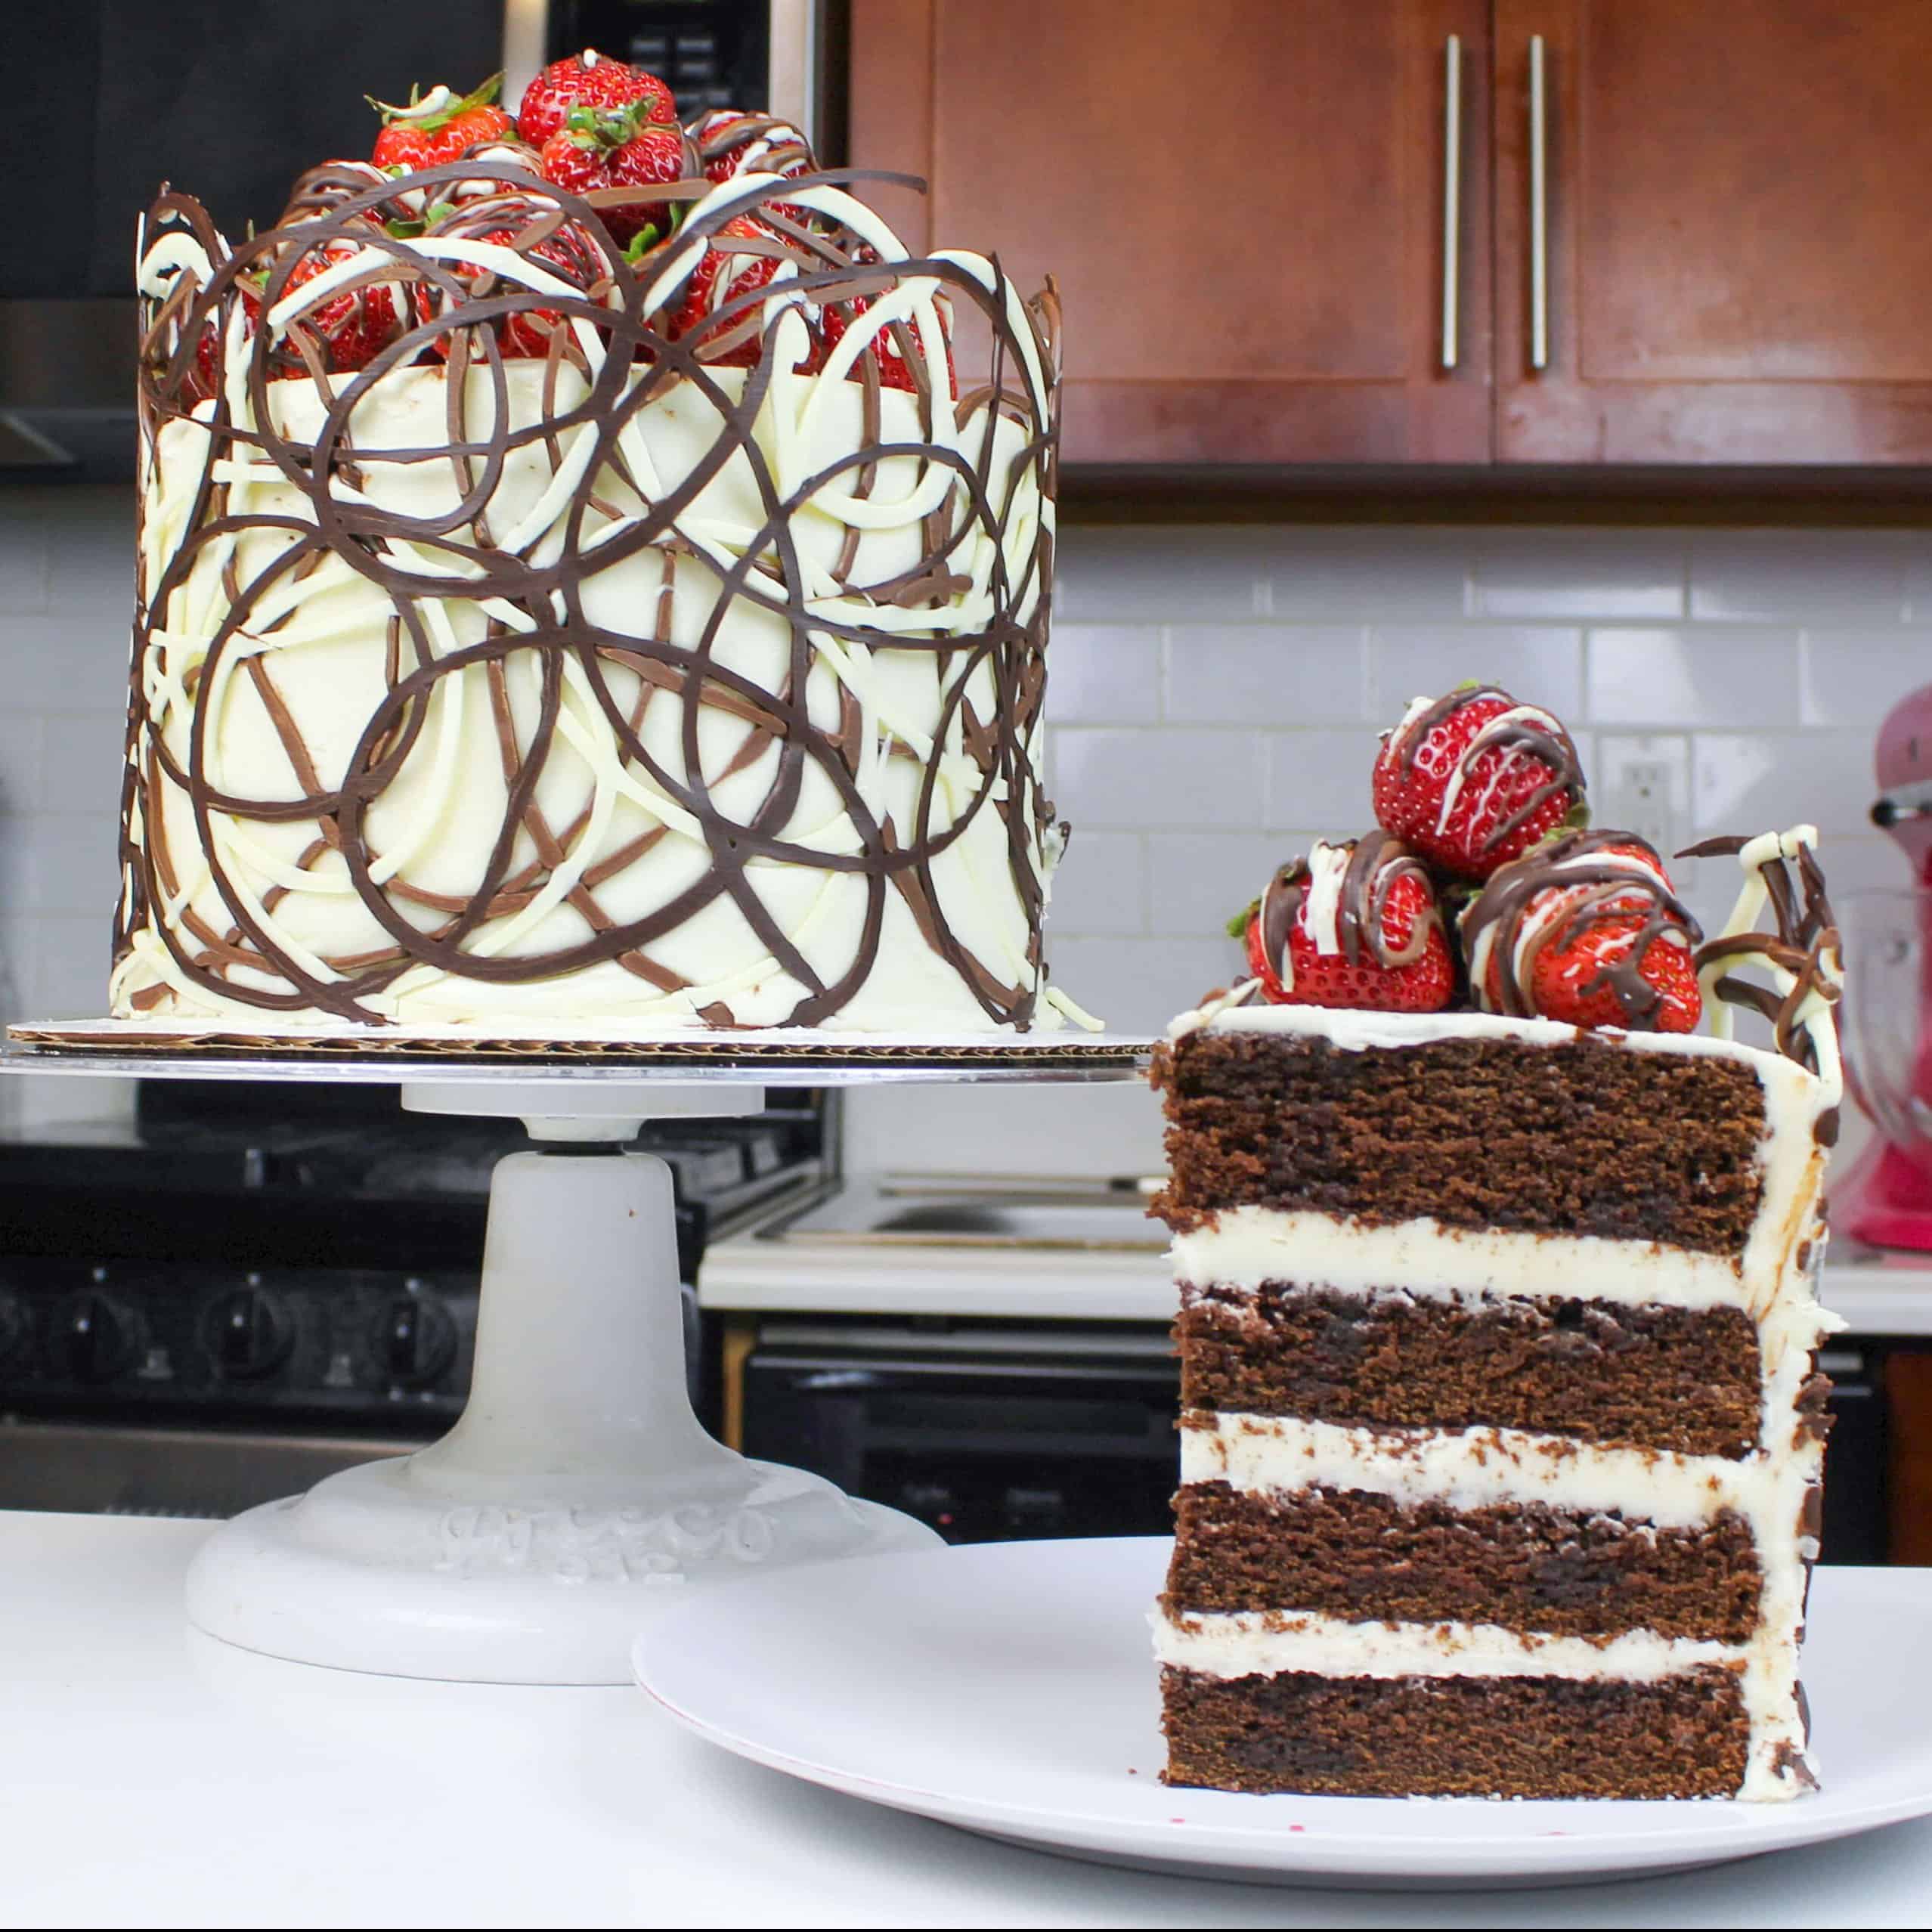
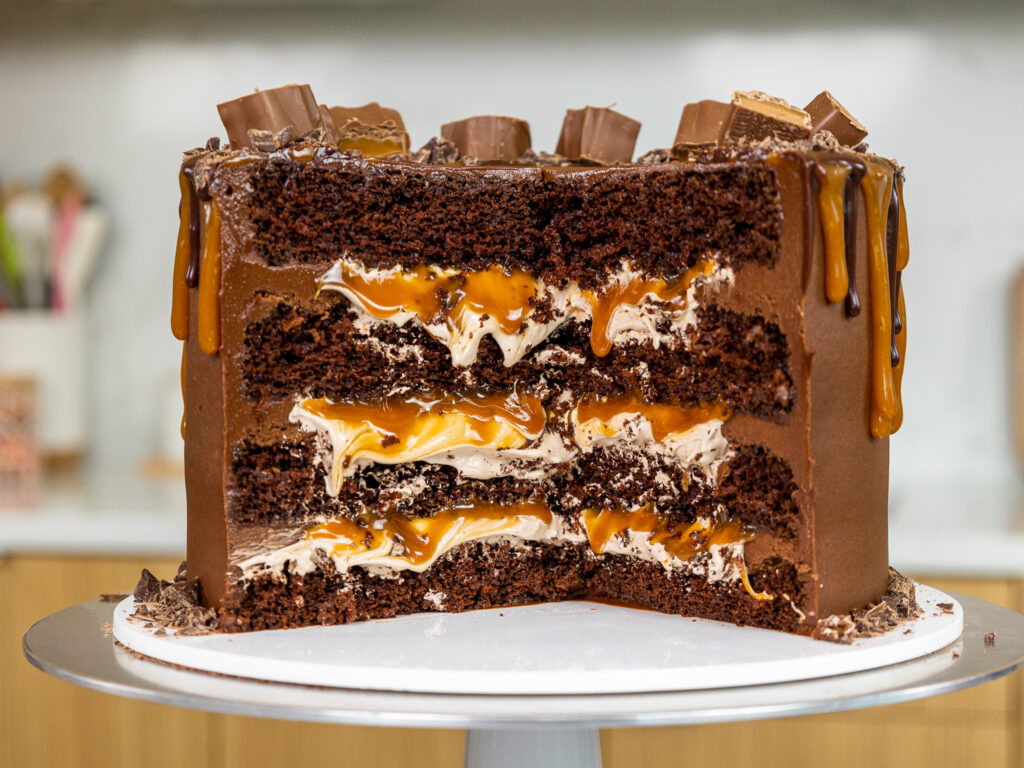
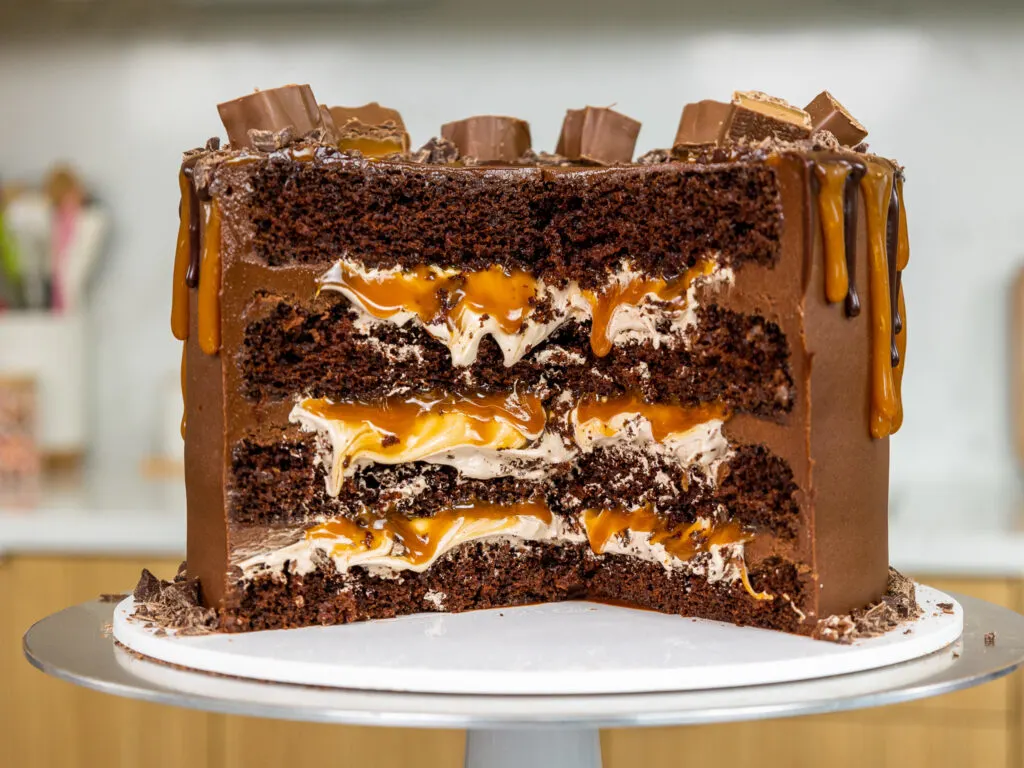
If you don’t have access to black cocoa or don’t want to buy it, you can also use regular baking cocoa in this recipe! That’s exactly what I did in my triple chocolate wrap cake below, and it was delicious.

You can add a splash of simple syrup if you love using it or think that the cake layers will be exposed to air for long period of time.
I highly recommend adding simple syrup if you’re making a carved cake or a wedding cake!
Tips for Making the Best Chocolate Layer Cake
- Properly measure your flour (spoon into the cup measure, then level) or use a kitchen scale.
- Make sure your ingredients are at room temperature. It helps them mix together better.
- Don’t level your cake layers until they are completely cooled.
- Use a serrated knife to level your cake layers once they’re fully cooled.
- If your cake layers turn out less than perfect, read my cake troubleshooting guide to see where things might’ve gone awry.
- Chill your cake layers in the freezer for about 20 minutes before assembling the cake. It makes them so much easier to stack and frost.
- Make sure your buttercream is the right consistency. This will help give your cake proper structure and make it easier to decorate.
- I do NOT recommend using this recipe to make cupcakes! Instead, I highly recommend trying my chocolate cupcake recipe (I like the texture better for cupcakes)
- Use my small batch chocolate cake recipe to a 6-inch layer cake.
Making These Cake Layers in Advance and Storage Tips
- Make your cake layers in advance and freeze them. It breaks the process up and makes it more approachable.
- Make your frosting ahead of time too or save any leftover frosting! It can be stored in an airtight container in the fridge for up to a month, or in the freezer for up to 3 months. Be sure to give it a good stir once it thaws to get the consistency nice and smooth again.
- A frosted cake can last in the fridge for up to a week, or in the freezer for up to a month. The buttercream locks in all the moisture, keeping the cake fresh and delicious!
- If you cut into the cake and have leftovers, use any remaining frosting to cover the cut section to keep it moist and store in the fridge for up to a week.

Let Me Know What You Think!
If you try this chocolate layer cake recipe, please tag me @chelsweets and use #chelsweets so I can see your beautiful creations!!
Other Recipes You Might Like:
Chocolate Layer Cake


This is my go-to chocolate layer cake recipe! It makes soft, tender, chocolaty cake layers that are amazing for stacking! This recipe works great for making layer cakes or wedding cakes!
Ingredients
Chocolate Cake Ingredients
- 1 cup or 2 sticks unsalted butter, room temperature (226g)
- 2 1/2 cups granulated sugar (500g)
- 4 large eggs, room temperature (224g)
- 1 cup hot water (240ml)
- 1 cup buttermilk, room temp (240ml)
- 1 cup black or dark cocoa powder(80g)
- 3 cups all-purpose flour (375g)
- 1 1/2 tsp baking powder (6g)
- 1 tsp baking soda (6g)
- 1 tsp salt (6g)
Chocolate Buttercream Frosting
- 2 cups (or 4 sticks) unsalted butter, room temperature (452g)
- 1 cup unsweetened baking cocoa, sifted (80g)
- 1/2 tsp salt (3g)
- 6 cups powdered sugar (750g)
- 1/2 cup heavy cream (120ml)
- 1 1/3 cups of melted dark chocolate, cooled (232g)
Instructions
Chocolate Cake Layers
- Begin by preheating the oven to 350 F / 175 C.
- Line four seven-inch or three 8-inch pans with parchment rounds and spray with non-stick baking spray.
- Add 1 cup of unsalted butter into the bowl of a stand mixer or a large bowl and beat on a medium speed until smooth and creamy. Add 2 1/2 cups sugar and cream together on a high speed for 1-2 minutes with a whisk attachment or hand mixer. Scrape the sides of the bowl as needed. The mixture should become light in color.
- Mix in 4 large eggs on a medium speed, two at a time.
- In a separate bowl combine 1 cup of hot water, 1 cup of buttermilk, and 1 cup of black cocoa. Whisk until the mixture is smooth and no clumps remain.
- Sift 3 cups of flour, 1 1/2 tsp baking powder, 1 tsp baking soda, and 1 tsp salt into a large bowl.
- Next, add in 1/3 of the dry ingredients into the butter/egg mixture. Scrape the sides of the bowl with a spatula to ensure the flour gets fully incorporated.
- Pour in half of the buttermilk/cocoa mixture and gently pulse the mixture to incorporate the liquid. If you don't, you'll end up splattering the cocoa mixture all over your kitchen!
- Mix in the 2nd portion of the dry ingredients on a low speed. Pour in the remaining buttermilk/cocoa mixture and again gently pulse. Then mix on low until fully combined.
- Add in the last portion of the dry ingredients and mix on low until fully incorporated.
- Divide the batter evenly between the prepared pans. I like to use a kitchen scale to make sure each pan has the same amount of batter.
- Bake for 32-35 minutes or until a toothpick comes out with a few moist crumbs.
- Allow layers to cool in the pans for about 10 minutes, then run an offset spatula around the edge of the pans to help separate the layers from the pans.
- Place the pans in the freezer for about 45 minutes, to accelerate the cooling process. Once the layers are fully cooled, carefully flip the pans and remove the layers from the pans.
- Use a serrated knife to level the tops of the layers, and then frost as desired.
Chocolate Buttercream Frosting
- While the cake layers bake and cool, make the chocolate buttercream frosting.
- Beat 2 cups of butter on a medium speed for 30 seconds with a paddle attachment or hand mixer until smooth.
- Add in 1 cup of sifted cocoa and 1/2 tsp of salt. Mix on low until the cocoa is fully incorporated and no clumps remain.
- Slowly mix in 6 cups of powdered sugar on the lowest speed. Halfway through adding the powdered sugar pour in 1/2 cup of heavy cream or milk to make it easier to mix the frosting.
- Once all the powdered sugar is incorporated, mix in 1 1/3 cups of melted and cooled chocolate chips. After melting my chocolate, I let it sit at room temperature for about 10 minutes. It should still be in a liquid state but less warm to the touch than when it was first melted.
- Beat on low until the ingredients are fully incorporated and the desired consistency is reached.
- If the frosting is too thick, add an extra Tbsp of heavy cream. If it's too thin, add in another 1/4 cup of powdered sugar.
- Stir by hand with a rubber spatula for a couple minutes to get the frosting SUPER smooth.
Assembling this Chocolate Cake
- Stack and frost cake layers on a greaseproof cake board, using a dab of frosting to help stick the first cake layer to the board.
- Add an even layer of chocolate buttercream between each cake layer with a large offset spatula.
- Spread a thin coat of frosting around the the cake, to fully cover the cake layers.
- Smooth using a bench scraper, then chill the cake in the fridge (20 minutes) or freezer (10 minutes) until the frosting is firm to the touch.
- Add a second, thicker layer of frosting to the cake and smooth using a bench scraper. Then decorate as desired!
Notes
Recipe Variations
One batch of this recipe makes about 10 cups of batter or about 1800 grams. If you plan to use four circular cake pans, add 450 grams of batter into each pan.
If you want to make a tiered cake or different-sized with this recipe, check out my cake batter calculator to see how many batches of batter you'll need.
This recipe can also be used to make a sheet cake! One batch will make 2, 9 x 13-inch cake layers that are about 1 inch tall. Bake for 35-40 mins at 350 F / 175 C. I recommend using heating cores if you have them to help large cake layers like this bake more evenly and quickly.
You can make one 9 x 13-inch cake layer that's about 2 inches tall, but the bake time will be 45-55 minutes at 350 F/ 175 C.
Tips for Making the Best Chocolate Layer Cake
- Ingredients at room temp mix together better! Set out any cold ingredients ahead of time.
- Properly measure your flour (spoon into the cup measure, then level). Or better yet, use a kitchen scale to measure your dry ingredients.
- Use a scale to weigh your cake pans as you fill them. It will make your cake layers bake to the same height and bake more evenly.
- Level your room temperature or thawed cake layers with a serrated knife to make them easier to stack.
- Chill your cake layers in the freezer for about 20 minutes before assembling the cake. It makes it so much easier to stack and frost them!
Making This Chocolate Layer Cake in Advance & Storage Tips
I highly recommend making the cake layers in advance and freezing them. It breaks the process up and makes it more approachable, and I promise they taste just as delicious!
You can also make the frosting ahead of time or save any leftover frosting! It can be stored in an airtight container in the fridge for up to a month, or in the freezer for up to 3 months. Be sure to give it a good stir once it thaws to get the consistency nice and smooth again.
A frosted cake can last in the fridge for up to a week, or in the freezer for up to a month. The buttercream locks in all the moisture, keeping the cake fresh and delicious!
If you cut into the cake and have leftovers, use any remaining frosting to cover the cut section to keep it moist and store it in the fridge for up to a week.
Nutrition Information
Yield
24Serving Size
1Amount Per Serving Calories 450Total Fat 16gSaturated Fat 9gTrans Fat 0gUnsaturated Fat 5gCholesterol 61mgSodium 274mgCarbohydrates 73gFiber 3gSugar 54gProtein 5g
Kelsey
Friday 19th of April 2024
Hello! I just wanted to know how well this holds up if making a two tiered cake? 8inch with second 6inch tier on top. My usual go to chocolate cake is way too moist for doing more than 2 layers :')
Chelsweets
Monday 22nd of April 2024
Hi Kelsey,
This recipe holds up great in a two tiered cake, and so does this one (it's the chocolate version of my popular vanilla cake recipe): https://chelsweets.com/the-best-chocolate-layer-cake-recipe/
Hope that helps, and that your tiered cake turns out great! Happy baking!!
Amber
Wednesday 17th of April 2024
Hello! How many cups of batter does this produce? I need about 8 cups worth. TIA??
Chelsweets
Monday 22nd of April 2024
Hi Amber,
This recipe makes about 10 cups of batter. Hope that helps, happy baking!
Beth-Anne
Wednesday 20th of March 2024
Hi, hoping you see this comment/question, looks like most comments are from 2018. I made the chocolate layer cake today and sadly, it came out super thin. I did 3, 8" pans and the cake is about 1 1/2" high. Where did I go wrong? I weighed my ingredients, used fresh soda and powder, don't think I over mixed, etc. Followed (same day) by making your vanilla layer cake recipe and it came out perfect! Thoughts?
Chelsweets
Sunday 24th of March 2024
Hi Beth-Anne,
You didn't do anything wrong, each cake layer should bake up to be about an inch tall once it's leveled! Or are you saying the entire cake was 1 1/2 inches tall?? Was the texture off or did it seem right? What type of cake pans are you using? I usually ones that are made of aluminum! Hopefully we'll be able to figure it out together!
Mumsie
Tuesday 6th of February 2024
Best chocolate cake I have ever made and I’ve been baking for a big family for over 50 years! So glad I found your website
Chelsweets
Tuesday 13th of February 2024
Hi Mumsie,
I am so happy to hear that!!! Thank you so much for sharing ? Happy baking!
Daniela Valentino
Thursday 11th of January 2024
Hello Chelsea, this recipe looks great and I’ll be trying it today. Unfortunately I’ve never come across dark cocoa powder here in Malta where I’m from. We use Cadbury’s cocoa powder. Would you suggest using more cocoa powder to intensify the chocolate flavour, or maybe add some melted chocolate? Thanks in advance. Daniela
Chelsweets
Sunday 14th of January 2024
Hi Daniela,
Apologies for the delayed response! I think Cadbury's cocoa powder should work great in this recipe! I think the color will be a little bit lighter, but it should still taste great. I'd be worried if you added some melted chocolate, it might change the texture of the cake layers and make them more dense. Hope that helps for the future, happy baking!