
While our wedding isn’t until June 2019, I couldn’t wait any longer to start looking for me wedding dress! I decided to look at Bridal Garden NYC, which is an amazing non-profit organization who use their proceeds to help disadvantaged children here in NYC. I wanted something a little different, and really loved the idea of a short dress, since we’re getting married in central park in the summer. In my YouTube video I share some of the dresses I tried on, but am keeping the dress I picked a surprise for the big day!! I had a wonderful experience there, and am in love with my dress (I welled-up when I saw myself in it). It has every aspect I was looking for, and is so beautiful and unique.
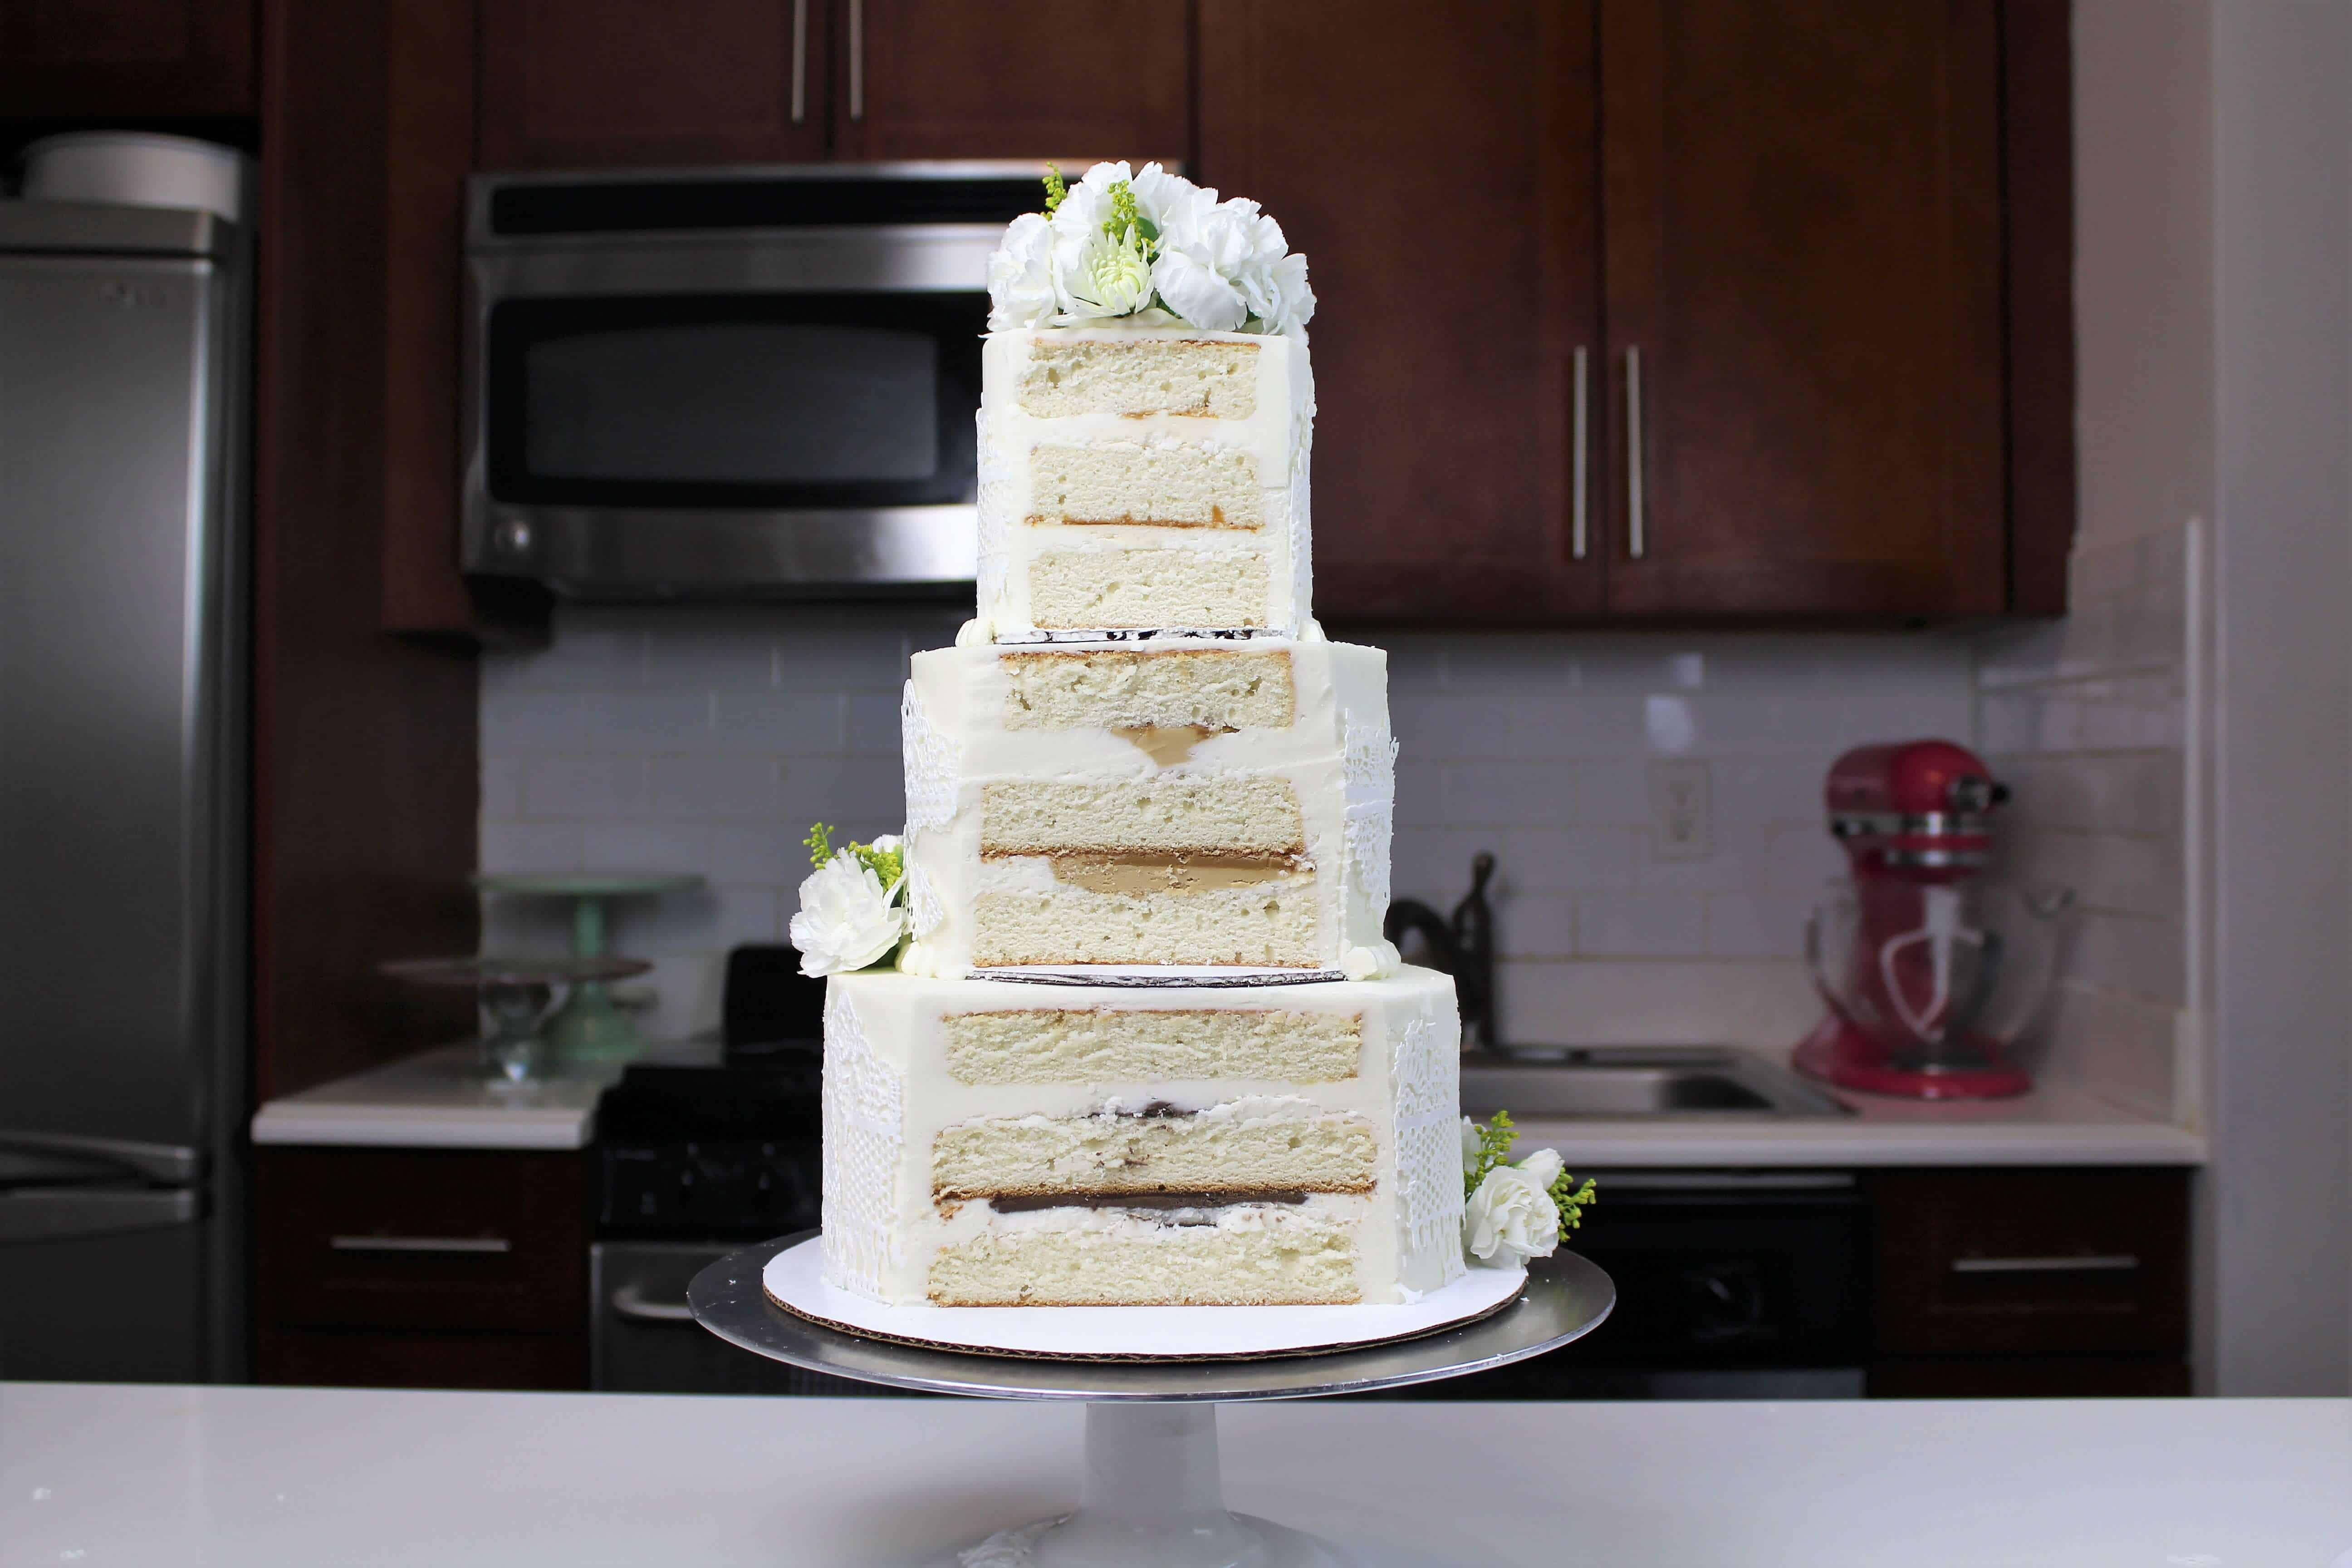
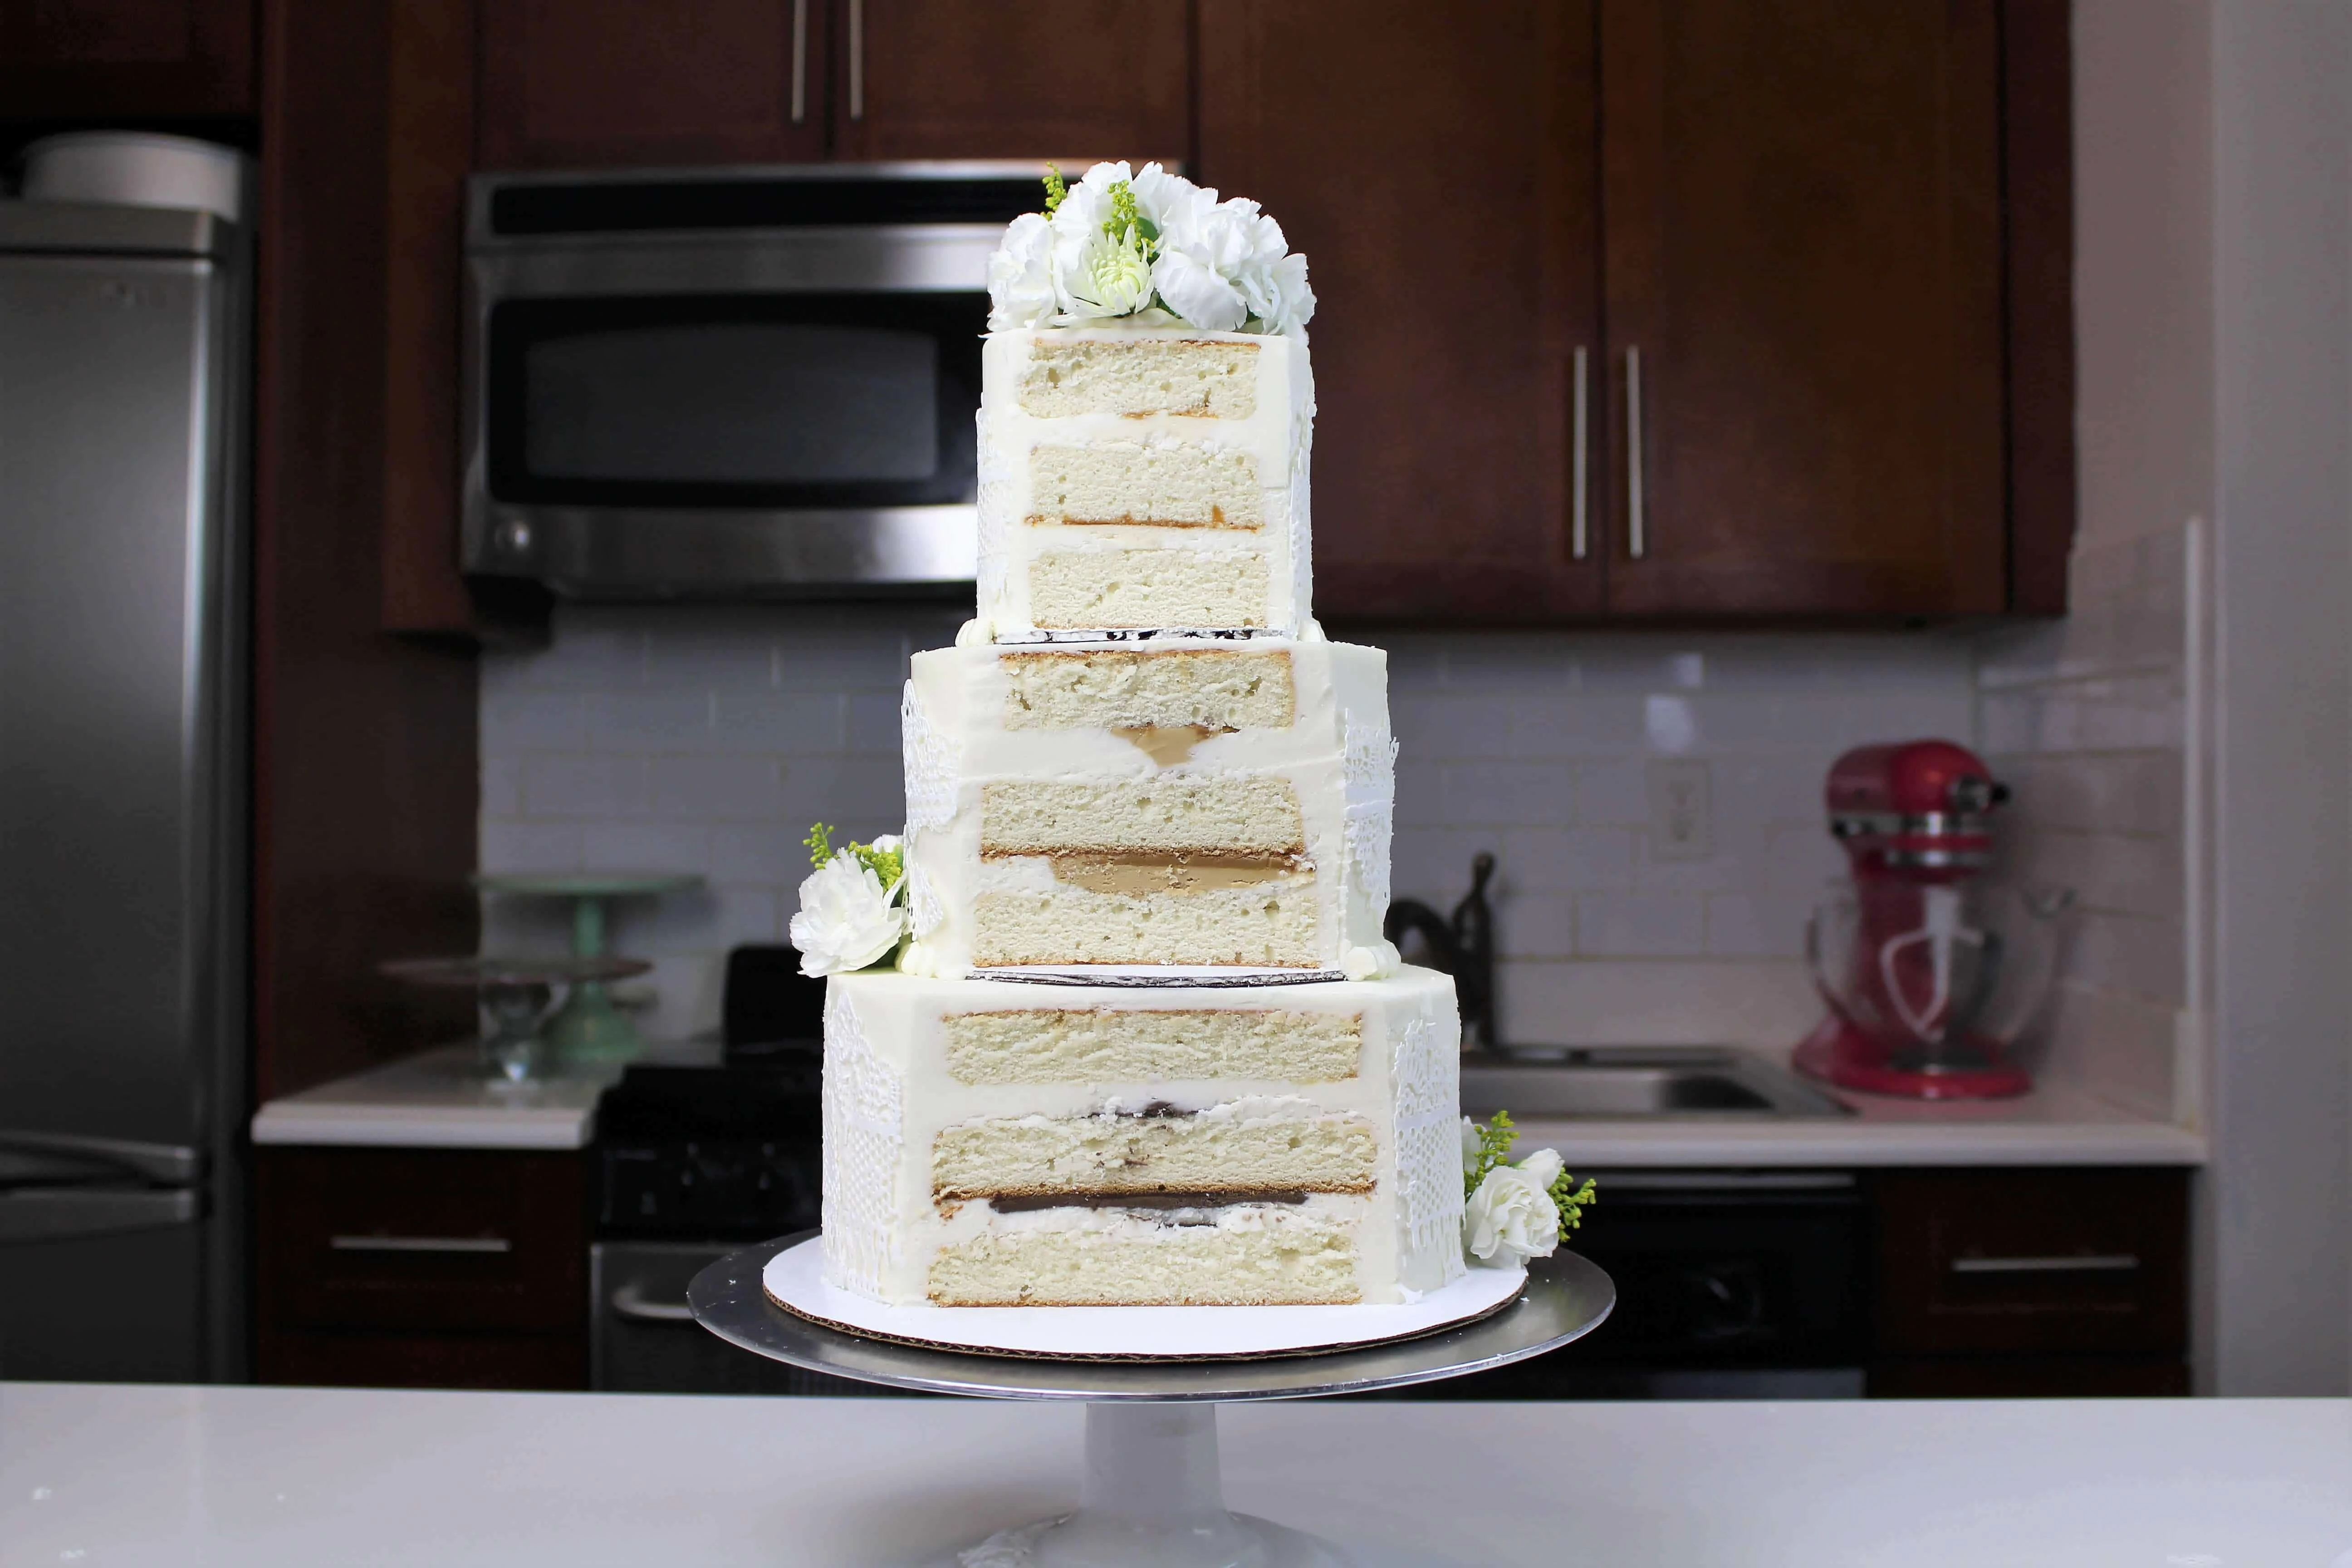
Being the cake-maker that I am, I thought this would be a great excuse to make a test wedding cake! I made a 3-tiered cake, incorporating our favorite flavors; dark chocolate, cookie butter, and salted caramel. Lucky, I always have home-made caramel and chocolate ganache in my fridge, ready to be warmed up and used! I decorated the cake with the two elements I wanted in my wedding dress; lace and floral accents. The recipe is included below and you can watch a full tutorial here.
Recipes:
- 2 batches of my vanilla layer cake recipe
- 2.5 batches of my American buttercream
- Organic white carnations
- Edible lace powder (100g) + 80g of water
- Additional flavors: dark chocolate chunks (6 oz.), 1/4 cup black cocoa, 1/2 cup of chocolate ganache, 1 jar of cookie butter, 1/2 cup of caramel
I began by dividing the cake batter evenly to make 3-8 inch layers, 3 6-inch layers, and 3 4-inch layers. A great way to ensure your layers will be the same height is to weigh them, so that there’s the same amount of batter in each size of pan. Once baked, allow the layers to cool in the pans for about 10 minutes, then run an offset spatula around the sides of the pan, for easy removal. Flip the layers onto a wire rack and let cool.
Once the layers have fully cooled, I like to trim the caramelized bits from the sides of the layers using a serrated knife. Be sure the layers are completely cooled or chilled before trimming. If you try to trim the layers while they’re still warm, they will crumble apart.
While the layers bake and cool, make the vanilla buttercream frosting! This frosting will be the base for the three different frostings made for each tier.
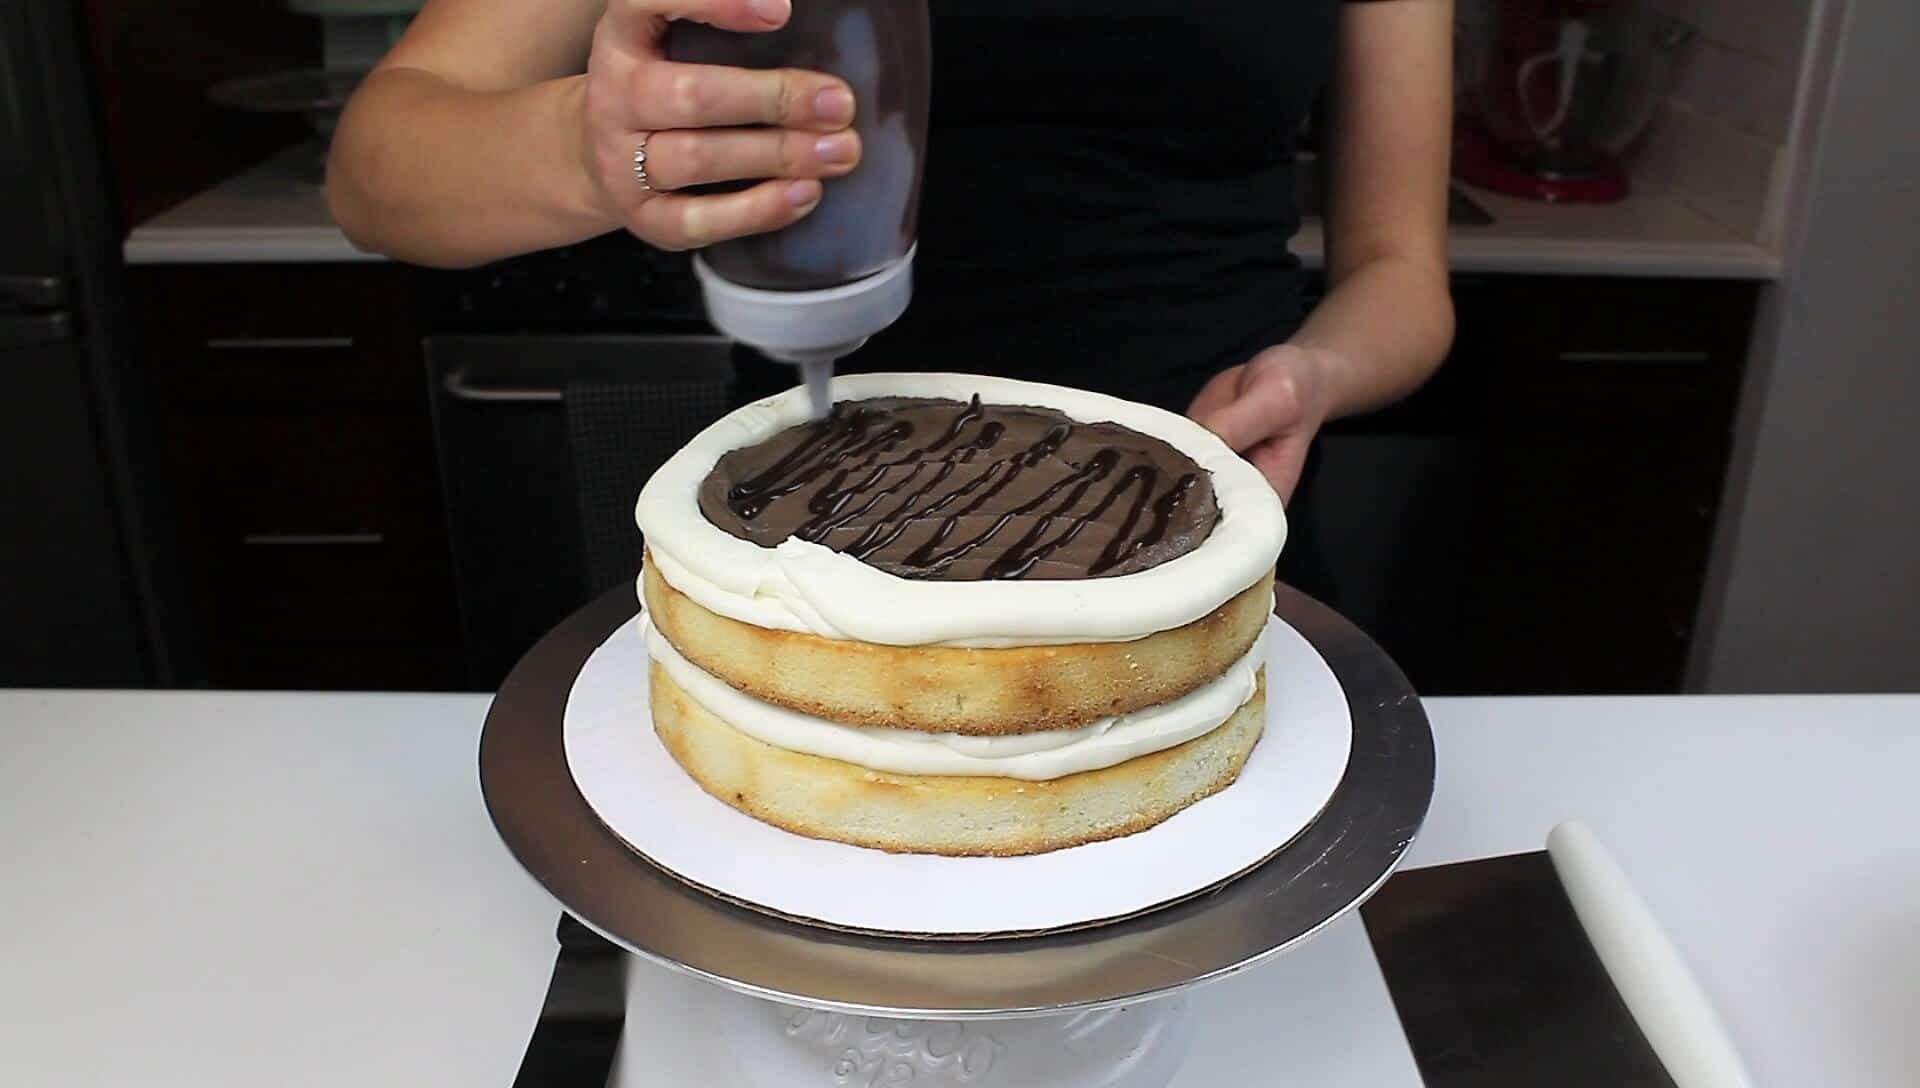
To make the dark chocolate frosting for the 8 inch tier, place 3 cups of frosting into bowl. Melt 6 oz of dark chocolate in the microwave (heat in 30 second intervals at half powers, or over a double boiler), and slowly mix into the frosting. Also add in 1/4 cup black cocoa, and an extra Tbsp of heavy cream. Stir until the ingredients are fully incorporated. Place plastic wrap directly on top of the frosting (to prevent crusting), and set aside.
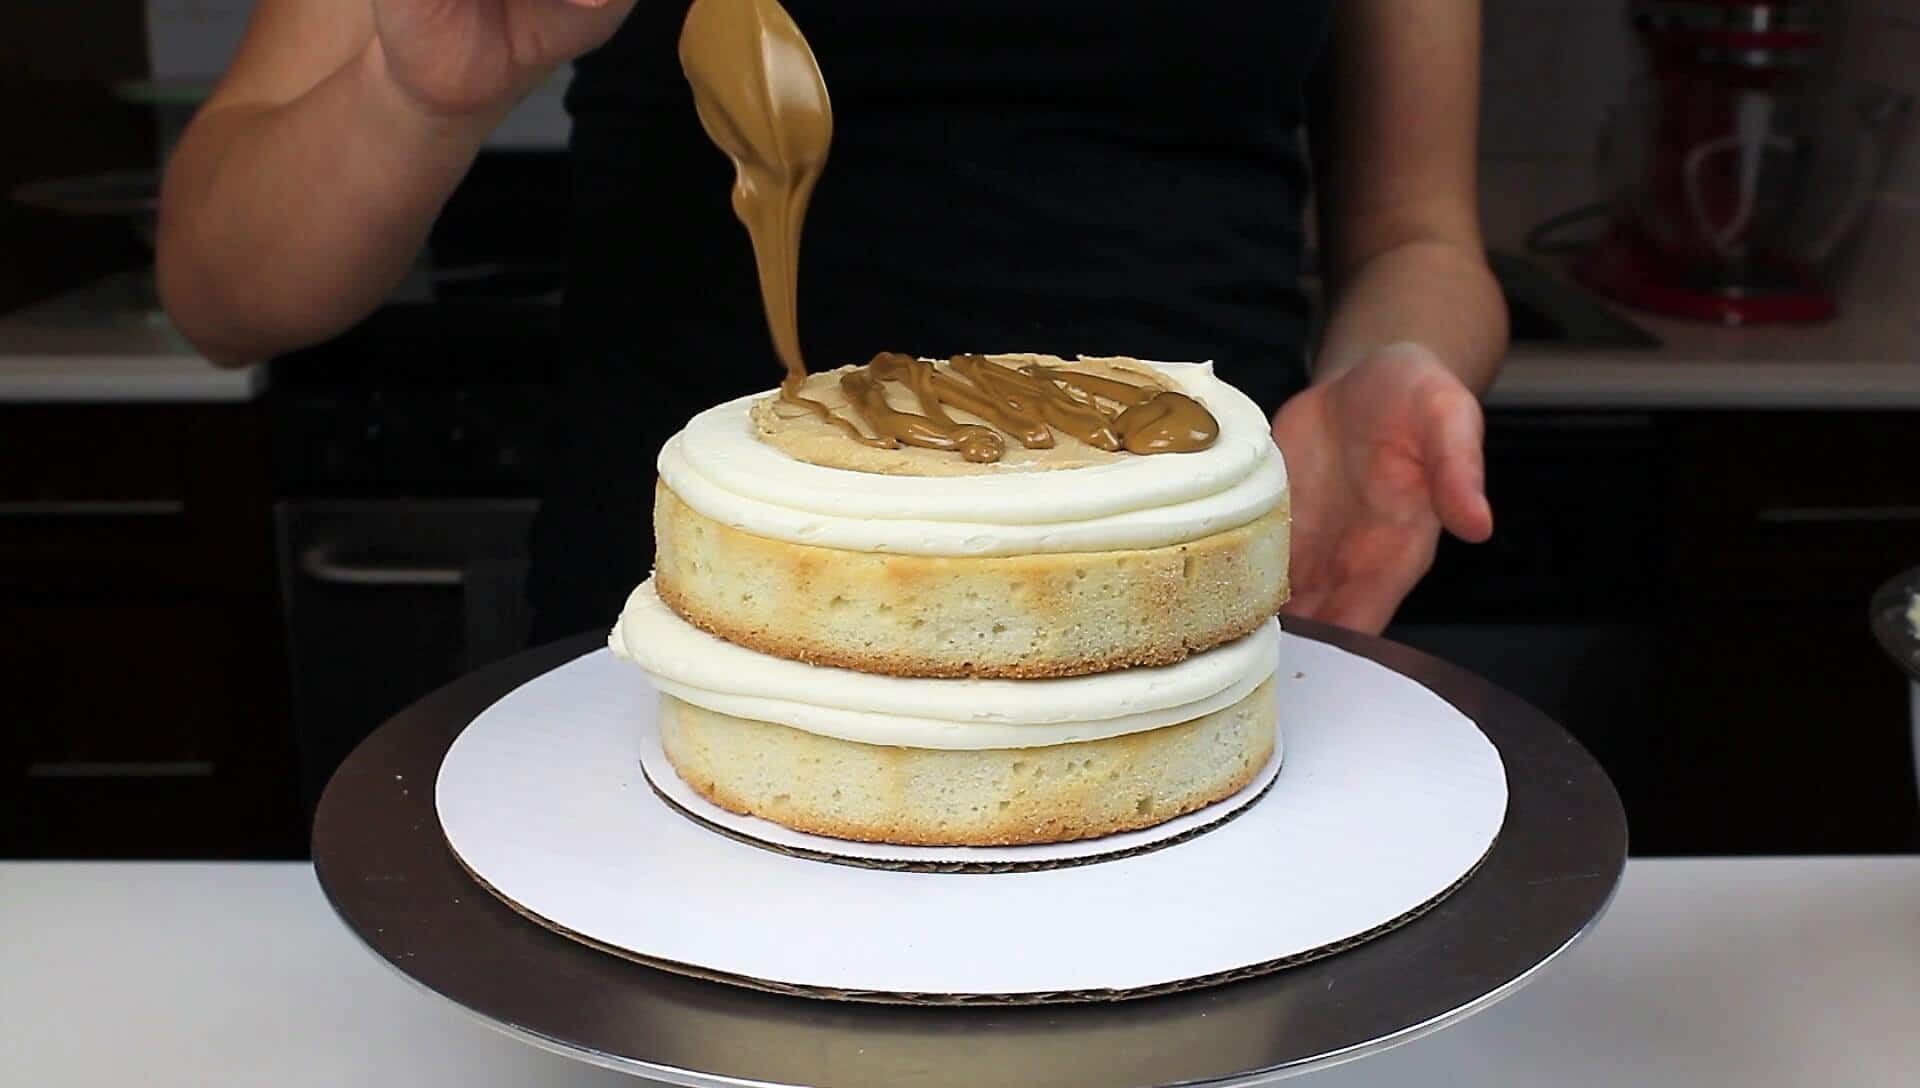
To make the cookie butter frosting for the 6 inch tier, place 1 1/2 cups of frosting into bowl. Add 2/3 cup of cookie butter, and 2 tbsp of additional heavy cream into the frosting. Stir until the ingredients are fully mixed in. Place saran wrap directly on top of the frosting (to prevent crusting), and set aside.
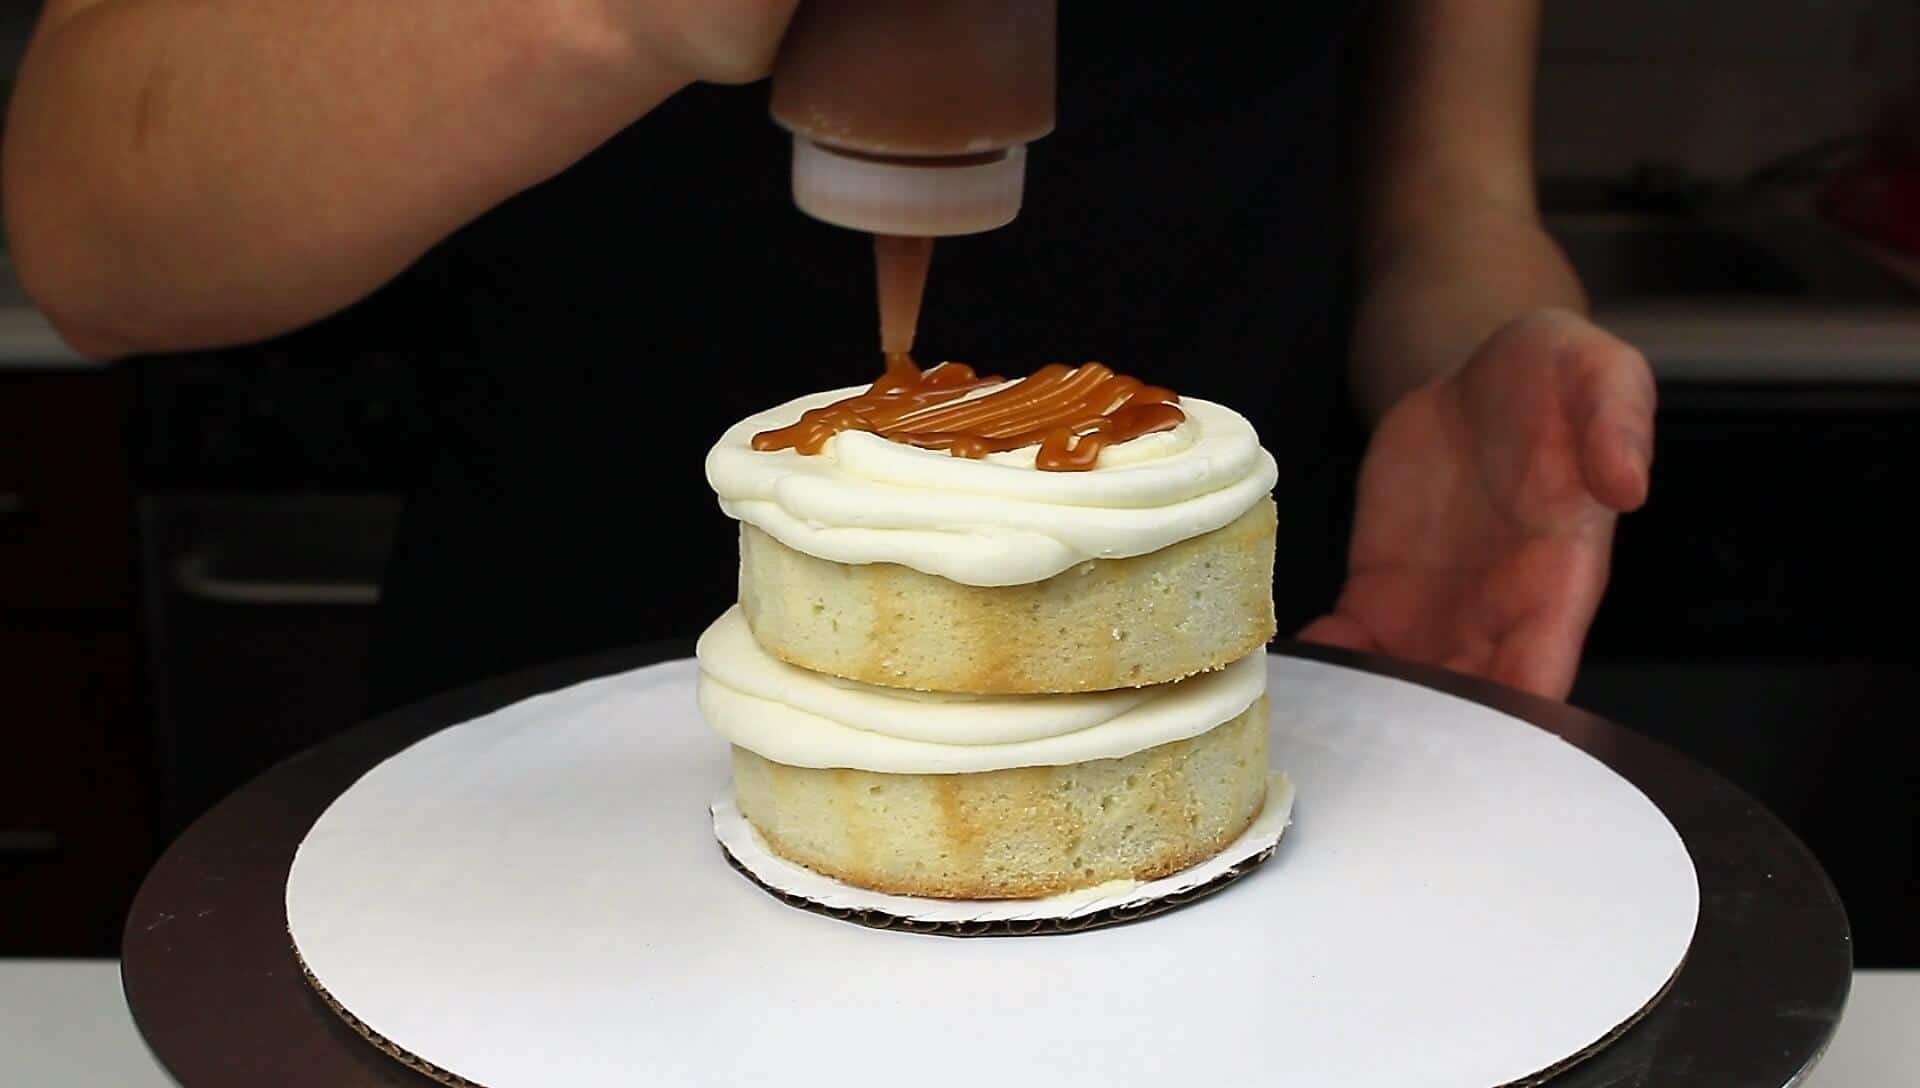
To make the caramel frosting for the 4 inch tier, place 2/3 of a cup of frosting into bowl. Add 1/4 cup of caramel into the frosting. Stir until the caramel is fully incorporated. Place saran wrap directly on top of the frosting (to prevent crusting), and set aside.
Place the remaining vanilla buttercream into large piping bags.
Begin to assemble each tier. Build the 8 inch tier on a thick, 10 inch cake drum. Carve a hole in the center of the drum, to place a thick dowel through the center of the cake. This keeps the cake stable, and helps ensure that the tiers are properly centered. Cut holes into the center of a 6 inch and 4 inch cake round, large enough to easily allow the central dowel to pass through them. Build the 6 inch tier on the 6 inch cake round, and the 4 inch tier on a 4 inch cake round. You can see a full tutorial on to make a a tiered cake here.
Pipe a ring of buttercream around the perimeter of each cake layer, and fill the center with the flavored buttercream. On top of the flavored frosting, I drizzle what it was made with (i.e. dark chocolate ganache, warmed cookie butter, and caramel). Be sure that each tier is taller than the height of the lace! If you add a generous amount of buttercream between each layer, each tier should be just high enough.


Cover the cake in a thin crumb coat with any remaining chocolate frosting, and chill in the freezer or fridge for about 5 minutes. Once the crumb coat is firm to the touch, add a second layer of vanilla frosting. Smooth using a bench scraper. You can see a full tutorial on how to frost a cake with smooth sides here.
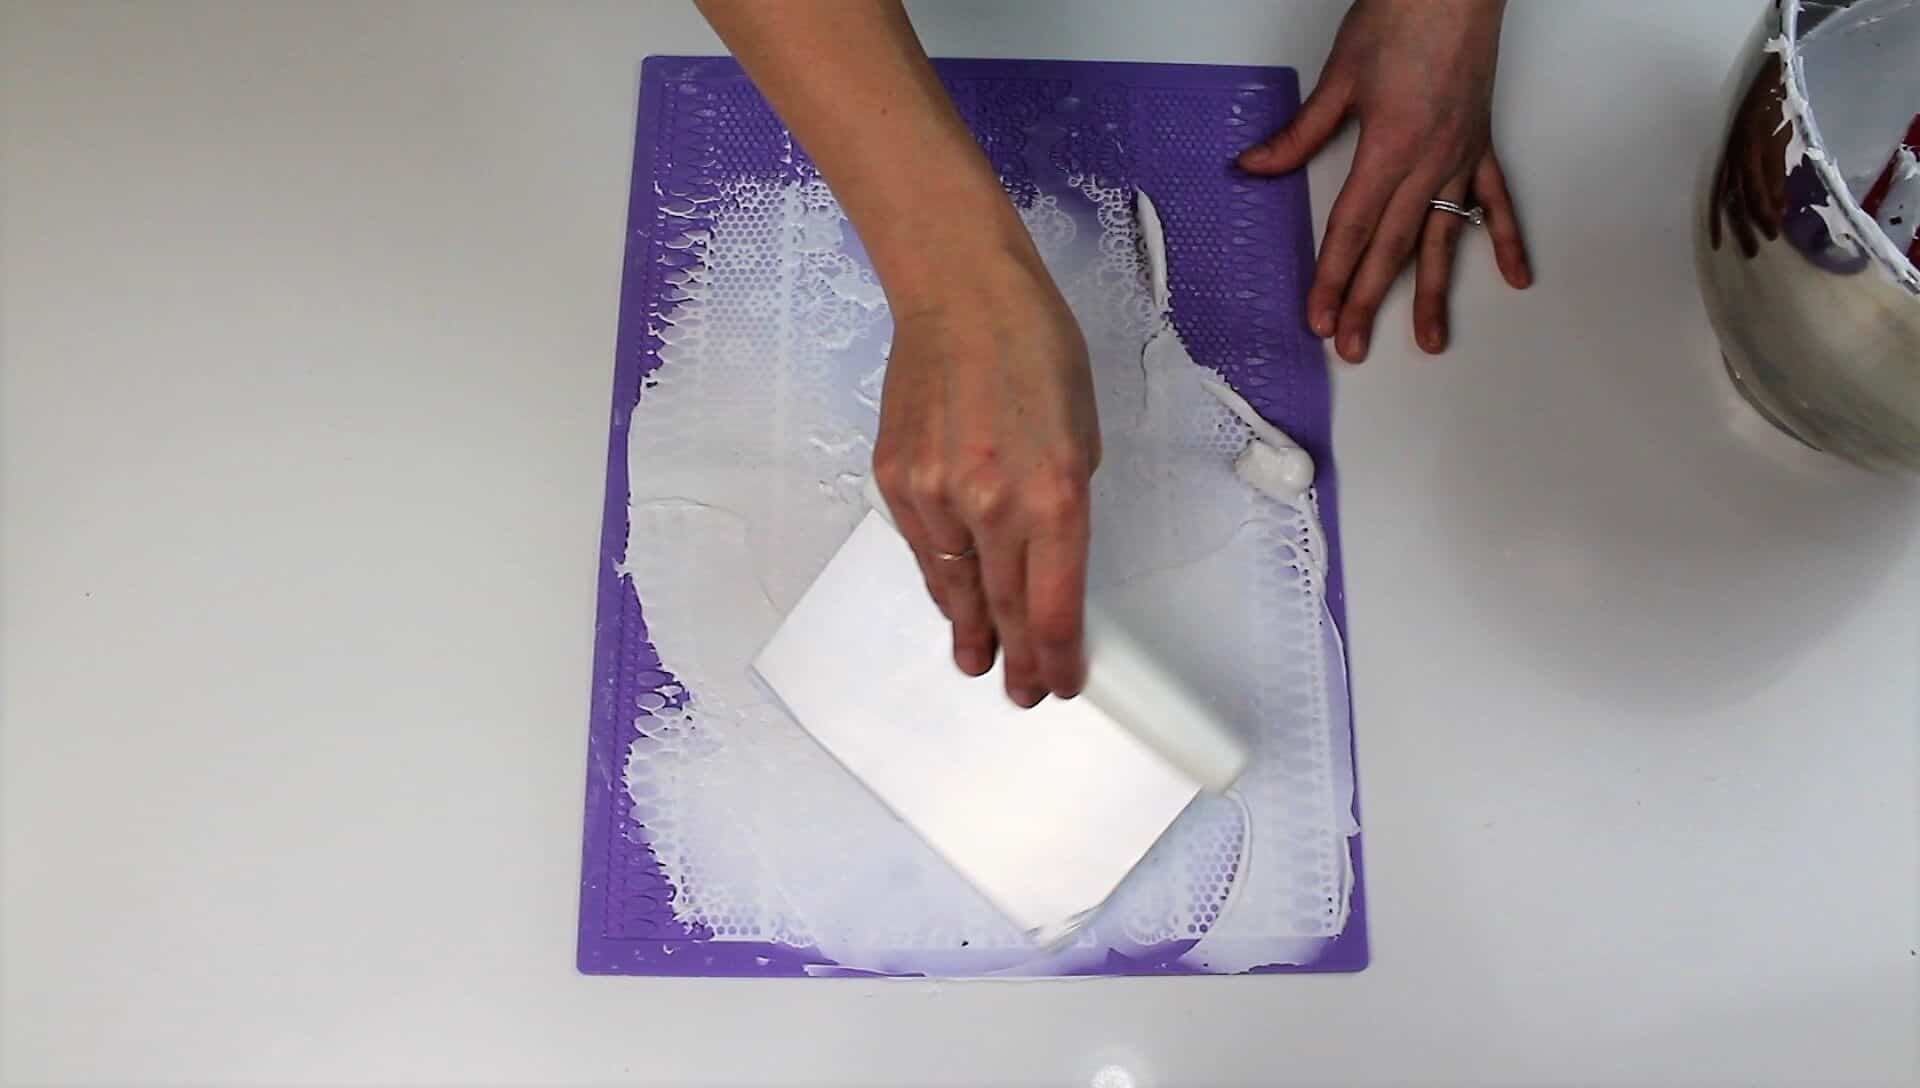
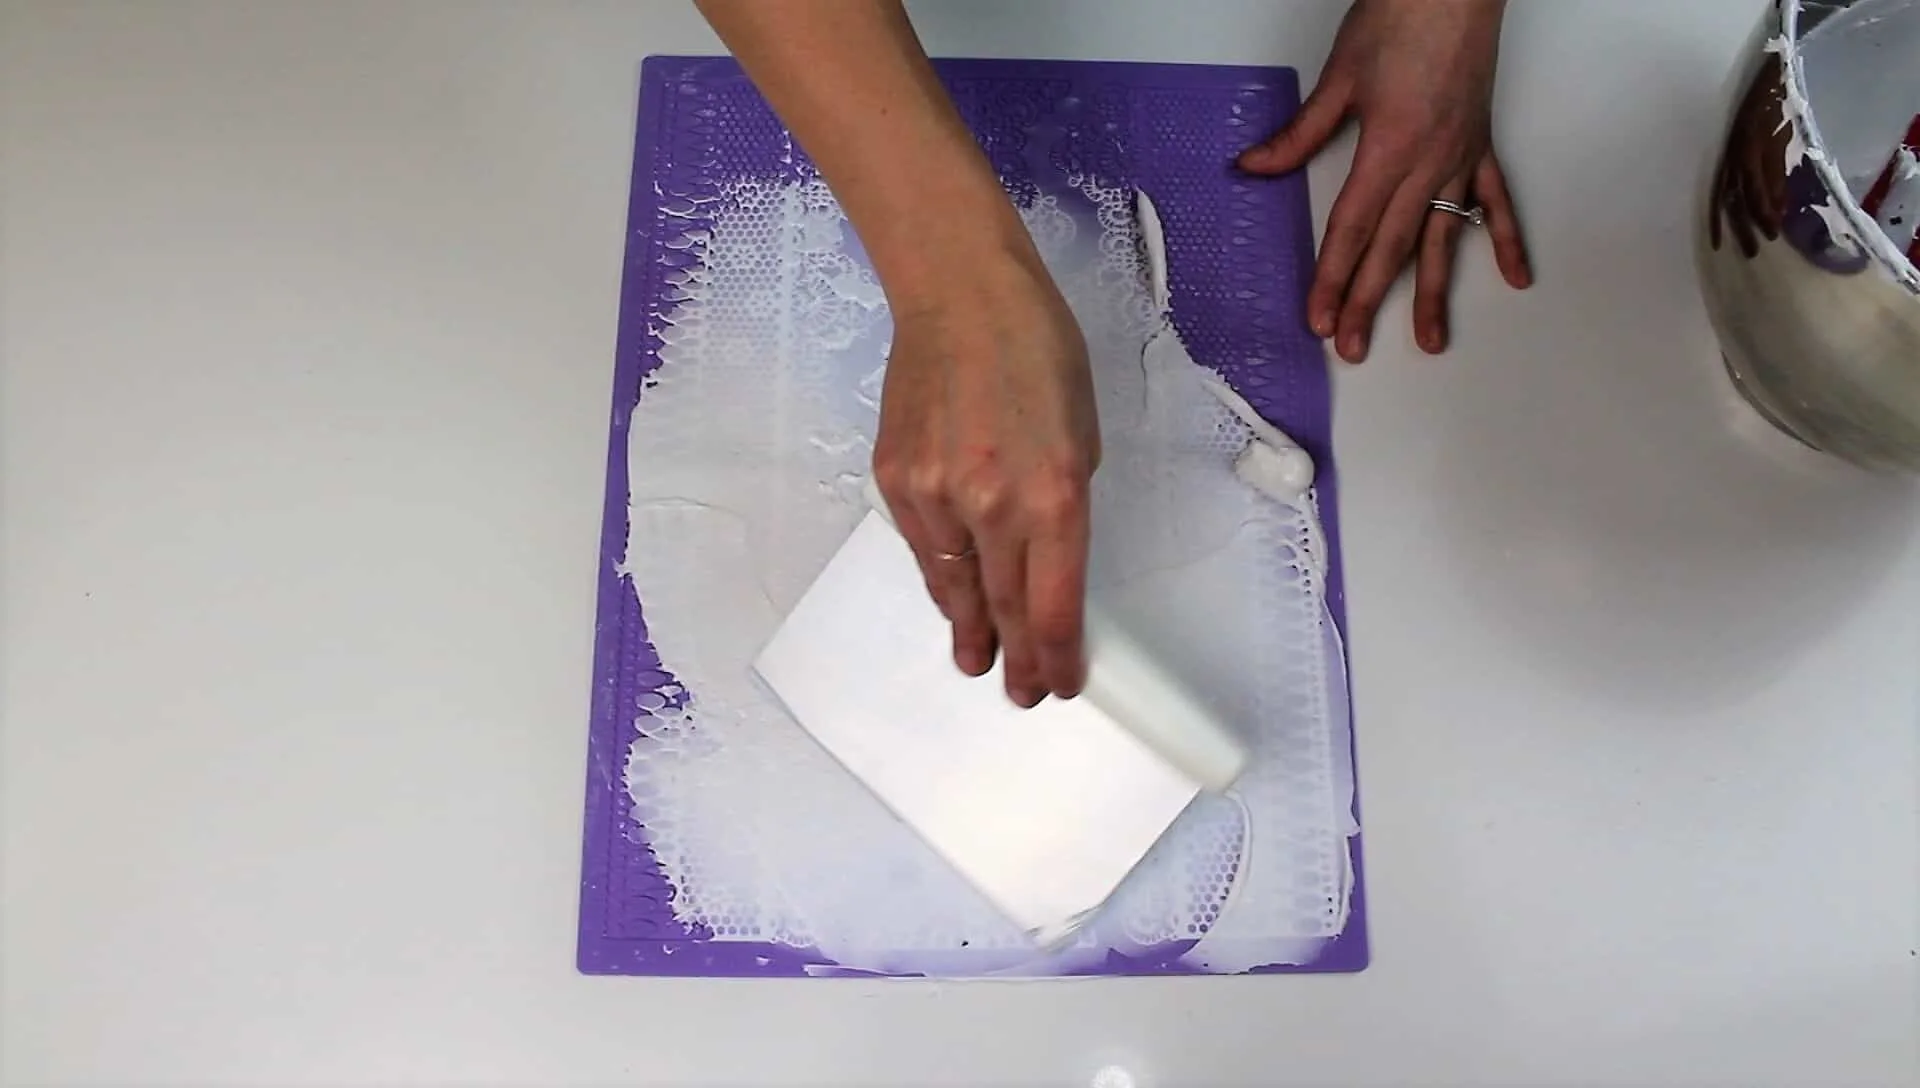
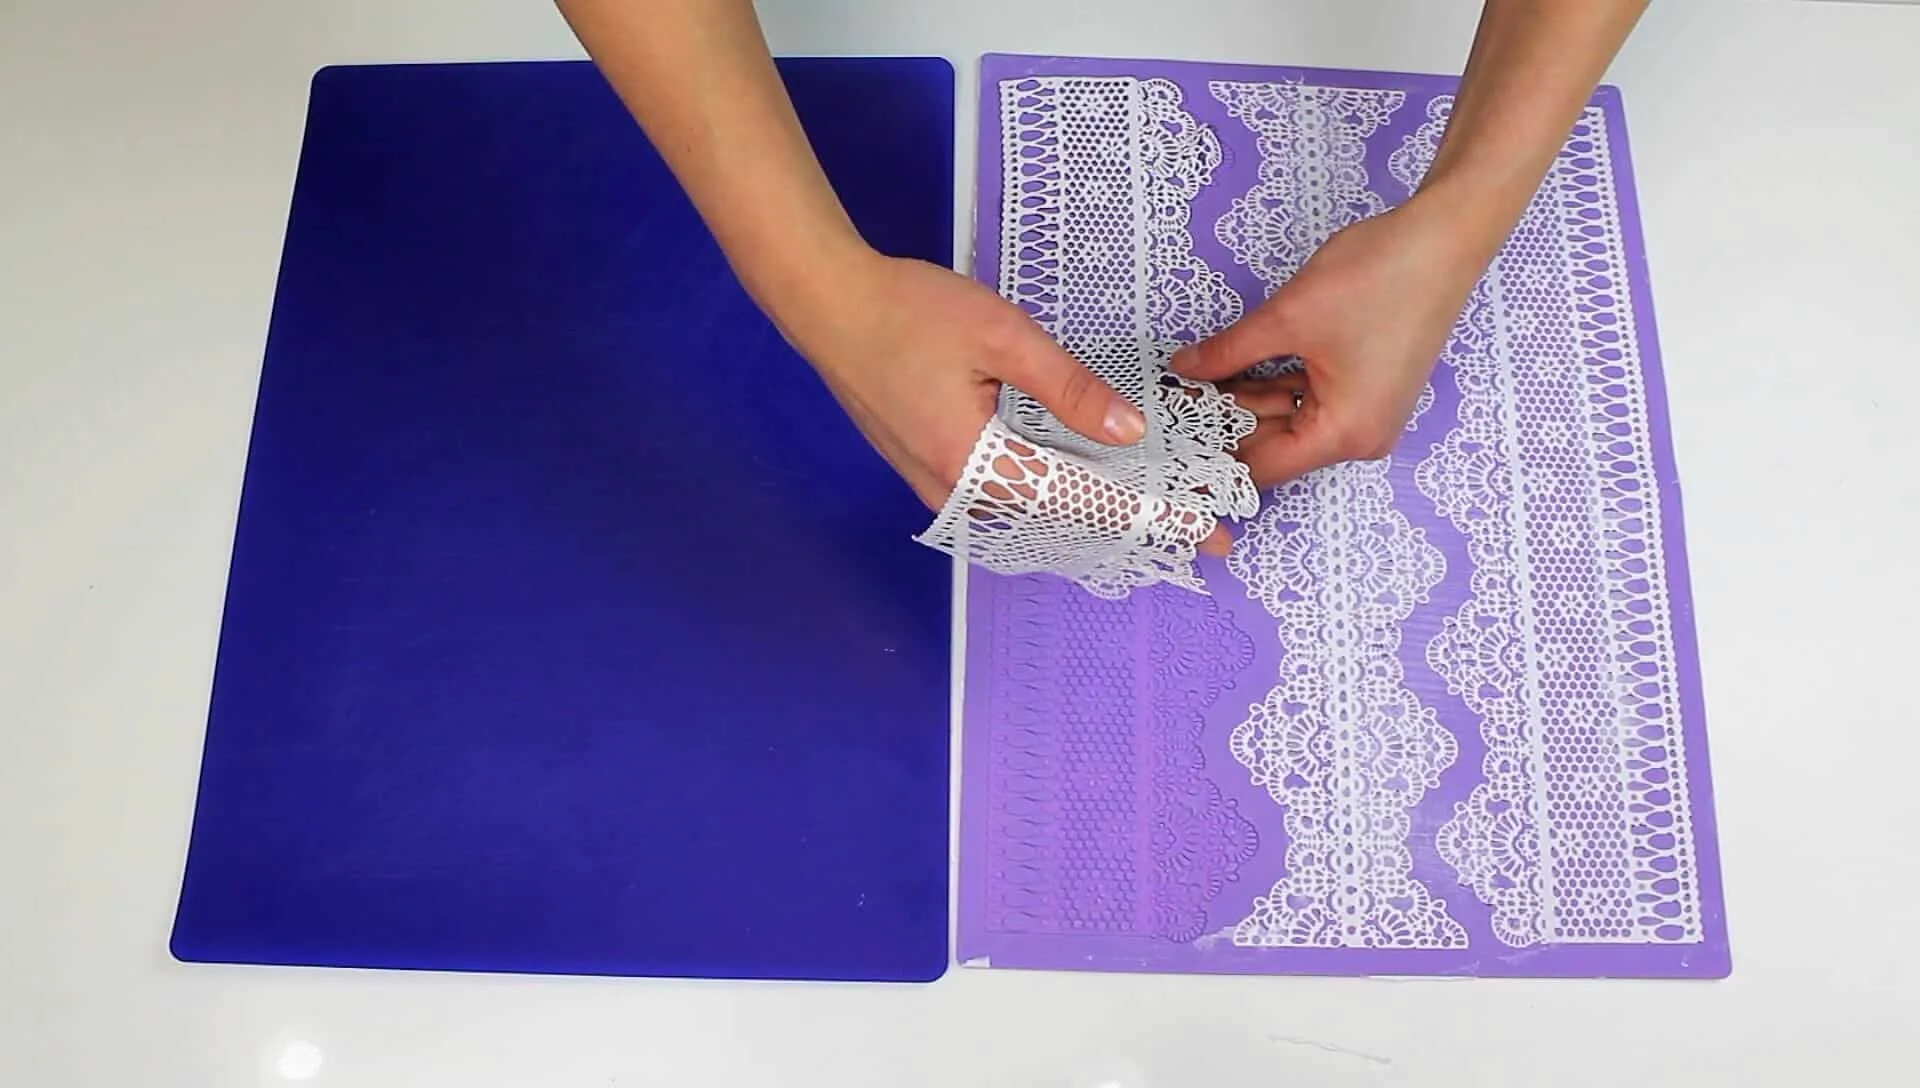
Once the layers are made, prepare the edible lace. Preheat oven to 250 degrees F. Use 100 g of this powder mixed with 80 g of room temperature water. Whisk the mixture with the whisk attachment, until it has a thick, almost meringue-like texture. Then spread it evenly over a silicone lace mold.
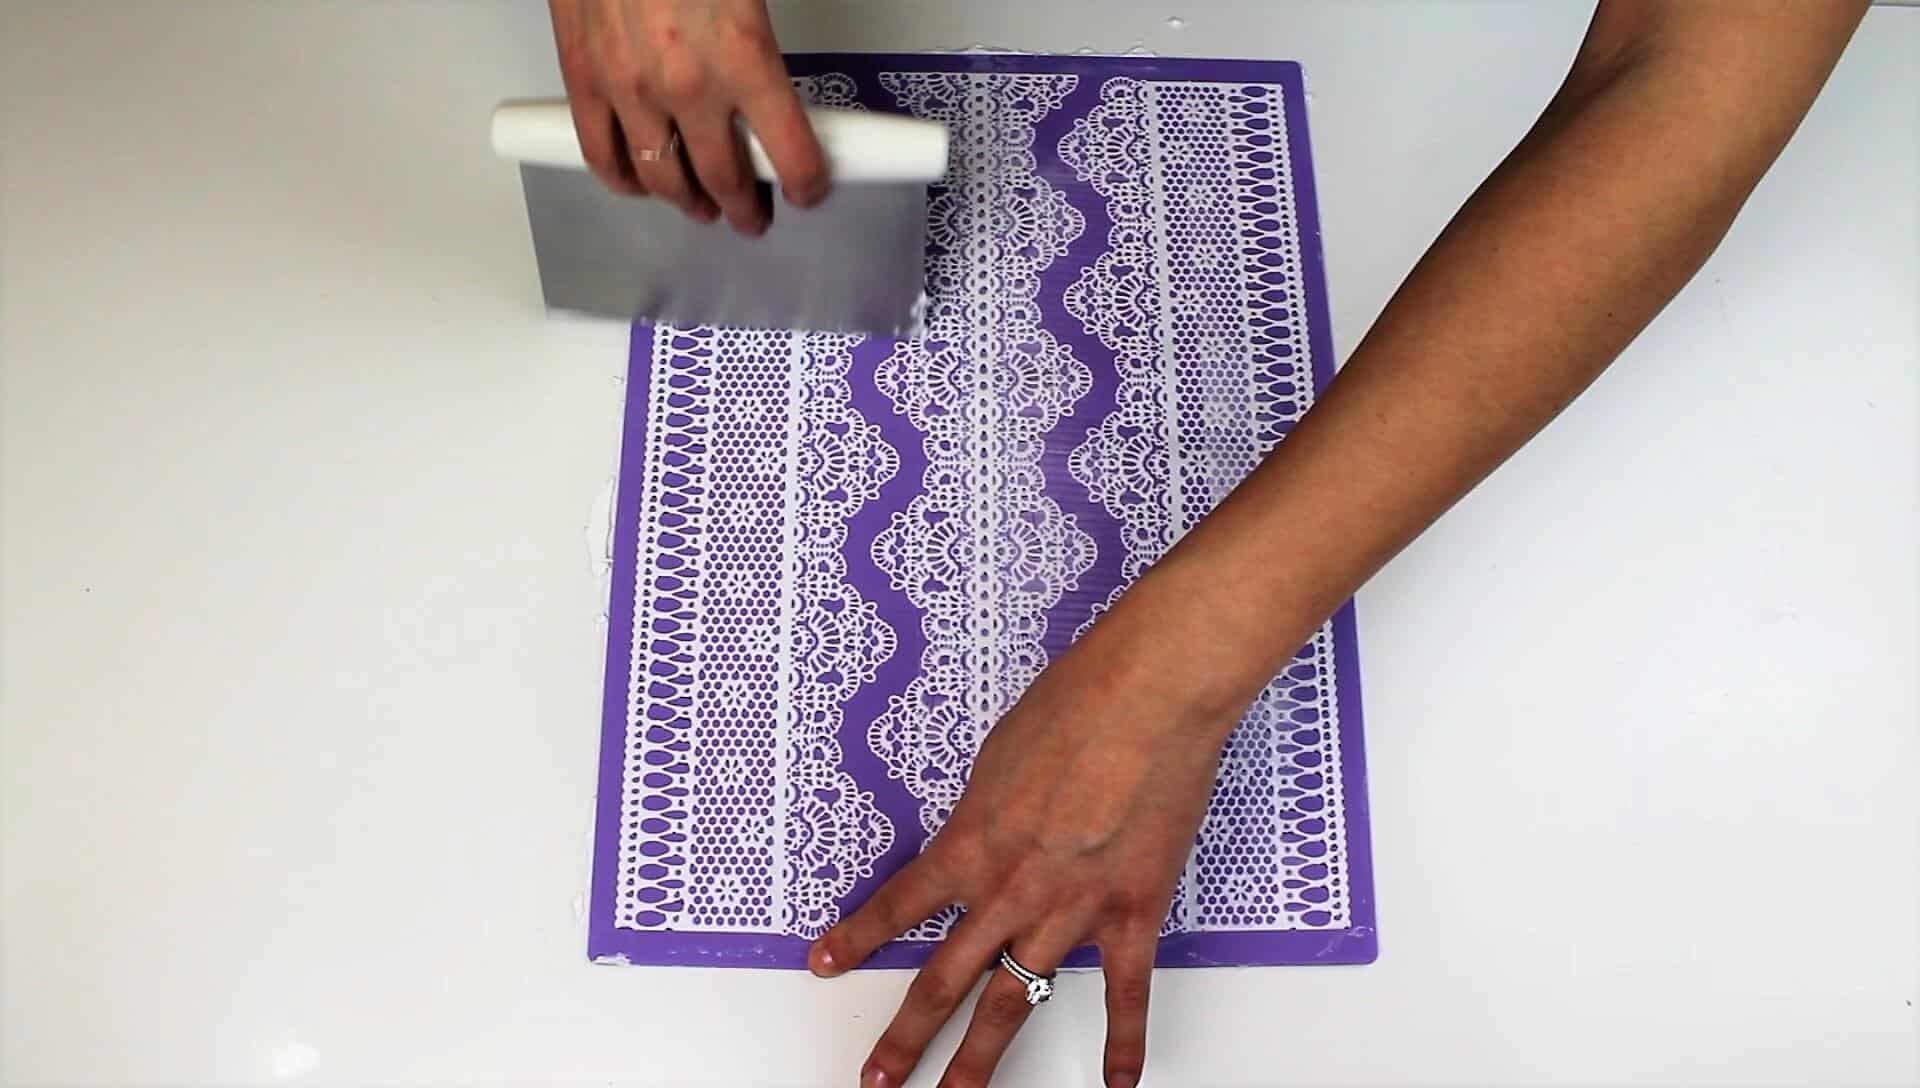
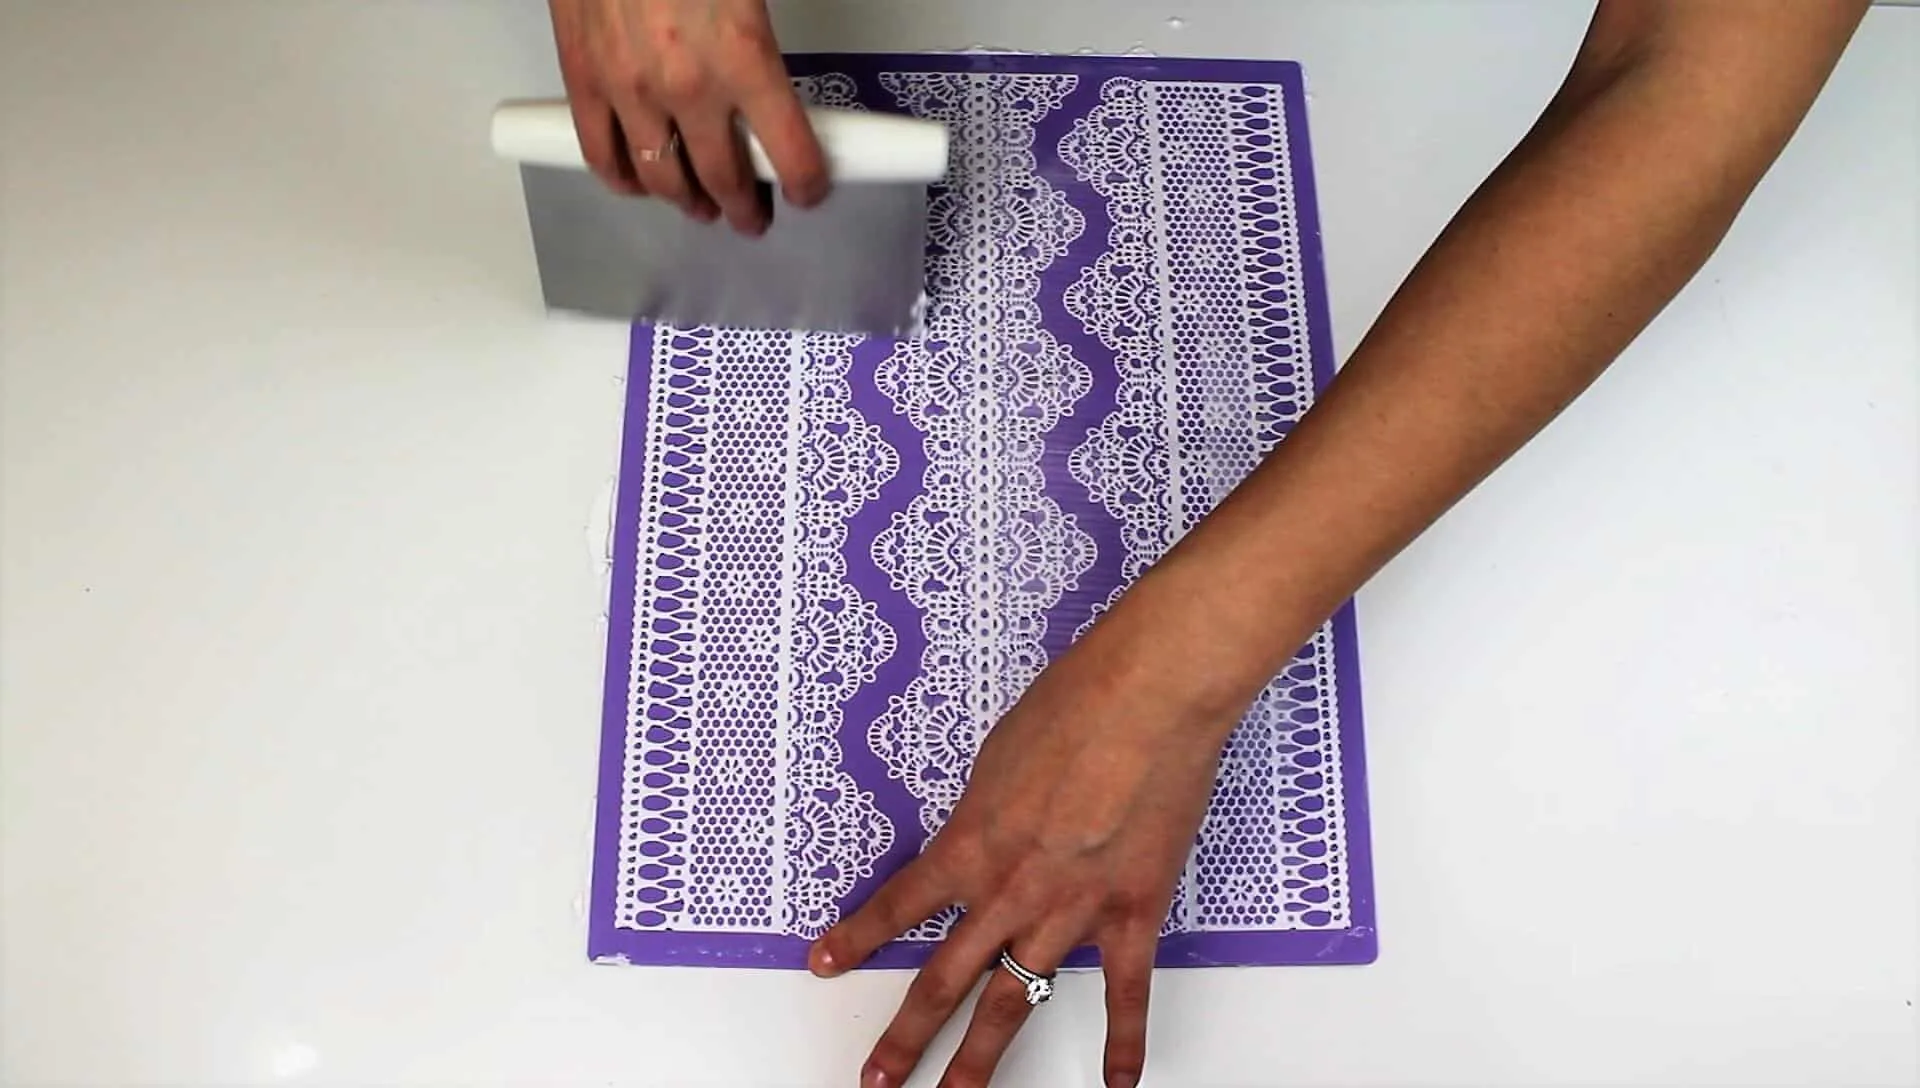
Use a bench scrapper to get the lace mixture into every nook and cranny of the mold, and to remove any excess mixture from the sides. Bake for about 16 minutes, then allow the lace to cool for 2 hours. Carefully lift the corners of the lace, and gently peel out of the silicone mold.
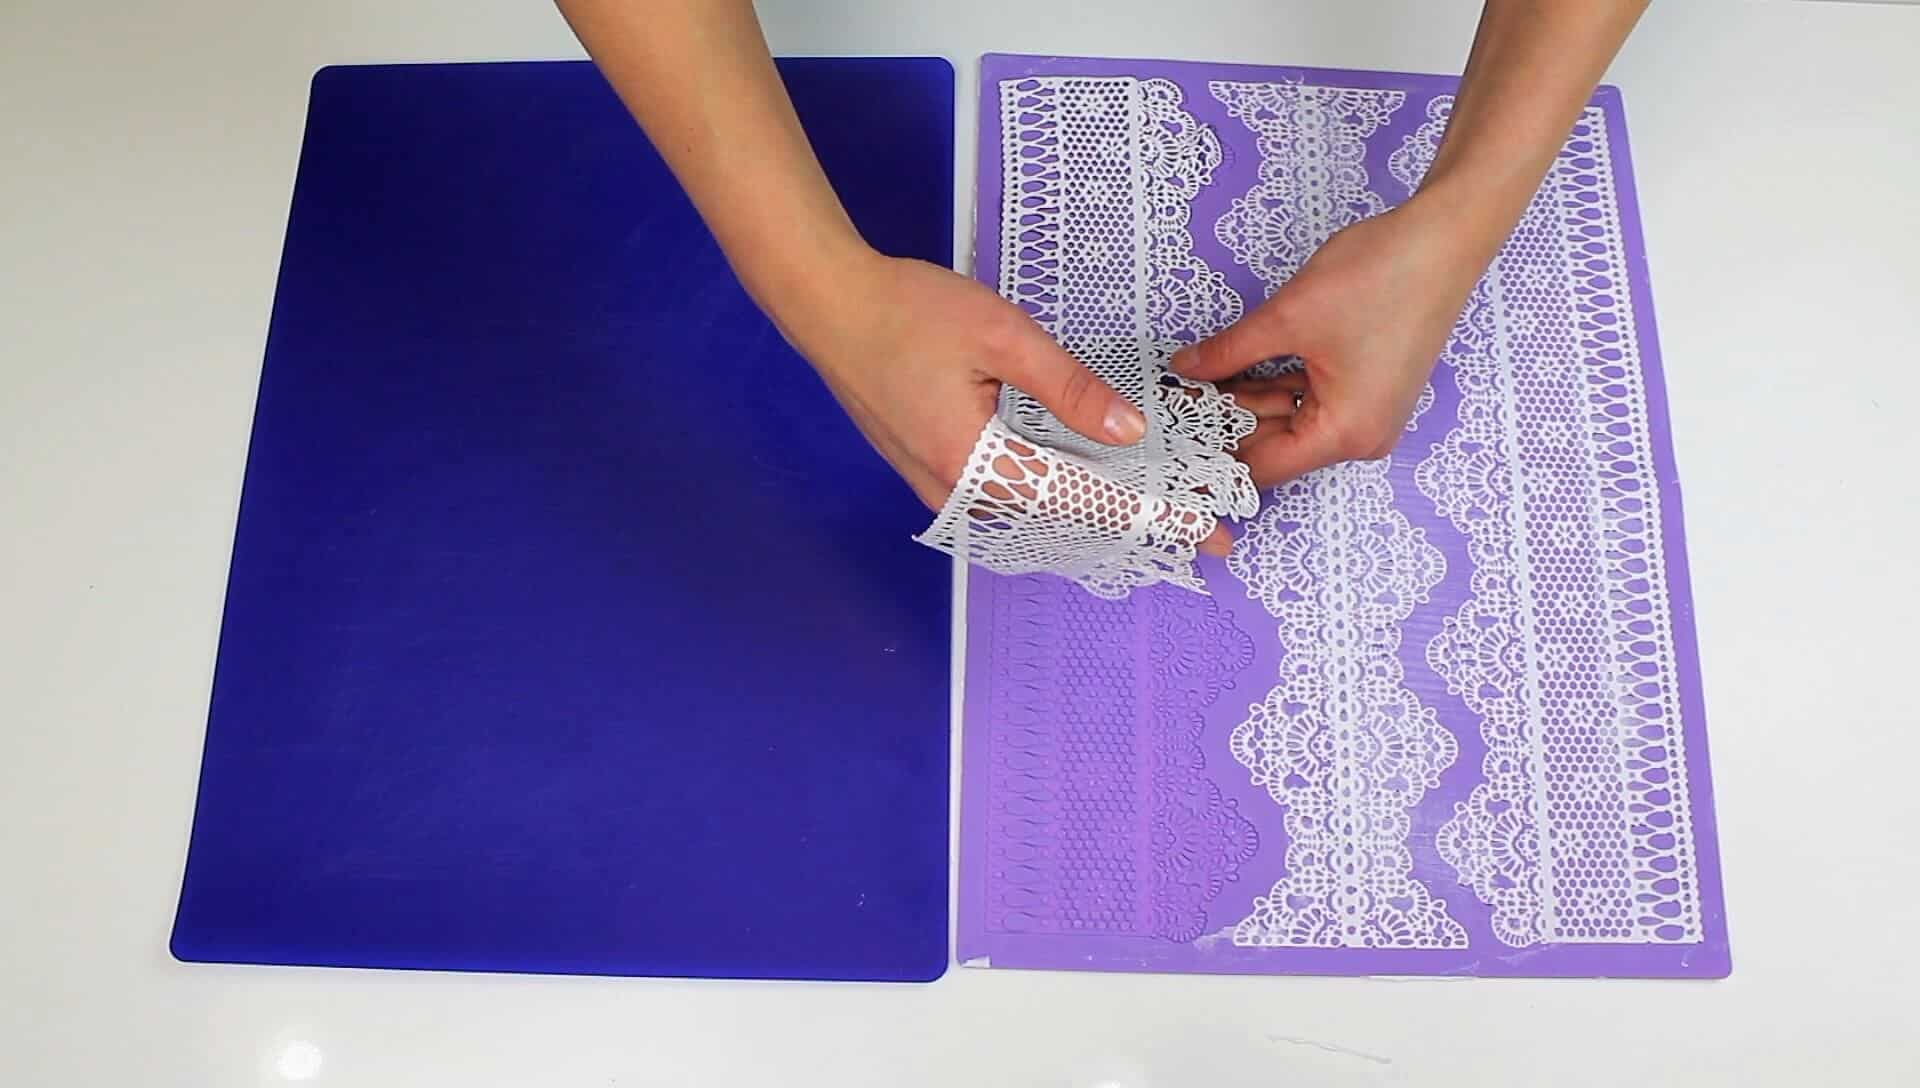
Measure the circumference of each tier using tape measure, and trim the lace to be exactly the length of each tier’s circumference. Pipe a very thin ring of buttercream around the middle of each tier, and carefully press the lace onto each tier.
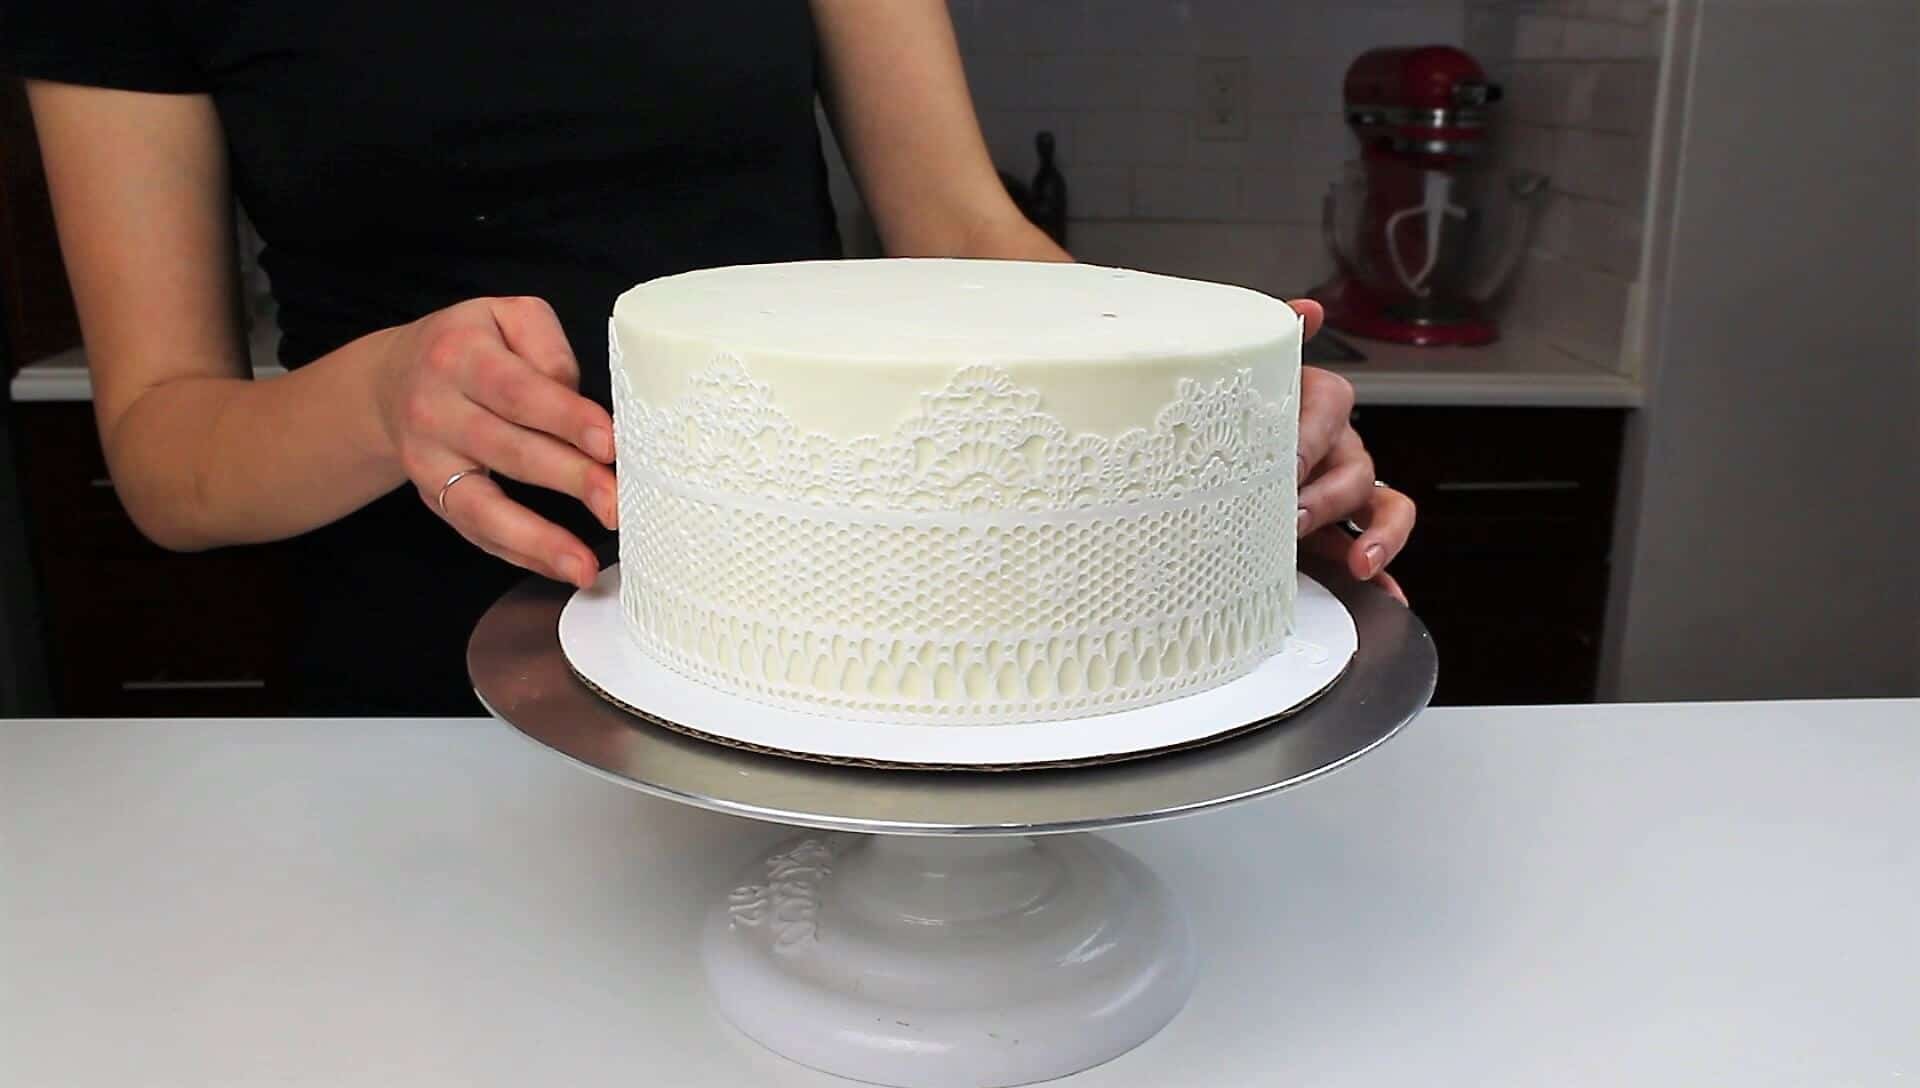
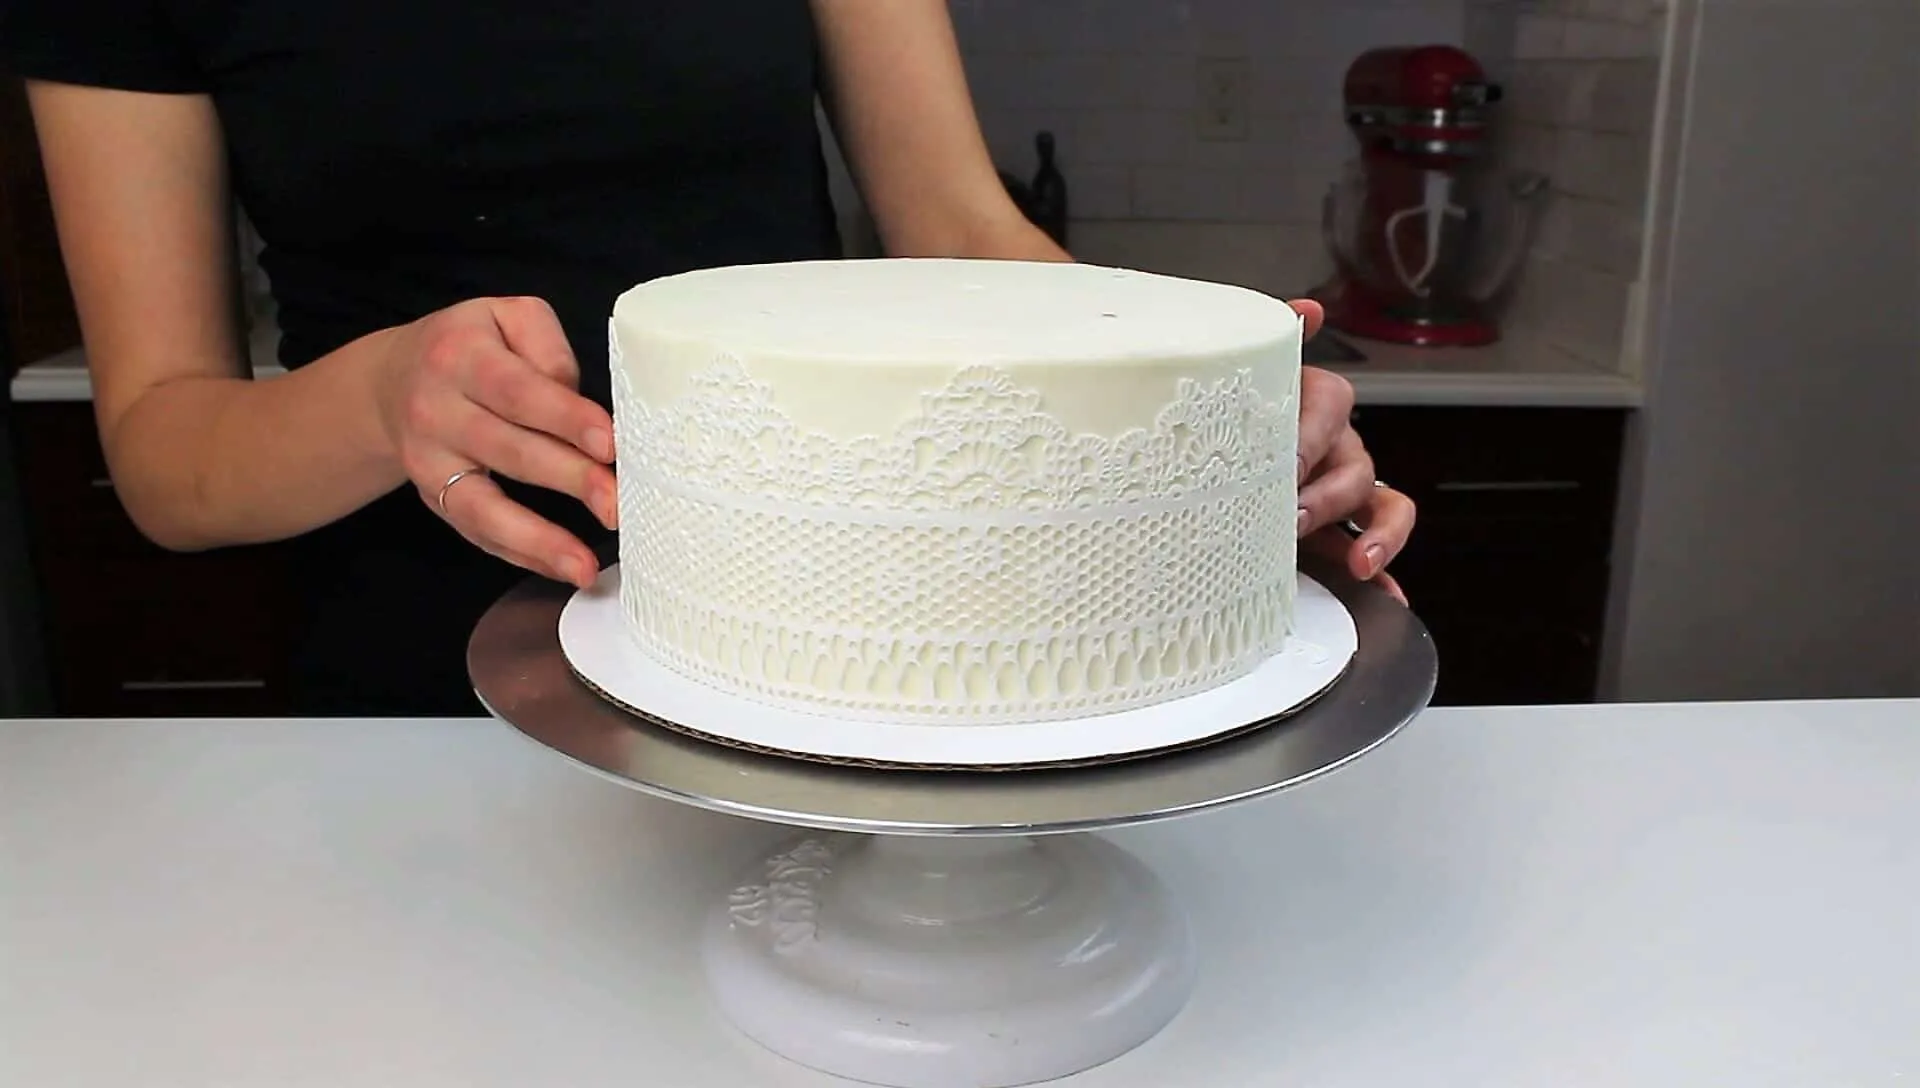
It’s important that this is done shortly after the lace has cooled, or else the lace will become brittle, and break as you try to wrap it around the tiers. Next, stack the tiers. Begin by placing 4 thinner dowels or bubble tea straws cut to the same height as the bottom tier. Place them so that they’re evenly spaced (in the shape of a square), and about 2.5 inches from the central, thicker dowel.
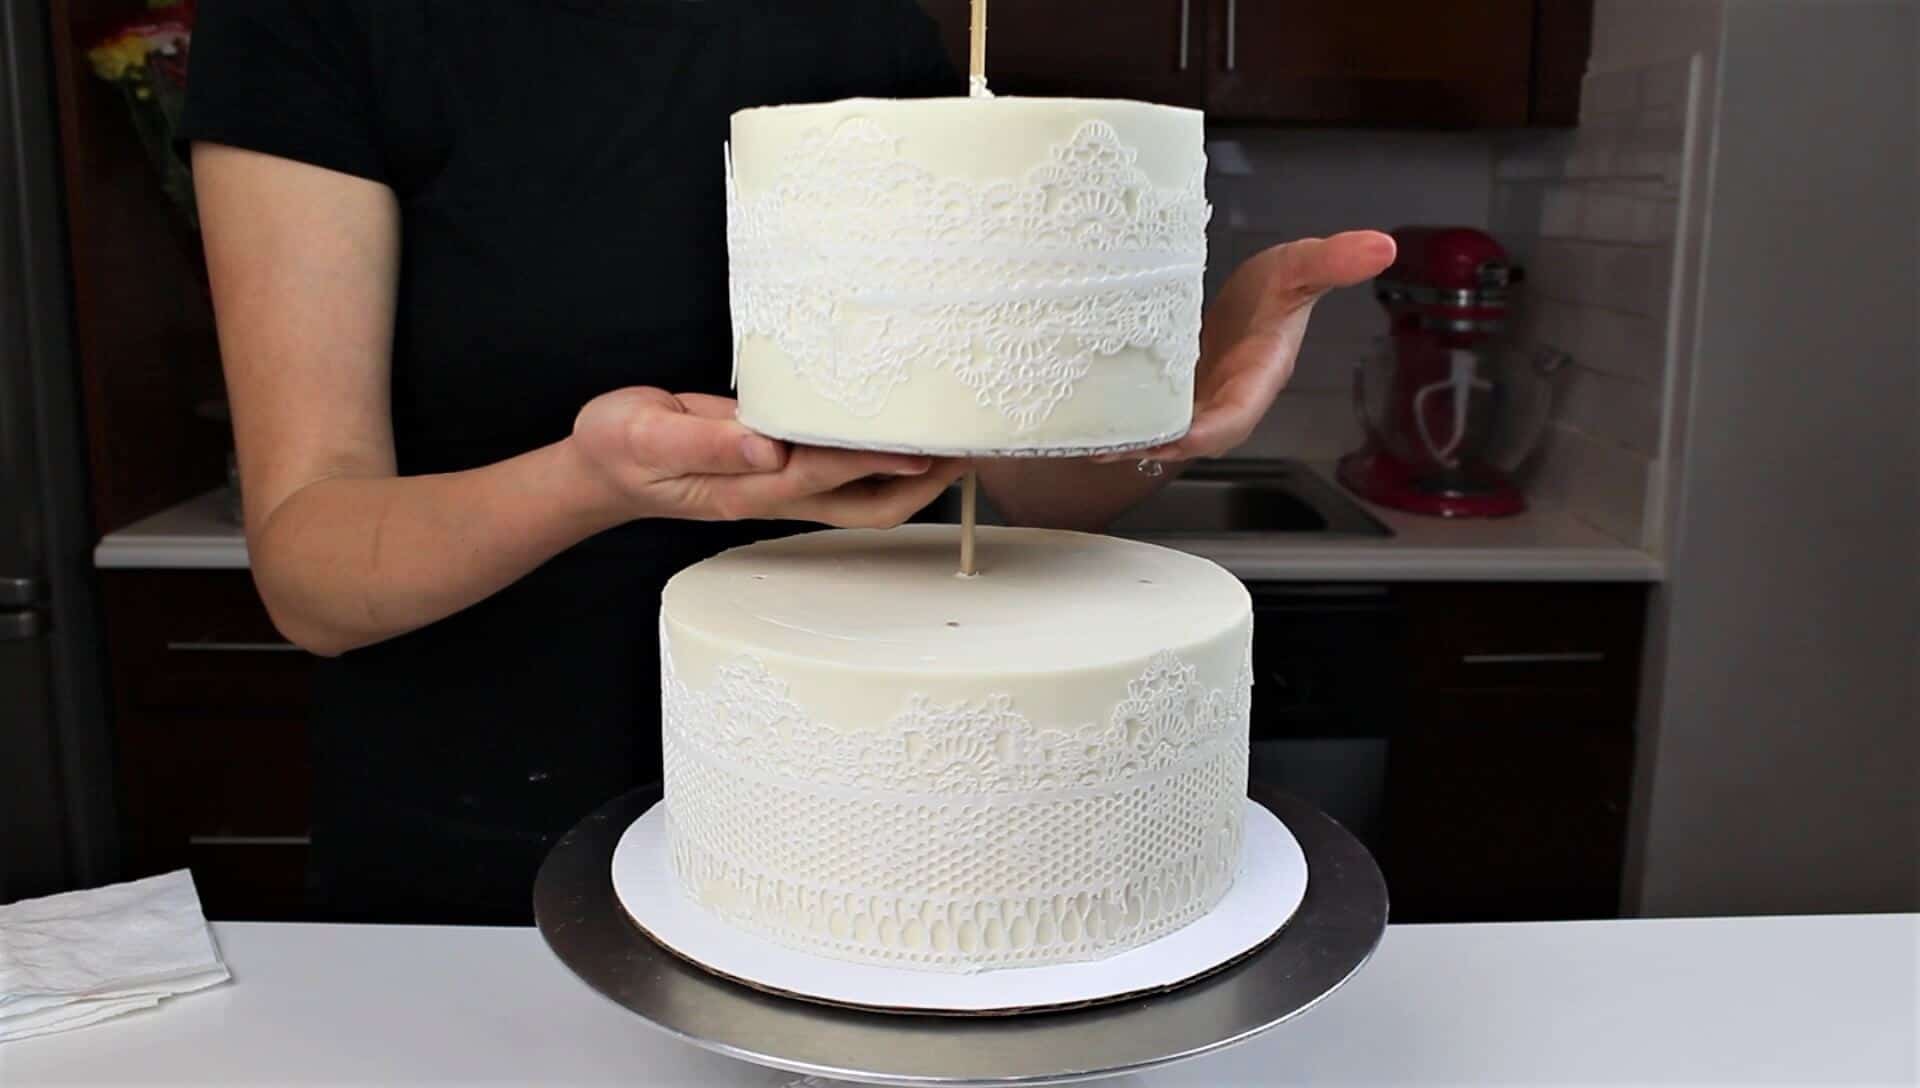
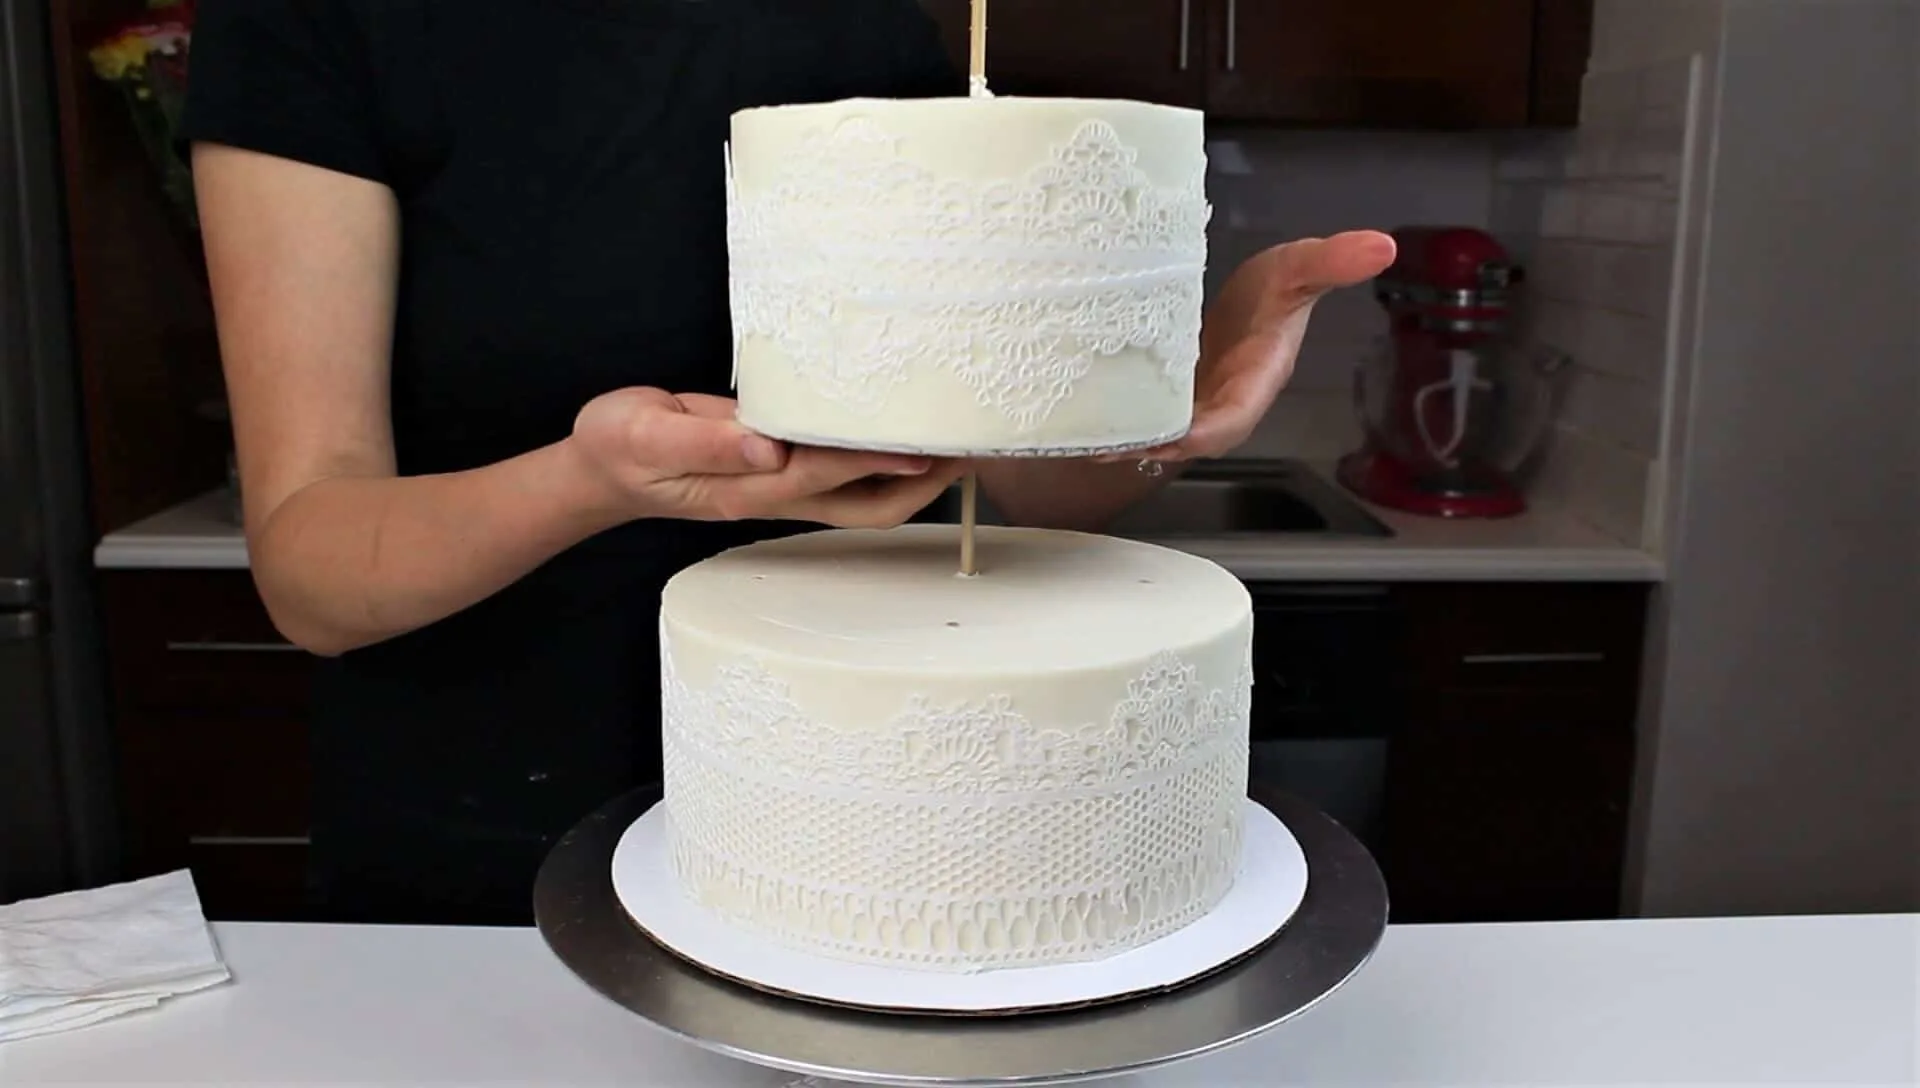
Carefully place the second tiered onto the central dowel, and slowly slide it down until it’s resting on top of the bottom tier. Repeat with the top tier.
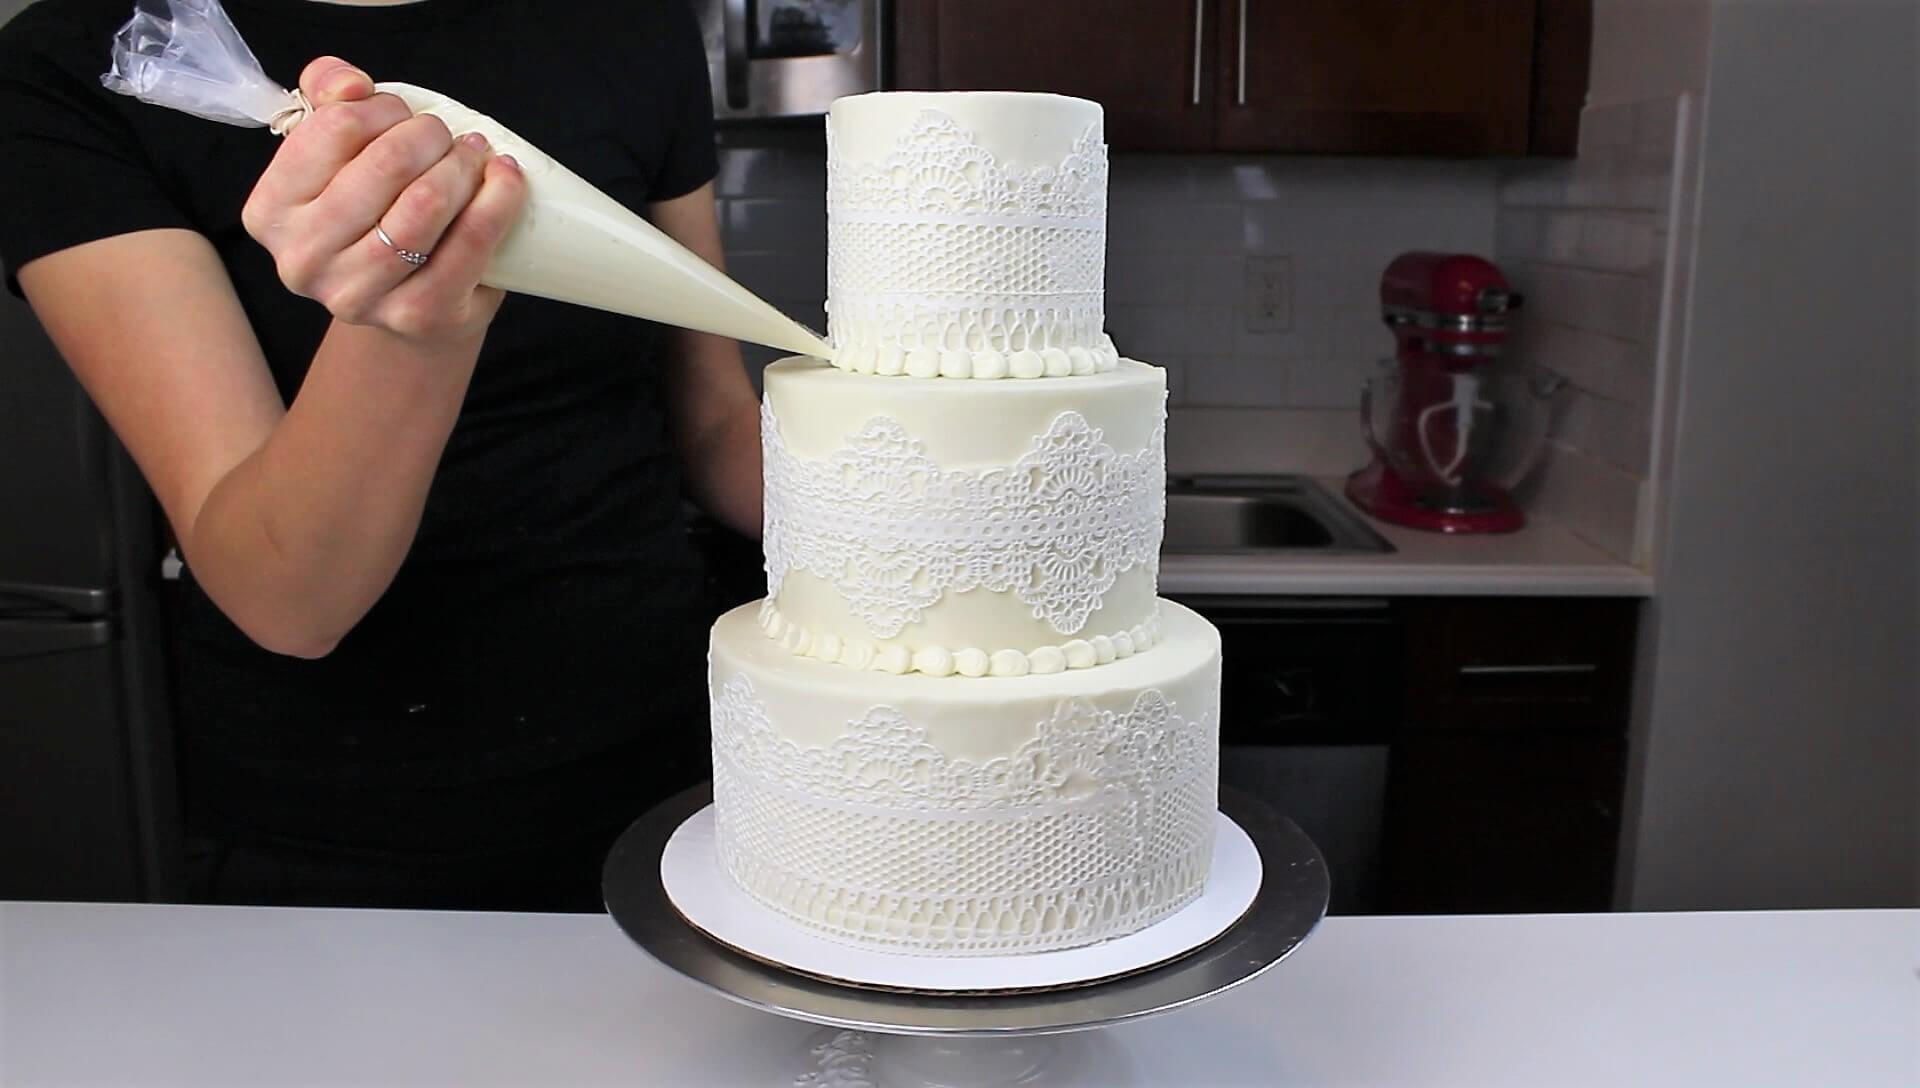
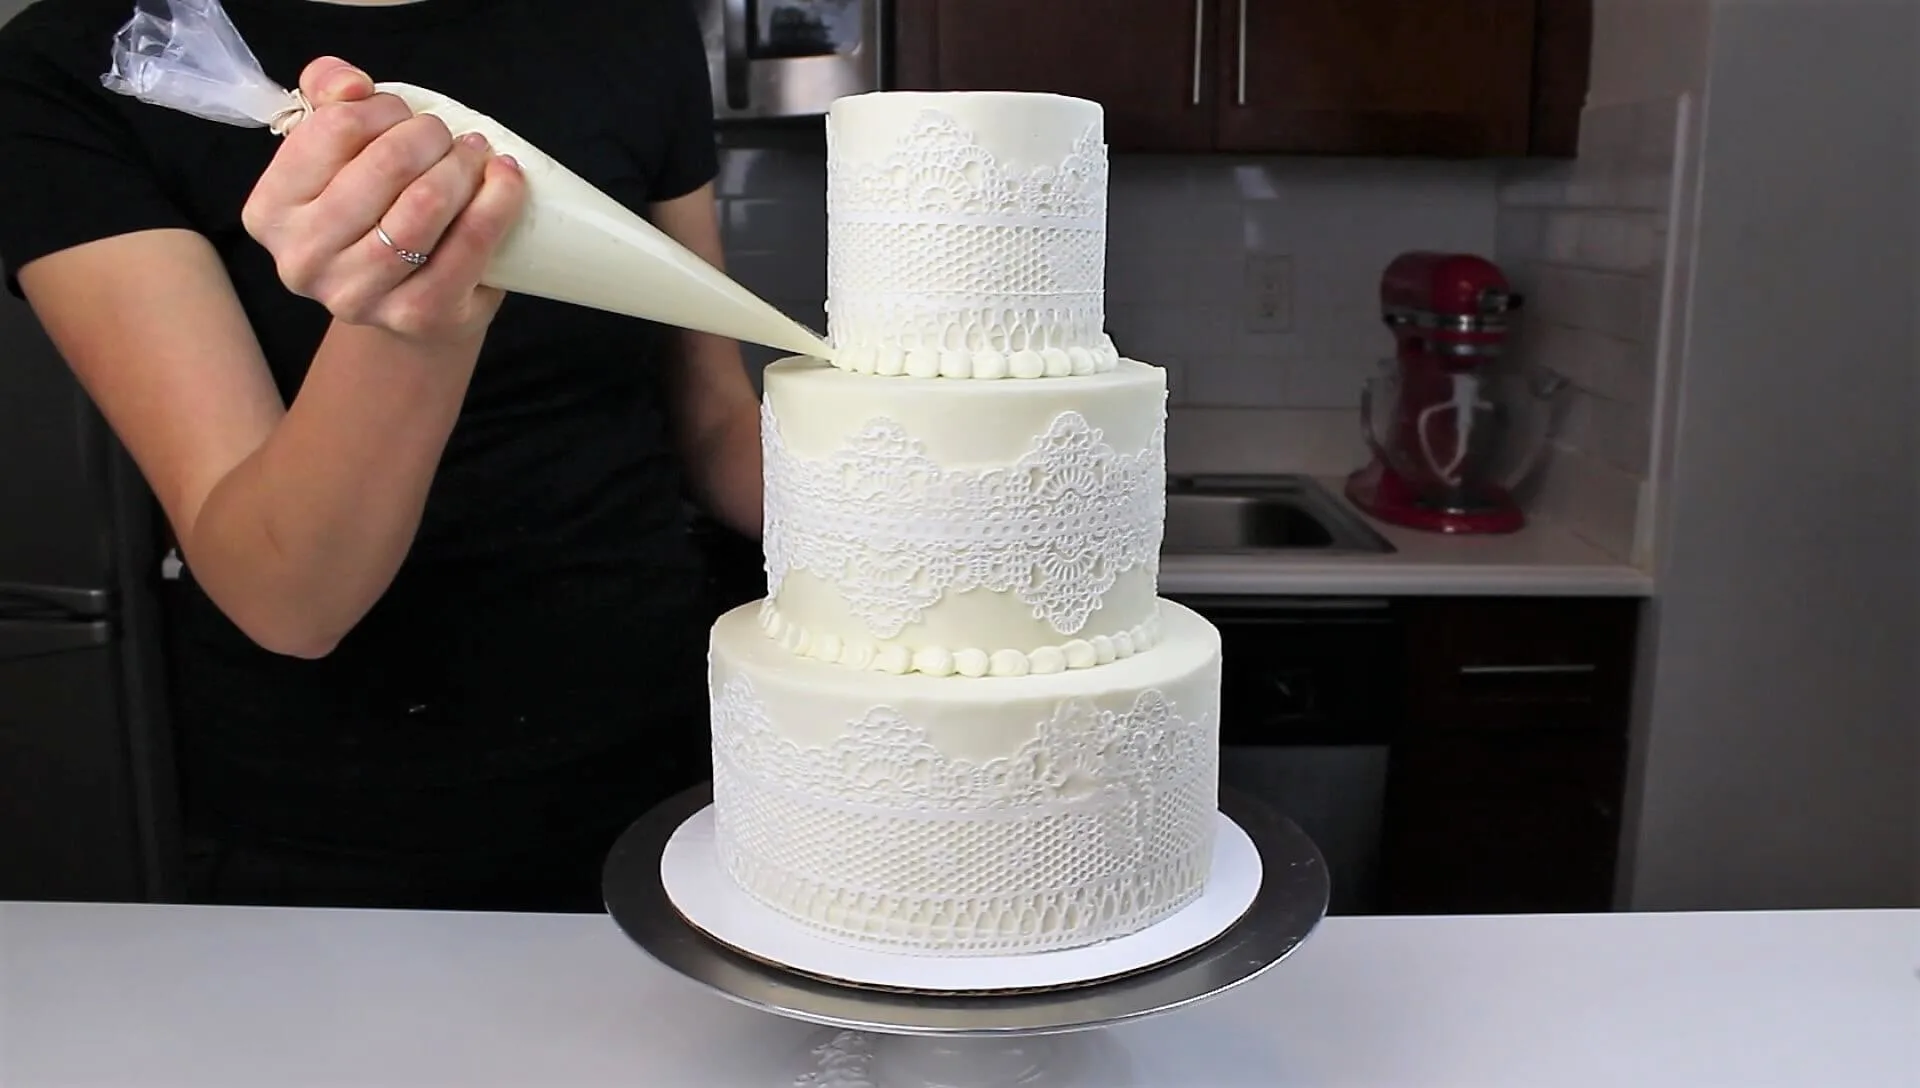
Pipe a boarder around the base of the middle and top tier, to cover the exposed cake rounds. I also added on some edible, organic white flowers, by wrapping the stems with floral tape, and securing them to the cake using some additional dabs of buttercream.
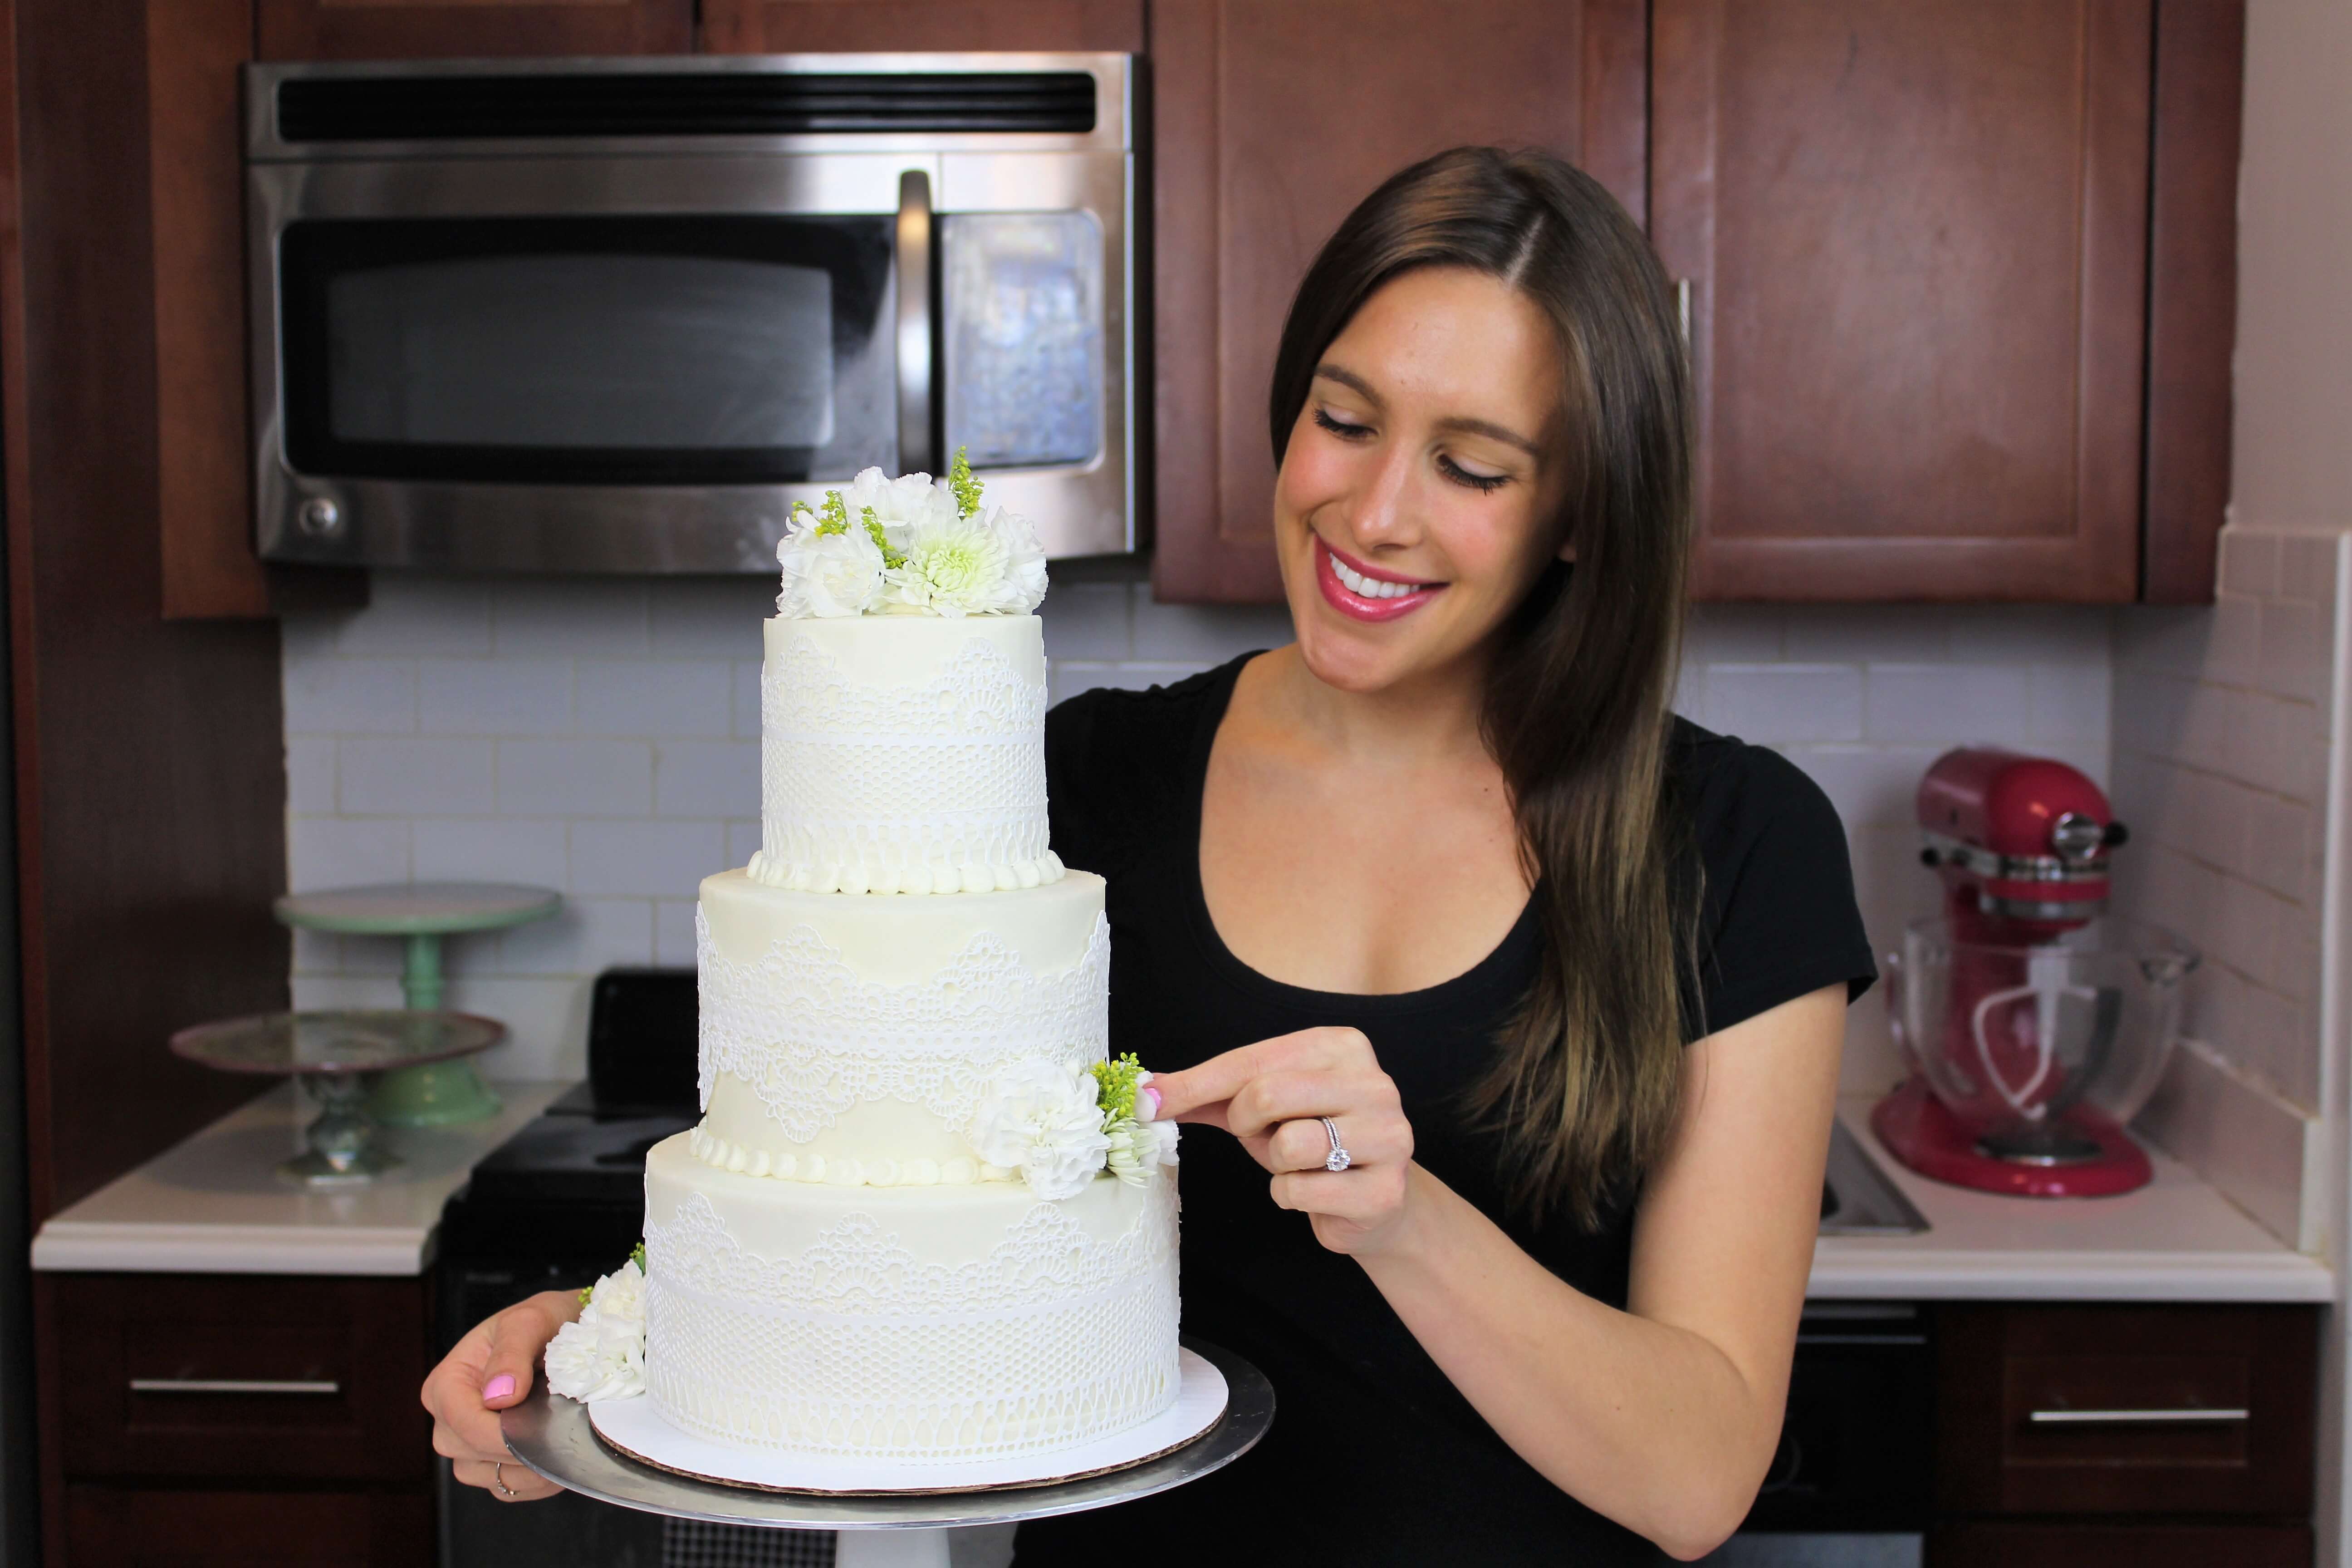

Then I cut into each tier to taste test it, and celebrate finding my dress! I do think that these are the flavors we will have in our actual wedding cake! I’m so looking forward to making it 🙂
Joanne
Friday 27th of March 2020
I love working with edible lace I posted a pic on your fb video
Chelsweets
Saturday 28th of March 2020
Aw that's awesome Joanne!! Sadly I miss a lot of comments on FB, but I see more of them on here :)
Christina Keller
Tuesday 18th of December 2018
Chelsey, that's gorgeous! I love the edible lace idea - very creative! Congrats on your upcoming wedding, you will be a beautiful bride! I was wondering if you knew how many this cake would serve? What about a full size sheet cake? Do you have an opinion of what size a "full sized sheet" cake is? I know there's a bit of disagreement on the dimensions of half and full sized sheet cakes. Thank you for your advice!!!!
Chelsweets
Thursday 3rd of January 2019
Thanks! This cake would serve abuot 46 people, the tiers are 8 inches, 6 inches, and 4 inches!
Mona
Thursday 2nd of August 2018
Congrats on your engagement!! Your amazing and I love your work! It's very helpful??; you always have great info. I tried your cake recipe and I loved it!! One question: how long would you say fresh flowers last on a cake? How long before the wedding do u typically put them in your cakes?
Chelsweets
Thursday 2nd of August 2018
Aw thanks, and so happy to hear that!! I have never really tested how long fresh flowers last, but i've always added them the day of!
Irene Gee
Saturday 28th of July 2018
What beautiful wedding cake! Can't imagine you having time and energy to make your own cake for your BIG DAY next year!! Do hope you have a wedding planner to manage the other wedding details. Just wondering about tinting the lace in shades of purple to create an ombre purple effect on the different tiers. What's the best way to accomplish this?
Chelsweets
Wednesday 1st of August 2018
haha i def plan to make it in advance :) oh that would look beautiful! you could do a few different things! you could tint the lace mixture before you bake it using gel food coloring, or you could airbrush it! it would probably be easiest to tint the mixture before baking, but that's just my opinion! Using my airbrush always seems like such a production!!
Michelle
Tuesday 8th of May 2018
Are those flowers really edible, did you make them or did you buy them from somewhere? If so, where did you get them? Oh and you're one of my inspiration for baking, love your work!
Chelsweets
Wednesday 9th of May 2018
haha when I say edible, I more so mean that they won't make you sick! When adding fresh flowers to a cake, you need to research the type of flower to make sure it's not poisonous. In reality, no one is going to eat the flowers on a wedding cake (whether they're sugar flowers or fresh flowers), so it's really more of just making sure no one will get sick from them :) I always just google flower names, but in general roses and carnations are not poisonous! I also like to use organic flowers, to avoid pesticides!! hope that helps <3