
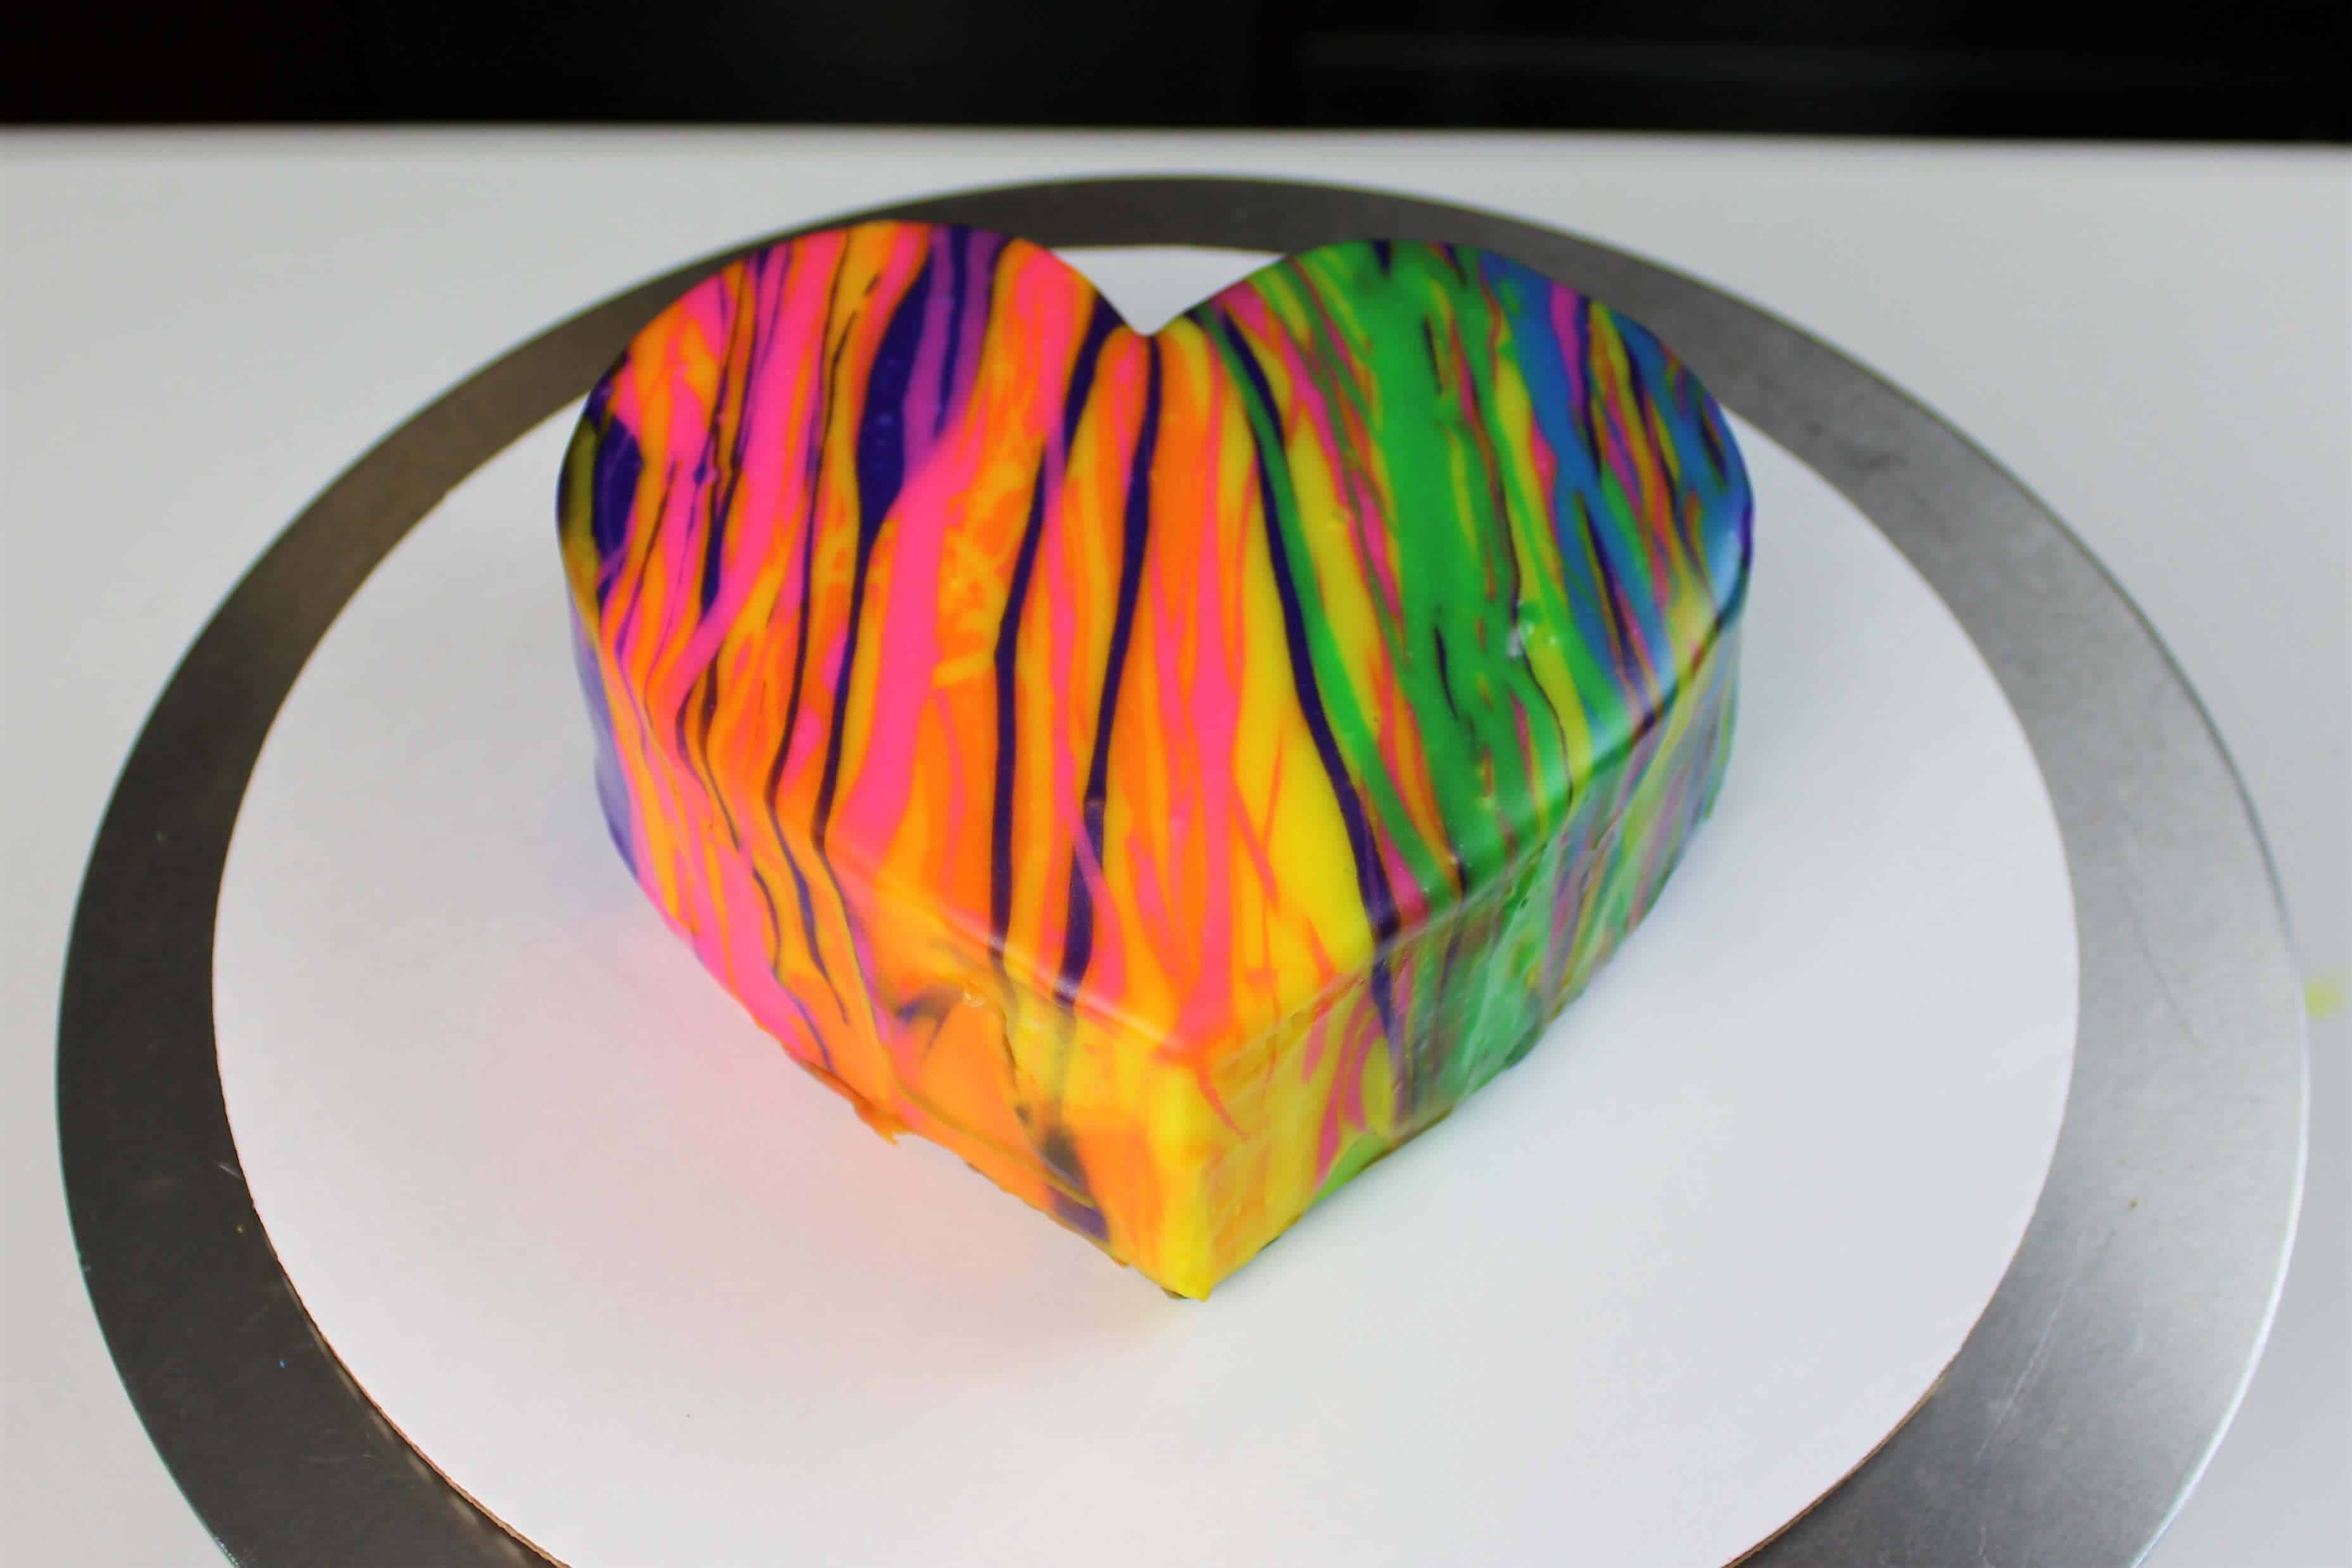
I’ve made a few different mirror glaze cakes, but this one is definitely the most colorful! It’s inspired by the colorful designs of Lisa Frank, a brand that all us millennials hold near and dear to our hearts!! Although the traditional mirror glaze recipe involves more ingredients and additional equipment, this easy, 5 ingredient recipe makes the technique way more approachable. I tweaked the recipe to include a bit more white chocolate, to make more vibrant rainbow colors. A full tutorial showing how to make a mirror glaze cake is also up on my YouTube channel.
I work primarily work with buttercream cakes, and have found that you can pour mirror glaze over a classic buttercream cake, as long as it is fully frozen, and the frosting is extremely smooth.
The recipe I used can be found below, and I’ve also made a tutorial on my YouTube channel!
White Chocolate Glaze:
- 1.5 cups sugar
- 3/4 cup water
- 2/3 cup sweetened condensed milk
- 2 cups miniature white chocolate chips
- 2 Tbsp. unflavored gelatin (bloomed in 1/4 cup of additional water)
- gel food coloring (blue, green, yellow, orange, pink, and red)
Equipment:
- medium sized pot
- sieve
- thermometer
Instructions:
Mix the gelatin in a bowl with 1/4 cup of water, and set aside to let it bloom while you begin the glaze. Over a medium heat, stir together the sugar, cup of water, and sweetened condensed milk. Stir occasionally, until the mixture begins to bubble. At this point, pour in the gelatin, and stir until fully dissolved. Then turn off the heat, and gently pour in the white chocolate chips. Stir slowly, until all the white chocolate has melted. Pour through a sieve into a large bowl, then divide the glaze evenly between six bowls. Color the other bowls pink, purple, blue, green, yellow, and orange. I replaced the color red with pink, to match the Lisa Frank color scheme. Continue to stir the glazes occasionally to stop a skin from forming, until the glaze has reached 85 degrees, or is about room temperature.
I made my cake out of my favorite vanilla layer cake recipe and my vanilla buttercream. I trimmed my cake into the shape of a heart, and made my frosting as smooth as possible. It is important that the cake is made on a cake round the exact same size as the frosted cake, so that the glaze can run off seamlessly. I trimmed a cake round into the shape of a heart, and frosted the cake to the edge of the cardboard base.
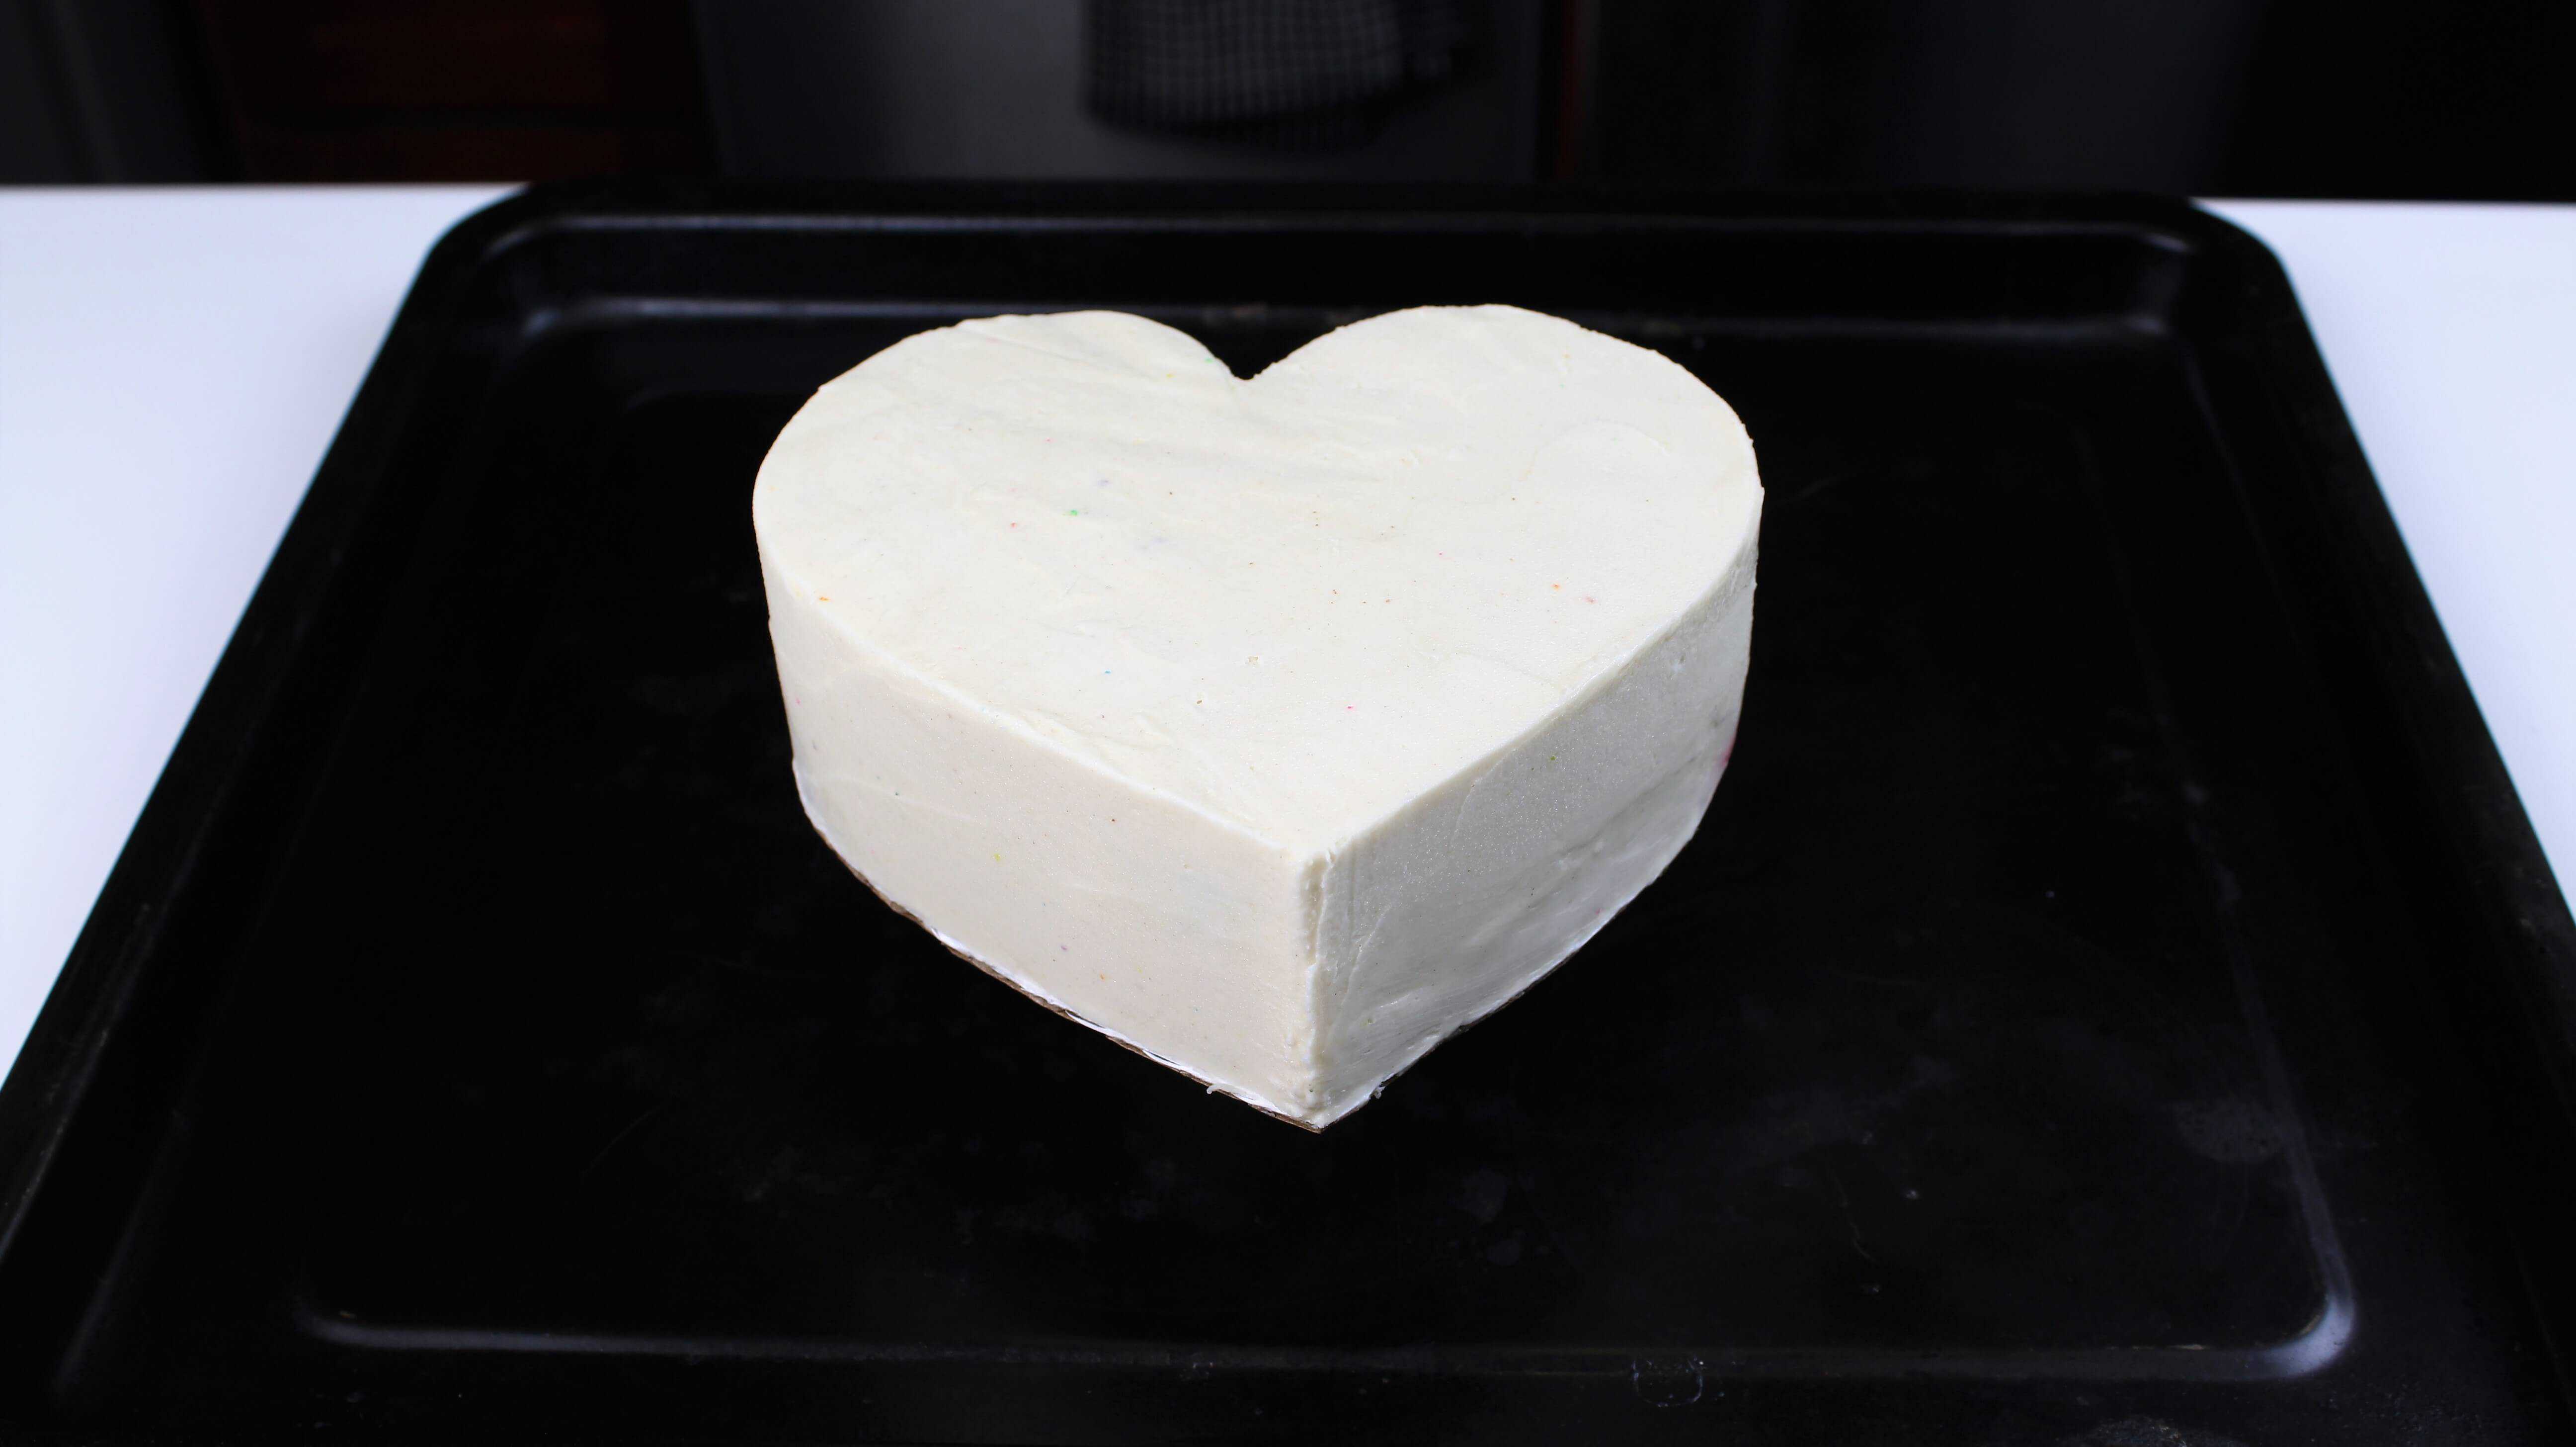

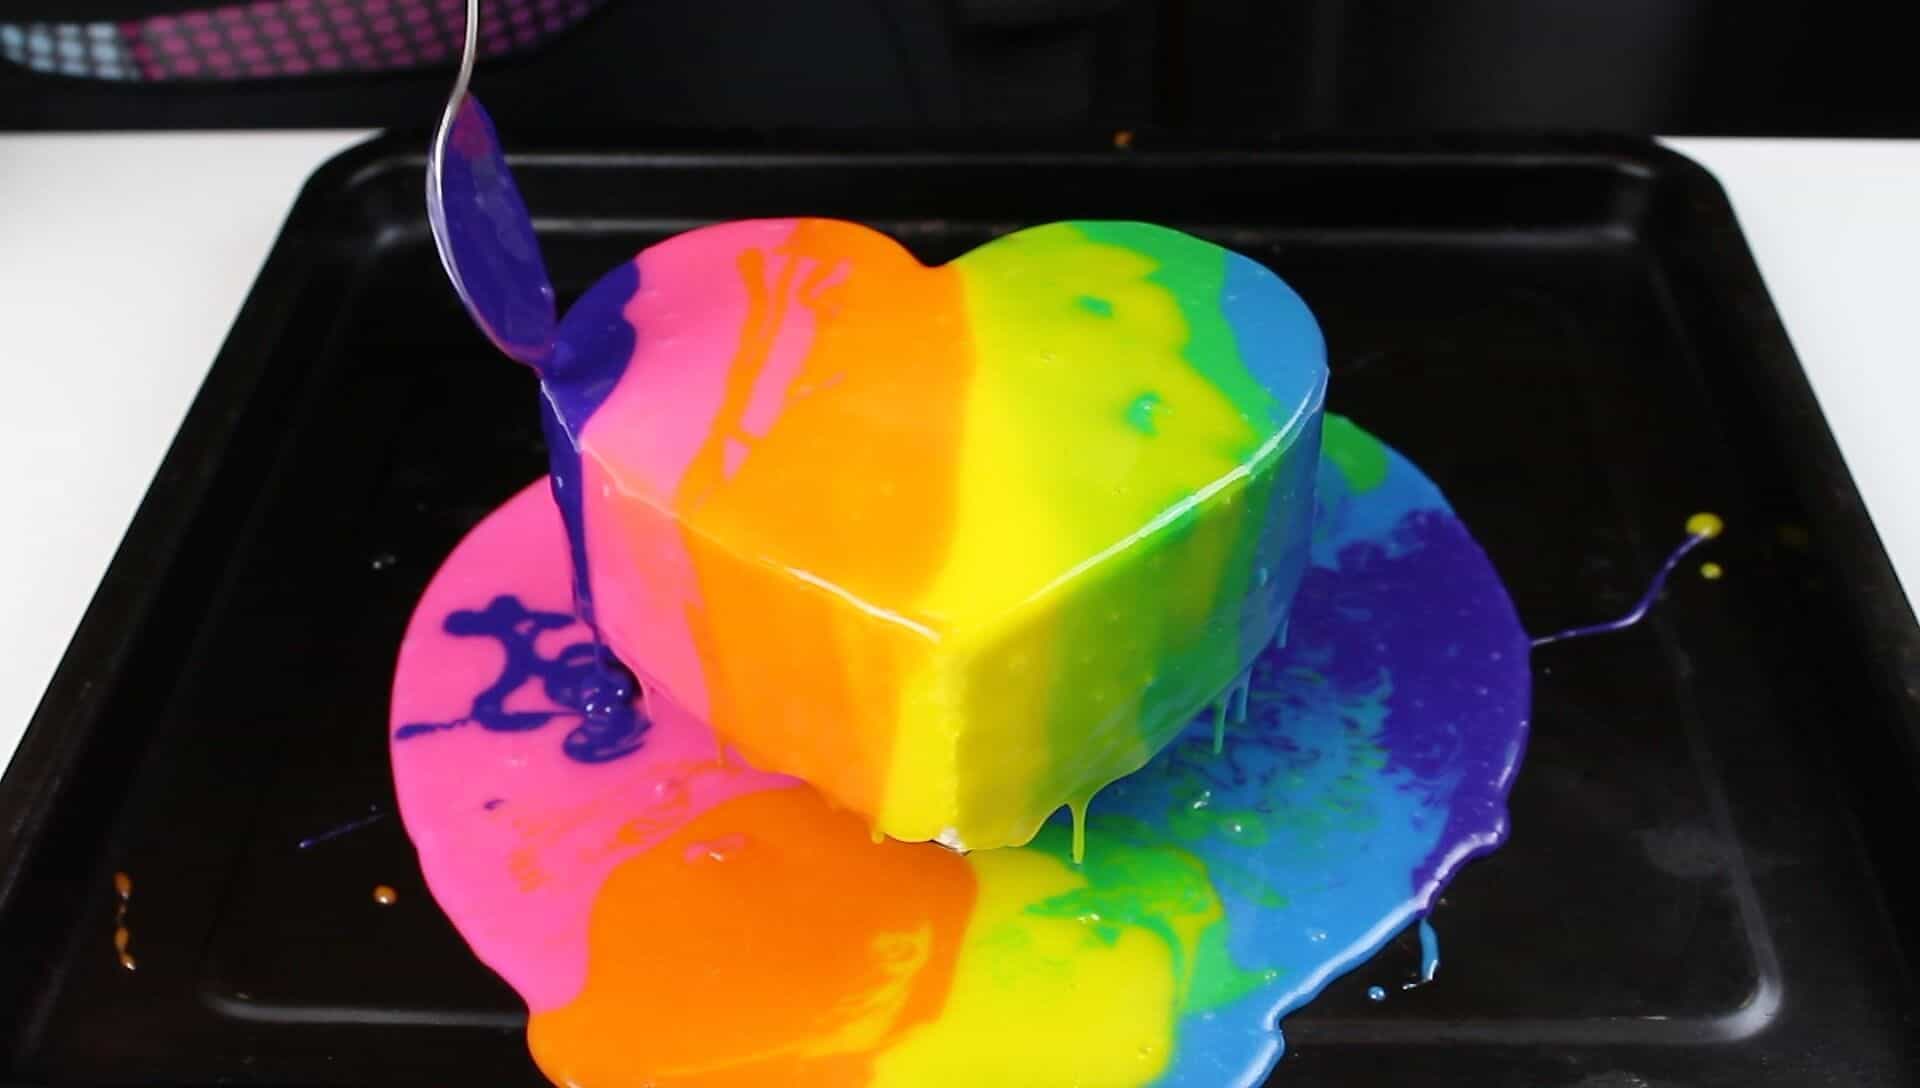
Freeze the cake for a few hours (must be fully frozen for the glaze to stick to the cake), and place on a circular object, on top of a large baking sheet. I placed a 4-inch cake pan underneath my cake, then slowly pour the colored glaze in stripes onto the cake.

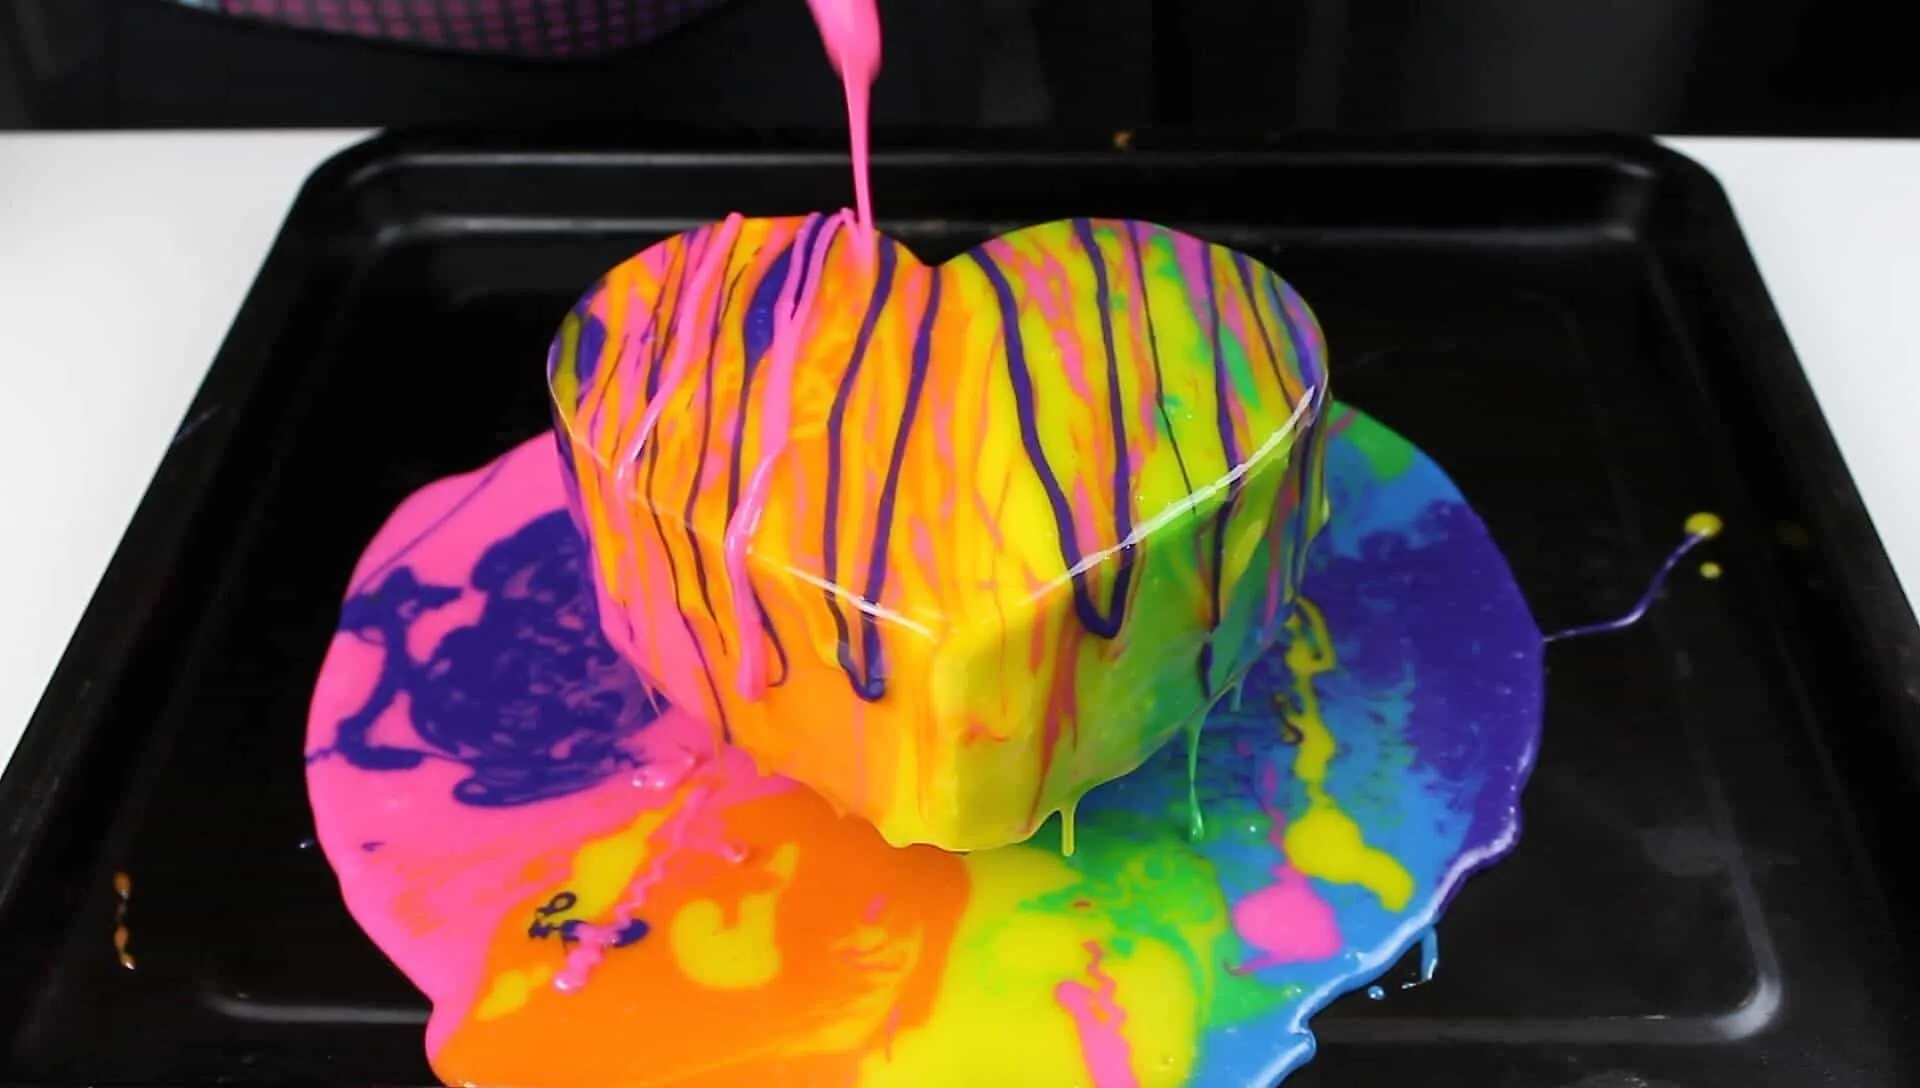
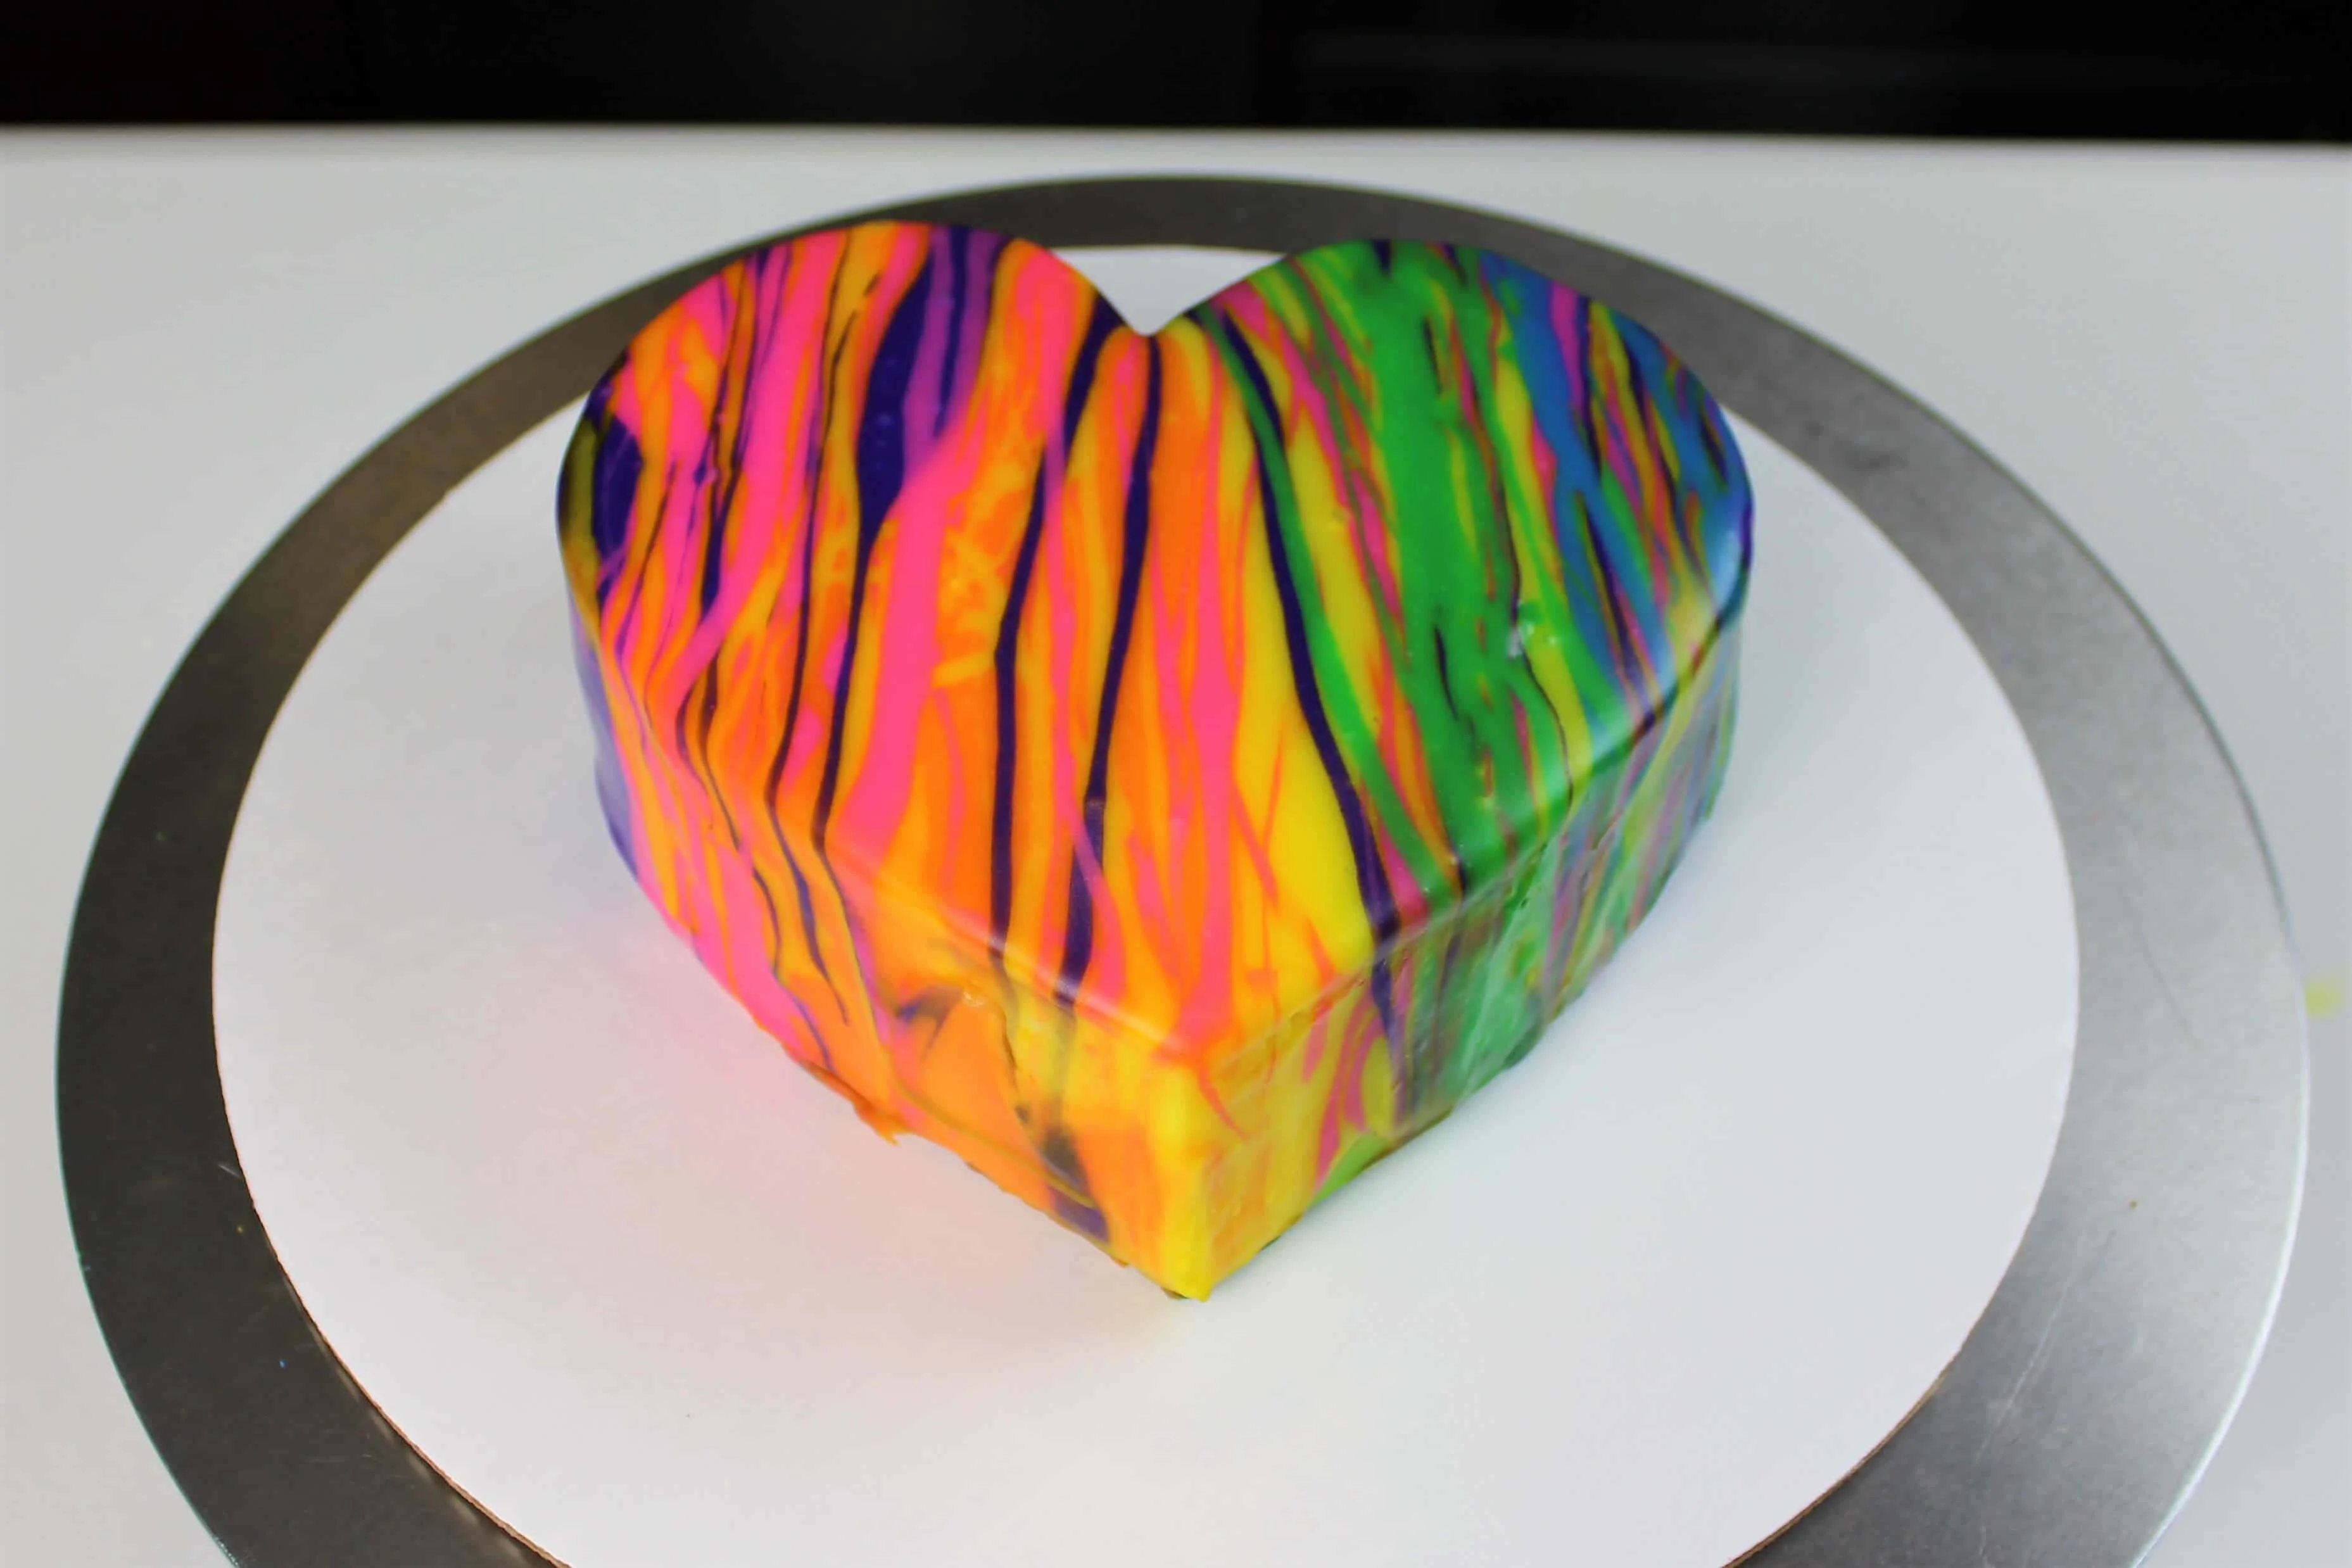
Drizzle thin lines of the excess glaze over the top of the cake, to give it a psychedelic look.

Let it continue to drip for about 10 minutes, then scrape away the excess drips around the base of the cake and placed it in the fridge.

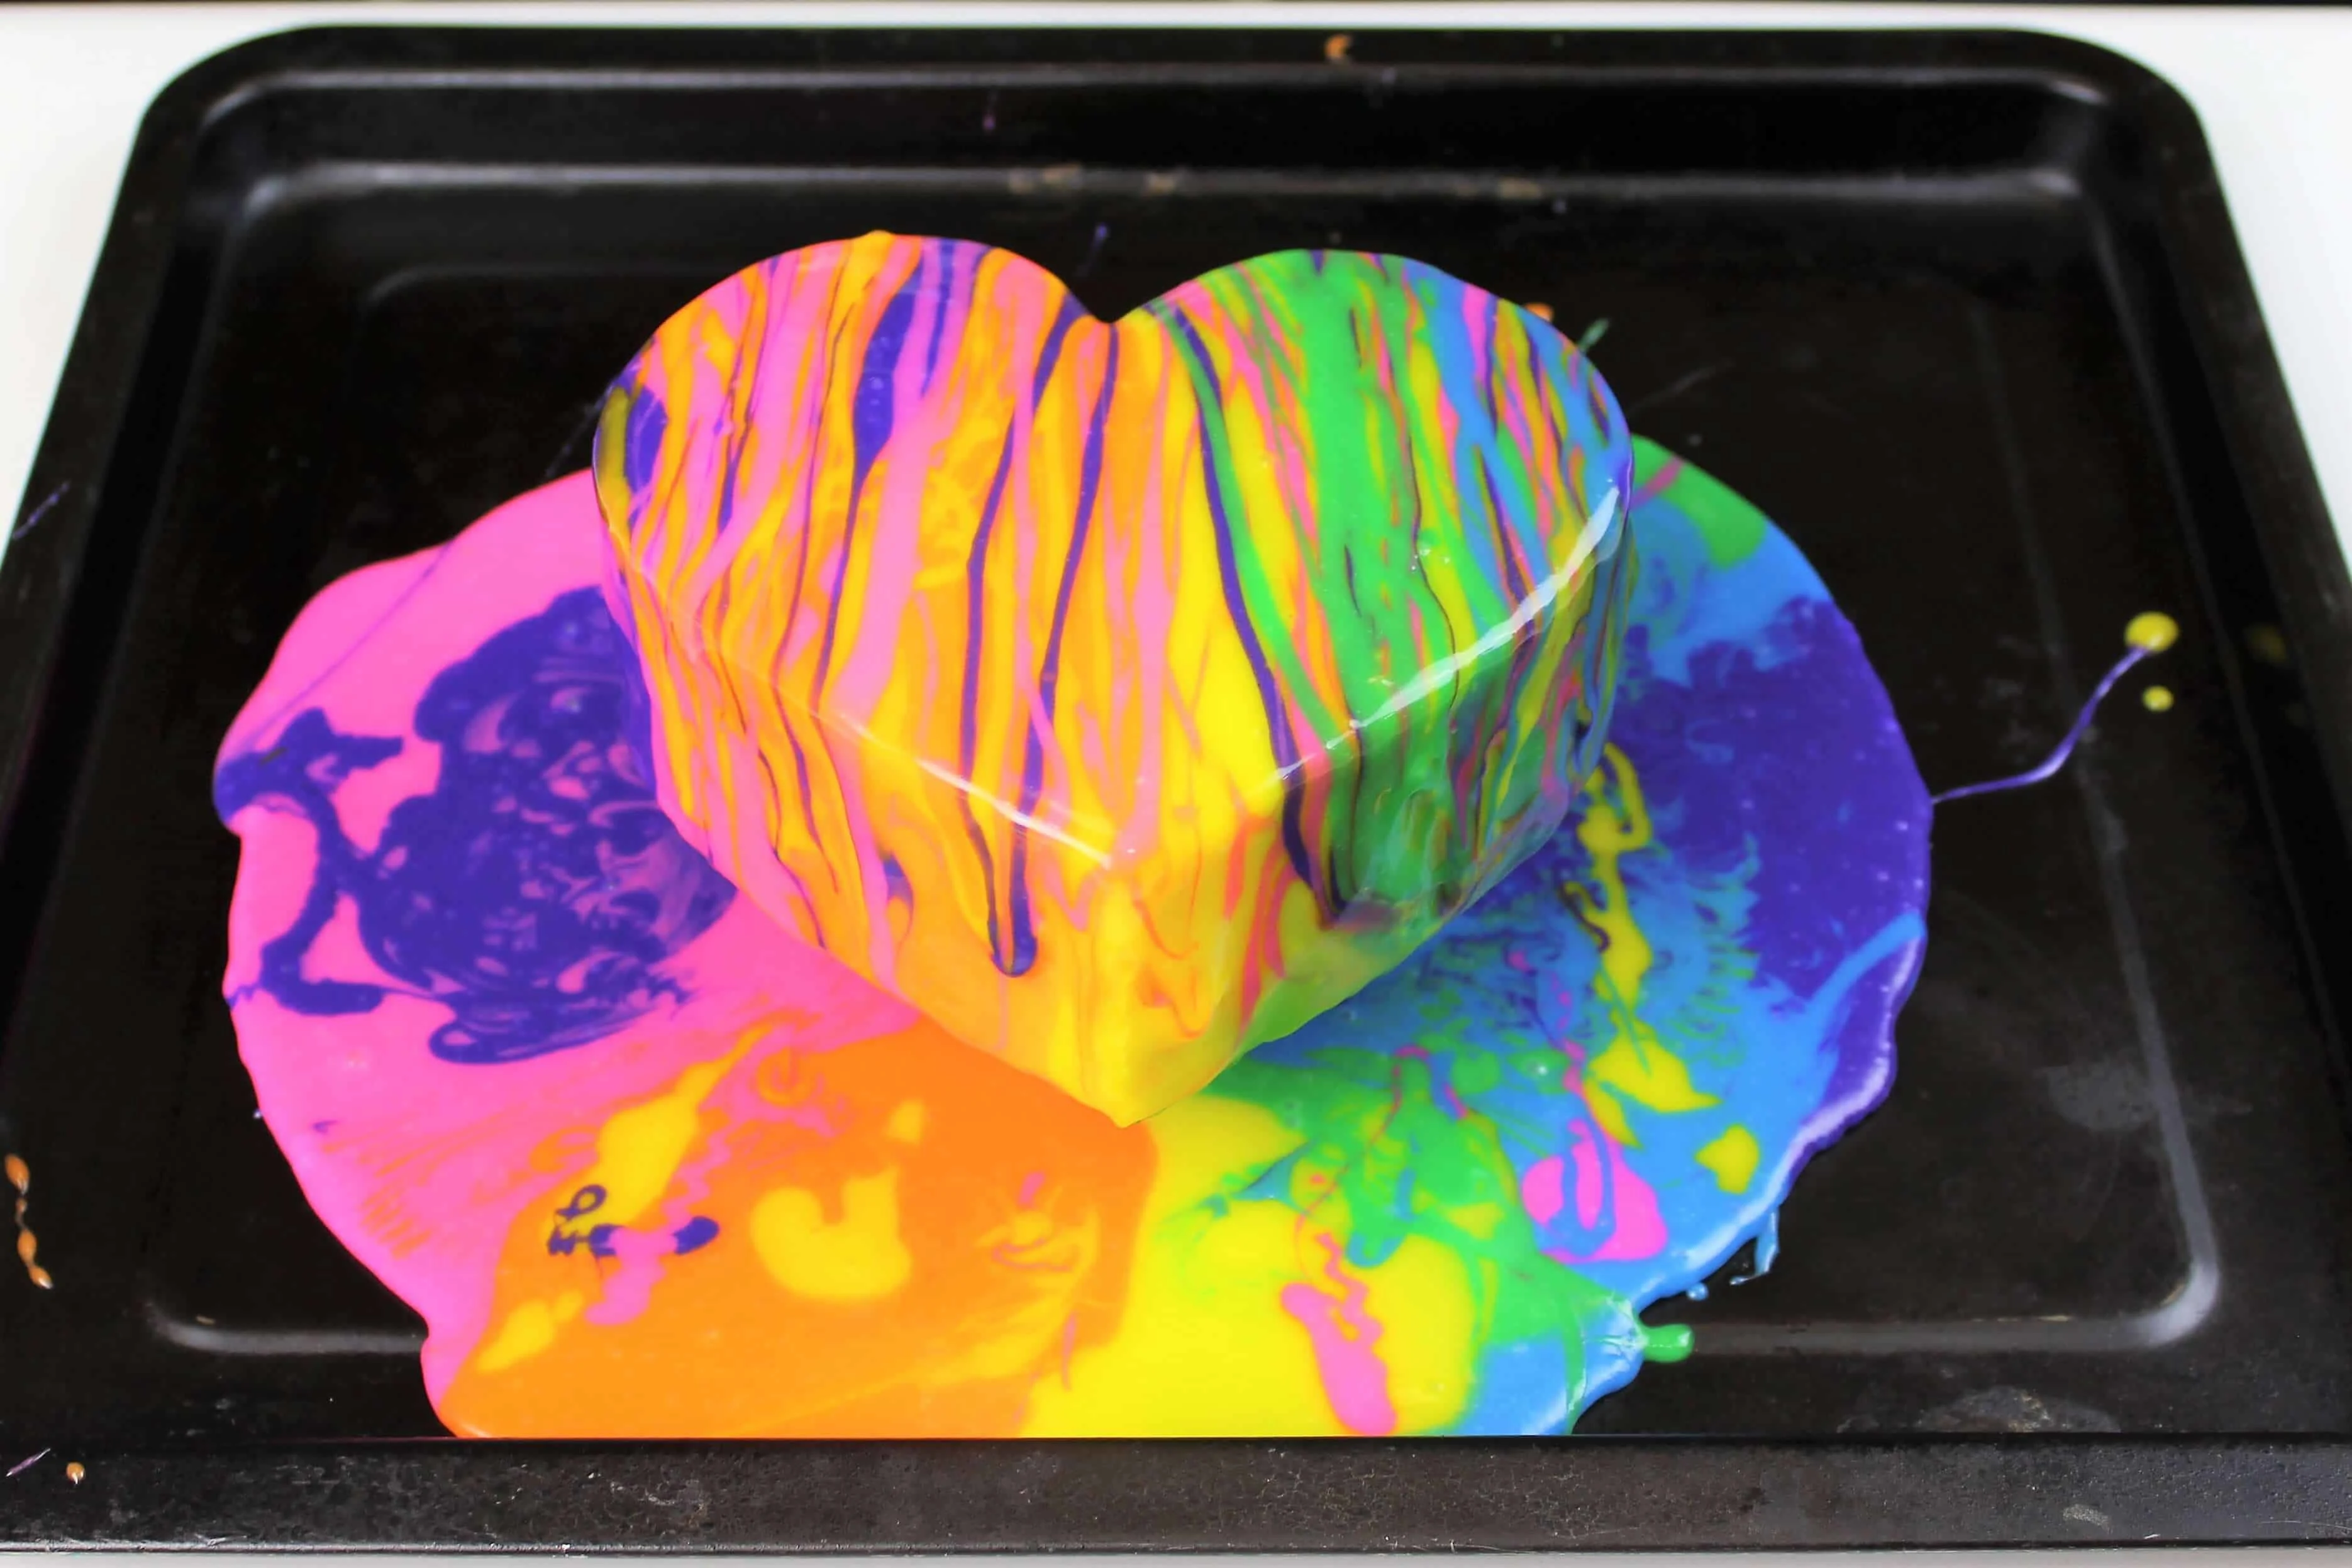
See? So easy!!!
Krysta
Thursday 1st of December 2022
I'm planning on making this this weekend, but over a chocolate cream cheese frosting. Do you think that'll work, instead of just a basic buttercream? This is my first mirror glaze =).
Chelsweets
Sunday 4th of December 2022
Hi Krysta,
I really recommend using a light colored frosting to make sure the colors fully pop!!! It will work on a darker color frosting, but depending on how intensely you color the glaze, it might impact the finished look. Hope that helps and that your cake turns out great!!
Jill
Monday 7th of November 2022
I used this tutorial because I was looking to make a tie dye cake! This worked perfectly. Thank you!
Chelsweets
Saturday 12th of November 2022
Hi Jill,
Yay!! I'm so happy to hear that :) Thank you for sharing!!
Himali Perera
Wednesday 1st of November 2017
Thank you so much...really love d way of yr tutorials....??????